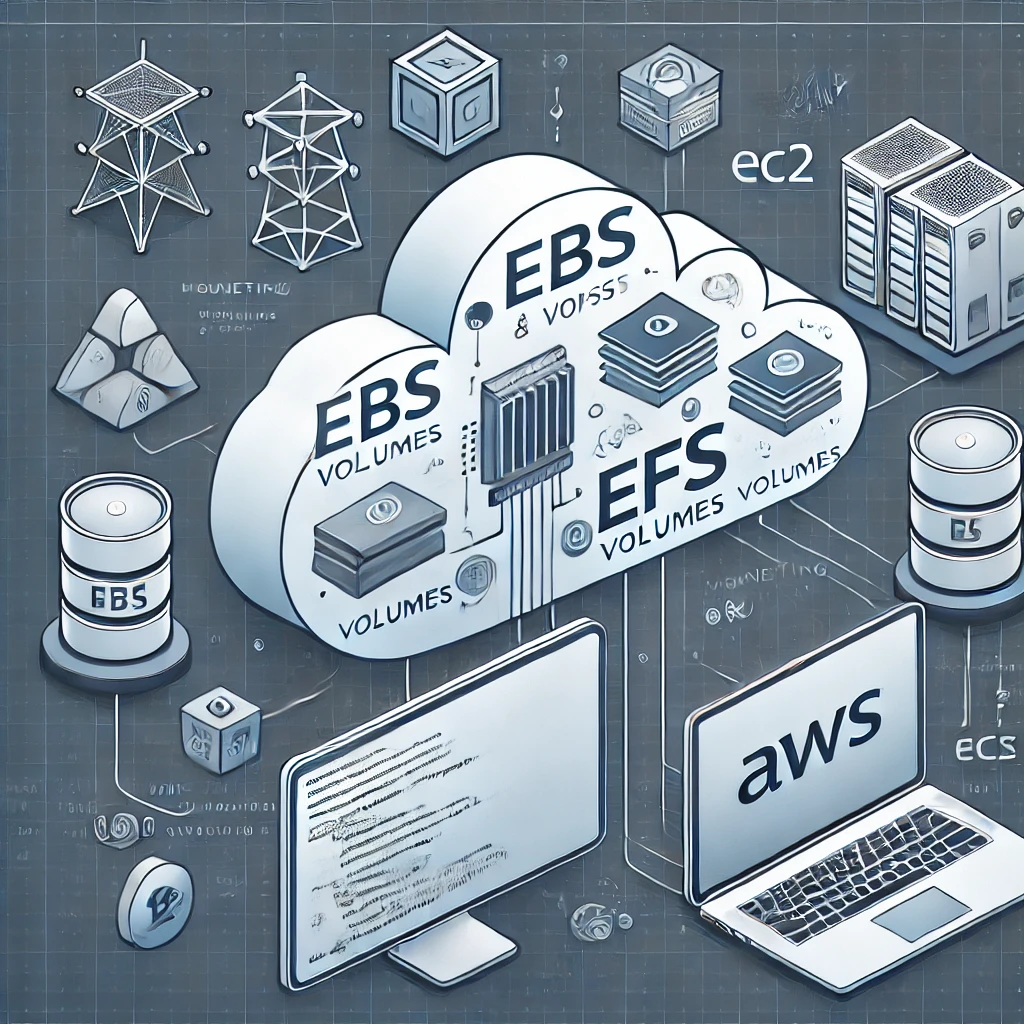
How to Connect, Mount, and Manage AWS EBS and EFS Volumes from Your Terminal
 Abdul Firoz
Amazon Web Services (AWS) provides Elastic Block Store (EBS) and Elastic File System (EFS) as storage solutions for various use cases. This guide will walk you through the steps to connect to an EBS volume from your terminal, mount the EBS volumes and EFS, unmount the EBS volume, and attach it to another instance in the same Availability Zone (AZ), different AZ, and different region.
Connecting to an EBS Volume
Step 1: Launch an EC2 Instance
First, you need to have an EC2 instance running. If you don't have one, you can launch a new instance from the AWS Management Console:
Log in to your AWS account.
Navigate to the EC2 Dashboard.
Click on "Launch Instance."
Follow the prompts to configure your instance and launch it.
Step 2: Attach the EBS Volume to the EC2 Instance
Open the EC2 Dashboard.
Select the instance you want to attach the volume to by clicking on its checkbox.
Click on the "Actions" dropdown menu, and select "Attach Volume."
In the Attach Volume dialog, choose the EBS volume you want to attach from the list.
Specify the device name (e.g.,
/dev/xvdf) and click "Attach."
Step 3: Connect to Your EC2 Instance
Use SSH to connect to your EC2 instance. Open your terminal and run the following command:
ssh -i /path/to/your-key-pair.pem ec2-user@your-ec2-public-dns
Mounting the EBS Volume
Step 4: Identify the Volume
List the block devices to identify your EBS volume. Run:
lsblk
You should see a list of devices, including the one you attached (e.g., /dev/xvdf).
Step 5: Create a Filesystem on the Volume (if not already formatted)
If your EBS volume is new and unformatted, create a filesystem on it:
sudo mkfs -t xfs /dev/xvdf
Step 6: Mount the Volume
Create a directory to mount the volume:
sudo mkdir ebsdemo
Mount the volume to the directory:
sudo mount /dev/xvdf ebsdemo
Step 7: Verify the Mount
Ensure the volume is mounted by checking the filesystem:
df -h
You should see the new volume listed in the output.
Mounting EFS
Step 8: Install EFS Utils
To mount an EFS file system, you need to install the EFS utilities. Run:
bashCopy codesudo yum install -y amazon-efs-utils
Unmounting and Reattaching EBS Volume
Step 9: Unmount the EBS Volume
To unmount the EBS volume, run:
sudo umount /ebsdemo
Step 10: Detach the EBS Volume from the EC2 Instance
To detach the EBS volume:
Go to the EC2 Dashboard.
Select the instance you want to detach the volume from.
Click on the "Storage" tab.
Select the volume, click on "Actions," and choose "Detach Volume."
Step 11: Attach the EBS Volume to Another Instance in the Same AZ
Go to the EC2 Dashboard.
Select the instance you want to attach the volume to by clicking on its checkbox.
Click on the "Actions" dropdown menu, and select "Attach Volume."
In the Attach Volume dialog, choose the EBS volume you want to attach from the list.
Specify the device name (e.g.,
/dev/xvdf) and click "Attach."And follow the same steps from 1 to 9.
Step 12: Attach the EBS Volume to Another Instance in a Different AZ
To attach the volume to an instance in a different AZ, follow these steps:
Create a Snapshot:
Go to the EC2 Dashboard and select the EBS volume.
Click on "Actions" and select "Create Snapshot."
Provide a description for the snapshot and click "Create Snapshot."
Create a New Volume from the Snapshot:
Go to the "Snapshots" section in the EC2 Dashboard.
Select the snapshot you created, click on "Actions," and choose "Create Volume."
In the Create Volume dialog, specify the new AZ where you want the volume to reside.
Click "Create Volume."
Attach the New Volume to the Instance:
Go to the EC2 Dashboard and select the instance you want to attach the new volume to.
Click on the "Actions" dropdown menu, and select "Attach Volume."
In the Attach Volume dialog, choose the new volume you created from the snapshot.
Specify the device name (e.g.,
/dev/xvdf) and click "Attach."And follow the same steps from 1 to 9.
Step 14: Attach the EBS Volume to Another Instance in a Different Region
To attach the volume to an instance in a different region, follow these steps:
Create a Snapshot:
Go to the EC2 Dashboard and select the EBS volume.
Click on "Actions" and select "Create Snapshot."
Provide a description for the snapshot and click "Create Snapshot."
Copy the Snapshot to Another Region:
Go to the "Snapshots" section in the EC2 Dashboard.
Select the snapshot you created, click on "Actions," and choose "Copy Snapshot."
In the Copy Snapshot dialog, specify the destination region and click "Copy Snapshot."
Create a New Volume from the Snapshot:
Switch to the target region in the AWS Management Console.
Go to the "Snapshots" section and select the copied snapshot.
Click on "Actions" and choose "Create Volume."
In the Create Volume dialog, specify the desired AZ and click "Create Volume."
Attach the New Volume to the Instance:
Go to the EC2 Dashboard and select the instance you want to attach the new volume to.
Click on the "Actions" dropdown menu, and select "Attach Volume."
In the Attach Volume dialog, choose the new volume you created from the copied snapshot.
Specify the device name (e.g.,
/dev/xvdf) and click "Attach."And follow the same steps from 1 to 9.
Subscribe to my newsletter
Read articles from Abdul Firoz directly inside your inbox. Subscribe to the newsletter, and don't miss out.
Written by

Abdul Firoz
Abdul Firoz
I am a DevOps engineer from India.