How to Create a Dynamic Rick and Morty Wiki Web App with Next.js
 Colby Fayock
Building web apps with dynamic APIs and server side rendering are a way to give people a great experience both with content and speed. How can we use Next.js to easily build those apps?
- What are we going to build?
- What is Next.js?
- Step 0: Setting up a new Next.js app
- Step 1: Fetching Rick and Morty characters with an API in Next.js
- Step 2: Displaying Rick and Morty characters on the page
- Step 3: Loading more Rick and Morty characters
- Step 4: Adding the ability to search for Rick and Morty characters
- Step 5: Using dynamic routes to link to Rick and Morty character pages
- Bonus Step: Deploy your Rick and Morty wiki to Vercel!
What are we going to build?
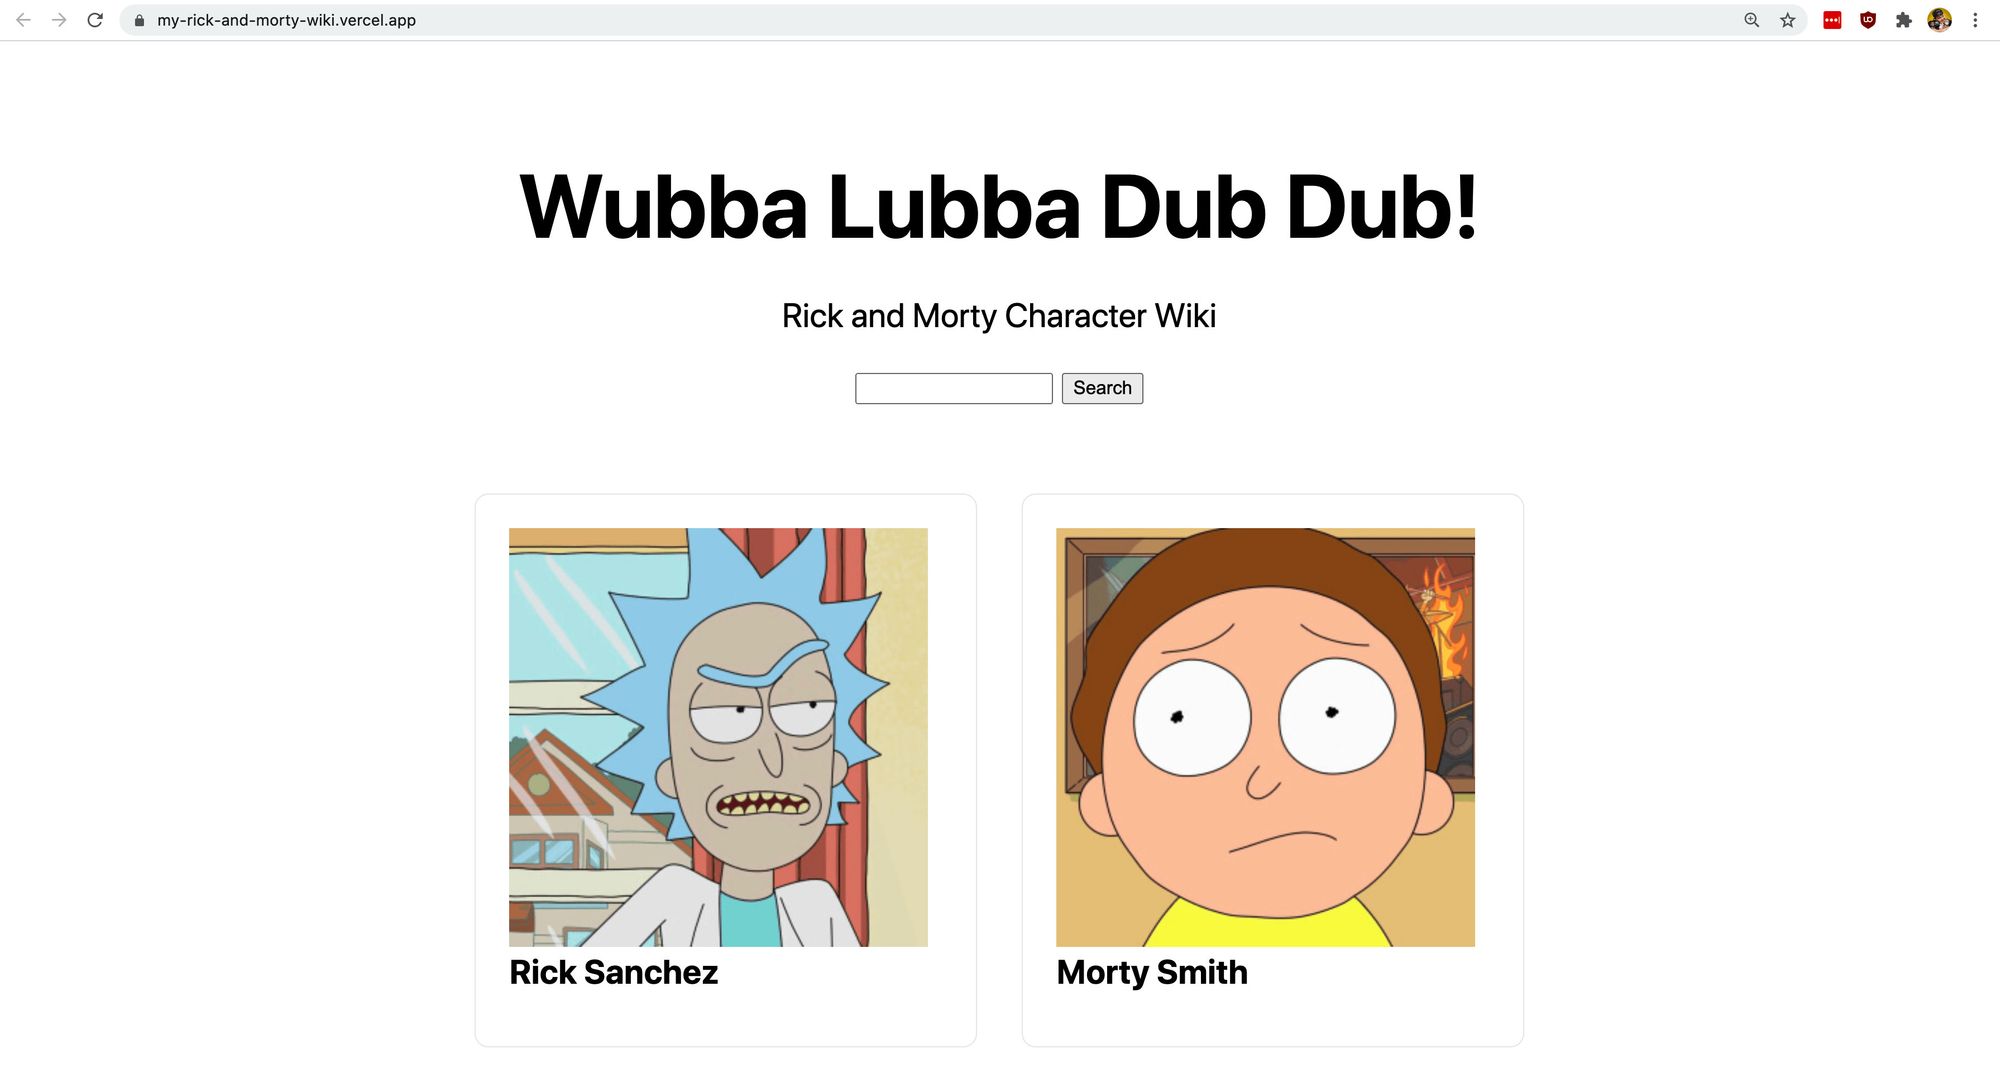
We’re going to have some fun and build out a web app that serves as a basic wiki for Rick and Morty characters.
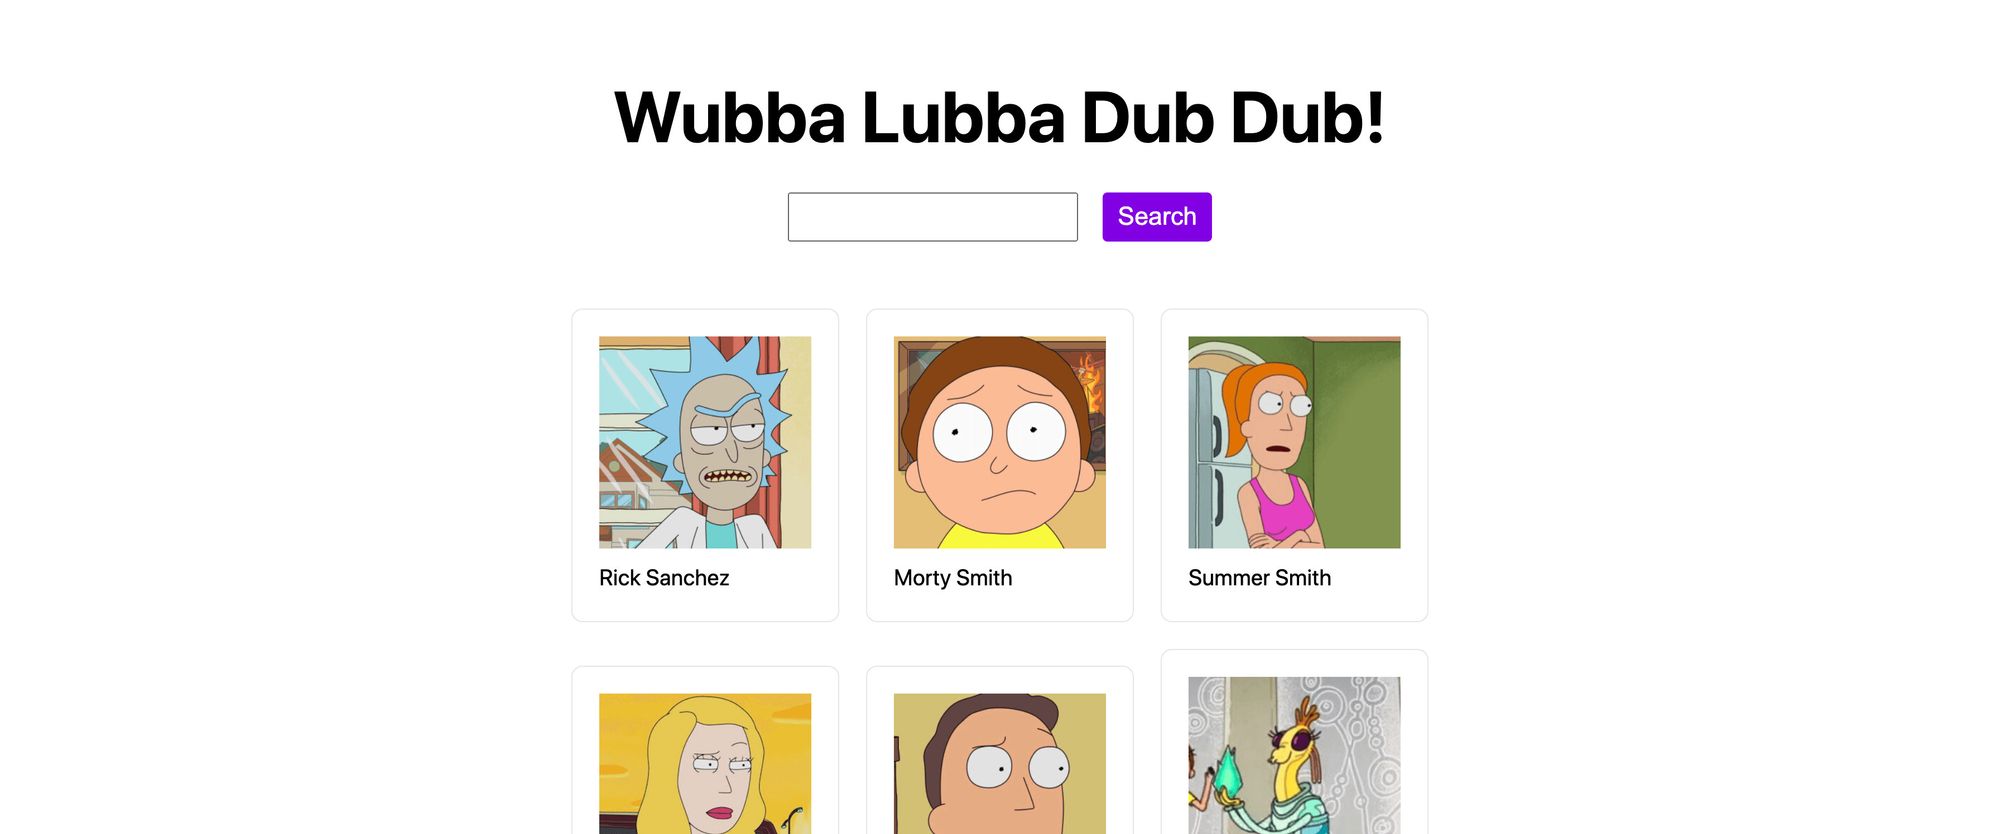 Rick and Morty Wiki Demo
Our app is going to consist of a few things:
- A list of characters on the front page
- A button that can load more characters, as the API is paginated
- A search box to look up characters
- A character page with basic details
We’ll learn some concepts like:
- How to spin up a web app with Next.js
- How to fetch and use data from an API
- How to pre-render data from an API
- How to set up dynamic routing
What is Next.js?
Next.js is a React framework from Vercel. It let’s you easily build lightweight dynamic web apps with a ton of modern features you’d expect out-of-the-box.
Vercel, the company that supports Next.js, is a service that allows you to automate continuous development pipelines to easily deploy web apps to the world. We’ll also use Vercel’s command line tool to optionally deploy our new wiki demo.
Step 0: Setting up a new Next.js app
To get started, let’s spin up our Next.js project. We’ll use npm or yarn to get started:
yarn create next-app
# or
npx create-next-app
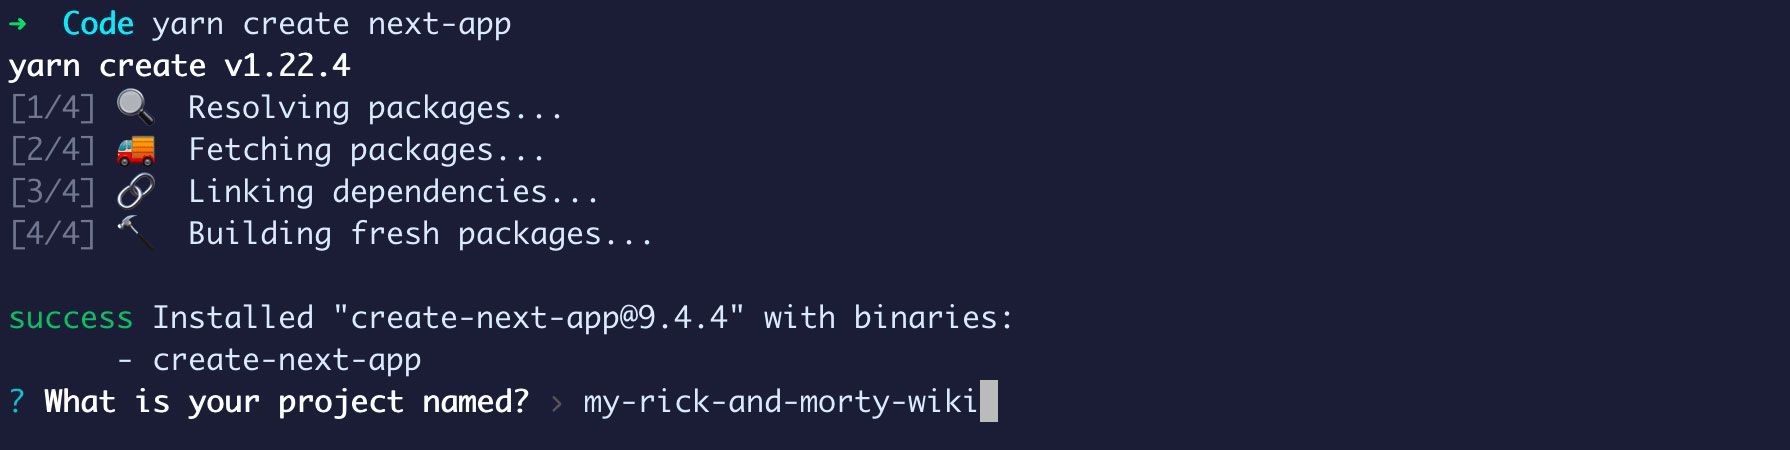 Creating a new Next.js app
Once you run that command, it will ask you a few questions. I’m going to call my project my-rick-and-morty-wiki, but you can name it whatever you’d like.
It will then ask you which template to choose — go ahead and select the default template.
Finally, it will install all of the dependencies.
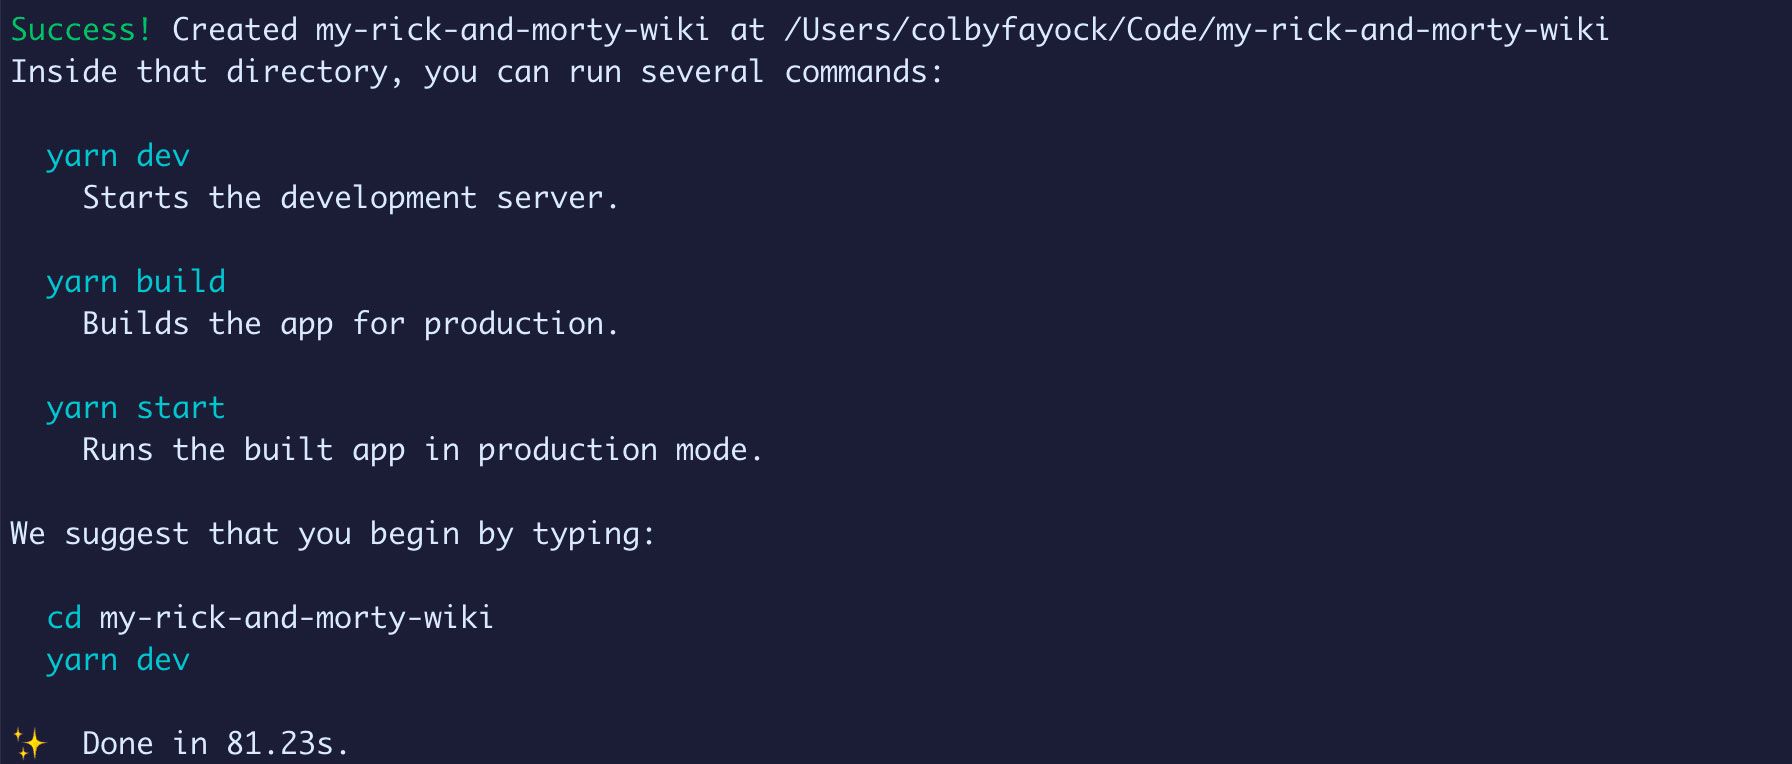 Successfully created a new Next.js app
When it’s finished, you can navigate to that new directory and run:
yarn dev
# or
npm run dev
 Starting Next.js development server
You should now have a local server running at http://localhost:3000!
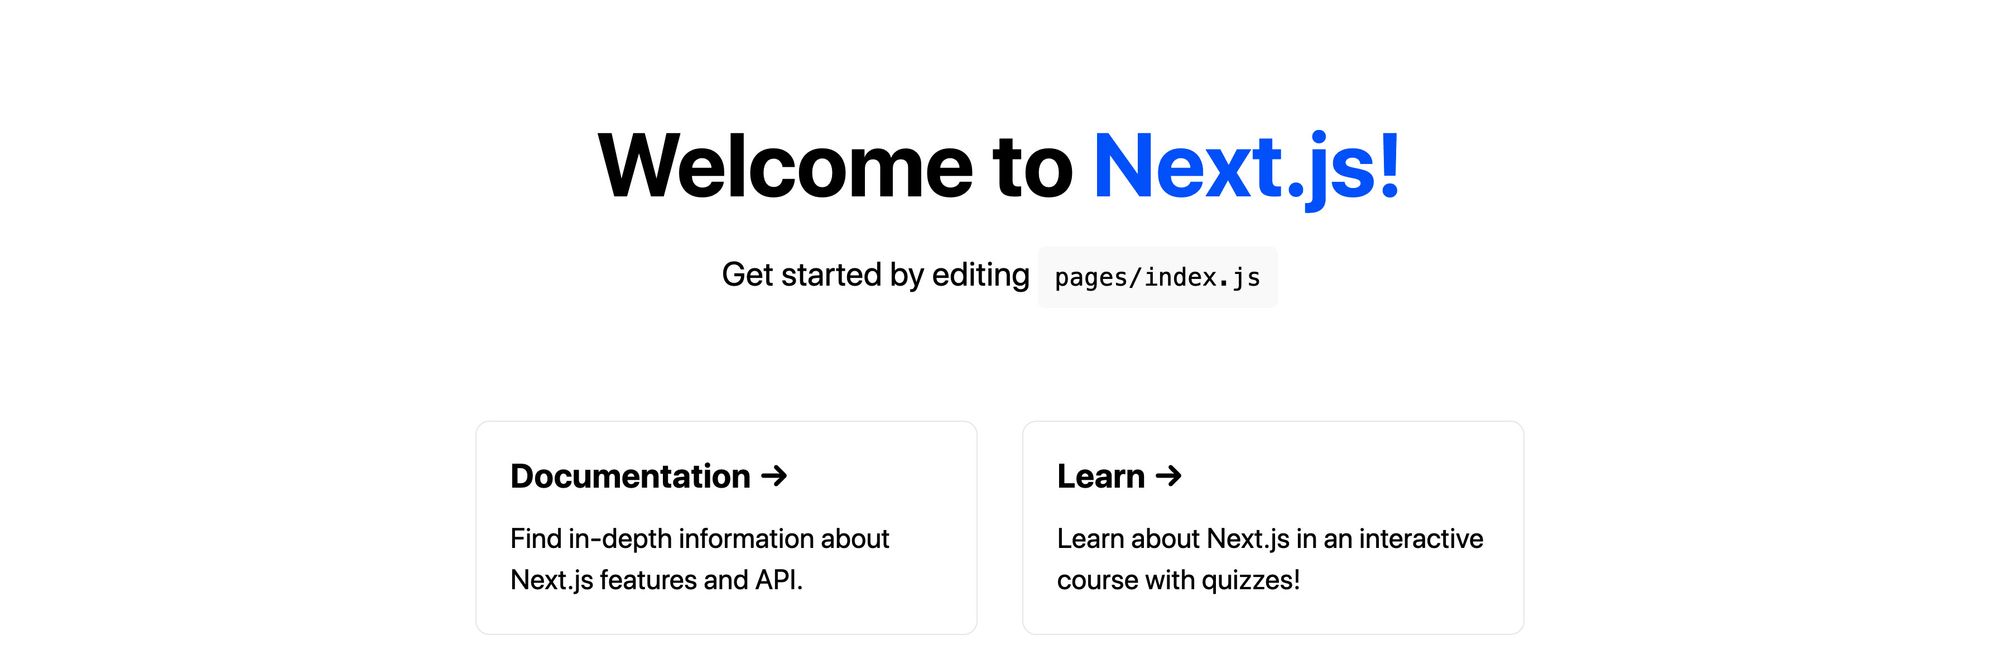 Default Next.js template
Step 1: Fetching Rick and Morty characters with an API in Next.js
Now that we have our app set up, the first thing we need to actually build out our wiki is a list of characters.
To do this, we’re going to start off in our home page in pages/index.js.
Next.js scaffolds this page for us automatically. It’s the first page someone will hit on our website and has some basic features in the default template like a title, a simple grid, and some styles.
Currently, this page isn’t requesting any data. To get our characters, we’re going to jump right into requesting this server side.
To do this, Next.js allows us to export an async getServerSideProps function right next to our page, which it will use to inject our page with any data that we fetch.
Let’s start off by adding the following snippet above our Home function component:
const defaultEndpoint = `https://rickandmortyapi.com/api/character/`;

export async function getServerSideProps() {
  const res = await fetch(defaultEndpoint)
  const data = await res.json();
  return {
    props: {
      data
    }
  }
}
Here’s what we’re doing:
- We’re setting a variable called
defaultEndpointthat simply defines our default API endpoint - We’re defining our
getServerSidePropsfunction that we’ll use to fetch our data - In that function, we first use the
fetchAPI to make a request to our endpoint - With it’s response, we run the
jsonmethod so that we can grab the output in JSON format - Finally, we return an object where we make our
dataavailable as a prop in thepropsproperty
Now that we’re making that request, we need to make it available to use.
Our data is made available as a prop, so let’s create an argument in our Home component function to grab that:
export default function Home({ data }) {
To test this, we can use console.log to see the results:
export default function Home({ data }) {
  console.log('data', data);
And once we save and reload the page, we can now see our results!
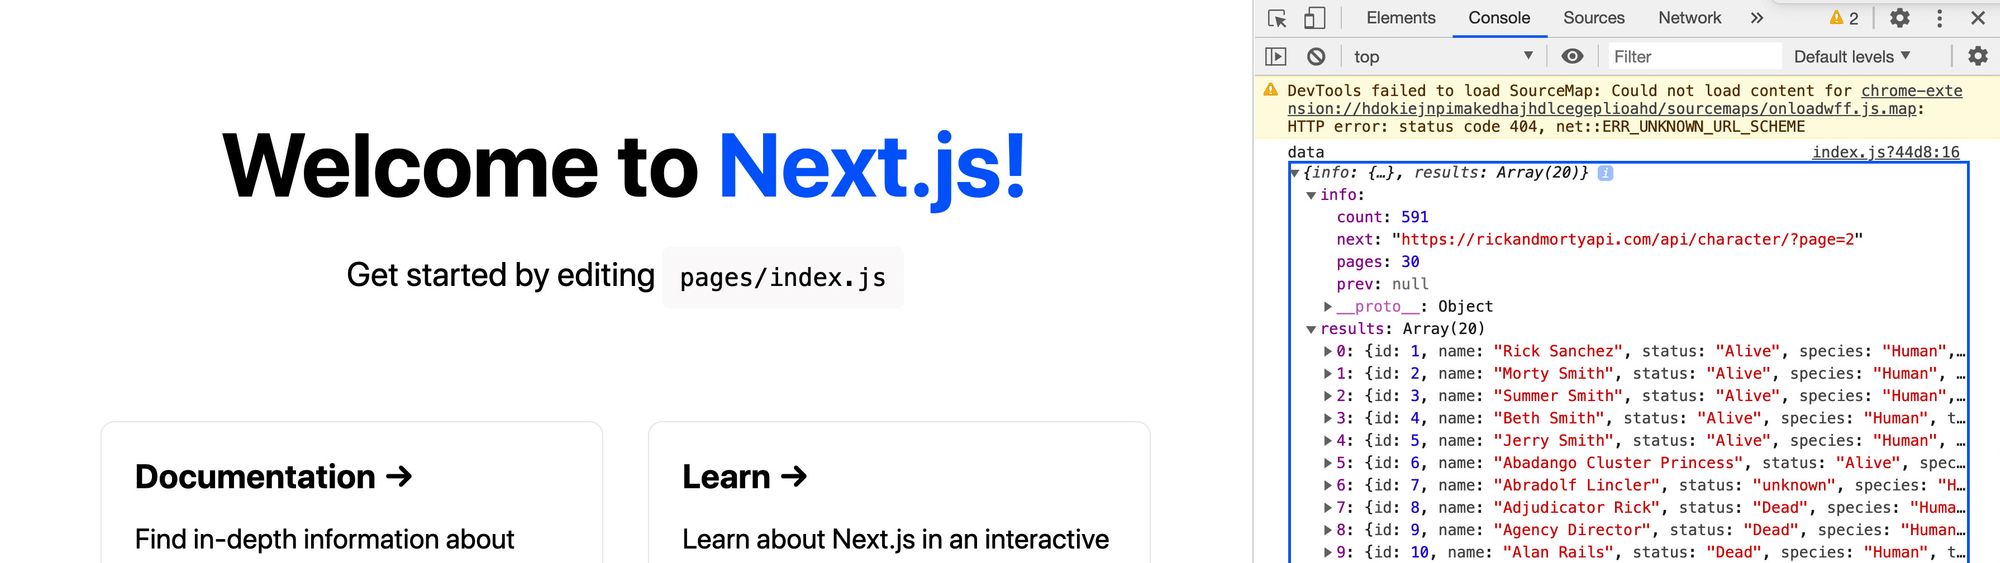 Logging out Rick and Morty character data in Next.js app
Step 2: Displaying Rick and Morty characters on the page
Now that we have our character data, let’s actually display it on our page.
To start, I’m going to make a few tweaks. I’m going to update:
- The
<h1>title to “Wubba Lubba Dub Dub!” - The
<p>description to “Rick and Morty Character Wiki”
I’m also going to update the contents of <div clasName=“grid” to:
<ul className="grid">
  <li className="card">
    <a href="https://nextjs.org/docs">
      <h3>My Character</h3>
    </a>
  </li>
</ul>
What I’m doing here:
- I’m making the
<div>a list as that will be better for accessibility - I’m making the
<li>of the<ul>thecard - And just changing the
<h3>to “My Character” temporarily
To make sure our new <ul> doesn’t mess up the layout with it’s default styles, let’s also add the following to the bottom of the .grid CSS rules:
list-style: none;
margin-left: 0;
padding-left: 0;
And now if we look at the page, we should see our basic changes.
 Updated title in Rick and Morty Wiki
Next, let’s make our grid load our characters.
At the top of our Home component function, let’s add:
const { results = [] } = data;
That will destructure our results array from our data object.
Next, let’s update our grid code:
<ul className="grid">
  {results.map(result => {
    const { id, name } = result;
    return (
      <li key={id} className="card">
        <a href="#">
          <h3>{ name }</h3>
        </a>
      </li>
    )
  })}
</ul>
Here’s what we’re doing:
- We’re using the
mapmethod to create a new list element for each of our results (or characters) - Inside of that, we’re grabbing the
idandnamefrom each character result - We’re using the ID as a
keyfor our list element to make React happy - We’re updating our header with the
name
And once you save and reload the page, we should now see a new list of our characters from the API!
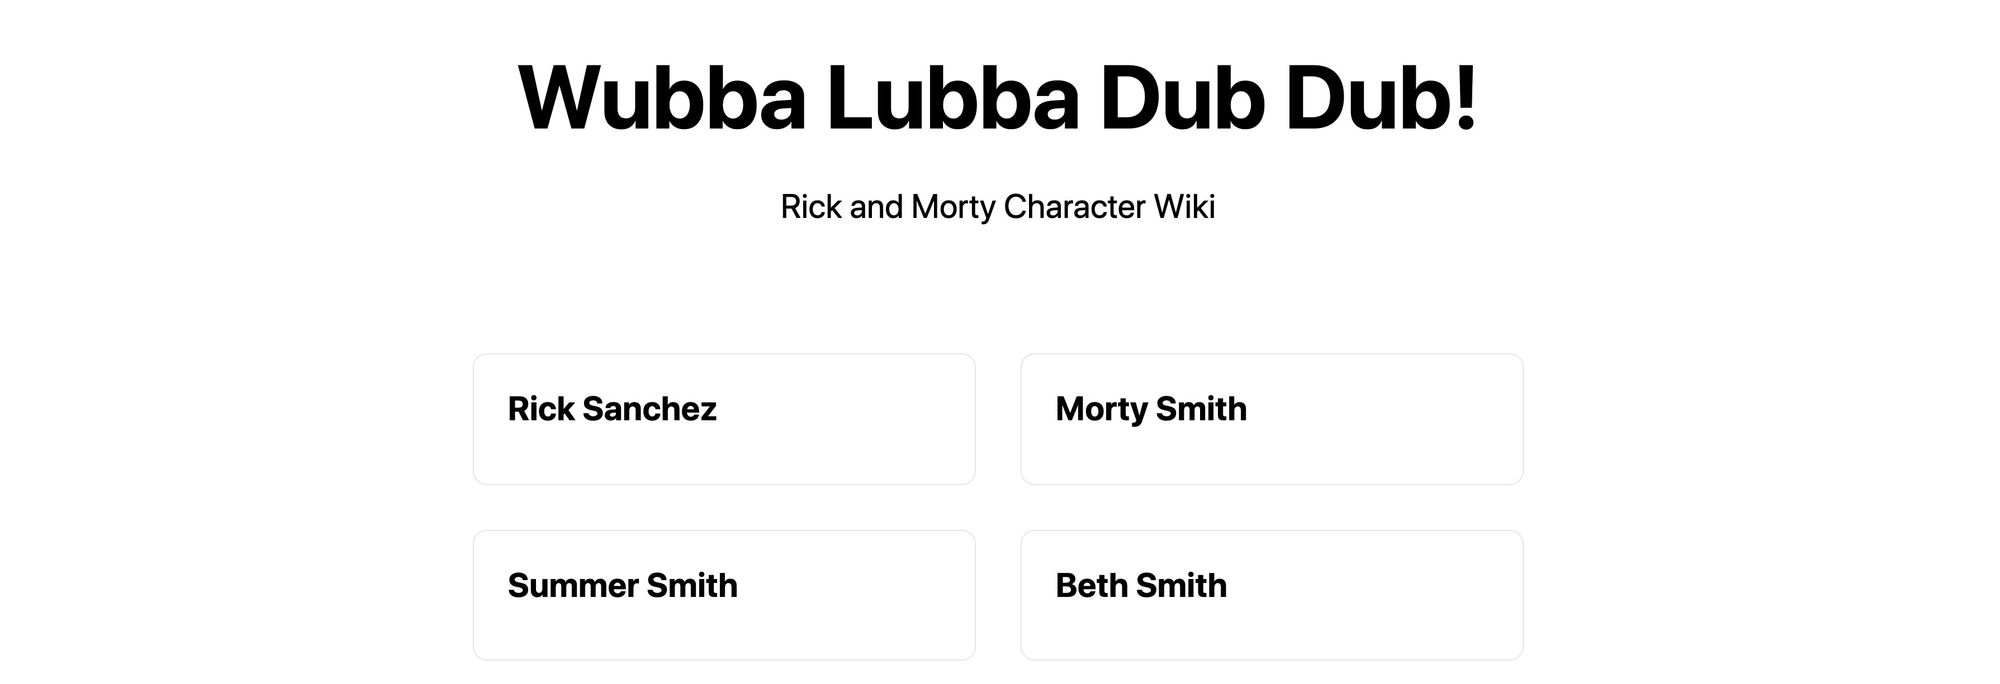 Dynamic list of Rick and Morty character names
We can also add an image for each character.
First, inside of our grid, let’s update our destructure statement to grab the image URL:
const { id, name, image } = result;
Next, let’s add the image above our header:
<img src={image} alt={`${name} Thumbnail`} />
And now each of our characters also shows their picture!
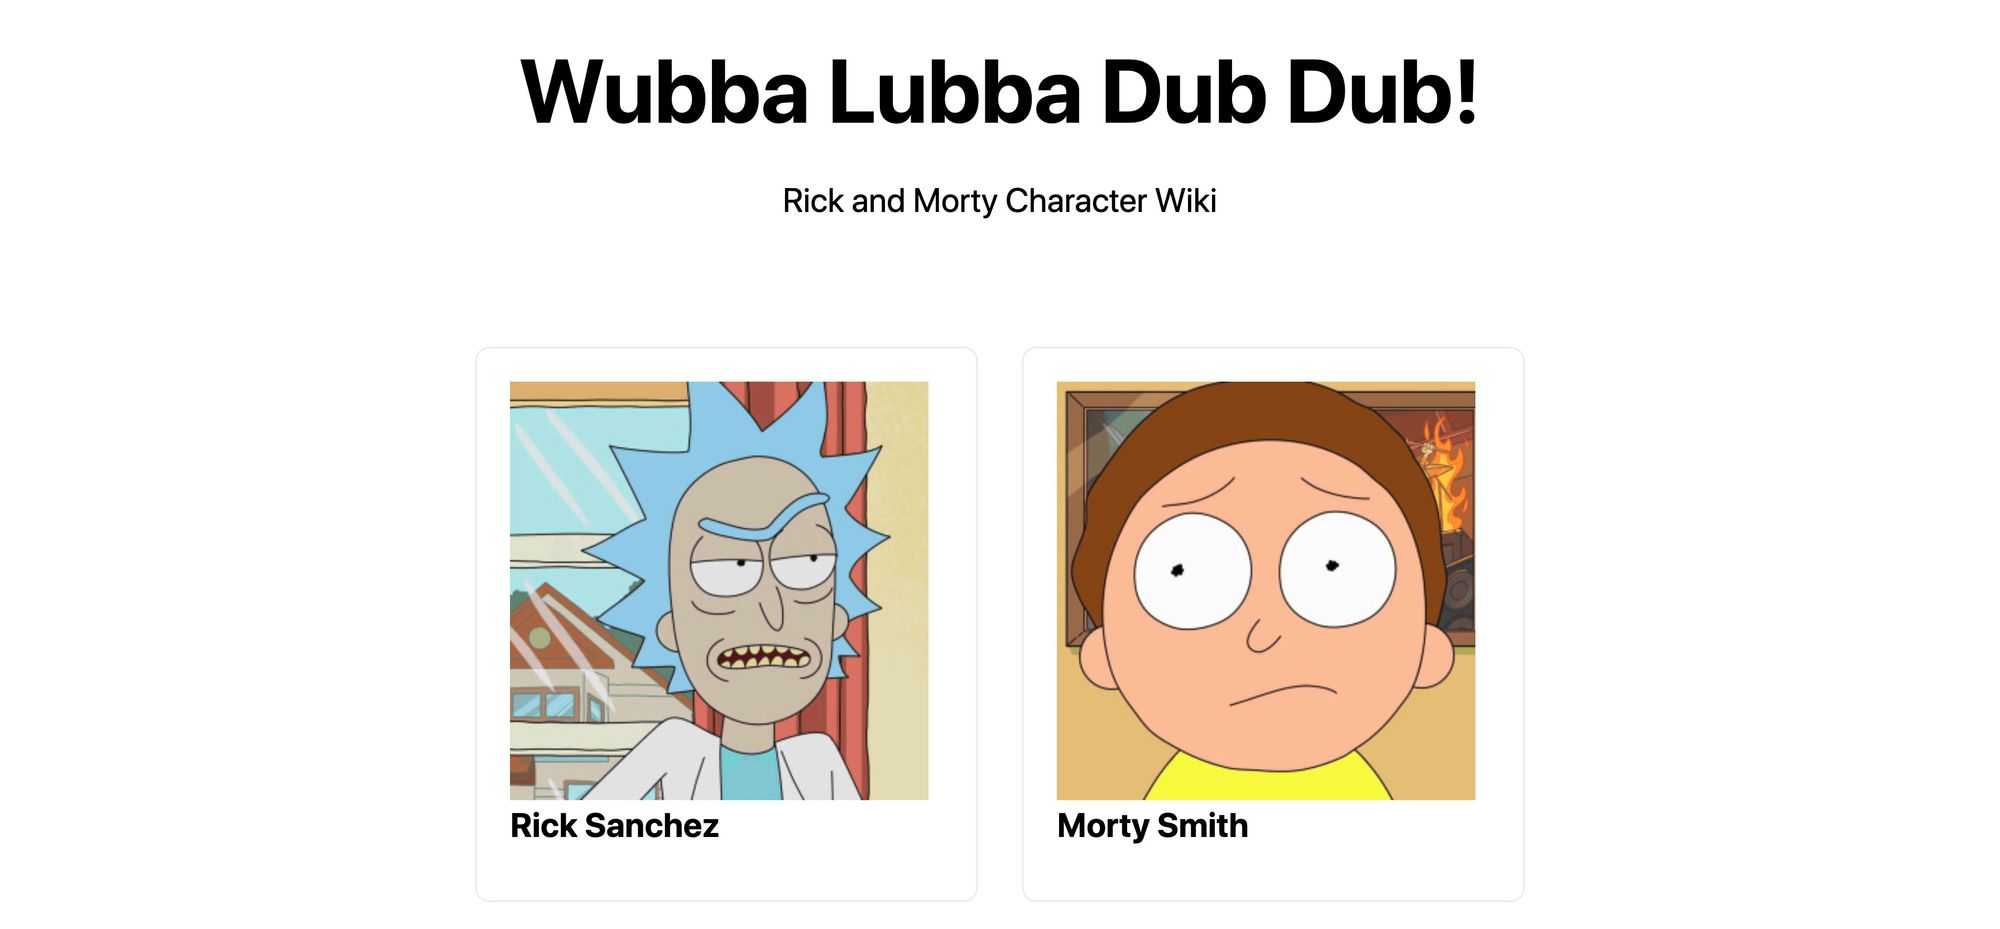 Adding character images on Rick and Morty Wiki
Step 3: Loading more Rick and Morty characters
Now if you notice, when we load the page, we only get a certain number of results. By default, the API won’t return the entire list of characters, which makes sense, because it’s really long!
Instead, it uses pagination and provides us with the “next” endpoint, or the next page of results, that will allow us to load in more results.
To start, we’re going to use React’s useState hook to store our results in state. We’ll then have the ability to update that state with more results.
First, let’s import useState from React:
import { useState } from 'react';
Next, let’s create our state by first renaming our original results variable and setting up our useState instance:
const { results: defaultResults = [] } = data;
const [results, updateResults] = useState(defaultResults);
If you save that and reload the page, you shouldn’t notice anything different yet.
Next, we want to be able to understand in our application what our current endpoint we’ve made a request is, what the next endpoint is, what the previous endpoint is, and how we can update all of that.
To do this, we’re going to create more state. First, we want to update our destructuring statement with our data to get the info value:
const { info, results: defaultResults = [] } = data;
Next, let’s set up some state using that:
const [page, updatePage] = useState({
  ...info,
  current: defaultEndpoint
});
Here, we’re:
- Creating a new
pagestate that we can use to get ourprevandnextvalues - We’re also creating a new value called
currentwe’ll we start off by using ourdefaultEndpoint, which was the request made on the server
The idea here, is when we want to load more results, we’re going set up code to watch the value of current and update that value with the next, so when it changes, we’ll make a new request.
To do that, let’s add a useEffect hook to make that request:
const { current } = page;

useEffect(() => {
  if ( current === defaultEndpoint ) return;

  async function request() {
    const res = await fetch(current)
    const nextData = await res.json();

    updatePage({
      current,
      ...nextData.info
    });

    if ( !nextData.info?.prev ) {
      updateResults(nextData.results);
      return;
    }

    updateResults(prev => {
      return [
        ...prev,
        ...nextData.results
      ]
    });
  }

  request();
}, [current]);
Here’s what’s going on:
- First, we’re destructuring the
currentvalue from `page - We’re creating a
useEffecthook that usescurrentas a dependency. If they value changes, the hook will run - If our
currentvalue is the same asdefaultEndpoint, we don’t run the code, as we already have our request data. Prevents and extra on load request - We create an async function that we’re able to run. This allows us to use
async/awaitinside of ouruseEffecthook - We make the request to the
currentendpoint. With that successful request, we update thepagestate with the newinfolike the newprevandnextvalue - If our request does not have a previous value, that means it’s the first set of results for the given request, so we should completely replace our results to start from scratch
- If we do have a previous value, concatenate our new results to the old, as that means we just requested the next page of results
Again, if you save and reload the page, this still shouldn’t do anything and your page should be where it was before.
Finally, we’re going to create a Load More button and use it to update the current value to fire off a new request when we want a new page.
To do that, let’s first add a new button below our grid:
<p>
  <button>Load More</button>
</p>
 Added Load More button to Rick and Morty Wiki character list
Now we want something to happen when we click that button, so first add an event handler:
<button onClick={handleLoadMore}>Load More</button>
Then above the component return statement, let’s add that function:
function handleLoadMore() {
  updatePage(prev => {
    return {
      ...prev,
      current: page?.next
    }
  });
}
When triggered with our button click, this function will update our page state with a new current value, specifically with the next value which is the endpoint to fetch our next page of results.
 Loading more results in Rick and Morty Wiki
And when we save and reload the page, it does just that!
Step 4: Adding the ability to search for Rick and Morty characters
One of the features out Rick and Morty API provides is the ability to filter results — so basically the ability to search. So let’s add that as a feature.
First, we need a search form. Let’s add the following snippet under the description paragraph:
<form className="search">
  <input name="query" type="search" />
  <button>Search</button>
</form>
Next, let’s add these styles to the bottom of the first <style jsx> block:
.search input {
  margin-right: .5em;
}

@media (max-width: 600px) {
  .search input {
    margin-right: 0;
    margin-bottom: .5em;
  }

  .search input,
  .search button {
    width: 100%;
  }
}
That’s going to give some spacing to our search input and button as well as make it mobile friendly. Feel free to add more styles if you’d like.
And if we save and refresh our page, we have a simple form.
 Added search form to Rick and Morty Wiki
It doesn’t do anything yet, so let’s make it search when submit the form.
To start, let’s add an onSubmit attribute to our form:
<form className="search" onSubmit={handleOnSubmitSearch}>
And to go with that, let’s define our submit function above our return statement:
function handleOnSubmitSearch(e) {
  e.preventDefault();

  const { currentTarget = {} } = e;
  const fields = Array.from(currentTarget?.elements);
  const fieldQuery = fields.find(field => field.name === 'query');

  const value = fieldQuery.value || '';
  const endpoint = `https://rickandmortyapi.com/api/character/?name=${value}`;

  updatePage({
    current: endpoint
  });
}
Here’s what we’re doing:
- First we’re preventing default behavior from the form submission to prevent the page from reloading
- Next we grab the current target, which is our form
- We grab the fields from the form by using the elements property. We also turn this into an array so it’s easy to work with
- We search those fields for our query input
- We grab the value of that input
- We create a new endpoint where we filter by name using that query value
- Finally, we update our
currentproperty in our page state to trigger a new request to that endpoint
And once you save that and reload the page, you can now give search a try. You should be able to type in a name like “rick”, hit enter or click the search button, and you should now see filtered results with the various ricks across the universe!
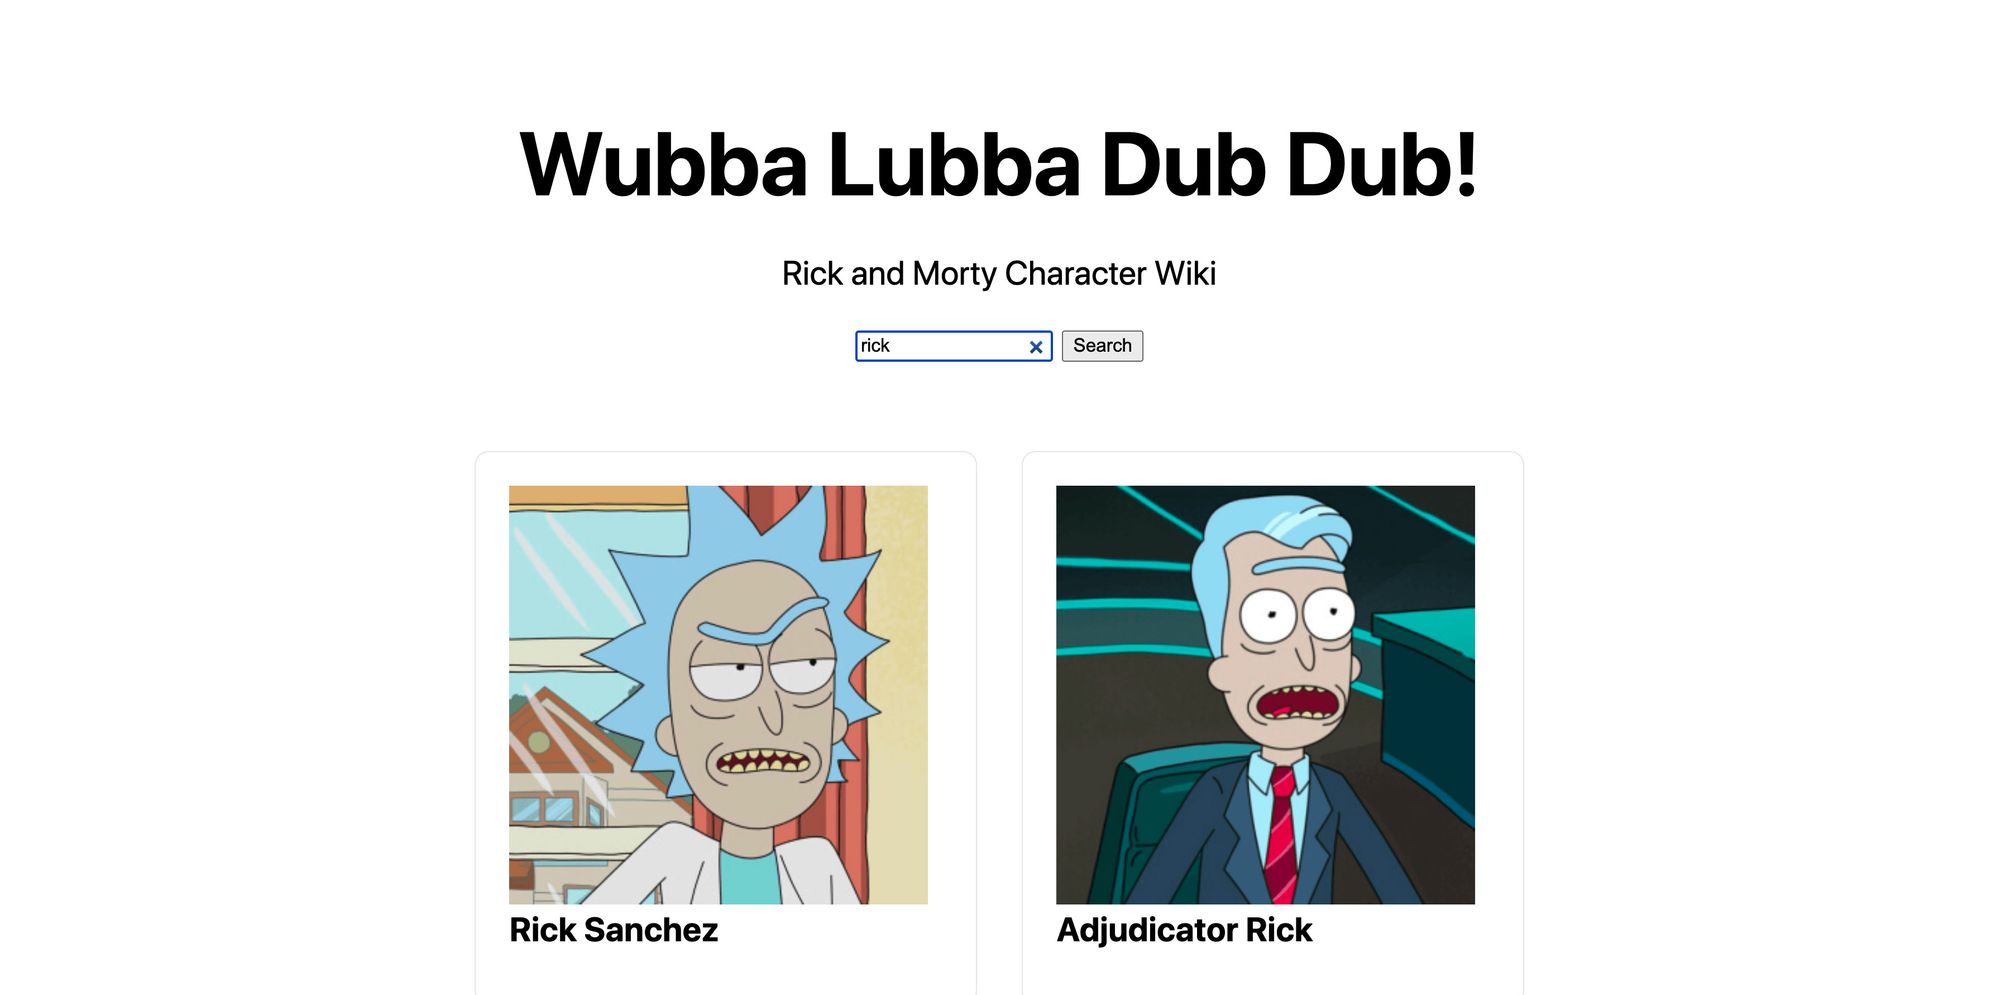 Searching for Rick on Rick and Morty Wiki
Step 5: Using dynamic routes to link to Rick and Morty character pages
Now that we have all of our characters, we want to be able to click into those characters and display some additional details. To do that, we’re going to make use of Next.js’s dynamic routes.
The first thing we need to do is properly configure our directory structure so Next.js recognizes the dynamic path. In order to set up a dynamic route, we need to create our folder exactly like:
- pages
-- character
--- [id]
-- index.js
Yes, that means you’re literally creating a folder with the name of [id], that’s not meant to be replaced. Next.js recognizes that pattern and will let us use that to create a dynamic route.
To make creating the page easier, we’re going to simply duplicate our homepage by copying our pages/index.js file into our next directly.
So we should now have a new page at pages/character/[id]/index.js.
Next, let’s remove a bunch of stuff so we can get to a good starting point:
- Remove everything above the
returnstatement in our page’s function component - Rename the function component Character
- Remove the
useStateanduseEffectimports - Remove the description, search form, grid, and load more button
- Optional: remove the footer
Once you’re done, the top of our page’s function component should look like:
export default function Character({ data }) {
  return (
    <div className="container">
      <Head>
        <title>Create Next App</title>
        <link rel="icon" href="/favicon.ico" />
      </Head>

      <main>
        <h1 className="title">
          Wubba Lubba Dub Dub!
        </h1>
      </main>
While there is some CSS we don’t need, we’re going to leave it all there for this demo. Feel free to clean some of that out later.
If you navigate manually to /character/1, you should now see a simple page with just a title:
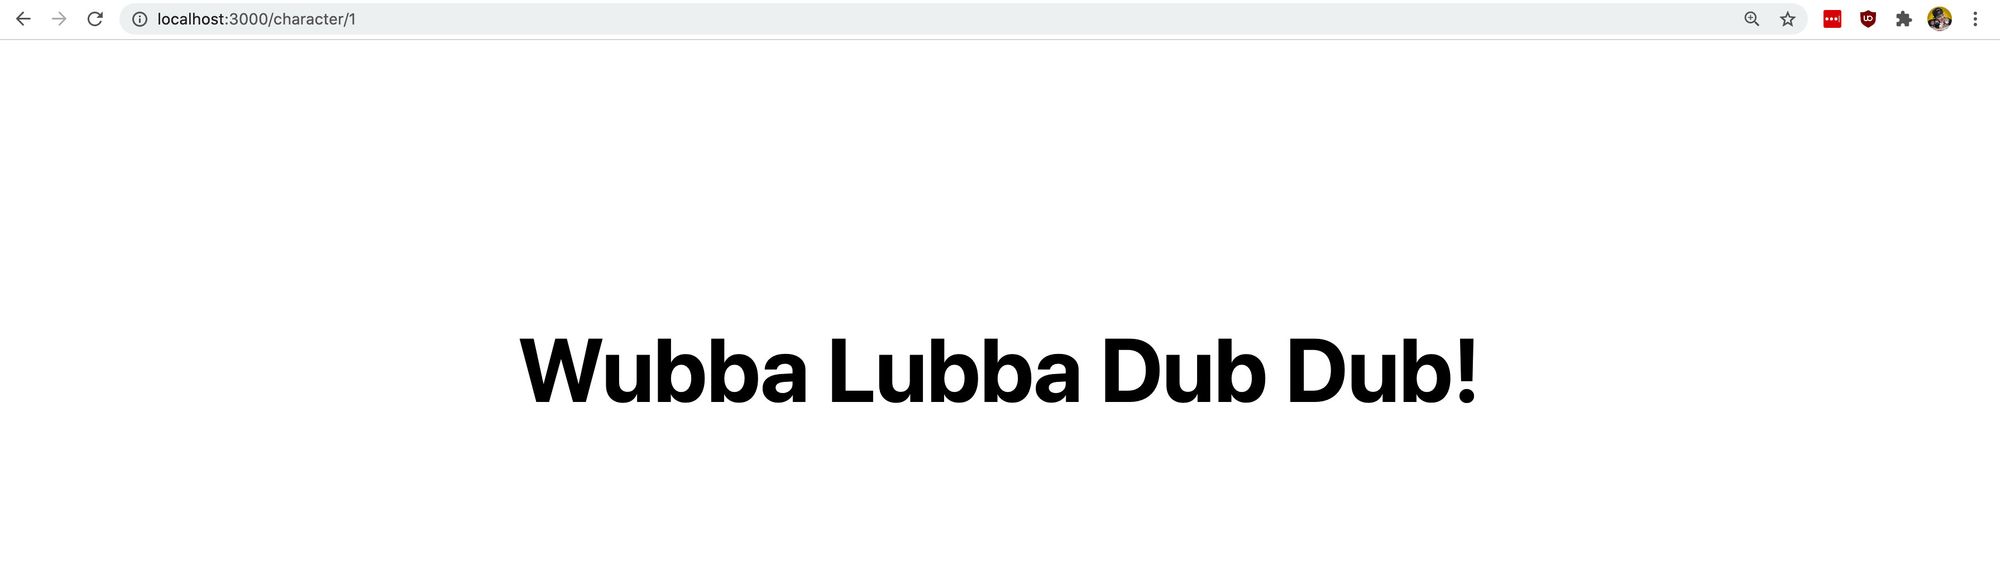 Simple character page
Next, let’s update the data we’re fetching. We can reuse most of the code in our getServerSideProps function.
We’re going to add a new argument to that getServerSideProps function:
export async function getServerSideProps({ query }) {
When our page is rendered, Next.js injects data into our page and the getServerSideProps function about the environment. Here, we’re destructuring that data to grab the query object which will include any dynamic routing attributes, such as the [id] we’re setting in the route.
Next, at the top of the getServerSideProps function, let’s destructure the ID:
const { id } = query;
And finally let’s use that ID to dynamically create an endpoint we’ll use to fetch our character data:
const res = await fetch(`${defaultEndpoint}${id}`);
Here, we’re using our character endpoint and appending the dynamic ID of our URL to the end of the URL.
To test this out, let’s add a console.log to the top of the Character function:
export default function Character({ data }) {
  console.log('data', data);
And if we hit save and reload our page, we should now see the user details about character number 1 logged out, which is Rick Sanchez!
 Logging out individual Rick and Morty character data
So we have the data, let’s add it to our page.
At the top of the character function, let’s add this destructure statement:
const { name, image, gender, location, origin, species, status } = data;
This gives us a bunch of attributes we’re getting right from that data object we saw logged out.
To use that, we can start by updating the title to that name:
<title>{ name }</title>
Also the <h1>:
<h1 className="title">{ name }</h1>
At this point, we should now dynamically see Rick’s name.
 Dynamic Rick and Morty character page title
Next, let’s add this block below our <h1> to include more of our character details:
<div className="profile">
  <div className="profile-image">
    <img src={image} alt={name} />
  </div>
  <div className="profile-details">
    <h2>Character Details</h2>
    <ul>
      <li>
        <strong>Name:</strong> { name }
      </li>
      <li>
        <strong>Status:</strong> { status }
      </li>
      <li>
        <strong>Gender:</strong> { gender }
      </li>
      <li>
        <strong>Species:</strong> { species }
      </li>
      <li>
        <strong>Location:</strong> { location?.name }
      </li>
      <li>
        <strong>Originally From:</strong> { origin?.name }
      </li>
    </ul>
  </div>
</div>
Here we’re using our characters image to display a picture of our character and other various metadata to add Character Details.
We can follow that up by adding this snippet of CSS to our styles:
.profile {
  display: flex;
  margin-top: 2em;
}

@media (max-width: 600px) {
  .profile {
    flex-direction: column;
  }
}

.profile-image {
  margin-right: 2em;
}

@media (max-width: 600px) {
  .profile-image {
    max-width: 100%;
    margin: 0 auto;
  }
}
And now we have our character bio!
 Dynamic Rick Sanchez characer page
So a quick recap, we have our new dynamic page. We can go to /character/1 or any ID to see a specific character. Let’s now update our homepage to link to these pages.
Back on pages/index.js, our homepage, let’s first import the Link component from Next.js:
import Link from 'next/link'
Next, inside of our grid where we map through our list of results, let’s use our <Link> component and update our code:
<li key={id} className="card">
  <Link href="/character/[id]" as={`/character/${id}`}>
    <a>
      <img src={image} alt={`${name} Thumbnail`} />
      <h3>{ name }</h3>
    </a>
  </Link>
</li>
Here’s what we’re doing:
- First we’re wrapping our
<a>element with a<Link>component - We add a
hrefand theasproperties to describe to Next.js what page we want to link to. We need to use theasproperty as it’s a dynamic link - We remove the
hreffrom our<a>element as it’s now being applied to the<Link>element
If we save and reload our homepage, we’ll notice that nothing changed, but when we click any of our characters, we now go to their bio page!
 Navigating to Jerry Smith character page on Rick and Morty Wiki
Finally, let’s also add a button to our character bio page that links back to our homepage to make it easier to navigate.
First, let’s import the Link component:
import Link from 'next/link';
At the bottom of our <main> tag below our .profile div, let’s add this code:
<p className="back">
  <Link href="/">
    <a>
      Back to All Characters
    </a>
  </Link>
</p>
And we can add the following basic styles to simply make it look like a link:
.back a {
  color: blue;
  text-decoration: underline;
}
And if we reload the page, we now have link that we can click to go back to the main page with all of our characters!
 Back to All Characters link on Rick and Morty character page
Bonus Step: Deploy your Rick and Morty wiki to Vercel!
Because we’re using Next.js, Vercel makes it super simple to deploy our app.
To do this, we need to install the Vercel CLI. We can do that by installing it as an npm module globally:
yarn global add vercel
# or
npm i -g vercel
Now, you can run the vercel command in your terminal.
The first time you run this, you’ll be prompted to log in. You’ll want to use your Vercel account to do this. If you don’t have one, you’ll want to sign up for a free account.
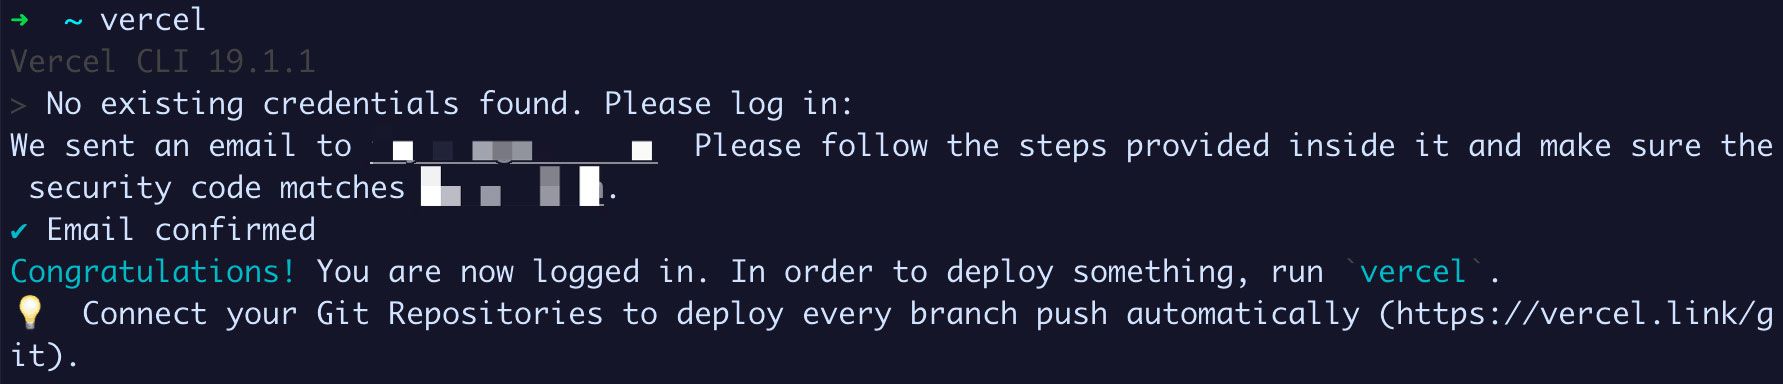 Logging into Vercel CLI
With the Vercel CLI installed, we can simply run vercel in our project directory, fill out a few questions, and it will automatically deploy!
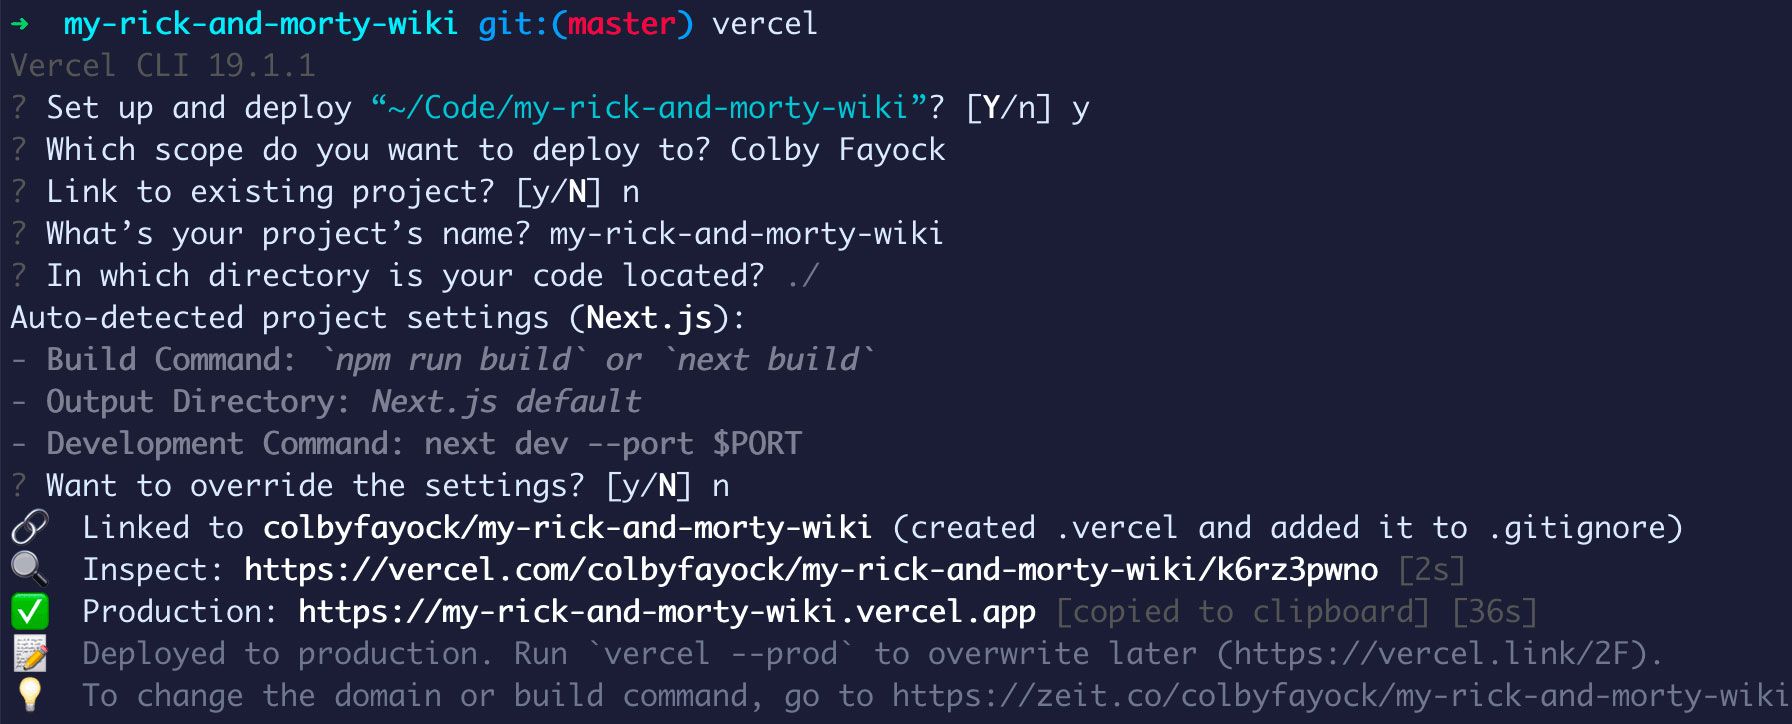 Deploying app with Vercel CLI
You can use pretty much all of the defaults, though you will probably need to use a different project name than I’m using.
But once finished, we now have successfully deployed our new app to Vercel!
 Finished Rick and Morty Wiki app
What else can we do?
More dynamic pages
Every time you make a request to a character, the API returns other endpoints that you can use such as locations and episodes. We can utilize those endpoints and create new dynamic pages, just like our dynamic character profile pages, to allow people to see more information about a specific location or episode.
Add some styles
We stuck with some of the basic styles that Next.js included and added some basic ones just for demonstration purposes. But now that you’re finished, you can have some fun and make it your own!
Add character filters
In addition to filtering by name, the API also supports filtering by status. By adding a status parameter to the endpoint URL, just like our name parameter, you can add a new filter to make it easier to find characters that are still alive or not.

Subscribe to my newsletter
Read articles from Colby Fayock directly inside your inbox. Subscribe to the newsletter, and don't miss out.
Written by
Colby Fayock
Colby Fayock
Director of DevX Engineering @ Cloudinary