Auto mount Synology NAS in Ubuntu 2024
 Meeran E. Mandhini
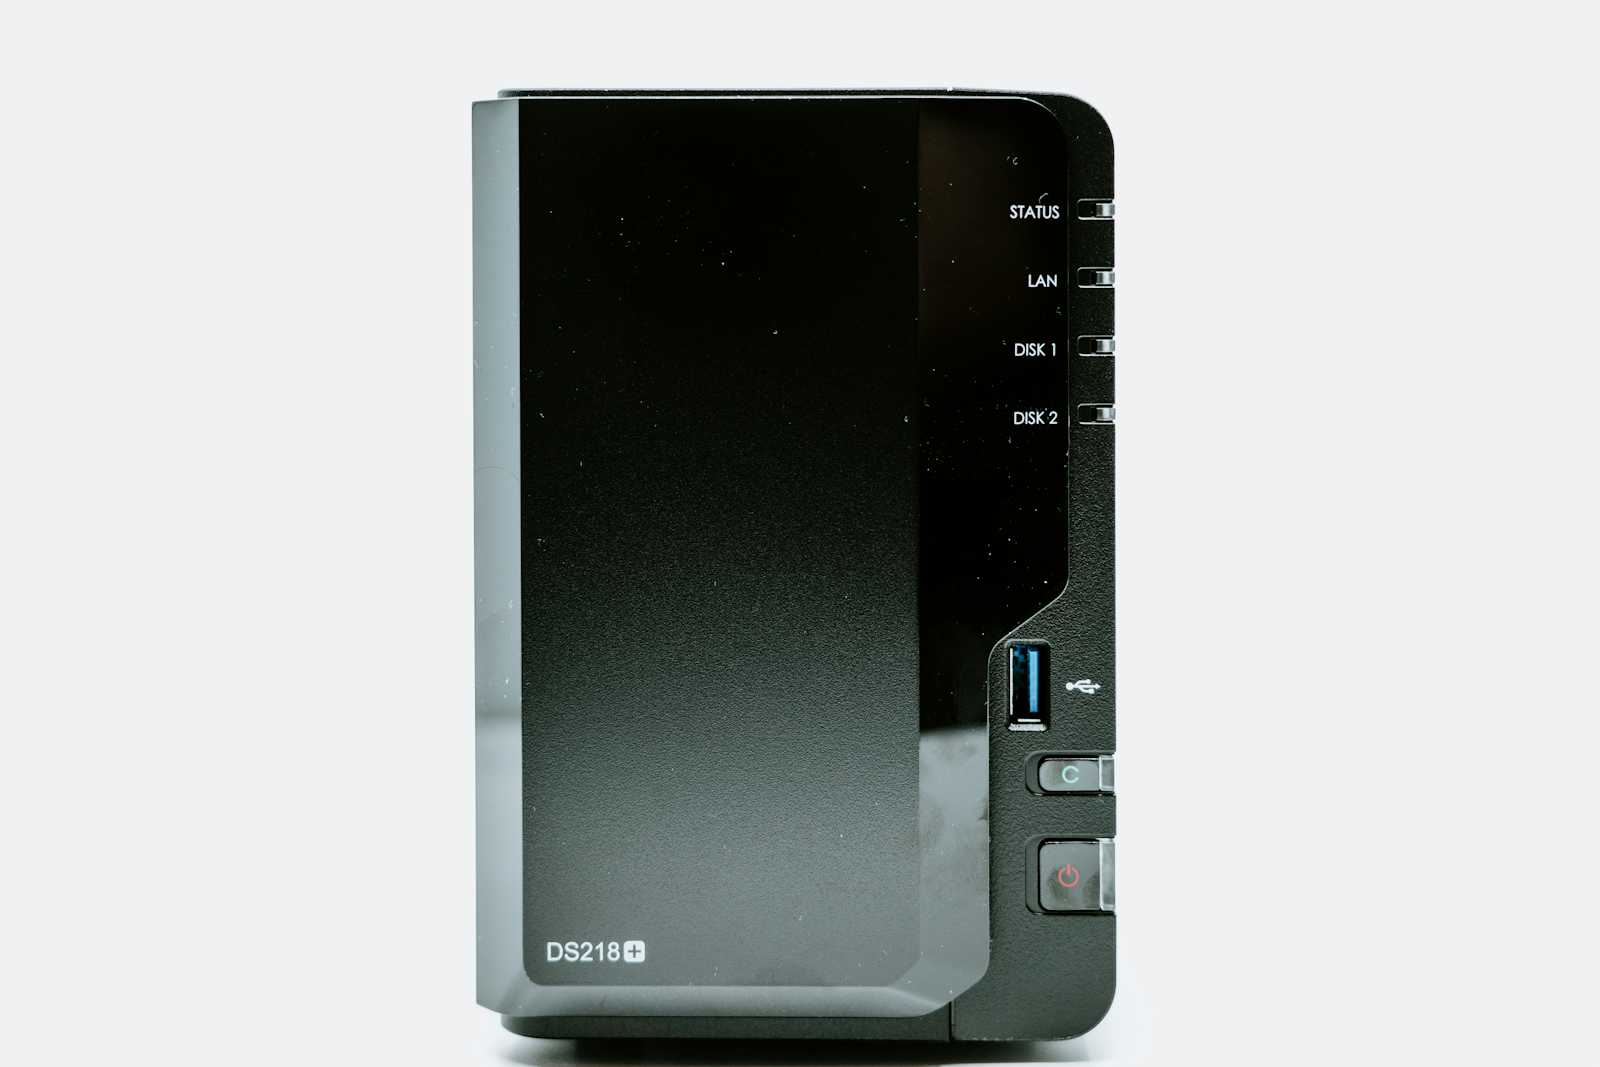
Network-attached storage (NAS) systems, such as Synology, are crucial for safe data backup and storage for many people and organizations in the modern digital era. You can make sure that your critical data is always available by setting up your Ubuntu system to automatically mount your Synology NAS. In this guide, we will explore the steps to auto-mount a Synology NAS in Ubuntu 2024, allowing for seamless and efficient file management.
Step 1: Install Required Packages
- Open a terminal on your Ubuntu system and run the following command:
sudo apt-get update && sudo apt-get install cifs-utils
Step 2: Create a Mount Point
- Create a directory to mount your Synology NAS:
sudo mkdir /media/synology
Step 3: Get NAS IP Address
Find the IP address of your Synology NAS. You can do this by:
Type in the browser: https://finds.synology.com/
Logging into your Synology NAS web interface and looking for the IP address under
"Control Panel" > "Network" > "LAN"
Using the Synology Assistant software (if installed)
Checking your router's DHCP client list
Step 4: Mount the NAS
- Mount your Synology NAS using the following command:
sudo mount -t cifs //NAS_IP_ADDRESS/share_name /media/synology -o username=your_username,password=your_password
Replace:
NAS_IP_ADDRESSwith the IP address of your Synology NASshare_namewith the name of the shared folder on your NASyour_usernameandyour_passwordwith your Synology NAS login credentials
Step 5: Use a credentials file
Instead of passing the username and password directly in the command, create a credentials file and reference it in the mount command:
sudo nano /etc/cifs-credentials.txt
Add the following lines to the file:
username=Meeran
password=qvt****-YMQ8bpm!qrq
Then, mount the NAS using:
sudo mount -t cifs //192.168.1.100/home /media/synology -o credentials=/etc/cifs-credentials.txt
Step 6: Open the fstab file
Run the following command in a terminal:
Bash
sudo nano /etc/fstab
Step 7: Add the mount entry.
Add the following line at the end of the file:
//192.168.1.222/home /media/synology cifs credentials=/etc/cifs-credentials.txt,iocharset=utf8,vers=3.0 0 0
Replace:
//192.168.1.222/homewith the UNC path to your Synology NAS share/media/synologywith the mount point on your Ubuntu system/etc/cifs-credentials.txtwith the path to your credentials file.
Step 8: Save and exit
Save the changes and exit the editor.
Step 9: Test the fstab entry
Run the following command to test the fstab entry:
sudo mount -a
This should mount your Synology NAS share.
Step 10: Reboot and verify
Reboot your Ubuntu system and verify that the Synology NAS share is automatically mounted.
Note: Make sure the /etc/cifs-credentials.txt file has the correct permissions (e.g., chmod 600 /etc/cifs-credentials.txt) and contains the correct username and password.
By adding the entry/etc/fstab, your Ubuntu system will automatically mount the Synology NAS share on startup. That's it! You're all set up and ready to go. Enjoy seamless access to your Synology NAS share!
Subscribe to my newsletter
Read articles from Meeran E. Mandhini directly inside your inbox. Subscribe to the newsletter, and don't miss out.
Written by

Meeran E. Mandhini
Meeran E. Mandhini
Hello, I'm Meeran E. Mandhini from Chennai, India, with a deep interest in technology, especially personal computers. My love for tech has inspired my children, especially my son Ashik Nesin, who dreams of starting his own software company. He started working towards this dream at just 13 years old. Now, I'm excited to dive back into my own interest in software development. The progress in artificial intelligence has made it easier for people like me to learn programming and software development. With my son's knowledge and the power of AI, I'm ready to delve into the software development world. Through this blog, I'll share my journey, experiences, and insights. I hope to connect with other budding developers and contribute to the software development community.