Windows 10 Virtual Machine Setup on Azure: A Complete Tutorial
 Victoria John
What is a Virtual Machine
A virtual machine is a physical computer but a digital version of it. It is a software-defined computer that exists only as a code but it's present on physical servers.
There are 3 methods of creating a virtual machine that is; the Using a selected location on the azure portal. Azure powershell and the third method is creating a VM using the Azure CLI.
How to Create a Virtual machine (VM) in Microsoft Azure
We would be using Microsoft Azure to create a Virtual Machine. Creating a VM in Azure involves several steps.
Here's a step-by-step guide to guide you through the process;
STEP 1
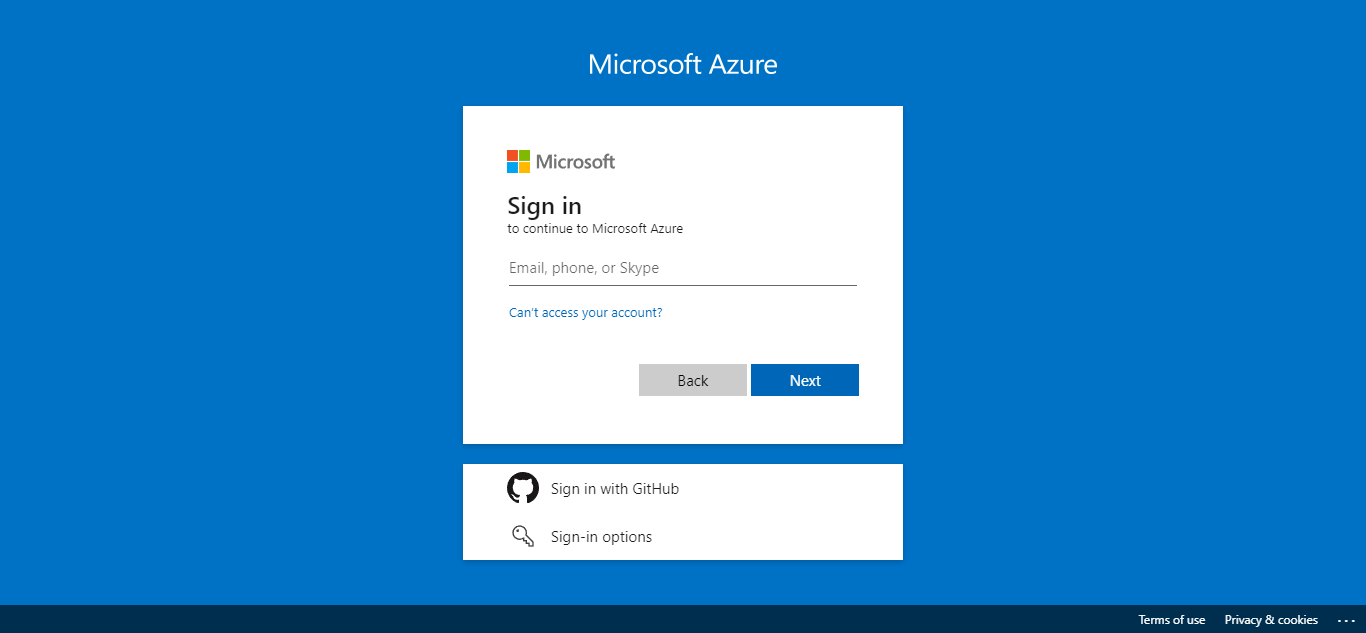
Create a Microsoft azure free trial account
STEP 2
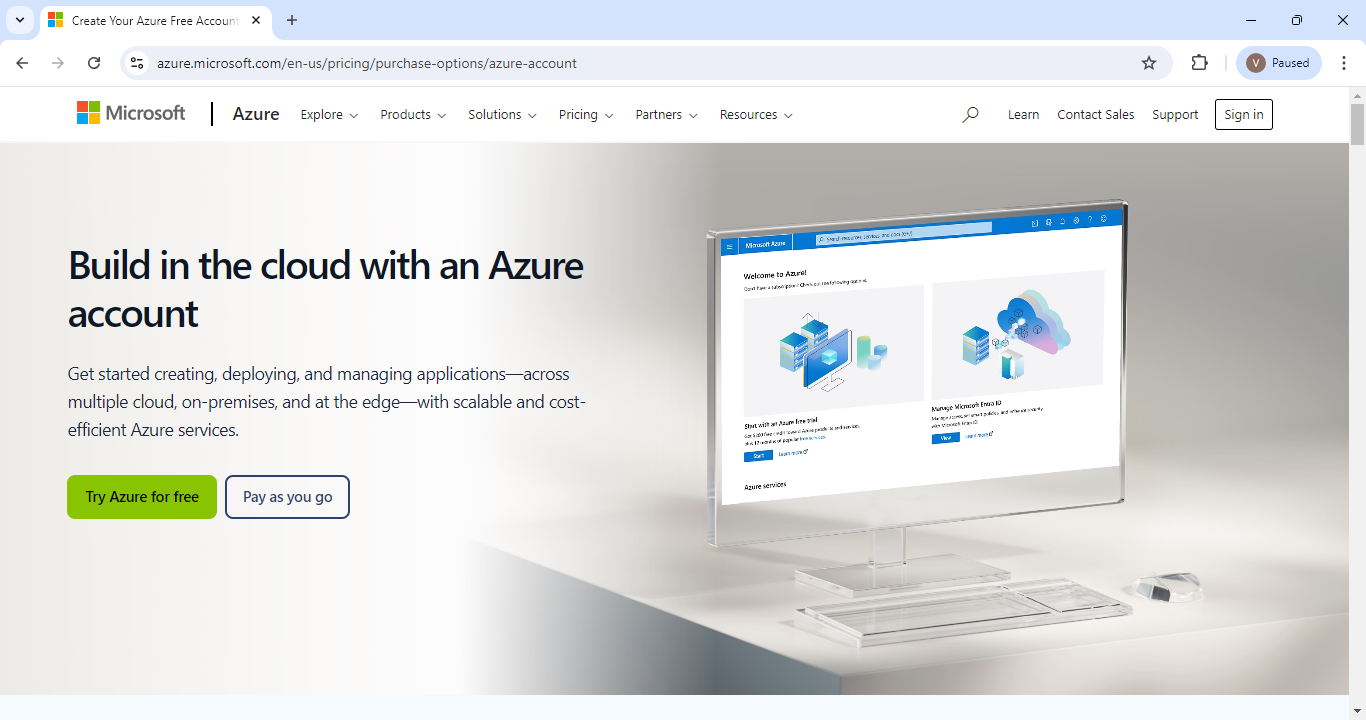
Log in to your Microsoft azure portal using the account created or already existing one.
STEP 3
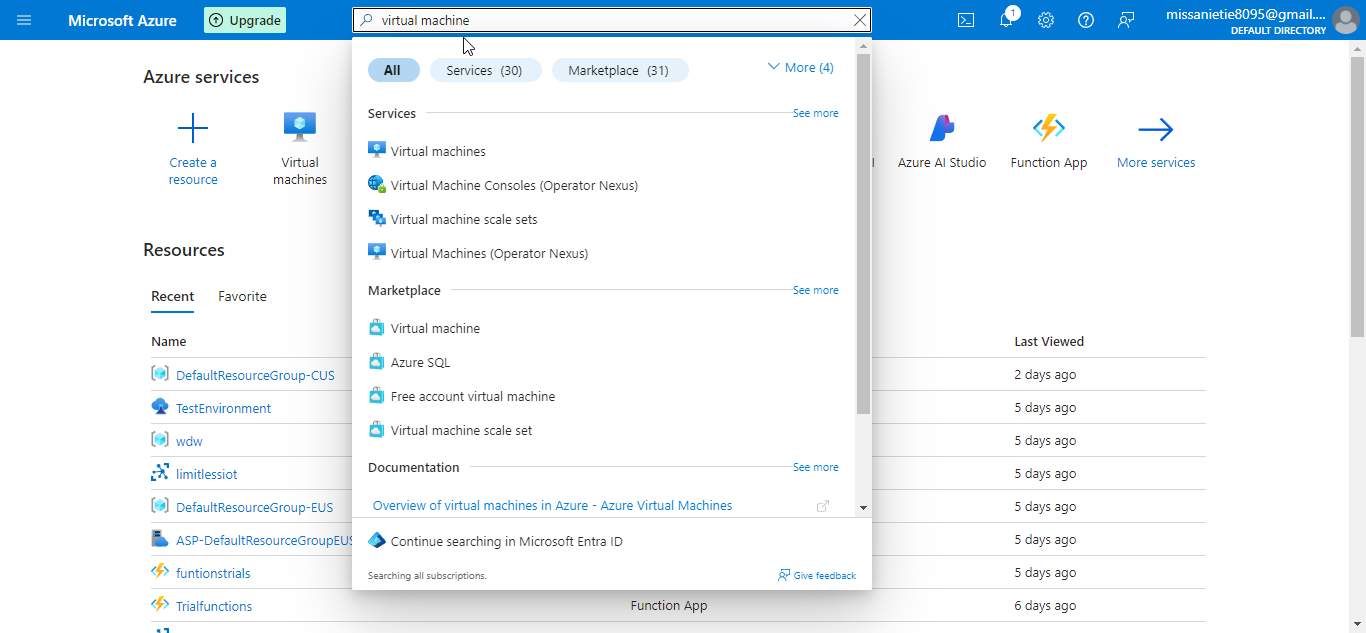
search, resources &docs fields,” search for virtual machine and press enter” on your keyboard.
STEP 4:
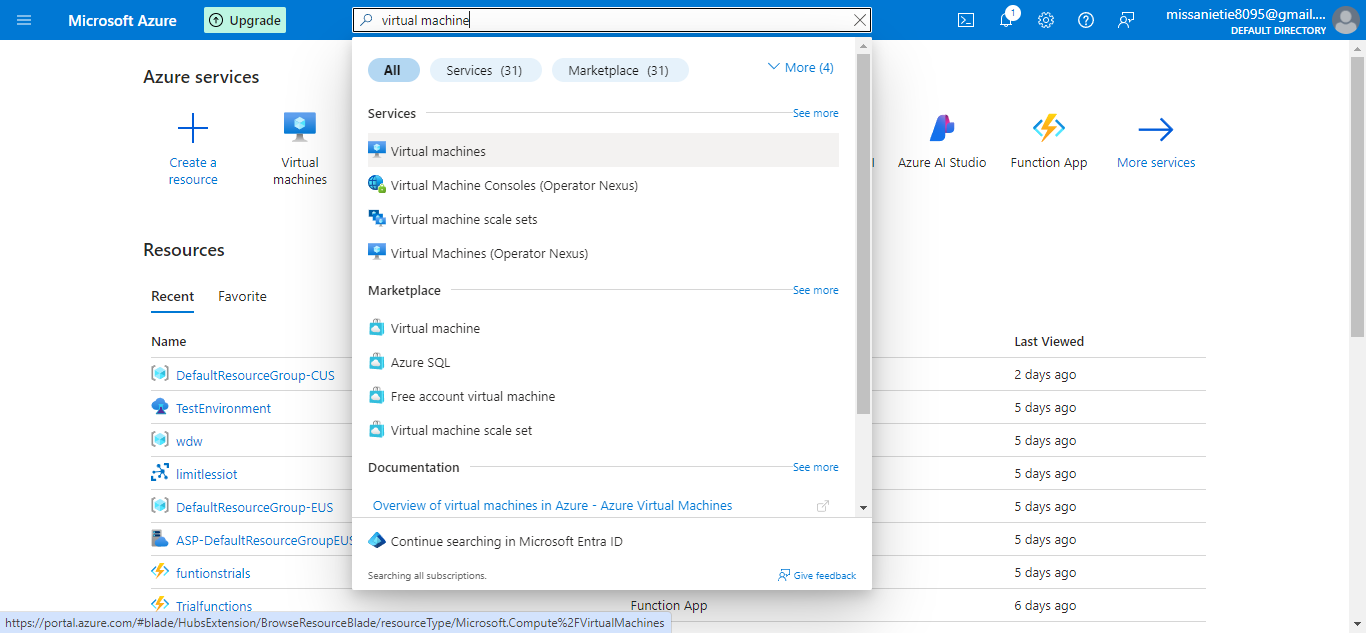
From the list of search results, click on the virtual machine option and hit the enter button on your keyboard, giving it a while to load and open
STEP 5
Click on “create” button and select on the “azure virtual machine” option to start the virtual machine creation process
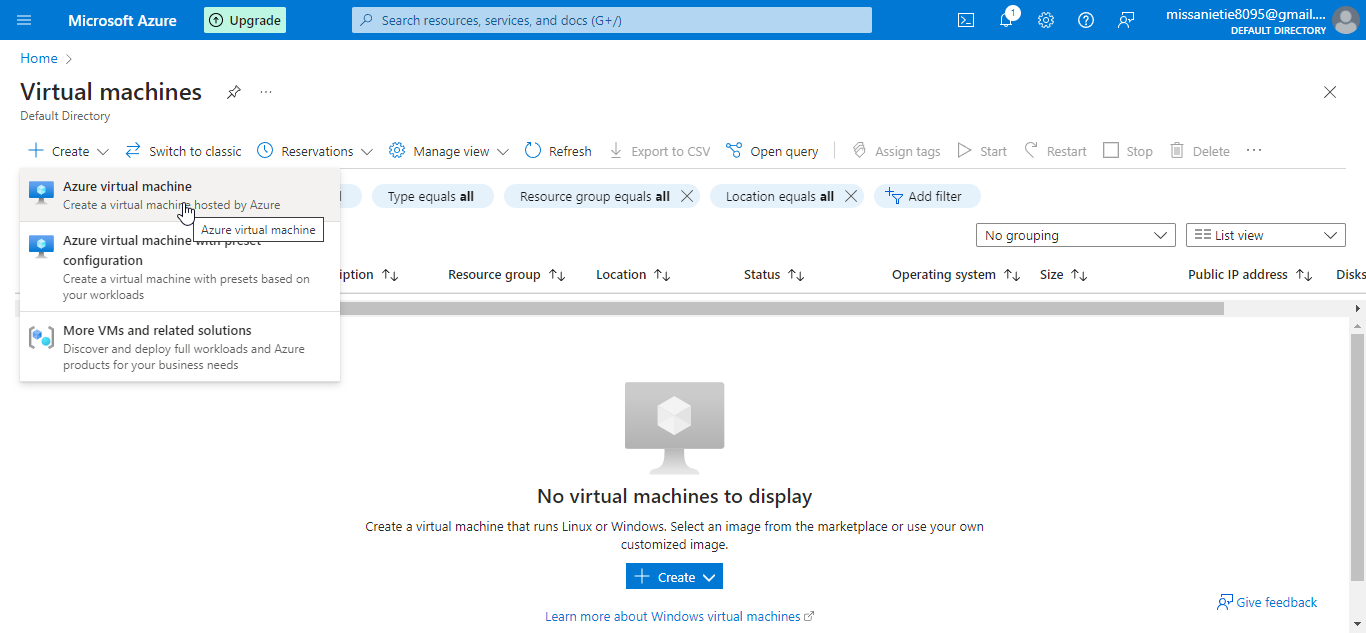
STEP 6
Enter the project details
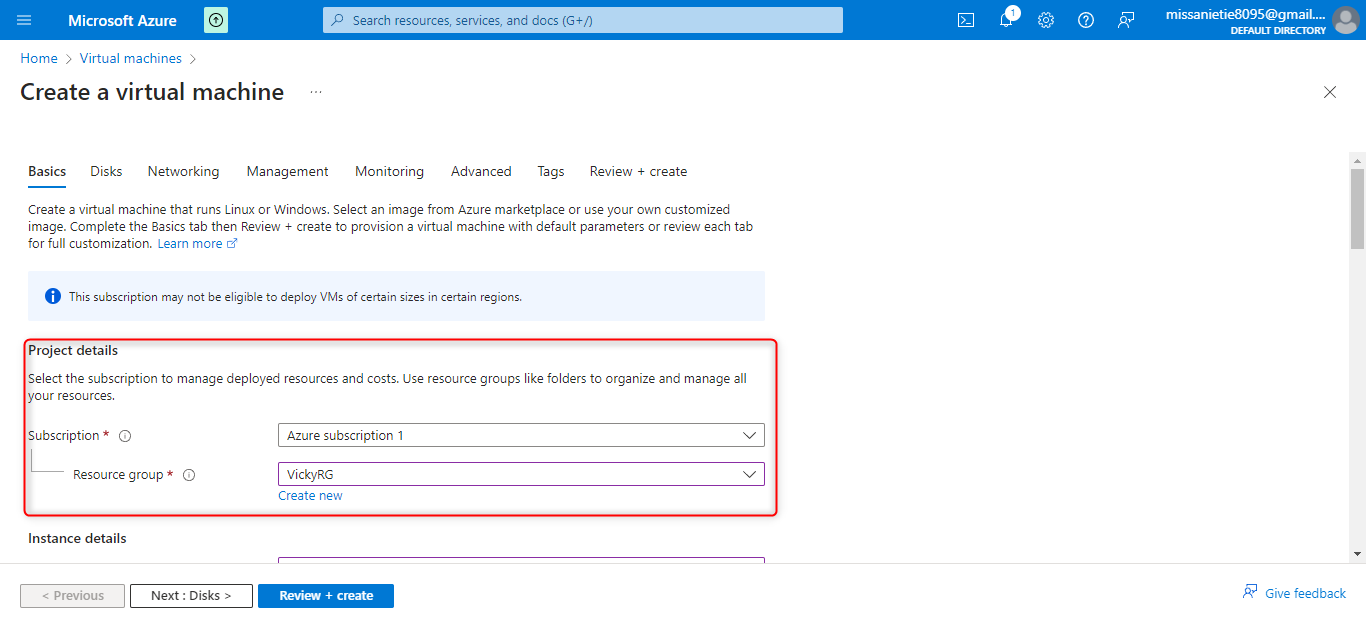
Select a subscription, a preferred subscription or available one.
Then set a resource group name, i.e click on “create new” to create a new resource group name.
STEP 7
Enter details about the virtual machine.
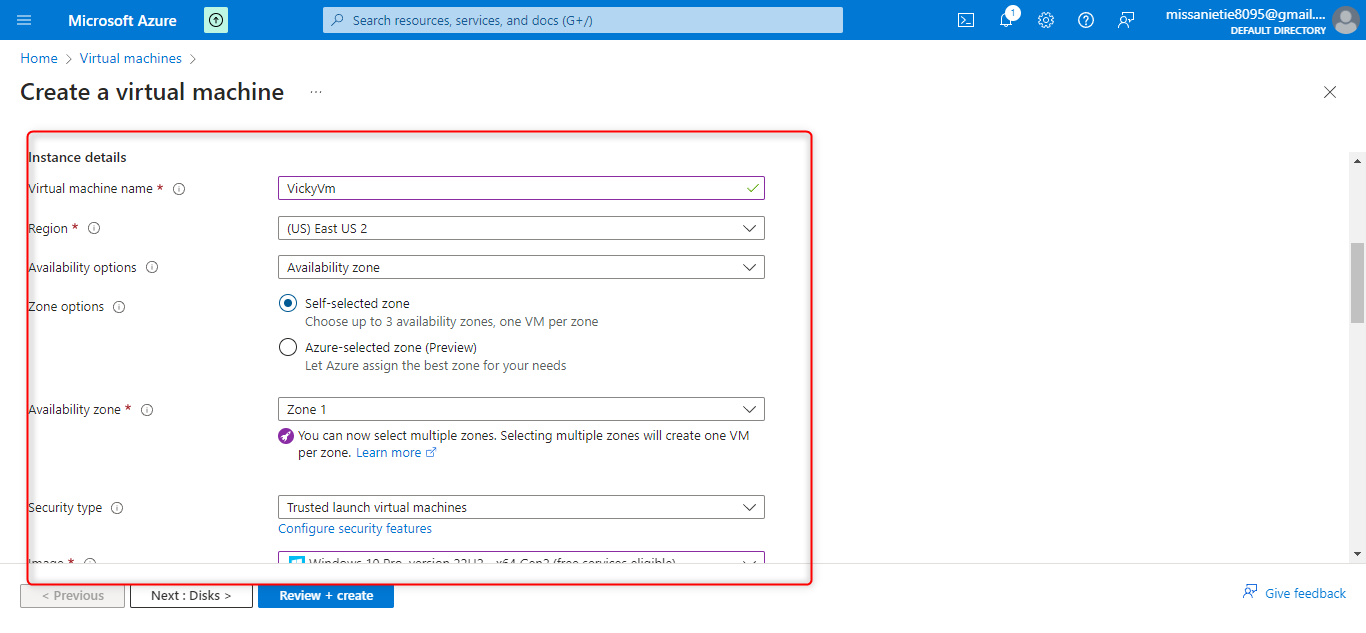
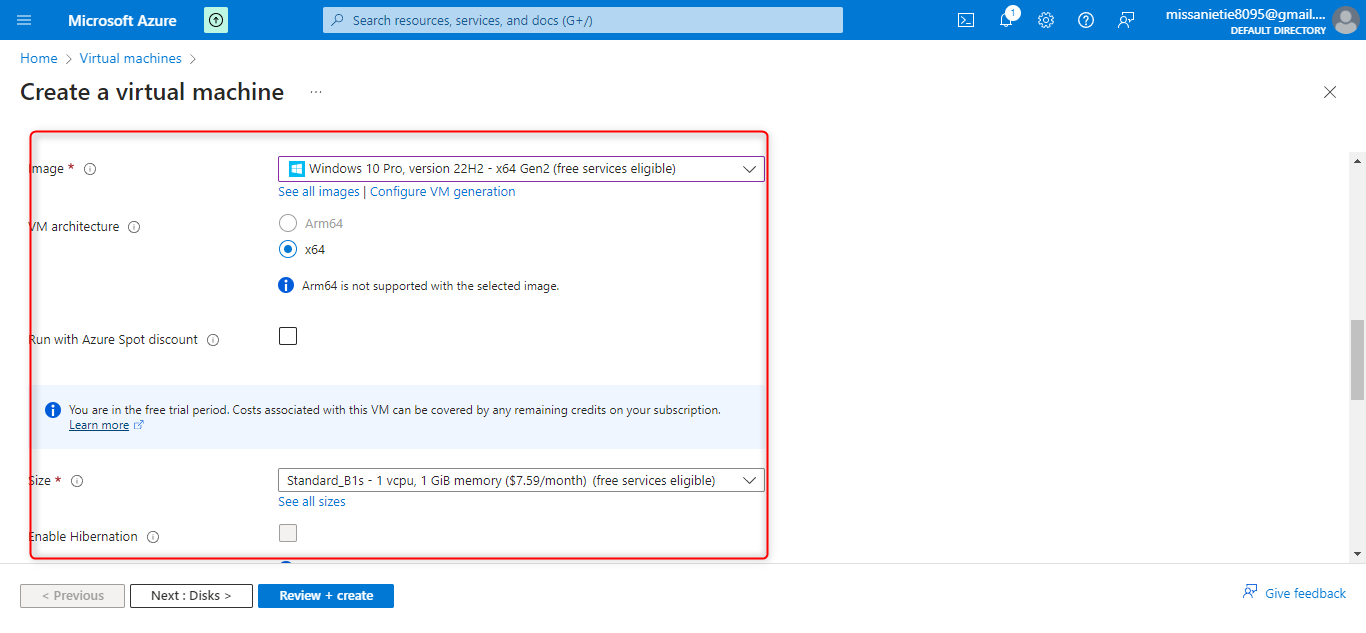
This step needs to be treated importantly.
Create a virtual machine name
Choose a suitable region for your Vm to be deployed.
Choose an availability option you need or use the provided one.
Image: select the operating system image suitable for your Vm.
Select your size, although most size are selected automatically.
STEP 8
Create an administrator account.
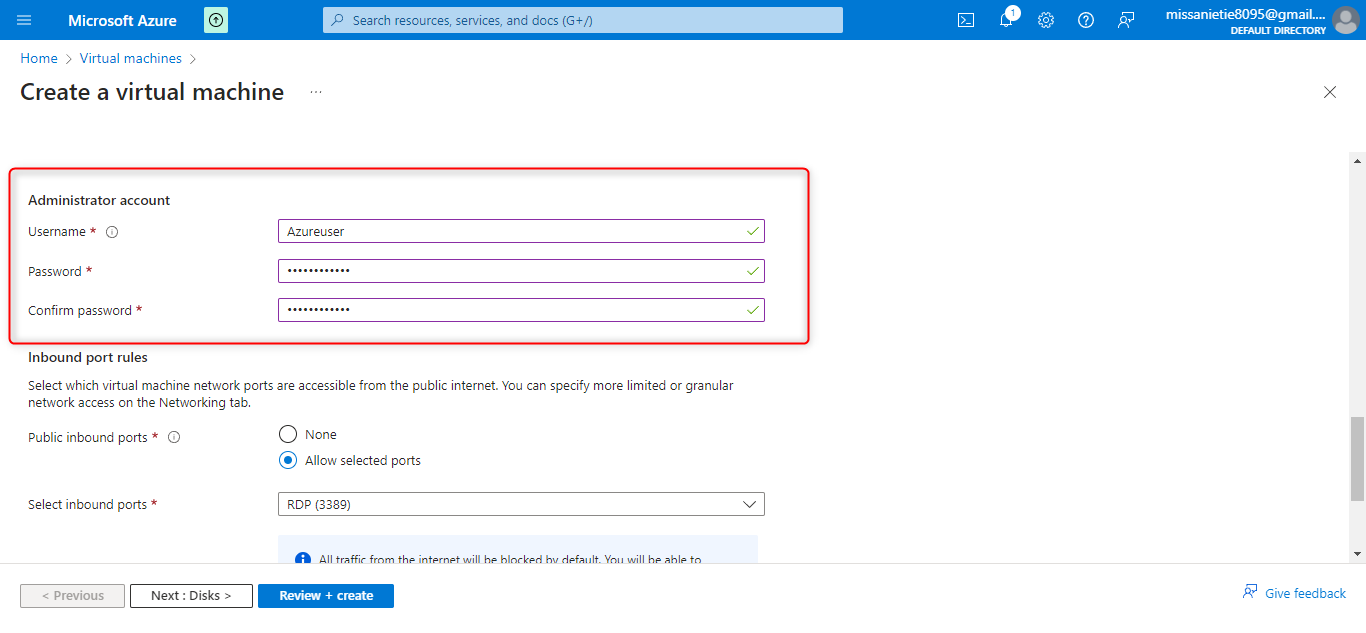
This is the option where you have to input a username and a password you wish to use
STEP 9
click on the licensing
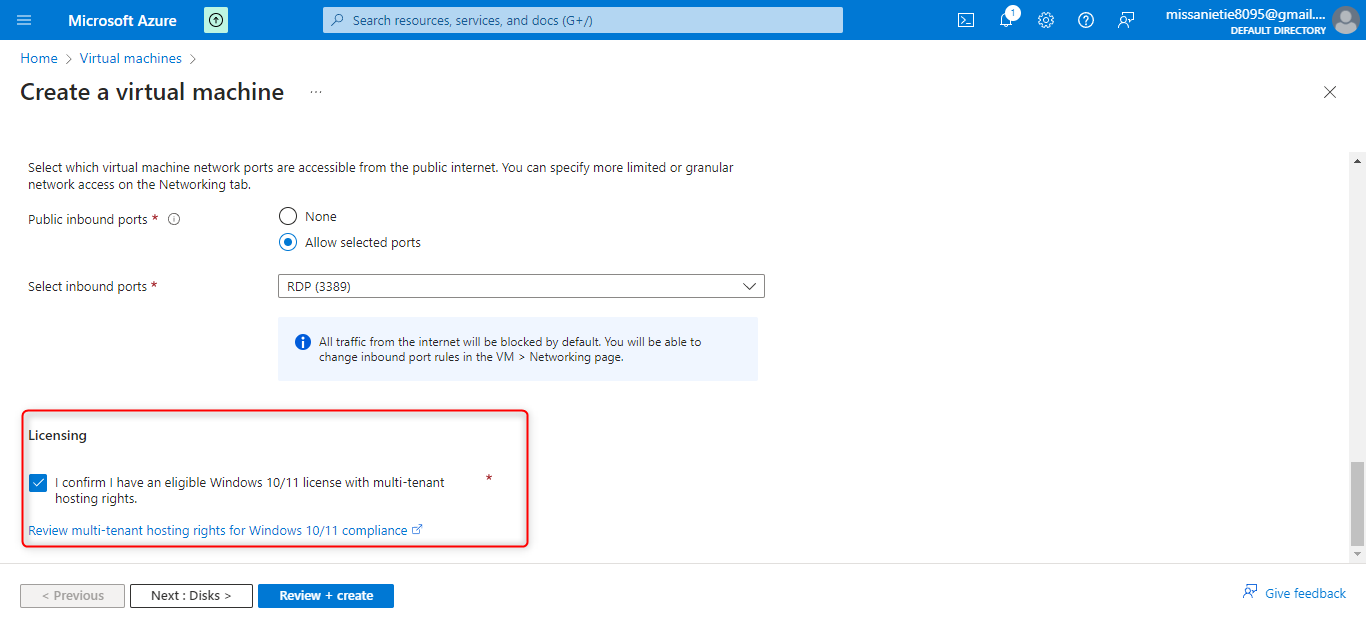
STEP 10
Monitoring, tab and click on “disable” diagnostic
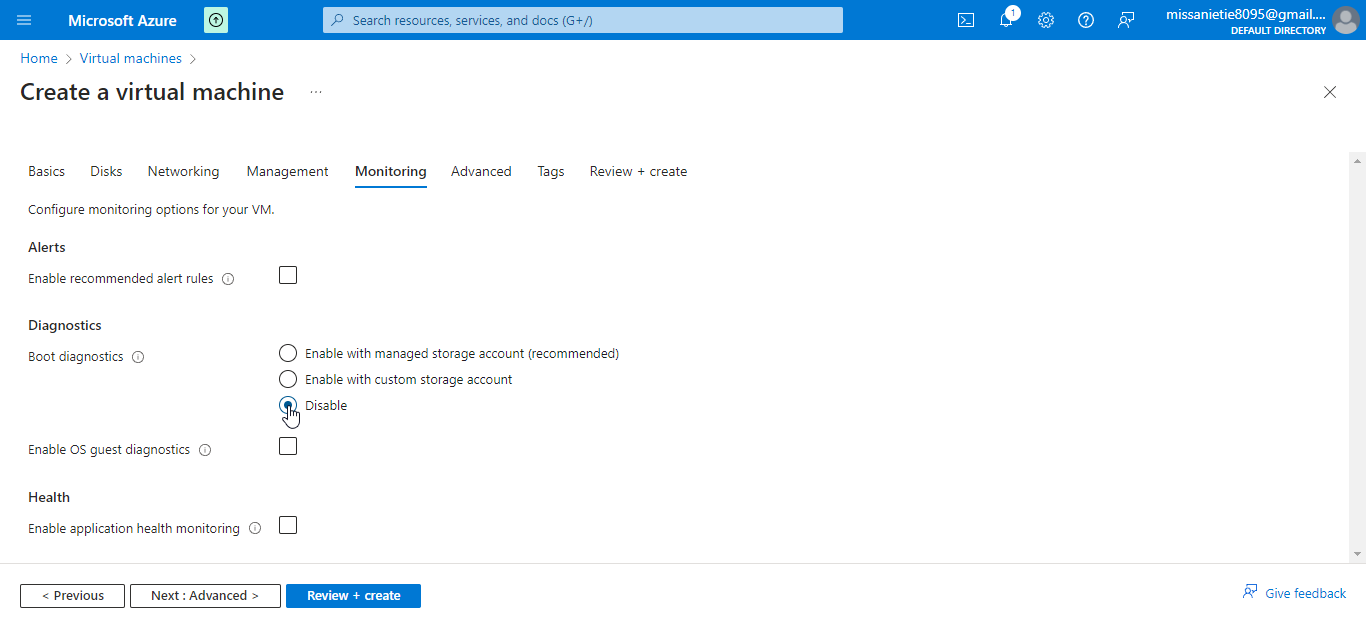
N/B; this step is taken in order not to let your program be exposed. So it is advisable to disable it.
STEP 11
Create a successful validation passes
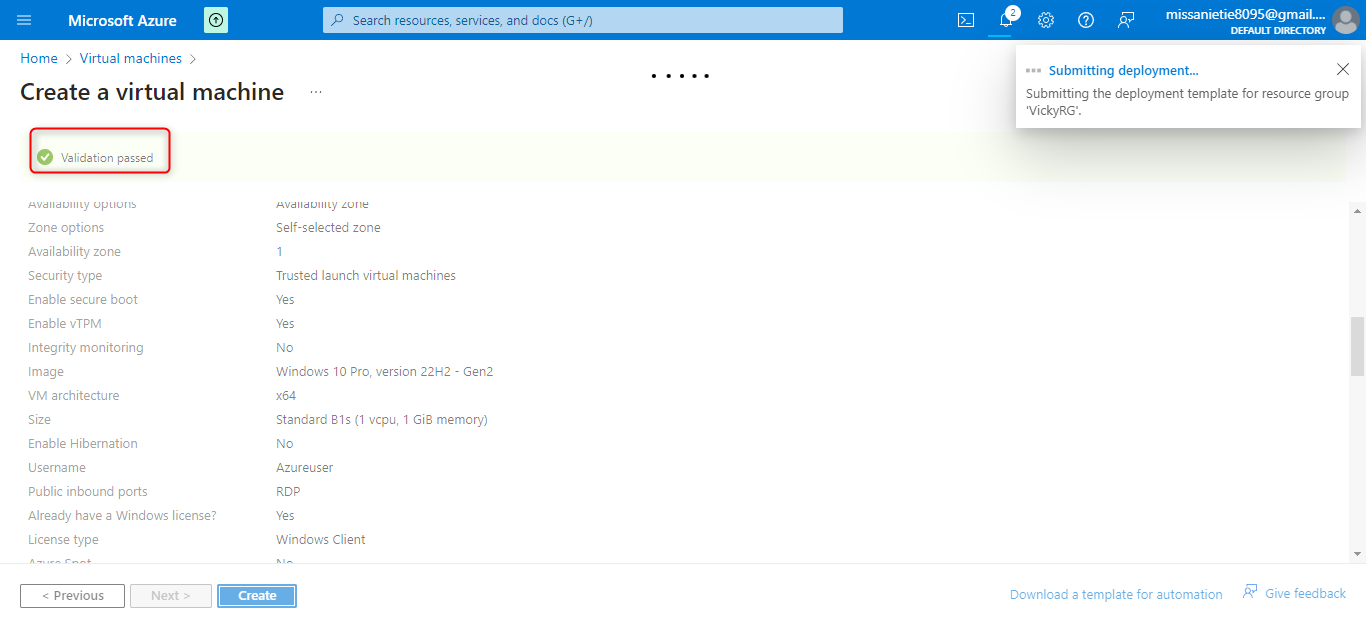
STEP 12
Wait for the deployment process to be completed
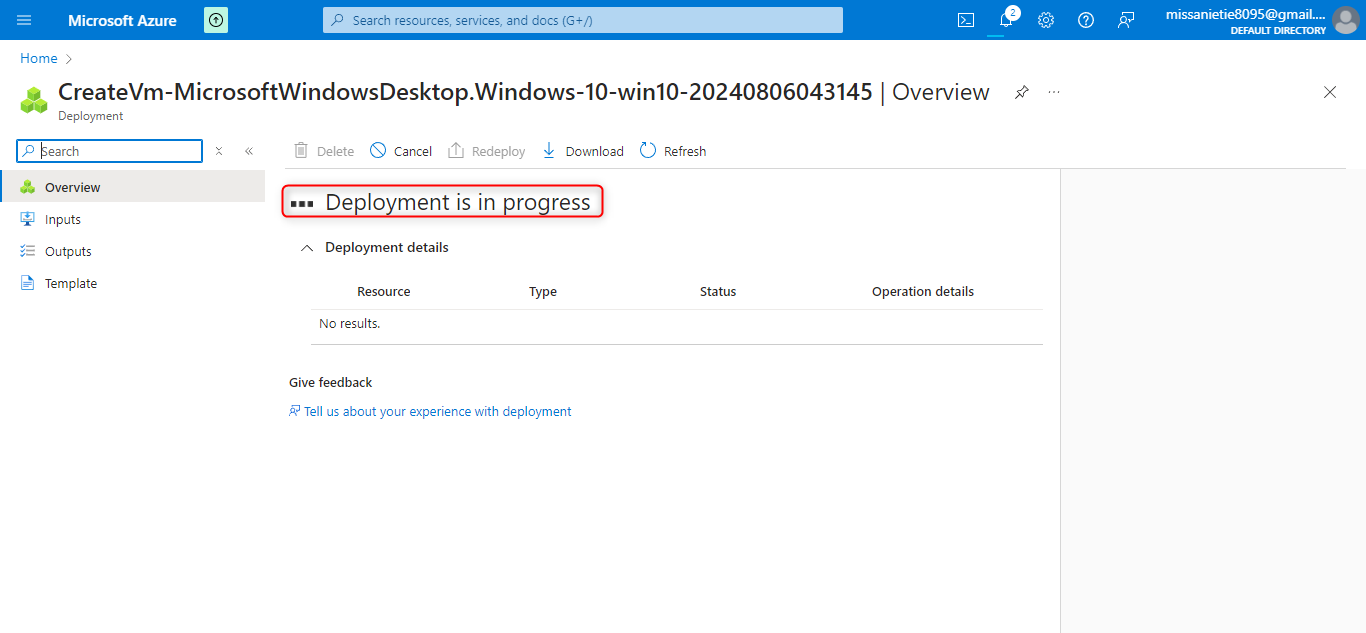
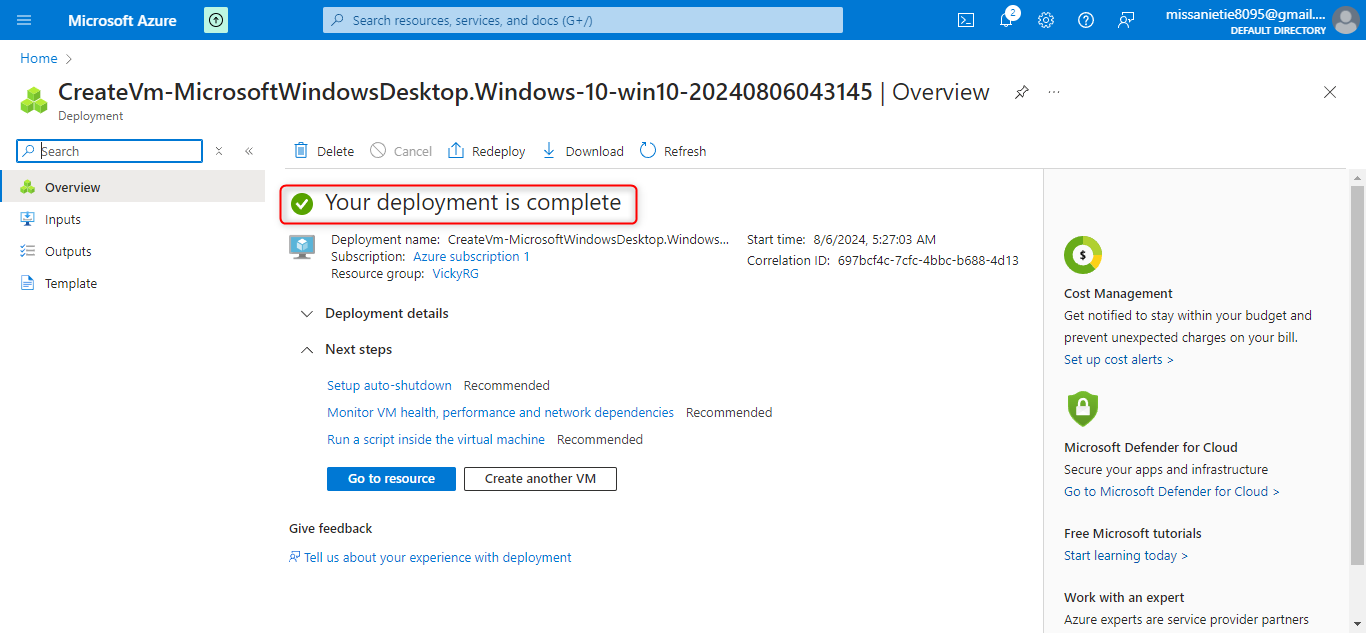
STEP 13
To access the virtual machine click on “Go to Resource”
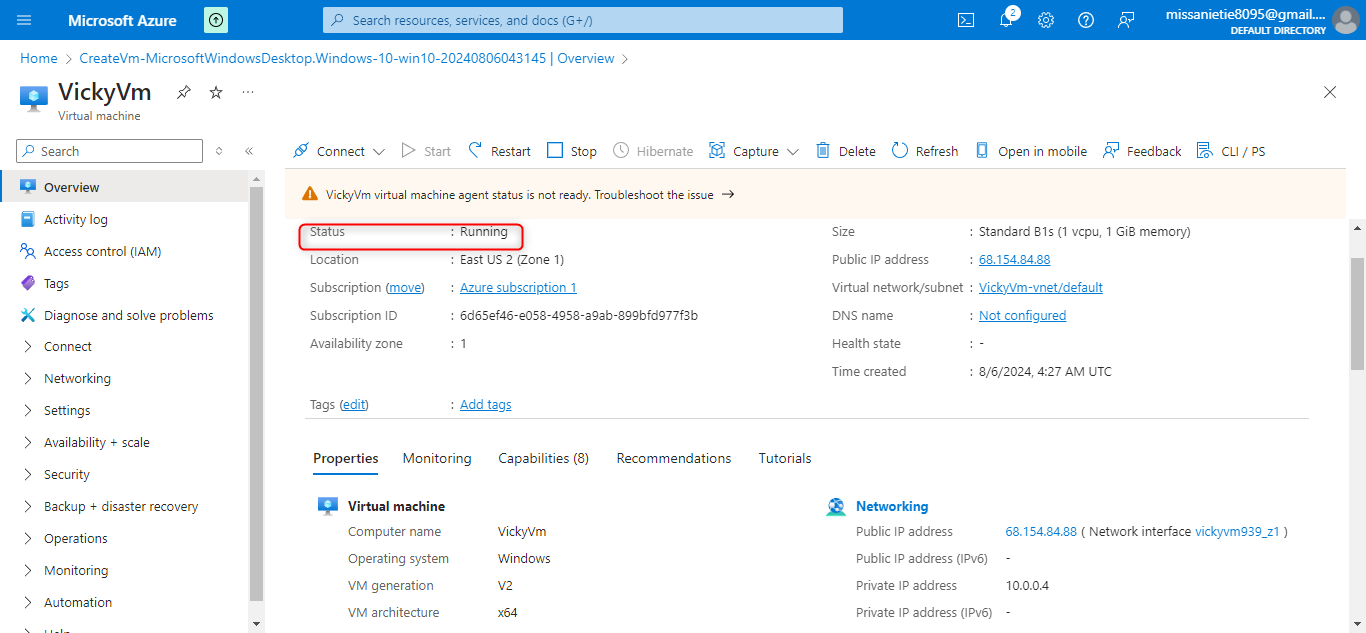
STEP 14
Check the status of the newly created VM
STEP 15
To connect to the VM, click connect and select RDP
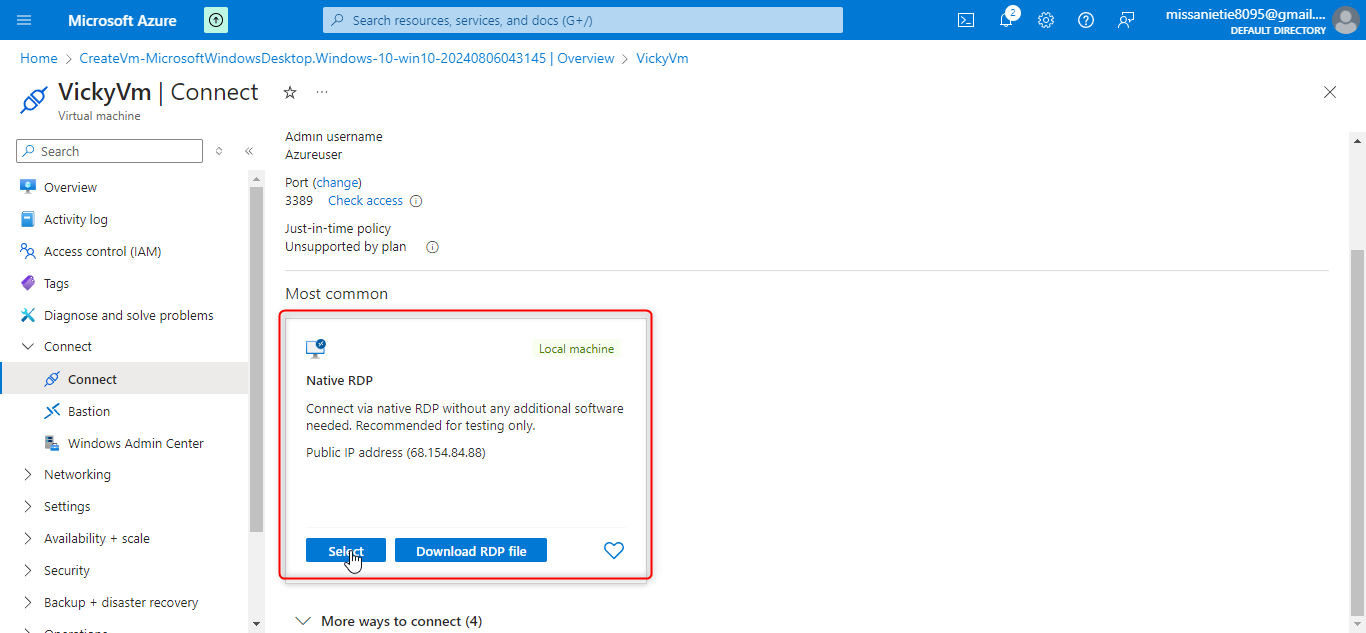
STEP 16
download the RDP file
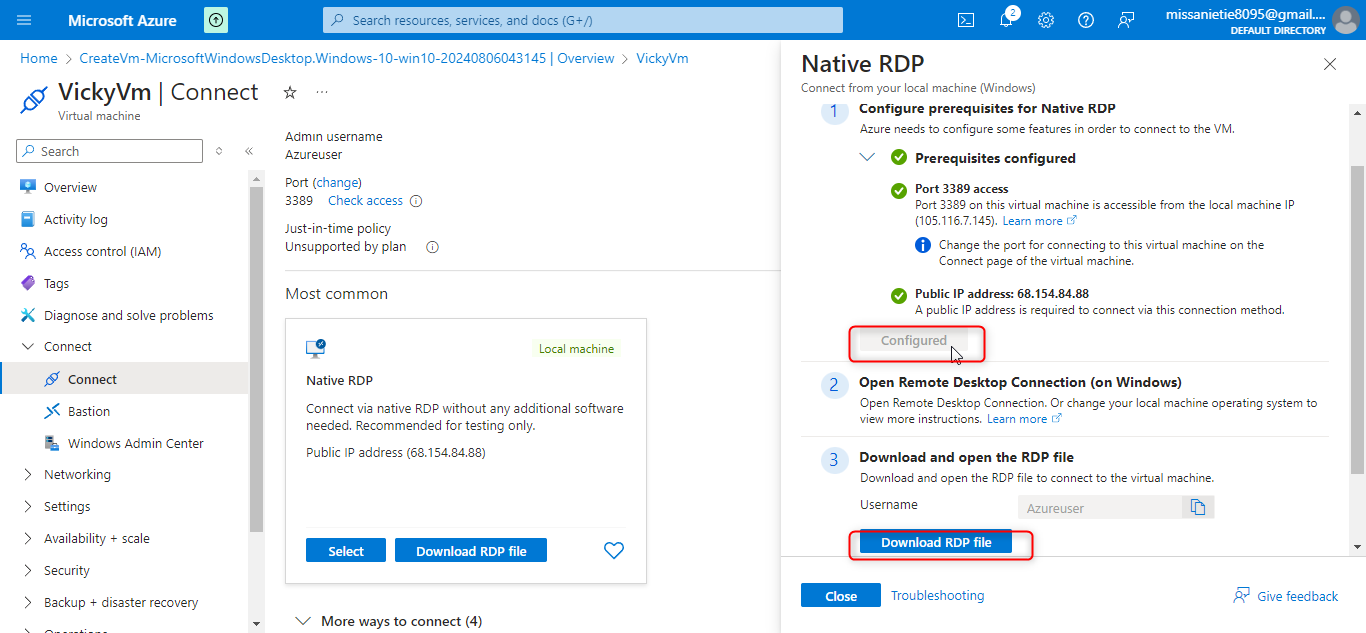
STEP 17
Open the RDP file from your local computer and click on connect and enter your admin user name and password.
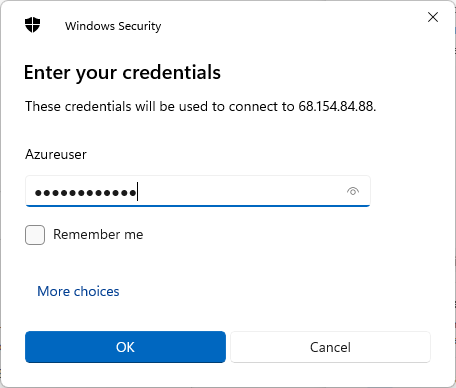
When done downloading you go to your download folder and access it, having a brand new windows (window 10) as created.
AND YOU ARE DONE.
Subscribe to my newsletter
Read articles from Victoria John directly inside your inbox. Subscribe to the newsletter, and don't miss out.
Written by
