DAY 1 :-Understanding Kubernetes Architecture and Installation: A Comprehensive Guide
 Vaibhav Jaiswal
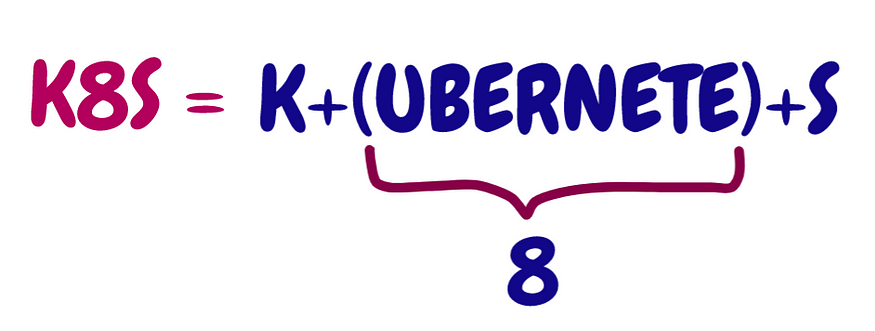
Kubernetes, often abbreviated as K8s, is an open-source platform designed to automate the deployment, scaling, and management of containerized applications. It orchestrates clusters of machines to run containers, ensuring that applications are highly available and can scale as needed.

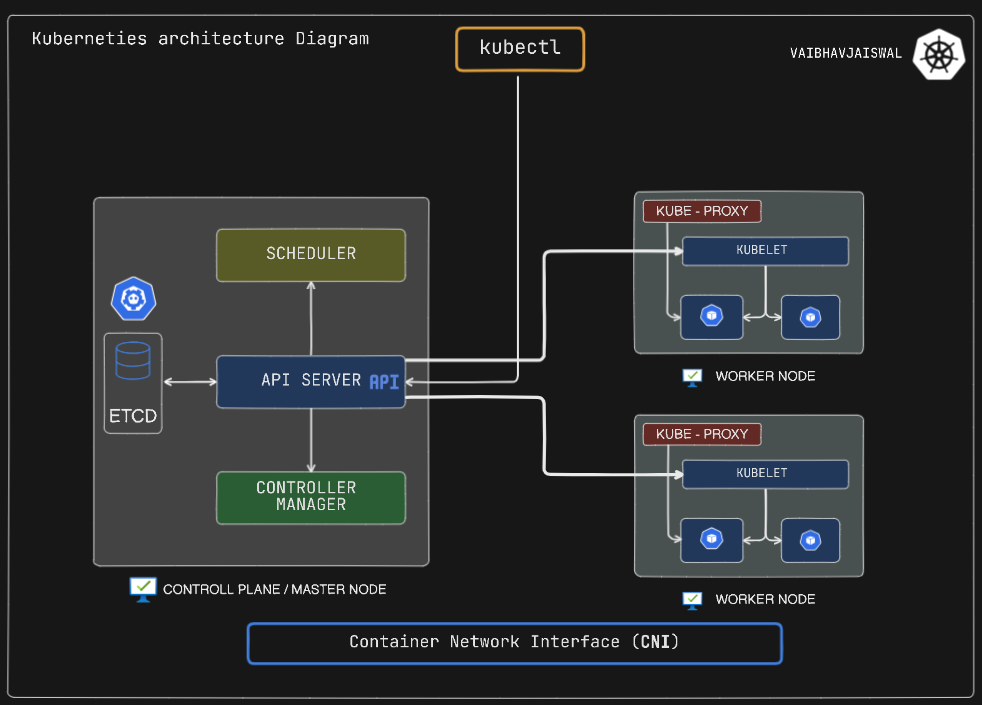
Kubernetes Components
Control Plane (Master Node)
API Server: The front door to Kubernetes. All communications, internal and external, go through here.
Scheduler: Decides where to run newly created pods based on resource availability.
Controller Manager: Oversees various controllers that regulate the state of the system.
etcd: A distributed key-value store that acts as Kubernetes' brain, storing all cluster data.

Worker Node
Kubelet: The primary node agent, ensuring containers are running in a pod.
Kube-proxy: Maintains network rules on nodes, enabling communication to and from pods.
Pods: The smallest deployable units in Kubernetes, containing one or more containers.
How It All Works Together
The Control Plane manages the overall state of the cluster.
Worker Nodes host the applications as containers inside pods.
The API Server facilitates communication between all components.
etcd stores the cluster's configuration data.
The Scheduler assigns work to nodes.
Kubelets on each node ensure pods are healthy and running.
Kubernetes Installation and Configuration
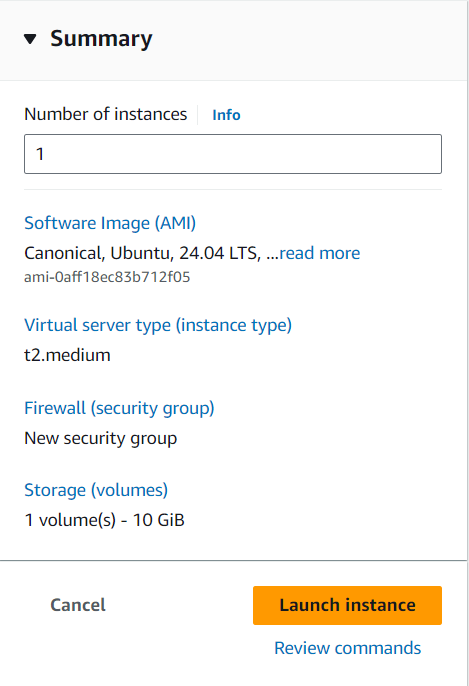
First Launch an instance
Give the name to the instance
k8s-serverselect OS image
eg. centos, Ubuntu, amazon Linuxselect instance type
t2.medium(to run minikube , its minimum requirement is 2vCPU , 2GiB RAM )create key pair to connect instance securely 🔐\
select the volume size between 10 -15 GiB .

Launch your Instance with this configuration.
Connect your instance with this command .
ssh -i Downloads/k8s-key.pem ubuntu@35.92.3.50
EC2 Instance connected. 🎉🎉
Minikube Installation for Ubuntu
Step 1: Update System Packages
Update your package lists to make sure you are getting the latest version and dependencies.
sudo apt update

Step 2: Install Required Packages
sudo apt install -y curl wget apt-transport-https

Docker Installation
Step 3: First Install Docker
sudo apt install -y docker.io

Step 4 Start and enable Docker.
sudo systemctl enable --now docker
Step 5 Add current user to docker group (To use docker without root)
sudo usermod -aG docker $USER && newgrp docker
Docker is running 🎉🎉🎉

Minikube installation
Step 1: Install Minikube
First, download the Minikube binary .
curl -Lo minikube https://storage.googleapis.com/minikube/releases/latest/minikube-linux-amd64

Make it executable and move it into your bin path :
chmod +x minikube
sudo mv minikube /usr/local/bin/
- Check minikube version
minikube version

Step 2: Install kubectl
Download kubectl, Kubernetes command-line tool.
curl -LO "https://dl.k8s.io/release/$(curl -L -s https://dl.k8s.io/release/stable.txt)/bin/linux/amd64/kubectl"

Make it executable and move it into your bin path :
chmod +x kubectl
sudo mv kubectl /usr/local/bin/
Step 3: Start Minikube
minikube start --driver=docker --vm=true
minikube start: This command starts a local Kubernetes cluster using Minikube.--driver=docker: Specifies the driver to use for the Minikube VM. In this case, it uses Docker as the driver.--vm=true: Indicates that Minikube should create a virtual machine (VM) to host the Kubernetes cluster.

Step 4: Check Cluster Status
minikube status

Check minikube docker container

go inside this container
# docker ps -it <container id> bash
docker ps -it 204aaff8928e bash
Run this command docker ps
This command lists all the containers that are currently running in Docker.
Inside the minikube container it running many docker containers which are components of Control plane and worker node


Step 5: Stop Minikube
When you are done, you can stop the Minikube cluster with:
minikube stop
Delete Minikube
If you want to delete minikube cluster , use this command
minikube delete
Successfully setup kubernetes minikube cluster . 🎉🎉
Thank you for reading! Let's continue learning, growing, and making a positive impact in the tech world together.✨
Happy Learning .
Subscribe to my newsletter
Read articles from Vaibhav Jaiswal directly inside your inbox. Subscribe to the newsletter, and don't miss out.
Written by
