🚀Day 39 Tutorial: Deploying a Node.js Application on AWS ECS and ECR
 Ritesh Dolare
On Day 39 of my DevOps journey, I focused on deploying a Node.js application using AWS services: Elastic Container Service (ECS) for container orchestration, Elastic Container Registry (ECR) for storing Docker images, and CloudWatch for monitoring logs. This setup is crucial for managing, scaling, and monitoring containerized applications in a production environment.
Table of contents :
✅INTRODUCTION
What is Amazon Elastic Container Service (ECS)?
Amazon Elastic Container Service (ECS) is a fully managed container orchestration service provided by AWS. It simplifies the deployment, management, and scaling of containerized applications, allowing organizations to focus more on building their applications rather than managing the underlying infrastructure. ECS supports Docker containers and can run on either AWS Fargate (a serverless compute engine) or Amazon EC2 instances.
Key Points:
Fully Managed: AWS takes care of the underlying infrastructure, scaling, and orchestration.
Supports Docker Containers: ECS works seamlessly with Docker, enabling easy integration and deployment of applications.
Scalable: ECS can automatically scale your applications to handle increasing traffic.
What is Amazon Elastic Container Registry (ECR)?
Amazon Elastic Container Registry (ECR) is a fully managed Docker container registry service by AWS. It allows developers to store, manage, and deploy Docker container images securely. ECR integrates with ECS, simplifying the process of running applications in the cloud.
Key Points:
Secure Storage: ECR provides a secure environment to store Docker images, with AWS handling encryption and access control.
Integration with ECS: ECR integrates directly with ECS, enabling seamless deployment of containers.
Fully Managed: AWS manages the underlying infrastructure, making it easier for developers to focus on their applications.
✅Task :
Automate the deployment of a Node.js Application on Serverless AWS ECS fargate with the image repository on ECR and the cloudwatch login integrated with proper IAM roles and configuration.
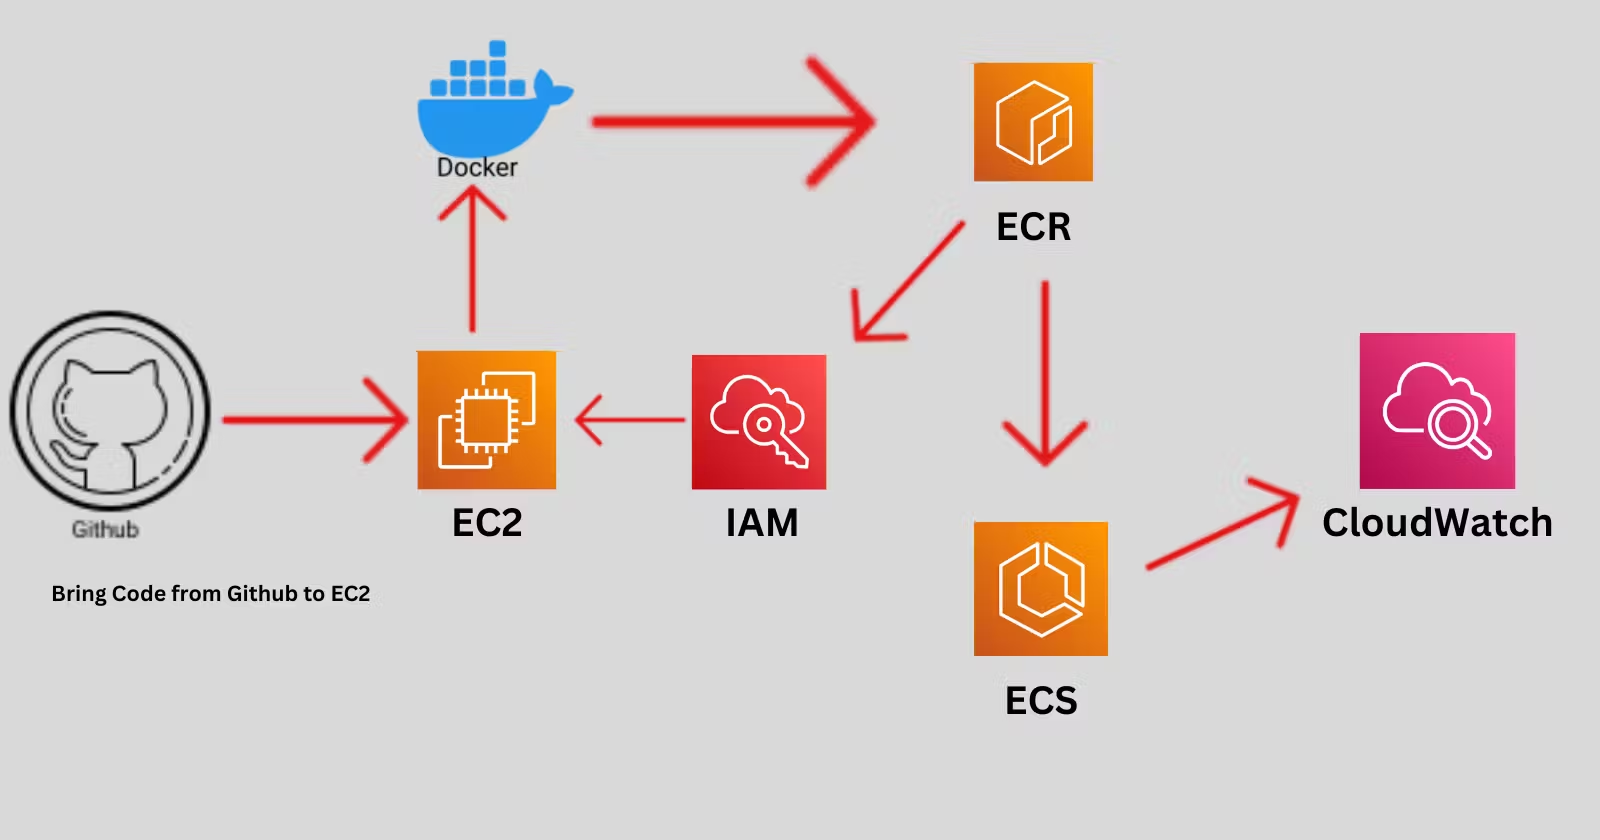
In the Above Cover Image First, we will bring our application code from Github to the EC2 Instance of AWS Using
Gitthe clonecommand.Now, We have to make a docker image of the Application and Push that on ECR(Elastic Container Registry) Services it is used to store docker images, so your EC2 instance must have access to ECR.
To give access to ECR to EC2 Instance we will use IAM(Identity Access Management) service. We will give access of ECR full access, for that we have to create a user and make a policy for that.
After Giving access we can push the docker image on ECR. and from there we can run our Image on ECS(Elastic Container Service).
And from Cloudwatch we can access the logs of the Application.
✅Project Steps:
Cloning the Source Code from GitHub
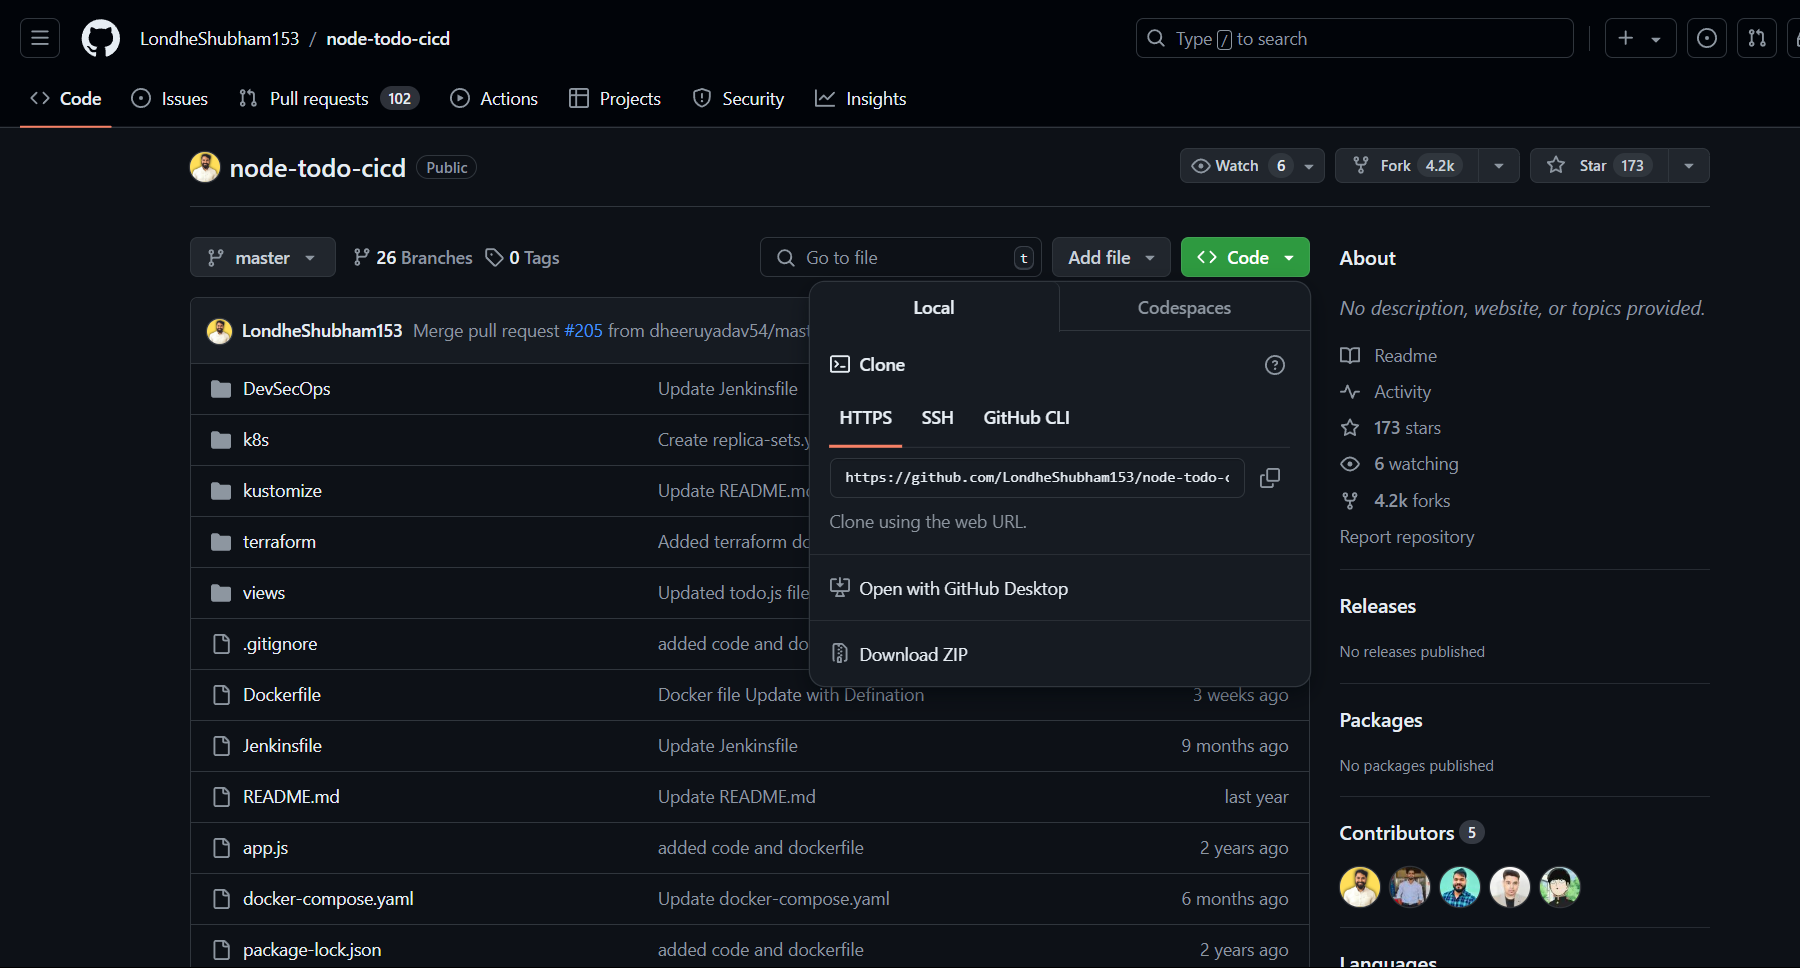
Source Code Retrieval: Head over to your GitHub repository and copy the URL of your Node.js application's source code.
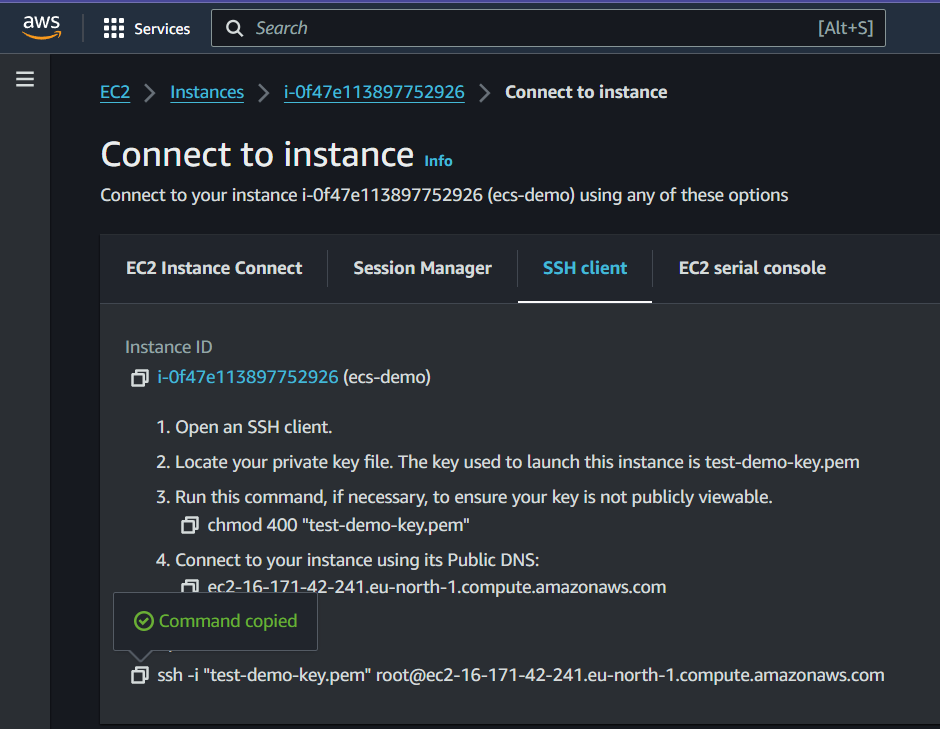
EC2 Instance Creation: Using the AWS Management Console, create an EC2 instance where you'll clone the repository.

- Create a instance connect the instance with ssh Client method to local machine.
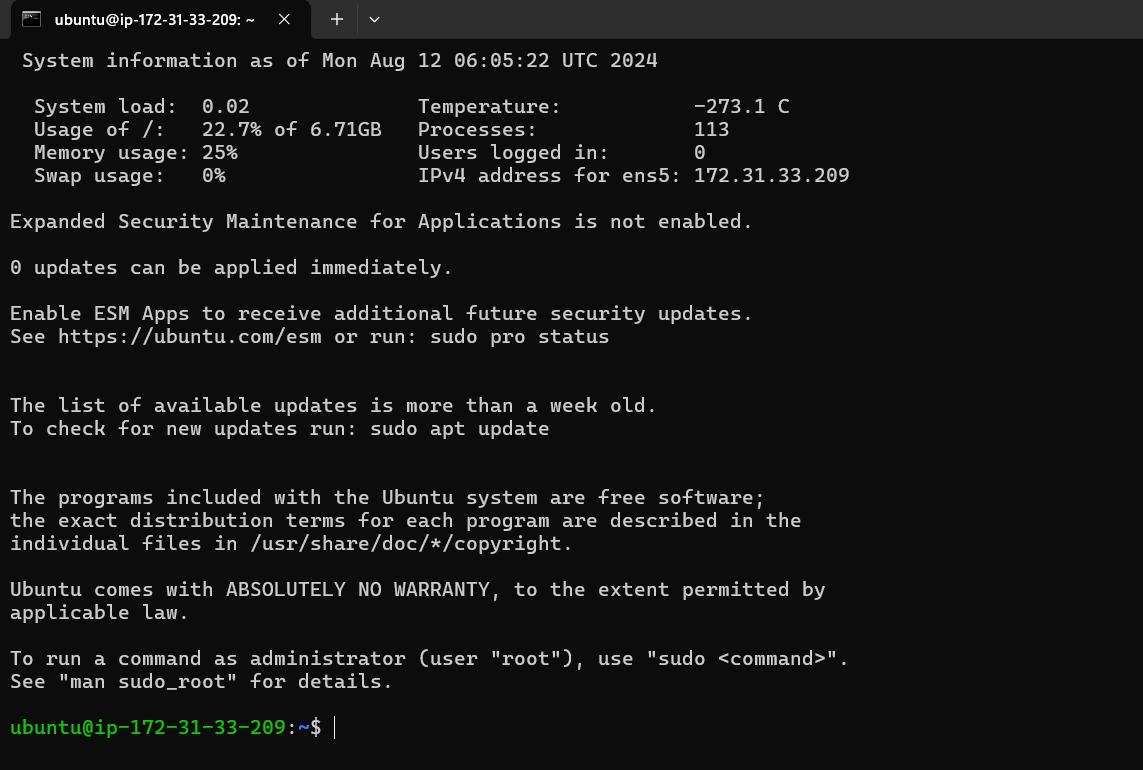
- After connecting our instance first update your terminal using Command
sudo apt-get update.
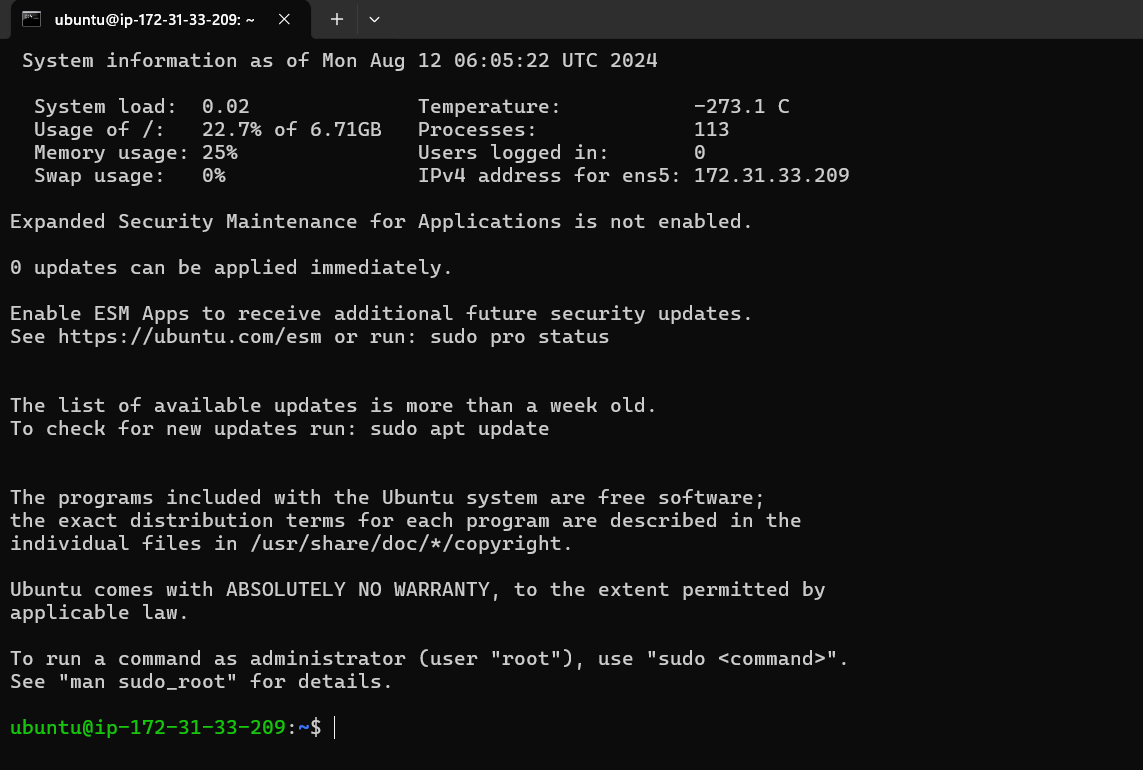
- Our System got up-to-date now bring your application code from github to local machine using command
git clone <URL>.

✅Configuring Image in AWS ECR
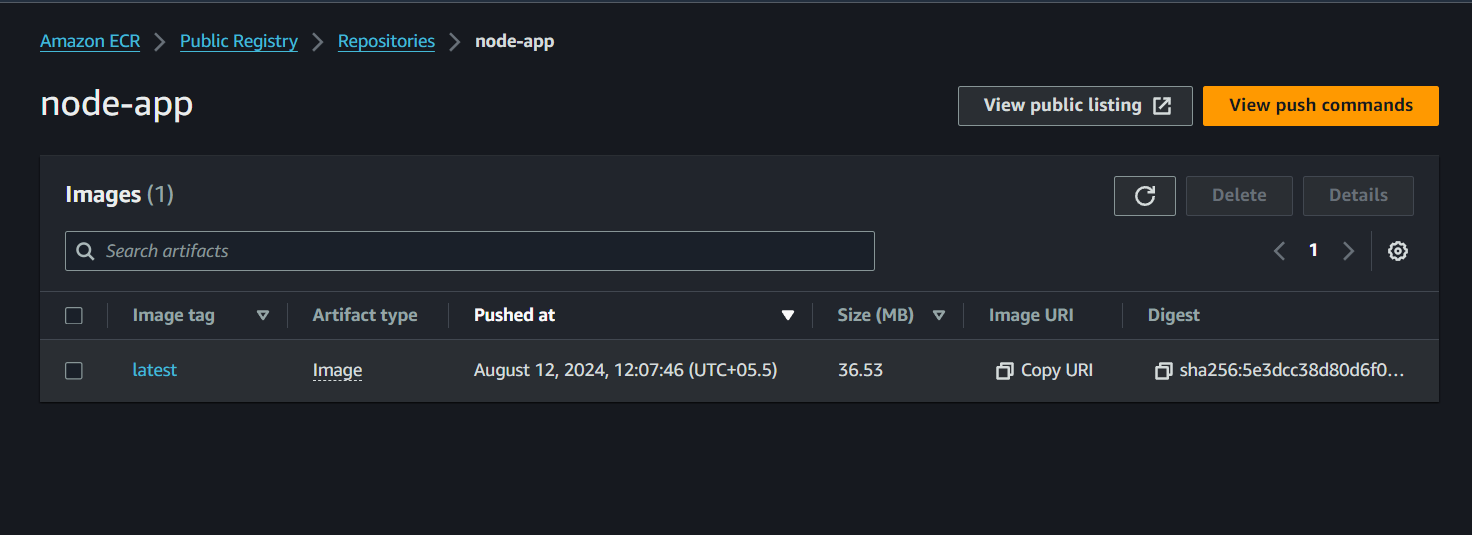
ECR Repository Creation: Navigate to AWS ECR and create a repository to store your Docker images. Customize the repository settings as per your requirements.

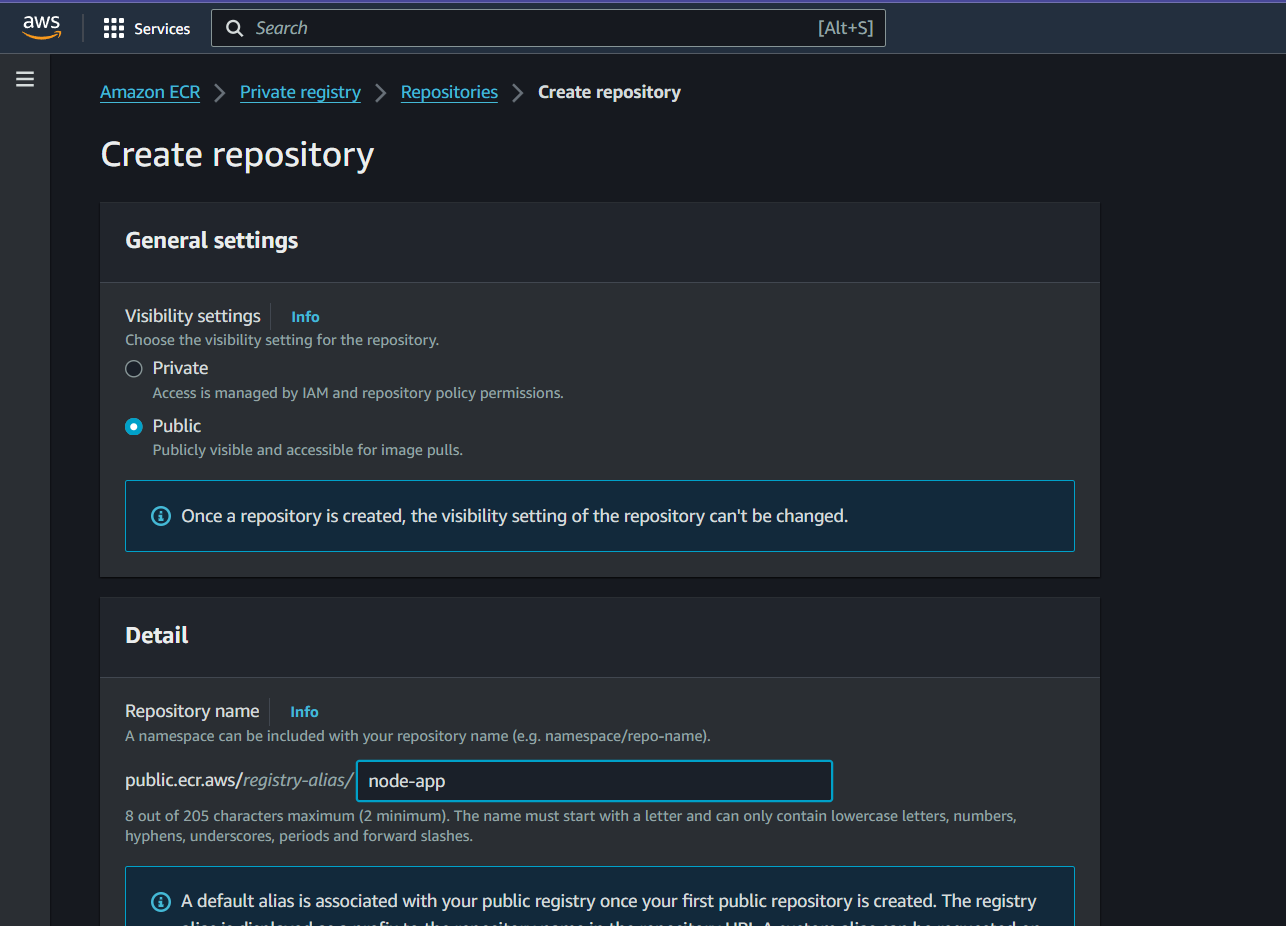
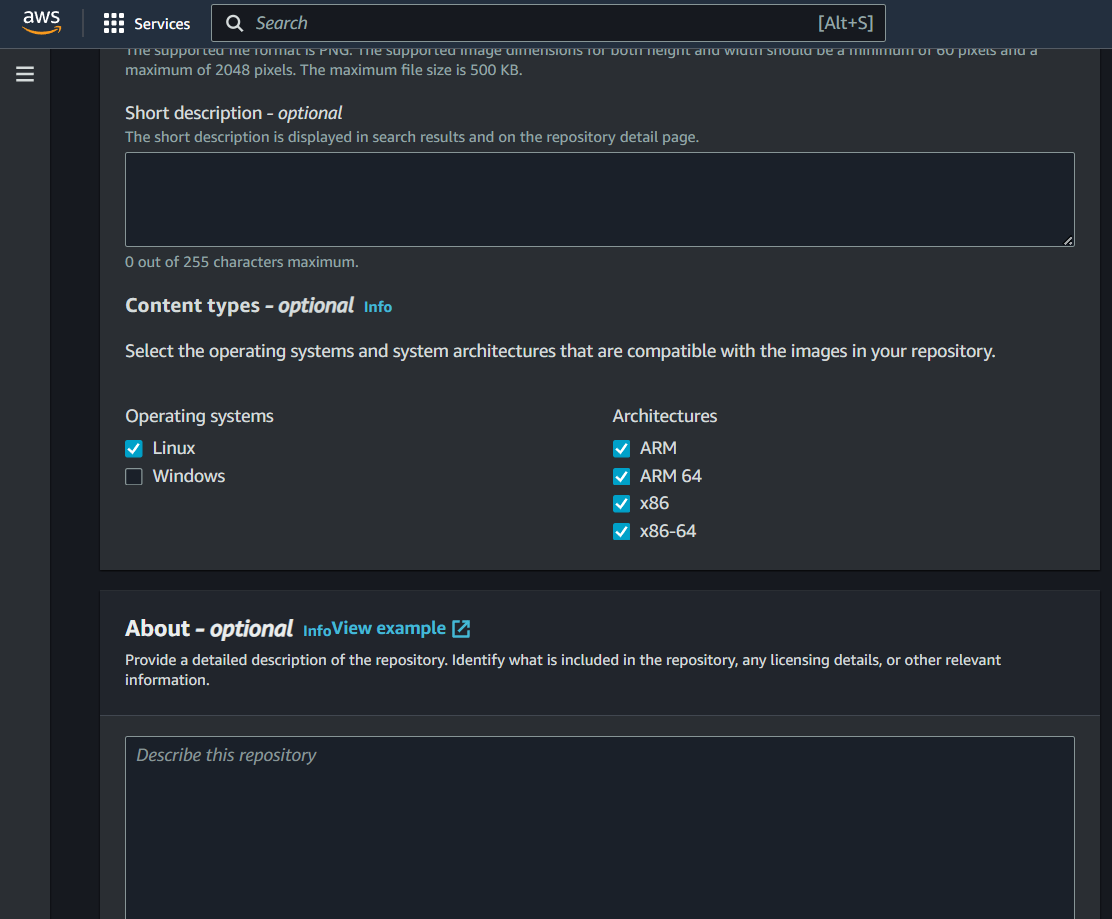
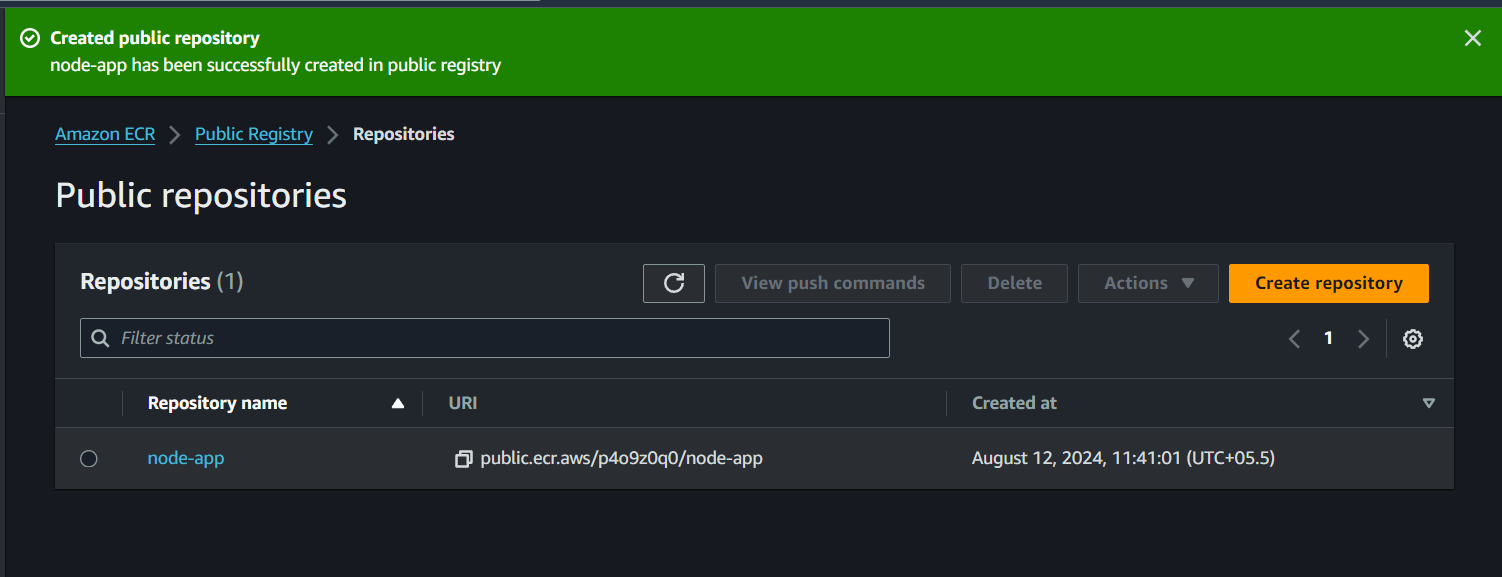
We have created a repository on ECR naming node-app to store the docker images. But in that repository, there are no docker images available in that.
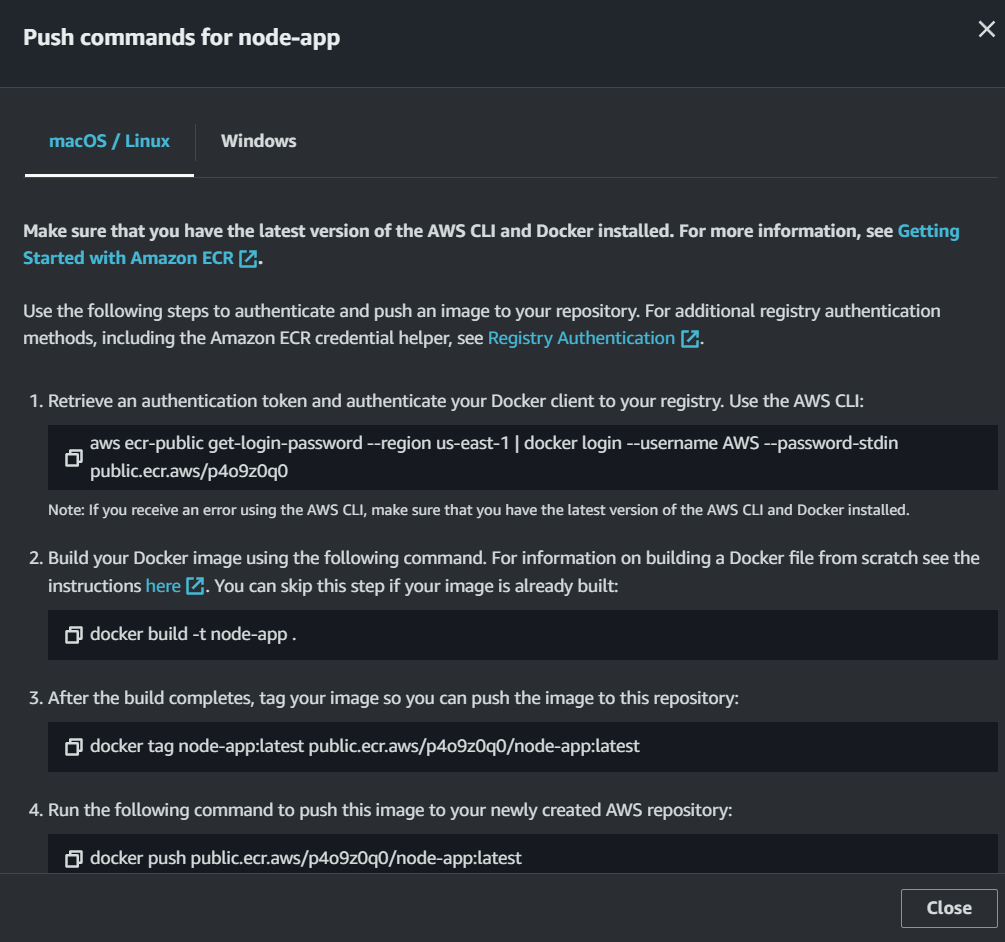
Click on view Push commands so that we can push images here.
GO on the Local terminal first install docker using the command
sudo apt install docker.io, When we are installing docker this means we are building the docker image on this EC2 instance.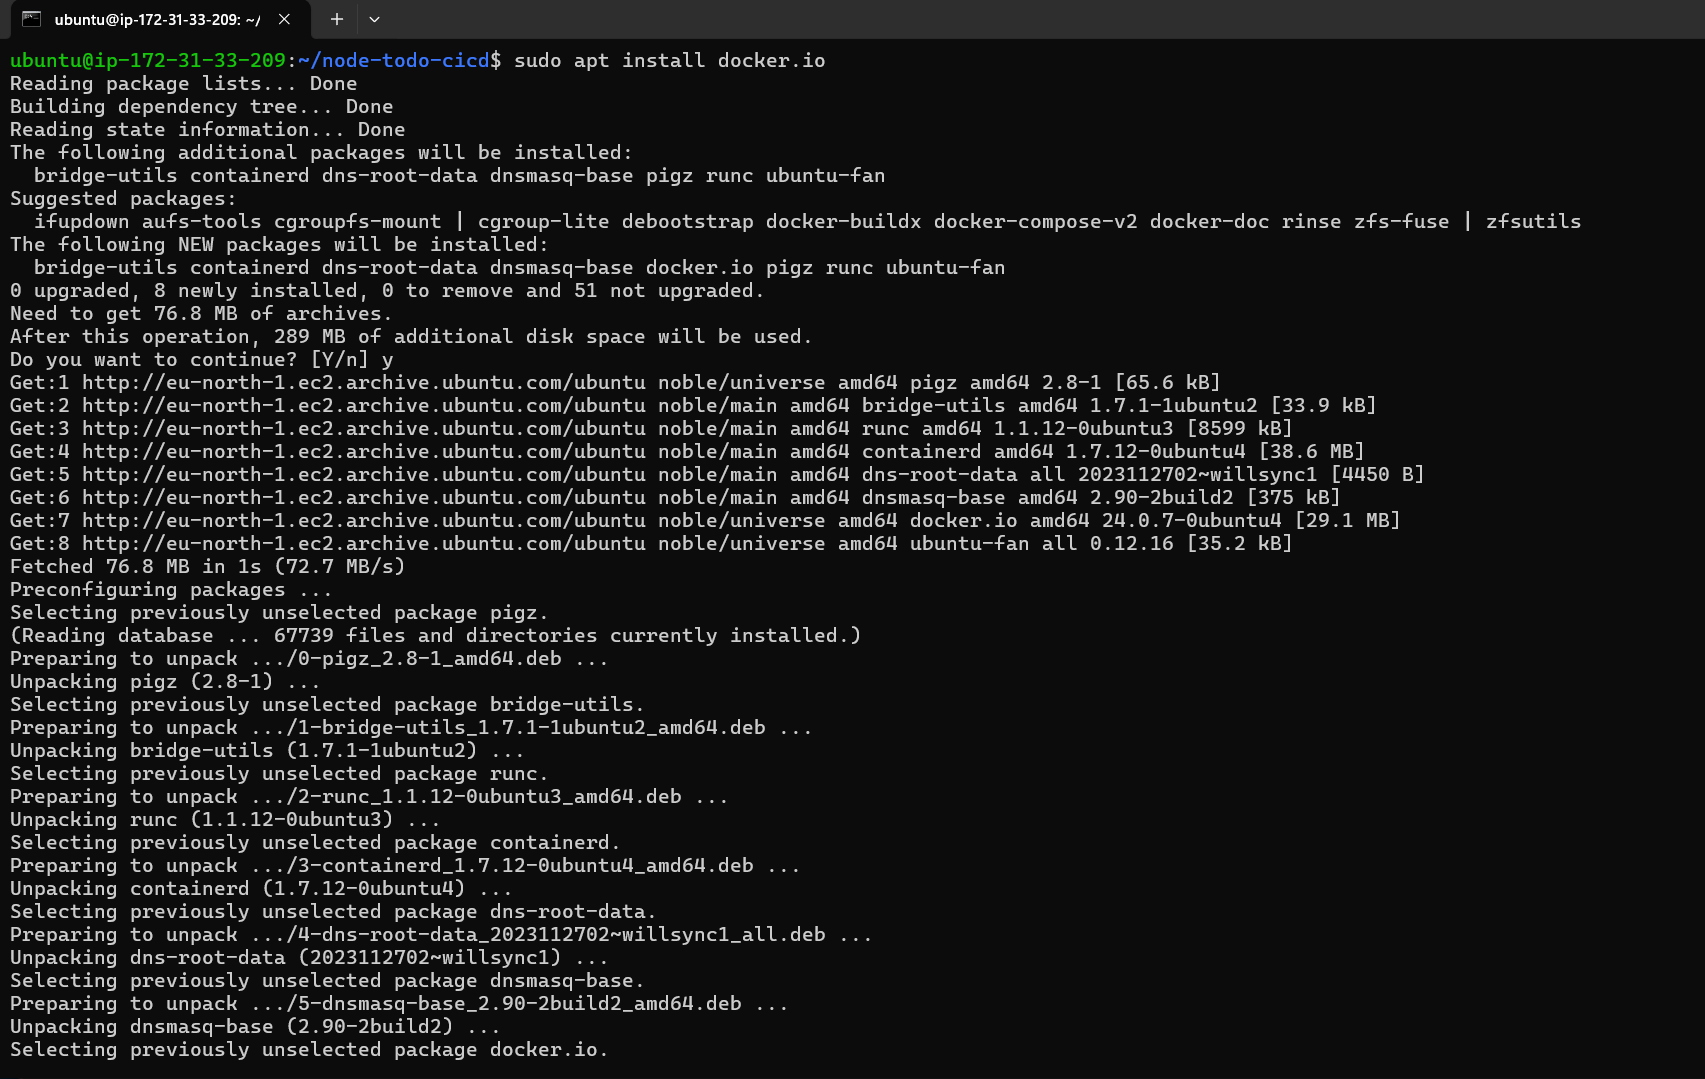
Now, will try docker command
docker psBut it will be denied the permission of docker, the user doesn't have the permission of docker. So Add the user to the docker group using the commandsudo usermod -aG docker $USERour user added to the docker group now reboot systemsudo reboot, To implement changes.
check
docker pscommand now no error as we have added docker to usergroup.
Task : Configure AWS CLI on Ubuntu
Download the AWS CLI Installer:
Go to the official AWS CLI Website.
Download the AWS CLI for LINUX Ubuntu users.

Run this following commands:
Copy the command
curl "https://awscli.amazonaws.com/awscli-exe-linux-x86_64.zip" -o "awscliv2.zip"Unzip the Installer:
- Install
unzipif it's not already installed:
- Install
    sudo apt update
    sudo apt install unzip
- Unzip the downloaded file:
unzip awscliv2.zip
Run the Installer:
- Run the install script:
sudo ./aws/install
Verify the Installation:
- Check the AWS CLI version:
aws --version
Configure AWS CLI:
- In your terminal, type:
aws configure
Enter the Access Key ID and Secret Access Key when prompted. Also, enter your preferred region (e.g.,
us-east-1) and output format (e.g.,json).

Below are the push commands that we have to run on our local terminal to push our image on this repo. but to push images on ECR we want to make sure that user which we have created in IAM have permission of ECR.
✅Configuring IAM
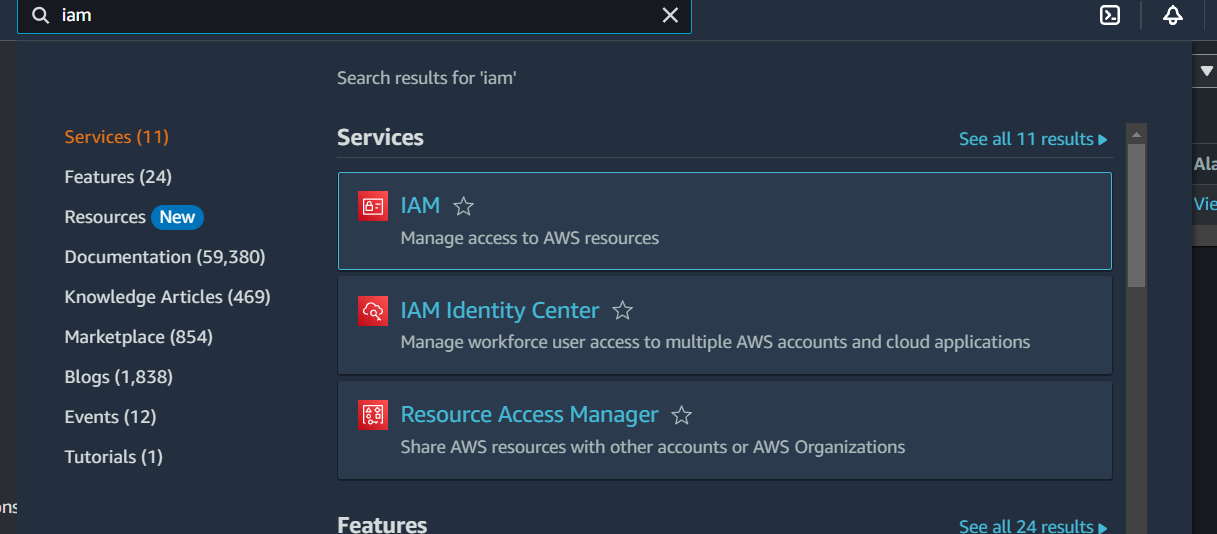
IAM User Creation: Create an IAM user in the AWS Management Console with appropriate permissions to access ECR.
Policy Attachment: Attach policies granting necessary permissions for ECR access to the IAM user.
AWS CLI Installation: Install the AWS Command Line Interface (CLI) on your EC2 instance.
AWS CLI Configuration: Connect your EC2 instance to the AWS Management Console using the AWS CLI for seamless interaction.

✅Pushing the Image to ECR
ECR Push Commands: Access the AWS ECR console to obtain push commands for your Docker image.

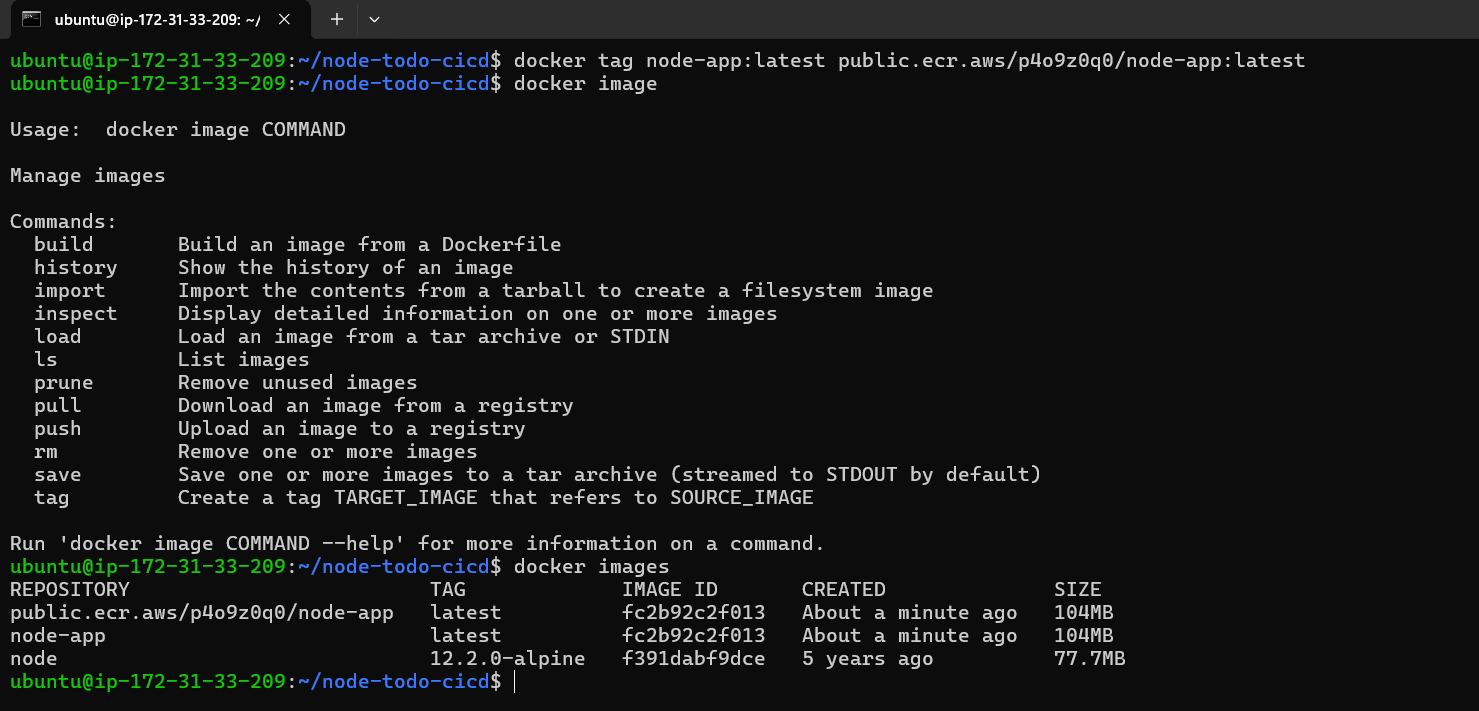
Now, Follow this above command and run it one by one
Execution: Execute the provided commands on your EC2 instance to push the Docker image to ECR, ensuring a secure and efficient process.


✅Configuring AWS ECS
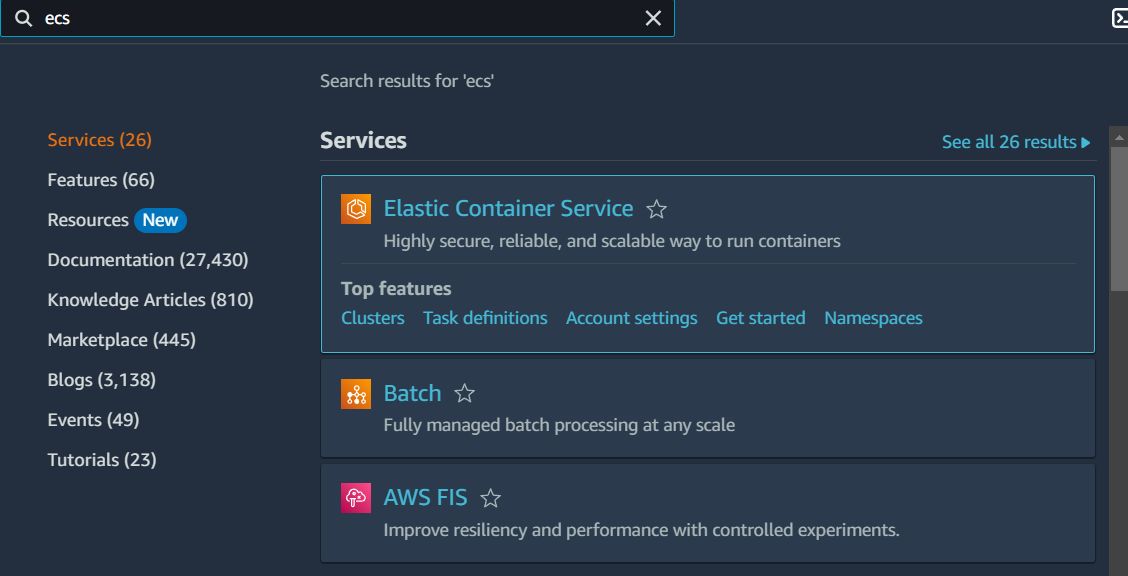
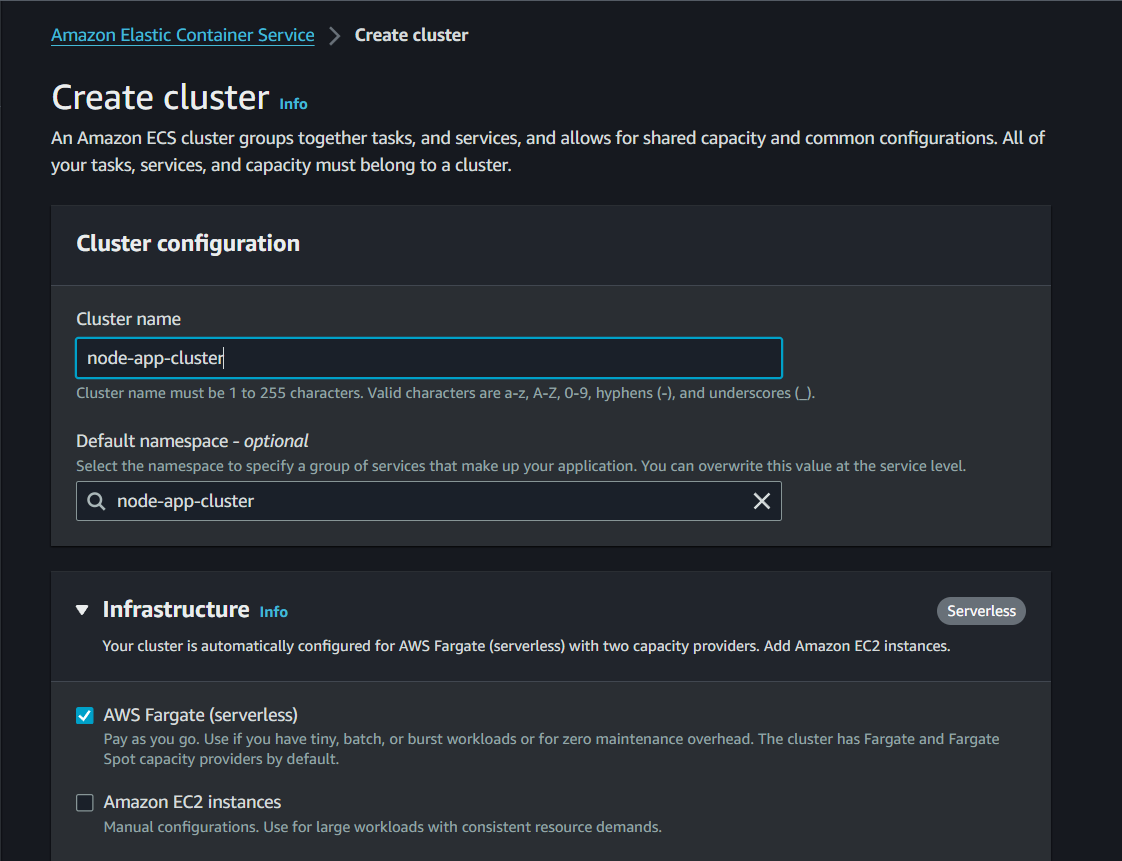
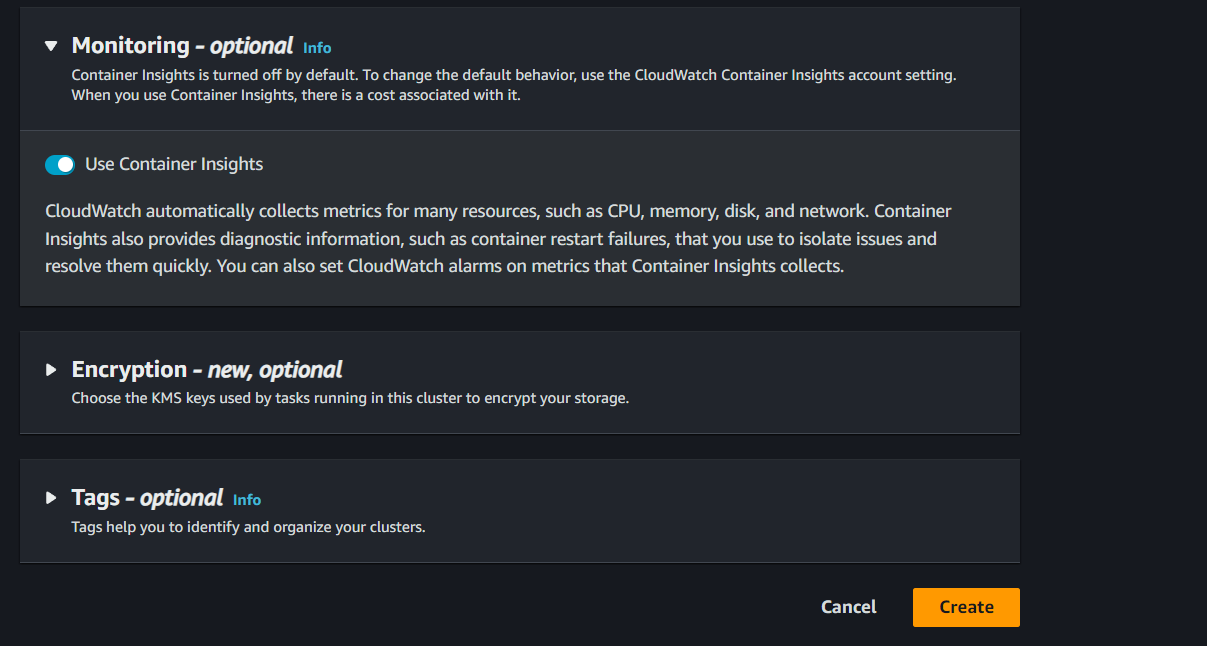
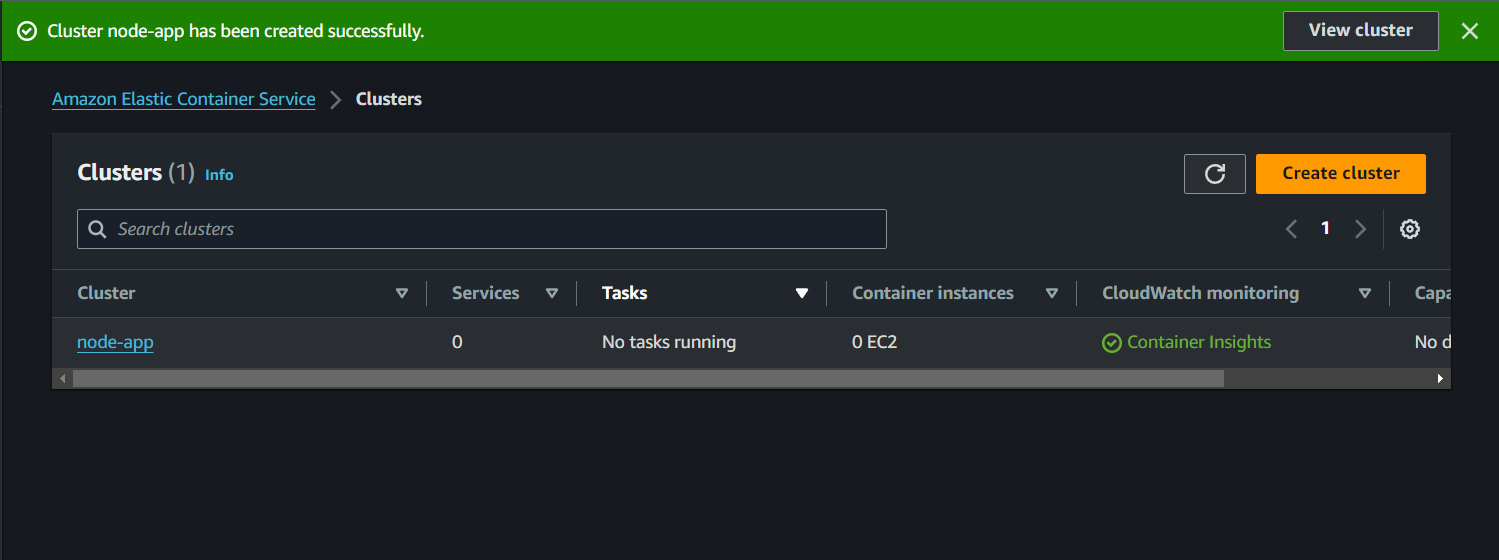
ECS Cluster Creation: Navigate to the ECS repository in the AWS Console and create a new cluster.
Configuration Details: Provide necessary details such as cluster name, VPC, and subnet settings to tailor the cluster to your requirements.
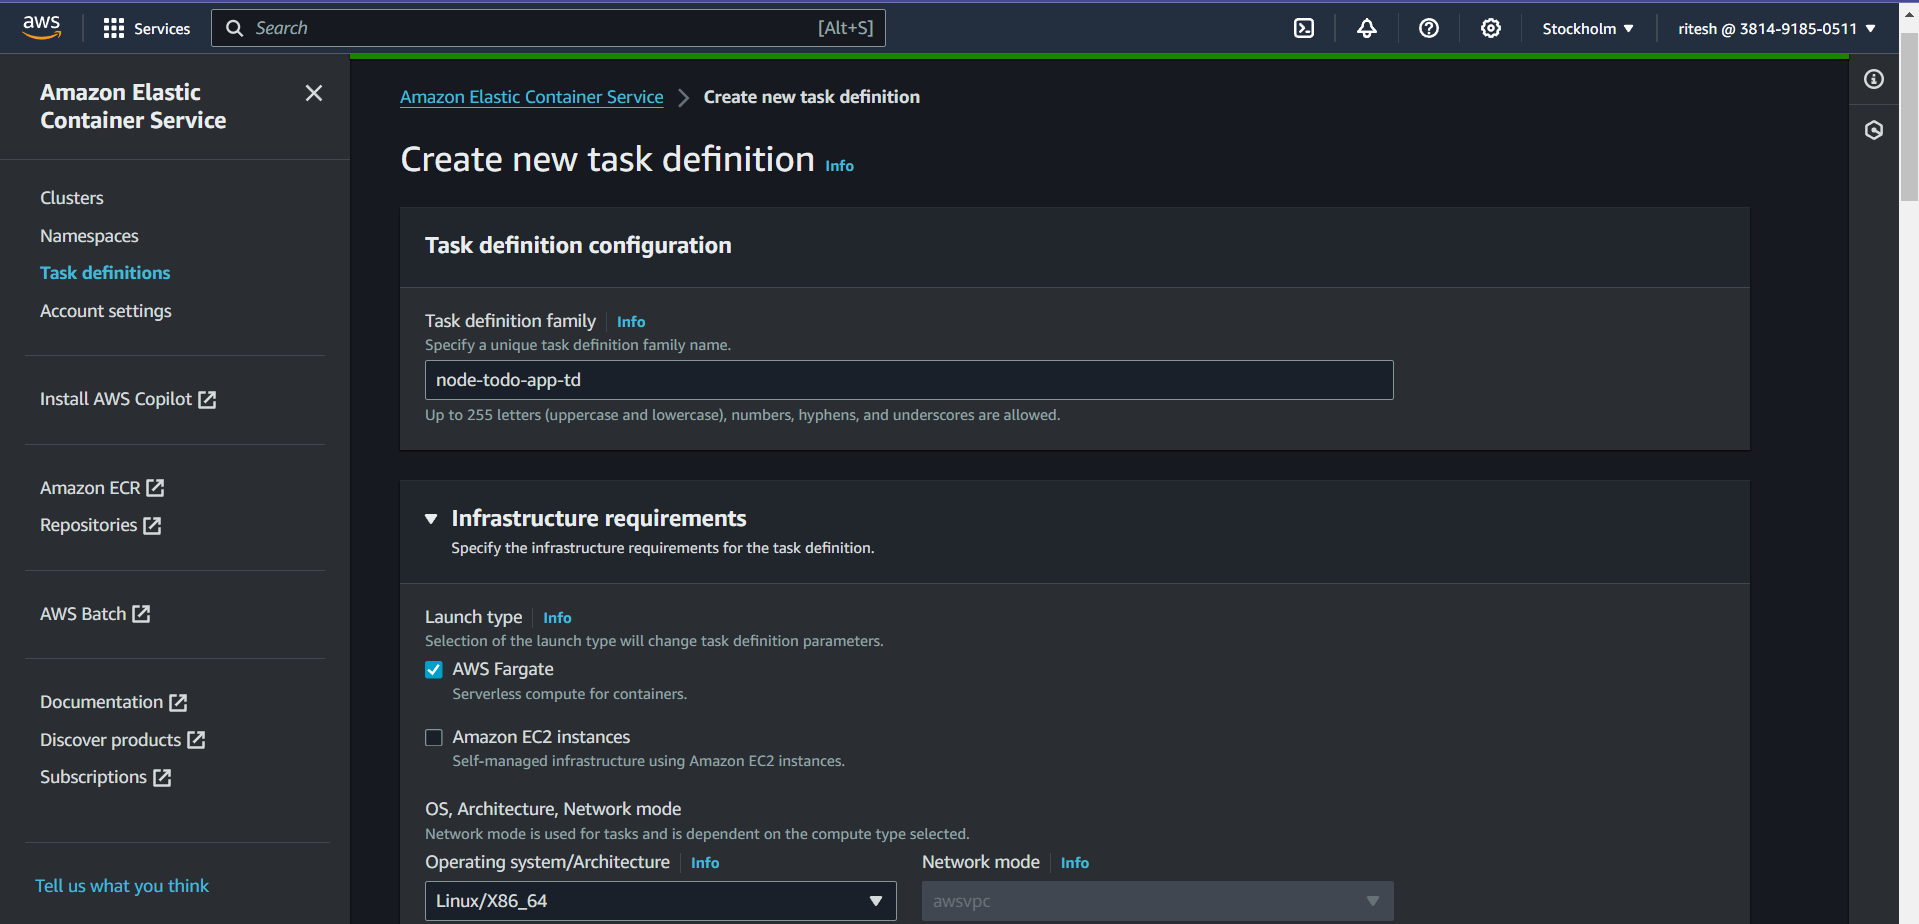
Launch Type Selection: Opt for AWS Fargate as the launch type for your cluster to leverage its serverless capabilities.
✅Using AWS Fargate
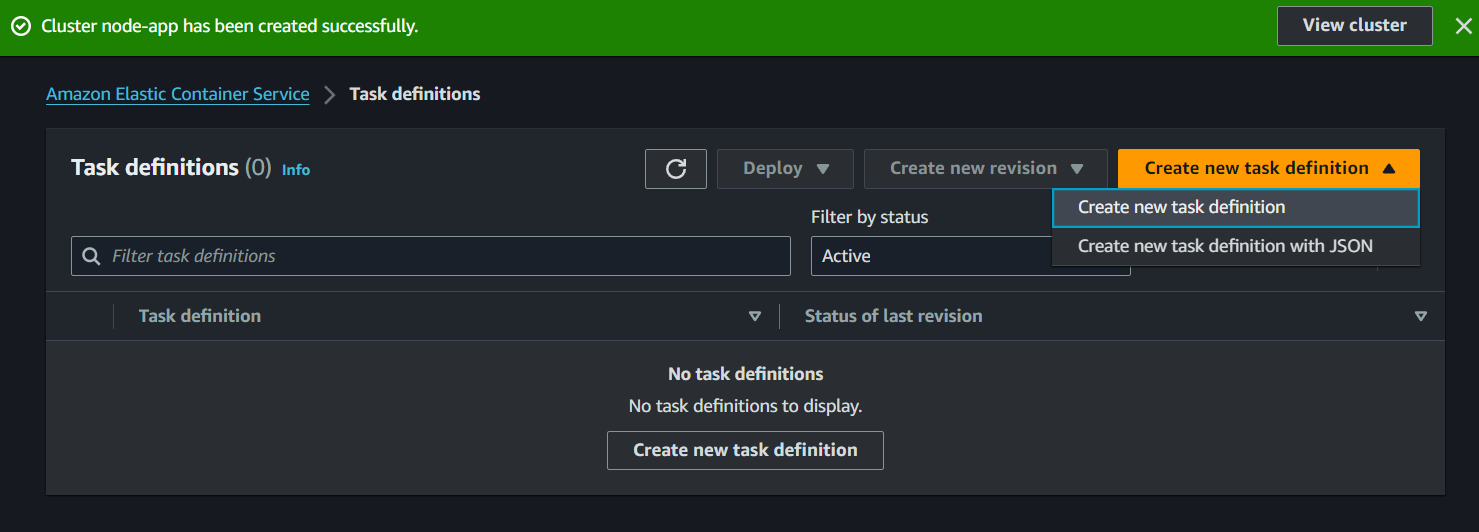
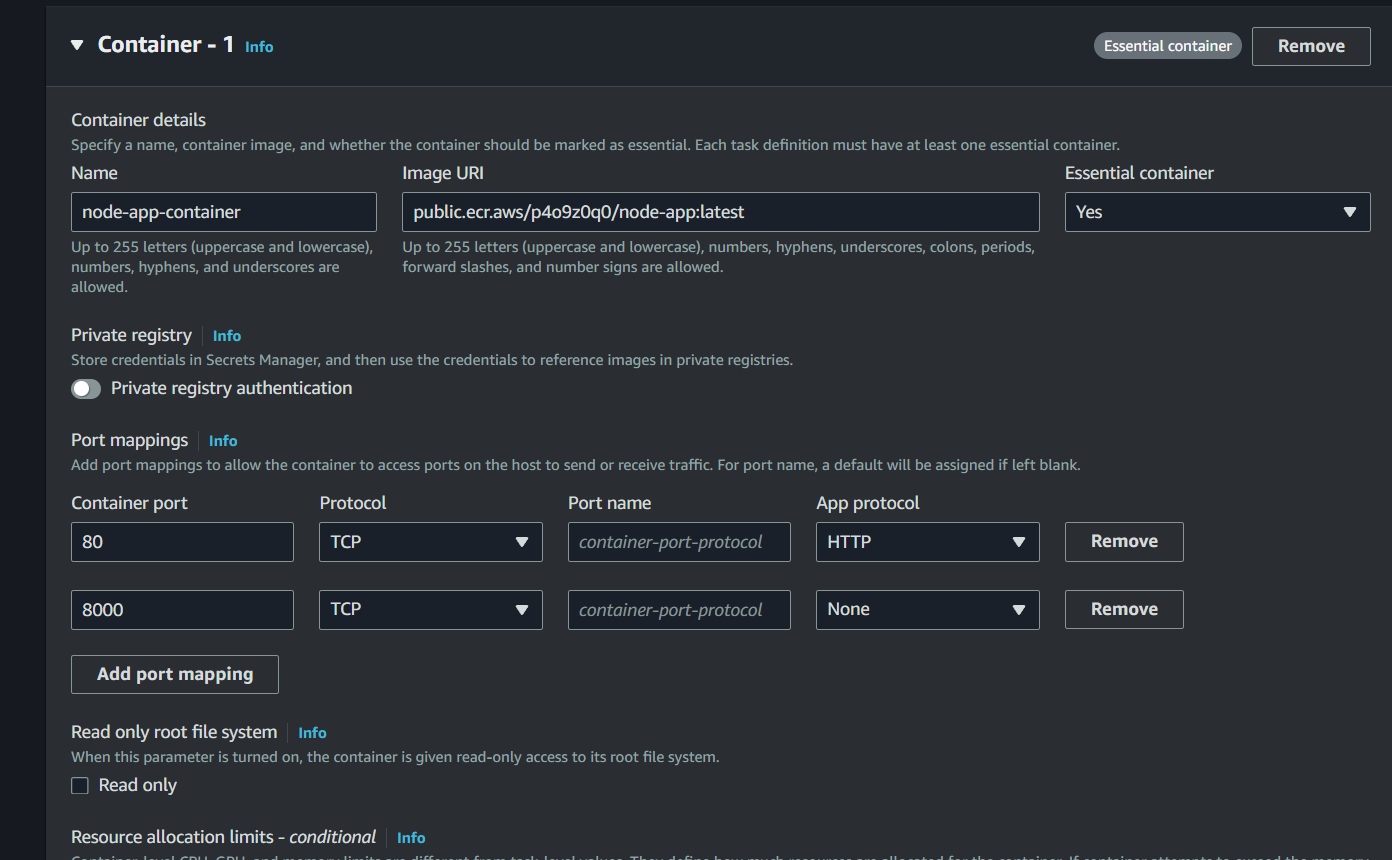
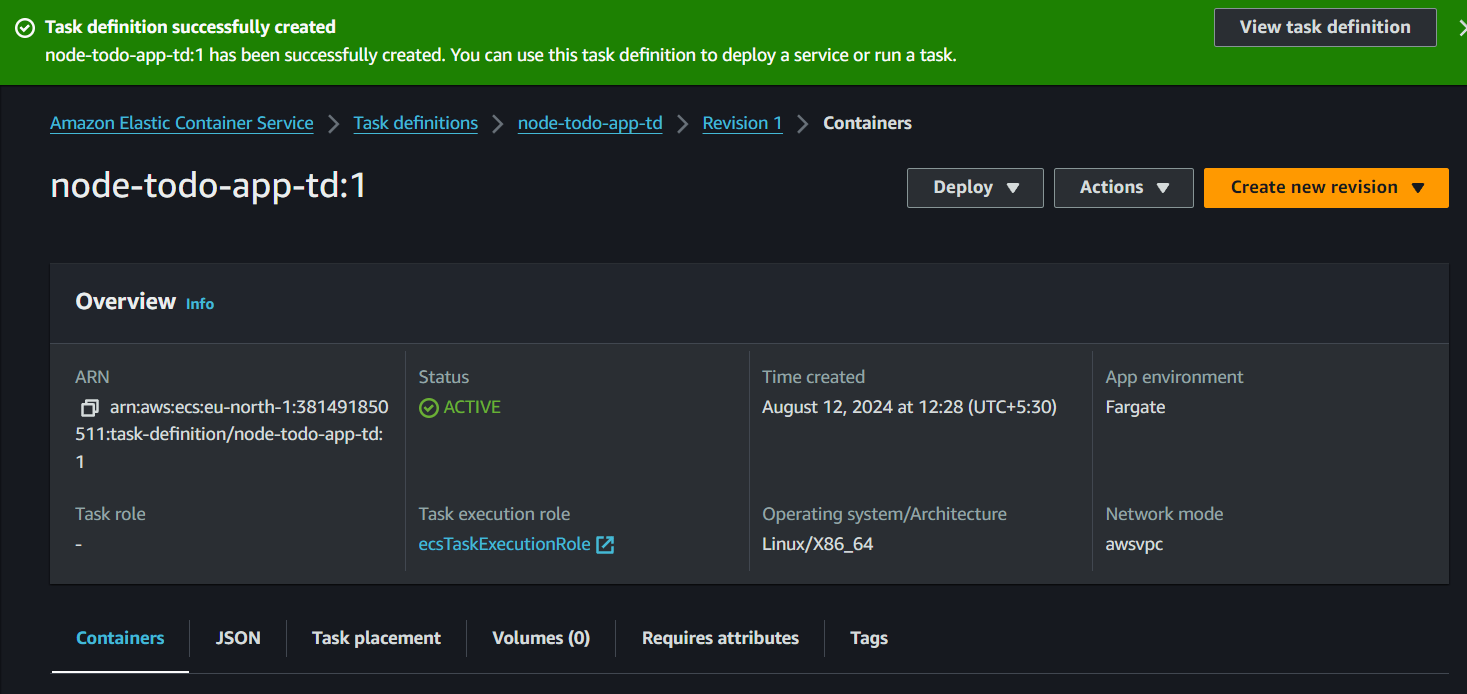
Task Definition Creation: Define a task for your cluster, specifying container image details and required ports.
Resource Configuration: Configure CPU and memory resources based on anticipated application load to ensure optimal performance.
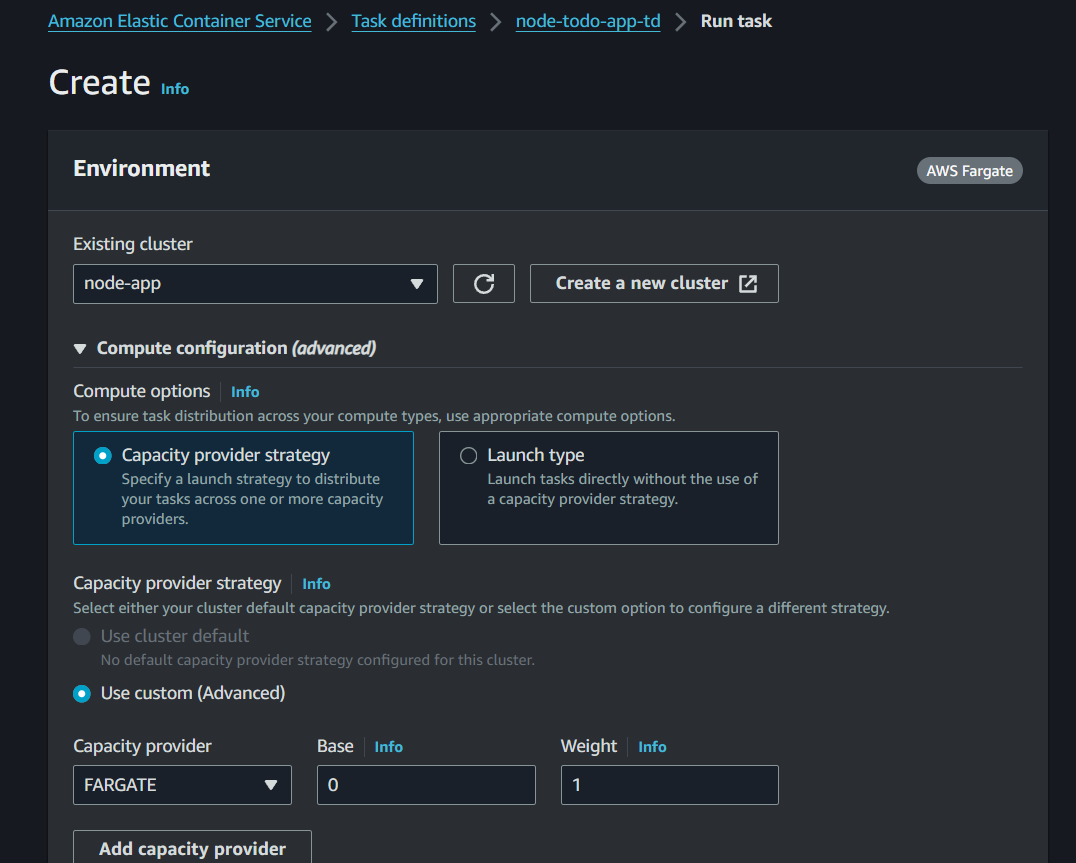
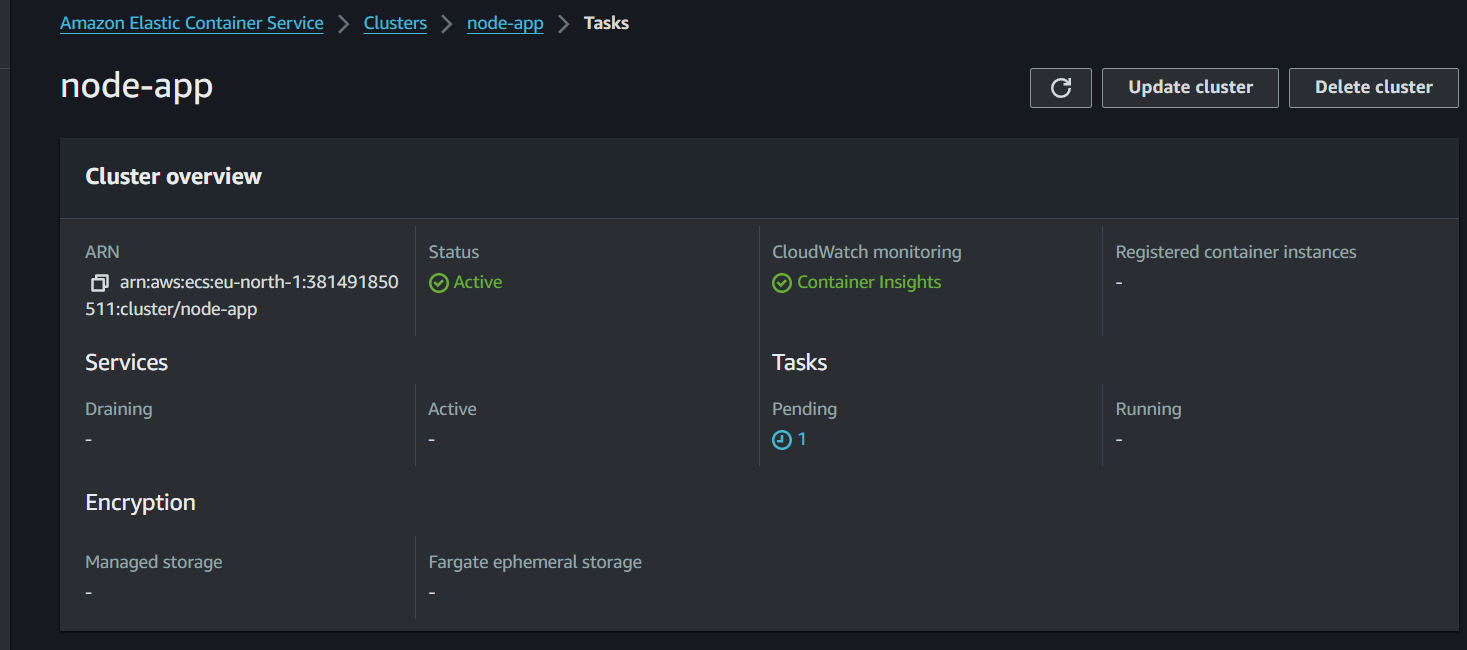
Task Deployment: Review the details and create the task, followed by deployment and execution on the cluster using Fargate's automated management.
The task is now deployed to the cluster.
Open Port in the Security Group
Security Group Configuration: Navigate to the ENI ID associated with your task and access the corresponding security group.
Inbound Rule Modification: Open Port 80 (HTTP) in the inbound rule and restrict access to your IP for enhanced security.
✅Project Live Execution
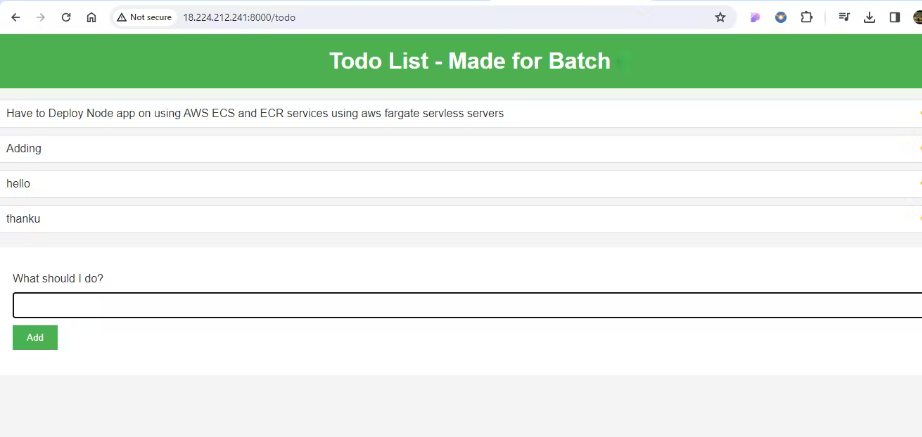
Accessing Task Details: Navigate to the task created earlier and retrieve the public IP.
Application Access: Access your live Node.js application using the provided IP address, witnessing your deployment in action.
✅Conclusion
Congratulations on successfully deploying your Node.js application on AWS ECS Fargate and ECR! By following this detailed guide, you've not only achieved deployment but also gained valuable insights into AWS cloud services.
Happy Learning!😊
Subscribe to my newsletter
Read articles from Ritesh Dolare directly inside your inbox. Subscribe to the newsletter, and don't miss out.
Written by

Ritesh Dolare
Ritesh Dolare
👋 Hi, I'm Ritesh Dolare, a DevOps enthusiast dedicated to mastering the art of DevOps.