Jenkins Backup & Restore
 Dinesh Kumar K
Jenkins is a powerful tool for Continuous Integration and Continuous Deployment (CI/CD). As with any critical system, ensuring that your Jenkins setup is backed up and can be restored is essential.
Why Backup Jenkins?
Backing up Jenkins is crucial for several reasons:
System Failures: Hardware or software failures can occur, and a backup ensures you can quickly recover.
Human Error: Mistakes can happen, such as accidental deletion of jobs or configuration changes.
Upgrades and Migration: When upgrading Jenkins or migrating to a new server, having a backup helps prevent data loss.
Agenda :
1 : Install ThinBackup plugin
2 : Configure ThinBackup Plugin
3 : Backup and Restore
Step 1 : Install ThinBackup plugin
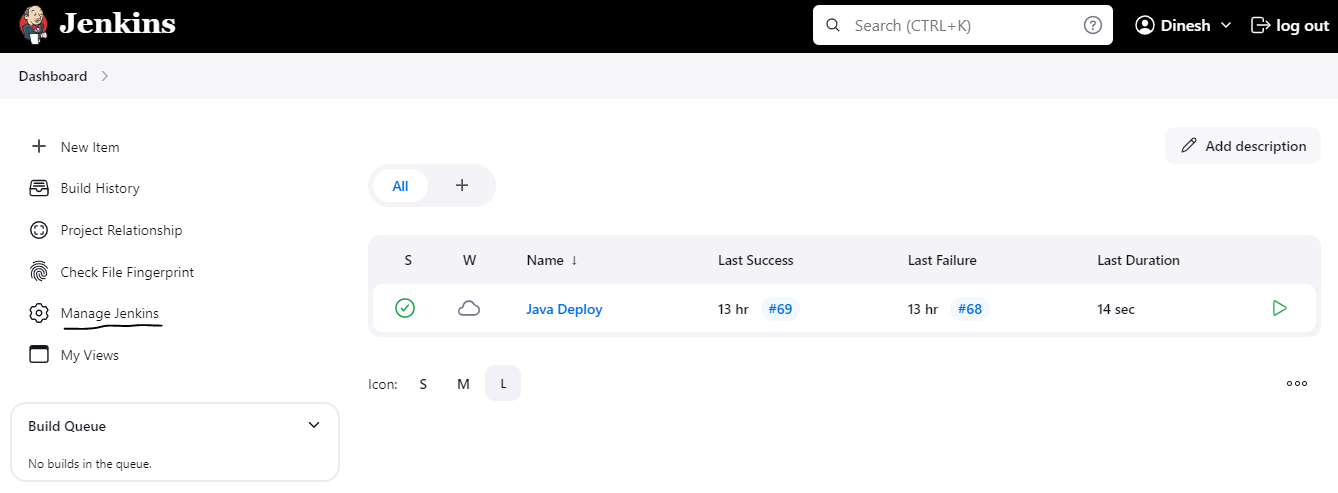
Click on Manage Jenkins
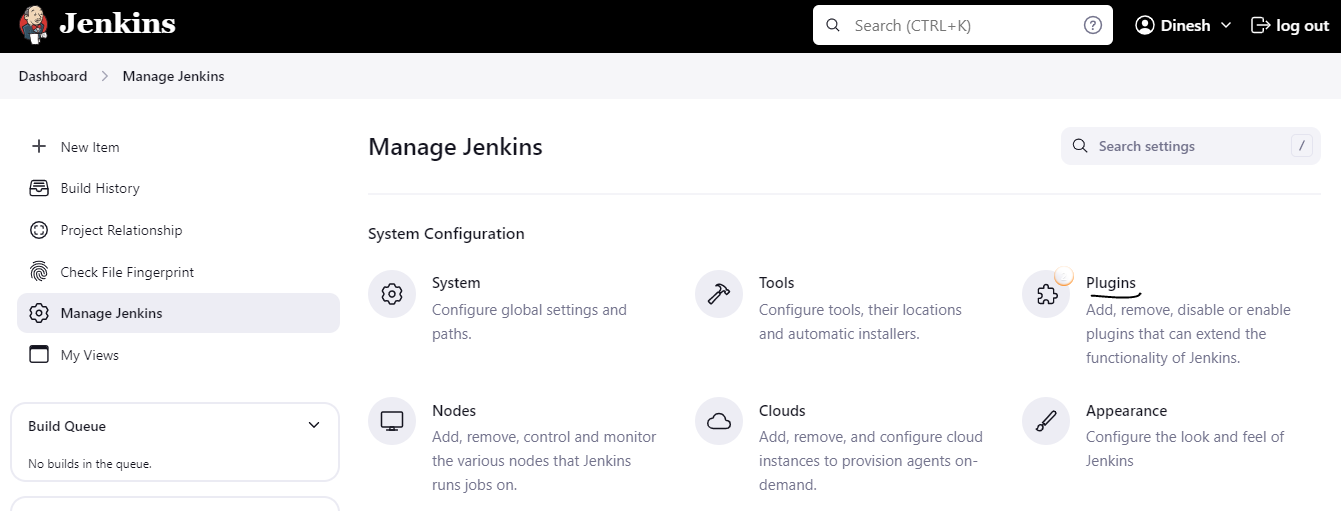
Navigate to Plugins
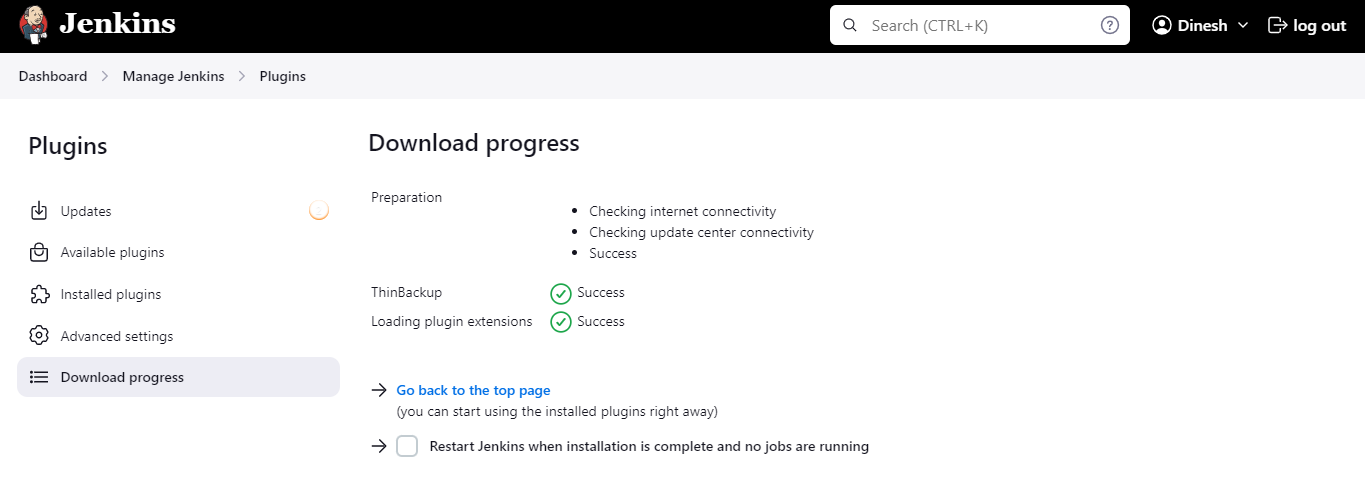
Click on Available plugin , search for ThinBackup and install it

Step 2 : Configure ThinBackup Plugin
Now check in the Manage Jenkins page; the ThinBackup feature is newly added.

Create a folder jenkins_backup inside /var/lib/jenkins on your Jenkins machine.

Give permission to that directory

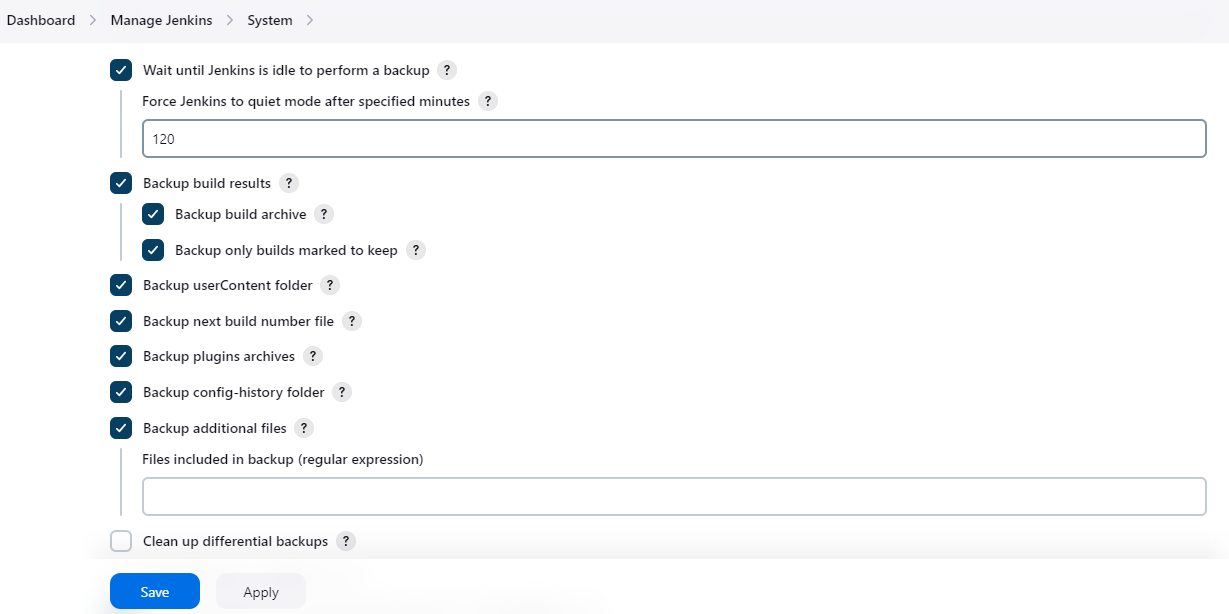
Go to Manage Jenkins > Click on System > Enter backup dir path
Add backup path /var/lib/jenkins/jenkins_backup
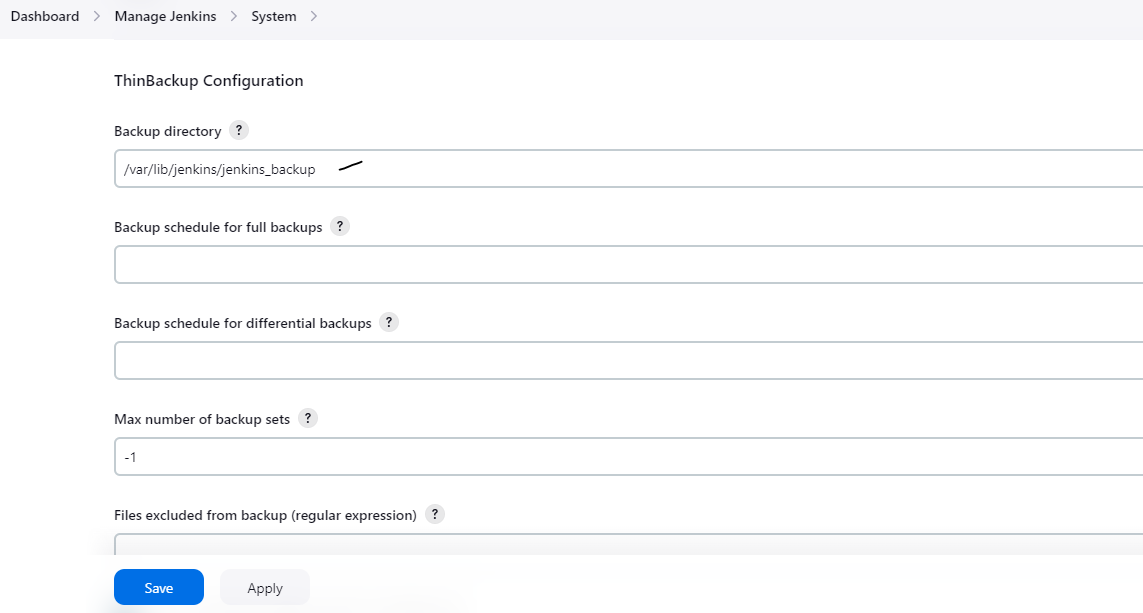
Select needed options > Click Save
Step 3 : Backup and Restore
Click Backup now option, this will take few seconds
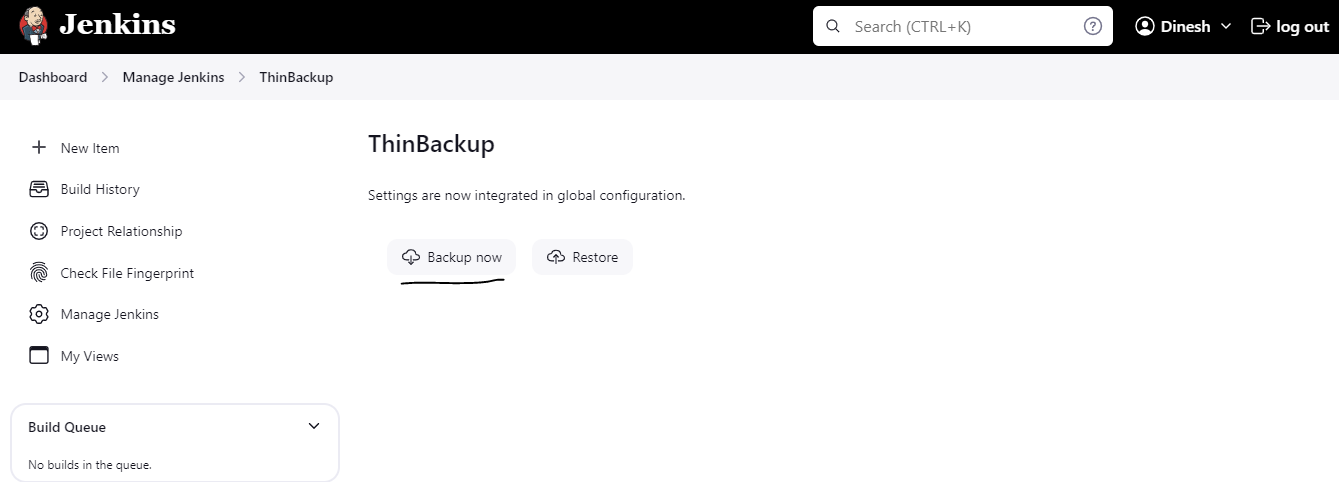
Go to the backup directory you specified earlier. Ensure that backup files have been created

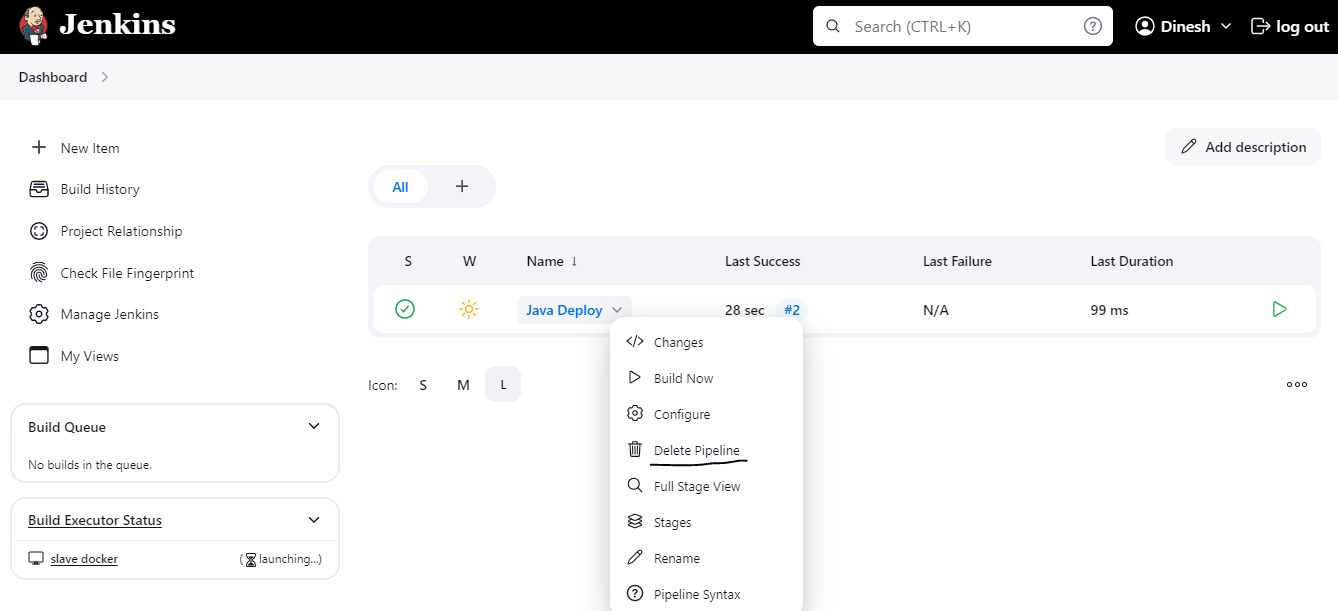
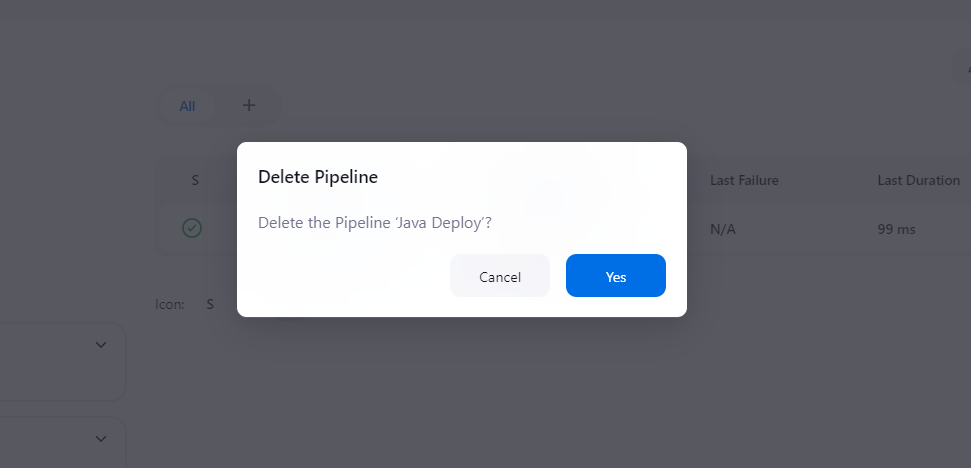
To ensure your backups are working correctly, delete any job
Click Yes
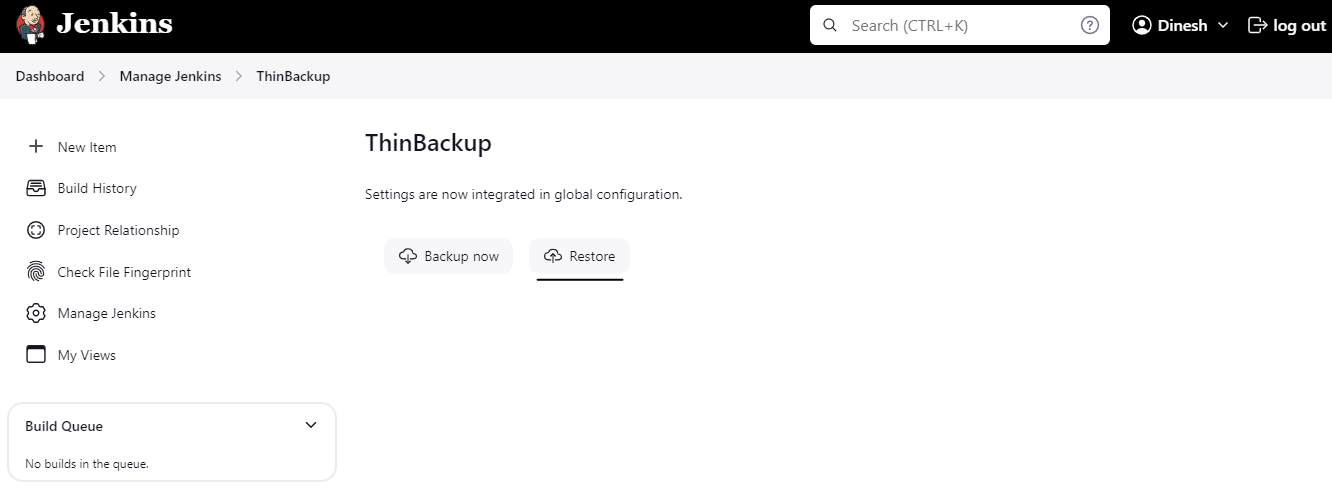
Now, Click Restore option
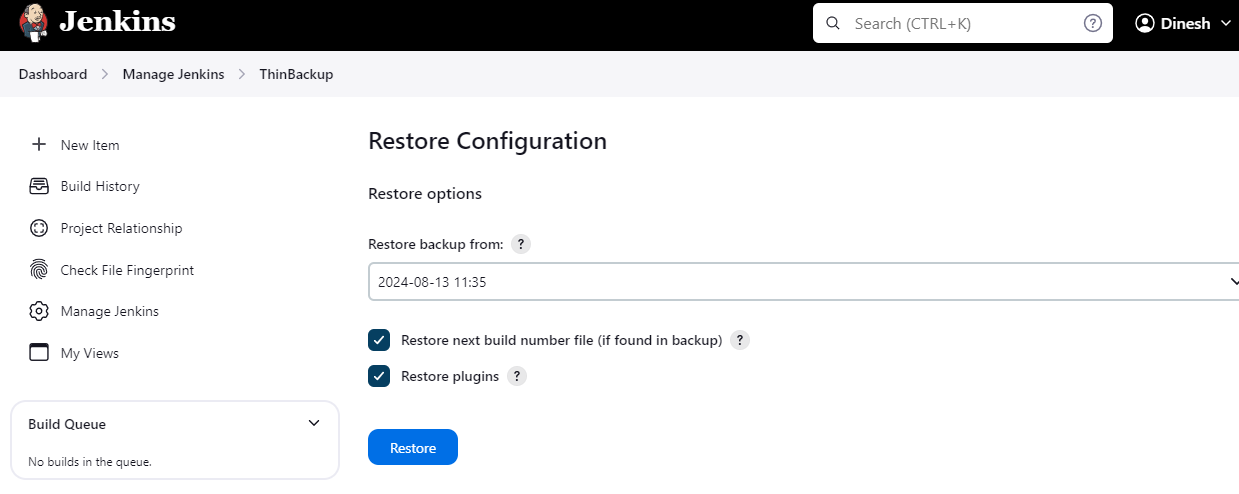
Choose your backup date & time > Click Restore
Now, you can see deleted jobs.

Conclusion
Backing up and restoring Jenkins is a crucial part of maintaining a reliable CI/CD pipeline.
Subscribe to my newsletter
Read articles from Dinesh Kumar K directly inside your inbox. Subscribe to the newsletter, and don't miss out.
Written by

Dinesh Kumar K
Dinesh Kumar K
Hi there! I'm Dinesh, a passionate Cloud and DevOps enthusiast. I love to dive into the latest new technologies and sharing my journey through blog.