Azure AKS Troubleshooting Hands-On - Node Not Ready Due to Disk Pressure
 Francisco Souza
📝Introduction
In this hands-on lab, we will guide for troubleshooting a real scenario in Azure Kubernetes Service (AKS) for a common issue: a Node Not Ready Due to Disk Pressure.
Learning objectives:
In this module, you'll learn how to:
Identify the issue
Resolve the issue
📝Log in to the Azure Management Console
Using your credentials, make sure you're using the right Region. In my case, I am using the region uksouth in my Cloud Playground Sandbox.
📌Note: You can also use the VSCode tool or from your local Terminal to connect to Azure CLI
More information on how to set it up is at the link.
📝Prerequisites:
Update to PowerShell 5.1, if needed.
Install .NET Framework 4.7.2 or later.
Visual Code
Web Browser (Chrome, Edge)
Azure CLI installed
Azure subscription
Docker installed
📝Setting an Azure Storage Account to Load Bash or PowerShell
- Click the Cloud Shell icon
(>_)at the top of the page.

- Click PowerShell.

- Click Show Advanced Settings. Use the combo box under Cloud Shell region to select the Region. Under Resource Group and Storage account(It's a globally unique name), enter a name for both. In the box under File Share, enter a name. Click ***Create storage (***if you don't have any yet).

📝Create an AKS Cluster
Create an AKS cluster using the
az aks createcommand, but before storing the name of the cluster inside a variable named CLUSTERNAME.Copy
  CLUSTERNAME=<AKSClusterName>
  az aks create -n $CLUSTERNAME -g $RG --node-vm-size Standard_D2s_v3 --node-count 2 --generate-ssh-keys
📝 Connect to AKS Cluster
Use the Azure Portal to check your AKS Cluster resources, by following the steps below:
Go to Azure Dashboard, and click on the Resource Group created for this Lab, looking for your AKS Cluster resource.

On the Overview tab, click on Connect to your AKS Cluster**.**

A new window will be opened, so you only need to open the Azure CLI and run the following commands:
az login
az account set subscription <your-subscription-id>
az aks get-credentials -g <nameRersourceGroup> -n <nameAKSCluster> --overwrite-existing
After that, you can run some Kubectl commands to check the default AKS Cluster resources.

📝Simulate the Issue:
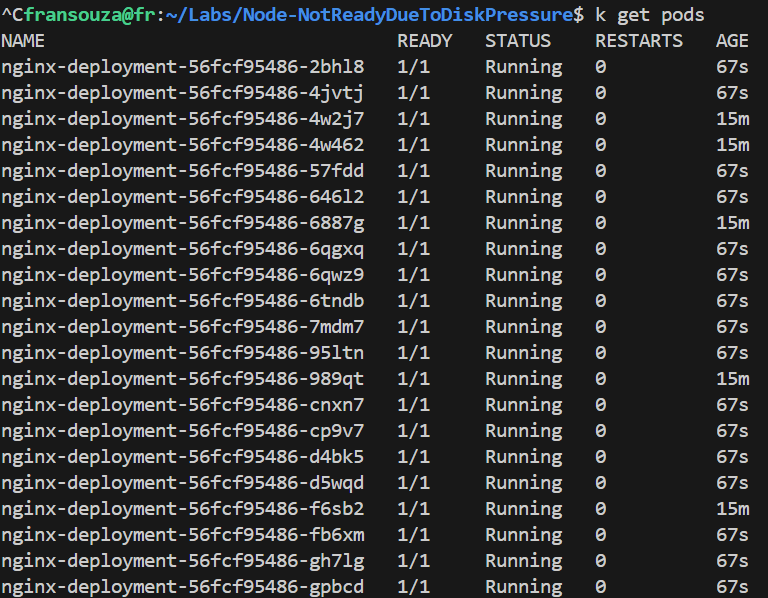
Deploy a Sample Application: Create a deployment YAML file (
nginx-deployment.yaml) with a large number of replicas:apiVersion: apps/v1 kind: Deployment metadata: name: nginx-deployment spec: replicas: 50 selector: matchLabels: app: nginx template: metadata: labels: app: nginx spec: containers: - name: nginx image: nginx:latestApply the Deployment:
kubectl apply -f nginx-deployment.yaml
📝Identify the Issue:
Check Node Status:
kubectl get nodes
Describe the Node:
kubectl describe node <node-name>Look for conditions indicating “DiskPressure”, however, if you have a cluster with enough resources available like me, maybe you will not see this condition :)
But in case you have it, please, follow the next steps for troubleshooting the issue.

📝Troubleshoot the Issue:
Check Disk Usage: Connect into the node and check disk usage:
  kubectl debug node/<node-name> -it --image=mcr.microsoft.com/cbl-mariner/busybox:2.0
  df -Th
Check Pod Disk Usage: Identify pods consuming high disk space:
kubectl top pods --sort-by=memory
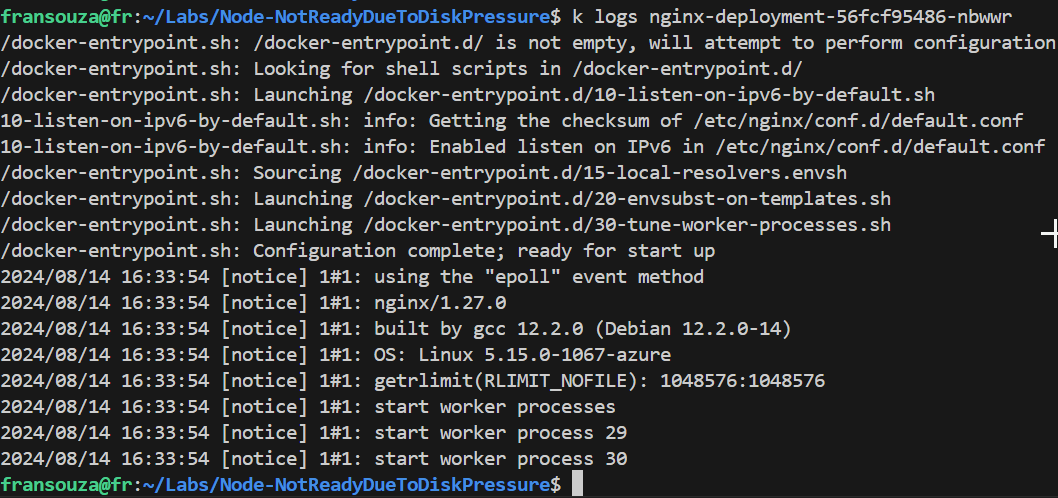
Check Logs: Check logs for any errors related to disk usage:
kubectl logs <pod-name>
📝Resolve the Issue:
Clean Up Disk Space: Delete unnecessary files or logs on the node.
Scale Down the Deployment: Reduce the number of replicas in the deployment YAML file:
  spec:
    replicas: 10
Reapply the Deployment:
kubectl apply -f nginx-deployment.yamlCheck Node Status Again:
kubectl get nodesDescribe the Node:
kubectl describe node <node-name>Ensure the “DiskPressure” condition is resolved.
📌Note - At the end of each hands-on Lab, always clean up all resources previously created to avoid being charged.
Congratulations — you have completed this hands-on lab covering the basics of Troubleshooting an AKS Node Not Ready Due to Disk Pressure.
Thank you for reading. I hope you understood and learned something helpful from my blog.
Please follow me on Cloud&DevOpsLearn and LinkedIn, franciscojblsouza
Subscribe to my newsletter
Read articles from Francisco Souza directly inside your inbox. Subscribe to the newsletter, and don't miss out.
Written by

Francisco Souza
Francisco Souza
I have over 20 years of experience in IT Infrastructure and currently work at Microsoft as an Azure Kubernetes Support Engineer, where I support and manage the AKS, ACI, ACR, and ARO tools. Previously, I worked as a Fault Management Cloud Engineer at Nokia for 2.9 years, with expertise in OpenStack, Linux, Zabbix, Commvault, and other tools. In this role, I resolved critical technical incidents, ensured consistent uptime, and safeguarded against revenue loss from customers. Additionally, I briefly served as a Technical Team Lead for 3 months, where I distributed tasks, mentored a new team member, and managed technical requests and activities raised by our customers. Previously, I worked as an IT System Administrator at BN Paribas Cardif Portugal and other significant companies in Brazil, including an affiliate of Rede Globo Television (Rede Bahia) and Petrobras SA. In these roles, I developed a robust skill set, acquired the ability to adapt to new processes, demonstrated excellent problem-solving and analytical skills, and managed ticket systems to enhance the customer service experience. My ability to thrive in high-pressure environments and meet tight deadlines is a testament to my organizational and proactive approach. By collaborating with colleagues and other teams, I ensure robust support and incident management, contributing to the consistent satisfaction of my customers and the reliability of the entire IT Infrastructure.