🎉Day 41: Setting Up Your First Minikube Kubernetes Cluster with Nginx
 Ritesh Dolare
What is Minikube? 🚀
Imagine you're learning to cook in your own small kitchen before trying to cook in a big, professional restaurant. Minikube is like that small kitchen—a safe, simple place to practice using Kubernetes on your own computer.
Kubernetes is a powerful tool used to manage lots of applications (like websites or services) that are running across many computers (called a cluster). But learning Kubernetes can be tricky because it's usually used on big, complicated systems. That's where Minikube comes in—it lets you create a mini version of a Kubernetes cluster on your own machine. This way, you can learn and experiment without needing a big, expensive setup.
Key Features of Minikube:
Runs on Any Computer 🖥️: Whether you're using Windows, macOS, or Linux, you can run Minikube on your computer. It sets up a virtual machine (VM), which is like a small, isolated computer inside your actual computer. This VM runs Kubernetes, so you can use it just like you would a full-scale Kubernetes cluster.
Easy Setup 🛠️: Setting up a full Kubernetes cluster from scratch can be complicated. Minikube simplifies this by doing most of the work for you. With just a few commands, you can have a small Kubernetes cluster running on your machine.
Add-ons for Extra Features 🛠️: Just like you can add toppings to a pizza, you can add extra features to your Minikube cluster. For example, you can add a dashboard that gives you a visual overview of everything happening in your cluster, or tools that help you monitor how well your apps are performing.
Connect to Services Easily 🔗: When you run an application inside Minikube (like a website), you can easily connect to it from your own computer. This is handy because you can see how your app is working without needing to deploy it to a real server.
Flexible Resource Use ⚙️: Minikube lets you control how much of your computer's resources (like CPU and memory) it uses. This way, you can make sure Minikube doesn't slow down your computer while you're working on other things.
Supports Different Container Runtimes 🏎️: While Docker is the most common container runtime (a program that runs containers), Minikube also supports others like containerd and CRI-O. This makes it flexible for different types of setups.
Experimental Multi-Node Support 🧪: Normally, Minikube is used to create a single-node cluster (one machine running Kubernetes). But if you want to experiment, Minikube also has a feature that lets you create a cluster with multiple nodes (like having more than one small kitchen to practice in).
Task 01: Install Minikube and Understand Pods 🛠️
Create an EC2 instance :
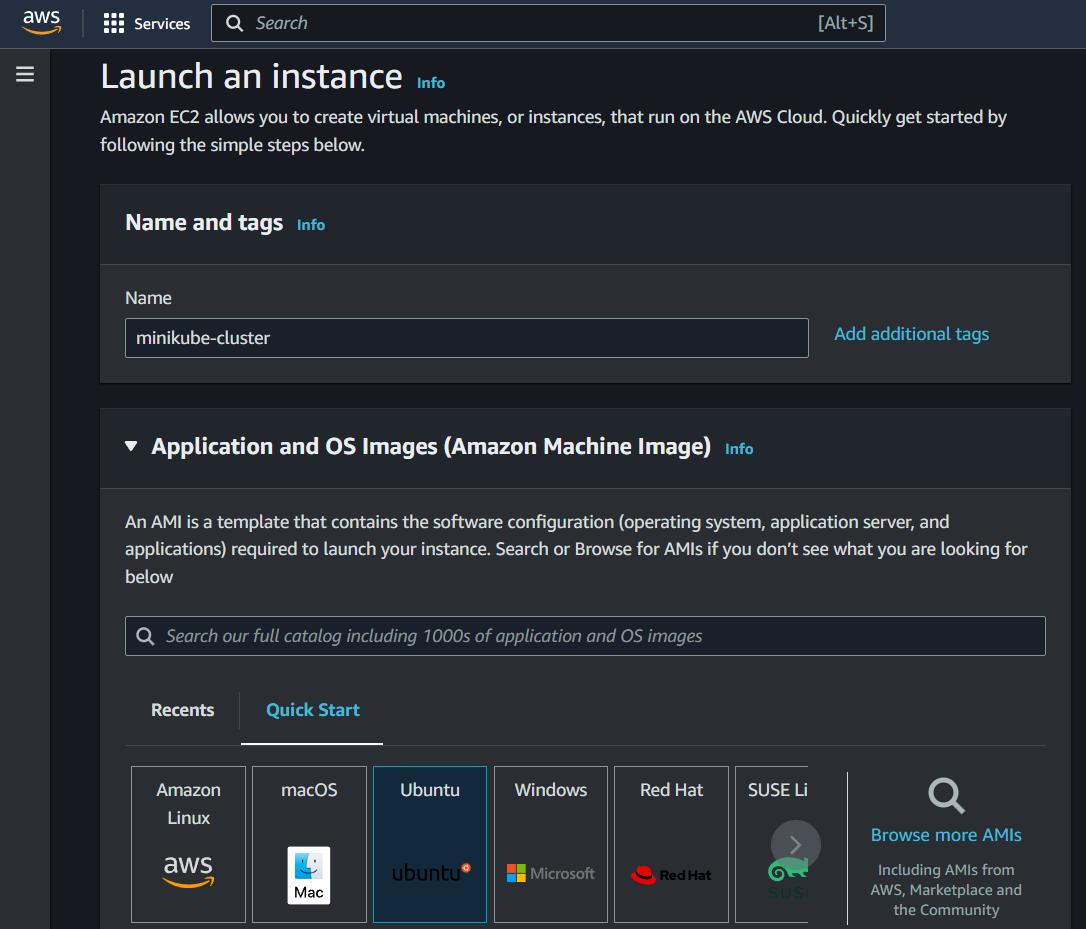
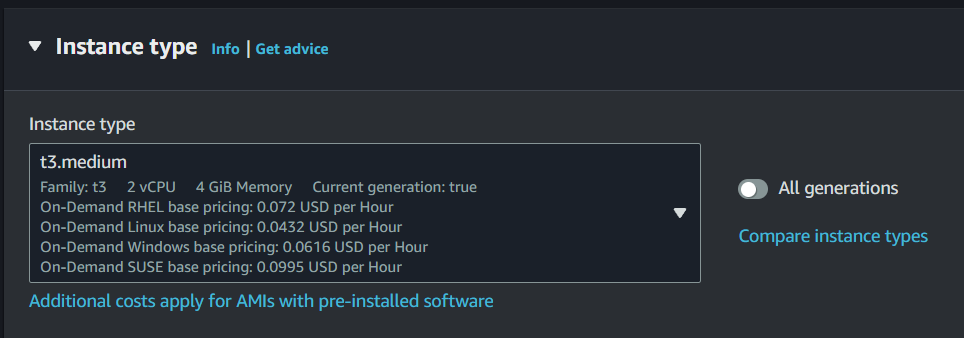


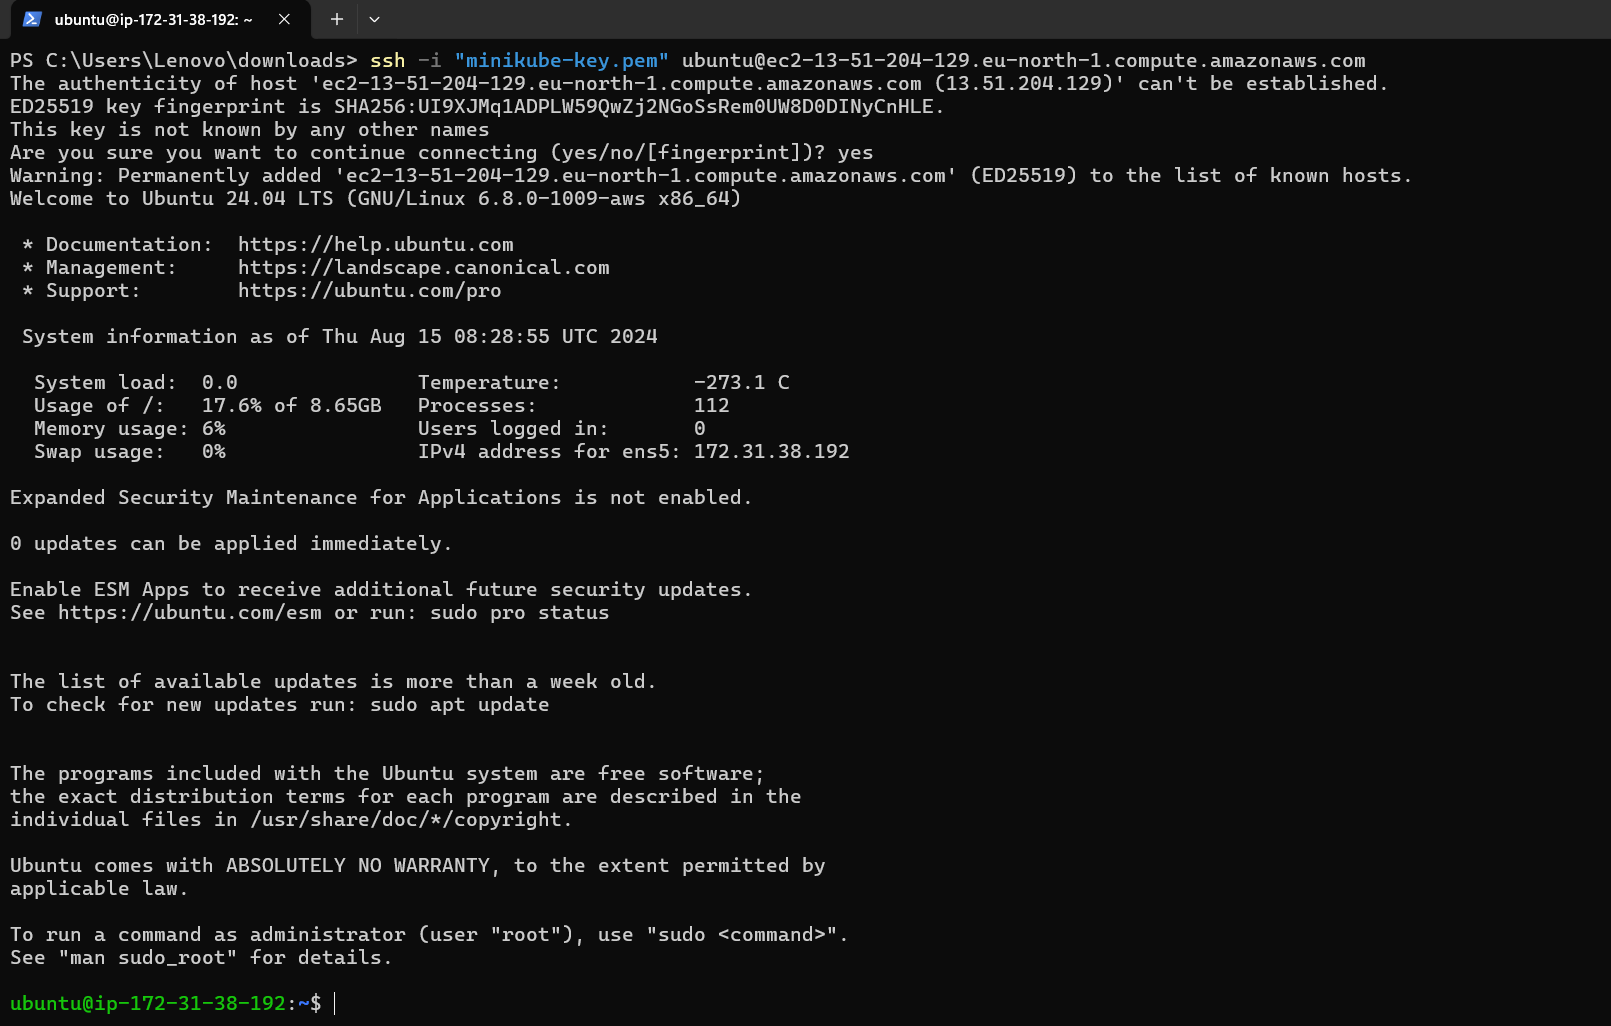
Step 1: Update System Packages:
Update your package lists to make sure you are getting the latest version and dependencies.
sudo apt update
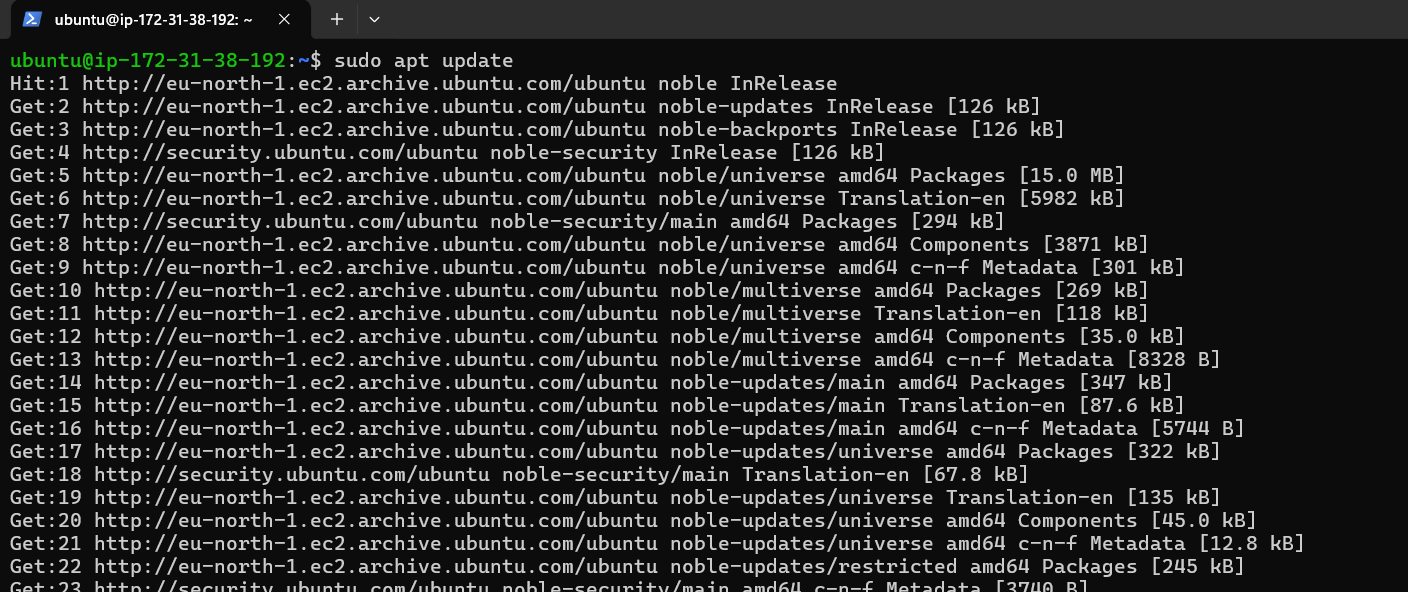
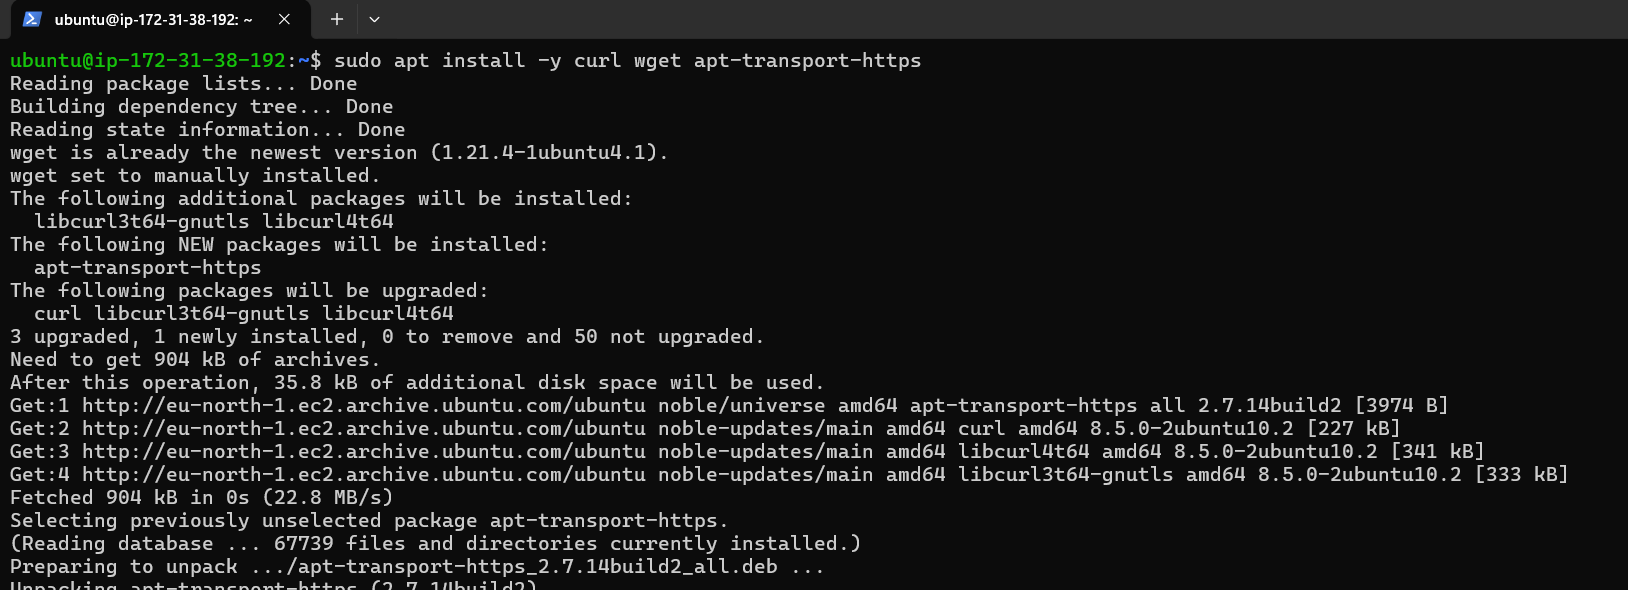
Step 2: Install Required Packages:
Install some basic required packages.
sudo apt install -y curl wget apt-transport-https
Step 3: Install Docker:
Minikube can run a Kubernetes cluster either in a VM or locally via Docker. This guide demonstrates the Docker method.
sudo apt install -y docker.io

Start and enable Docker.
sudo systemctl enable --now docker
Add current user to docker group (To use docker without root)
sudo usermod -aG docker $USER && newgrp docker

Now, logout (use exit command) and connect again.
Step 4: Install Minikube:
First, download the Minikube binary using curl:
curl -Lo minikube https://storage.googleapis.com/minikube/releases/latest/minikube-linux-amd64
Make it executable and move it into your path:
chmod +x minikube
sudo mv minikube /usr/local/bin/

Step 5: Install kubectl:
Download kubectl, which is a Kubernetes command-line tool.
curl -LO "https://dl.k8s.io/release/$(curl -L -s https://dl.k8s.io/release/stable.txt)/bin/linux/amd64/kubectl"
Check above image ⬆️ Make it executable and move it into your path:
chmod +x kubectl
sudo mv kubectl /usr/local/bin/

Step 6: Start Minikube:
Now, you can start Minikube with the following command:
minikube start --driver=docker --vm=true
This command will start a single-node Kubernetes cluster inside a Docker container.
Step 7: Check Cluster Status:
Check the cluster status with:
minikube status
You can also use kubectl to interact with your cluster:
kubectl get nodes

Step 8: Stop Minikube:
When you are done, you can stop the Minikube cluster with:
minikube stop
What is a Pod?
Now that Minikube is running, let’s talk about Pods.
In Kubernetes, a Pod is the smallest and most basic unit. Think of a Pod as a small, self-contained unit that holds one or more containers (which are like tiny, packaged applications).
Here’s a simple analogy: Imagine a Pod is like a box 📦, and inside the box, you have one or more items (containers). These containers are the actual applications or services you want to run, like a web server, a database, or a background task. The Pod makes sure that all the containers inside it can easily communicate with each other and share resources like storage and network.
In a real-world scenario, you might use a Pod to run a web server and a database together because they need to work closely. The Pod makes sure they are always together and can easily talk to each other.
Task-02: Create your first pod on Kubernetes through minikube.
Clone the repository:
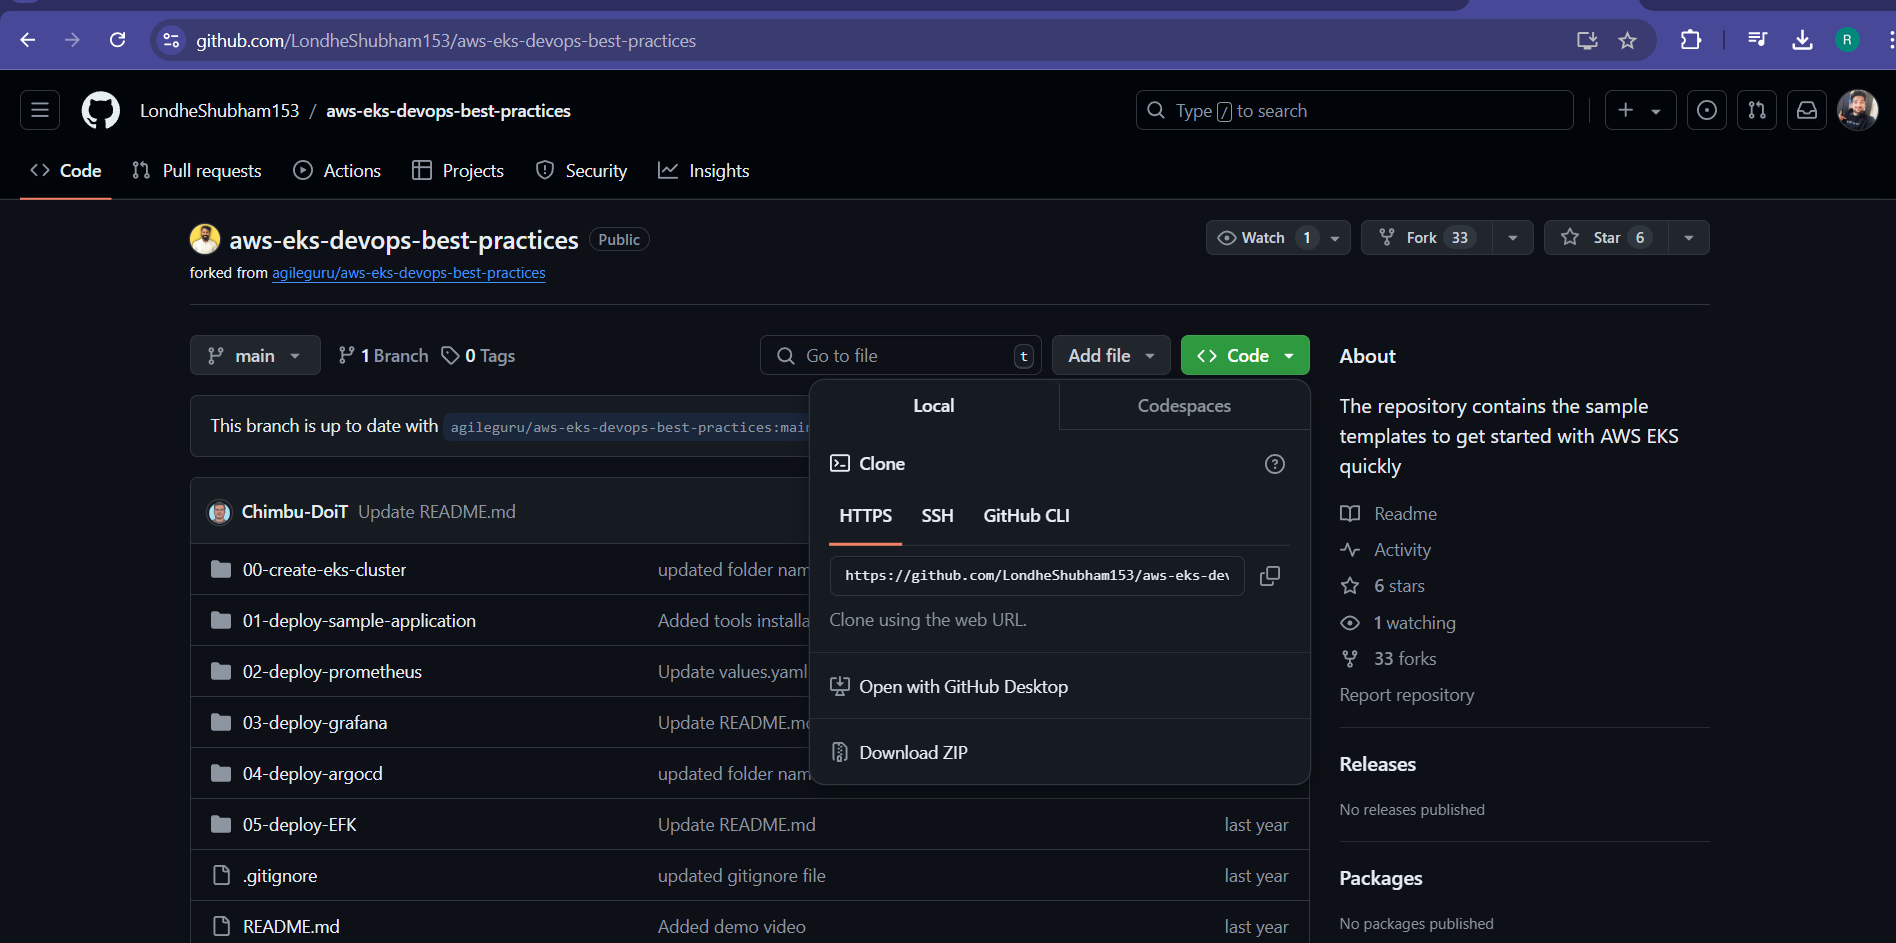

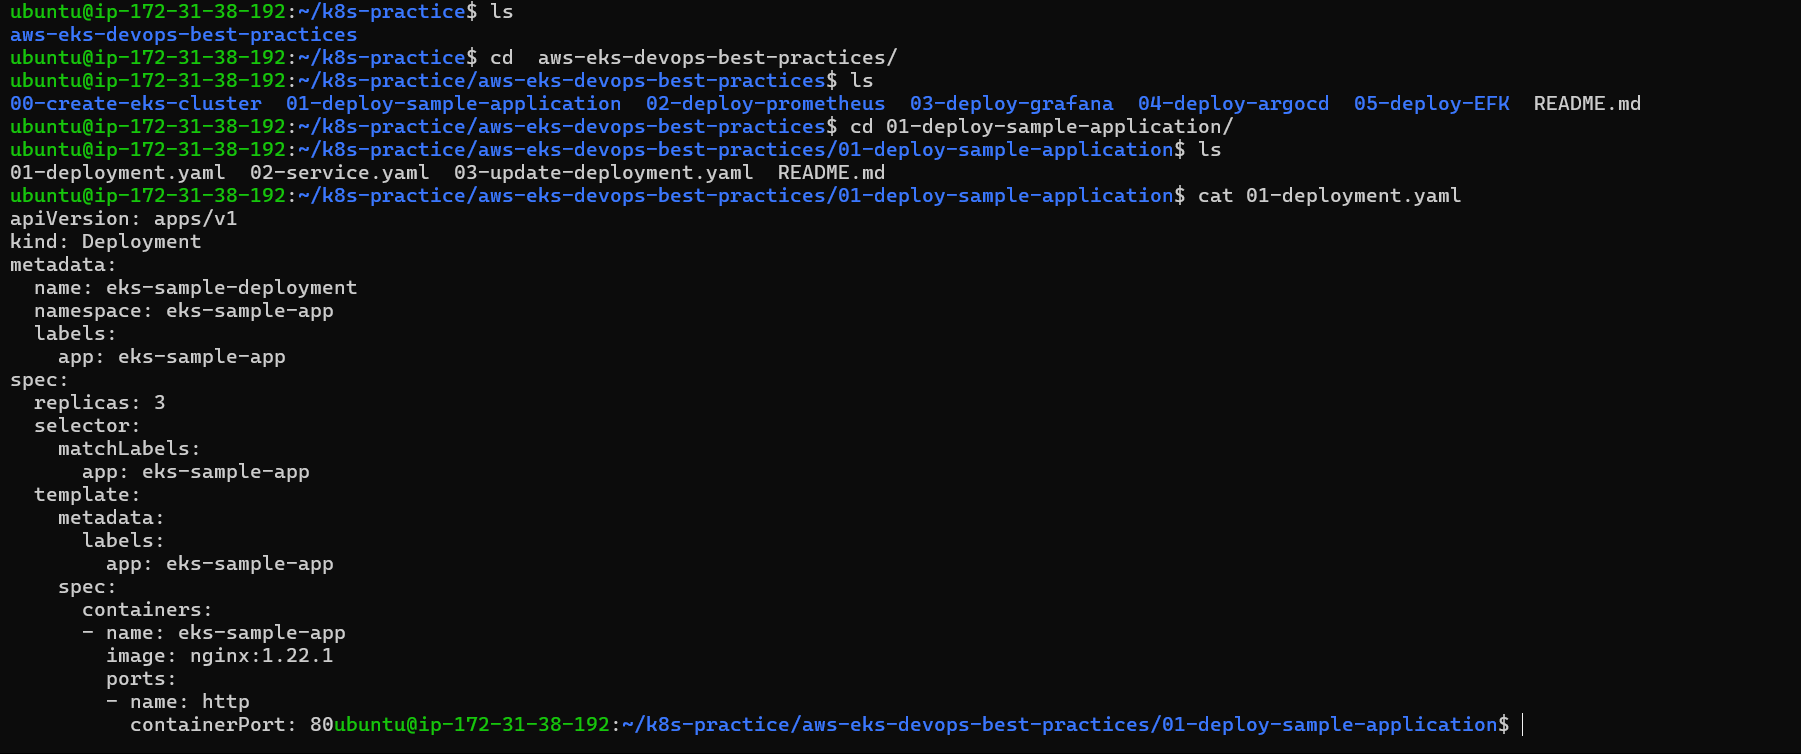
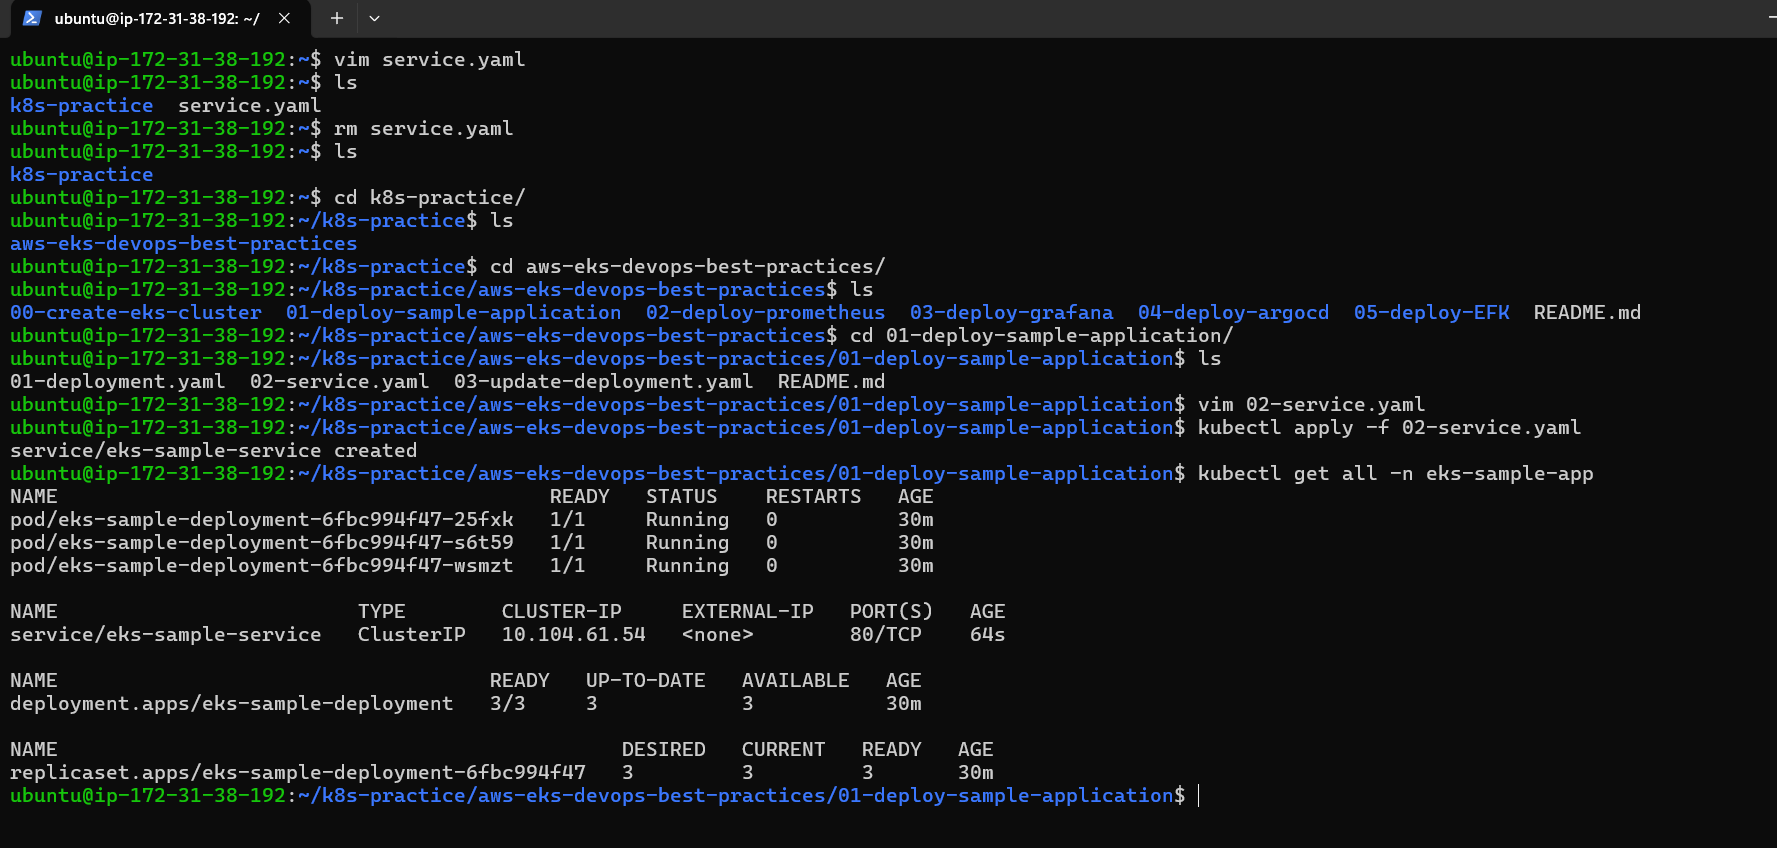
Apply the Manifest: Apply the pod manifest using
kubectl:kubectl apply -f pod.yamlCheck Pod Status: To check the status of your pod:
kubectl get pods

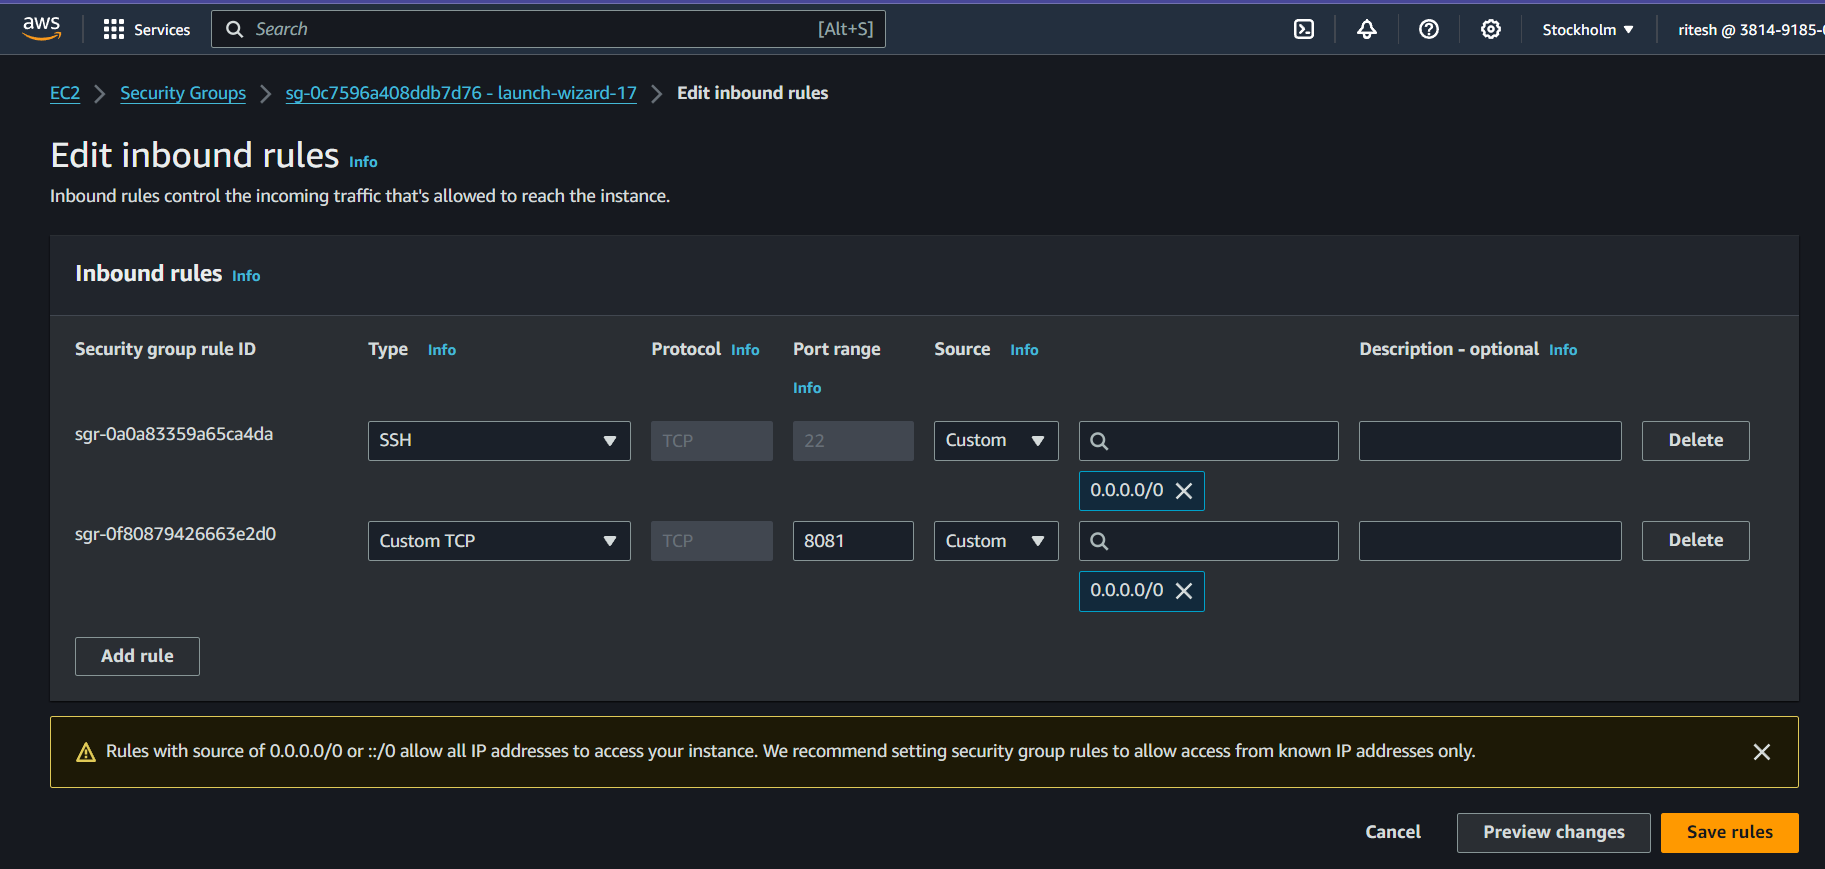
Expose the port by editing inbound rules:
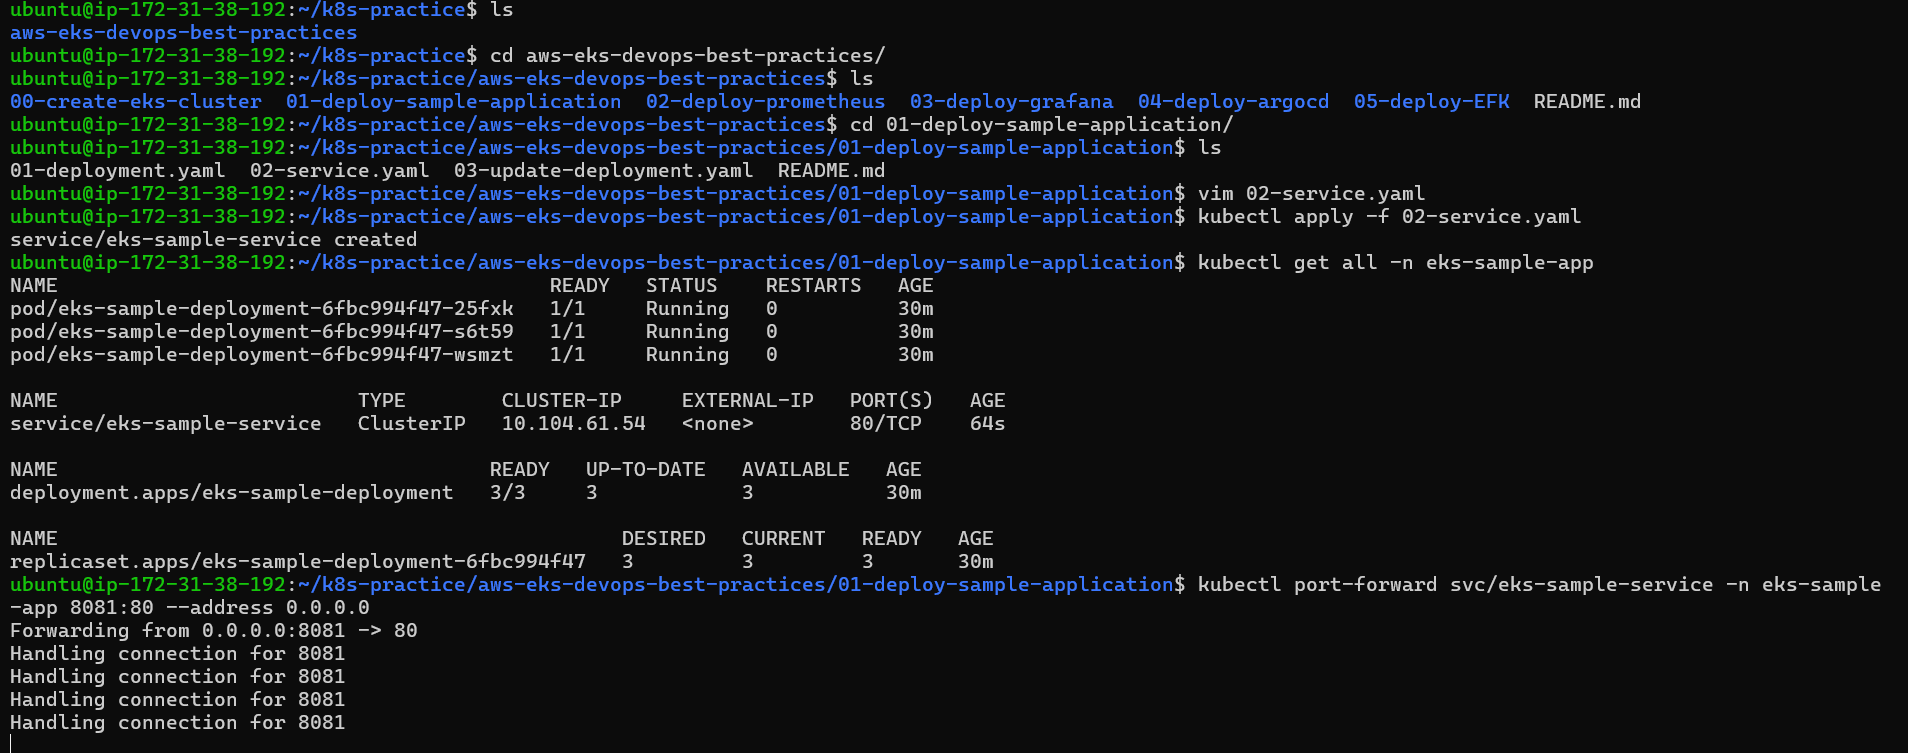
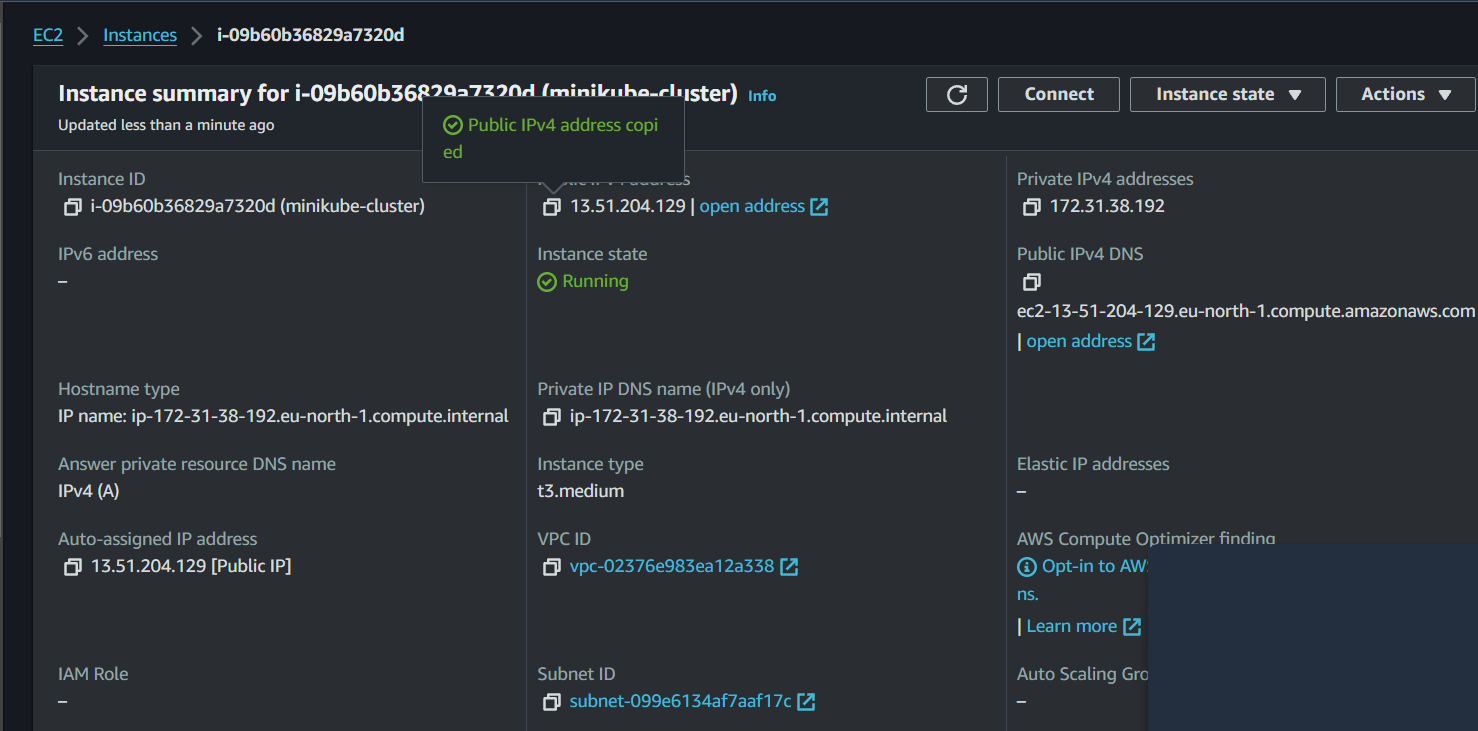

Remember, pods are the smallest deployable units in Kubernetes, and they can contain one or more containers. This example demonstrates creating a simple pod with a single Nginx container.
Happy Learning!😊
Subscribe to my newsletter
Read articles from Ritesh Dolare directly inside your inbox. Subscribe to the newsletter, and don't miss out.
Written by

Ritesh Dolare
Ritesh Dolare
👋 Hi, I'm Ritesh Dolare, a DevOps enthusiast dedicated to mastering the art of DevOps.