Understanding MLFlow: A Comprehensive Guide to ML Ops🔥
 Roshni Kumari
In the realm of machine learning operations (ML Ops), managing experiments and models efficiently is crucial. MLFlow emerges as a powerful tool that aids data scientists in tracking their experiments, managing models, and fostering collaboration. This guide delves into the features and functionalities of MLFlow, providing a step-by-step approach to installation, experiment tracking, model registration, and deployment.
The Purpose of MLFlow
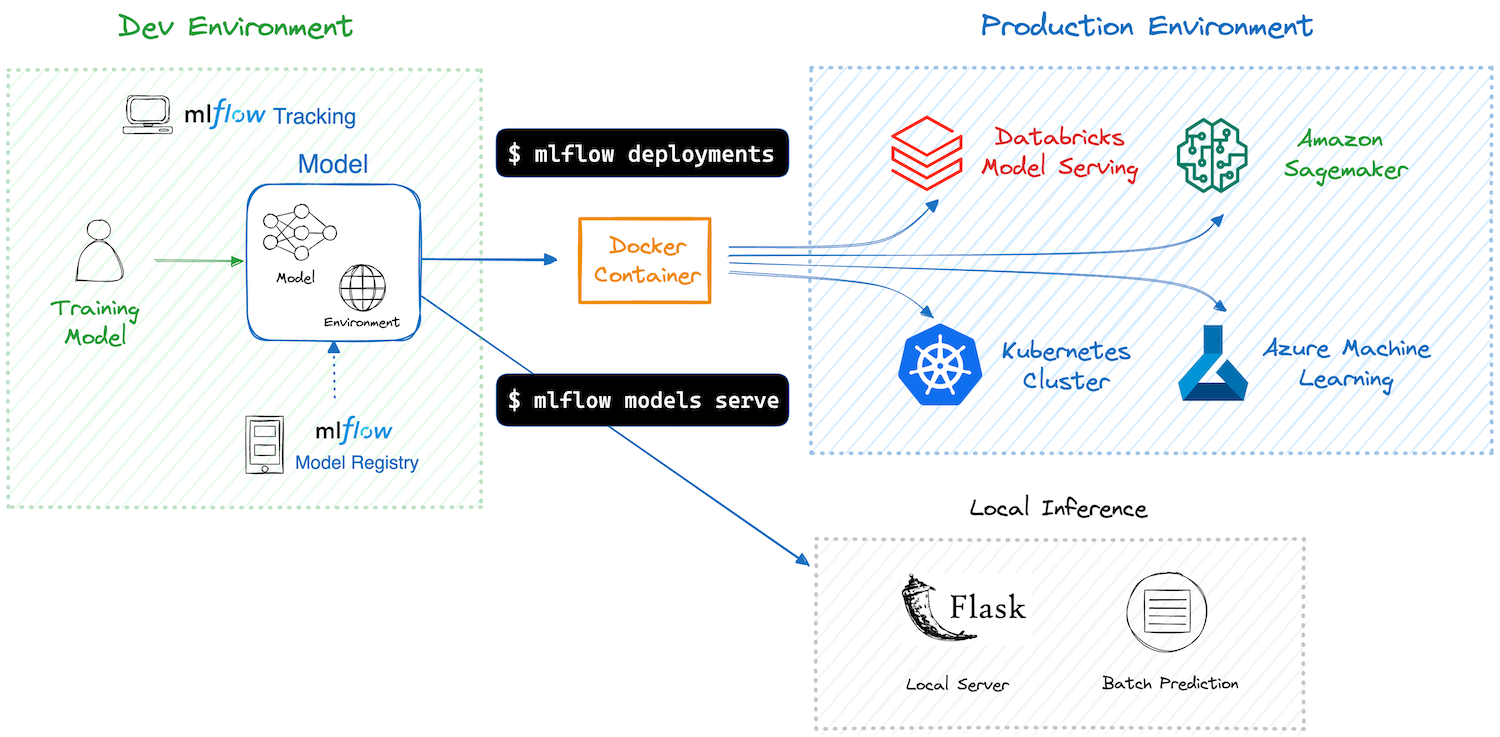
MLFlow is designed to address the challenges faced by data science teams during the machine learning lifecycle. Consider a scenario where multiple data scientists are working on similar problems but with different datasets, models, and parameters. This can lead to chaos if not managed properly. MLFlow streamlines this process by providing a structured way to log experiments, track model performance, and manage artefacts.
For instance, imagine a team tackling an anomaly detection problem. Each data scientist may have various notebooks with different datasets and models. This fragmentation complicates tracking progress and model performance, leading to inefficiencies. MLFlow centralizes this information, allowing teams to focus on building better models rather than managing chaos.
Installing MLFlow
To get started with MLFlow, the first step is installation. The process is straightforward. Simply run the following command in your terminal:
pip install mlflow
Once installed, you can launch the MLFlow UI by executing:
mlflow ui
This command will start a local server, accessible at localhost:5000, where you can visualize your experiments and models.
Experiment Tracking with MLFlow
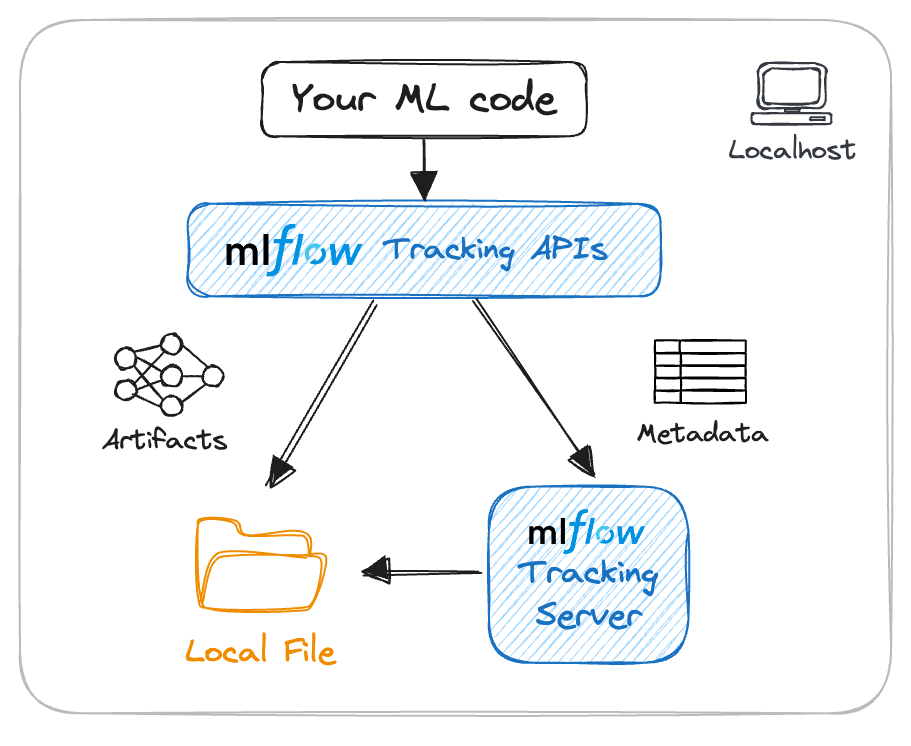
Experiment tracking is one of the primary features of MLFlow. It allows data scientists to log parameters, metrics, and model artefacts efficiently. Let’s break down how to conduct experiment tracking in MLFlow.
Setting Up an Experiment
After installing MLFlow, the next step is to set up an experiment. Here's how you can do it:
- Import the MLFlow library:
import mlflow
- Set your experiment name:
mlflow.set_experiment("First Experiment")
- Define the tracking URI:
mlflow.set_tracking_uri("http://localhost:5000")
Logging Parameters and Metrics
Once your experiment is set up, you can start logging parameters and metrics during your model training process. Here’s a simple way to log parameters:
with mlflow.start_run():
    mlflow.log_param("param_name", param_value)
    mlflow.log_metric("metric_name", metric_value)
For more comprehensive logging, you can log multiple parameters and metrics at once, which enhances clarity and organization.
Viewing Experiment Results
After you log your experiments, you can view the results in the MLFlow UI. The interface provides a clear overview of all your runs, including parameters and metrics, making it easy to compare different experiments.
Model Registry in MLFlow
As your experiments progress, managing models becomes essential. MLFlow's model registry allows you to register models, track versions, and manage their lifecycle.
Registering a Model
To register a model, you can use the following command:
mlflow.register_model("runs://model", "ModelName")
This command registers the specified model from a particular run, allowing you to track its version and performance over time.
Managing Model Versions
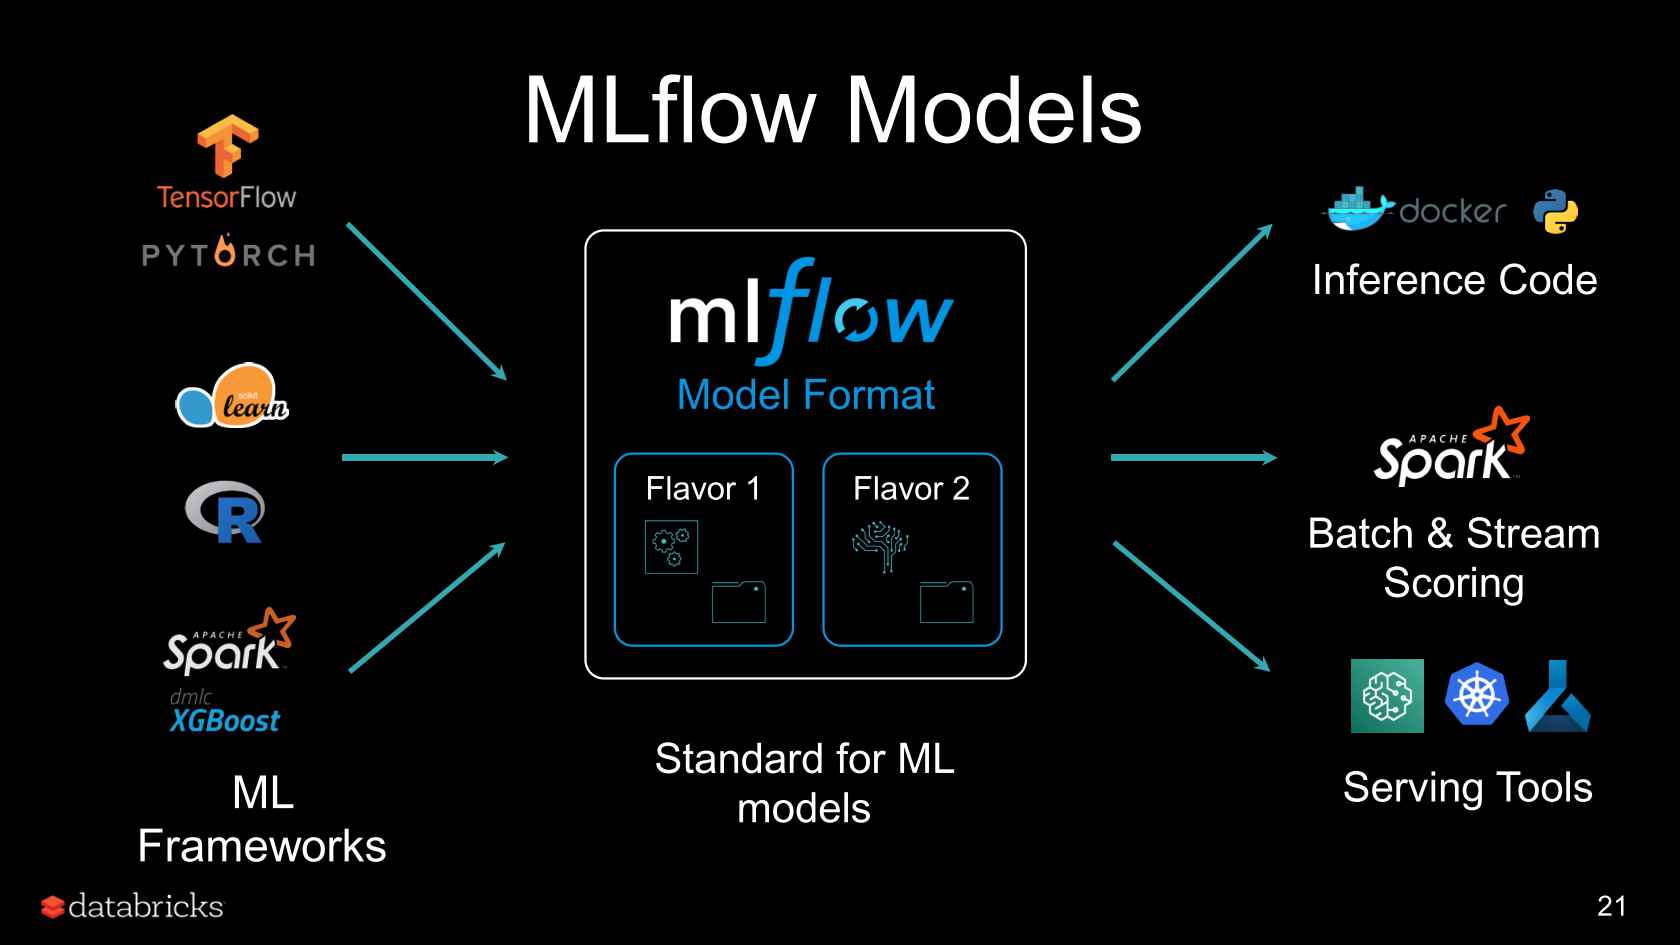
Managing different versions of a model is crucial, especially when you have multiple iterations. MLFlow provides functionalities to transition models between different stages, such as from development to production. You can promote a model version using:
mlflow.register_model("runs://model", "ModelName")
Deploying Models with MLFlow
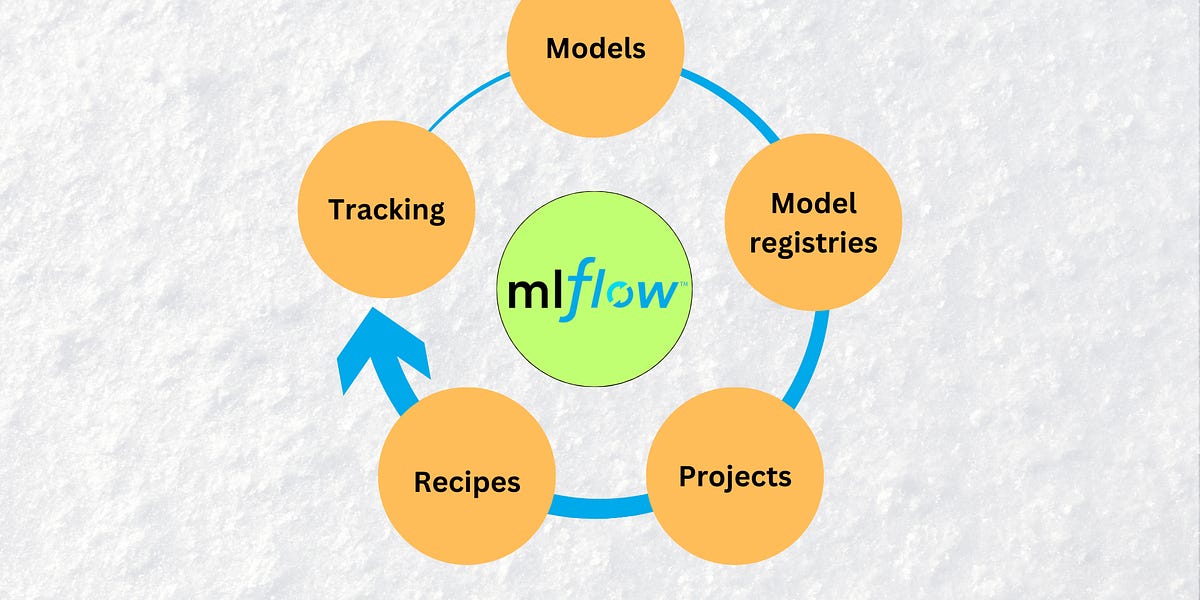
Once a model is registered, the next step is deployment. MLFlow supports various deployment strategies, including serving models via REST API or deploying them to cloud platforms.
Deploying to a Cloud Platform
Deploying your model to a cloud service can be accomplished with simple commands. MLFlow integrates with platforms like AWS, Azure, and GCP, allowing you to deploy your models in a scalable environment easily.
Centralized Server Using Dagshub
For teams looking to collaborate and share their experiments, using a centralized server is beneficial. Dagshub is a platform that allows teams to track experiments collaboratively. Here’s how to set it up:
Creating a Dagshub Account
Start by creating a free account on Dagshub. Once registered, you can create a new repository and link it to your GitHub account. This integration allows you to version control both your code and data seamlessly.
Publishing Experiments to Dagshub
After setting up your Dagshub repository, you can publish your MLFlow experiments directly to Dagshub.
import dsub
dsub.init("your_owner", "your_repository")
mlflow.log_metric("metric_name", metric_value)
This command will send your logged metrics to the Dagshub server, enabling team members to access and collaborate on the same experiments.
Conclusion
MLFlow significantly enhances the efficiency and organization of the machine learning lifecycle. By providing tools for experiment tracking, model management, and deployment, it allows data scientists to focus on building models rather than managing them. Integrating MLFlow with platforms like Dagshub further facilitates collaboration among teams, making it an essential tool for anyone involved in ML Ops.
As you embark on your journey with MLFlow, remember to explore its extensive documentation for more advanced features and use cases.
Happy experimenting!🚀
Subscribe to my newsletter
Read articles from Roshni Kumari directly inside your inbox. Subscribe to the newsletter, and don't miss out.
Written by

Roshni Kumari
Roshni Kumari
β MLSA | MUN Secretariat @GU | GOSC'24 | SIH PreQualifier | GDSC GU | Google Certified | Postman Student Expert | Open Source Contributor