Day 6 #KubeWeek : Mastering Kubernetes Cluster Maintenance
 Gunjan Bhadade
Welcome to Day 6 of the KubeWeek challenge! Today, we focus on the critical aspects of maintaining a Kubernetes cluster. We'll cover upgrading the cluster, backing up and restoring data, and scaling the cluster. Understanding these processes is essential for ensuring your Kubernetes environment remains robust, secure, and efficient. Let's dive in! 🚀
Introduction
Maintaining a Kubernetes cluster involves several key activities that ensure the smooth operation and longevity of your environment. Whether you're upgrading your cluster, protecting your data, or scaling to meet demand, these tasks are crucial for a healthy Kubernetes ecosystem.
Upgrading the Kubernetes Cluster
Why Upgrade?
Regular upgrades ensure you benefit from the latest features, security patches, and performance improvements. Upgrading your Kubernetes cluster can seem daunting, but with careful planning, it can be done with minimal disruption.
Step-by-Step Guide to Upgrade Minikube
Check Your Current Minikube Version:
minikube version
Stop Your Minikube Cluster: Before upgrading, make sure to stop your running Minikube cluster:
minikube stop
Update Minikube: Download and install the latest version of Minikube:
For Linux:
  curl -Lo minikube https://storage.googleapis.com/minikube/releases/latest/minikube-linux-amd64 \
    && chmod +x minikube \
    && sudo mv minikube /usr/local/bin/
Start Your Cluster with the Latest Version:
minikube start --kubernetes-version=latest
Verifying the Upgrade
After starting Minikube, verify the Kubernetes version to ensure the upgrade was successful:
kubectl version

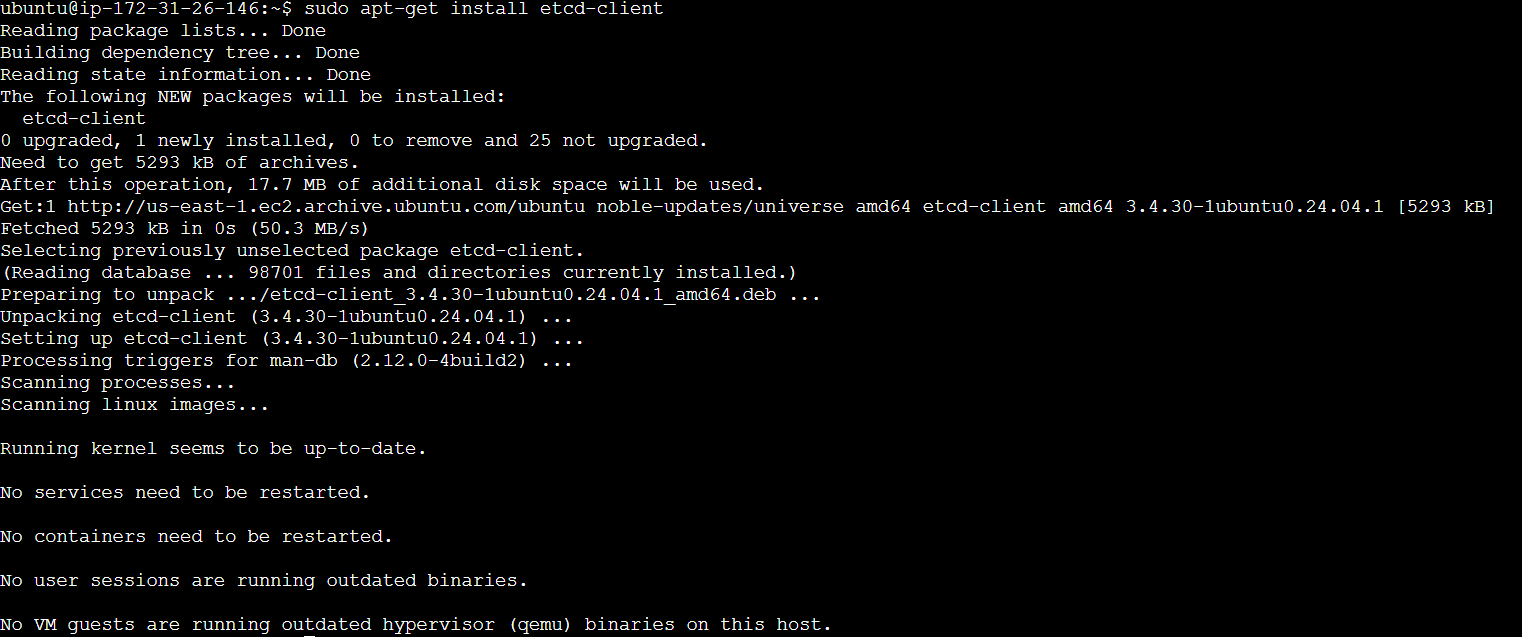
Backing Up and Restoring Data
Data backup and recovery are crucial to prevent data loss and ensure business continuity. Minikube simplifies this process with built-in tools.
Backing Up Data
Identify Persistent Volumes: List the Persistent Volumes (PVs) in your cluster.
kubectl get pvExport Data: Use the
kubectl cpcommand to copy data from your pods to your local machine.kubectl cp <namespace>/<pod>:/path/to/backup /local/path/to/backupFor example:
kubectl cp default/my-pod:/var/lib/mysql /backup/mysqlSave Configuration: Export your cluster's configuration, including Deployments, Services, and ConfigMaps.
kubectl get all --all-namespaces -o yaml > cluster-backup.yaml
Restoring Data
Restore Configuration: Apply the saved configuration to recreate the Kubernetes resources.
kubectl apply -f cluster-backup.yamlCopy Data Back to Pods: Use
kubectl cpto restore data from your local machine to the pods.kubectl cp /local/path/to/backup <namespace>/<pod>:/path/to/restoreFor example:
kubectl cp /backup/mysql default/my-pod:/var/lib/mysql
Scaling the Cluster
Horizontal Pod Autoscaler
To set up a Horizontal Pod Autoscaler (HPA) for an Apache deployment on Kubernetes, you'll need to define both the deployment and the HPA configuration. Here’s how you can do it step by step.
Step 1: Define the Apache Deployment
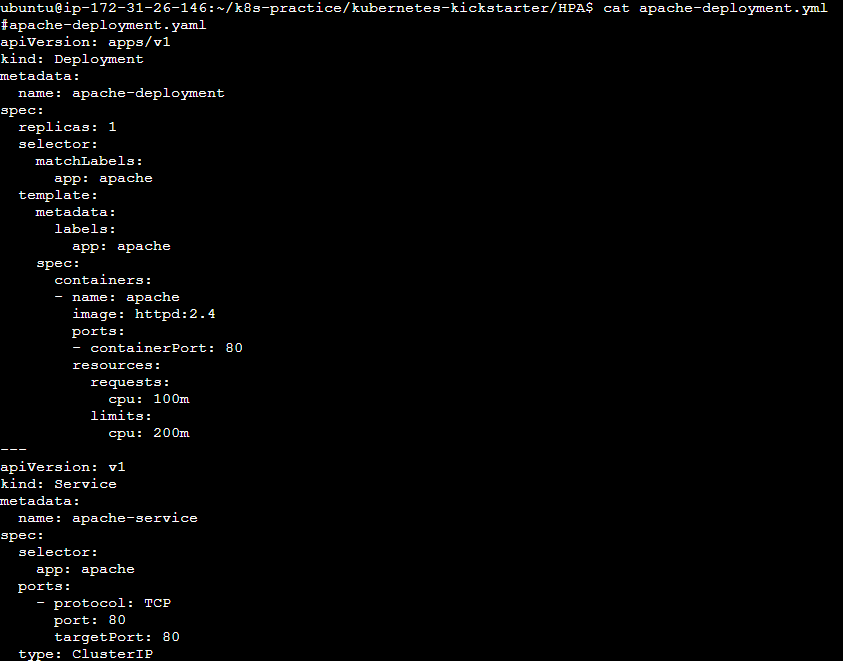
Create a file named apache-deployment.yaml with the following content:
apiVersion: apps/v1
kind: Deployment
metadata:
  name: apache-deployment
spec:
  replicas: 1
  selector:
    matchLabels:
      app: apache
  template:
    metadata:
      labels:
        app: apache
    spec:
      containers:
      - name: apache
        image: httpd:2.4
        ports:
        - containerPort: 80
        resources:
          requests:
            cpu: 100m
          limits:
            cpu: 200m
---
apiVersion: v1
kind: Service
metadata:
  name: apache-service
spec:
  selector:
    app: apache
  ports:
    - protocol: TCP
      port: 80
      targetPort: 80
  type: ClusterIP
Apply the deployment:
kubectl apply -f apache-deployment.yaml
Step 2: Define the Horizontal Pod Autoscaler
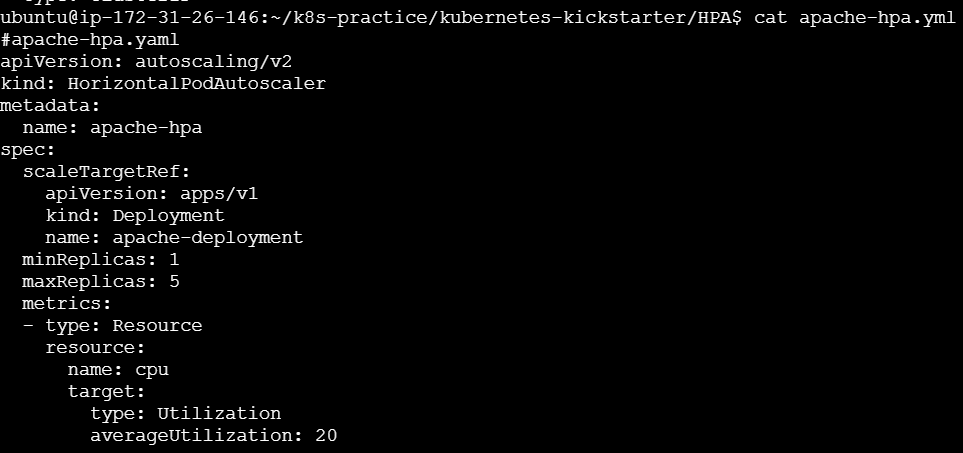
Create a file named apache-hpa.yaml with the following content:
apiVersion: autoscaling/v2
kind: HorizontalPodAutoscaler
metadata:
  name: apache-hpa
spec:
  scaleTargetRef:
    apiVersion: apps/v1
    kind: Deployment
    name: apache-deployment
  minReplicas: 1
  maxReplicas: 5
  metrics:
  - type: Resource
    resource:
      name: cpu
      target:
        type: Utilization
        averageUtilization: 20
Apply the HPA configuration:
kubectl apply -f apache-hpa.yaml
Step 3: Port forwarding
kubectl port-forward service/apache-service 8083:80 --address 0.0.0.0 &

Load before HPA

Step 4: Generate Load to Test HPA
To test the HPA, you can use a curl or wget loop to generate load on the Apache server. The following command will continuously send requests to your Apache server:
while true; do wget -q -O- http://<minikube-ip>:<nodePort>/; done

This loop will generate continuous traffic to your Apache server, causing the CPU utilization to increase, which in turn should trigger the HPA to scale up the number of pods.

Summary
Deploy Apache: Apply the
apache-deployment.yaml.Set Up HPA: Apply the
apache-hpa.yaml.Generate Load: Use a looped
wgetcommand to generate continuous traffic.
By following these steps, you should have a working Horizontal Pod Autoscaler that adjusts the number of Apache pods based on CPU utilization, helping to manage the load effectively.
t looks like the URL for the Vertical Pod Autoscaler (VPA) manifest has changed or is incorrect. Let’s use the official Kubernetes documentation to get the latest installation instructions.
Vertical Pod Autoscaler
Installing the Vertical Pod Autoscaler
To install the Vertical Pod Autoscaler (VPA), follow these steps:
Step-by-Step Guide to Install VPA
Clone the VPA Repository:
 git clone https://github.com/kubernetes/autoscaler.git
 cd autoscaler/vertical-pod-autoscaler/
Deploy VPA Components: Apply the VPA components manifest:
./hack/vpa-up.shVerify VPA Components: Ensure the VPA components (recommender, updater, and admission controller) are running:
kubectl get pods -n kube-system | grep vpa
Apache Deployment and VPA Configuration
1. Creating an Apache Deployment
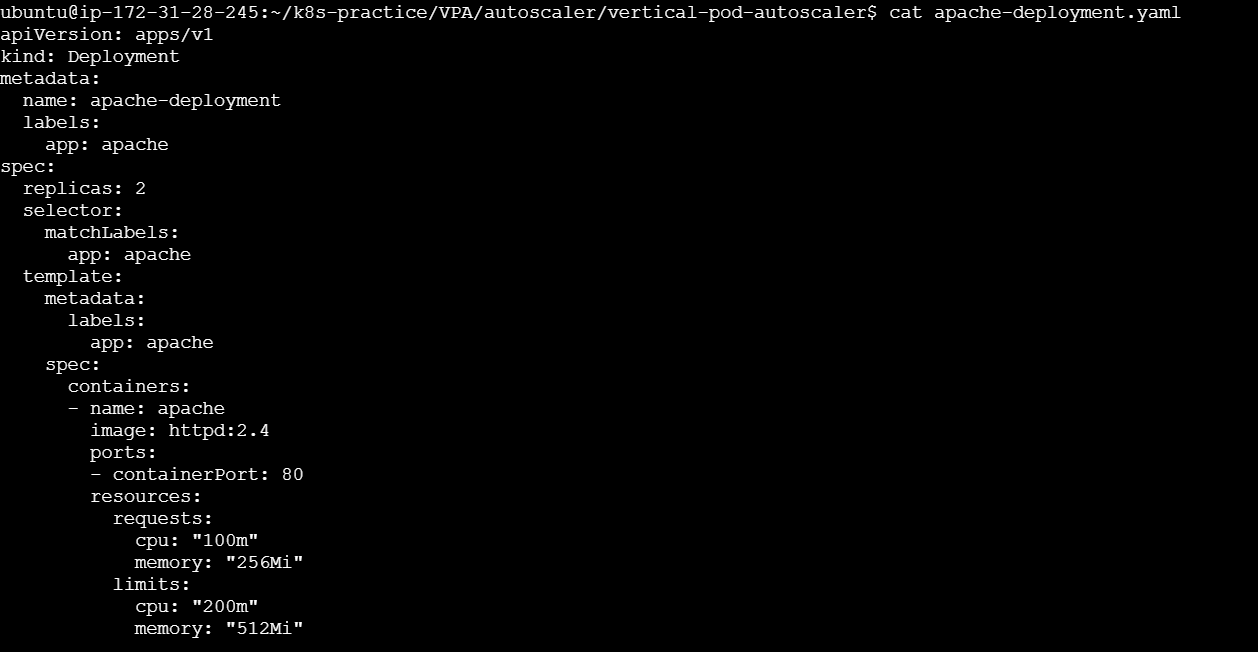
Create a file named apache-deployment.yaml with the following content:
apiVersion: apps/v1
kind: Deployment
metadata:
  name: apache-deployment
  labels:
    app: apache
spec:
  replicas: 2
  selector:
    matchLabels:
      app: apache
  template:
    metadata:
      labels:
        app: apache
    spec:
      containers:
      - name: apache
        image: httpd:2.4
        ports:
        - containerPort: 80
        resources:
          requests:
            cpu: "100m"
            memory: "256Mi"
          limits:
            cpu: "200m"
            memory: "512Mi"
Apply the deployment:
kubectl apply -f apache-deployment.yaml
Verify that the deployment is running:
kubectl get deployments
You should see the apache-deployment listed:

2. Configuring VPA for the Apache Deployment
Create a file named vpa-apache.yaml with the following content:
apiVersion: autoscaling.k8s.io/v1
kind: VerticalPodAutoscaler
metadata:
  name: vpa-apache
spec:
  targetRef:
    apiVersion: "apps/v1"
    kind:       Deployment
    name:       apache-deployment
  updatePolicy:
    updateMode: "Auto"

Apply the VPA configuration:
kubectl apply -f vpa-apache.yaml
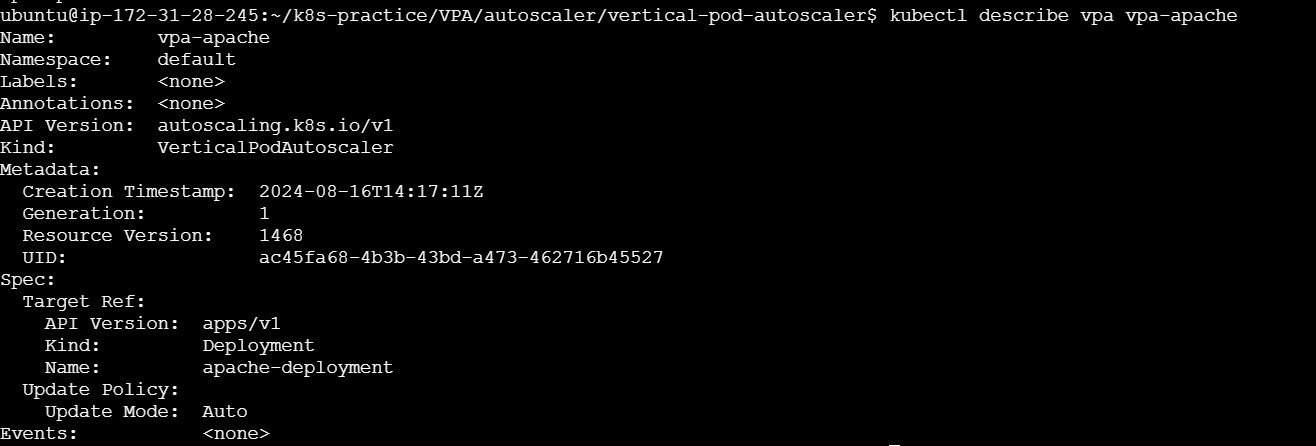
Verify that the VPA resource is created:
kubectl get vpa
You should see the vpa-apache listed:

Step-by-Step Guide to Generate Traffic
Install Apache Benchmark (ab): If you don't already have
abinstalled, you can install it using the following command on Ubuntu:sudo apt-get install apache2-utilsExpose the Apache Service: Ensure that the Apache deployment is accessible. You can create a Kubernetes Service of type
NodePortto expose it.Create a file named
apache-service.yamlwith the following content:apiVersion: v1 kind: Service metadata: name: apache-service spec: selector: app: apache ports: - protocol: TCP port: 80 targetPort: 80 nodePort: 30000 type: NodePort
Apply the service:
kubectl apply -f apache-service.yamlTo generate traffic use :
while true; do wget -q -O- http://54.165.92.36:8083/; done

You can see how the pods are vertically scaled the CPU has automatically increased

Once the traffic is stopped again pods comes to its original utilization

Using Vertical Pod Autoscaler (VPA) with your Apache deployment in Kubernetes can help ensure that your pods have the right amount of resources to run efficiently. By automatically adjusting the resource requests and limits based on actual usage, VPA helps optimize resource utilization and improve the performance of your applications.
Conclusion
On Day 6 of #KubeWeek, we delved into crucial aspects of Kubernetes cluster maintenance, including upgrading, backing up, and scaling.
We explored how to upgrade your Minikube cluster to ensure you're using the latest features and security patches.
We also discussed backing up and restoring data to safeguard against loss and ensure business continuity.
Finally, we covered scaling your cluster to handle varying workloads, highlighting both Horizontal Pod Autoscaler (HPA) for scaling the number of pod replicas and Vertical Pod Autoscaler (VPA) for adjusting resource requests and limits within pods.
Mastering these maintenance tasks ensures your Kubernetes environment remains efficient, resilient, and capable of meeting the demands of your applications.
Did you enjoy this post? Join me for the rest of KubeWeek and continue your Kubernetes journey! 🎉
Subscribe to my newsletter
Read articles from Gunjan Bhadade directly inside your inbox. Subscribe to the newsletter, and don't miss out.
Written by
