Mastering NPM Package Creation with TypeScript: A Step-by-Step Guide
 Avik Mukherjee
Creating an npm package can be an exciting and rewarding experience for developers. Recently, I embarked on this journey myself, developing a package called auth-typescript-template. This process not only allowed me to contribute to the developer community but also deepened my understanding of package creation and distribution.
Now, Creating an npm package can be an exciting venture, as it allows you to share your code with other developers worldwide. Now you might be wondering why are we using Typescript. The reason is very simple, as a superset of JavaScript, TypeScript offers a suite of benefits that make it an attractive choice for developers. By introducing optional static typing, it enhances code quality and maintainability, boosts productivity and efficiency, facilitates seamless collaboration, and enables more effective error detection. With its growing popularity and adoption by top projects like VSCode and Remix, TypeScript is becoming the go-to choice for developers seeking to elevate their applications to new heights. Whether we are building a complex enterprise-level application or a simple web app, TypeScript is the smarter way to code, And also it helps you catching undefined error of javascript pretty early 😄.
TypeScript can be thought of as bringing Java's robust type checking to JavaScript, providing a more maintainable, efficient, and scalable codebase. By introducing optional static typing, TypeScript ensures memory safety and prevents type-related errors at runtime, allowing developers to catch errors early and write more robust code. With its ability to infer types and seamlessly integrate with existing JavaScript code, TypeScript offers a smarter way to code, making it an ideal choice for building complex applications.
In this guide, we’ll walk through how I created the above package and how you can create one as well by using a very simple example package which is of adding two numbers.
Prerequisites
Ensure you have Node.js and npm installed. If not, download and install them from the Node.js official website.
Basic knowledge of TypeScript and npm.
Step-by-Step Guide
1. Create your NPM account
This is the most obvious and crucial step if you want to publish your NPM package, otherwise how would you get your impressive package out to the world.
Just head over to https://www.npmjs.com and create your account.
Also, remember to do two-factor authentication of your account. You can use an Authenticator app like Authenticator By Microsoft.
We will talk later, about how and when to use our account. For now, let's continue to the next step.
2. Initialize the Project
Create a new directory for your project and navigate to it:
mkdir adder-av
cd adder-av
Initialize a new npm project:
npm init -y
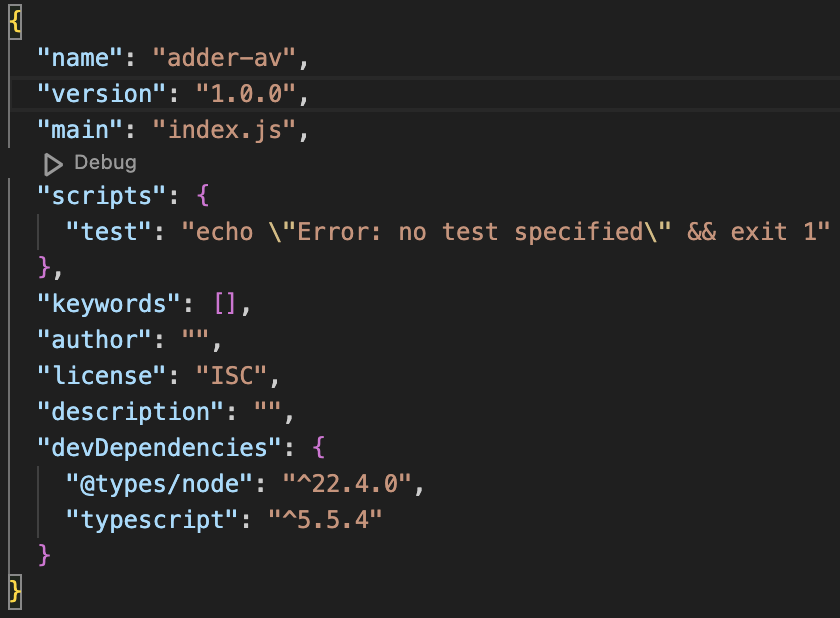
The command npm init -y is a quick way to initialize a new Node.js project and create a package.json file with default values. The -y flag (which stands for "yes") automatically answers "yes" to all the prompts that would normally appear during the initialization process. This command creates a basic package.json file with standard fields like name (derived from the current directory name), version (set to "1.0.0"), description (left blank), entry point (set to "index.js"), test command, git repository (if applicable), keywords (empty), author (blank), and license (set to "ISC"). It's a time-saving shortcut for developers who want to quickly set up a new project without manually entering all the details, with the understanding that they can always modify the package.json file later if needed.

2. Set Up TypeScript
Install TypeScript and @types/node (which provides TypeScript definitions for Node.js):
npm install typescript @types/node --save-dev
Now, initialize a TypeScript configuration:
npx tsc --init
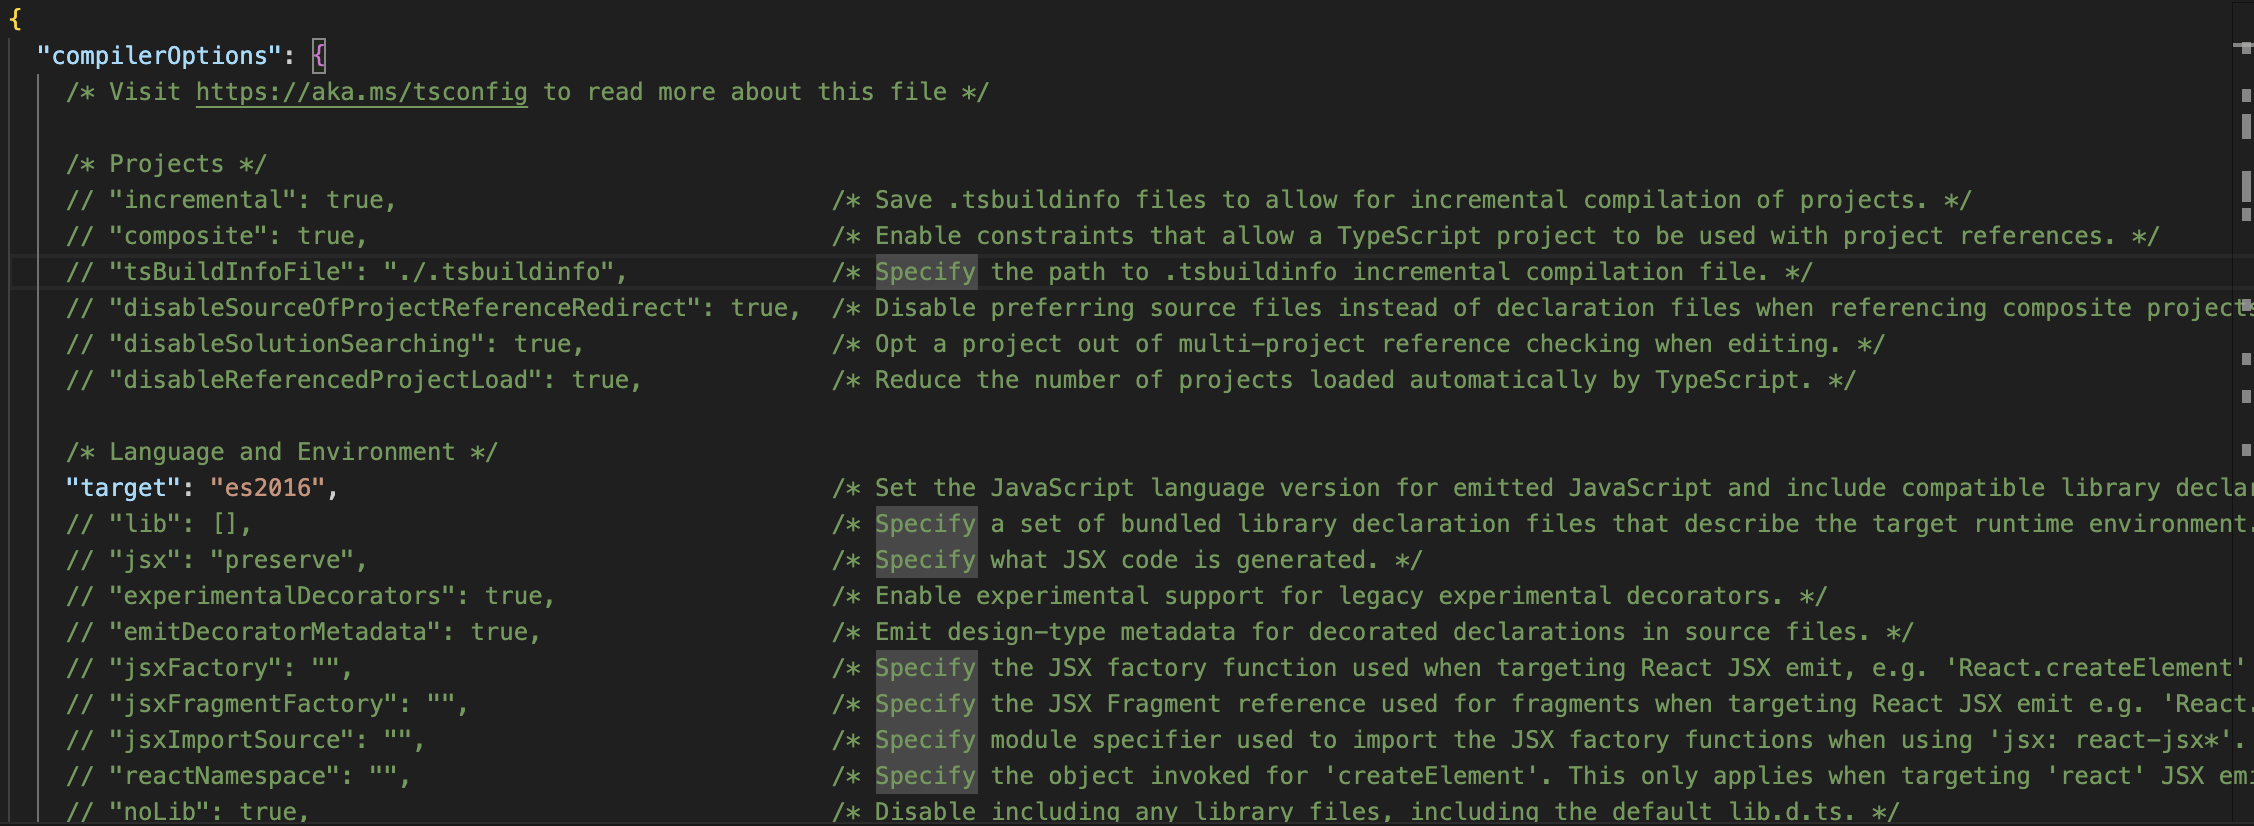
The command npx tsc --init is used to initialize a TypeScript project by creating a tsconfig.json file with default compiler options. Here, npx ensures that the latest version of the TypeScript compiler (tsc) is used, even if it's not globally installed. The --init flag tells the TypeScript compiler to create a new configuration file. This command generates a comprehensive tsconfig.json file with numerous options commented out, allowing developers to easily uncomment and adjust settings as needed for their specific project. The generated file includes default settings for module systems, target ECMAScript version, strict type-checking options, and file inclusion/exclusion patterns. This initialization step is crucial for TypeScript projects as it sets up the compiler options, enabling features like static typing, module resolution, and other TypeScript-specific functionalities, thereby providing a solid foundation for developing with TypeScript.

2.1 Understand the Difference between NPM and NPX:
npm which stands for Node Package Manager, is the default package manager for Node.js. It allows developers to install packages globally or locally and manage project dependencies. npm connects to an online repository for publishing and sharing JavaScript packages, known as the npm registry.
npx, on the other hand, is an npm package runner. It was introduced with npm version 5.2.0. The primary purpose of npx is to execute packages. Without installing, it can run any package you want from the npm registry. This is particularly useful when you want to run the package only once and want to avoid installing it globally or locally.
You can easily remember the difference using this simple example:
using npm:
npm install create-react-app
create-react-app my-new-app
using npx:
npx create-react-app my-new-app
In this example, the npm approach requires you to first install the create-react-app package globally or locally, and then use it. It's like buying a tandoor for your home kitchen. You've invested in it, and now you can make naan and tandoori chicken whenever you want.
The npx approach, on the other hand, allows you to use create-react-app without installing it first. It's like going to a your friend's home in the neighbourhood and using their tandoor to quickly make some naan. You get to enjoy freshly baked naan without having to own and maintain a tandoor yourself.
Both methods accomplish the same thing (creating a new React app), but npx does it without requiring a permanent installation, making it more convenient for one-time or infrequent uses.
3. Write the TypeScript Code
In your project directory, create a file named index.ts. This will be the main file of your package.
export function add(x: number, y: number): number {
    return x + y;
}
where it takes two numbers, x and y and adds them and then returns them.
4. Configure the Build Process
In your tsconfig.json, you can configure the output directory for your compiled JavaScript. In the Type For example:
{
  "compilerOptions": {
    ...
    "outDir": "./dist",
    ...
  },
  ...
}
Update your package.json to include a build script
{
  ...
  "scripts": {
    "build": "tsc"
  },
  ...
}
5. Prepare for Publishing
Before publishing, you should determine the entry point for your library. In package.json, set the main field to the compiled version of your code and types to the type definitions:
{
  ...
  "main": "dist/index.js",
  "types": "dist/index.d.ts",
  ...
}
The "main" and "types" fields specify the entry points for JavaScript and TypeScript projects, respectively. The "main" field, set to "dist/index.js", indicates the main JavaScript module to be imported when using the package. Meanwhile, the "types" field, set to "dist/index.d.ts", points to the generated type definitions file, which contains the TypeScript type information for the package. This allows TypeScript projects to import and use the type definitions, enabling features like auto-completion, type checking, and code refactoring.
Now after all this our package.json file would look something like this:
{
  "name": "adder-av",
  "version": "1.0.0",
  "main": "dist/index.js",
  "types": "dist/index.d.ts",
  "scripts": {
    "test": "echo \"Error: no test specified\" && exit 1"
  },
  "repository": {
    "type": "git",
    "url": "<your_git_url>"
  },
  "author": "<your_name>",
  "license": "ISC",
  "bugs": {
    "url": "<your_github_issues_tab>"
  },
  "homepage": "<your_github_homepage_tab>"
}
We can add bin as well in the above but we are not adding it here as we are not making a CLI application, where are building a CLI application. The bin field in package.json specifies the command-line executables that will be installed when the package is installed globally or locally, mapping the command name to the file that will be executed when the command is run.
5.1 Test your NPM package
Testing ensures that your NPM package works as expected. To do that, first navigate to the root of your project. Then, run the following command:
npm link

This will make your package available globally. And you can require the package in a different project to test it out. For that, you go outside the root directory and create a new folder for your testing purposes. You can run the following commands:
mkdir test-package
cd test-package
npm init -y
npm link <your_package_name> # In our scenario it will be npm link adder
And, you'll see something like this:

Now create an index.js file and write the following:
import { add } from "adder-av";
console.log(add(1, 2));
Now to run it, you can write in the terminal:
node index.js
You will see the following output:

6. Publishing to npm
To publish your package on the NPM registry, you need to have an account. And, I hope you have created that previously!!
So, now it's time to open your terminal and run the following command in the root of your package:
npm login
You will get a prompt to enter your username and password. If login is successful, you should see a message like this:
Logged in as <your-username> on https://registry.npmjs.org/.
Once logged in, build your TypeScript code
npm run build
Now, you can publish your package:
npm publish
Note that, during these steps you may need to use your authentication app to authenticate the procedure.
And so if you have been following along, then congratulations! You just published your first NPM package. And, you can visit the NPM website and run a search for your package. You should see your package show up in the search results.
7. Using Your Package
After publishing, anyone can install and use your package:
npm install adder-av
And in their TypeScript (or JavaScript) code:
import { add } from 'adder-av';
console.log(add(2, 3)); // Outputs: 5
7.1 Updating your Package:
It is simply a two-step process on how you can update your package.
Update Application Version:
Open your
package.jsonfileUpdate the version number to the upcoming release version
Follow the rules of Semantic Versioning
Example:
"version": "1.1.0"
Re-Publish Your Package:
Run the command
npm publishYour package will be updated to the latest version
Adding Custom Names and Scopes
1. Creating a Scope on npm
Before publishing a package under a custom scope, you need to have an npm account, and the scope must be associated with your account.
For example:@aviks-adding-func Is your desired scope, you need to add your own.
you need to:
Sign up on npmjs.com if you haven’t already.
Log in to the npm CLI:
npm login
- Create an organization (which will be used as your scope):
npm org create @aviks-adding-av
2. Naming Your Package
In your package.jsonThe name field should reflect your custom scope and desired package name:
{
  "name": "@aviks-adding-av/cli",
  ...
}
3. Publishing Under the Scope
By default, scoped packages are private. If you want to publish a public scoped package, you’ll need to specify it when publishing:
npm publish --access public
4. Installing Scoped Packages
Installing scoped packages is similar to regular packages. Users will need to include the full scope:
npm install @aviks-adding-av/cli
5. Benefits of Scoped Packages
Avoid Name Collisions: With millions of packages on npm, the name you want might already be taken. Scoping gives you more freedom in naming.
Branding and Trust: Especially for organizations, having an official scope can assure users that they are using the official package and not a fork or imitation.
Clearer Semantics: Scopes can provide additional context. For example, a user might infer that
@aviks-adding-av/cliis the official CLI tool for theaviks-adding-avproject.
Conclusion
Creating an npm package with TypeScript is straightforward. TypeScript enhances the developer experience by adding type safety, and with the steps above, you can easily share your TypeScript libraries with the world.
If you found this blog post helpful, please consider sharing it with others who might benefit. You can also follow me for more content on Javascript, React, and other web Development topics.
For Paid collaboration, mail me at: avikm744@gmail.com
Connect with me on Twitter, LinkedIn, and GitHub.
Thank you for Reading. Adios :)
Subscribe to my newsletter
Read articles from Avik Mukherjee directly inside your inbox. Subscribe to the newsletter, and don't miss out.
Written by

Avik Mukherjee
Avik Mukherjee
I am web Developer from India, who is interested in expanding my learning.