Terraform What, Why & How ?
 Deepak Kumar
Terraform, an infrastructure as code tool by HashiCorp, enables you to define and manage cloud and on-premises infrastructure through human-readable, declarative configuration files. It supports multi-cloud environments, ensures consistency, allows version control, automates infrastructure management, and manages dependencies and state. Key commands include `init`, `validate`, `plan`, `apply`, and `destroy`. The primary blocks in Terraform configurations are `terraform`, `provider`, `resource`, `variable`, `output`, `locals`, `data`, and `module`, each serving specific purposes for managing and organizing infrastructure code.
Terraform is HashiCorp's infrastructure as code tool. It lets you define resources and infrastructure in human-readable, declarative configuration files, and manages your infrastructure's lifecycle. Using Terraform has several advantages over manually managing your infrastructure:
Terraform can manage infrastructure on multiple cloud platforms.
The human-readable configuration language helps you write infrastructure code quickly.
Terraform's state allows you to track resource changes throughout your deployments.
You can commit your configurations to version control to safely collaborate on infrastructure.
Benefits of Using Terraform:
Multi-Cloud Management: Terraform can manage infrastructure across multiple cloud providers like AWS, Azure, and Google Cloud Platform, as well as on-premises environments.
Consistency and Repeatability: By defining infrastructure as code, you can ensure that your infrastructure is consistent and repeatable. This reduces the risk of configuration drift and makes it easier to manage changes.
Version Control: You can store your Terraform configuration files in version control systems like Git. This allows you to track changes, collaborate with others, and roll back to previous versions if needed.
Automation: Terraform automates the provisioning and management of infrastructure. You can use it to create, update, and delete resources automatically, which saves time and reduces the potential for human error.
Dependency Management: Terraform automatically calculates dependencies between resources and creates or destroys them in the correct order.
State Management: Terraform maintains a state file that acts as a source of truth for your infrastructure. This state file helps Terraform determine what changes need to be made to achieve the desired state.
Disaster Recovery: In case of failures, Terraform makes it easier to recreate infrastructure quickly and accurately, reducing downtime.
Setting up Terraform for AWS, Azure, or GCP involves a few steps. Here’s a guide to help you get started:
1. Install Terraform
Windows:
Unzip the downloaded file.
Move the
terraform.exefile to a directoryAdd system PATH.
Linux:
Download the Terraform binary from the official website.
Unzip the downloaded file.
Move the
terraformbinary to/usr/local/bin:sudo mv terraform /usr/local/bin/
2. Set Up Terraform for AWS
Install AWS CLI: Follow the AWS CLI installation guide.
Configure AWS CLI: Run
aws configureand enter your AWS credentials.
3. Set Up Terraform for Azure
Install Azure CLI: Follow the Azure CLI installation guide.
Login to Azure: Run
az loginand follow the prompts.
4. Set Up Terraform for GCP
Install Google Cloud SDK: Follow the Google Cloud SDK installation guide.
Authenticate with GCP: Run
gcloud auth application-default login.
Terraform Workflow

init: Run
terraform initto initialize the working directory containing the configuration files. This command downloads the necessary provider plugins and sets up the backend configuration.terraform initvalidate: Run
terraform validateto check the syntax and configuration of your Terraform files without applying any changes.terraform validatePlan: Use
terraform planto create an execution plan. This command shows what actions Terraform will take to achieve the desired state without making any changes.terraform planApply: Execute
terraform applyto apply the changes required to reach the desired state of the configuration. This command will prompt for confirmation before making any changes.terraform applyDestroy: Use
terraform destroyto remove all the resources defined in your configuration. This is useful for cleaning up resources that are no longer needed.terraform destroy
Terraform Blocks
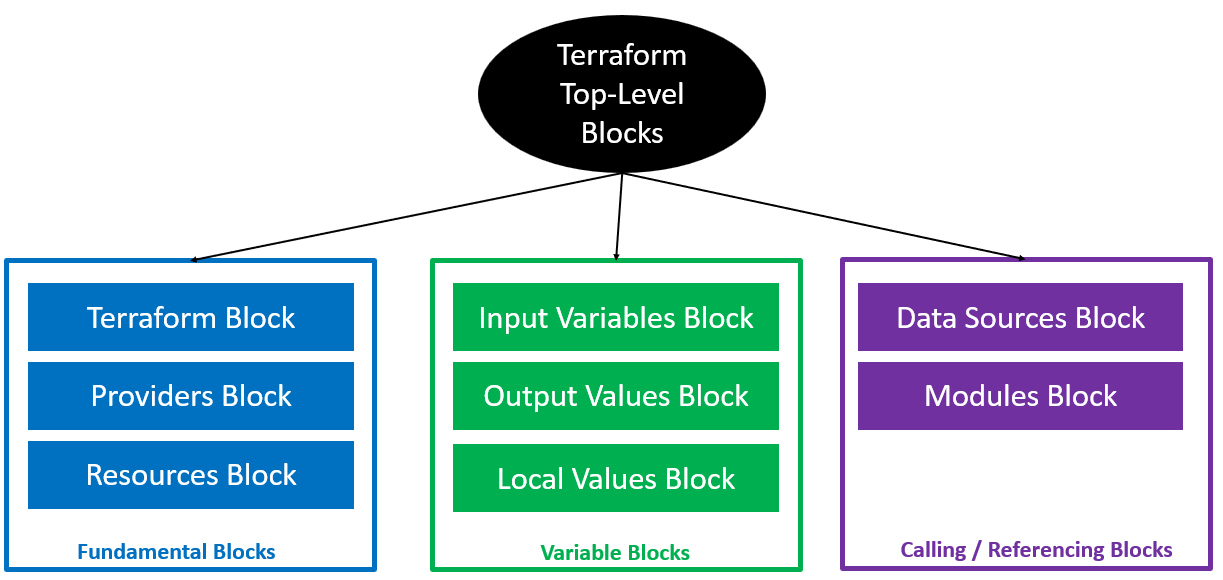
Fundamental Blocks
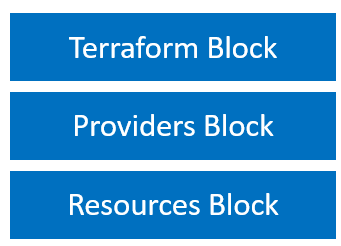
terraformBlock
The terraform block is used to configure settings related to Terraform itself, such as the required version, backend configuration, and provider requirements.
Example:
terraform {
  required_version = ">= 1.0.0"

  backend "s3" {
    bucket = "my-terraform-state"
    key    = "path/to/my/key"
    region = "us-west-2"
  }

  required_providers {
    aws = {
      source  = "hashicorp/aws"
      version = ">= 3.0.0"
    }
  }
}
providerBlock
The provider block is used to configure the providers that Terraform will use to manage resources. Providers are plugins that interact with APIs of cloud providers and other services.
Example:
provider "aws" {
  region = "us-west-2"
}
resourceBlock
The resource block defines a resource that Terraform will manage. Each resource block specifies the type of resource and its configuration.
Example:
resource "aws_instance" "example" {
  ami           = "ami-0c55b159cbfafe1f0"
  instance_type = "t2.micro"
}
Variable Blocks
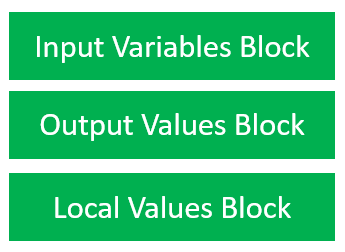
Input variableBlock
The variable block is used to define input variables. These variables allow you to parameterize your configurations and make them more flexible.
Example:
variable "instance_type" {
  description = "Type of EC2 instance"
  default     = "t2.micro"
}
outputBlock
The output block is used to define output values. These values are displayed when Terraform applies the configuration and can be used to pass information between modules.
Example:
output "instance_id" {
  value = aws_instance.example.id
}
localsBlock
The locals block is used to define local values. These are temporary values that can be used within your configuration.
Example:
locals {
  instance_name = "example-instance"
}

resource "aws_instance" "example" {
  ami           = "ami-0c55b159cbfafe1f0"
  instance_type = "t2.micro"
  tags = {
    Name = local.instance_name
  }
}
Calling / Referencing blocks
dataBlock
The data block is used to define data sources. Data sources allow you to fetch data from external sources and use it in your Terraform configuration.
Example:
data "aws_ami" "example" {
  most_recent = true
  owners      = ["self"]

  filter {
    name   = "name"
    values = ["my-ami-*"]
  }
}
moduleBlock
The module block is used to call and configure modules. Modules are containers for multiple resources that are used together.
Example:
module "vpc" {
  source = "terraform-aws-modules/vpc/aws"
  version = "2.77.0"

  name = "my-vpc"
  cidr = "10.0.0.0/16"
}
Subscribe to my newsletter
Read articles from Deepak Kumar directly inside your inbox. Subscribe to the newsletter, and don't miss out.
Written by
