Week 13: Azure Databricks Essentials 💡
 Mehul Kansal
Hey there, data enthusiasts! 👋
This week's blog delves into the fundamental aspects of setting up and using Azure Databricks, guiding you through the creation of a Databricks instance, understanding cluster types, and exploring essential features like Databricks File System (DBFS), utilities, and widgets. Let's get going!
Creating Azure Databricks Instance
Databricks is an Apache Spark based unified analytics platform, optimized for cloud. It is a one-stop solution to all the challenges of open source Spark
Databricks sets up a cluster by procuring all the necessary resources on a click of a button, along with taking care of the security, software upgrades and version compatibility. It also has a user-friendly UI.
Firstly, we create a Databricks workspace inside Azure. Since Databricks is a first party managed service on Azure, high quality support is given by Azure for Databricks service.
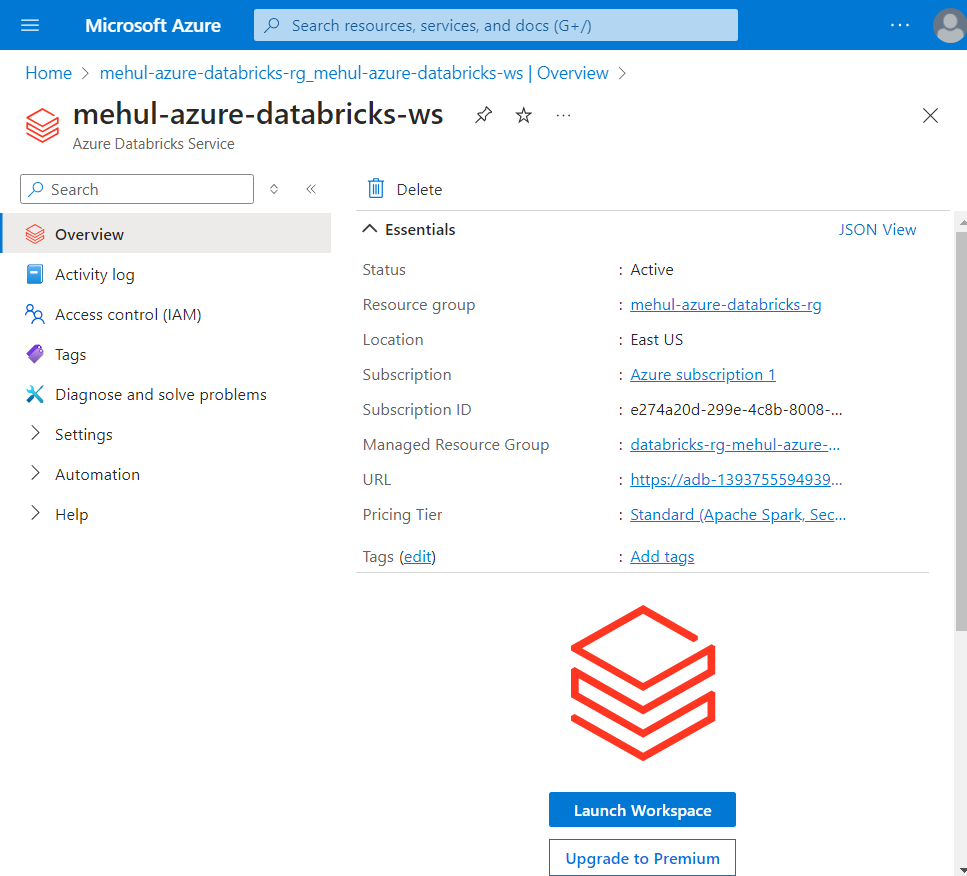
- Upon clicking the 'Launch Workspace' button, Databricks' interface gets launched where we can start building our clusters.
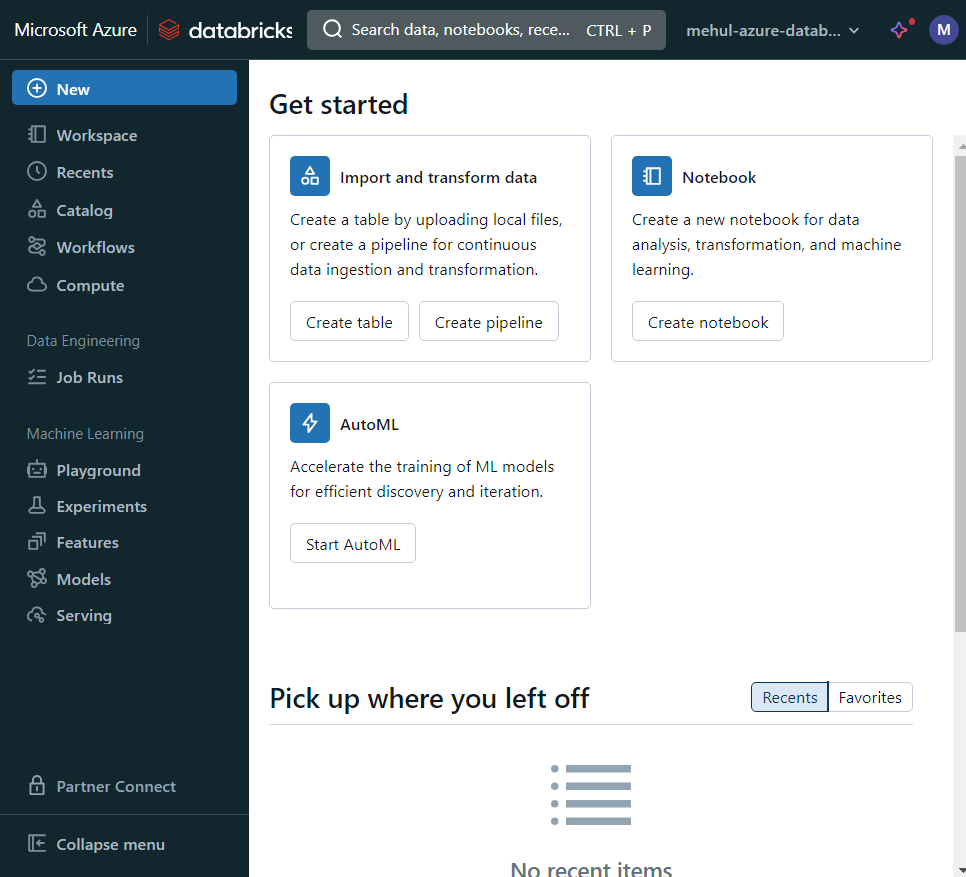
Types of Clusters
All purpose cluster: Cluster suitable for interactive workloads, shared among many users.
Job cluster: Cluster suitable for automated workloads. Since it is meant for a specific job, it is generally isolated.
Cluster Modes
Single node: A single node acts as both the driver and worker node.
Standard: It consists of a driver node and multiple workers, still not suitable for multiple users.
High concurrency: It also consists of one driver node and multiple worker nodes, but it is suitable for handling multiple users.
Worker Node Types
Memory optimized: Meant for memory intensive operations like Machine Learning workloads.
Compute optimized: Meant for fast computation operations like Streaming.
Storage optimized: Meant for high disk throughputs.
General purpose: Meant for generic workloads.
GPU accelerated: Meant for Deep Learning workloads.
- For our learning purpose, we create a single node cluster.
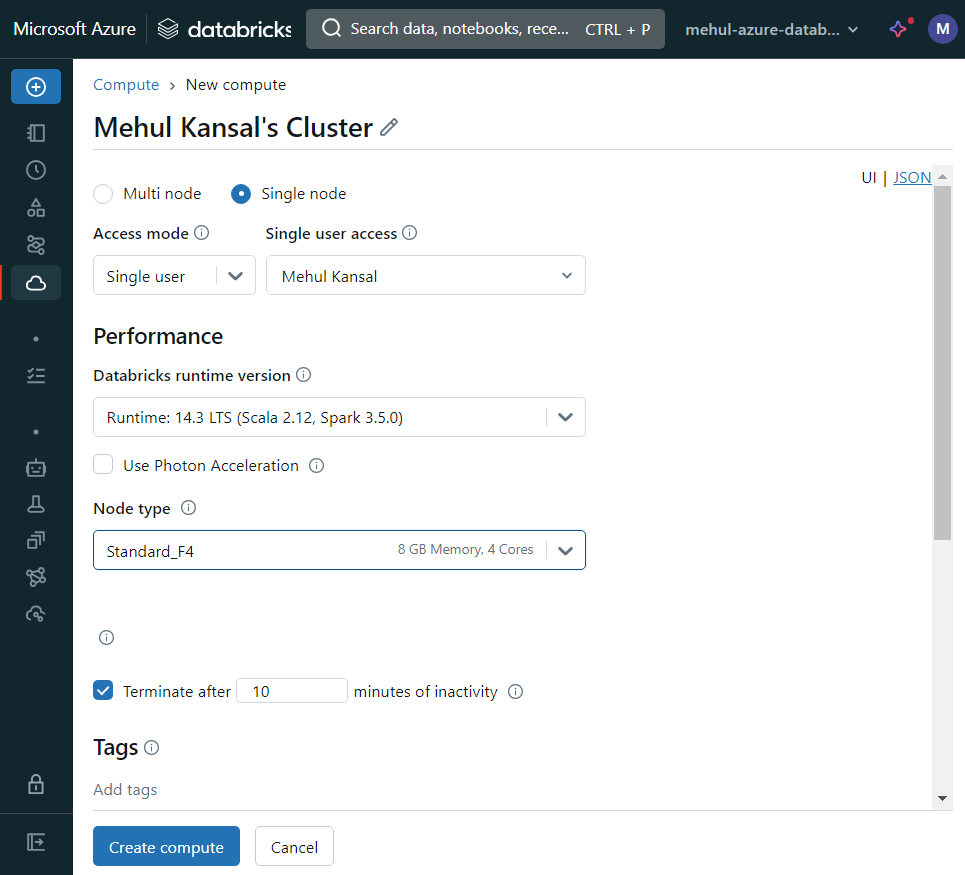
Executing code on Notebook
- Before performing any coding operations, we upload a file from out local machine to the Databricks File System, using the file upload option.
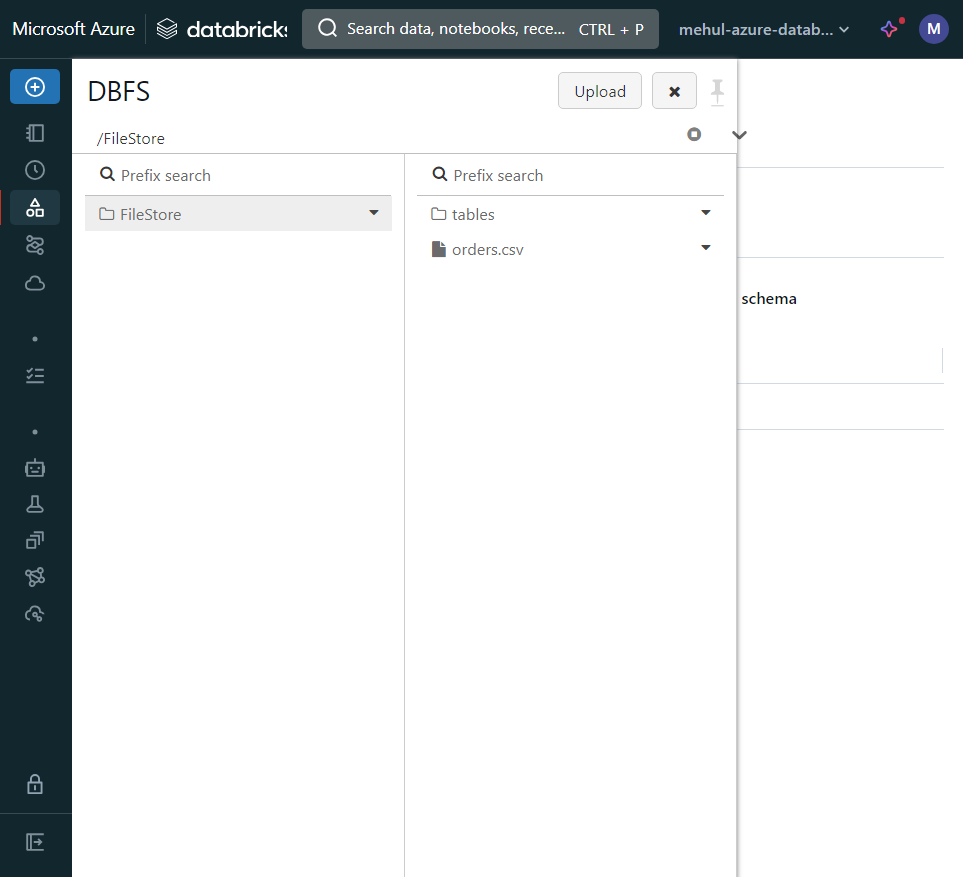
Then in the notebook, we select the language as Python and choose the cluster that we created earlier.
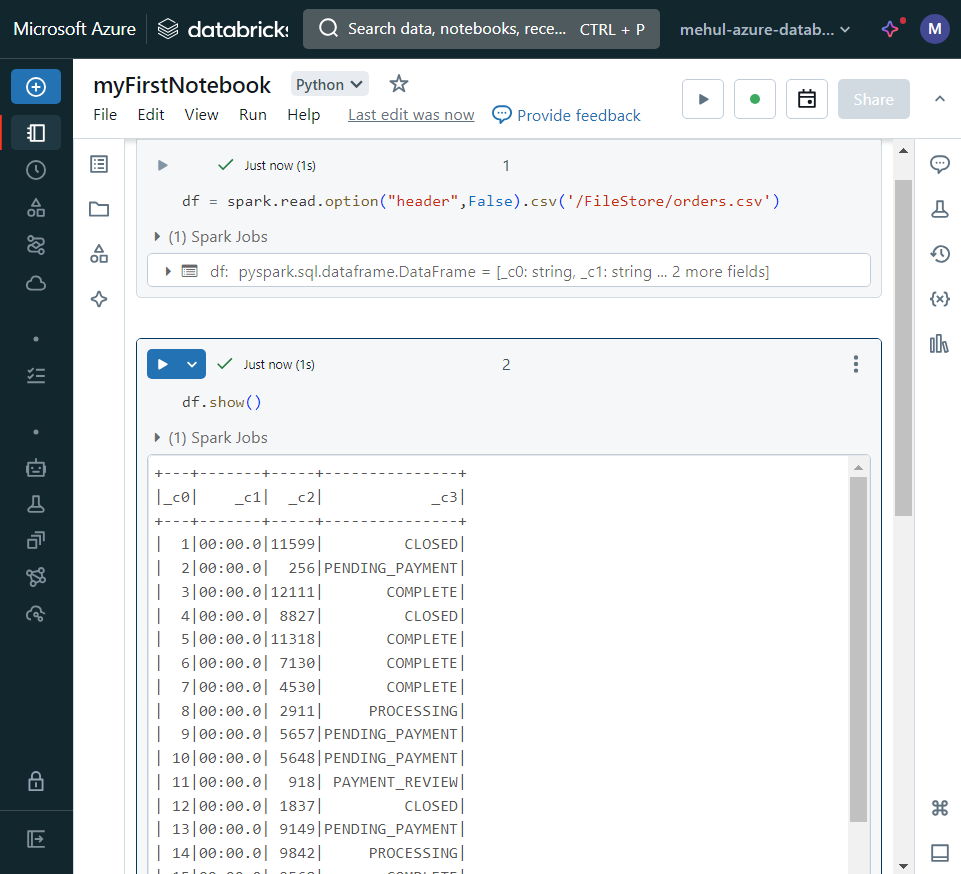
In a cell of the notebook, we create a dataframe and load the data from the file. In the next cell, we display the dataframe.
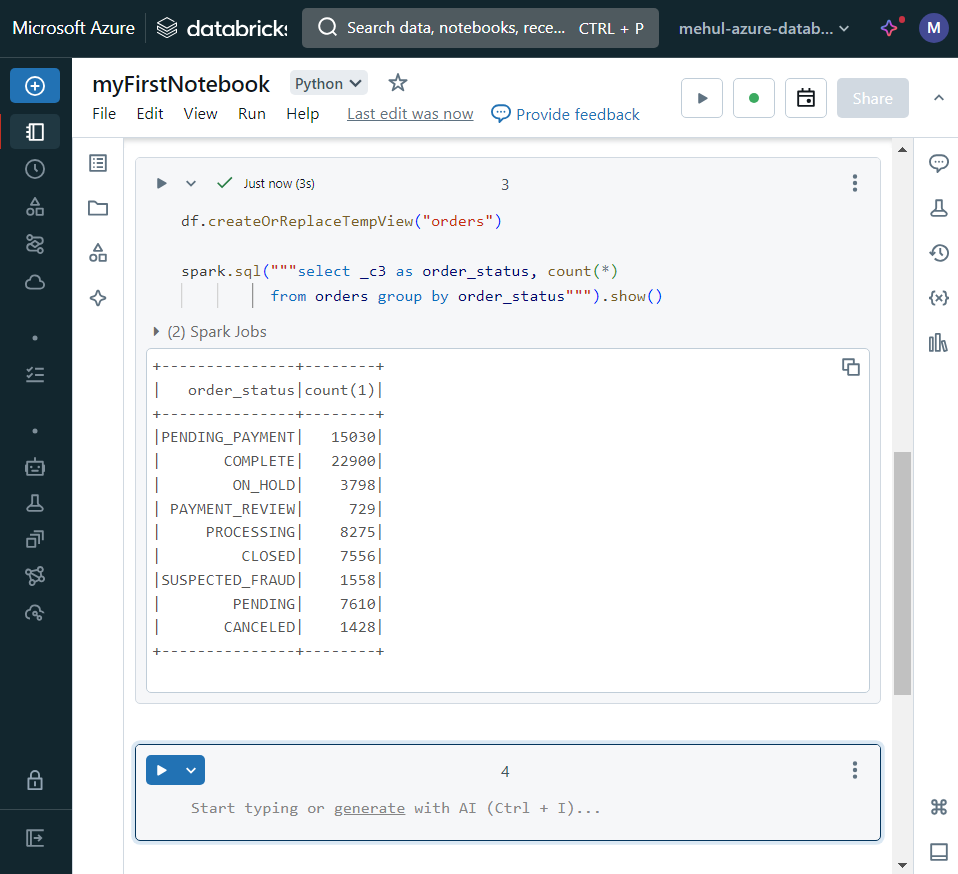
- We can use Spark SQL, just like open-source Apache Spark.
Auxiliary magic commands
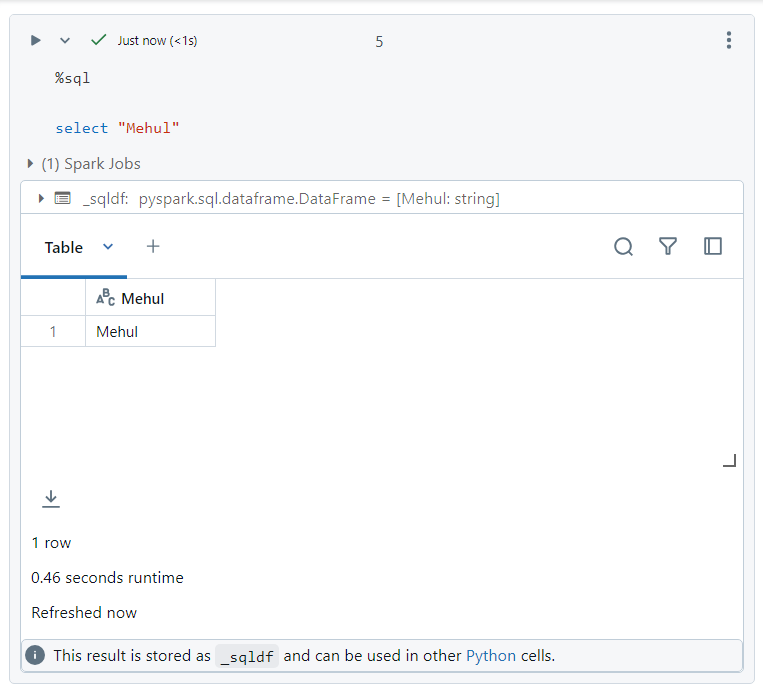
Auxiliary magic commands are used to include different language codes and utility functions in the same notebook.
We can write SQL commands using '%sql' magic command.
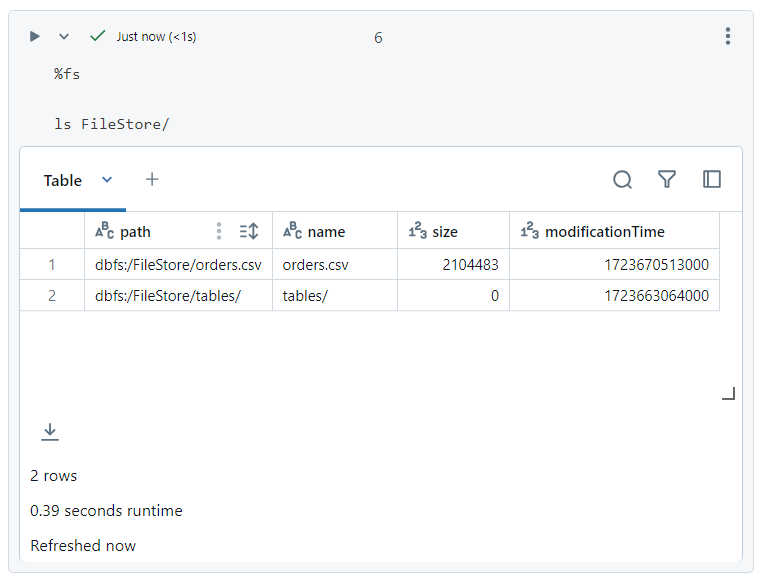
- Auxiliary magic command '%fs' can be used to navigate the file system.
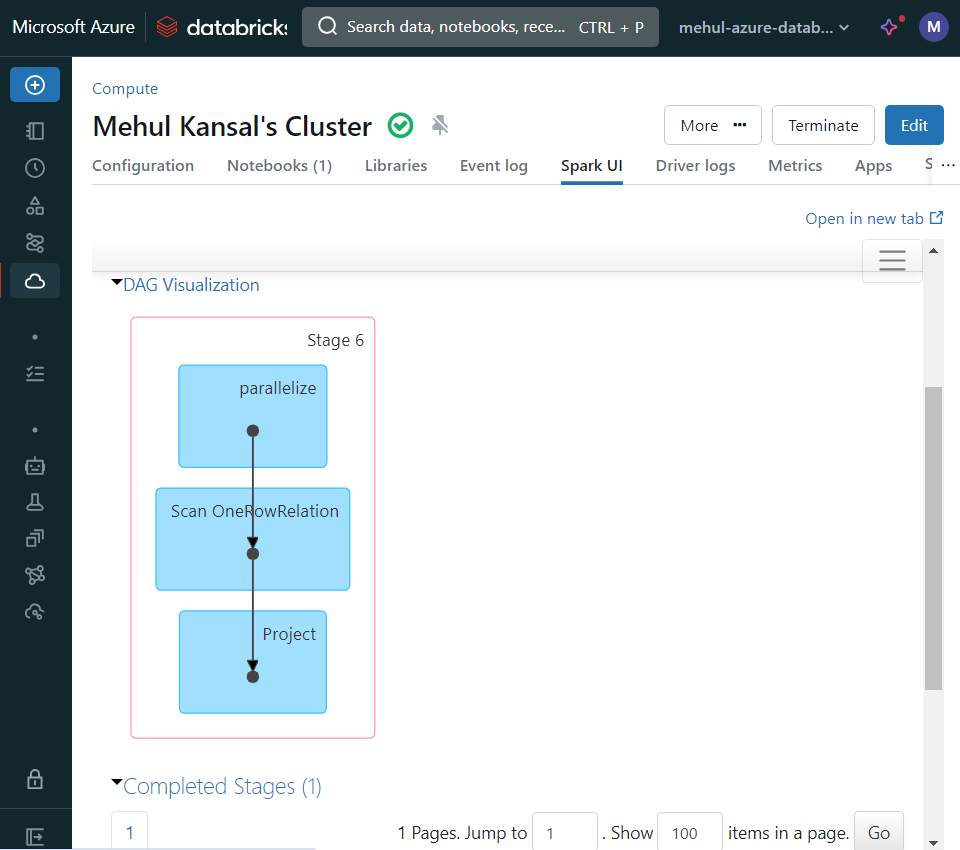
- Databricks also provides Spark UI, which can be easily accessed and has a great user interface.
Architecture of Databricks
All the resources in Azure Databricks fall under two subscription planes:
Control plane: During the creation of a Databricks workspace, some resources get deployed under the Databricks' subscription like - Databricks UI, Cluster manager, DBFS, Cluster metadata.
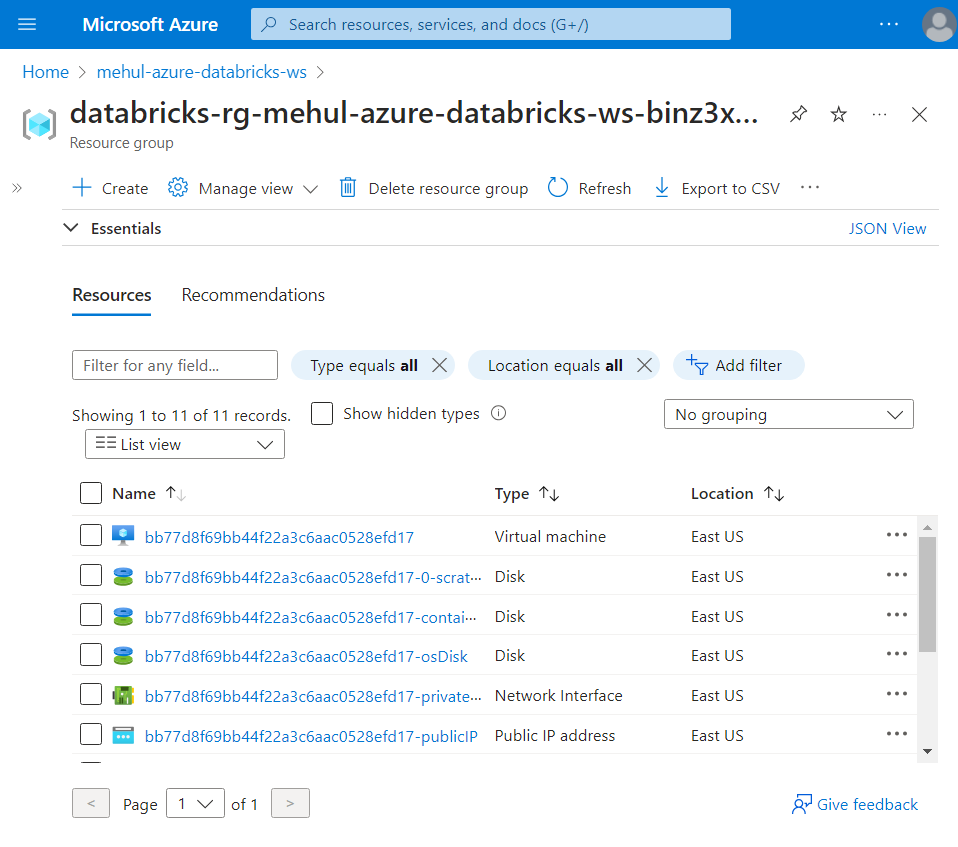
Data plane: Some resources get deployed under our Azure subscription like - VNet, NSG, Azure Blob Storage.
Following is an example of some resources created under the Data plane.
Databricks file system (DBFS) in depth
- DBFS is a distributed file system abstraction on top of any scalable object stores like Azure Datalake Gen2, mounted into a Databricks workspace.
DButils
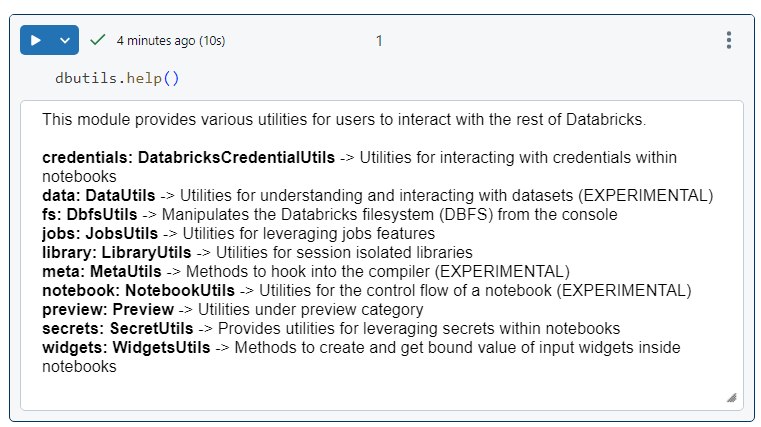
DButils provide us with some utility functions to perform operations on Databricks.
The following command gives an overview of all the utilities at our disposal.
File system utility
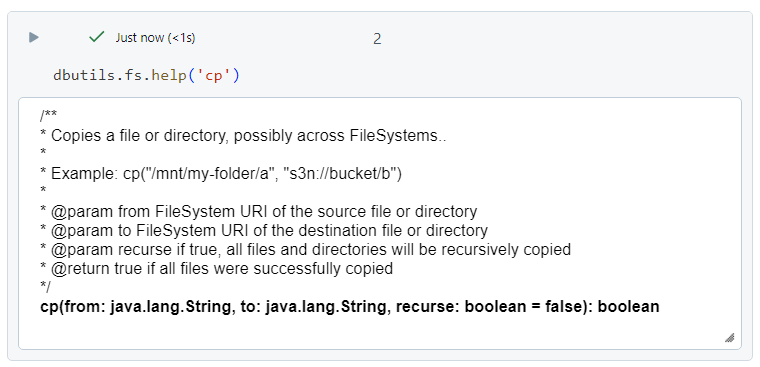
It is primarily used for accessing the file system from within the code environment.
The following command provides information about the copy (cp) command.
- We can list all the files under root in DBFS.
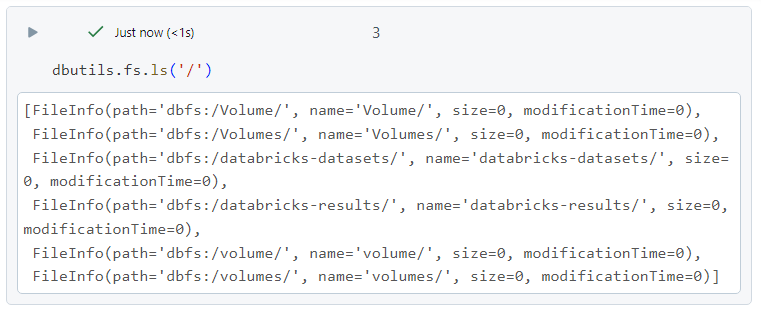
- For listing all the files under DBFS, we can use the following.

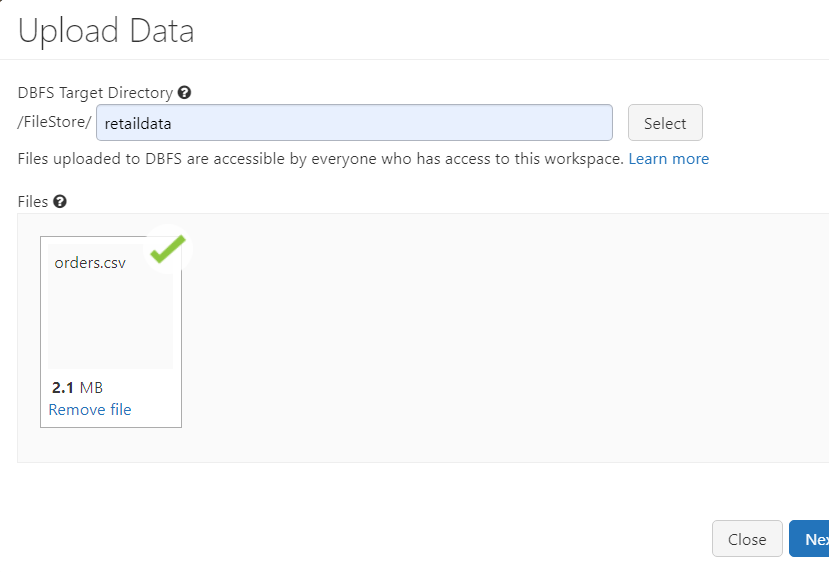
- In order to upload the data, we can access the DBFS as follows.
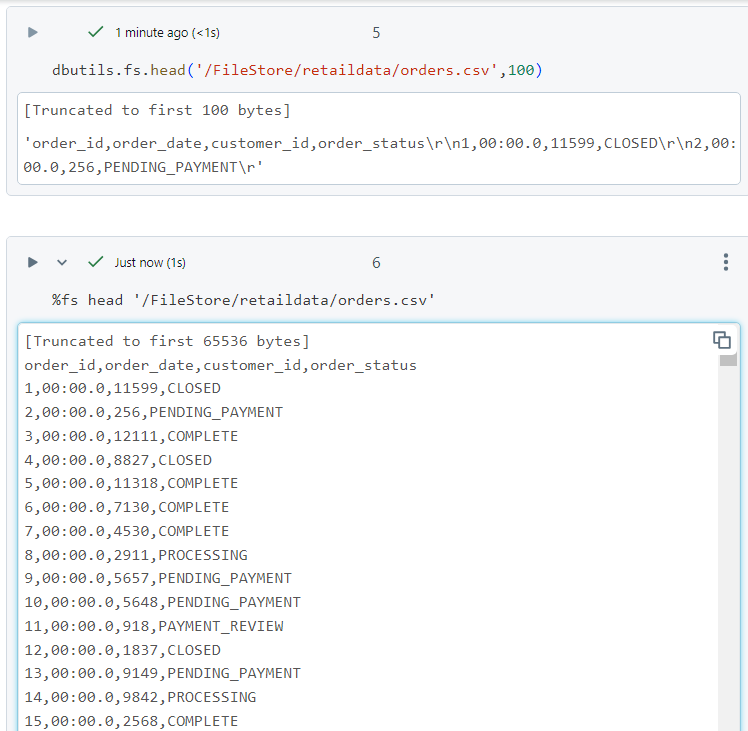
- After uploading the file, we can list a specific number of bytes in the file by giving the file path. Alternatively, we can use magic command as well.
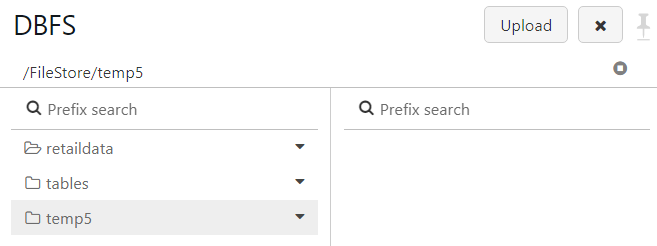
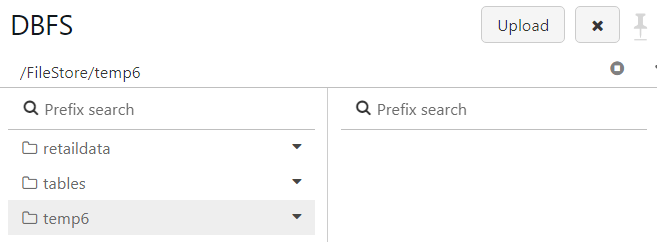
- Creating a directory named 'temp5' under 'FileStore'.

- 'temp5' directory gets created, indeed.
- Move (mv) command copies the file/directory from source to destination and then deletes the file from source.

- The result of the command shows the same.
Data utility
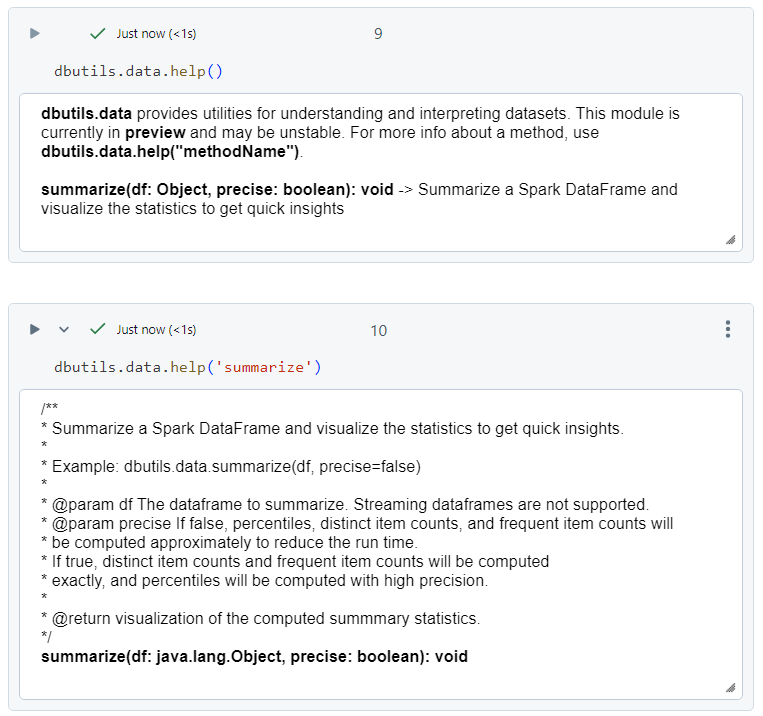
- The 'help' command gives an overview of the commands under data utility. The description, specifically for the 'summarize' command, is as follows.
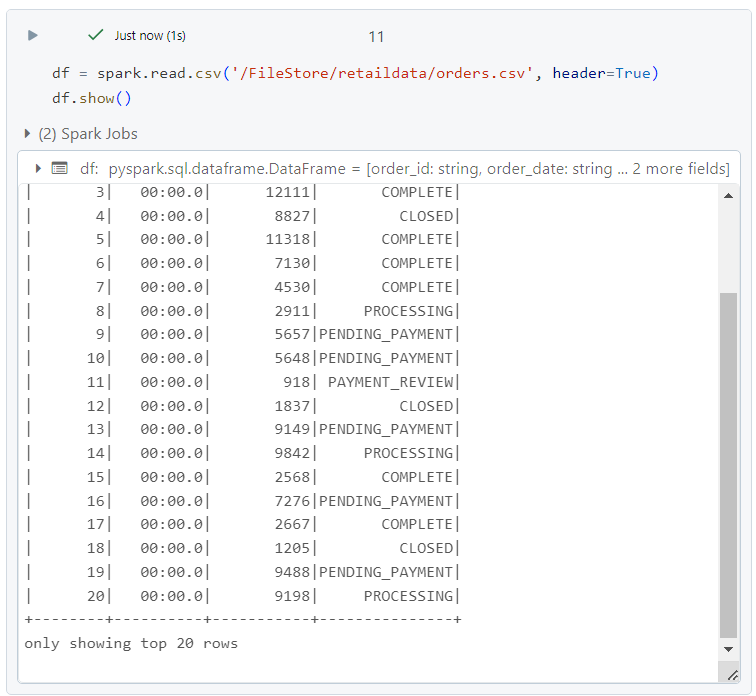
- Firstly, we create a dataframe to pass into the summarize utility.
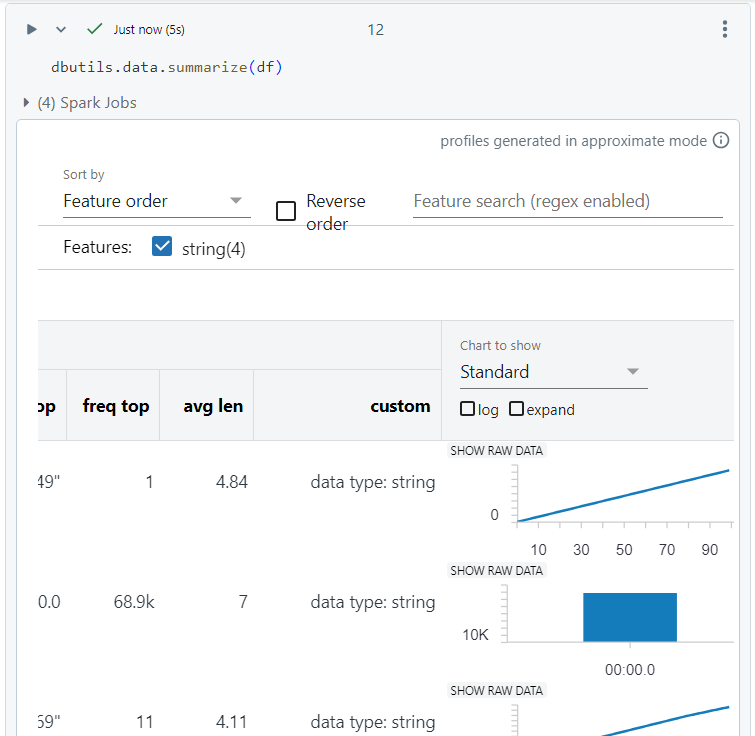
- We pass the dataframe created as a parameter into the summarize utility function and get the statistics of the data in the result.
Notebook utility and wrapper notebook
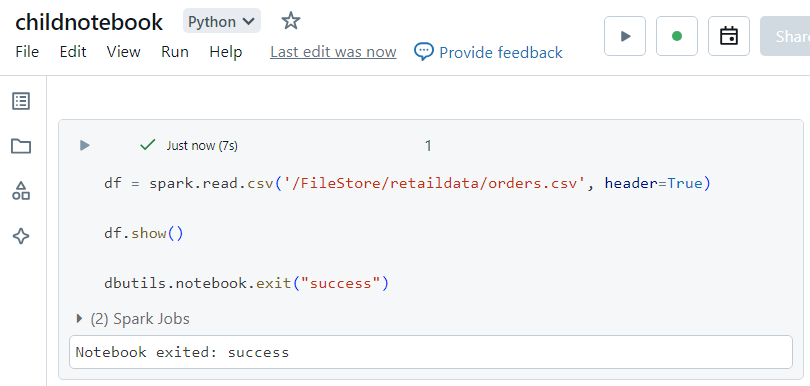
Notebook utility is mainly used for either exiting the notebook with a return value or when the notebooks need to be executed in a sequence.
Firstly, we create a child notebook that needs to be executed from within the wrapper notebook.
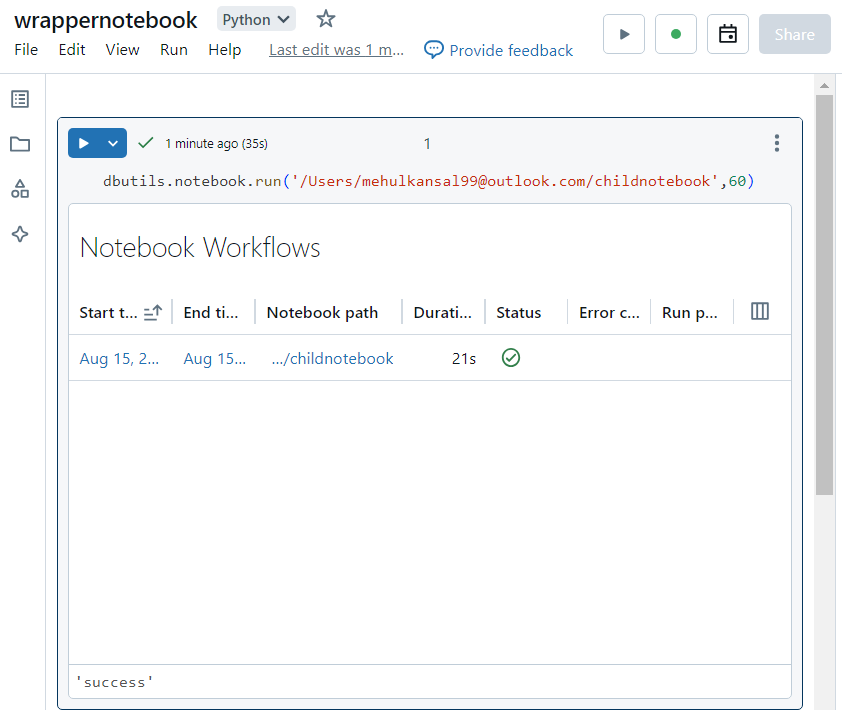
- Now, inside the wrapper notebook, we execute the run command by providing the path to the child notebook as a parameter.
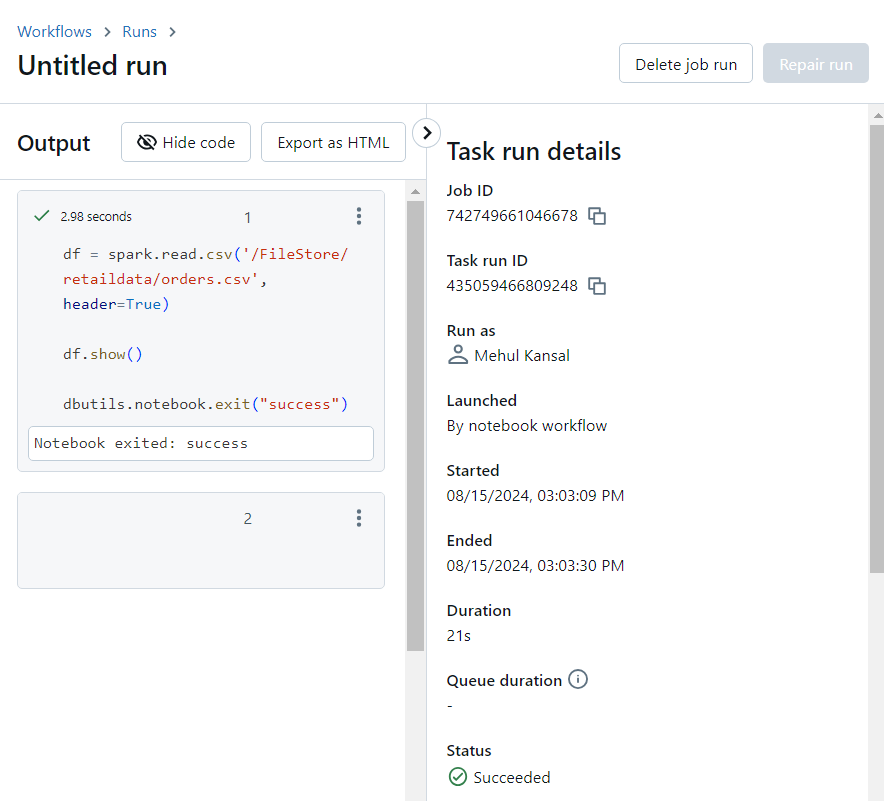
- We can verify that the operations inside the child notebook have indeed run successfully.
Databricks widgets
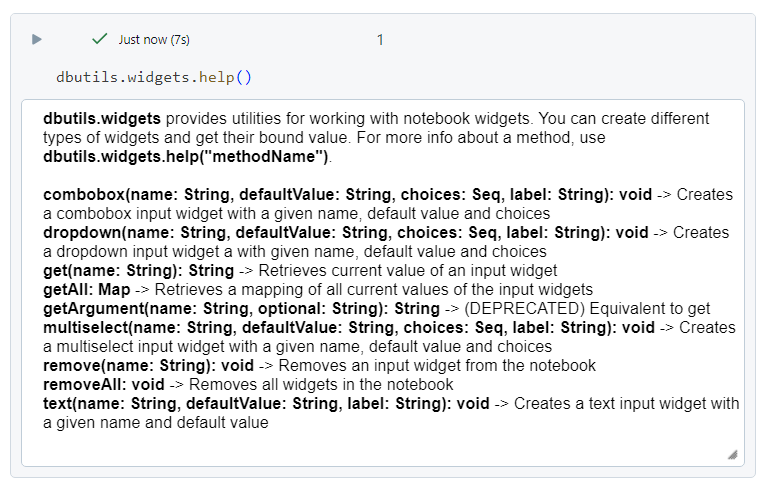
- The widgets utility functions have the following commands, primarily.
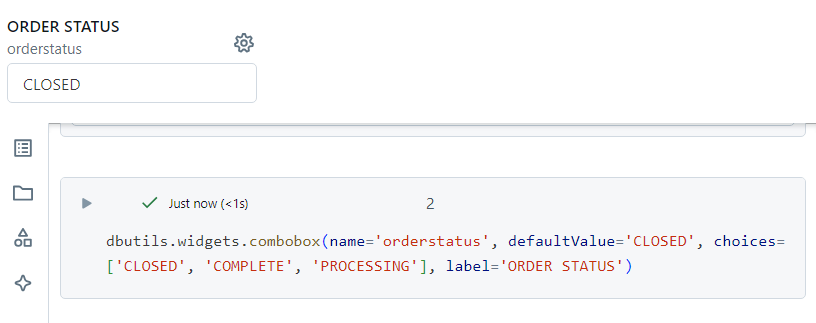
Combo box
A combo box widget can be created as follows.
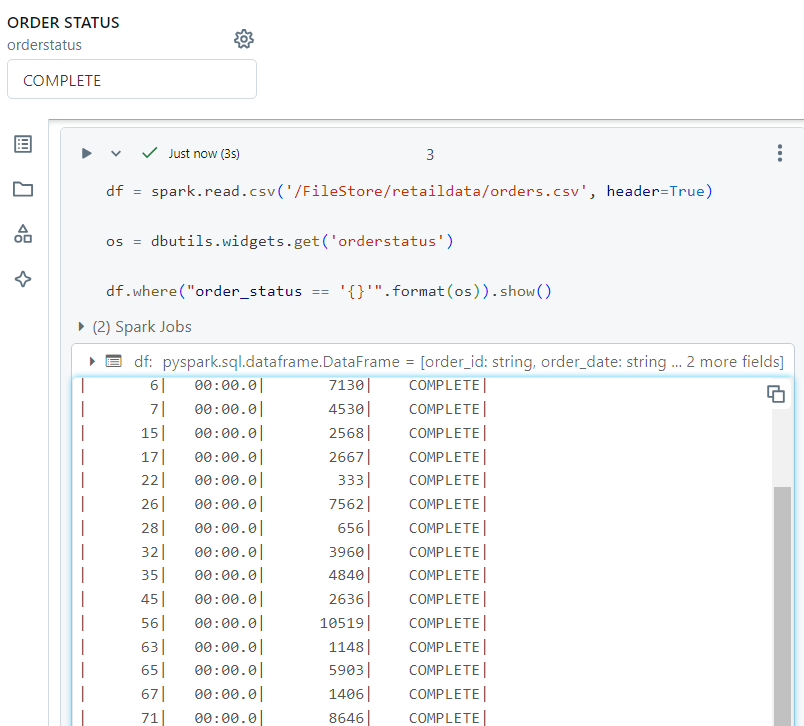
- As far as the utility of combo box is concerned, it can be used to store a global variable, the value of which can be passed inside code within cells. It can be demonstrated as follows.
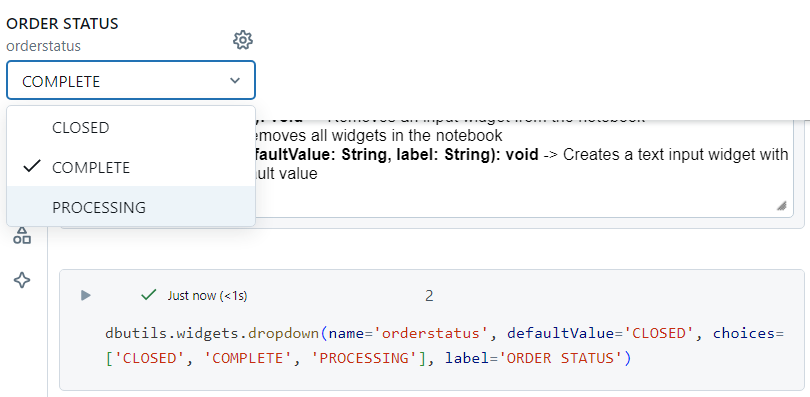
Dropdown
The dropdown utility provides us with an option to select from a number of values specified, as follows.
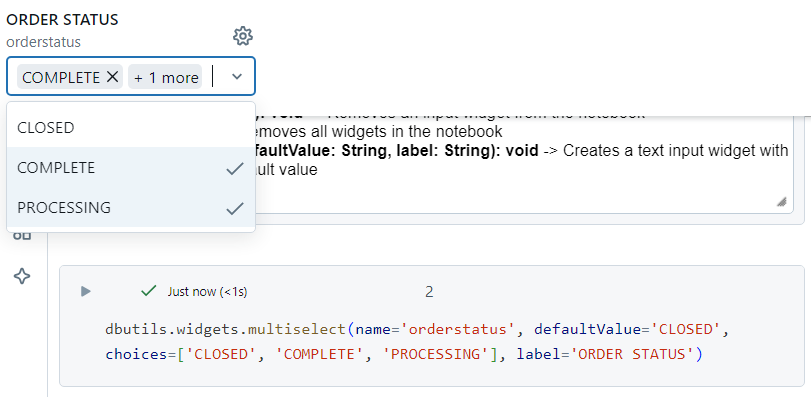
Multi select
In the multi select utility, as the name suggests, we can select multiple values from the widget, simultaneously.
Passing parameters across notebooks
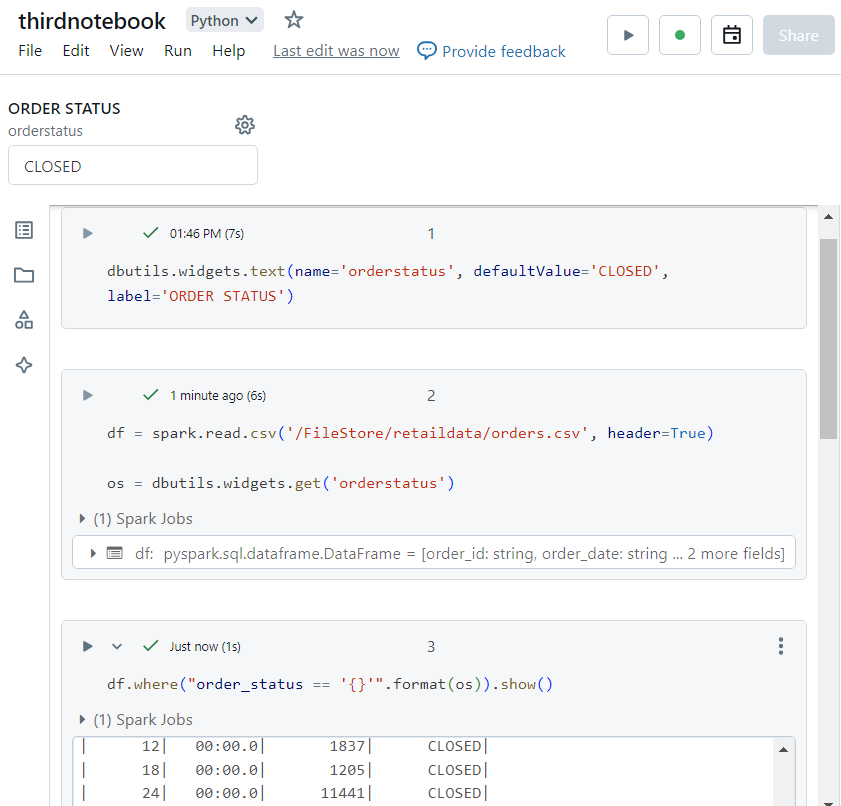
- Consider a scenario where we need to run the following notebook, by passing the value of 'orderstatus' as a parameter from another notebook.
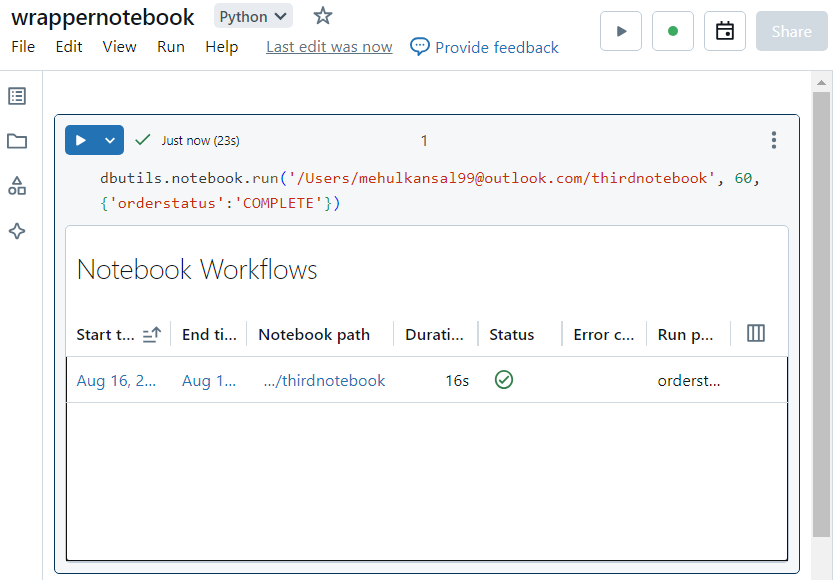
- Now, in order to pass the parameter, we run the following command. Here, '60' represents the timeout period and the parameter value 'COMPLETE' is passed with the syntax as shown.
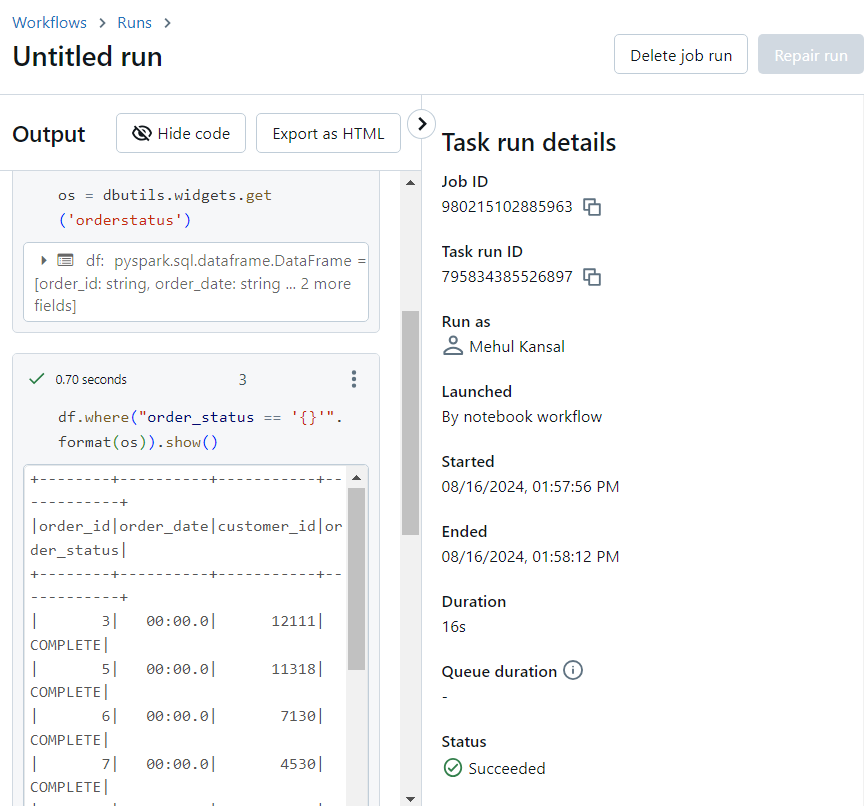
- In the notebook run details, it can be verified that 'COMPLETE' was selected as the value for 'order_status'.
Mount point
Mount point is used to mount the given source data directory (like the Azure Datalake Storage Gen2 or Azure blob) into DBFS.
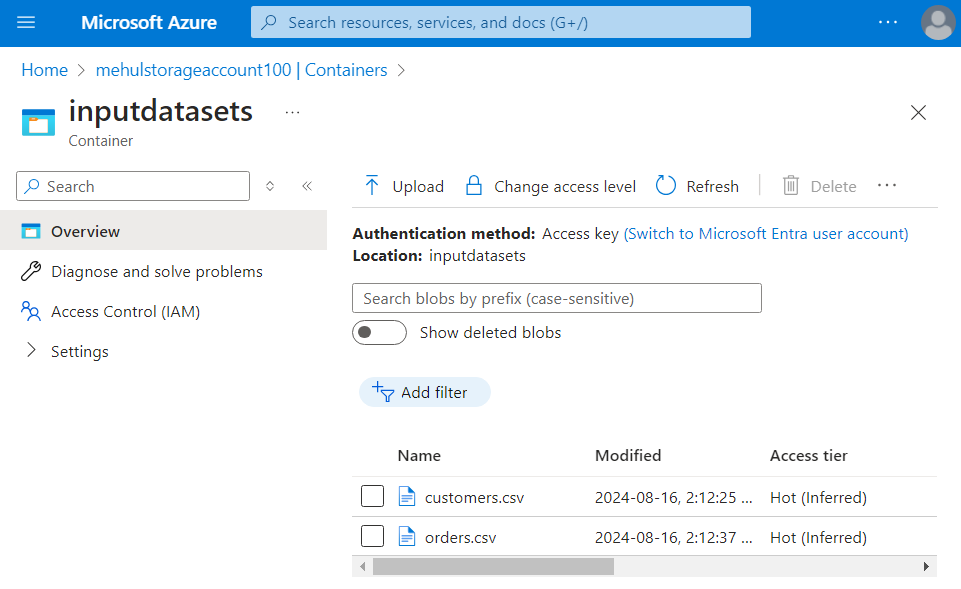
Consider that we have the following container 'inputdatasets' in which we have two files.
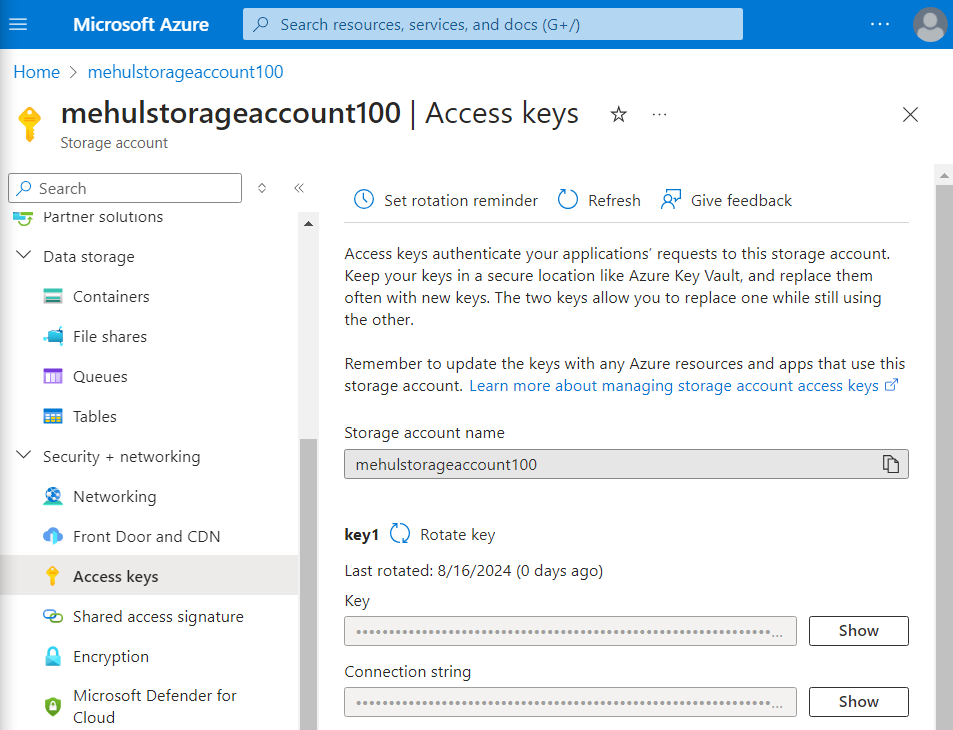
- Inside the storage account, we note down the secret access key that will be required inside Databricks.
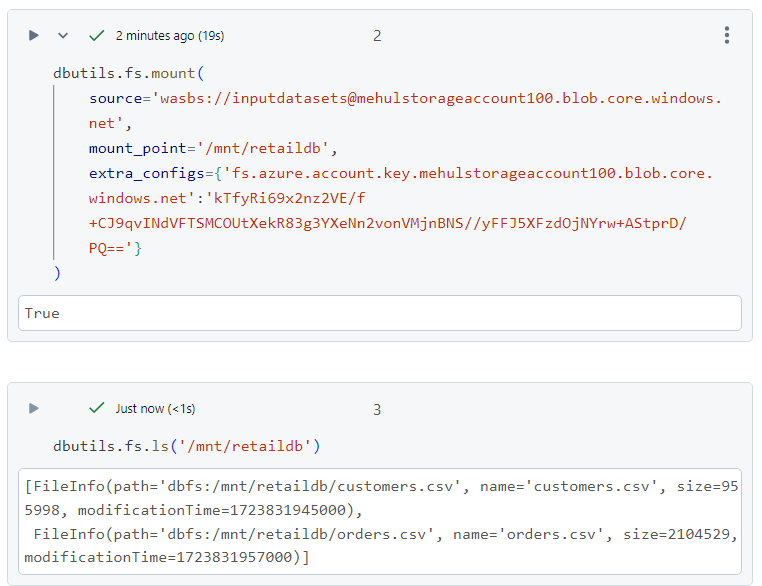
- Now, in order to mount the container into Databricks, we use the following syntax. Note that the secret access key is passed inside the 'extra_configs' parameter. Afterwards, we can access the two files inside the container, through the mount point.
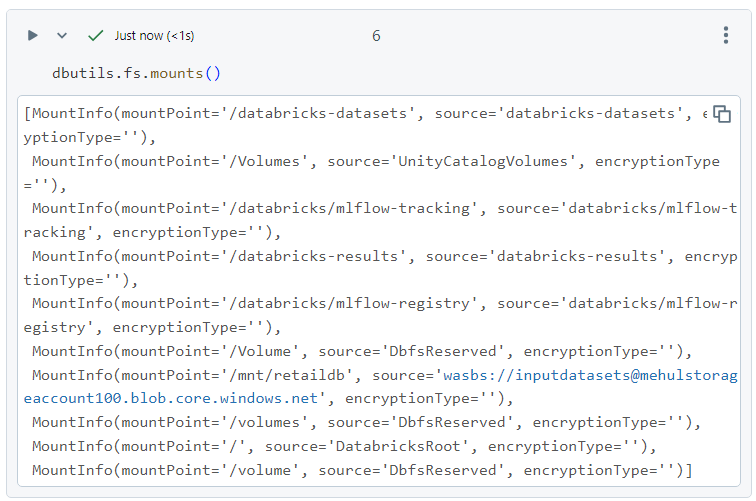
- In order to see all the mounts available, we can use the following command.
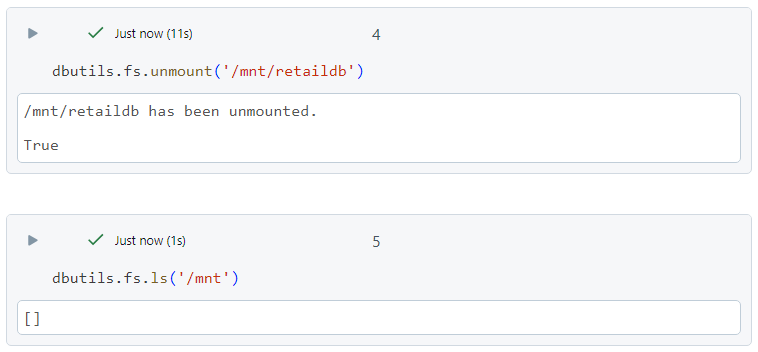
- Finally, in order to remove the mount point, we can use the 'unmount' command.
Conclusion
Azure Databricks simplifies the complexities of big data processing by offering an intuitive and robust platform tailored for diverse workloads. By understanding the basics of setting up and using Azure Databricks, you can unlock the full potential of your data, driving insights and innovations in your projects.
Stay tuned for more!
Subscribe to my newsletter
Read articles from Mehul Kansal directly inside your inbox. Subscribe to the newsletter, and don't miss out.
Written by
