How to build a React Native FlatList with realtime searching ability
 freeCodeCamp
By Vikrant Negi
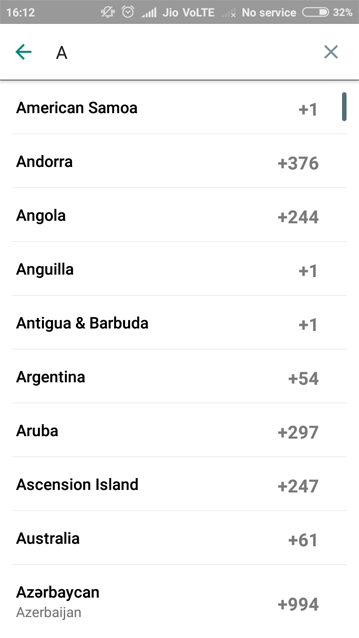
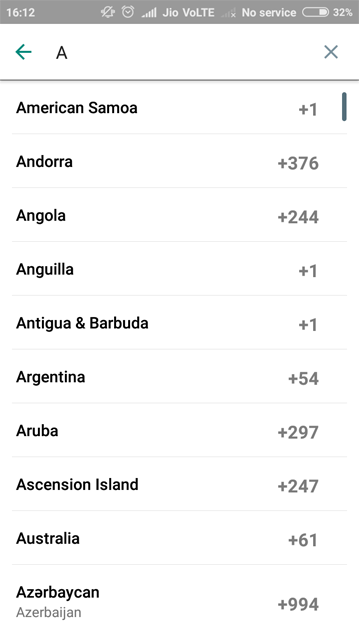
If you have ever used a mobile app or build one, then you must have come across some kind of list — whether it was a long list of contacts, products, countries, or other things.
They may seem very simple to an end user. But for developers, displaying a long list of data has always been a pain point when it comes to performant long lists. This is especially true in the apps that are build with React Native.
Background
During the initial days of React Native, we had the good old [ListVie](https://facebook.github.io/react-native/docs/listview)w. It had many features which made it very attractive, and it was a default choice for efficiently displaying vertical list of changing data.
With time, however, many issues and bugs came up, and there was a point when the React Native team realised that it was time to reinvent the wheel.
Enter FlatList
On March 2017, Facebook introduced the [FlatList](https://facebook.github.io/react-native/docs/flatlist) component, which is an easier and more performant way to implement simple, performant lists. Not only that — its API is easier to understand than the originalListView. Here is how a simple FlatList looks:
<FlatList data={[{title: ‘Title Text’, key: ‘item1’}, …]} renderItem={({item}) => <ListItem title={item.title} />} />
Apart from FlatList, you can also use SectionList for rendering sectioned lists.
What’s next
As I mentioned earlier, ListView was used primarily for displaying long lists of vertical changing data. But long lists of data are as useful as a hammer without the handle. ?
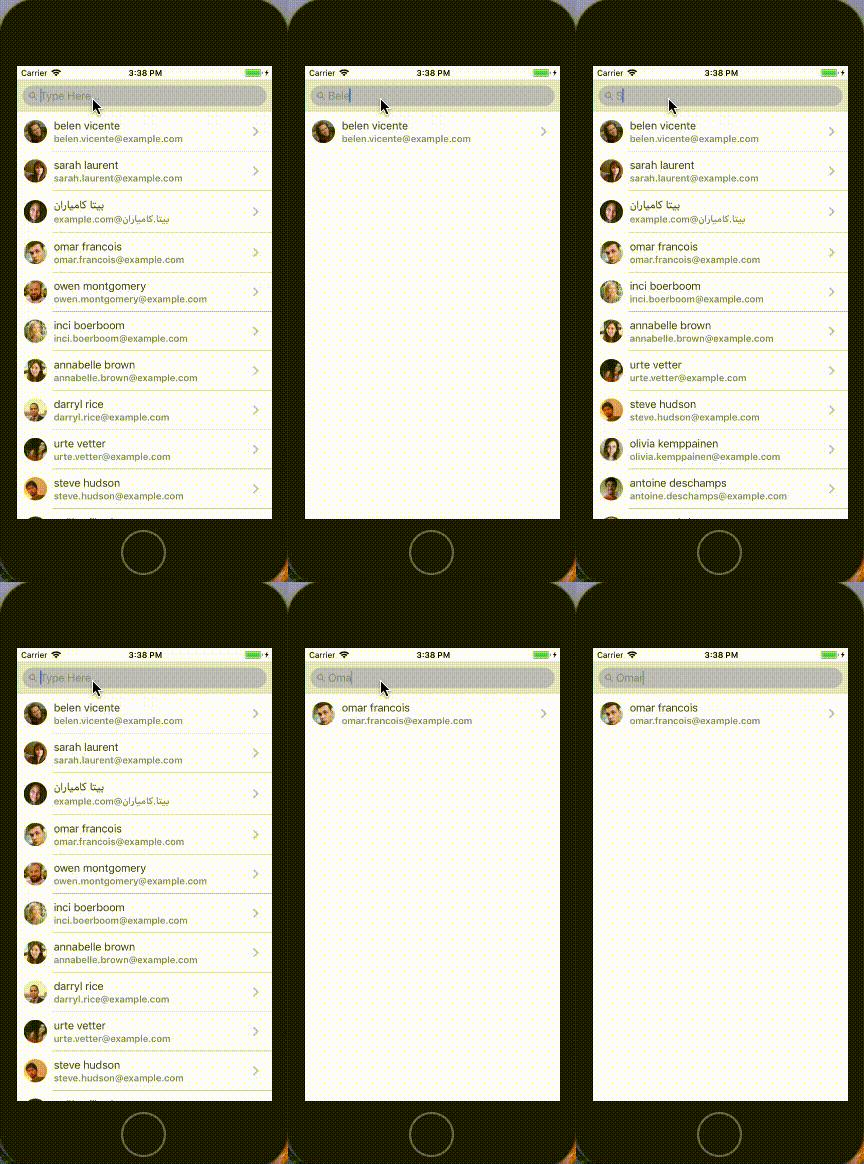
Almost all the time, whenever you encounter a long list of data, you are also presented with the ability to search though that data so that you don’t get lost searching.

React Native Searchable FlatList
I decided to build something to solve this problem. You can find the complete project repo here.
If you are not familiar with the FlatList, I would recommend going through the basics of FlatList first. This article one by Spencer Carli is the best for beginners that are new to React Native.
And now, without any further ado, let’s get started and make our searchable FlatList!
First, let’s set some initial states that we are going to use later in the project:
this.state = {
  loading: false,
  data: [],
  error: null,
};
We’ll also need an array variable:
this.arrayholder = [];
Apparently an empty list is no fun. So let spice it up with some random list of users.
We are going to user randomuser.me which is a free, open-source API for generating random user data. Its like Lorem Ipsum, but for people.
Let’s create a function that goes and fetches some user data for us.
makeRemoteRequest = () => {
  const url = `https://randomuser.me/api/?&results=20`;
  this.setState({ loading: true });

  fetch(url)
    .then(res => res.json())
    .then(res => {
      this.setState({
        data: res.results,
        error: res.error || null,
        loading: false,
      });

     this.arrayholder = res.results;
   })
   .catch(error => {
     this.setState({ error, loading: false });
   });
};
In the above code snippet, we are using the [fetch](https://facebook.github.io/react-native/docs/network) API to make a remote API request. When the request is complete, we will receive the user data which is saved to data state and also to our arrayholder.
Now, for the user to search the list, we need to add a search bar on the top of the FlatList. FlatList has a prop to add any custom component to its heade,r which is useful as we’ll be adding a search component there.
renderHeader = () => {
  return (
    <SearchBar
      placeholder="Type Here..."
      lightTheme
      round
      onChangeText={text => this.searchFilterFunction(text)}
      autoCorrect={false}
    />
  );
};
In the above function we are using react-native-elements SearchBar component as out header component.
By default, there is no logic which will filter the list as we type inside the SearchBar. For that we’ll need to write a function that will filter the results as the text inside the SearchBar changes.
searchFilterFunction = text => {
  const newData = this.arrayholder.filter(item => {
    const itemData = `${item.name.title.toUpperCase()}
    ${item.name.first.toUpperCase()} ${item.name.last.toUpperCase()}`;

     const textData = text.toUpperCase();

     return itemData.indexOf(textData) > -1;
  });

  this.setState({ data: newData });
};
The above function will run the filter function on the arrayholder. We’ll be filtering users based on their name, so we’ll store the name inside the itemData variable and convert it to uppercase.
This function will receive the text that the user types as a parameter, which we will store in another variable textData after converting it to uppercase.
After that, we’ll use the indexOf to compare both the text and return true if the text is found inside the itemData. If a true is returned, than filter will keep that data other wise ignore it. So new data is returned anytime the user types any text in the search bar. This new data is then set to the data state, which will eventually be used as a data source for FlatList.
Now its time to render the FlatList.
<List containerStyle={{ borderTopWidth: 0, borderBottomWidth: 0 }}>
  <FlatList
    data={this.state.data}
    renderItem={({ item }) => (
      <ListItem
        roundAvatar
        title={`${item.name.first} ${item.name.last}`}
        subtitle={item.email}
        avatar={{ uri: item.picture.thumbnail }}
        containerStyle={{ borderBottomWidth: 0 }}
       />
     )}
     keyExtractor={item => item.email}
     ItemSeparatorComponent={this.renderSeparator}
     ListHeaderComponent={this.renderHeader}
  />
</List>
That is all we need to do. Hurray!!

Closing Thoughts
I’ve skipped some code that is not so important for this tutorial and for the sake of brevity. You can find the full working repo on GitHub.
Also, I believe there can be other ways to achieve the same — so if you do find another way, then please feel free to share it.
You can also follow me on Twitter and GitHub. And check out my previous articles in Medium.
Other Helpful Articles:
Subscribe to my newsletter
Read articles from freeCodeCamp directly inside your inbox. Subscribe to the newsletter, and don't miss out.
Written by

freeCodeCamp
freeCodeCamp
Learn to code. Build projects. Earn certifications—All for free.