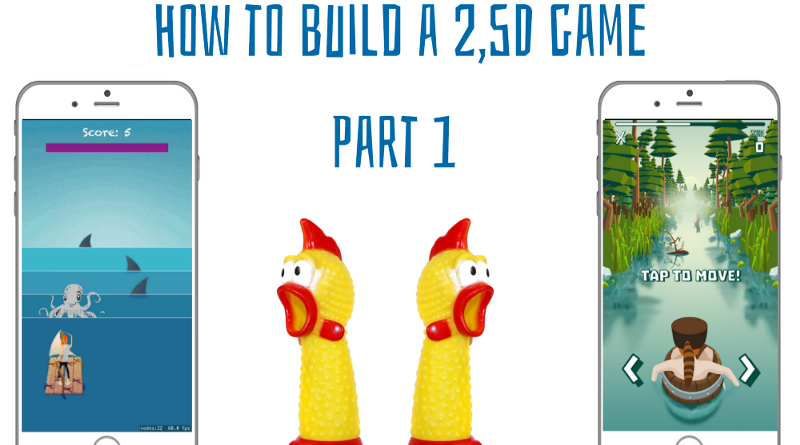
SpriteKit Advanced — How to build a 2,5D game (Part I)
 freeCodeCamp
By Luke Konior
Intro
This article is about graphical evolution of Raft Challenge from the prototype to the final product. It’s AIM-ed for the people who are thinking about making their own game with graphics like Raft, but don’t know exactly how to start.
The very beginning of Raft Challenge
Raft Challenge was born during the first hackathon organized by All In Mobile. The idea was to make a game where a player avoids obstacles. We wanted to keep things as simple as possible.
After the weekend, we had a prototype that looked like this:
Raft Challenge won the hackathon. The company announced that it’ll make the resources to improve the game.
Let’s make it 2,5D!
At the start of the project, Raft had the simplest possible graphics. A view was directly over a flat ground texture, with colored circles that indicated the player and the enemies. It was beautiful and as simple as the code underneath. Then our graphic designer came and messed up everything. He said, “Let’s make it 2,5D!”. The challenge was accepted and the animation above was the result.
After the hackathon he showed up once again. This time it was something more than one sentence.
It was an evil smile and this video:
Perspective explained
Ok, let’s drop the act :-). I’ve wanted to give him the feeling that he’s in charge. But I’m the boss here! The perspective is easy to implement in code, regardless of what 2D engine we use.
First, we have to determine where we want to put the vanishing point. The example below shows this point in the center of the canvas.
Raft Challenge has this point in the upper half of the screen, because the sky and everything overhead isn’t as important as obstacles on the river.
How are the sprites themselves made? While it may be obvious for someone with artistic background, it isn’t necessarily clear for a technical person.
There are two rules:
- Moving parts must be drawn along the helper lines as shown above
All those lines intersect in the vanishing point
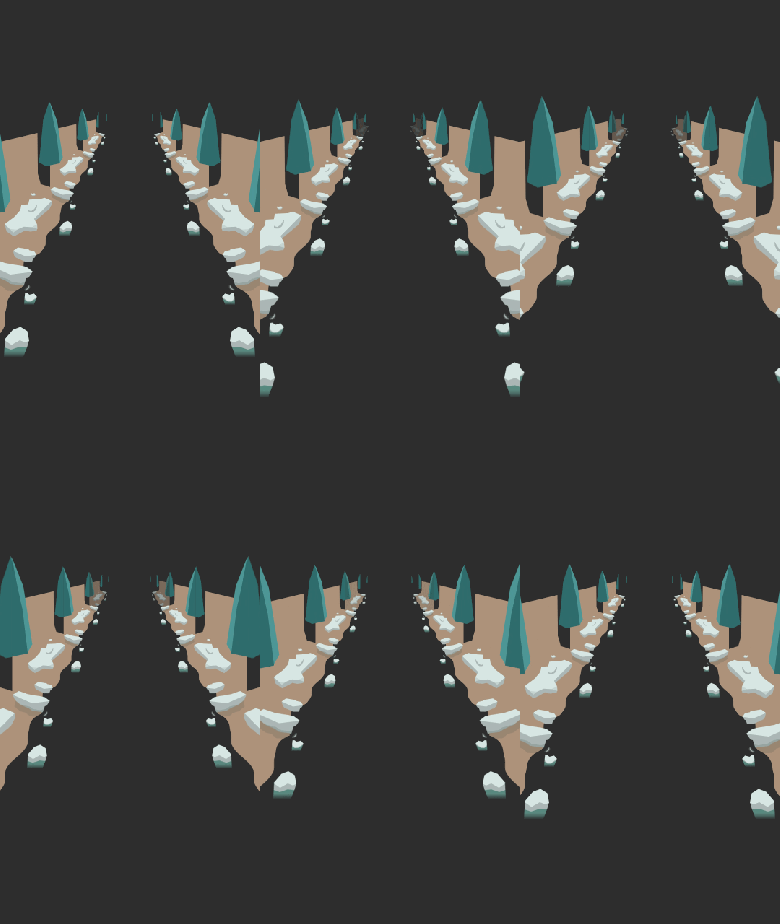
Note: The coast part isn’t reaching the vanishing point. It stops somewhere in the middle, leaving the transparent area behind.
- That empty area between the graphic and the vanishing point has an important purpose
It’ll hold elements that are further away.
Those parts are made by applying a twice smaller scale for each step. The resulting image should be seamless if the texture is well-made.
Assembling the scene
After we’ve prepared all our assets, we need to put them all into the scene.
Let’s see how it looks in Raft Challenge.
Starting from the bottom:
Background layers
Background
Grass
Fog bottom
Sun
Mountains
Horizon LineThese layers are all static they don’t move
- Background acts for both the sky and water
- The background is a plain gradient
It’s stretched to fill the entire device’s screen
The aspect ratio is ignored - We may merge layers other than Background for increased performance unless we want to change some properties
We may move the sun during the gameplay
or replace mountains for something differentPerspective layers
Trees with reflections
Coast
ObstaclesFor the clarity of the image above, layers with similar content were grouped
There were:
2 layers of Obstacles
8 layers of Coast
8 layers of Trees with reflections- These layers are scaled up by 2 when a player is moving forward
Order of these layers depends on
distance
closer ones are on top
priority
Obstacle > Coast > TreesCharacter
If an Obstacle is in the closest possible position, it may have z-position higher than the Character itself
In this case, the Obstacle covers the Character, which is desirableGUI
Good graphics should depend on illusions and tricks instead of hardware
Summary
This article should give us an idea how to approach the problem of making assets to a 2,5D game and organizing them into a scene.
You can read part 2 of this series here.
About the author: Kamil Ziętek is an iOS Developer at www.allinmobile.co
Subscribe to my newsletter
Read articles from freeCodeCamp directly inside your inbox. Subscribe to the newsletter, and don't miss out.
Written by

freeCodeCamp
freeCodeCamp
Learn to code. Build projects. Earn certifications—All for free.


