🎉Day 43: Learning AWS EKS and Deploying a Two-Tier App
 Ritesh Dolare
Today, we’re diving into AWS Elastic Kubernetes Service (EKS) as part of our 90 Days of DevOps challenge. EKS makes it easier to manage Kubernetes clusters in the cloud, perfect for running and scaling applications. We’ll explore how EKS works and get hands-on by deploying a two-tier application. It’s an exciting step toward understanding how to build reliable, scalable apps using EKS!
✅Why Use AWS EKS?
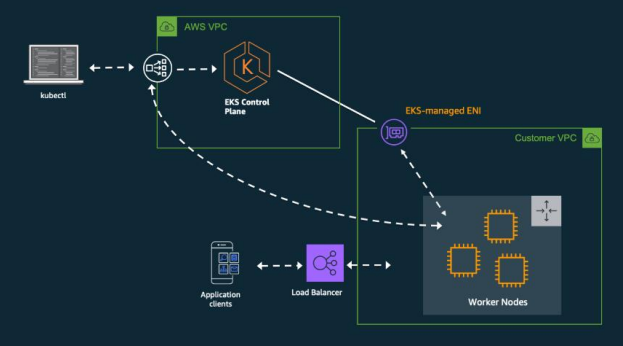
AWS EKS is like your Kubernetes helper in the cloud. It takes care of a lot of the complicated stuff for you, like setting up servers and making sure your app can handle lots of traffic. Here’s how your team would use it to build the online store:

Setting Up Your Infrastructure:
- You start by setting up the basic infrastructure (like the servers and network) using AWS EKS. AWS makes this easy with tools that let you create and manage your Kubernetes clusters without manually configuring everything.
Scaling Up When Traffic Grows:
- As your store gets more visitors, AWS EKS can automatically add more resources to keep things running smoothly. This means your store won’t crash even if a lot of people visit it at the same time.
Staying Online Even During Issues:
- AWS EKS helps make sure your store stays online even if something goes wrong. It spreads your resources across different areas so that if one part fails, the other parts keep working.
Deploying Your Application:
- With Kubernetes and EKS, you can easily deploy updates to your store. You can release new features or fixes without taking the whole store offline.
Connecting Everything:
- In a big system like this, different parts need to talk to each other. Kubernetes helps these parts find each other and connect, while AWS EKS makes sure traffic is balanced across your servers for the best performance.
Keeping an Eye on Things:
- AWS EKS works with tools like CloudWatch to monitor how your store is doing. If something looks wrong, you’ll get alerts so you can fix issues quickly.
Security:
- Security is key, especially when dealing with customer data. AWS EKS offers features to keep your data safe, like encryption and strict access controls.
✅Project: Two-Tier Application
Let’s say you want to set up a simple two-part application on AWS using EKS. Here’s a step-by-step guide:
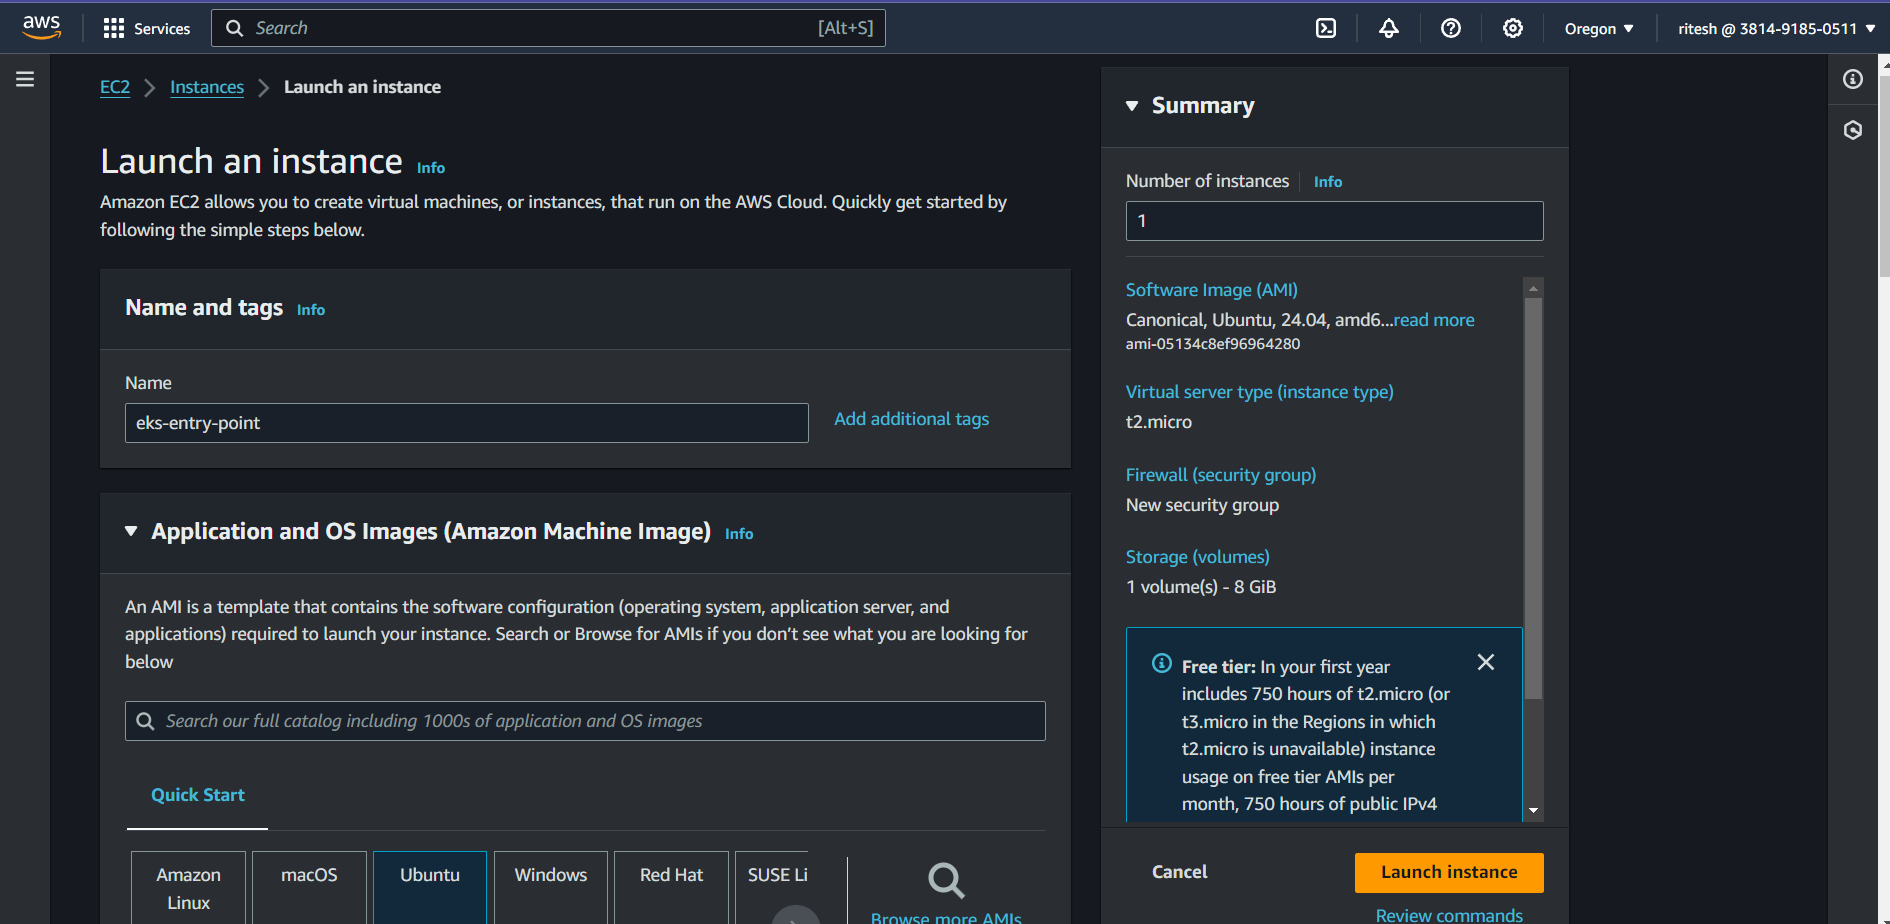
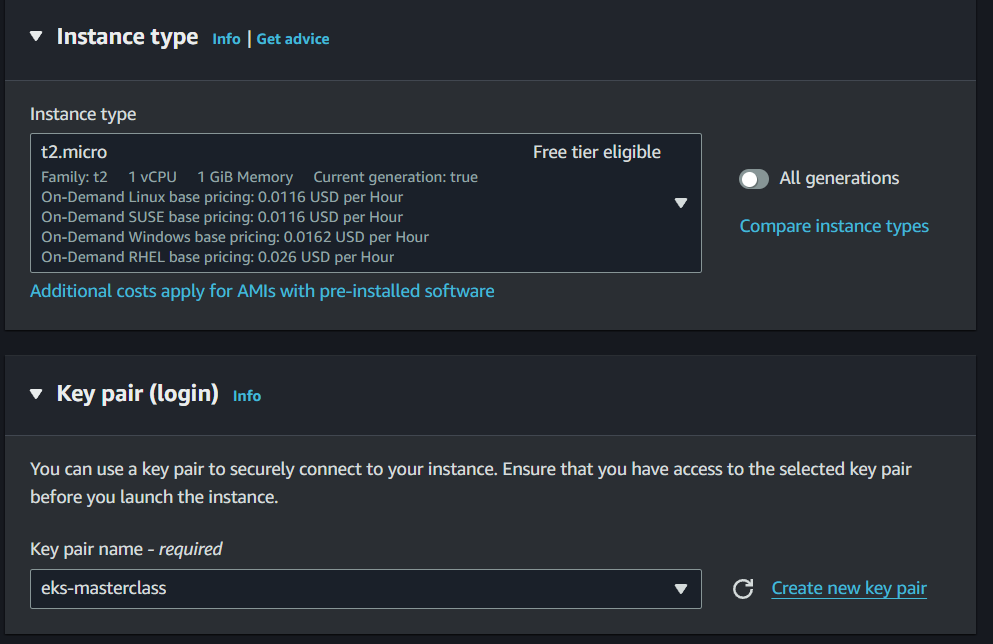
Create an EC2 Machine:
Go to AWS, launch an EC2 instance (a virtual server), and choose Ubuntu as the operating system.
Set up network and security settings to allow web traffic (HTTP, HTTPS) and SSH access.

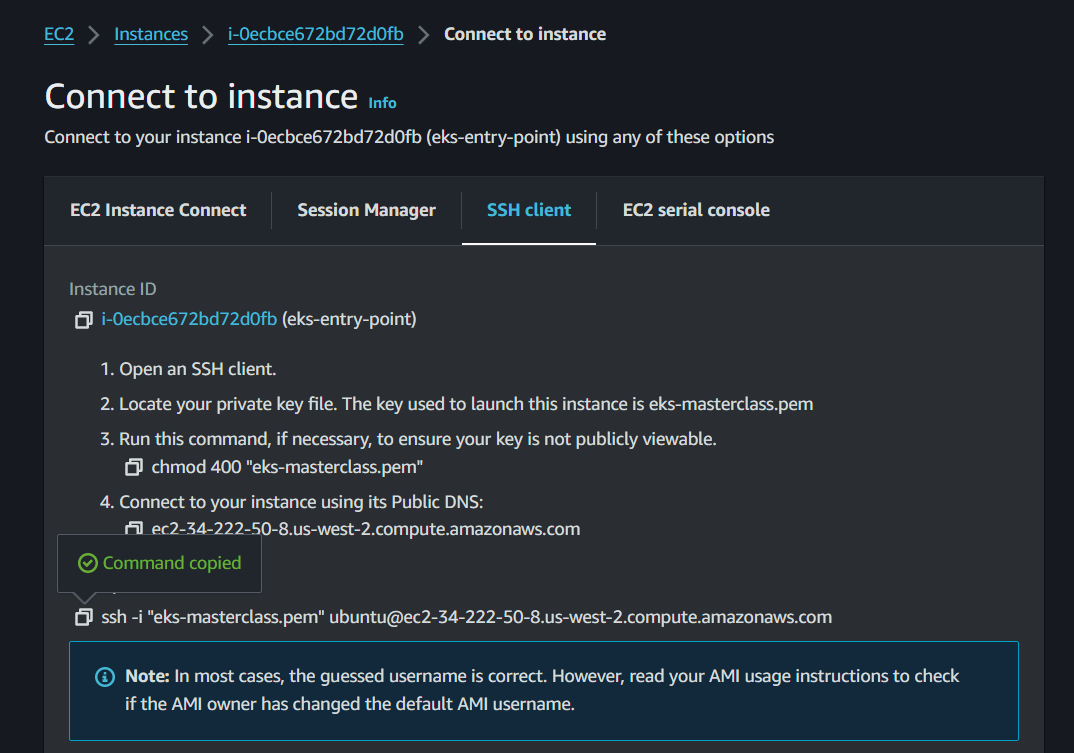
Set Up Your AWS Environment:
- Create a user in AWS with full access (administrator) and set up AWS CLI (Command Line Interface) on your EC2 machine to interact with AWS services.

Download the AWS CLI Installer:
Go to the official AWS CLI Website.
- Download the AWS CLI for LINUX Ubuntu users.

Run the following commands:
curl "https://awscli.amazonaws.com/awscli-exe-linux-x86_64.zip" -o "awscliv2.zip"Unzip the Installer:
- Install
unzipif it's not already installed:
- Install
        sudo apt update
        sudo apt install unzip
- Unzip the downloaded file:
unzip awscliv2.zip
Run the Installer:
- Run the install script:
sudo ./aws/install
Verify the Installation:
- Check the AWS CLI version:
aws --version
Configure AWS CLI:
- In your terminal, type:
aws configure

Install Kubernetes Tools:
- Follow the Kubernetes official documentation to Install
eksctl(a tool to create and manage EKS clusters) andkubectl(the command-line tool for Kubernetes).
- Follow the Kubernetes official documentation to Install


Create a Kubernetes Cluster:
- Use
eksctlto create a cluster. This will take about 20 minutes.
- Use
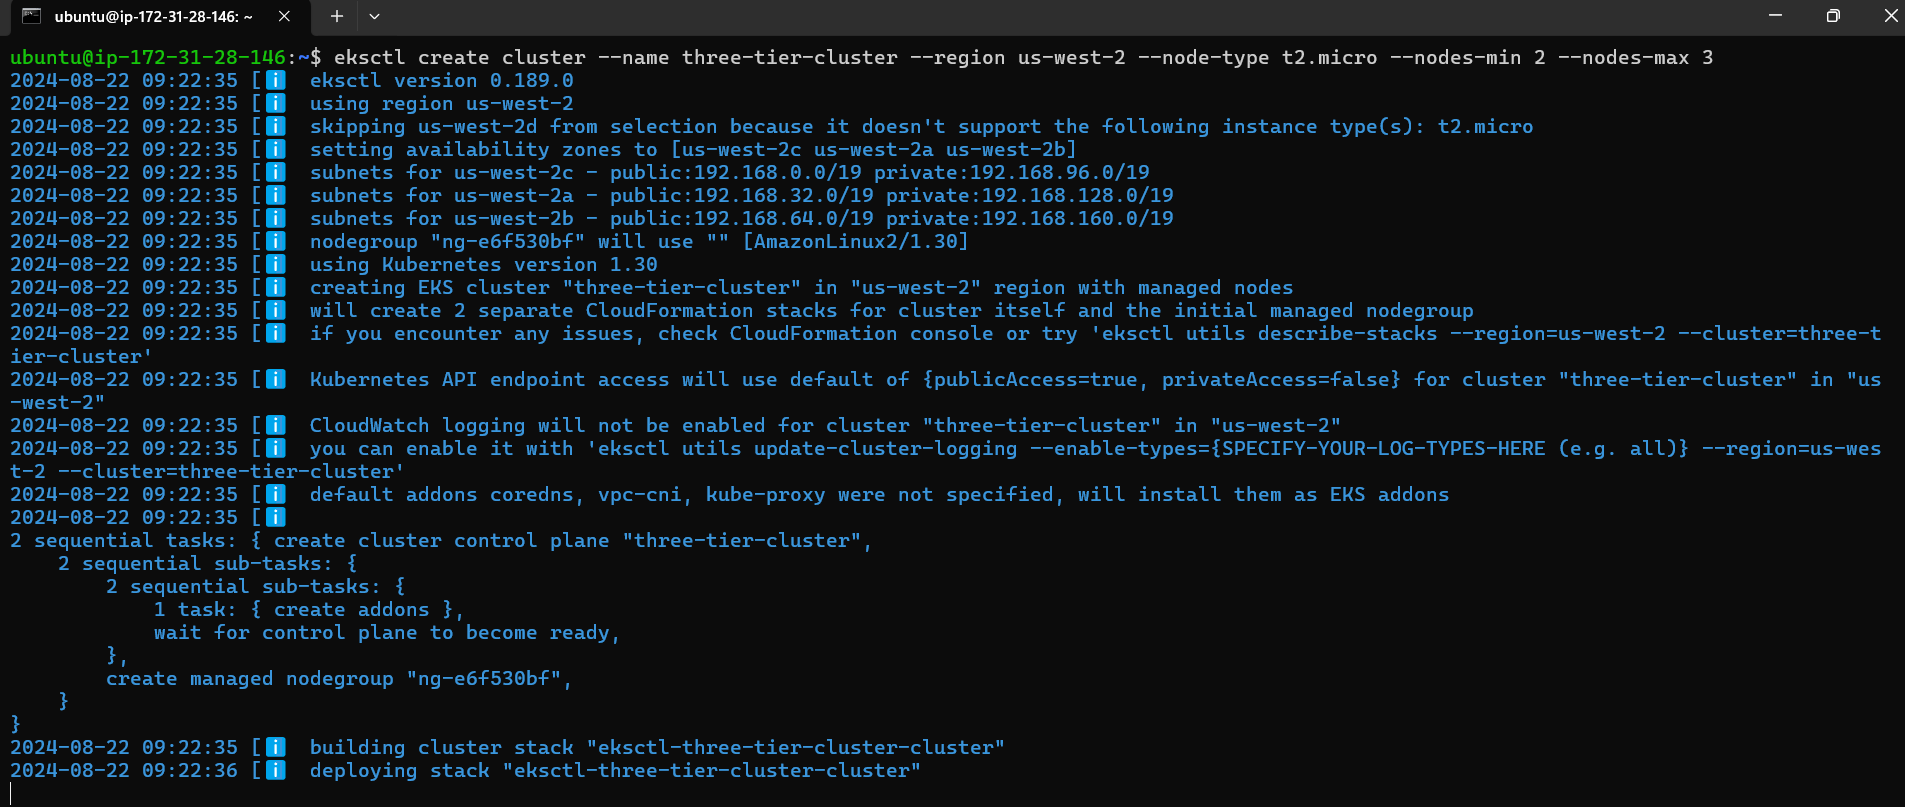
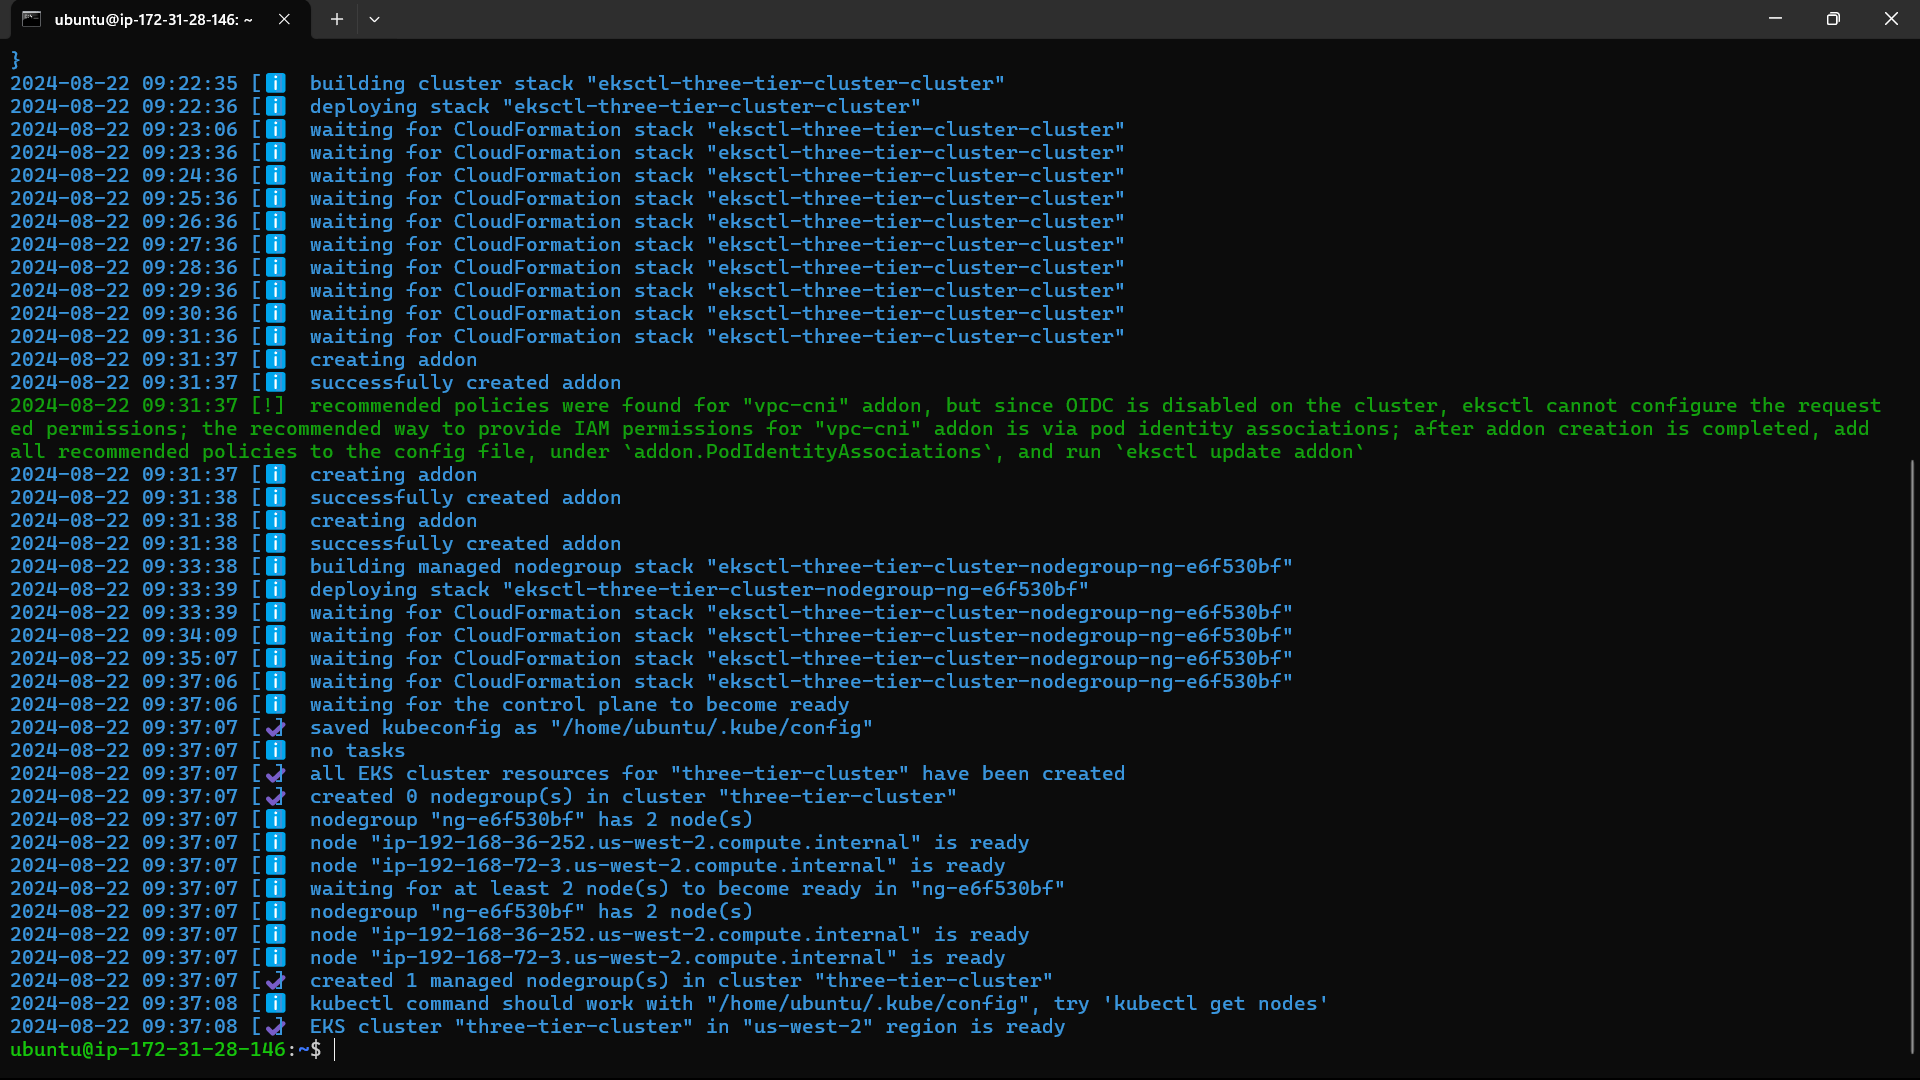
Clone a Sample Project:
- Download a sample project from GitHub (e.g., a two-tier flask app) and switch to the branch that has Kubernetes configurations.
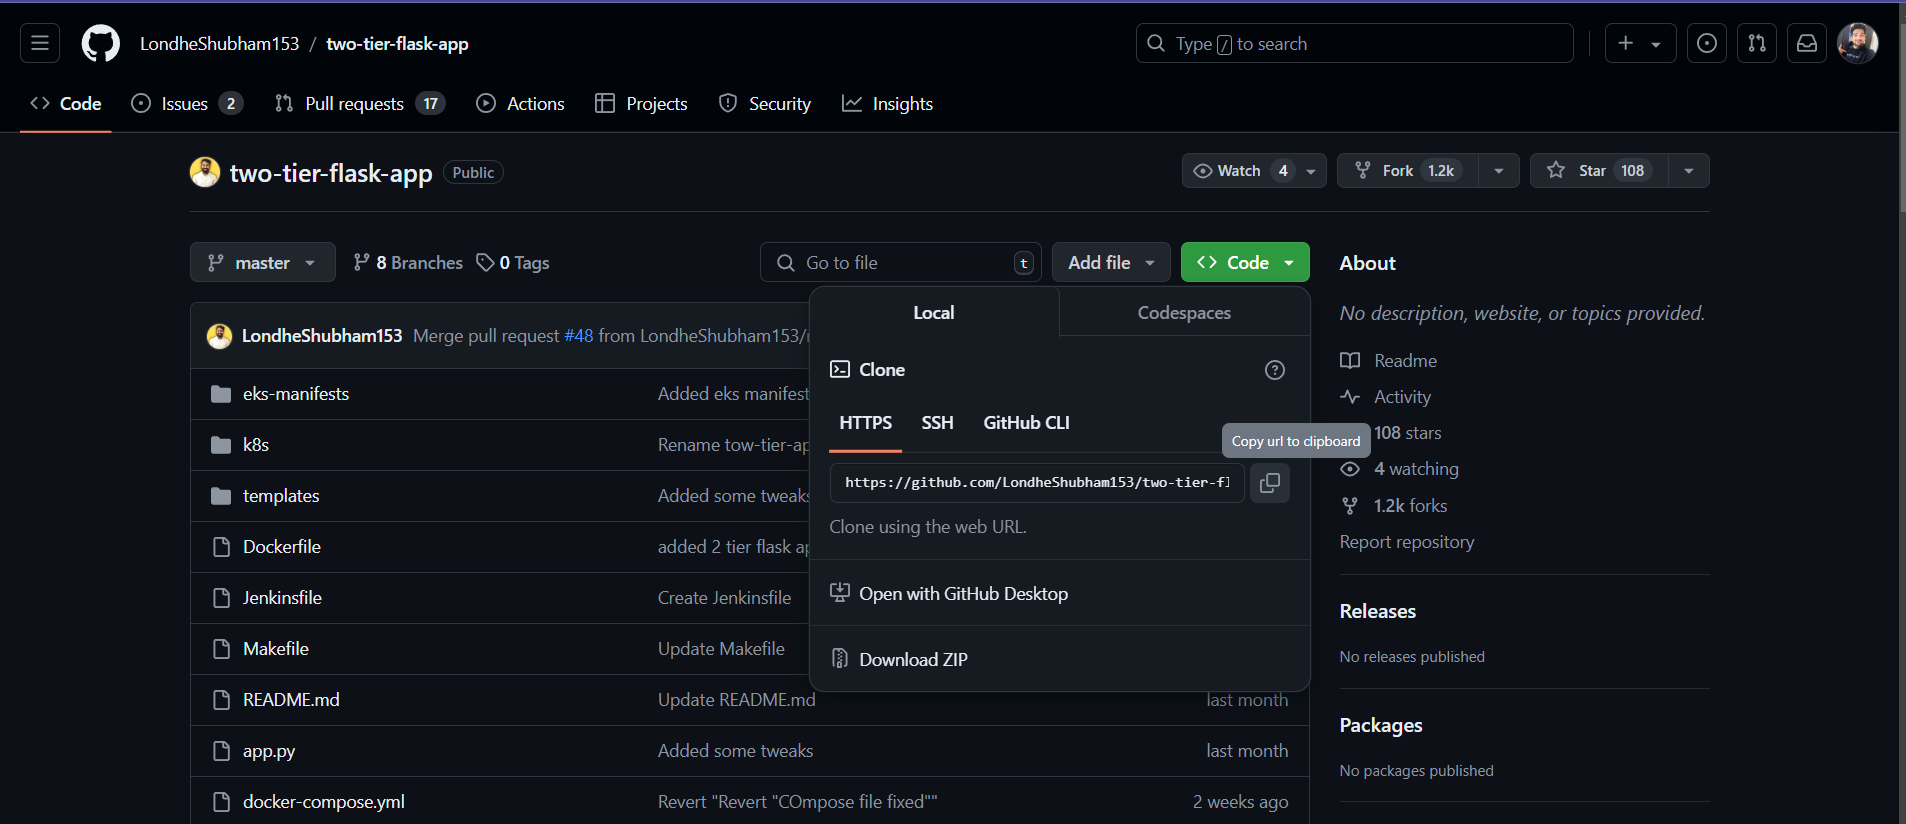


Now need to go to eks branch first go to the two-tier-flask-app and type the command.
git checkout eks

Set Up a Namespace:
- Create a namespace in Kubernetes to isolate your project. Apply the namespace to make sure it’s created.
namespace.yaml:
apiVersion: v1
kind: Namespace
metadata:
  name: two-tier-ns
Now apply namespace.yaml file. so the command is
kubectl apply -f namspace.yaml

Now we have created two-tier-ns namespace. Using this name space we run every file.
Now we need to run all the files.

now for checking pod running or not

You can see pods are running

you can see pod,service and deployment running.
Now we need to run flask-app. so run the all the file starting to flask.

Now check for all.

Now you can check everything is running.
Deploy Your Application:
- Run the necessary Kubernetes files to start up your app. Check that everything is running smoothly by viewing the pods, services, and deployments.
Access Your App:
- Find the load balancer’s IP address and open it in your browser to see your application live.

Clean Up:
- When you’re done, you can delete the entire Kubernetes cluster using one command to save on costs.
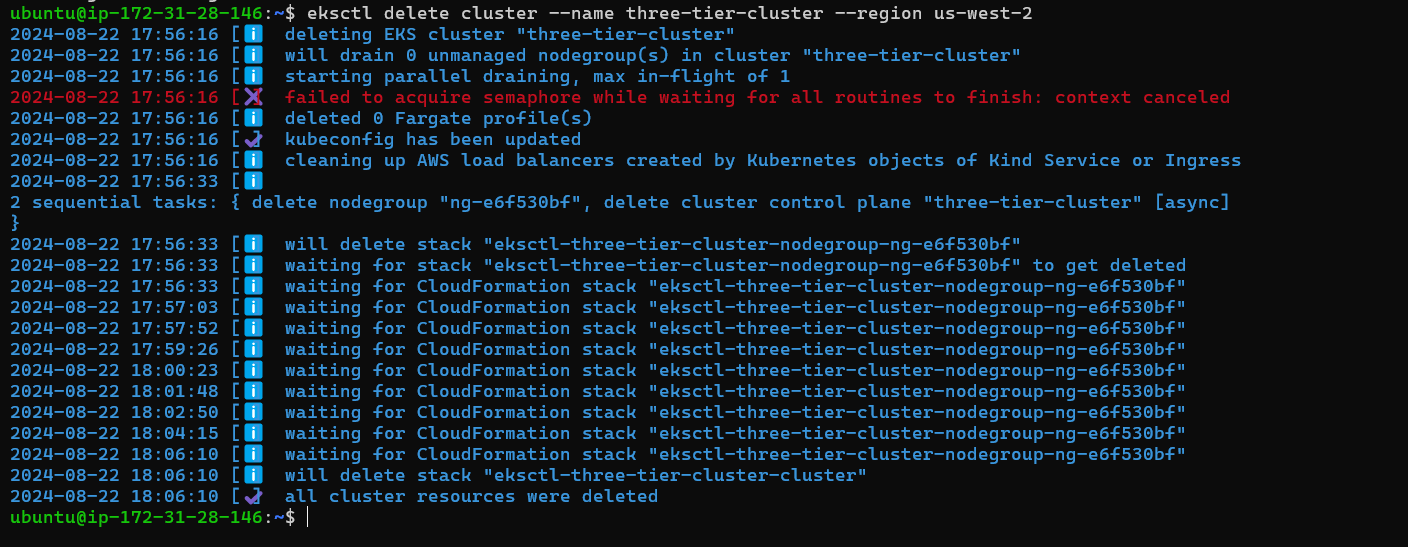
Now every service is deleted, It takes 10 Minutes.
✅Conclusion:
AWS Elastic Kubernetes Service (EKS) makes it easy to build and manage a reliable online store. It handles the tricky parts like setting up servers, scaling with traffic, and keeping everything secure. With EKS, your team can focus on creating a great shopping experience without getting stuck in the details. It’s a smart way to keep your app running smoothly, even as it grows.
Happy Learning!😊
Subscribe to my newsletter
Read articles from Ritesh Dolare directly inside your inbox. Subscribe to the newsletter, and don't miss out.
Written by

Ritesh Dolare
Ritesh Dolare
👋 Hi, I'm Ritesh Dolare, a DevOps enthusiast dedicated to mastering the art of DevOps.