Ansible Playbooks - Complete Guide with Examples
 Dinesh Kumar K
Ansible is an open-source automation tool that simplifies the process of configuration management, application deployment, and task automation. It uses playbooks, which are YAML files, to define a series of tasks that can be executed on one or more managed nodes.
Step 1: Test Connection to Hosts
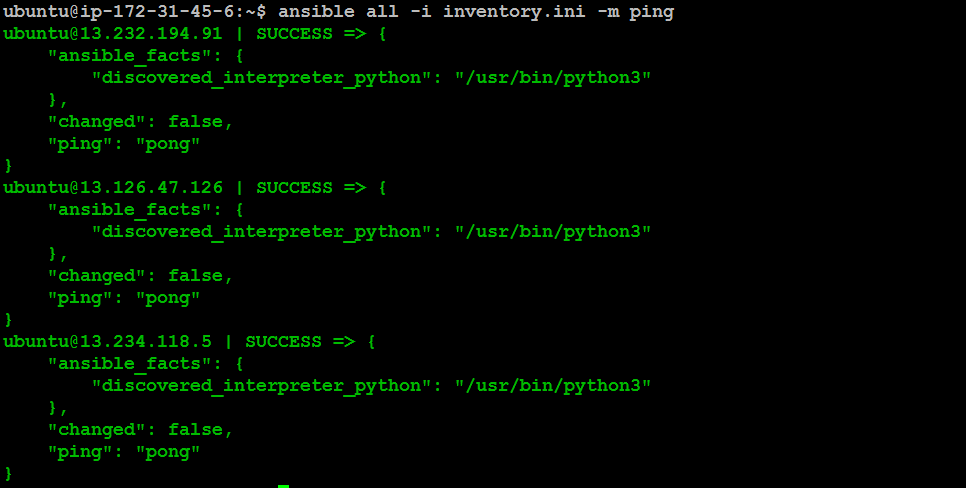
First, ensure you can connect to your hosts using Ansible:
ansible all -i inventory.ini -m ping
This command pings all hosts defined in your inventory.ini file to verify connectivity.
Step 2: Writing Your First Playbook - Installing Apache
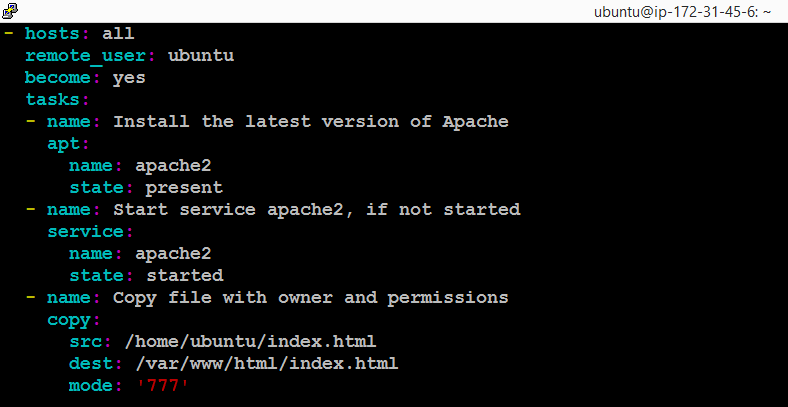
Let's start by writing a playbook to install and configure Apache on all managed nodes. Create a YAML file named basic.yaml with the following content:
- hosts: all
  remote_user: ubuntu
  become: yes
  tasks:
  - name: Install the latest version of Apache
    apt:
      name: apache2
      state: present
  - name: Start service apache2, if not started
    service:
      name: apache2
      state: started
  - name: Copy file with owner and permissions
    copy:
      src: /home/ubuntu/index.html
      dest: /var/www/html/index.html
      mode: '777'
This playbook performs three tasks:
Installs the Apache web server.
Ensures the Apache service is started.
Copies an HTML file to the Apache document root with the necessary permissions.
Run the playbook using the command:
ansible-playbook -i inventory.ini basic.yaml
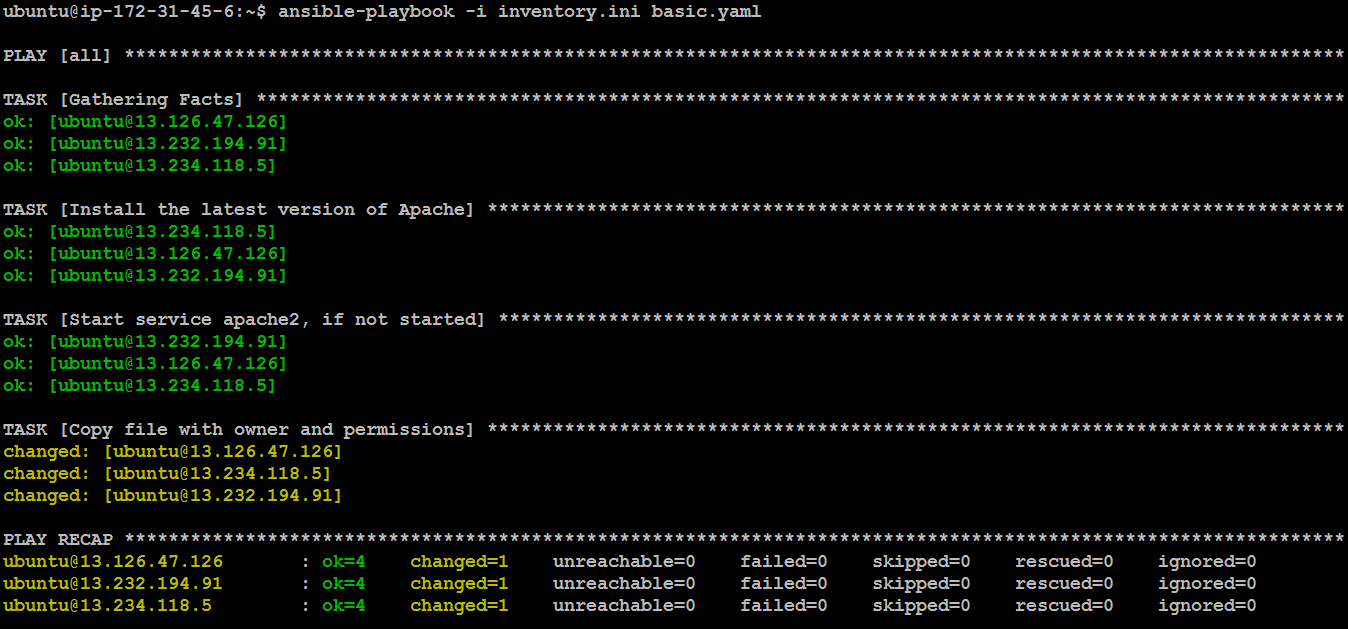
After running the playbook, check each managed node (slave machine) by entering their IP addresses in a browser to ensure Apache is running and serving the HTML file.
Slave Machine - 1

Slave Machine - 2

Slave Machine - 3

Step 3: Installing Multiple Tools with Ansible
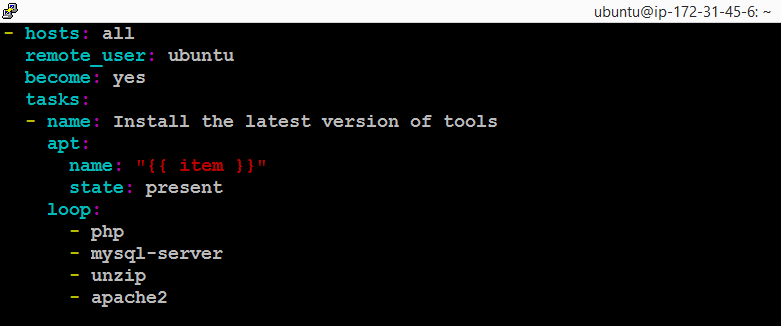
Next, we'll write a playbook to install multiple tools, including PHP, MySQL, Unzip, and Apache. Create a file named tools.yaml with the following content:
- hosts: all
  remote_user: ubuntu
  become: yes
  tasks:
  - name: Install the latest version of tools
    apt:
      name: "{{ item }}"
      state: present
    loop:
      - php
      - mysql-server
      - unzip
      - apache2
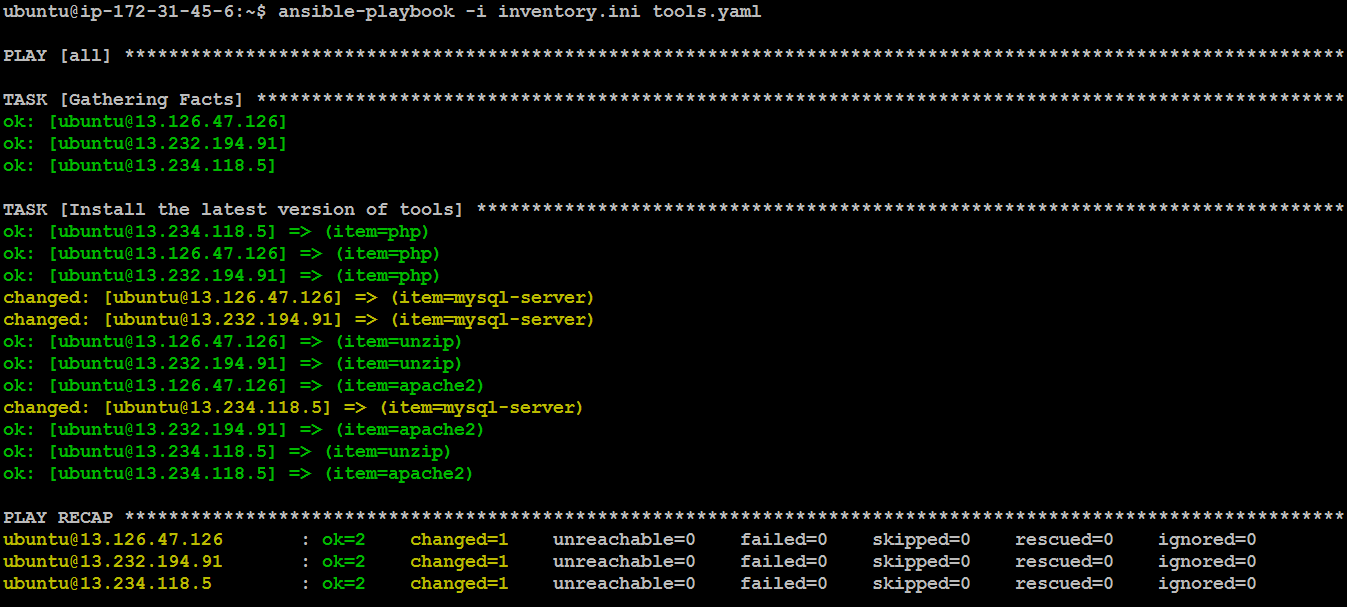
This playbook uses a loop to install multiple tools, ensuring that all necessary packages are present on the managed nodes.
Run the playbook using the command:
ansible-playbook -i inventory.ini tools.yaml
Step 4: Grouping Hosts and Installing Jenkins
You’ve now set up host grouping in your inventory.ini file, where Jenkins will only be installed on one machine. Here’s how your inventory file might look:
[jenkins]
username@<ip_address>

[docker]
username@<ip_address>
username@<ip_address>

Step 5: Installing and Configuring Jenkins
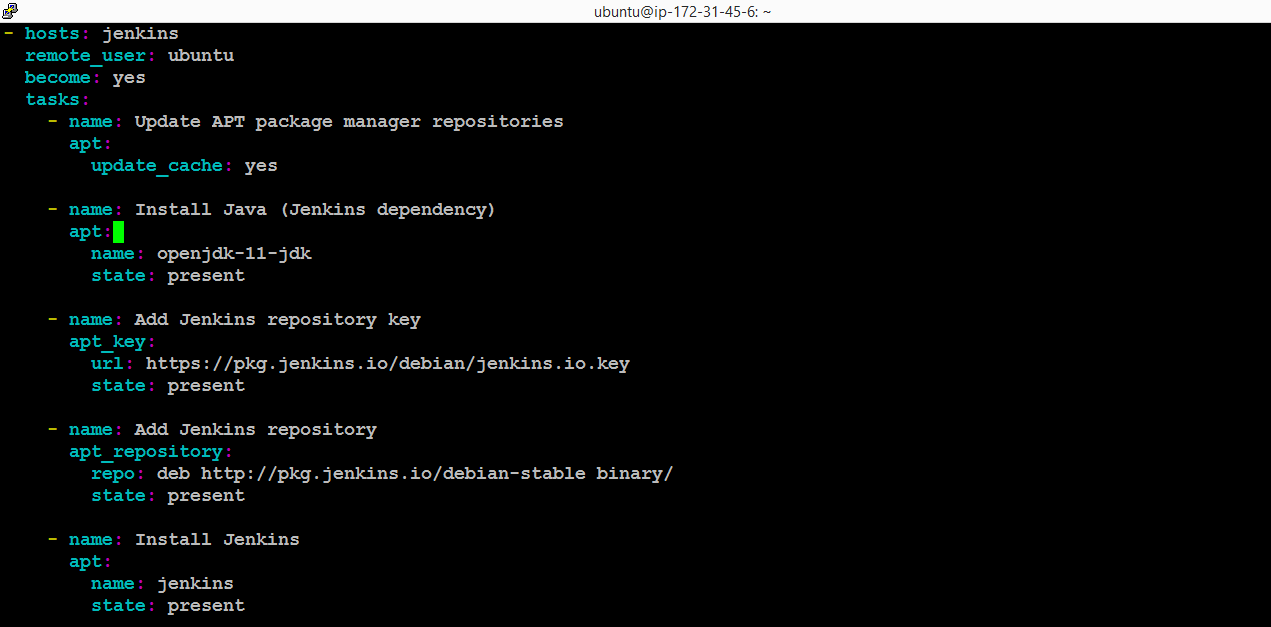
Finally, let's create a playbook to install and configure Jenkins. Save the following content to a file named jenkins.yaml:
- hosts: jenkins
  remote_user: ubuntu
  become: yes
  tasks:
    - name: Update APT package manager repositories
      apt:
        update_cache: yes

    - name: Install Java (Jenkins dependency)
      apt:
        name: openjdk-11-jdk
        state: present

    - name: Install gnupg and curl (for adding the Jenkins repo key)
      apt:
        name:
          - gnupg
          - curl
        state: present

    - name: Add Jenkins repository key
      shell: curl -fsSL https://pkg.jenkins.io/debian/jenkins.io-2023.key | gpg --dearmor -o /usr/share/keyrings/jenkins-archive-keyring.gpg

    - name: Add Jenkins repository
      apt_repository:
        repo: "deb [signed-by=/usr/share/keyrings/jenkins-archive-keyring.gpg] https://pkg.jenkins.io/debian-stable binary/"
        state: present

    - name: Install Jenkins
      apt:
        name: jenkins
        state: present

    - name: Start Jenkins service
      systemd:
        name: jenkins
        state: started
        enabled: yes

    - name: Ensure Jenkins is accessible on port 8080
      ufw:
        rule: allow
        port: '8080'
        proto: tcp
This playbook:
Updates the APT package manager.
Installs Java, which is a dependency for Jenkins.
Installs necessary tools like
gnupgandcurlto add Jenkins repository keys.Adds the Jenkins repository and installs Jenkins.
Starts the Jenkins service and ensures it's enabled on boot.
Configures the firewall to allow traffic on port 8080, which Jenkins uses.
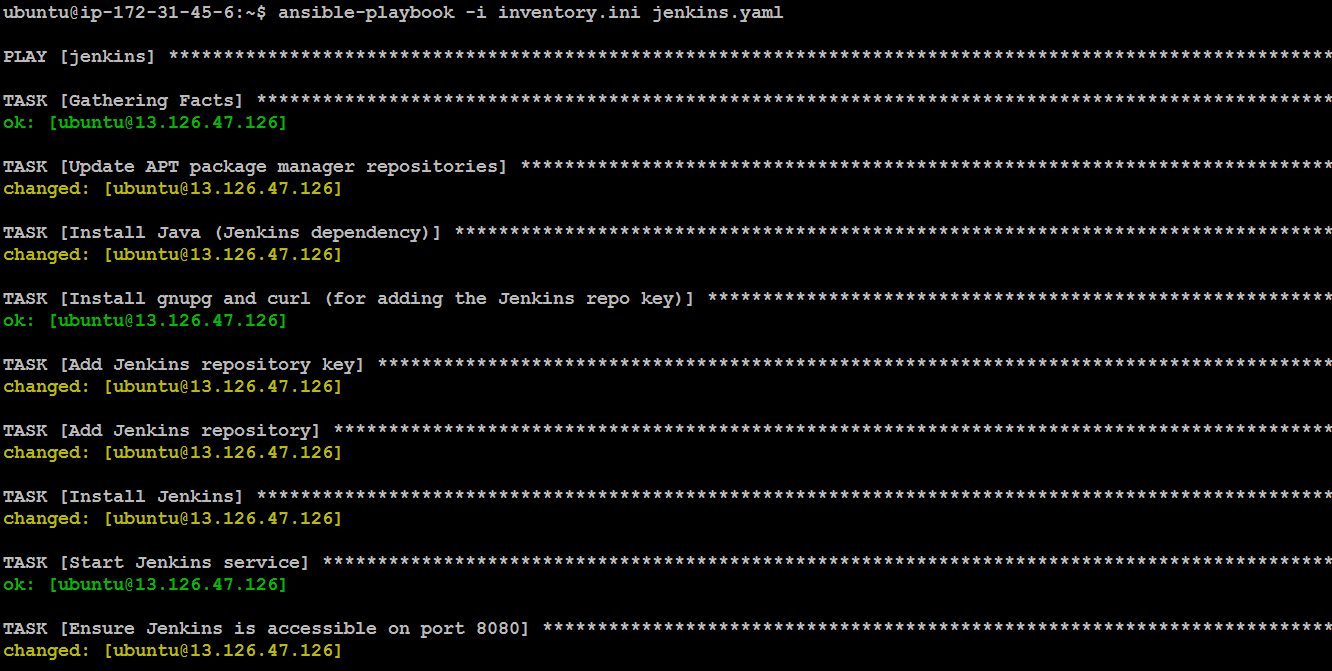
Run the playbook using the command:
ansible-playbook -i inventory.ini jenkins.yaml
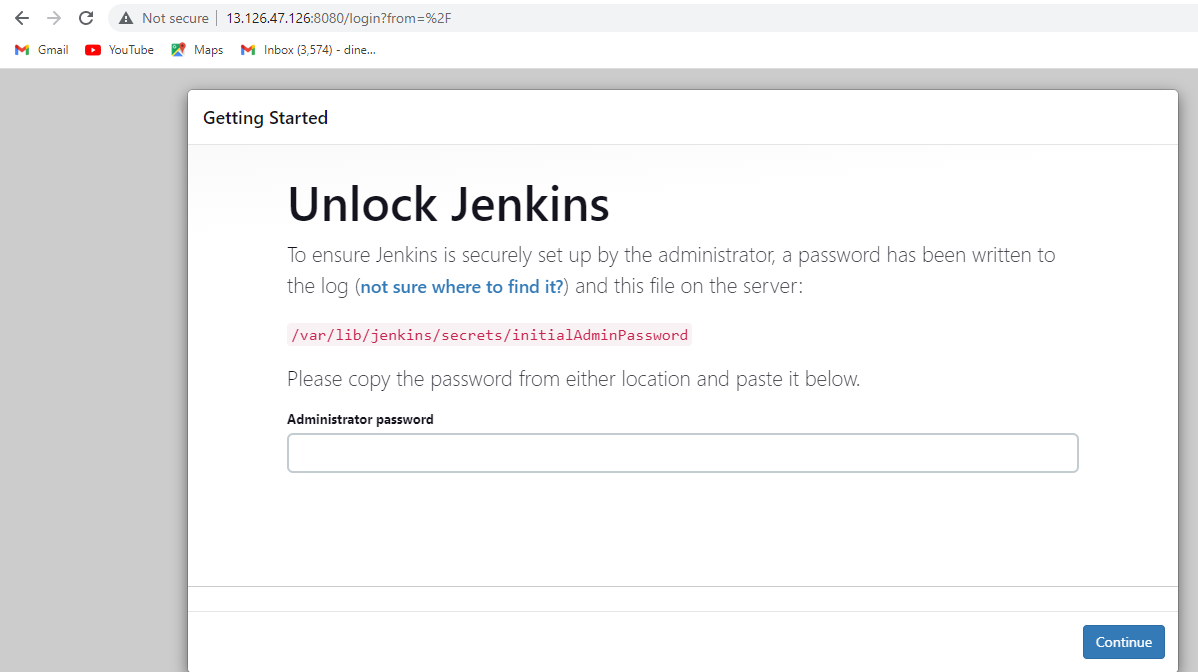
After running the playbook, check Jenkins by entering the Jenkins machine’s IP address followed by :8080 in a browser.
Slave Machine - 1
Conclusion
In this blog, we've covered the basics of creating Ansible playbooks to automate the installation and configuration of Apache, Jenkins, and other tools on your managed nodes. By grouping hosts and using playbooks effectively, you can simplify and standardize your infrastructure management.
Subscribe to my newsletter
Read articles from Dinesh Kumar K directly inside your inbox. Subscribe to the newsletter, and don't miss out.
Written by

Dinesh Kumar K
Dinesh Kumar K
Hi there! I'm Dinesh, a passionate Cloud and DevOps enthusiast. I love to dive into the latest new technologies and sharing my journey through blog.