Clerk Authentication: A Simple Introduction
 Muhammad Owais Warsi
Implementing authentication in your applications can be overwhelming. The long procedures involving JWT, cookies, OAuth, and more make it very difficult and time-consuming, especially for beginners..
In today's blog, we'll explore a platform that solves all these problems with just a few lines of code.
We'll create a simple Signup and Signin route using React.
Let's get started 🚀
Quickstart
Step 1 : Setup a React application using Vite
npm create vite@latest clerk-react -- --template react-ts
cd clerk-react
npm install
npm run dev
Step 2 : Install Clerk
npm install @clerk/clerk-react
Step 3 : Add your API Key in .env file
VITE_CLERK_PUBLISHABLE_KEY = "YOUR_API_KEY"
Step 4 : Import API Key and add <ClerkProvider/> in your src/main.tsx
import React from 'react'
import ReactDOM from 'react-dom/client'
import App from './App.tsx'
import './index.css'
import { ClerkProvider } from '@clerk/clerk-react'

// Import your publishable key
const PUBLISHABLE_KEY = import.meta.env.VITE_CLERK_PUBLISHABLE_KEY

if (!PUBLISHABLE_KEY) {
  throw new Error('Missing Publishable Key')
}

ReactDOM.createRoot(document.getElementById('root')!).render(
  <React.StrictMode>
    <ClerkProvider publishableKey={PUBLISHABLE_KEY}>
      <App />
    </ClerkProvider>
  </React.StrictMode>,
)
Now after setting up these things we can start adding up the SignUp and SIgnIn routes.
Using the react-router-dom I have setup the SignUp on localhost:3000/sign-up route.
// src/components/signUp.jsx
import { SignUp } from "@clerk/clerk-react"

export default function SignUpRoute() {
    return (
        <div>
            <SignUp/>
        </div>
    )
}
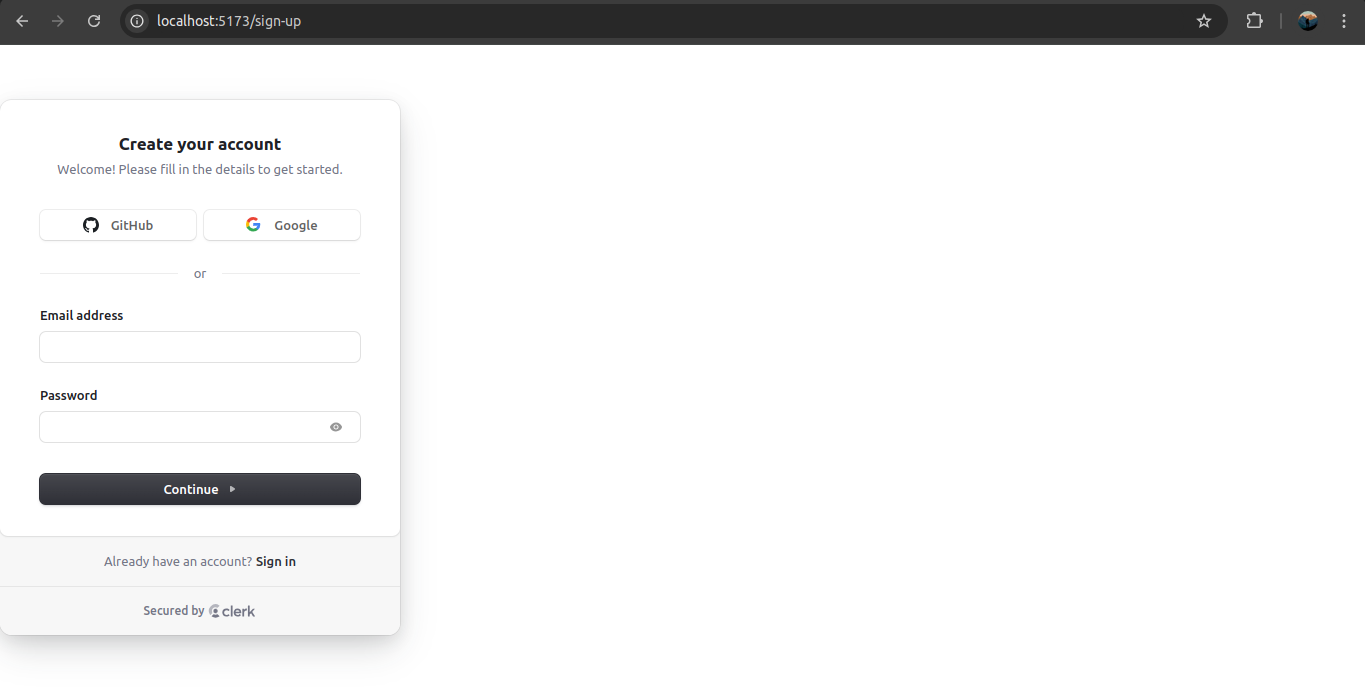
On hitting this localhost:5173/sign-in endpoint we can see the Clerk Auth card.
You can SignIn using either the OAuth or simple email and password.

Simlarly, I have setup the SignIn on localhost:3000/sign-in route.
// src/components/signIn.jsx
import { SignIn } from "@clerk/clerk-react"

export default function SignInRoute() {
    return (
        <div>
            <SignIn/>
        </div>
    )
}
This is it. You have finally setup the SignIn and SignUp route using Clerk.
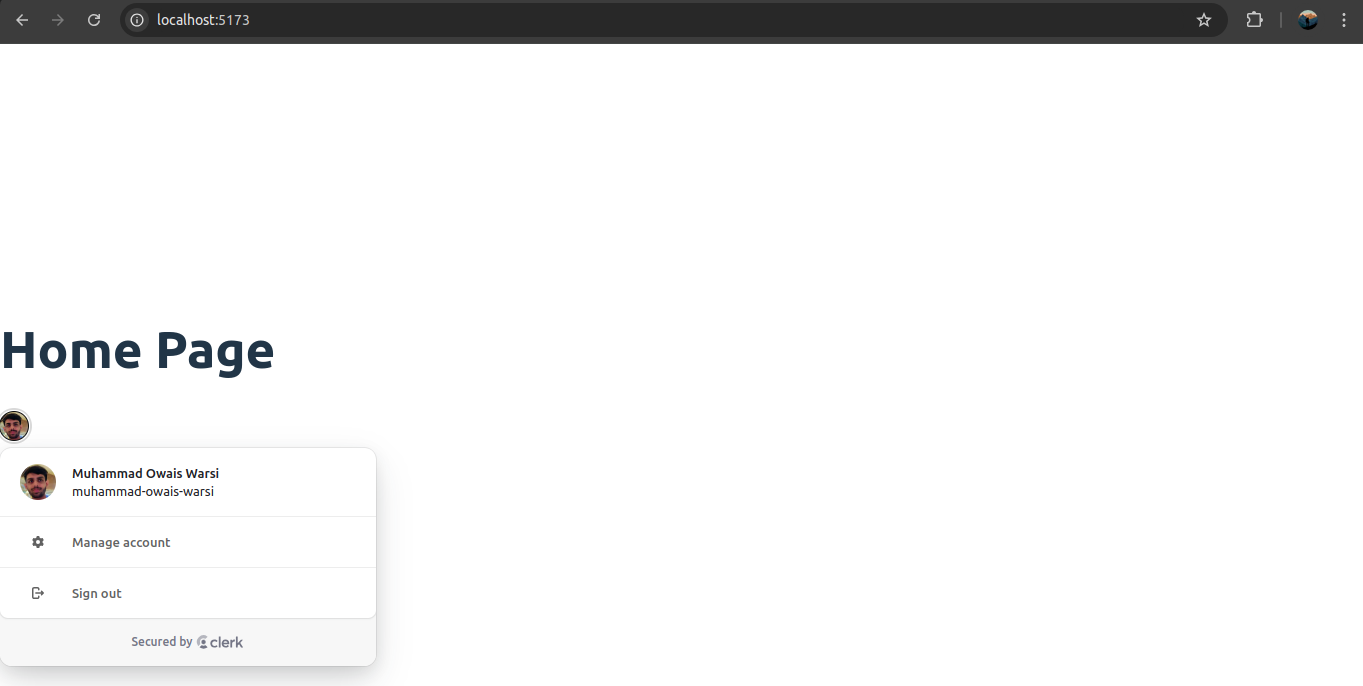
Clerk also provides many different functionalities along with authentication. One of my favorites is <UserButton/>. This will only be visible once you have successfully signed in or logged in.
To setup this , I have created a home page on the route localhost:5173
// src/components/home.jsx
import { UserButton } from "@clerk/clerk-react"

export default function Home() {
    return (
        <div>
            <h1>Home Page</h1>
            <UserButton/>
        </div>
    )
}
Before signing or logging in my Home page somewhat looks like

After that, I went to the route localhost:5173/sign-up and signed up using GitHub OAuth. After successfully signing up, I was redirected to the home page. But the home page had an extra icon !!

We can place this icon in the top corner of our application, and it can be used for signing out and displaying users account.
This is how we can simply add authentication to our apps using Clerk.
Conclusion
In today's blog, we learned how to implement SignUp and SignIn using Clerk and React.
If you found this blog helpful, please share it with others who might benefit.
Check out Clerk official Documentations: https://clerk.com/
Hope you liked the blog. Thanks for reading! 😊
Subscribe to my newsletter
Read articles from Muhammad Owais Warsi directly inside your inbox. Subscribe to the newsletter, and don't miss out.
Written by

Muhammad Owais Warsi
Muhammad Owais Warsi
Hey, I'm Muhammad Owais Warsi, a passionate developer from India. I have great interests in learning new Technologies and amazing wonders of Tech. I am also very much interested in open source world.