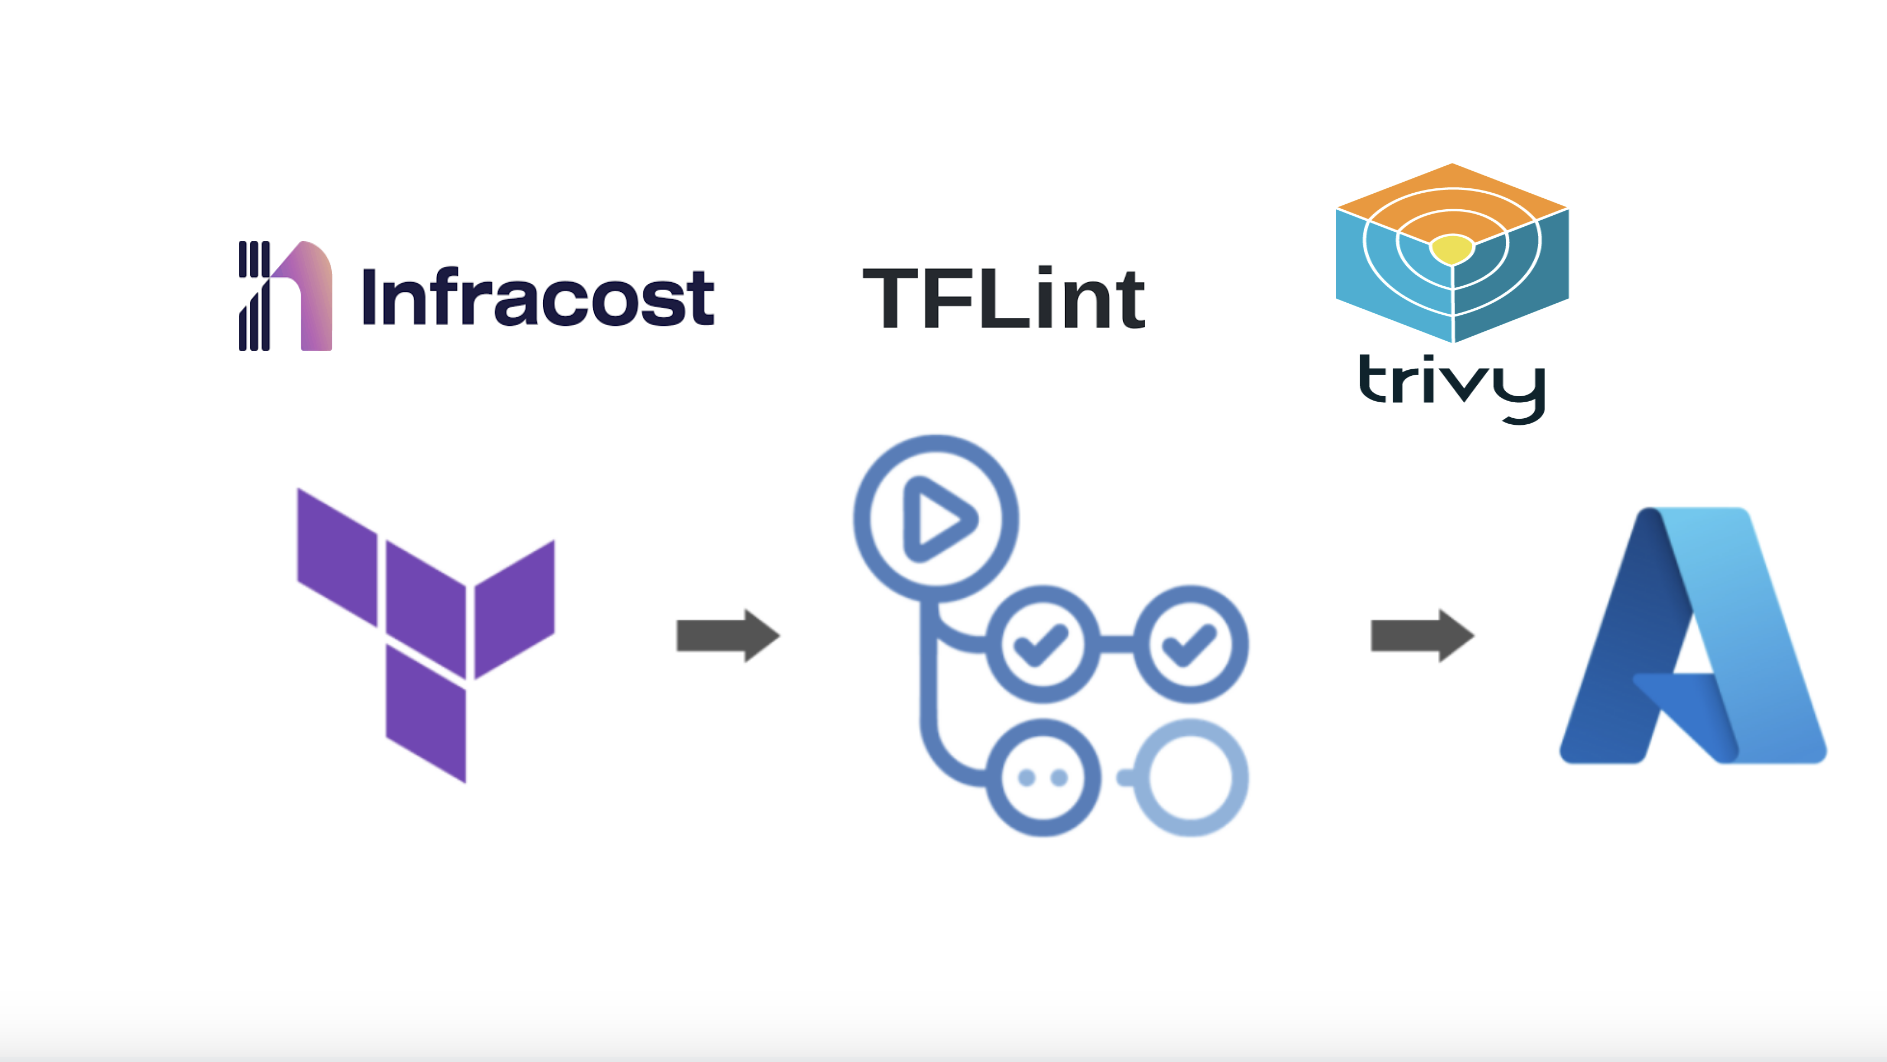
Terraform pipeline with popular open source tools
 Harshit Jain
Overview:
Today we will look beyond terraform validate, plan and apply. While writing IaC, it is important to treat it like a code rather than just a bunch of tf files for spinning up the infrastructure.
Today in this article, I will focus on how to ensure clean IaC coding with required security measures by enforcing checks in the terraform pipeline.
Scenarios:
Now, there will be 3 actions we need to perform:
Terraform Plan (Triggers at: PR level)
Terraform Apply (Triggers at: Code merge in default branch)
Terraform Destroy (Trigger: Manual trigger)
In this article, we will focus on the Terraform plan part, which means checking the IaC at PR level (before applying the changes), because all the creativity will take place at this stage only. Rest both the stages (apply & destroy) will be plan and simple.
CICD Tool used:
For this lab, I will be using Github actions as the CICD tool. If you are using any other tool like Azure DevOps or Jenkins, you can use the same steps there as well.
Steps:
So the first thing in pipeline is specifying the trigger for the pipeline. Since this pipeline is for checking the code at PR level, the trigger will be set for PRs targeting the default branch.
 name: Terraform Plan

 on:
   pull_request:
     types:
       - opened
       - synchronize
       - reopened
     branches:
       - 'main'
Now starts the jobs, the first job will be for checking the code quality, possible errors, deprecated syntax, naming convention etc. For this, we will be using the open source tool TFlint.
 jobs:
   terraform-lint:
     name: TFLint
     runs-on: ubuntu-latest
     steps:
       - name: Checkout code
         uses: actions/checkout@v4

       - uses: terraform-linters/setup-tflint@v4
         name: Setup TFLint
         with:
           tflint_version: v0.53.0

       - name: Run TFLint
         run: tflint
         working-directory: infra
Lets understand each step:
First, we are checking out the code.
Then, we are using the Github action to setup/install the Tflint tool. You can also do this by using simple bash command.
Finally, we are running the tflint command in the directory that contains the IaC.
Second job is for checking the code for security vulnerabilities, for this we will be using popular open source tool Trivy.
   tf-security-scan:
     name: trivy
     runs-on: ubuntu-latest
     steps:
       - name: Checkout code
         uses: actions/checkout@v4

       - name: Install trivy
         run: |
           sudo apt-get install wget apt-transport-https gnupg
           wget -qO - https://aquasecurity.github.io/trivy-repo/deb/public.key | gpg --dearmor | sudo tee /usr/share/keyrings/trivy.gpg > /dev/null
           echo "deb [signed-by=/usr/share/keyrings/trivy.gpg] https://aquasecurity.github.io/trivy-repo/deb generic main" | sudo tee -a /etc/apt/sources.list.d/trivy.list
           sudo apt-get update
           sudo apt-get install trivy

       - name: Run trivy
         run: trivy config .
         working-directory: infra
Lets understand each step:
Checkout code.
Install Trivy.
Run Trivy in the source directory.
Once the security scan is successfully succeeded we will create a terraform plan, and post the plan in github PR comment. Commenting the terraform plan in PR will help the reviewer to overview the PR request quickly.
 terraform-plan:
   name: Terraform plan
   runs-on: ubuntu-latest
   needs: tf-security-scan
   permissions:
     contents: read
     pull-requests: write # Required to post comments

   env:
     ARM_CLIENT_ID: ${{ secrets.ARM_CLIENT_ID }}
     ARM_CLIENT_SECRET: ${{ secrets.ARM_CLIENT_SECRET }}
     ARM_SUBSCRIPTION_ID: ${{ secrets.ARM_SUBSCRIPTION_ID }}
     ARM_TENANT_ID: ${{ secrets.ARM_TENANT_ID }}
     TF_VAR_registry_password: ${{ secrets.TF_VAR_registry_password }}

   steps:
     - name: Checkout code
       uses: actions/checkout@v4

     - name: Setup Terraform
       uses: hashicorp/setup-terraform@v3
       with:
         terraform_version: 1.9.4

     - name: Terraform Init
       run: terraform init
       working-directory: infra

     - name: Terraform validate
       run: terraform validate
       working-directory: infra

     - name: Terraform Plan
       run: terraform plan -var-file=dev.tfvars -out=.planfile
       working-directory: infra

     - name: Post terraform plan comment
       uses: borchero/terraform-plan-comment@v2
       with:
         token: ${{ github.token }}
         working-directory: infra
         planfile: .planfile
Lets understand the steps:
In Github actions, we get a
github.tokenwhich has a lifecycle of that pipeline run. That means, we don't have to provide any PAT token to the pipeline for authentication. To read more aboutgithub.tokenvisit here.So first, we will provide a permission block, this block is for providing permissions to our github token which will be used for commenting on the PR.
Next, we will define all the env variables for terraform plan, basically authenticating to our cloud provider.
Next, checkout the code.
Terraform install using github action (can be done by using bash commands).
Terraform initialise for downloading the modules.
Terraform validate to check the syntax.
Terraform plan by mentioning the var file and outputting the output in .planfile
Now, we will use the github action
borchero/terraform-plan-comment@v2for commenting terraform plan output, it will take .planfile as an input and will post a well formatted comment on the PR.
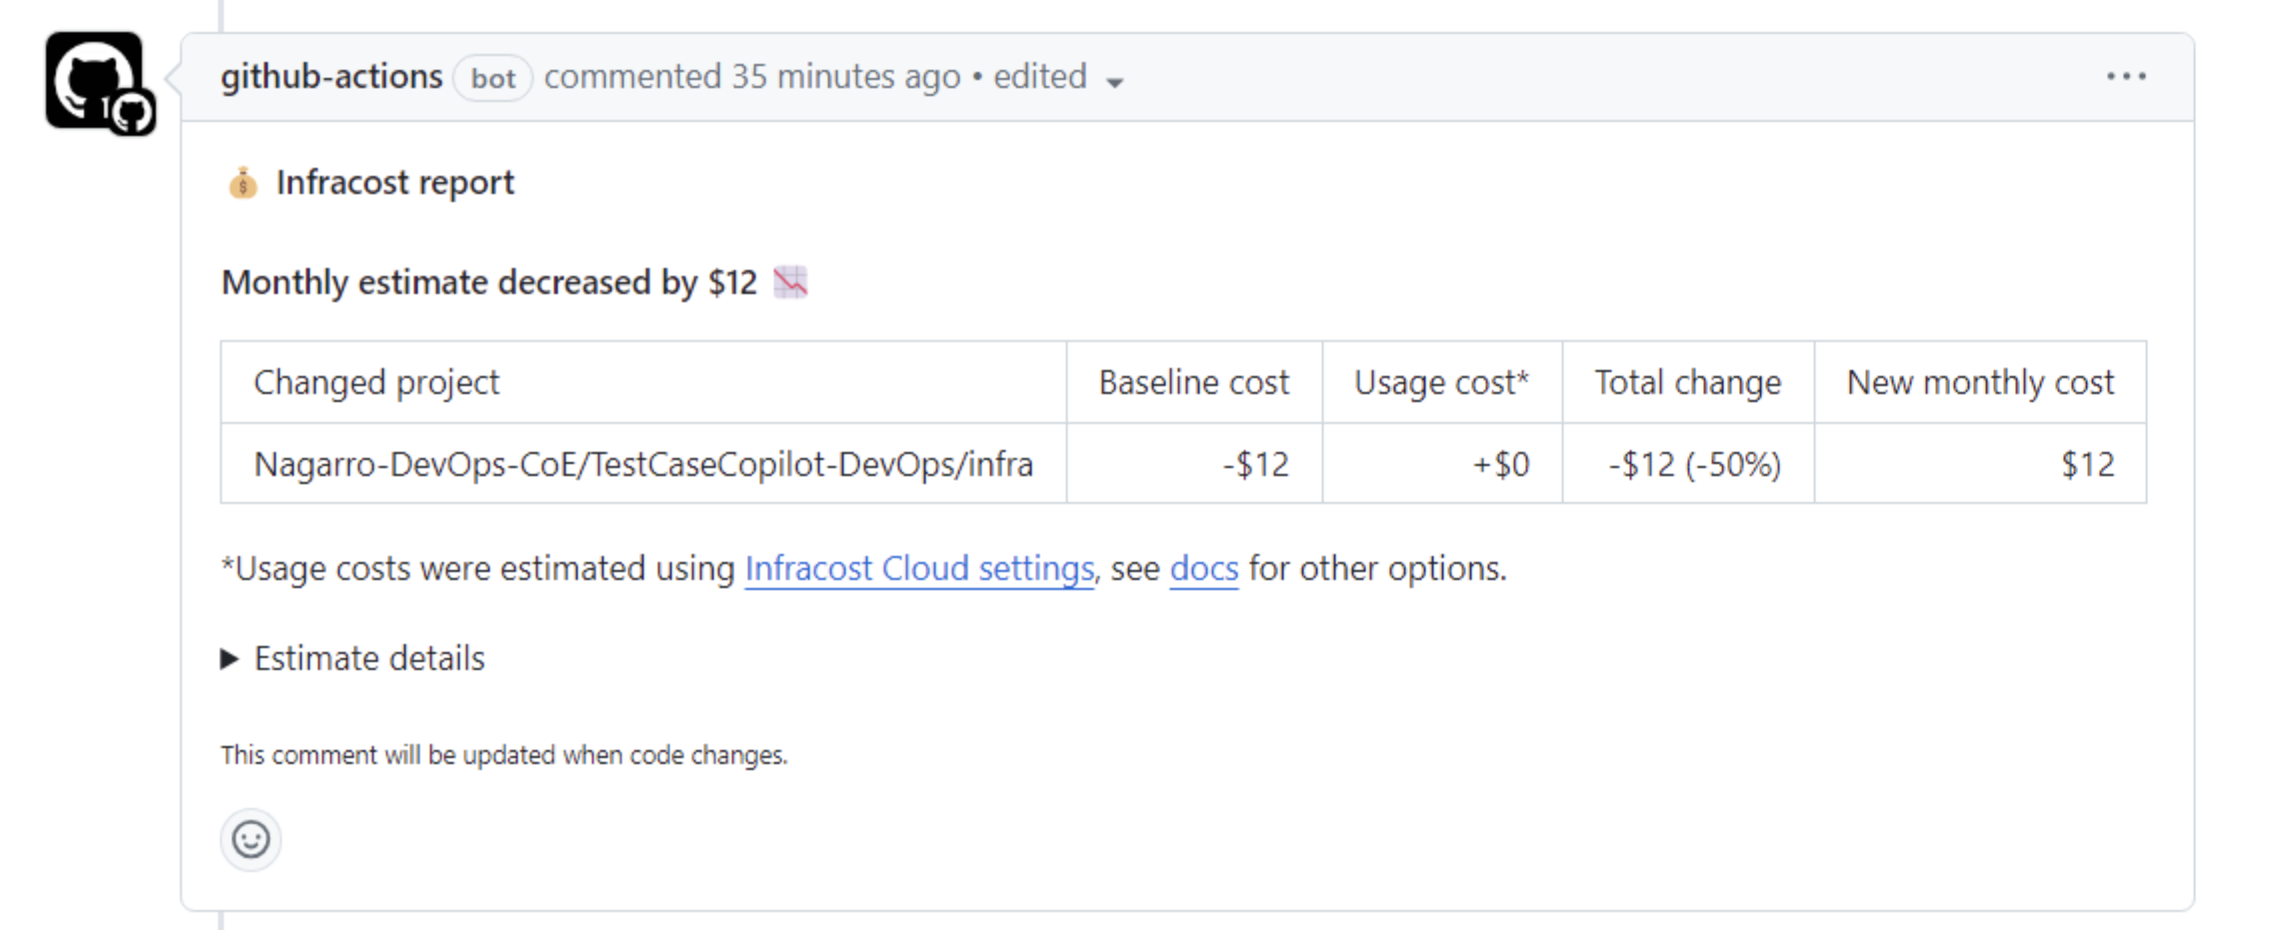
At last, we will compare the change in infra between default branch and PR and will comment the change in cost on PR using open source tool Infracost. This tool is for cost estimation of our infra change.
 Infracost:
   runs-on: ubuntu-latest
   needs: terraform-plan
   permissions:
     contents: read
     pull-requests: write

   steps:
     - name: Setup Infracost
       uses: infracost/actions/setup@v3
       with:
         api-key: ${{ secrets.INFRACOST_API_KEY }}

     # Checkout the base branch of the pull request (e.g. main/master).
     - name: Checkout base branch
       uses: actions/checkout@v4
       with:
         ref: '${{ github.event.pull_request.base.ref }}'

     # Generate Infracost JSON file as the baseline.
     - name: Generate Infracost cost estimate baseline
       run: |
         infracost breakdown --path=infra \
           --format=json \
           --out-file=/tmp/infracost-base.json \
           --terraform-var-file dev.tfvars

     # Checkout the current PR branch so we can create a diff.
     - name: Checkout PR branch
       uses: actions/checkout@v4

     # Generate an Infracost diff and save it to a JSON file.
     - name: Generate Infracost diff
       run: |
         infracost diff --path=infra \
           --format=json \
           --compare-to=/tmp/infracost-base.json \
           --out-file=/tmp/infracost.json \
           --terraform-var-file dev.tfvars

     - name: Post Infracost comment
       run: |
         infracost comment github --path=/tmp/infracost.json \
           --repo=$GITHUB_REPOSITORY \
           --github-token=${{ github.token }} \
           --pull-request=${{ github.event.pull_request.number }} \
           --behavior=update
Lets understand each step in detail:
Setup the infracost using the Infracost API key, you can get this by running the command
infracost auth login && infracost configure get api_key.Checkout base branch, which is target branch for the pull request.
Generate a cost estimate report for the default branch.
Now checkout to the PR branch.
Now generate a cost difference by comparing current branch with default branch.
Post the report in the comment of the PR.

Subscribe to my newsletter
Read articles from Harshit Jain directly inside your inbox. Subscribe to the newsletter, and don't miss out.
Written by

Harshit Jain
Harshit Jain
DevOps Engineer