Create an EC2 Instance with a Default Security Group and SSH Permissions Using AWS CloudFormation
 Waqas Iqbal
CloudFormation is a service provided by Amazon Web Services (AWS) that allows you to define and manage a collection of related AWS resources. It uses a declarative language (YAML or JSON) to describe the resources you want to create, modify, or delete.
Key benefits of using CloudFormation:
Infrastructure as Code (IaC): It treats your infrastructure as code, making it easier to manage, version control, and automate.
Consistent Environments: Ensures that your infrastructure is deployed consistently across different environments (e.g., development, staging, production).
Simplified Management: Provides a centralized way to manage and monitor your AWS resources.
Faster Deployment: Automates the process of creating and updating resources, reducing manual errors and speeding up deployment times.
Common Use Cases:
Creating and managing entire application stacks.
Deploying complex infrastructure patterns.
Implementing continuous deployment pipelines.
Automating infrastructure provisioning and updates.
In essence, CloudFormation helps you define and manage your AWS infrastructure in a declarative and automated way.
Lets Jump into create an EC2 Instance with Default Security Group and SSH Permissions using AWS CloudFormation.
Pre-Requisites:
Get the AMI ID of the desired Amazon Machine Image (AMI) in your region. I'm using AMI ID from region US-East-1.
Create a key pair using the AWS Management Console or the AWS CLI.
Here's a CloudFormation template that creates an EC2 instance with a default security group allowing SSH access:
AWSTemplateFormatVersion: 2010-09-09
Description: Template to launch an EC2 Instance with a default security group allowing SSH access

Resources:
  DevEC2Instance:
    Type: AWS::EC2::Instance
    Properties:
      ImageId: ami-0ae8f15ae66fe8cda
      InstanceType: t2.micro
      KeyName: DevEc2KeyPair
      SecurityGroups:
        - default
        - !Ref SSHSecurityGroup

  SSHSecurityGroup:
   Type: AWS::EC2::SecurityGroup
   Properties:
    GroupDescription: Security group for SSH access
    SecurityGroupIngress:
     - CidrIp: 0.0.0.0/0
       FromPort: 22
       ToPort: 22
       IpProtocol: tcp
Copy this code, paste it on a file and save the filename with extension <filename>.yml
In Order to create a CloudFormation Stack, follow the below steps:
Log in to your AWS account and search for "CloudFormation."
Navigate to the CloudFormation dashboard and click "Create Stack."
Choose the "Upload a template file" option under "Specify template."
Select your CloudFormation template file and click "Open."
The template will be uploaded to S3 and a URL will be generated.
Click "Next"
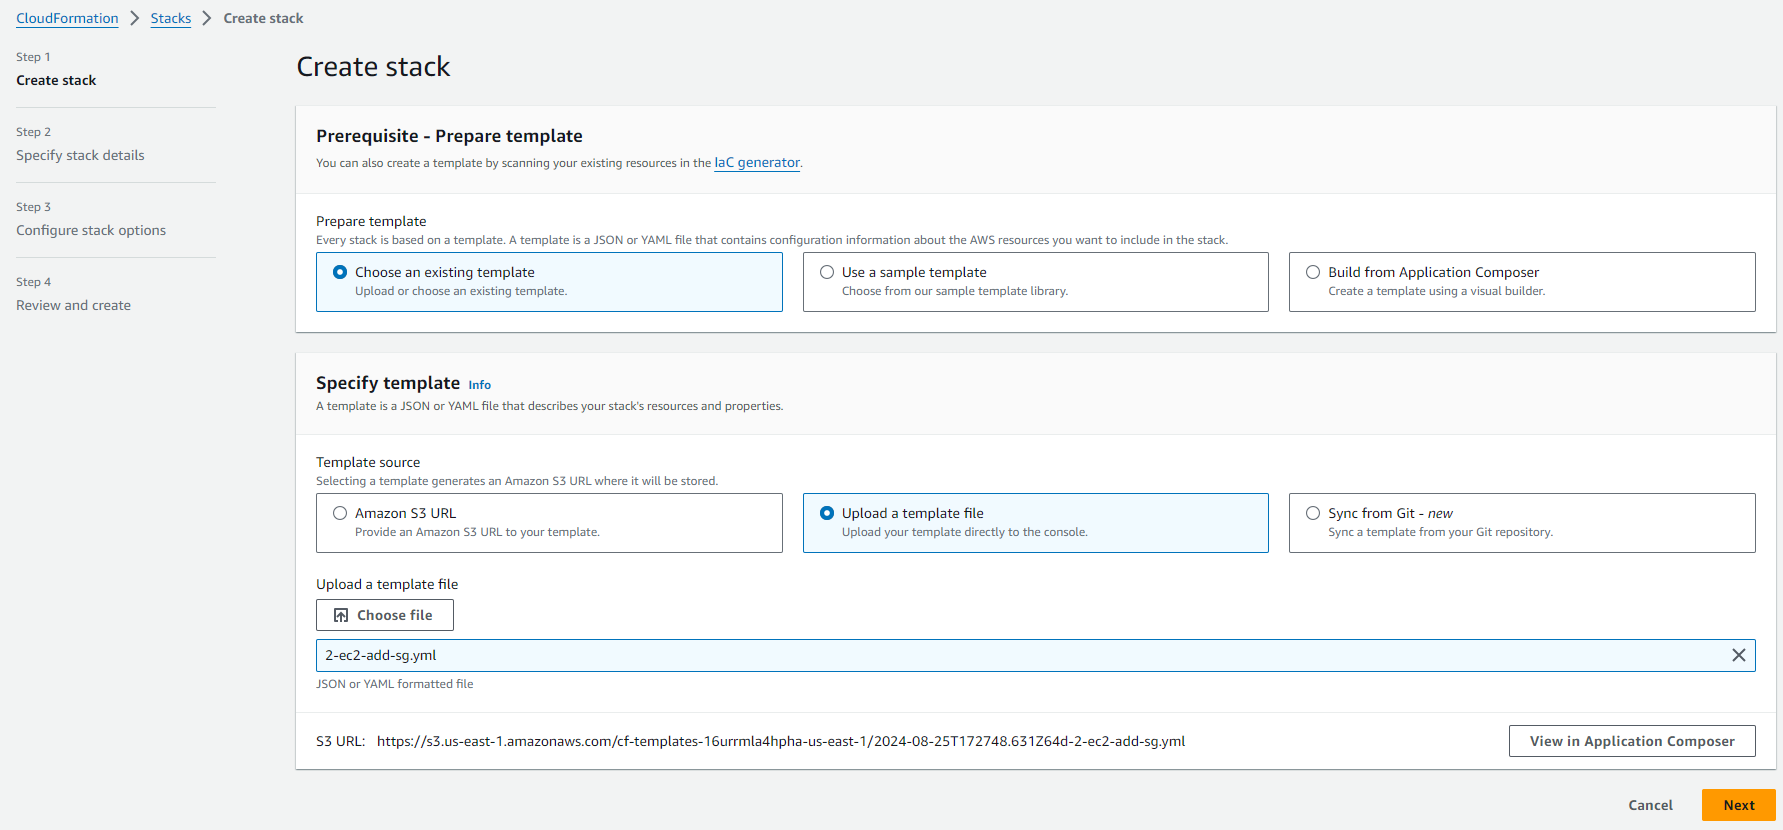
On the next page:
- Enter a stack name (e.g., "EC2Stack")
Click "Next" to proceed.

On the following page:
Review the "Configure Stack Options" page.
Keep the default settings for this practice lab to simplify the process.
Click "Next" to proceed.
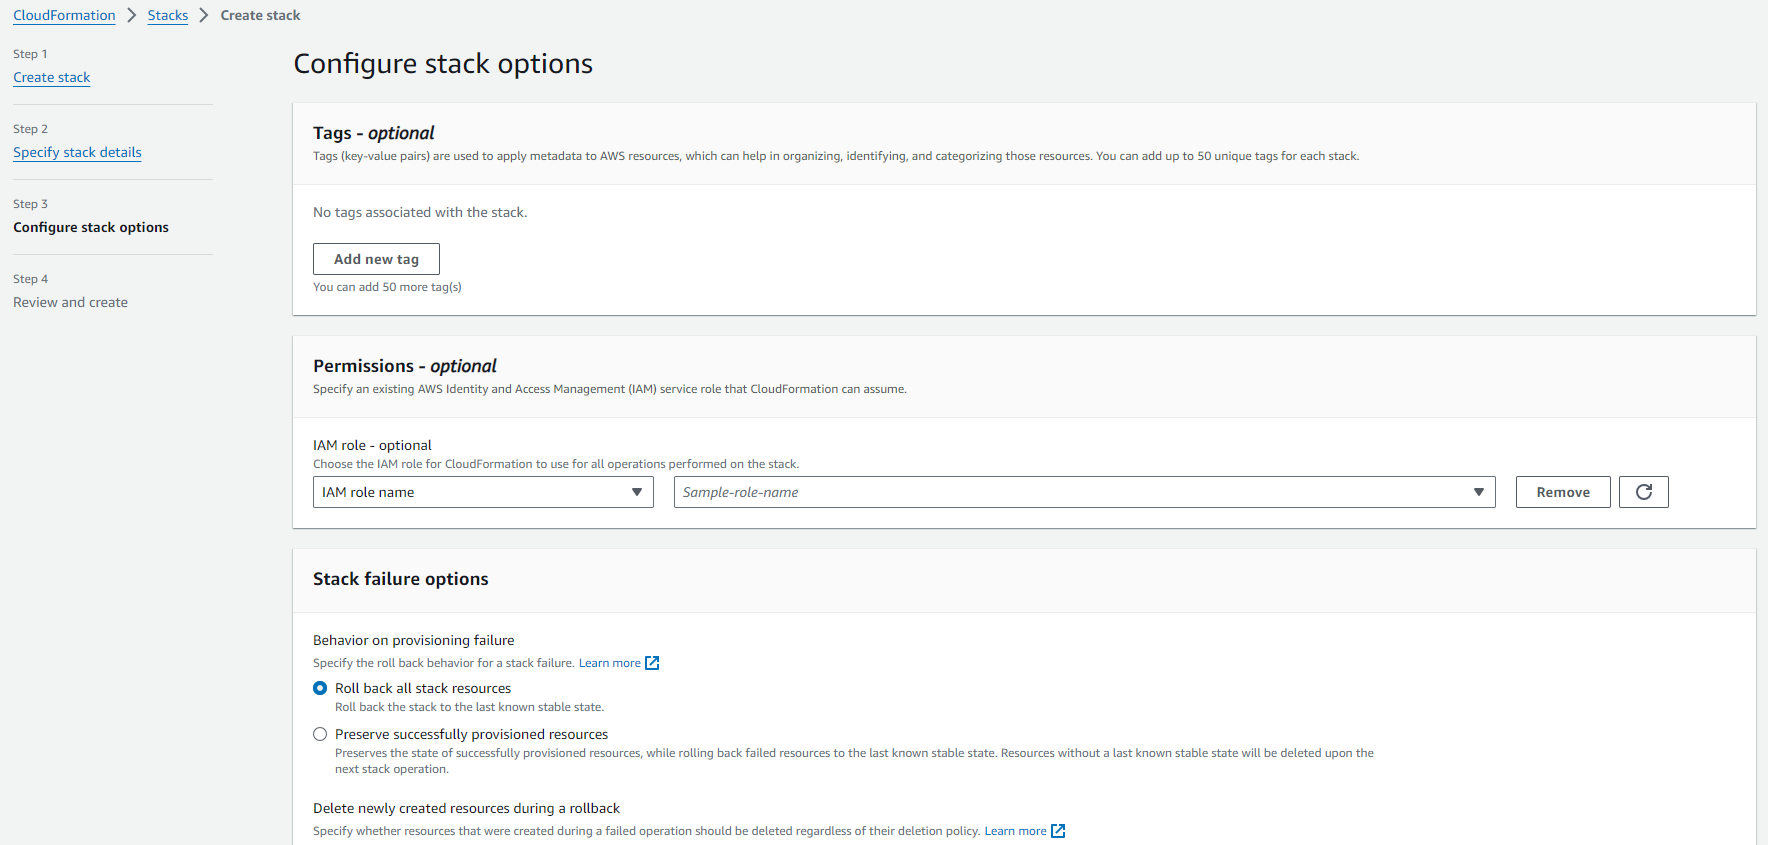
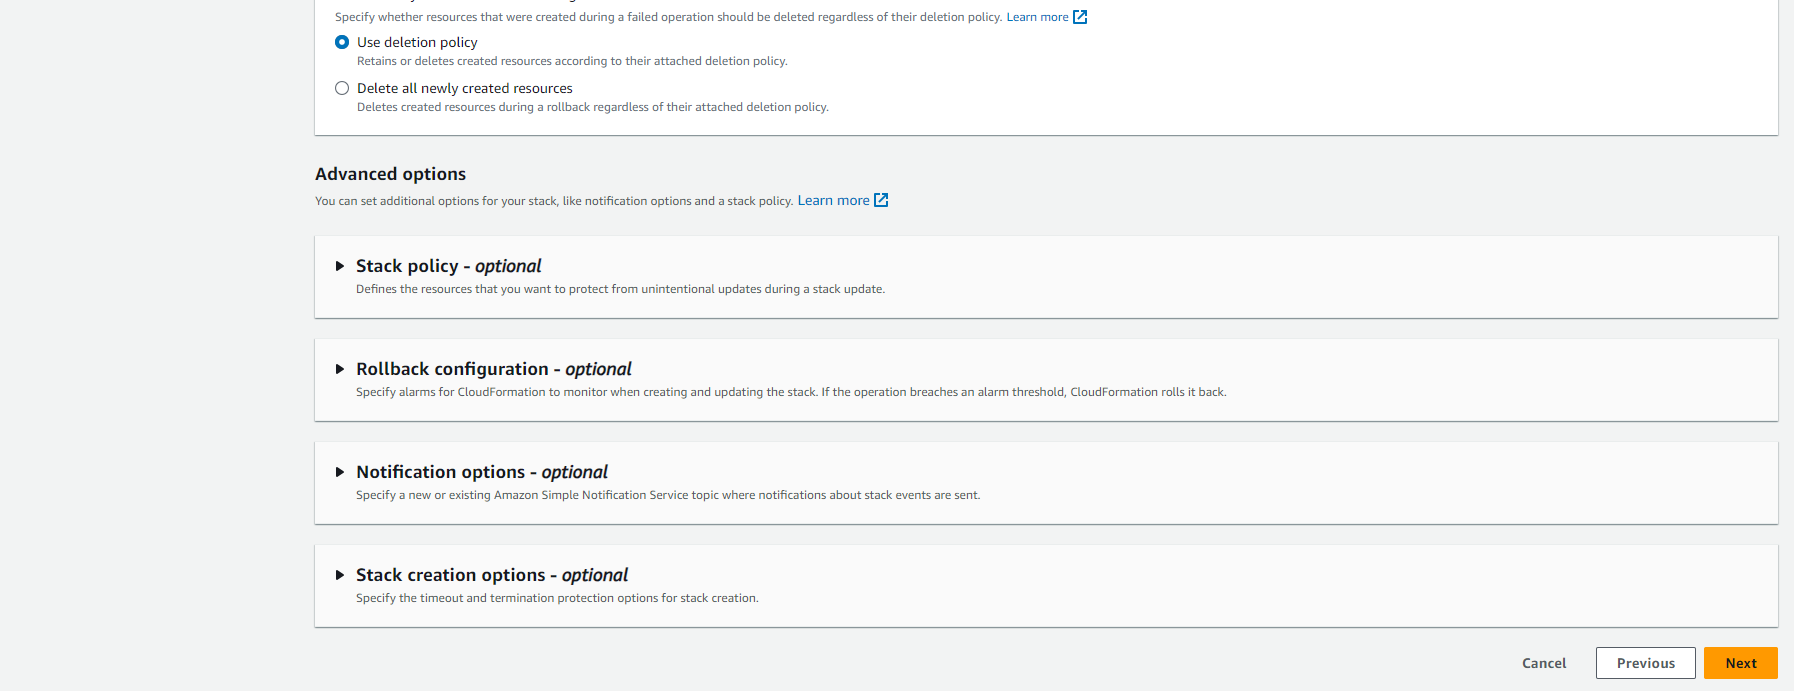
On the final page:
Review the "Review and Create" page to ensure your configurations are correct.
Click "Submit" to initiate the stack creation process.
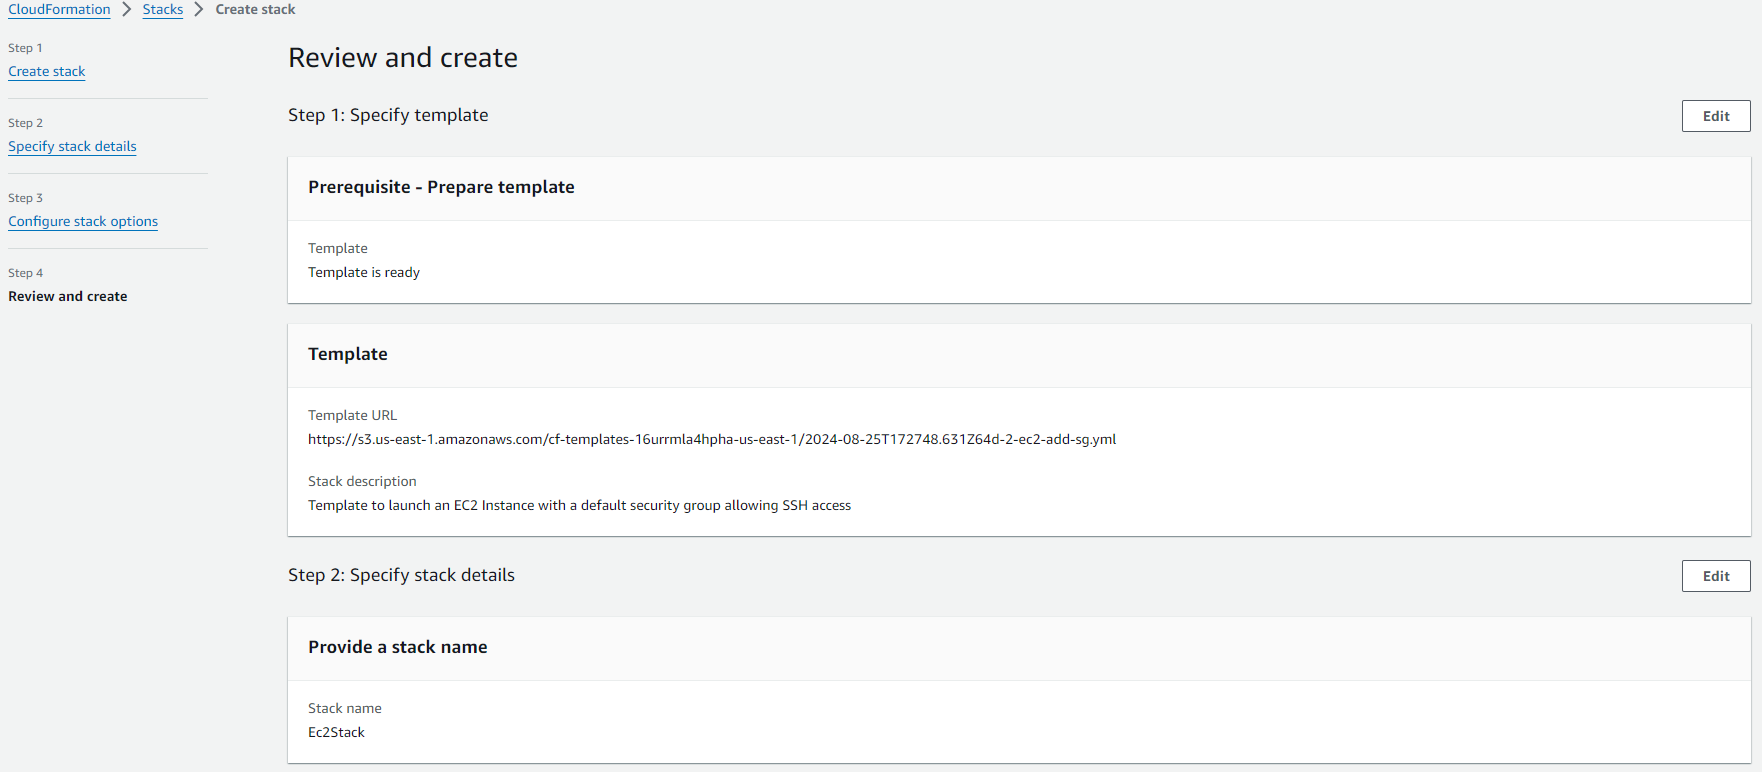
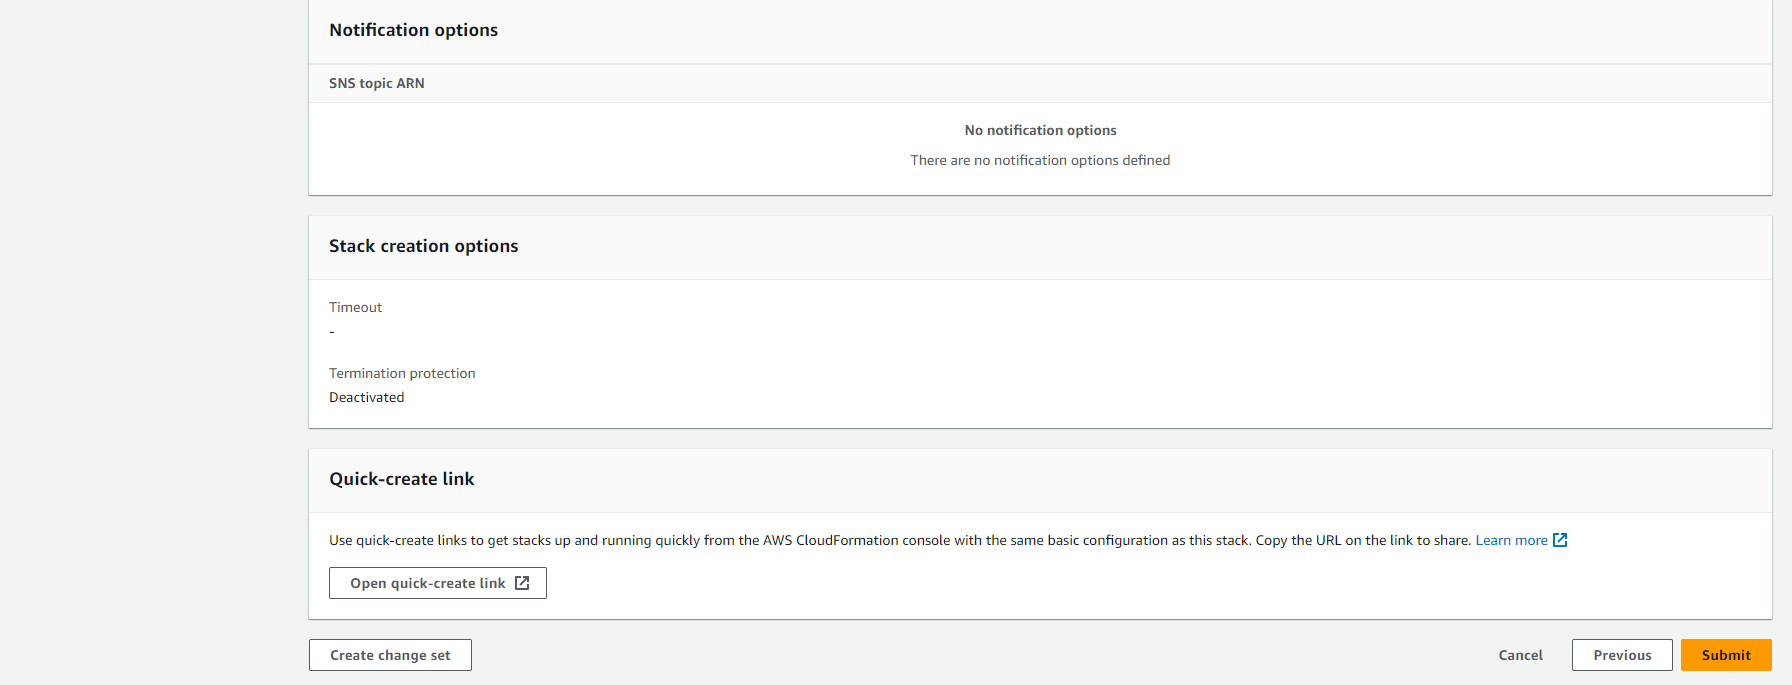
Once you submit the request, Stack creation process will kick off. You can view the following information on Stacks Page:
The "Stack Info" tab displays general information about your stack, such as the stack ID, description, and creation time.
The "Events" tab shows a detailed log of operations performed during stack creation, update, or deletion. These events correspond to the steps defined in your template.
The "Resources" tab lists all the AWS resources that were created as part of your stack.
The "Outputs" tab displays any output values defined in your template.
The "Template" tab shows the original CloudFormation template used to create the stack.
Once the stack creation process completes, the stack status will change to CREATE_COMPLETE.
To verify the created resources, check the "Resources" tab. This tab will list all the AWS resources that were successfully created as part of your stack.

After verifying the created resources, you can click "Delete" to terminate the stack. CloudFormation will automatically delete all the resources associated with the stack.
Thank you for reading. Please don't hesitate to contact me if you require further assistance.
Subscribe to my newsletter
Read articles from Waqas Iqbal directly inside your inbox. Subscribe to the newsletter, and don't miss out.
Written by
