TPS40 Keyboard
 Redge Shepherd
The TPS40 keyboard's design will appeal to enthusiasts wanting a keyboard that packs a lot into a small footprint.
Although this keyboard has been around for quite some time, its size and features are now enough to capture my interest. However, the price tag is a little steep.
Building the TPS40
The kit does not include instructions for building the keyboard. However, I found a relatively short video which suggests there may have been some guidance for building at one time.
Apply the bump on strips to the bottom of the keyboard
Apply screws and stand-offs to the fiber as pictured below. Take note of the location and difference between the 3.7mm and 4.0mm stand-offs.
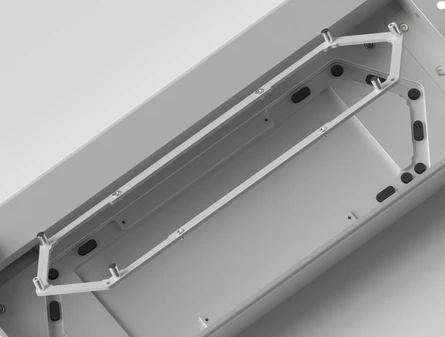
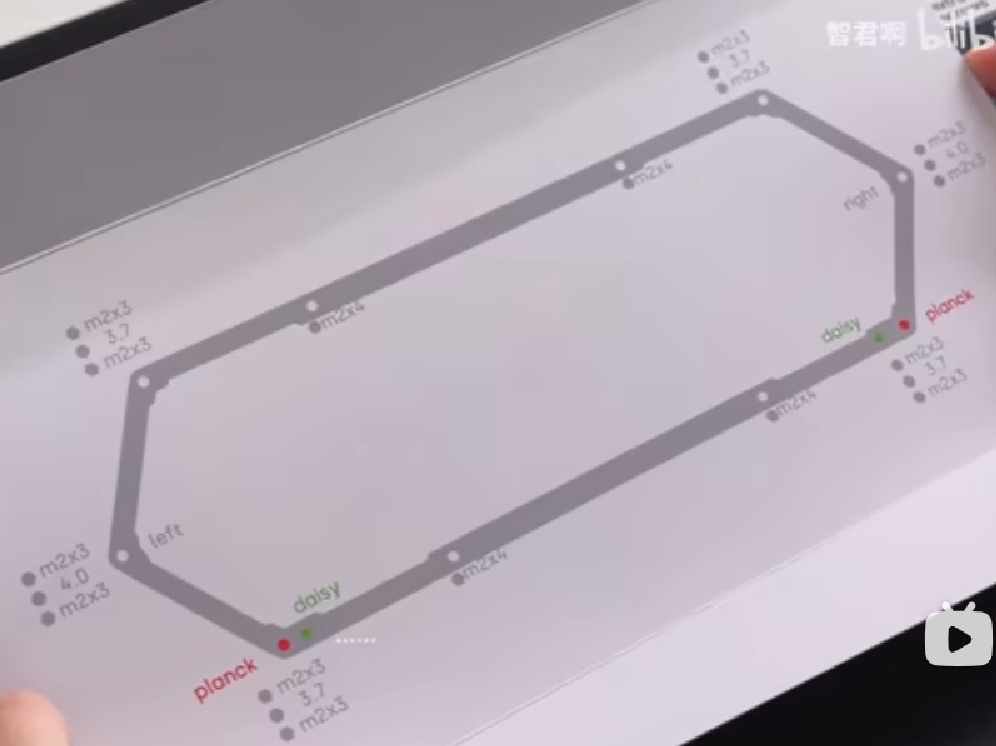
Apply transparent pads to the tops of the 3.7mm stand-offs.
Apply foam pads to applicable locations on the bottom housing.
Install battery (lead wire to the top left side)
Install the "fiber" and plastic retainer using four M2x4mm screws
Place the foam sheet over the bottom housing while ensuring the ribbon cables are not obscured.
Place the IXPE sheet onto the PCB.
Prepare two 2u screw-in style stabilizers and install them onto the PCB (1.2 mm thick).
Stabilizers are purchased separately.
Lubricate stabilizers before installing using a lubricant of your choice: Molykote EM-50L, TriboSys 3204, or Krytox 205 G0.
The PCB supports screw-in stabilizers.
Install the PCB onto the Fiber stand-offs and secure using two screws.
Install the Poron PCB/Plate foam
Place the mounting plate over the foam.
Install switches. I used Gateron Roller Switches.
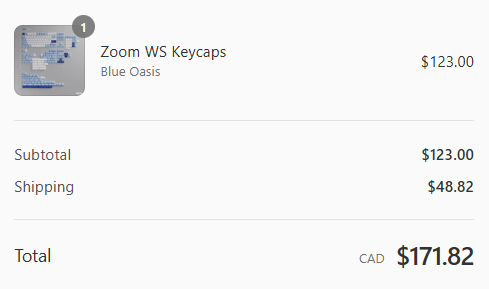
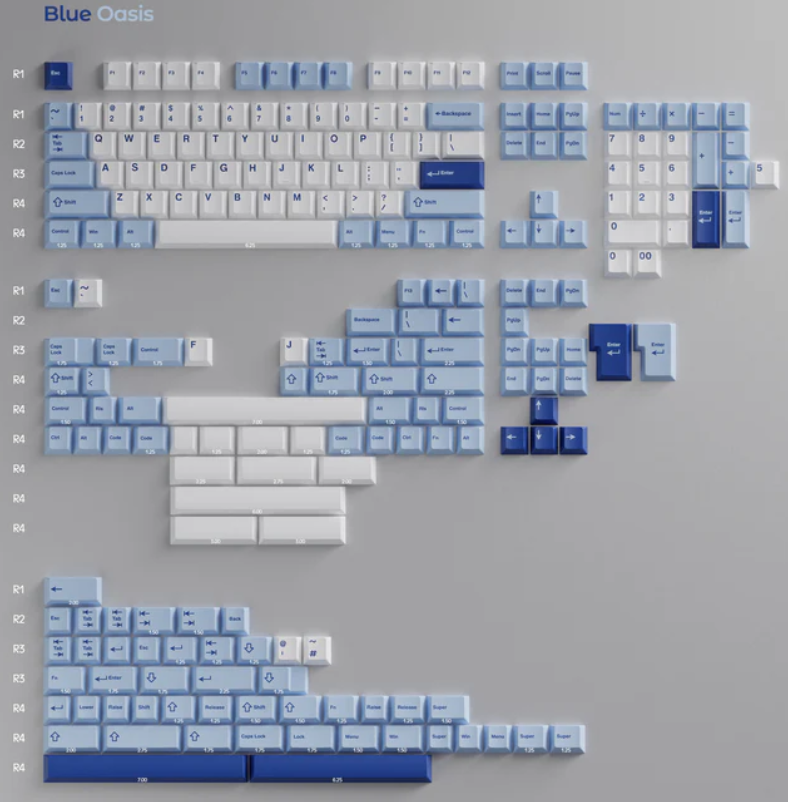
Install keycaps - purchased separately - Zoom WS Keycaps (Blue Oasis)
Configure the keyboard using VIA.
I requested the JSON files from Deadline using their chat support and received them shortly after.
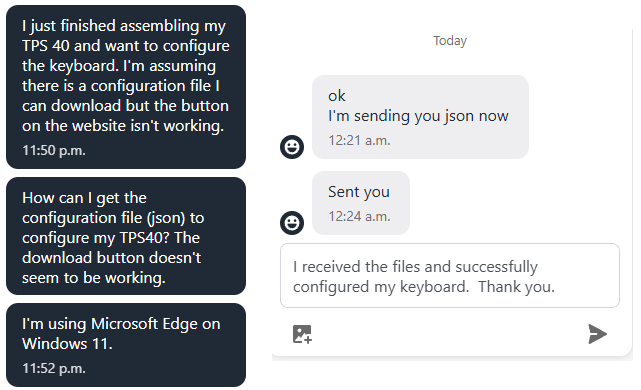
I received two JSON files, one for the Daisy Layout and one for the Plank Layout.
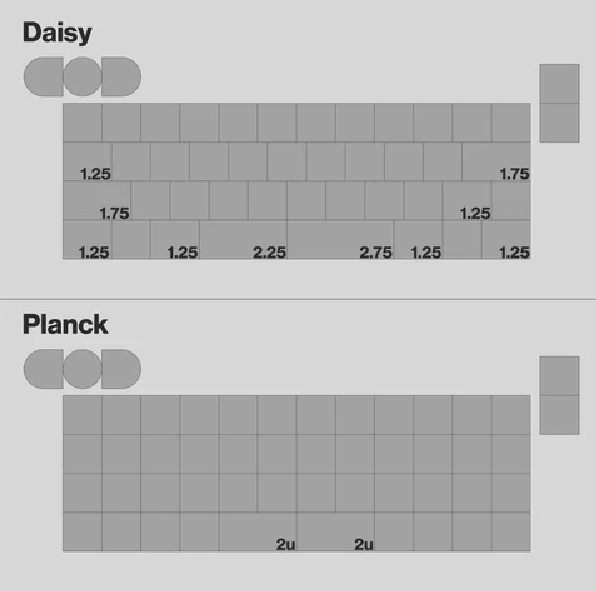
Go to the "caniusevia.com" website and load the applicable JSON file
Connect your keyboard and then, using VIA, authorize/pair your keyboard.
The screenshots show default key assignments for layers 0, 1, and 2.
Layer 0
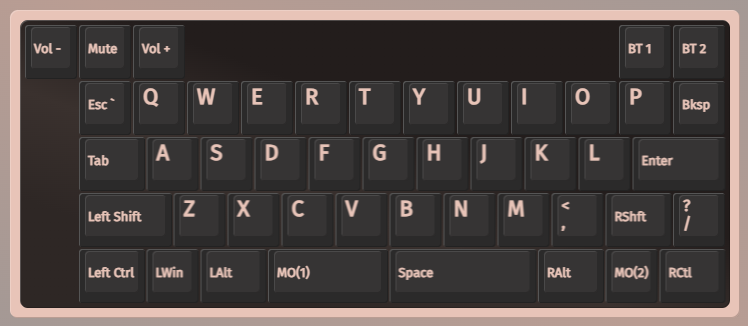
Layer 1
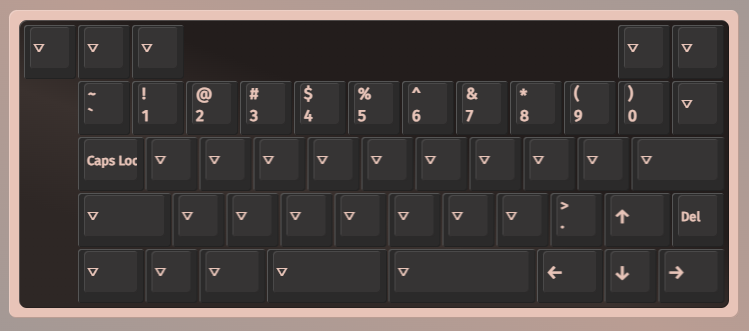
Layer 2
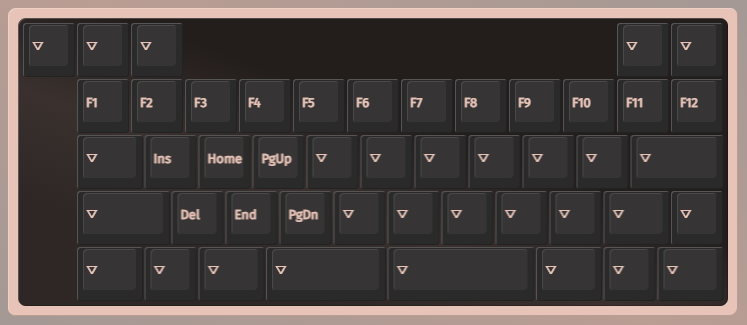
Layers 3 through 7 are blank
Re-assign keys using VIA.
Build Complete
Related Articles and Resources
DEADLINE Studio & Openkey Design -TPS 40 keyboard GB – DEADLINE Studio™
Build Video - 致敬经典!完美搭配的TPS40 | DOYS玩具键帽 | Tec中轴 | 键盘开箱组装_哔哩哔哩_bilibili
DEADLINE Studio & Openkey Design -TPS 40 keyboard GB – DEADLINE Studio™
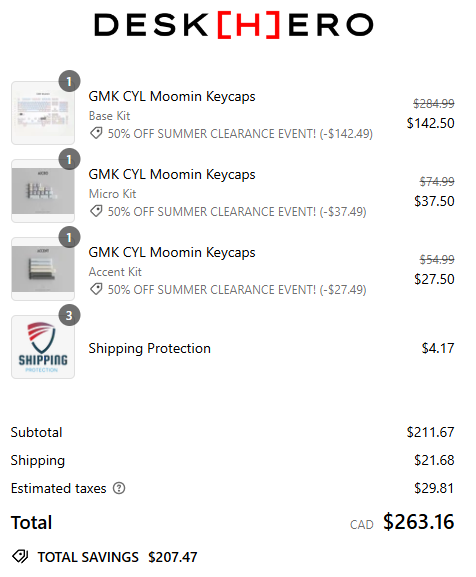
GMK Cyl Moomin Keycaps (ON SALE!) are also a potentially good match for my keyboard.
Subscribe to my newsletter
Read articles from Redge Shepherd directly inside your inbox. Subscribe to the newsletter, and don't miss out.
Written by

Redge Shepherd
Redge Shepherd
I have over 40 years of programming experience using a variety of languages over the course of my career to develop real-time solutions for real-world problems. Keyboards connect us to the world and, as a keyboard enthusiast, I am searching for the ideal keyboard.