Understand how Google Authenticator works by building a Django App
 Mukul Aryal
Have you ever used apps like Google Authenticator and Microsoft authenticator for two-factor authentication? These applications provide an easy-to-use and safe method for authenticating your account across many different websites. You may want to integrate this authentication technique into your application as well. In this article, we will understand the authentication workflow by building a Django app.
Understand the workflow
Generally, to activate and use these authenticator applications one must go through the following steps:
Enable 2FA on your account.
Scan the provided QR code using Google/Microsoft Authenticator (or manually enter the token provided) and input the generated TOTP in the website for activation.
Each time you log in, the website will ask you to enter an OTP.
The authenticator apps generate a time-based OTP that can be used for authentication.
The time-sensitive OTPs generated are formally known as TOTP (Time-based One Time Password). These TOTPs are generated using an algorithm called the HOTP algorithm. Since these OTPs are time-sensitive, the UNIX time system (seconds since January 1, 1970) is used to synchronize the time between the TOTP generators and validators. This will make more sense as we move forward and create the application. If you want to learn more about the algorithm and all the moving parts involved, I would highly recommend that you go through the official IETF RFC 6238 standard.
“For the things we have to learn before we can do them, we learn by doing them” - Aristotle
To better understand the authentication workflow, let's begin developing the Django app. The application you will build using this article can be found in my GitHub repository here. If you like this article, be sure to star the repository!
Disclaimer
Building the Django Server
Initial Setup
First things first, create a new directory at the location of your choice and cd into the directory. Then, create a new Python virtual environment using the command python3 -m venv .venv. Activate the virtual environment using source .venv/bin/activate.
Now install the required packages using pip3 install Django qrcode.
The
Djangopackage will provide all methods to develop our web server.The
qrcodepackage will be used to generate a QR code to be scanned by the authenticator applications.
Then, create a new Django project with whatever name you want (I am choosing the name django-authenticator) with the command django-admin startproject django-authenticator. Then, cd into the new directory django-authenticator.
Now we are going to create the Django app. I am creating an app called auther using python3 manage.py startapp auther. You then need to add the new app to the INSTALLED_APPS list in settings.py. Make sure to create the urls.py file in the new app and include those URLs in the urls.py file of the main project application.
Extending the User model
We will be using the default Django User model to make the registration and login process as easy as possible. But, for our project, we need to add an extra has_2fa boolean field in the model. This field will let us know if the user has enabled 2FA in their account or not. In the models.py file of our auther app, add the following code:
from django.db import models from django.contrib.auth.models import AbstractUser

class ExtendedUser(AbstractUser):
    has_2fa = models.BooleanField(default=False)
Create a new model with a name
ExtendedUserthat inherits the attributes and method of the baseAbstractUsermodel.Add a boolean field
has_2faand make the default valueFalseas new users will not have 2FA enabled by default.
Also, you need to override the default user model by adding the following line in settings.py: AUTH_USER_MODEL = 'auther.ExtendedUser'
Finally, to make the new user model appear on the Django admin site, add the following code to the admin.py file of the auther app:
from django.contrib import admin
from django.contrib.auth.admin import UserAdmin
from .models import ExtendedUser

class ExtendedUserAdmin(UserAdmin):
    # Since we overrode the default User model, including new model in admin panel
    fieldsets = UserAdmin.fieldsets + (
        (None, {'fields': ('has_2fa',)}),
    )

    add_fieldsets = UserAdmin.add_fieldsets + (
        (None, {'fields': ('has_2fa',)}),
    )

admin.site.register(ExtendedUser, ExtendedUserAdmin)
Creating the forms
We will create some Django forms to accept and validate the different responses received by our web server. Since this is a simple web server, we shall only be using 4 different forms:
Registration Form: The default Django form for user registration, but using our custom
ExtendedUsermodel.Login Form: A form to input the username and password of the user for login.
Enable 2FA Form: Used to validate the TOTP provided by the user and enable 2FA (if this is confusing, this will make sense later).
Verify TOTP Form: This form is used to input the TOTP provided by a user during login if they have 2FA enabled.
To create the forms, first create a forms.py file in the auther app and add the following code in the file:
from django import forms
from django.contrib.auth.forms import UserCreationForm
from .models import ExtendedUser

class RegisterForm(UserCreationForm): # Use default django user registration form
    email = forms.EmailField()

    class Meta:
        model = ExtendedUser
        fields = ["username", "email", "password1", "password2"]


class LoginForm(forms.Form):
    username = forms.CharField()
    password = forms.CharField(widget=forms.PasswordInput())

class Enable2FAForm(forms.Form):
    code = forms.IntegerField()

class VerifyTOTPForm(forms.Form):
    """
    Although this form is similar to "Enable2FA" form, it is coded as a seperate form,
    incase future upgrades are required (e.g. if we need to include CAPTCHA)
    """
    code = forms.IntegerField()
Generate token and QR Code
As previously mentioned in the blog post, the authenticator apps usually scan a QR code or you have to manually enter a secret token associated with the user. So, what is in the QR code? The QR code contains a special identifier associated with the user that is Base32 encoded. Base32 encoding is chosen for this purpose as it only contains uppercase letters A-Z and numbers 2-7. This reduces the human error if the token is to be entered manually.
Usually, a unique and unpredictable string is stored in a separate databse and is associated with a user. This unique string is then used to generate the token for maximum security. In our case, since we are creating a simple application, we are using the user's email address to generate the base32 encoded token. Other than the token, an identifier, the issuer, the algorithm (which is SHA1 according to the standard), the number of digits of TOTP (usually 6), and finally the valid time period of TOTP (mostly 30 seconds) is stored in the QR code.
In the auther app folder, create a utils.py folder and define a function generate_qr inside.
import base64
import qrcode
import urllib.parse
from io import BytesIO

TIME_PERIOD_SECONDS = 30 # 30s default in Google Authenticator

def generate_qr(email:str):
    key = email.encode("utf-8") # The user's email is the key for the hash
    token = base64.b32encode(key)
    token = token.decode("utf-8") # Make token human readable
    safe_email = urllib.parse.quote(email) # Making email URL safe
    qr_string = f"otpauth://totp/{safe_email}?secret={token}&issuer=Mukul&algorithm=SHA1&digits=6&&period={TIME_PERIOD_SECONDS}"
    # ^ Creating URL with proper format to be recognized by authenticator apps
    qr_code = qrcode.make(qr_string)
    stream = BytesIO()
    qr_code.save(stream)
    return base64.b64encode(stream.getvalue()).decode('utf-8'), token
    # ^ Image is converted to base64 so it can be directly rendered in frontend
The function takes in the user's email and returns a base64 encoded QR code image along with a base32 encoded token.
The QR code is converted to base64 so that it can be easily integrated into our webpage template.
Since we are using an email address as the identifier, it is important to make it URL-safe before including it in our QR code.
Generate TOTP
While authenticator apps handle the generation of TOTPs on their end, we also also need to generate TOTPs on the backend to verify and cross-check the ones provided by the users. In order to do that, we again need the user's email address (since that is what we used to generate the token) along with the current UTC time to generate a valid TOTP. Do note that if the time on your system is invalid (i.e. not synchronized with the international time), the validity of the TOTP generated on your end cannot be verified.
We create a new function generate_totp inside the utils.py as follows:
import hmac
import hashlib
import math
import time

def generate_totp(email:str):
    # Following standards to generate OTP
    key = email.encode("utf-8")
    t = math.floor(time.time() // TIME_PERIOD_SECONDS)
    hmac_object = hmac.new(key, t.to_bytes(length=8, byteorder="big"), hashlib.sha1)
    hmac_sha1 = hmac_object.hexdigest()
    offset = int(hmac_sha1[-1], 16)
    binary = int(hmac_sha1[(offset * 2):((offset * 2) + 8)], 16) & 0x7fffffff
    # ^ Binary Magic 🧙
    totp = str(binary)[-6:]
    return int(totp)
You can generate a custom QR code with whatever dummy e-mail address you want and then scan it using any authenticator app (I use Google Authenticator). Then, you may manually generate a TOTP on your server and verify it against the one displayed on the app.
Creating Jinja2 Templates
To allow the users to interact with our Django server, we have to create certain web pages. While this tutorial does not go through all the code required for the templates, you can view all of them here. This simple project has a total of 7 Jinja2 templates:
- base.html: The base template that contains all boilerplate required by all other templates.
<!DOCTYPE html>
<html lang="en">
<head>
    <meta charset="UTF-8">
    <meta name="viewport" content="width=device-width, initial-scale=1.0">
    <script src="https://cdn.tailwindcss.com?plugins=forms,typography,aspect-ratio,line-clamp"></script>
    <title>{% block title %}{% endblock %}</title>
</head>

<body>
    <div class="mainbody">
        {% block content %}
        {% endblock %}
    </div>
</body>
</html>
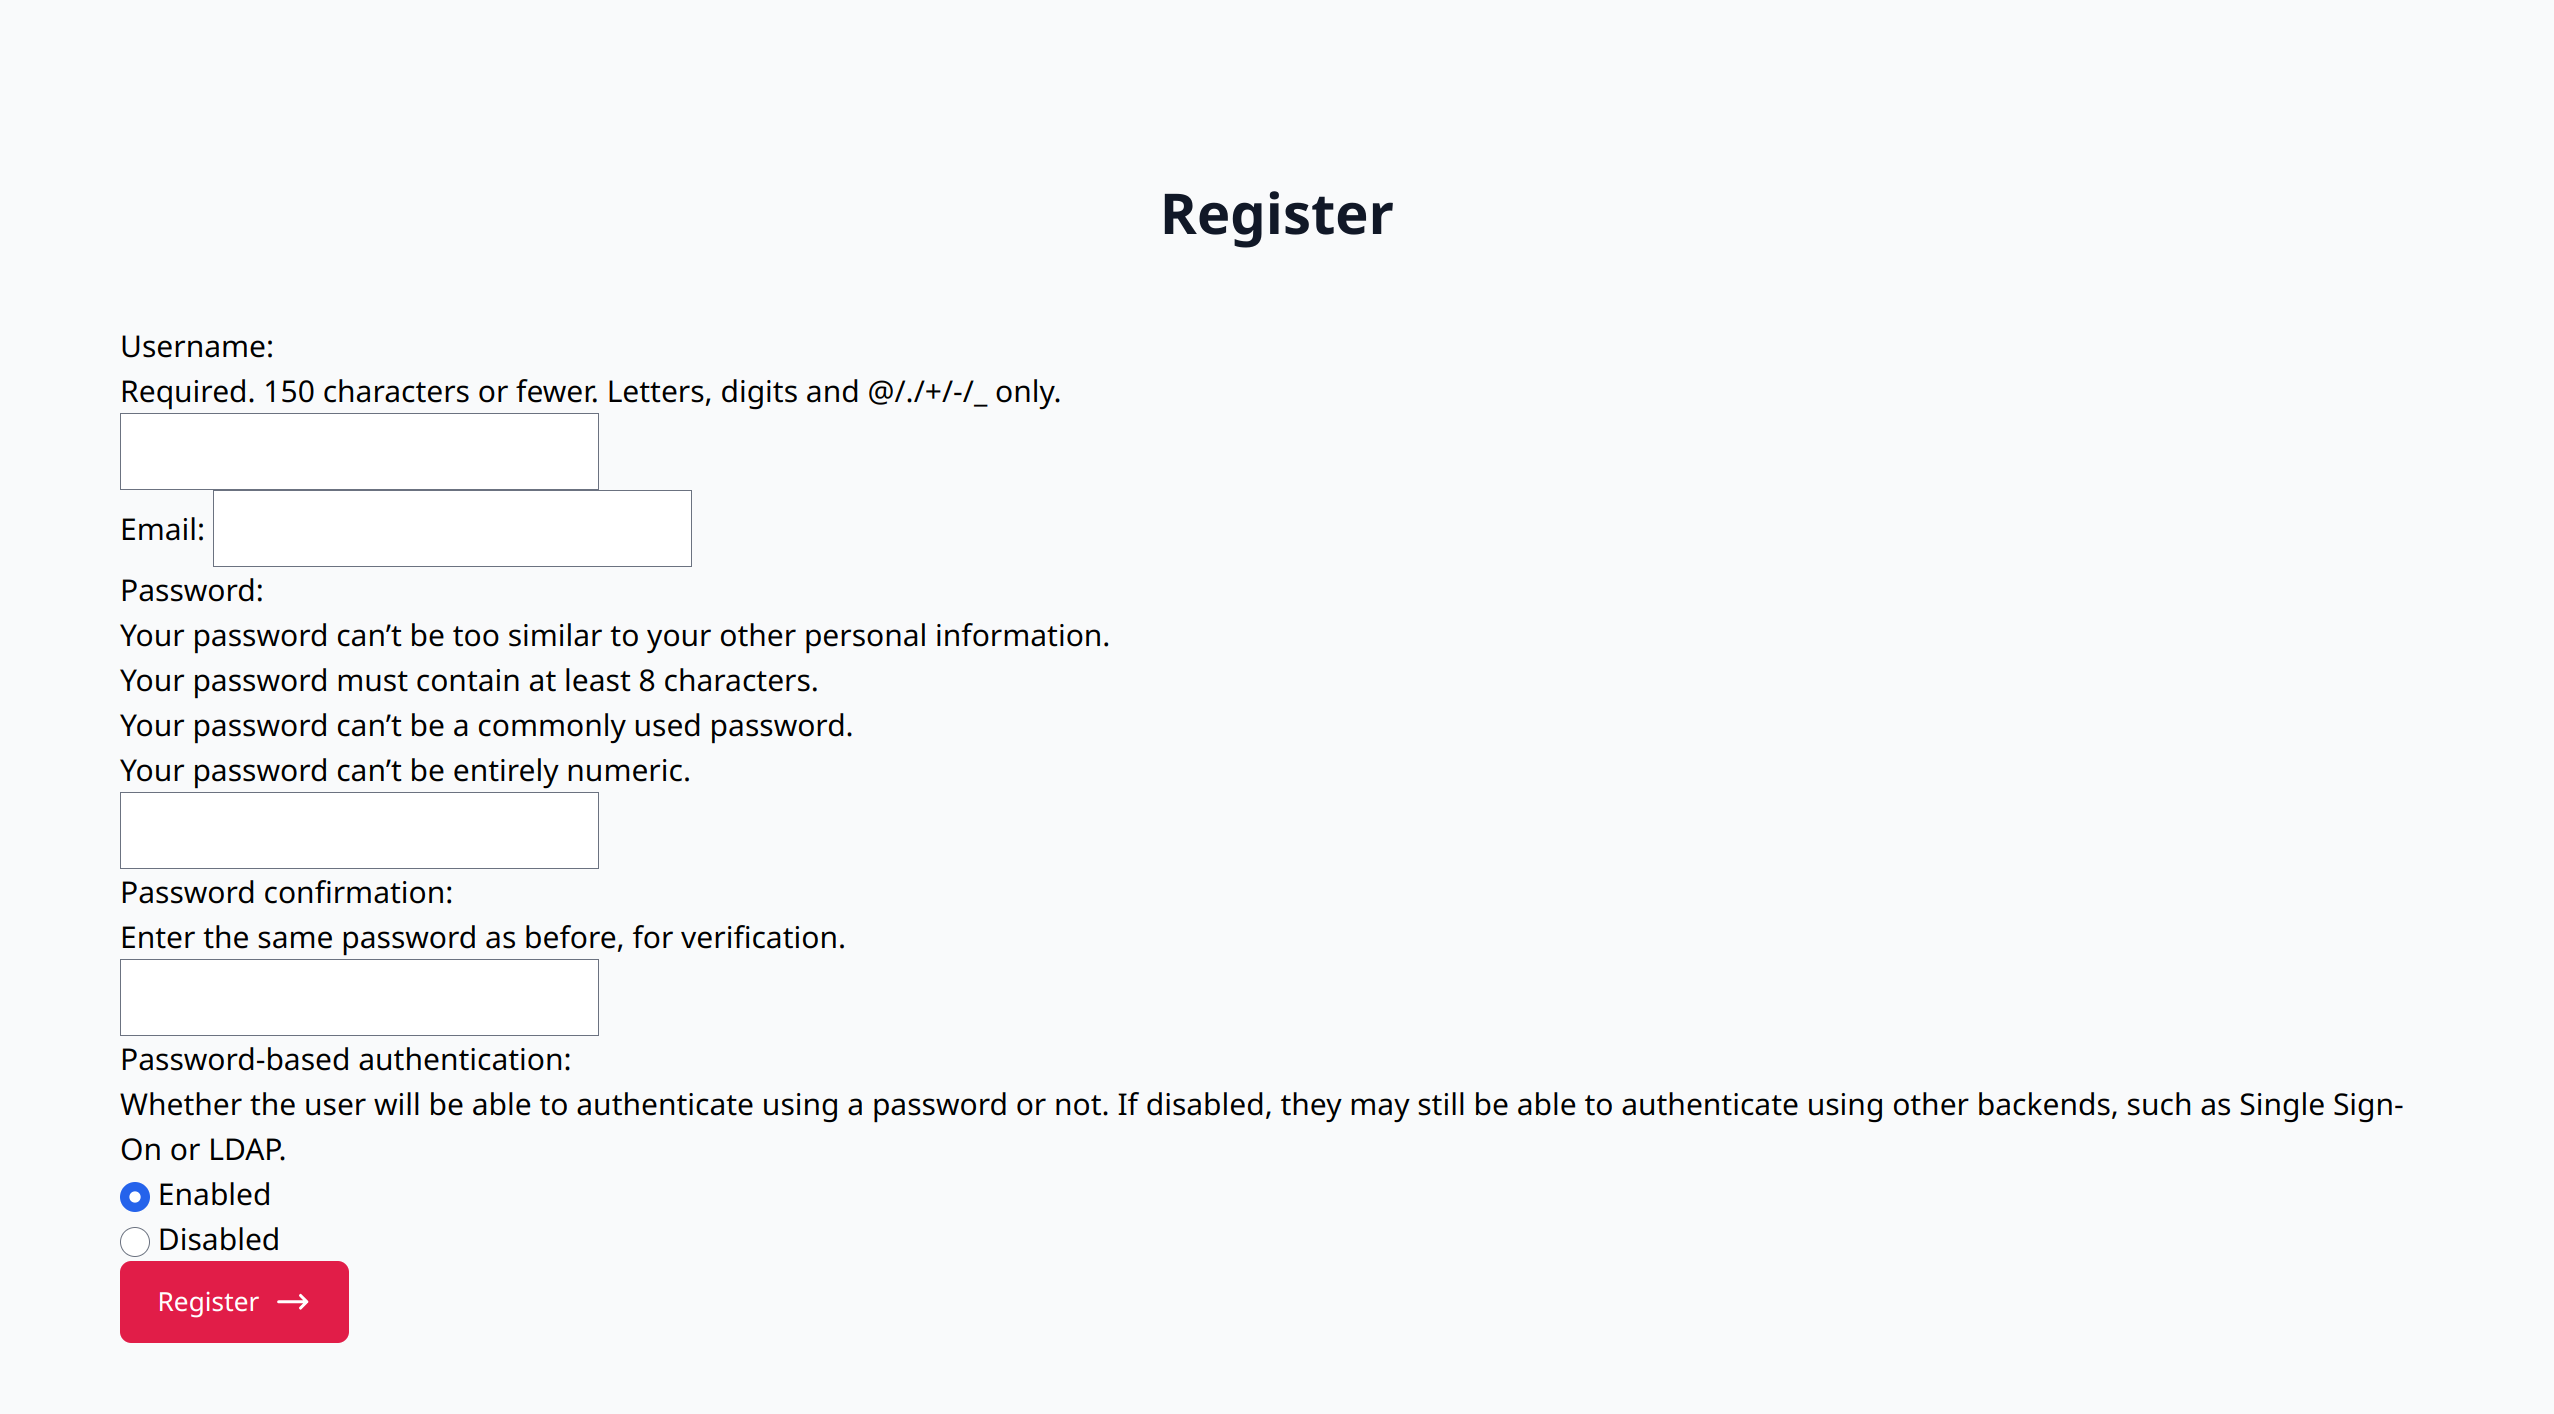
- register.html: A registration form for new users.

- login.html: Login page for existing users.

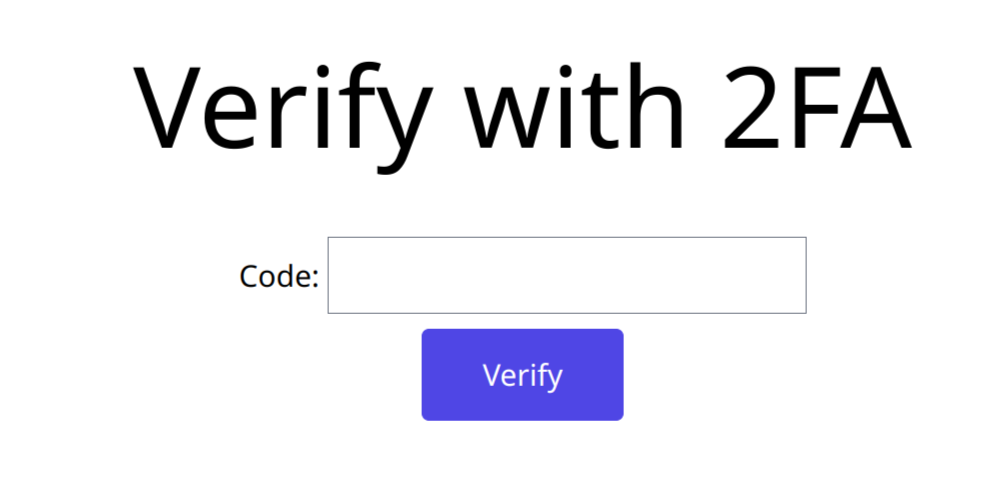
- verify.html: Separate page to accept code for 2FA after logging in.

- dashboard.html: Page seen by users after logging in. Shows if 2FA is enabled and allows users to enable it if not.

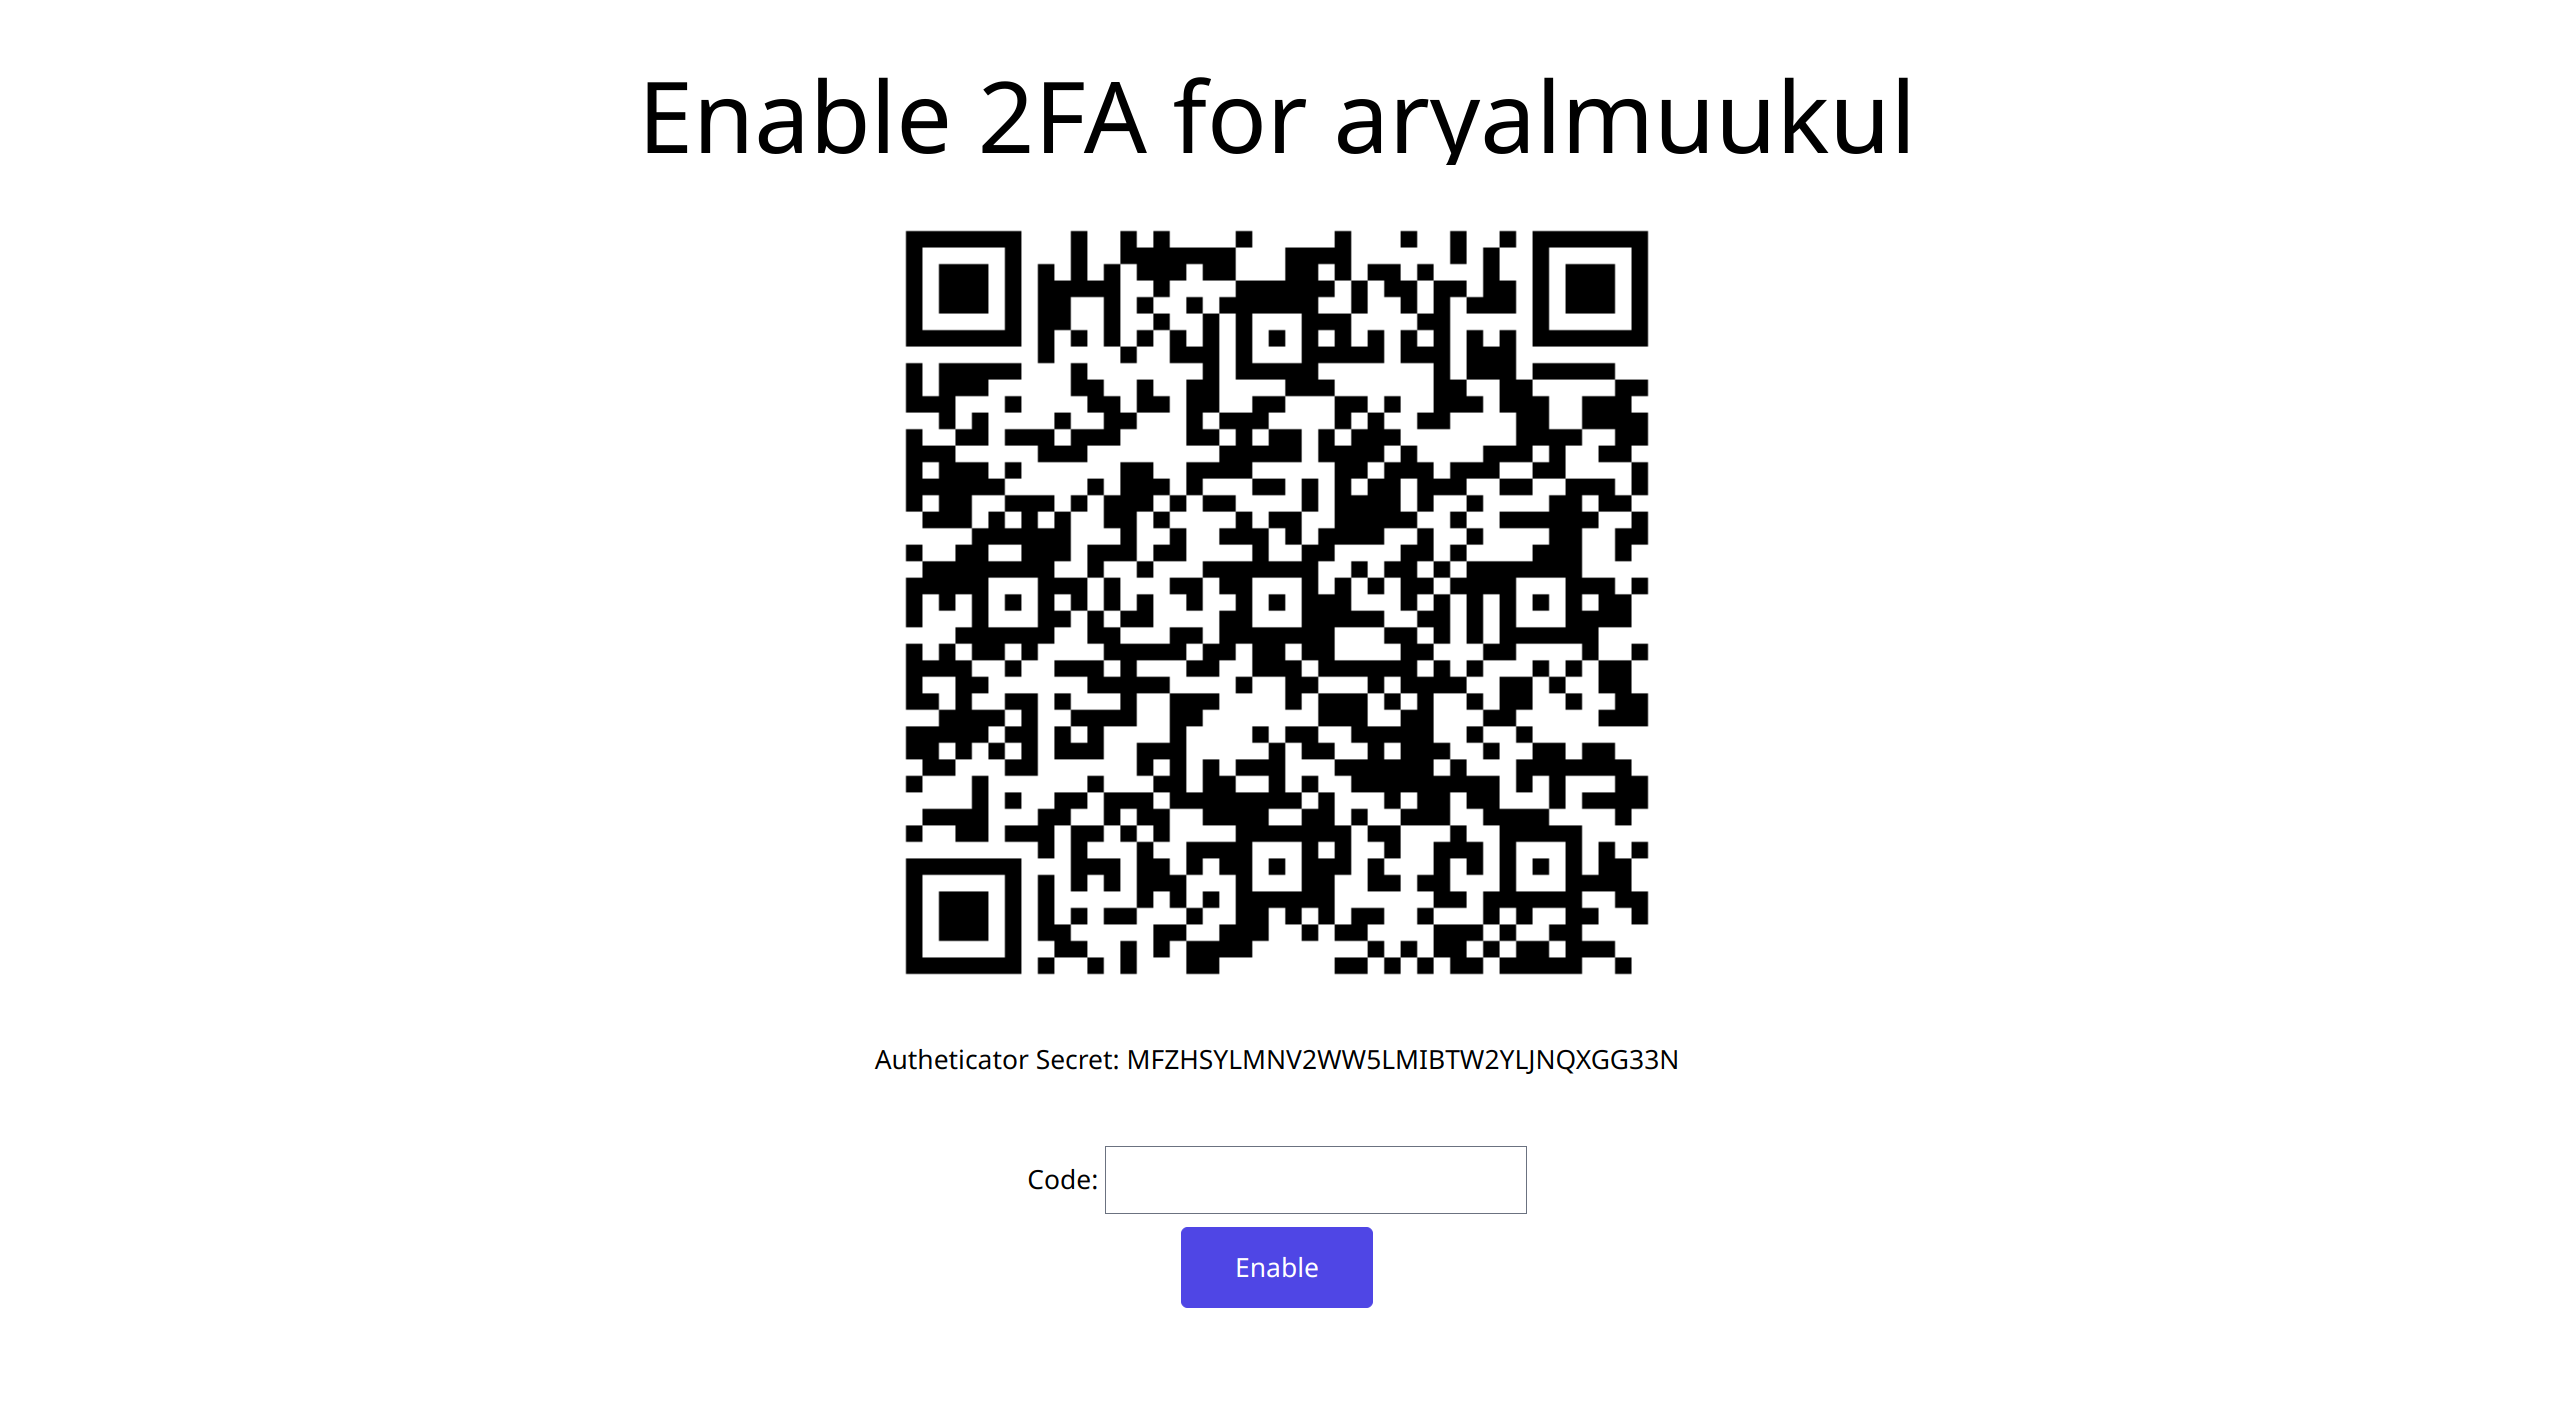
- enable_2fa.html: If users want to enable 2FA, they are sent to this page. The page holds the QR code to be scanned by authenticator apps and input to check whether the TOTP generated by the apps is valid or not.

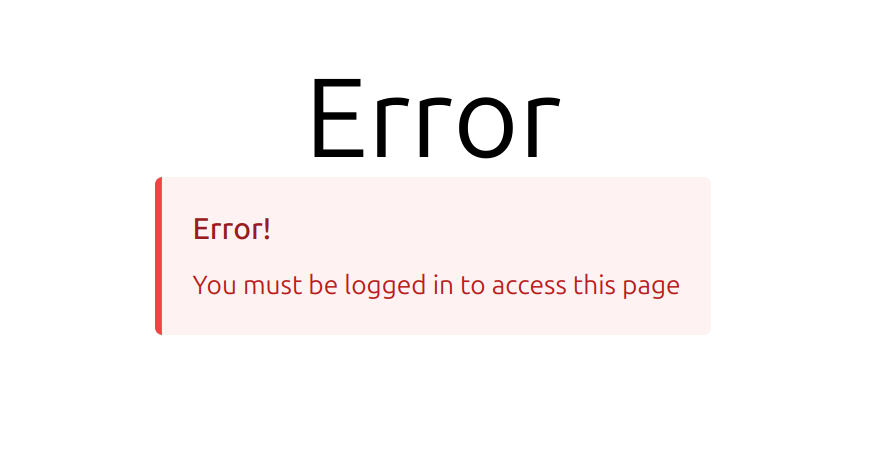
- error.html: A generic error page.

Creating Views
Now, we have to code the main logic behind the different routes in the web server. If you are already familiar with Django, this will be very easy and understandable for you. First inside the views.py file of the auther app, we import all required libraries, functions, models, and forms.
from django.shortcuts import render, redirect
from django.contrib import messages
from django.contrib.auth import authenticate, login, logout
from .forms import RegisterForm, LoginForm, Enable2FAForm, VerifyTOTPForm
from .utils import generate_qr, generate_totp
from .models import ExtendedUser
Now, we start coding all the required views.
login_pageview:
If the request is GET, render the login page.
Otherwise, authenticate the user using the provided credentials. If 2FA is not enabled, redirect to the dashboard else redirect to the TOTP verification route.
def login_page(request):
    if request.method == "POST":
        form = LoginForm(request.POST)
        if not form.is_valid():
            return render(request, "login.html", {"form":form})
        uname, pwd = form.cleaned_data["username"], form.cleaned_data["password"]
        user = authenticate(username=uname, password=pwd)
        if user is not None:
            has_2fa = user.has_2fa
            if not has_2fa: # if 2FA is not enabled, directly log the user in
                login(request, user)
                return redirect("/")
            request.session["verify_email"] = user.email # Passing the user email to another route
            return redirect("/verify-login")
        messages.error(request, "Invalid Credentials")
        return render(request, "login.html", {"form":form})
    else:
        form = LoginForm()
        return render(request, "login.html", {"form":form})
register_pageview:
If the request is GET, render the registration page.
Otherwise, create new user with provided details.
def register_page(request):
    if request.method == "POST":
        form = RegisterForm(request.POST)
        if not form.is_valid():
            return render(request, "register.html", {"form":form})
        form.save()
        messages.success(request, f"User {form.cleaned_data["username"]} added")
        return redirect("/login")
    else:
        form = RegisterForm()
        return render(request, "register.html", {"form":form})
verify_login_pageview:
If the request is GET, render the verify TOTP page.
Otherwise, get the user email from the request session. Then create a TOTP using the provided email. Verify the user-provided TOTP with the one generated on the server.
If the user-provided TOTP is valid, log the user in. Otherwise, throw an error.
def verify_login_page(request):
    if request.method == "GET":
        form = VerifyTOTPForm()
        return render(request, "verify.html", {"form":form})
    elif request.method == "POST":
        email = request.session["verify_email"]
        valid_totp = generate_totp(email) # Generate TOTP ASAP to avoid timing conflicts
        form = VerifyTOTPForm(request.POST)
        if not form.is_valid():
            return render(request, "verify.html", {"form":form})
        user_totp = int(form.cleaned_data["code"])

        if valid_totp == user_totp:
            user = ExtendedUser.objects.get(email=email)
            login(request, user)
            return redirect("/")
        else:
            messages.error(request, "Invalid TOTP")
            return render(request, "verify.html", {"form":form})
dashboard_pageview:
Make sure the user is logged in and then render the dashboard.
Otherwise, redirect to the error page.
def dashboard_page(request):
    if request.user.is_authenticated:
        return render(request, "dashboard.html", {"user":request.user})
    else:
        messages.error(request, "You must be logged in to access this page")
        return redirect("/error")
enable_2fa_pageview:
Make sure the user is logged in and then render the 2FA enable page along with the token and QR code. Otherwise, redirect to the error page (if it is a GET request).
If it is POST request, generate a valid TOTP for the user. Verify the user-provided TOTP with the one generated on the server.
If the user-provided TOTP is valid, enable 2FA for the user account. Otherwise, throw an error.
def enable_2fa_page(request):
    if request.user.is_authenticated:
        if request.method == "GET":
            qr, token = generate_qr(request.user.email)
            form = Enable2FAForm()
            return render(request, "enable_2fa.html", {"user":request.user, "qr":qr, "token":token, "form":form})
        elif request.method == "POST":
            valid_totp = generate_totp(request.user.email) # Generating ASAP to reduce time conflicts
            form = Enable2FAForm(request.POST)
            if not form.is_valid():
                return render(request, "enable_2fa.html", {"user":request.user, "qr":qr, "token":token, "form":form})
            user_totp = int(form.cleaned_data["code"])

            if not valid_totp == user_totp:
                qr, token = generate_qr(request.user.email)
                messages.error(request, "Invalid TOTP provided")
                return render(request, "enable_2fa.html", {"user":request.user, "qr":qr, "token":token, "form":form})
            user_model = ExtendedUser.objects.get(pk=request.user.id)
            # ^ Extra DB query since user is not logged in by this point
            user_model.has_2fa = True
            user_model.save() # Update the user model and enable 2FA
            messages.success(request, "Enabled 2FA")
            return redirect("/")

    else:
        messages.error(request, "You must be logged in to access this page")
        return redirect("/error")
error_pageview:
def error_page(request):
    return render(request, "error.html")
logout_routeview:
def logout_route(request):
    logout(request)
    messages.success(request, "Logged Out")
    return redirect("/login")
Set up URLs
Now, assign appropriate URLs to each view inside the urls.py file of the auther app as follows:
from django.urls import path
from . import views

urlpatterns = [
    path("", views.dashboard_page, name="dashboard"), # Main Dash
    path("login/", views.login_page, name="login"), # Login
    path("register/", views.register_page, name="regsiter"), # Register
    path("verify-login/", views.verify_login_page, name="verify-login"), # Verify TOTP code
    path("enable-2fa/", views.enable_2fa_page, name="enable-2fa"), # Enable 2FA for users
    path("error/", views.error_page, name="error"), # Generic error page
    path("logout/", views.logout_route, name="logout") # Logout route
]
Run and test the web server
Good job! We are done with all the code. Now it is time to run the webserver and manually check all the routes we have coded in.
Before running the web server for the first time, ensure the following commands are run:
python3 manage.py makemigrationspython3 manage.py migratepython3 manage.py createsuperuser
Then, you can run the server using python3 manage.py runserver and access the server on localhost:8000. First, visit the /register route and then you may serially go through other pages as necessary.
Conclusion
Congratulations! You have reached the end of this blog post. I hope that this post was helpful to you. If you hope to read more posts like this, consider following me on Hashnode, and joining the newsletter.
If you have any queries or suggestions, please leave a comment or reach out to me directly by sending an email to mukul.development@gmail.com.
Subscribe to my newsletter
Read articles from Mukul Aryal directly inside your inbox. Subscribe to the newsletter, and don't miss out.
Written by
