How to Configure Environment Variables in Angular Application
 Naz Islam
While developing the Frontend interface of our Angular application, we often need to configure environment variables for different environments (eg. development, performance, production, etc.). These configurations often vary by the environment. For example, let's say we have a service endpoint that needs to call to fetch user information from a database, there might be a separate endpoint based on the development, performance or production environment.
Here are some other examples of using environment variables:
Public and private keys from a 3rd party apps
Token information for using specific service features
Anything else that varies by different environments
So, let’s look into how we can configure these types of environment variables dynamically so that our Angular application can fetch the right data based on the environment.
We’ll start with building a new Angular project.
Start a new Angular project
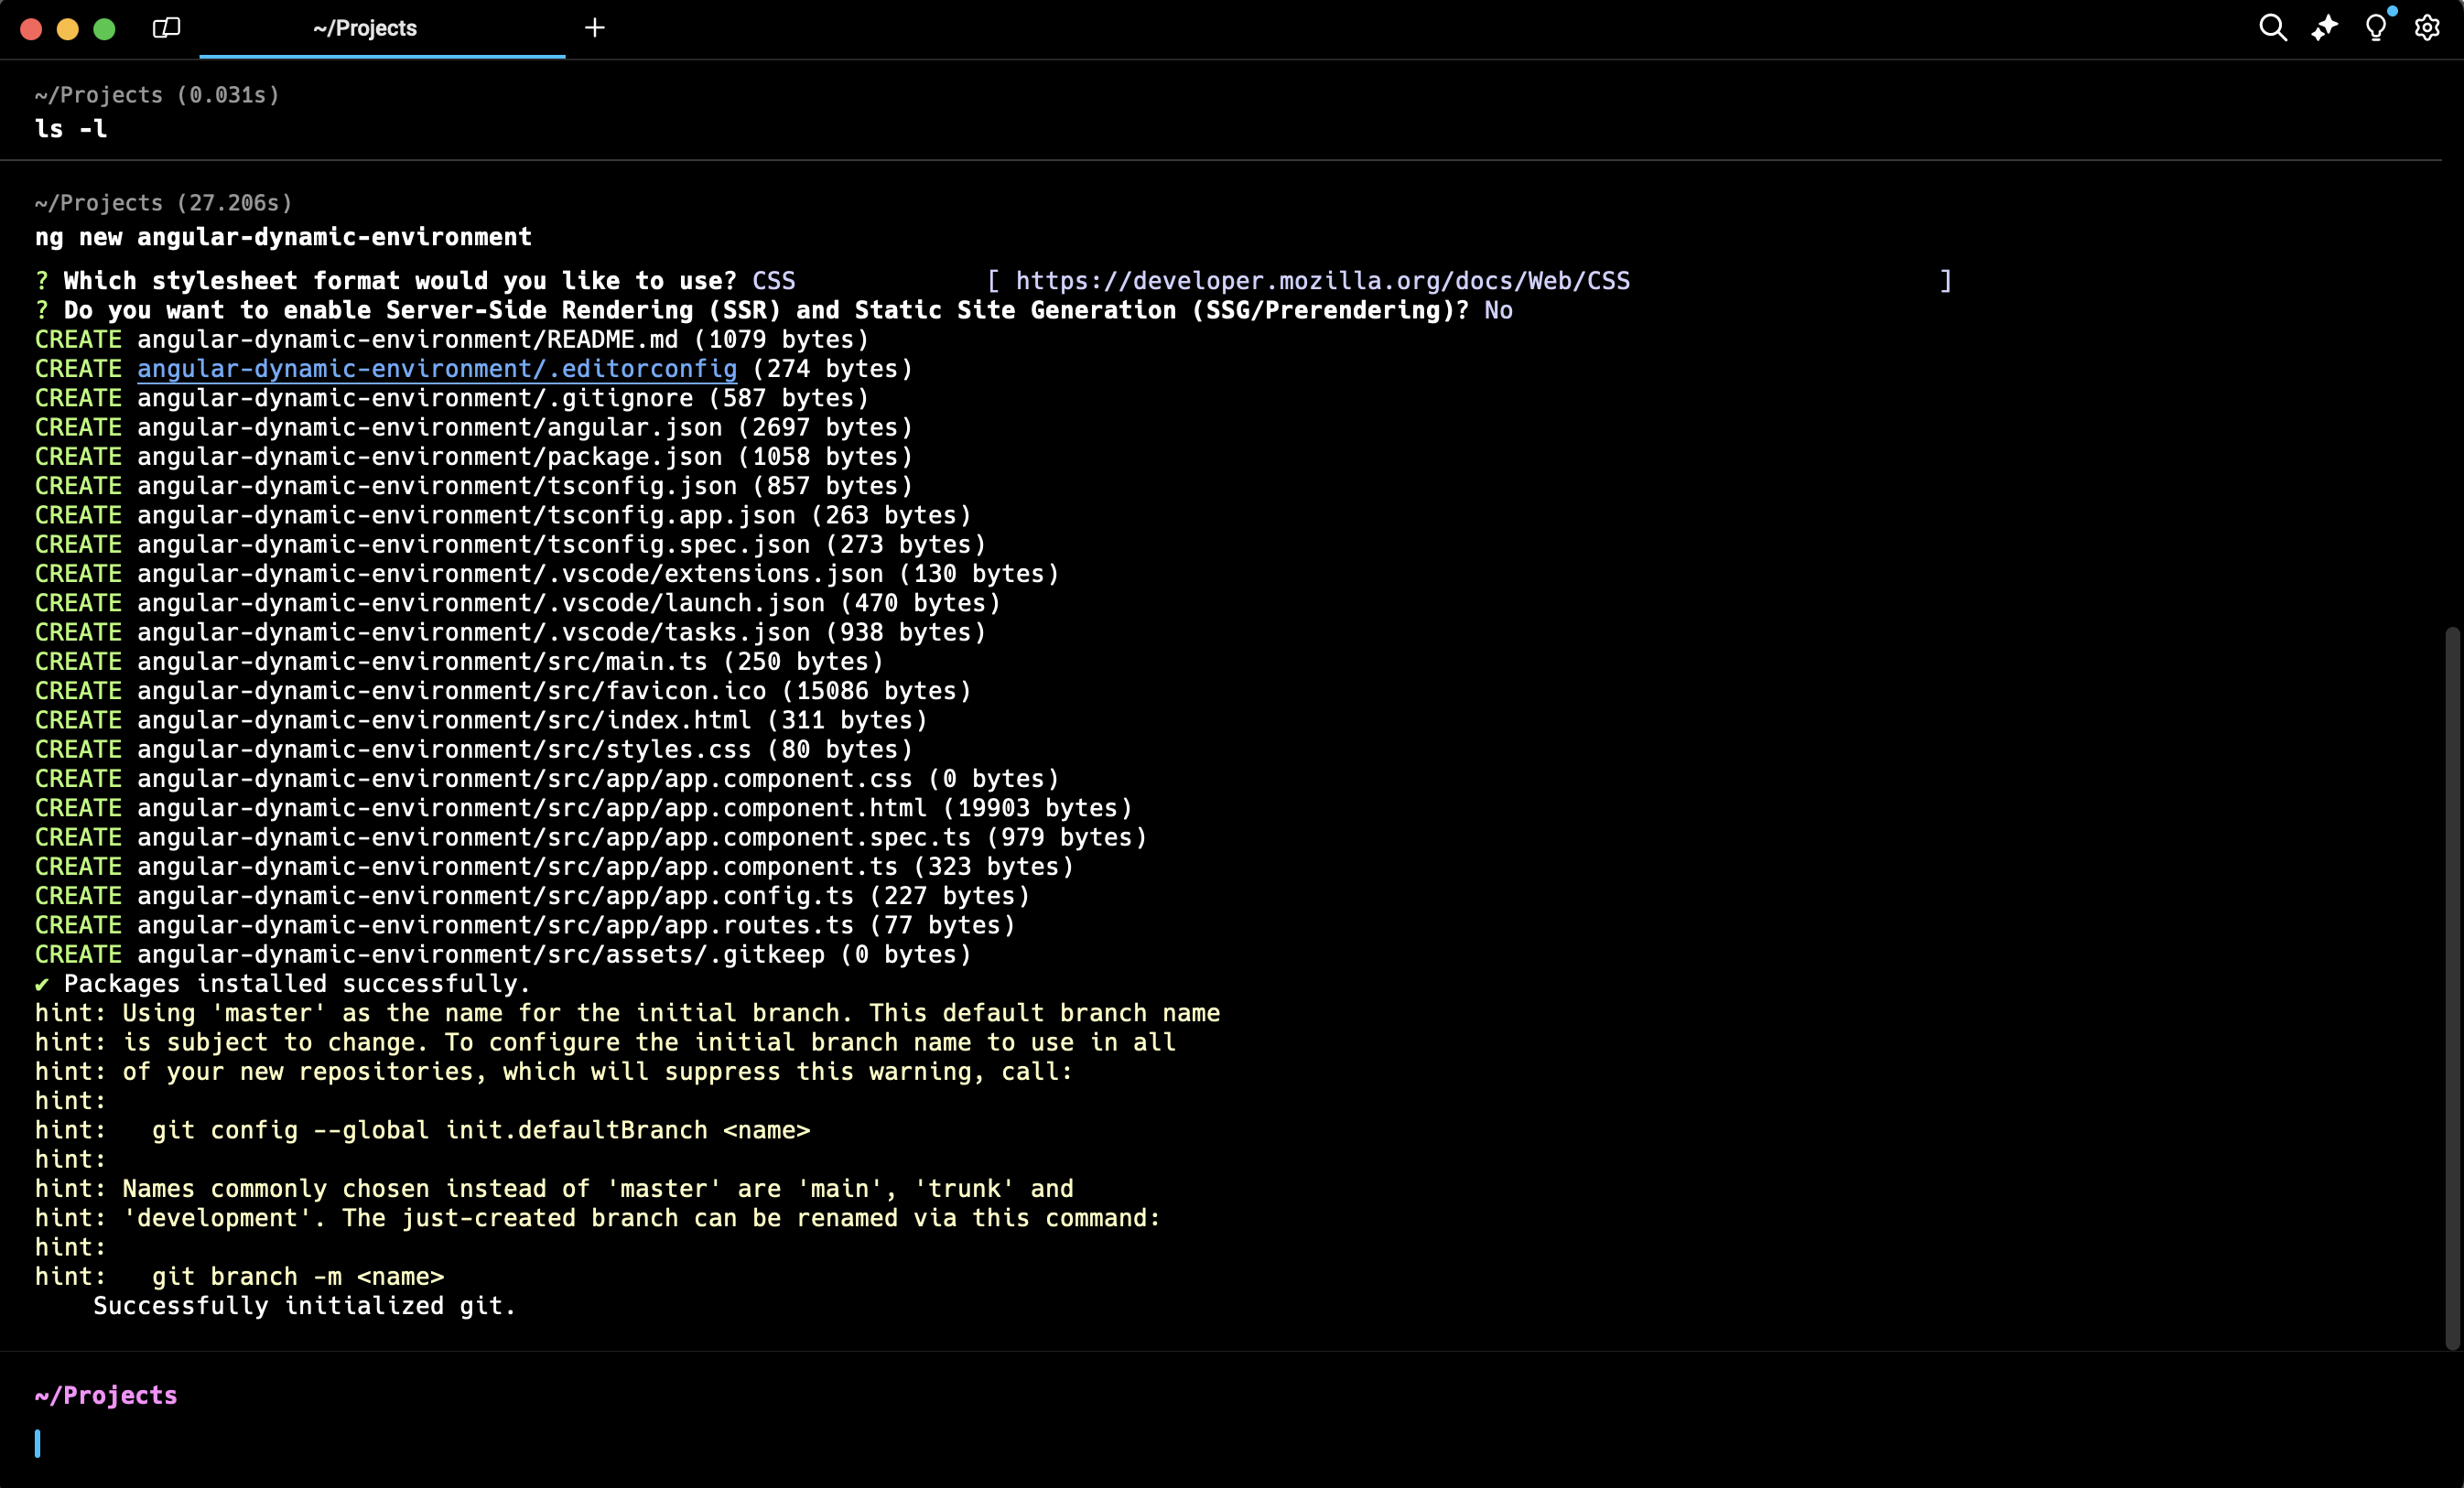
Navigate to your working directory and run this command to generate a new angular project. In this command, we are generating a new Angular project called angular-dynamic-environment.
ng new angular-dynamic-environment
Wait till the project is created successfully and all the UI framework libraries are installed.

Once the project is built successfully, open the project in your favorite text editor and run this command to generate environment files.
ng generate environments
This should create environment config files under ./src/environments/ folder. You should see two configuration files (one for production, and another for development environment that ends with *.development.ts).
├── angular-dynamic-environment
│   ├── src
│   │   ├── environments
│   │   │   ├── environment.ts
│   │   │   ├── environment.development.ts
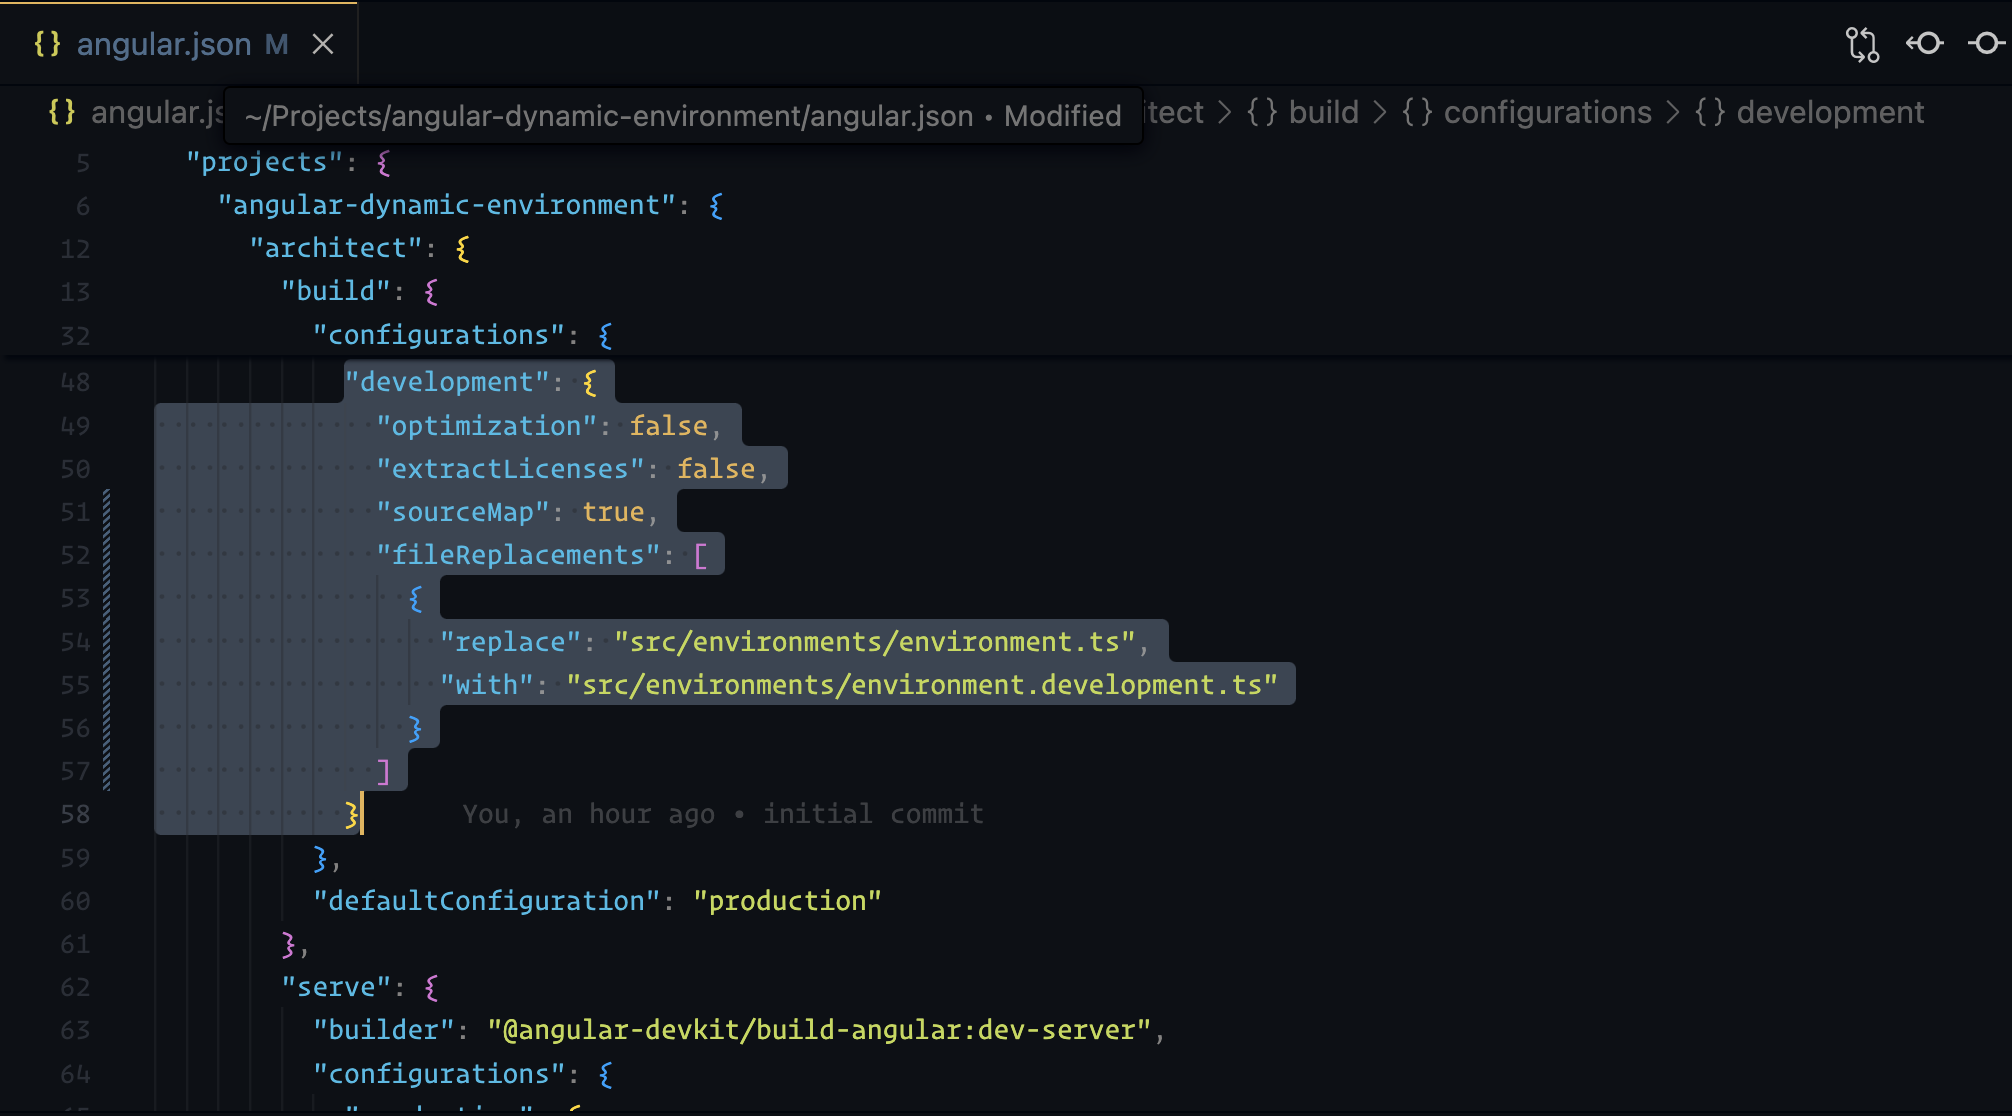
The above command also adds environment specific configuration by adding fileReplacements section in angular.json file.

This means that if you build your angular project with ng build --configuration development, it will replace configuration file from environment.ts to environment.development.ts.
Update environment configuration files
Let’s update the environment.ts file to specify production flag to be true and add production URL.
./src/environments/environment.ts
export const environment = {
  production: true,
  apiUrl: 'http://server-side-prod-url'
};
Similarly, we can update environment.development.ts file to specify the production flag to be false (since this will be used for development only) and add the non-production URL:
./src/environments/environment.development.ts
export const environment = {
  production: false,
  apiUrl: 'http://server-side-non-prod-url'
};
Get environment variables dynamically for each environment
Open app.component.ts file and import the following:
// Fetches from `http://server-side-prod-url` in production, `http://server-side-non-prod-url` in development.
import { environment } from './environments/environment';
Now you can access the environment variables dynamically. Here is an example where we are accessing apiUrl to print it in the console in the constructor method in app.component.ts file.
import { Component } from '@angular/core';
import { RouterOutlet } from '@angular/router';
// Fetches from `http://server-side-prod-url` in production, `http://server-side-non-prod-url` in development.
import { environment } from '../environments/environment';

@Component({
  selector: 'app-root',
  standalone: true,
  imports: [RouterOutlet],
  templateUrl: './app.component.html',
  styleUrl: './app.component.css'
})
export class AppComponent {
  title = 'angular-dynamic-environment';

  constructor() {
    console.log('apiUrl from environment', environment.apiUrl);
  }

}
Update package.json file to build project
Update package.json file to add a post-build script for production, so that the right environment file is fetched for production. Here I’m adding heroku-postbuild script to deploy to heroku.
"scripts": {
  "ng": "ng",
  "start": "node server.js",
  "start:local": "ng serve -o",
  "build": "ng build",
  "watch": "ng build --watch --configuration development",
  "test": "ng test",
  "heroku-postbuild": "ng build --configuration production"
},
For development, or local build, run the below command to build with development config:
ng build --configuration development
And run the server with this command:
ng serve -o
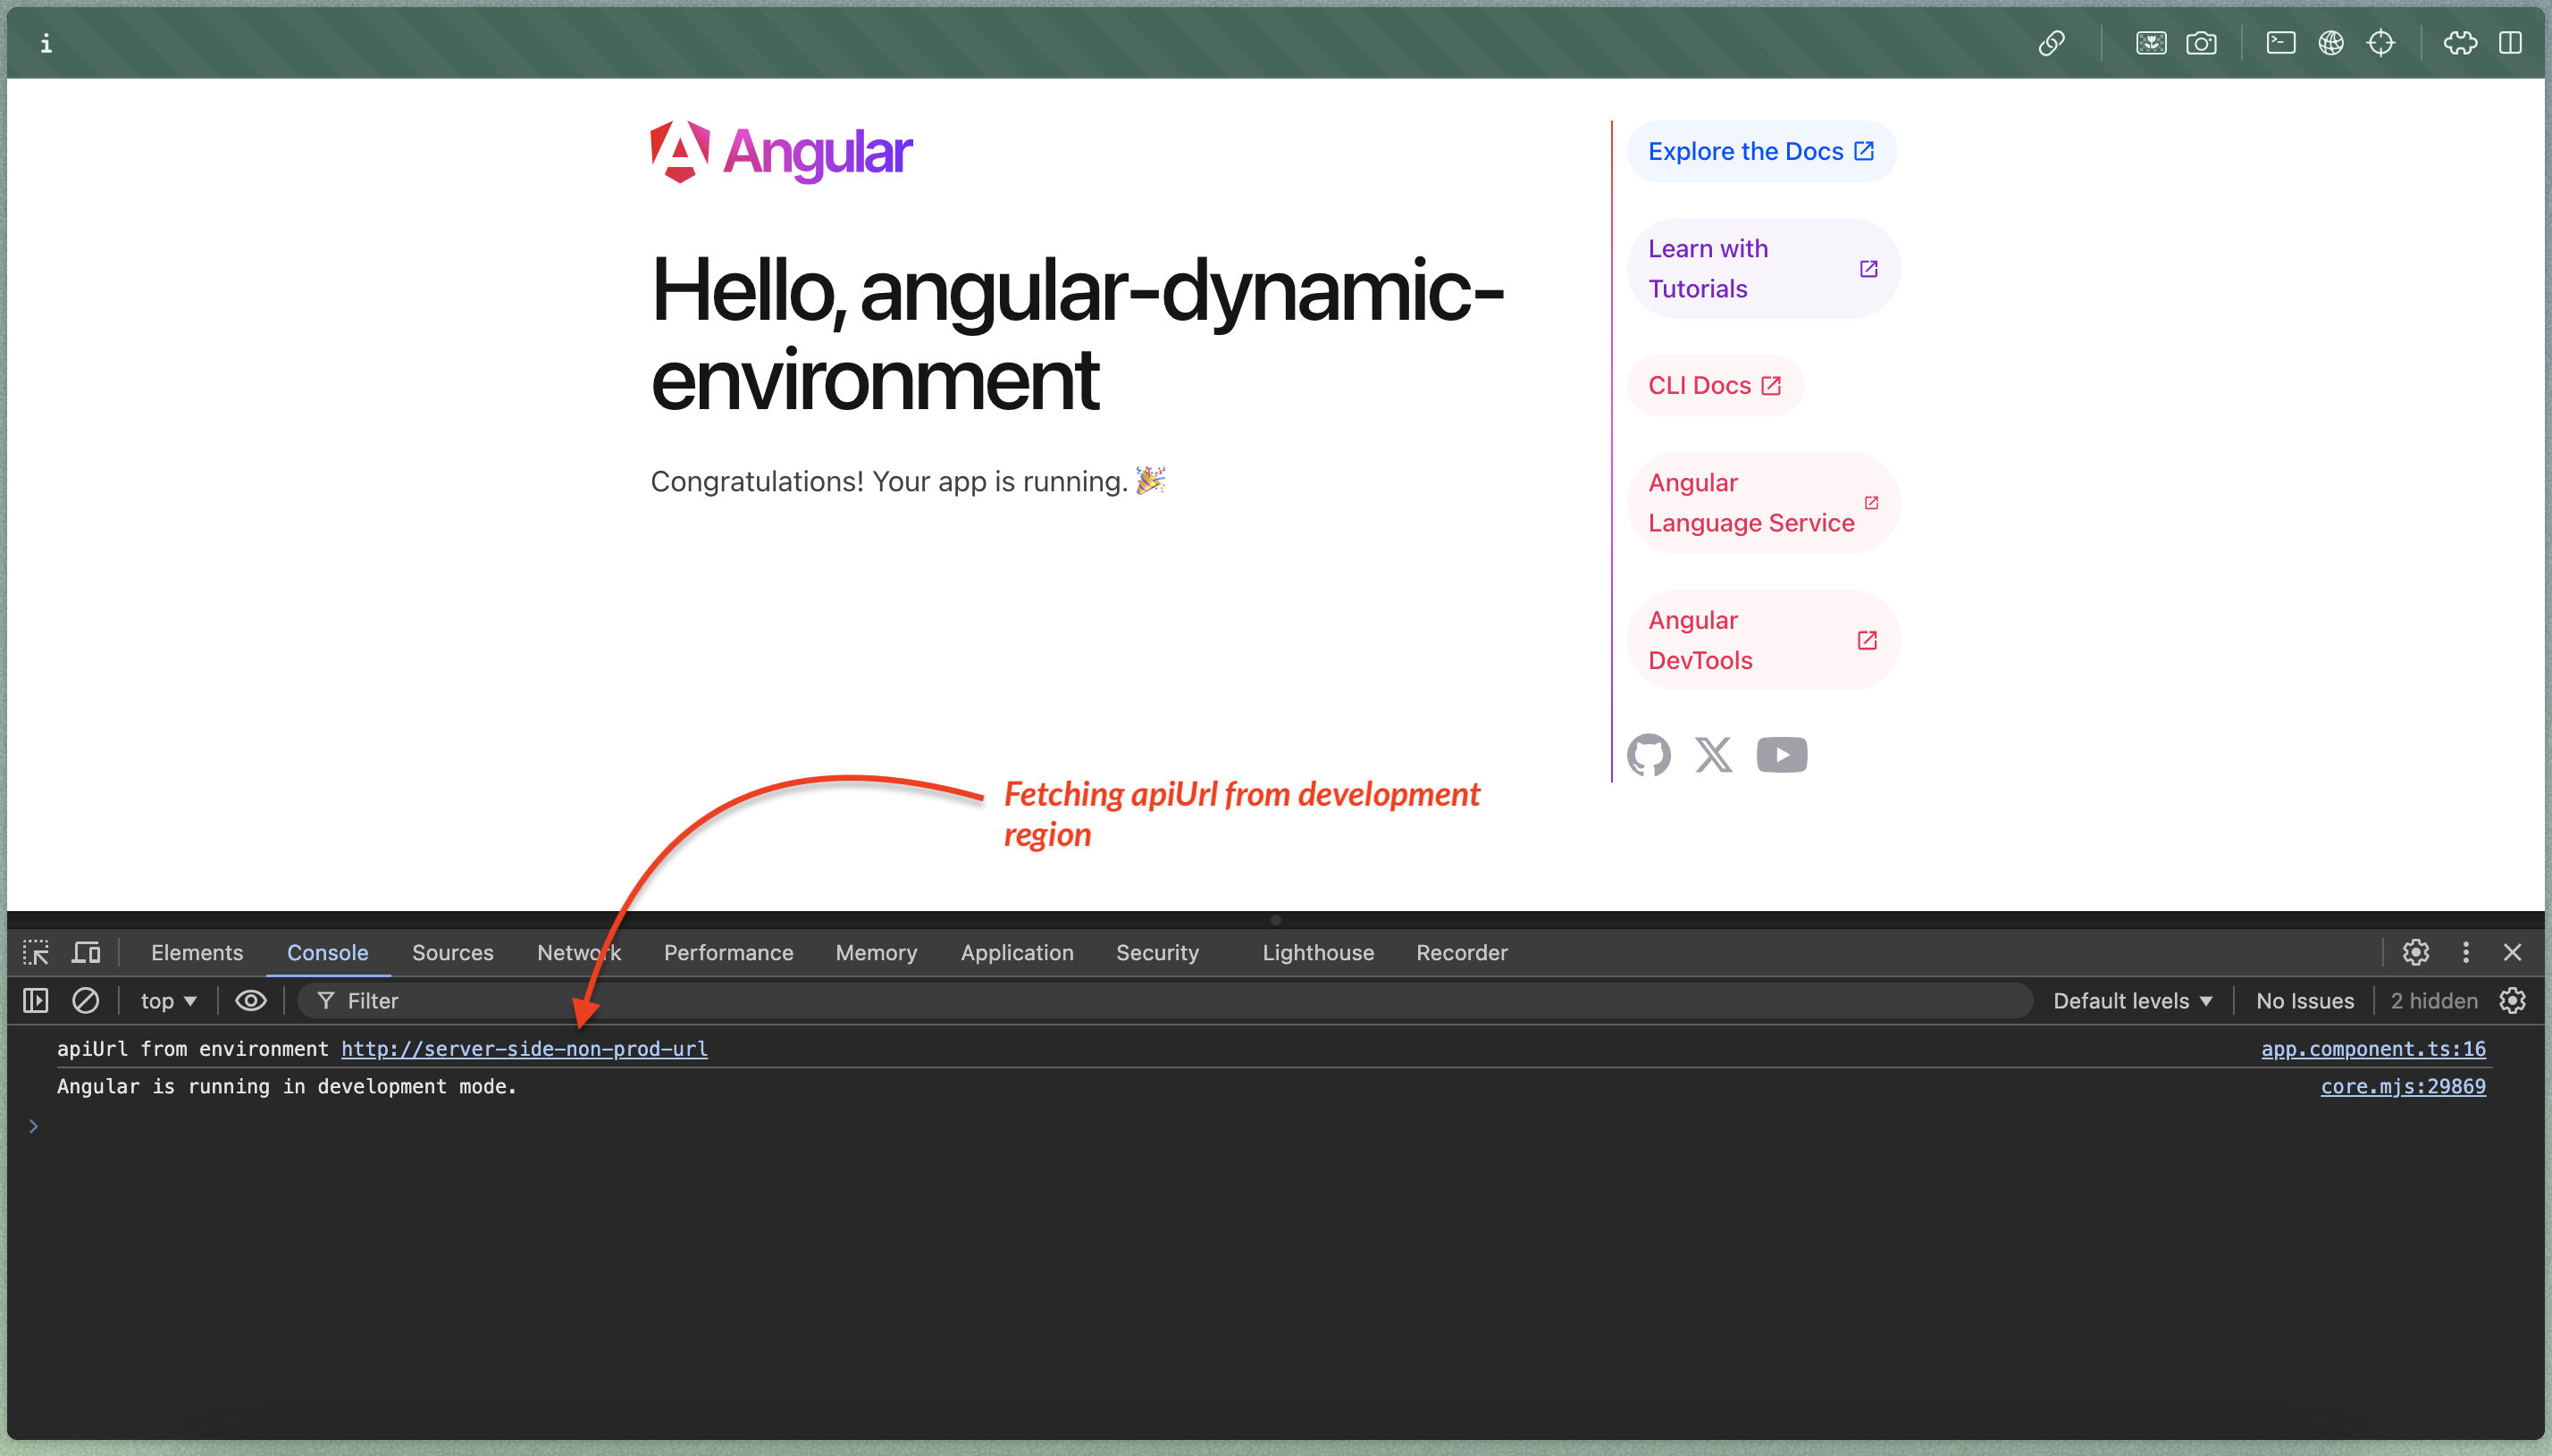
This will open the Angular application in your default browser on http://localhost:4200/

Check in the console, we are getting the URL for development region.
Hope you enjoyed the blog. I'm working on building a SaaS product to improve productivity for professionals, and sharing everything in my discord channel. Join my Discord channel for free by clicking this link: https://discord.gg/XmbrDrnVhr
Subscribe to my newsletter
Read articles from Naz Islam directly inside your inbox. Subscribe to the newsletter, and don't miss out.
Written by

Naz Islam
Naz Islam
I am a MEAN Stack Developer having vast experience in Javascript, Typescript, Angular, NodeJS, Express, MongoDB. Currently working on building my first SaaS app zenfoc.us.