Make Your Nuxt.js Site Live with NuxtHub and Cloudflare
 MadeWithNuxtJS
Introduction
The Excitement of Going Live with NuxtHub
It all started with a tweet by NuxtJS author Sébastien Chopin and a blog Nuxt on the Edge
As per the docs, .nuxt.dev domain was available for free, therefore i created jay.nuxt.dev
It was just matter of 5 minutes to make it live
Important points to note
Subdomain Lock-In
You Will Not Be Able to Edit Your Subdomain Later. Therefore carefully enter your project name, example jay becomes jay.nuxt.dev
I had to create new project and delete first project ( since first project subdomain was set as default name with project name and github username )
Get Started with NuxtHub
An Easy Start
With few button clicks, your website will be live
Cloudflare and Github project will be connected
Creating Your Custom Subdomain
- Just enter your site name in
Project Namefield
Limitations
Cloudflare Free Plan
By default, your website will be live under free plan
This means, your nuxtjs bundle must be under 1MB limit in order to make it live on cloudflare CDN Servers ( which are around 250 around the world )
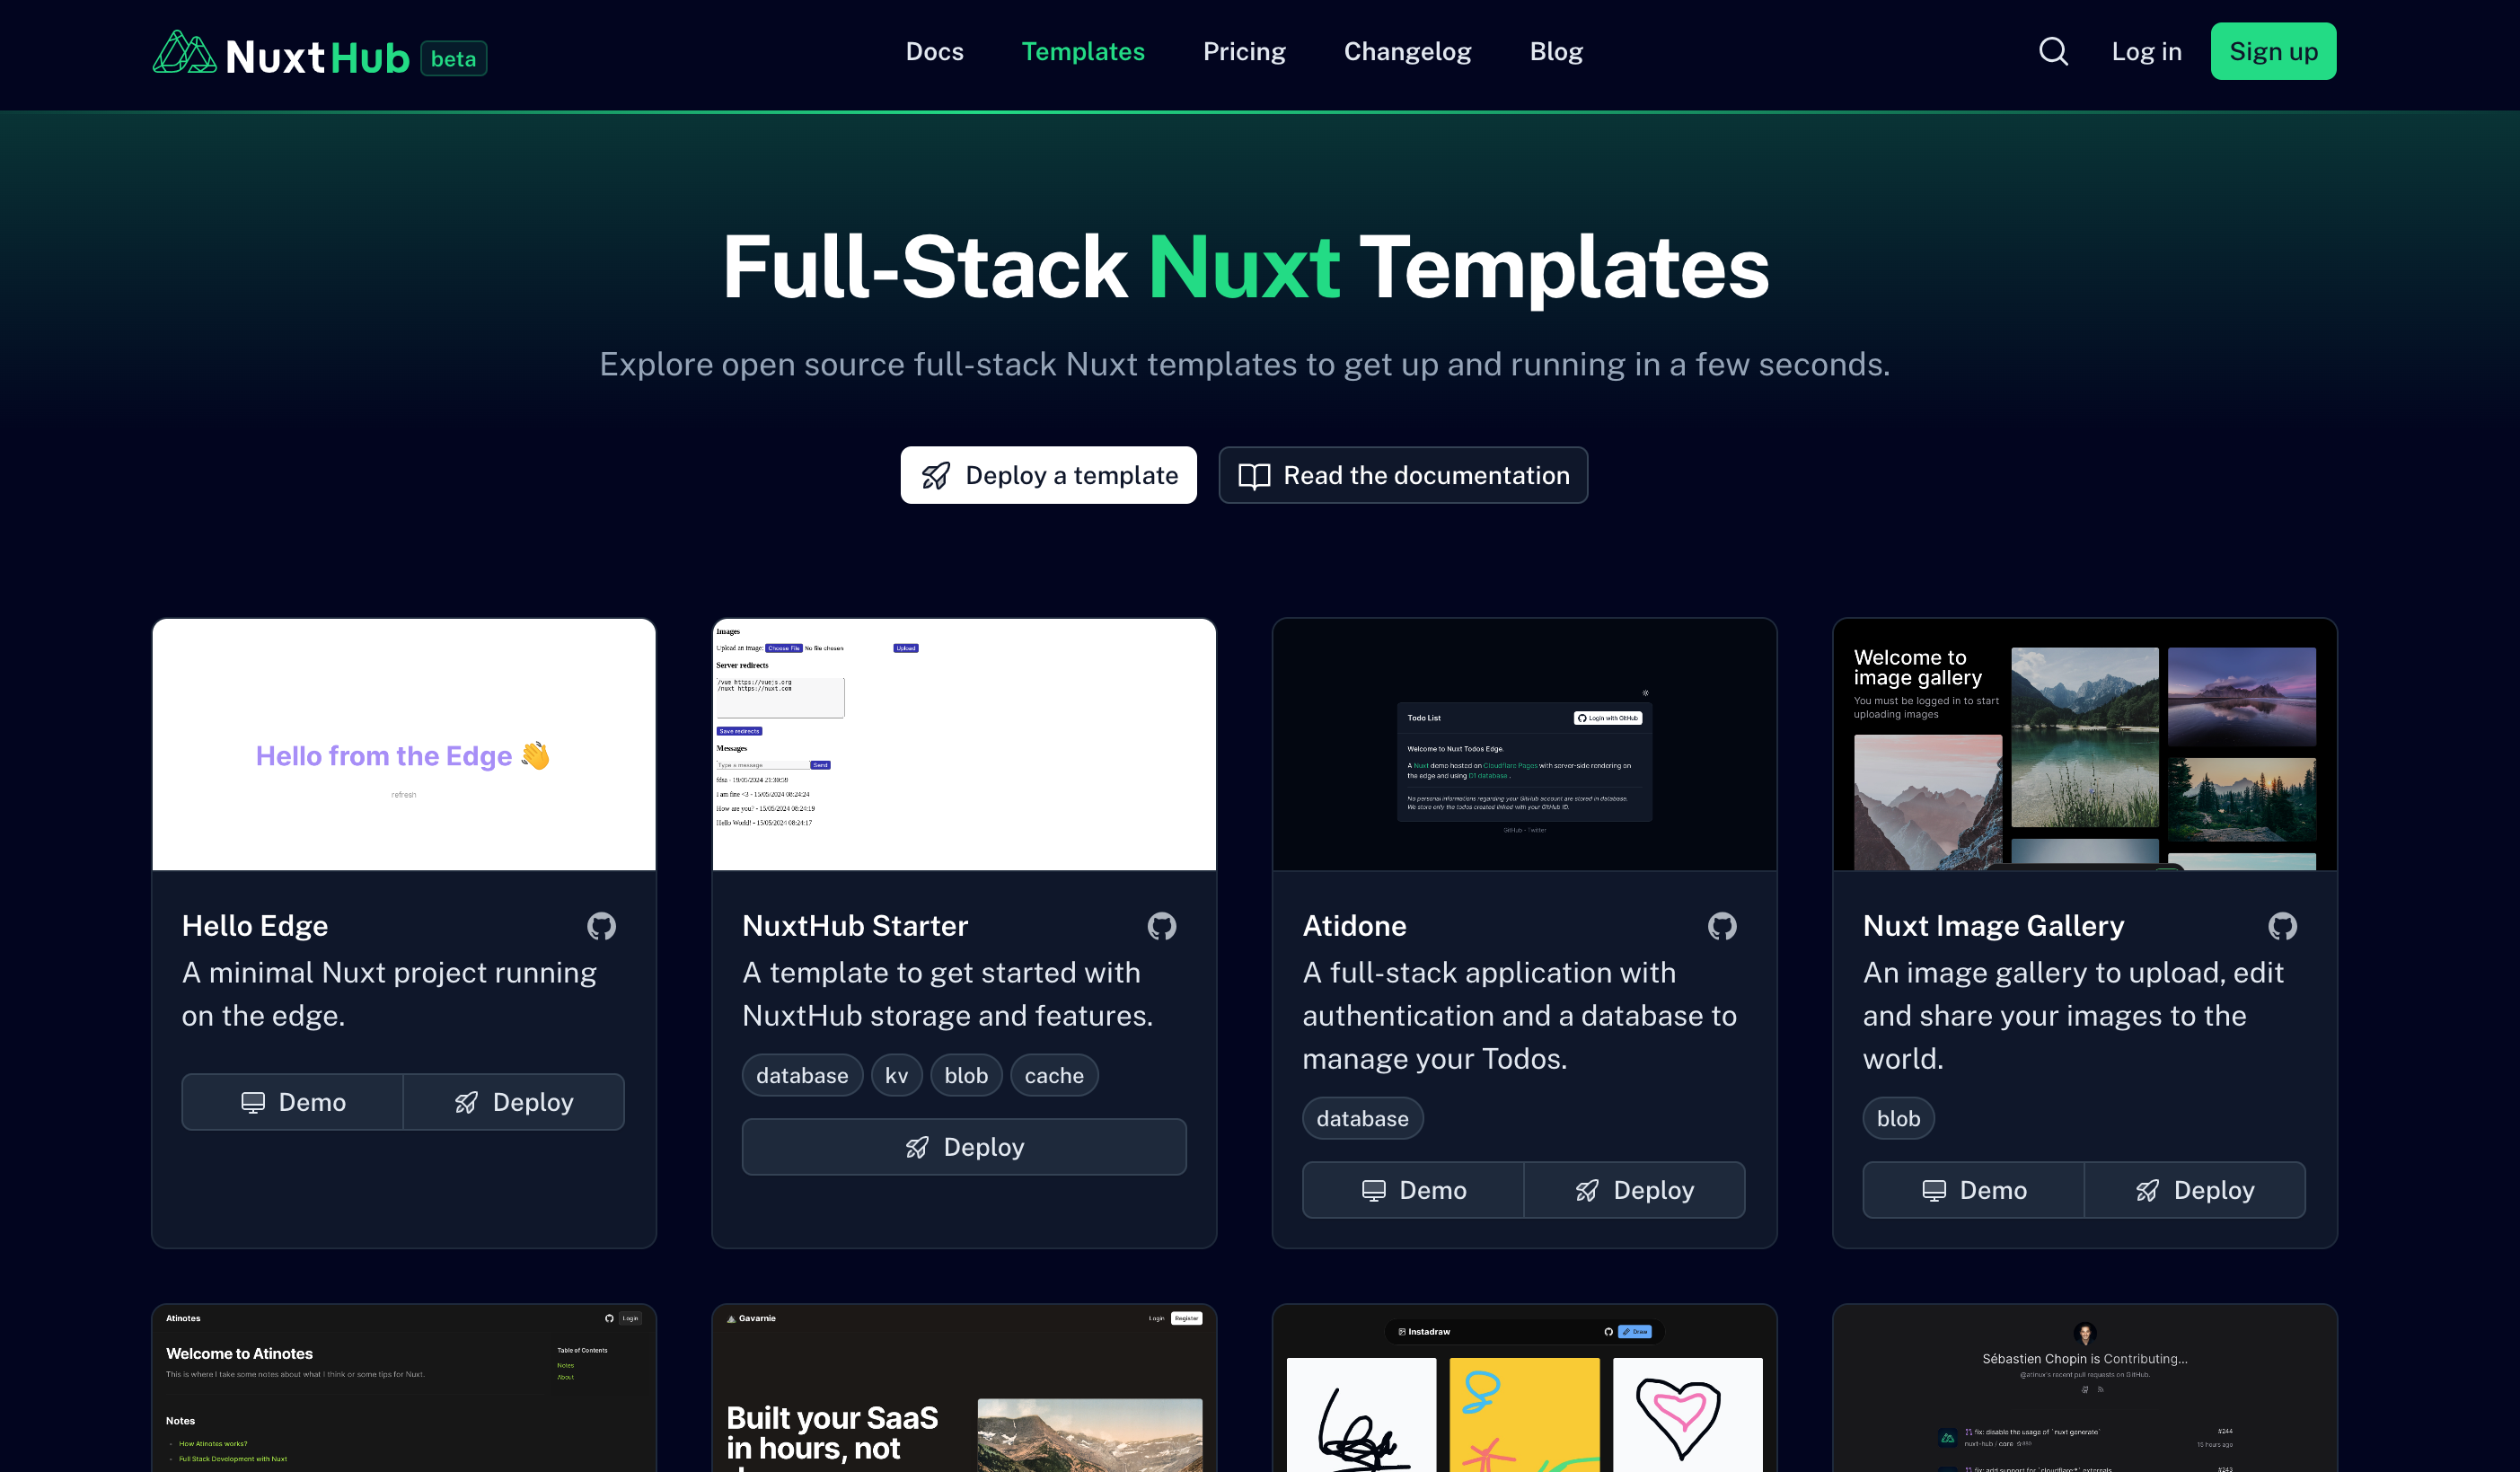
Full Stack Nuxt Templates
Explore open source full-stack Nuxt templates to get up and running in a few seconds
Live Demo
Cloudflare server performance
Conclusion
Reflecting on the Experience
- Using NuxtHub, making site live was simple and fast with prebuilt templates available
Encouragement to Get Started
- If you are passionate like me who loves NuxtJS and want
.nuxt.devdomain for free, get started now
- If you are passionate like me who loves NuxtJS and want
Last but not the least, Thankful to Nuxt Team for providing free
.nuxt.devdomain
Subscribe to my newsletter
Read articles from MadeWithNuxtJS directly inside your inbox. Subscribe to the newsletter, and don't miss out.
Written by

