Day 45: Deploy Wordpress website on AWS☁️
 Pooja Bhavani
Task-01

1 . Create a Free tier RDS instance of MySQL
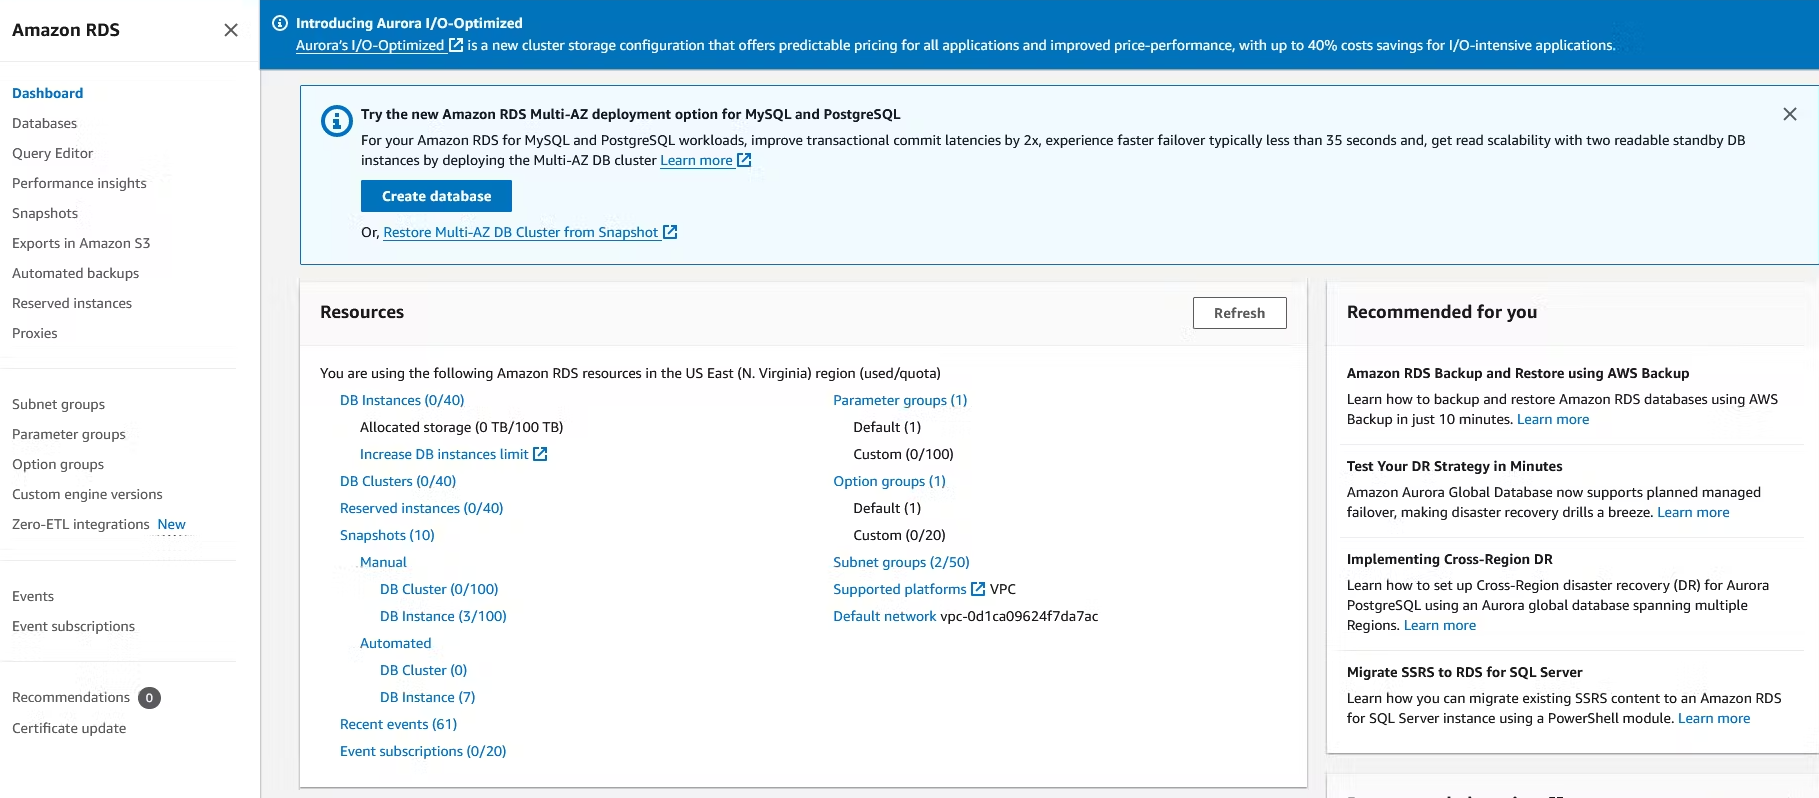
- Open the AWS Management Console and navigate to the RDS service.

- Click on "Create database" (blue button) and choose "MySQL" as the engine and select a desired latest version.


- Under "Templates," select the "Free tier" option (if available in your region).

- Provide a unique name for your database instance (e.g., "wordpress-db") and Choose a master username "wordpress" and a strong password for accessing the database.

- Select an appropriate instance class based on your workload (t2.micro for a basic setup).

Pending in RDS...........................⬆️
2 . Create an EC2 instance
- In the RDS > Create database page it-self you can create an instance comes in connectivity. Click on Connect to an EC2 compute resource then Create EC2 instance.

- After that Launch an instance page will open there you can create your instance as you did regularly.

- Now inbound your Mysql security group in your instance.

Continue in RDS...................⬇️
- After instance comes in running state come back to RDS > Create Database page and in connectivity section do refresh and select your instance which you created in the above task

- In Additional VPC security group choose default VPC.

- Rest of them keep it as default and click on create database.


3 . Create an IAM role with RDS access
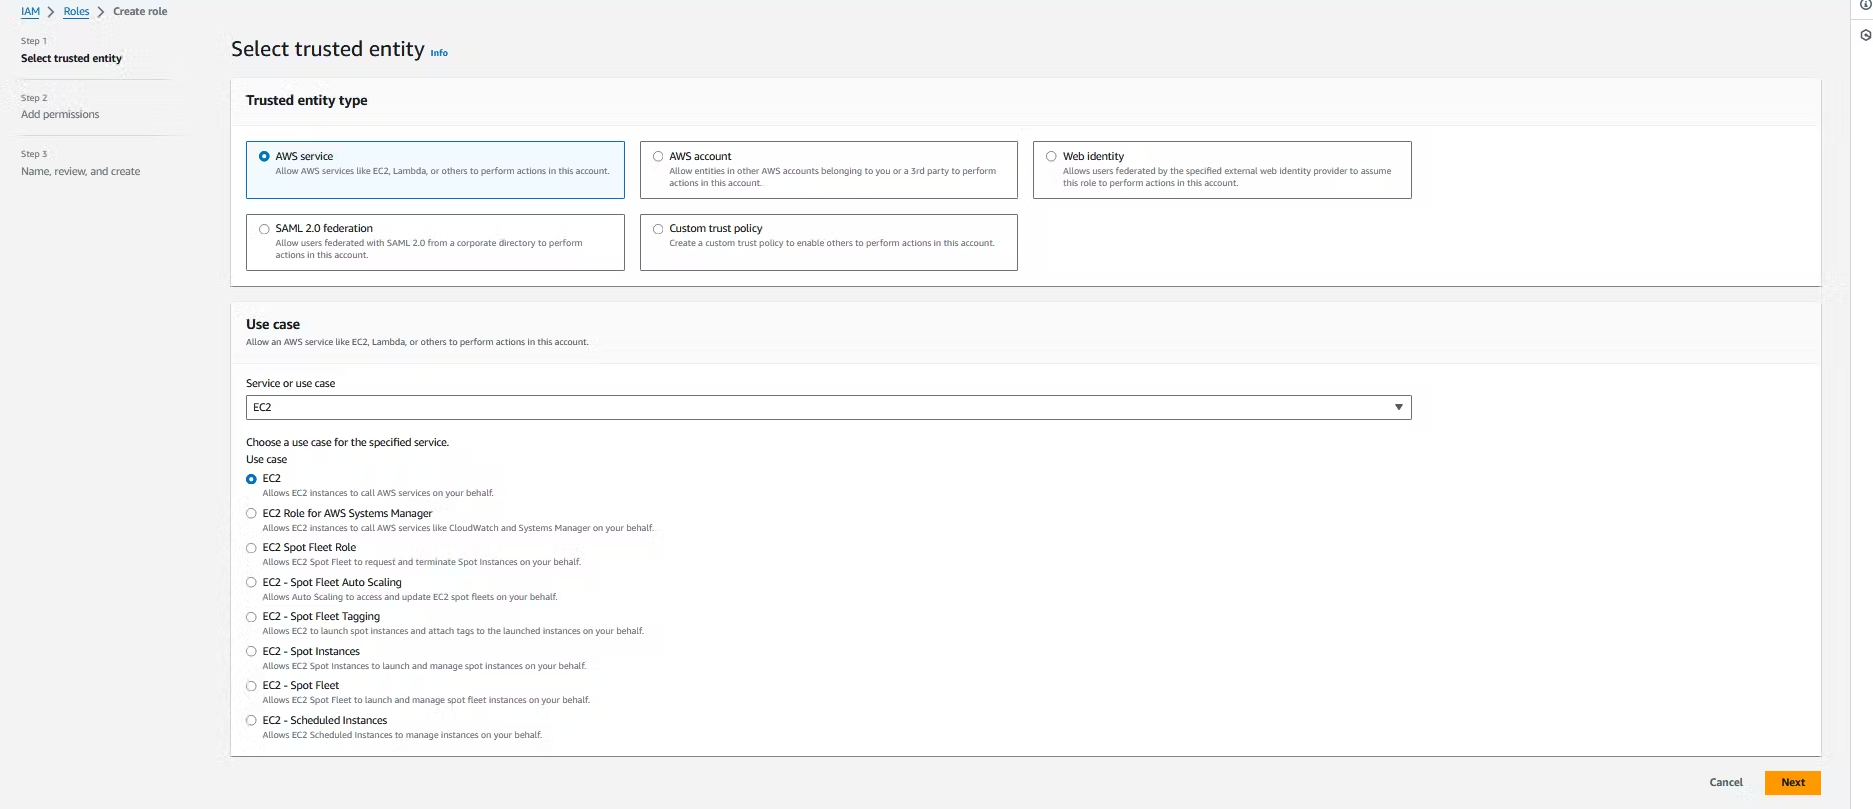
- Navigate to the IAM service in the AWS Management Console and Click on "Roles" and then "Create role."
- Choose "EC2" under "AWS service" as the trusted entity (service that will use this role) and click on Next.

- Select the appropriate policy for RDS access. A common option is "AmazonRDSFullAccess" which grants full access to RDS resources and click on Next. However, for better security practices, consider using a more granular policy that grants only the necessary permissions for your specific use case.
- Provide a name for your IAM role (e.g., "EC2RDSAccessRole") and Click "Create role" to create the IAM role.


4 . Assign the role to EC2 so that your EC2 Instance can connect with RDS
- Go back to the EC2 service and navigate to the "Instances" section and Select the EC2 instance you launched earlier and Click on "Actions" and then click on "Security" and click on "Modify IAM role".

- After that Modify IAM role page will open in that you have to refresh and do search and select for you IAM role which you created "EC2RDSAccessRole" and click on Update IAM role.

5 . Connect to EC2 Instance
- Connect to your EC2 instance using SSH. Use the key pair associated with the instance to connect and Once connected, update the package repository
sudo apt-get update && sudo apt-get upgrade -y
6 . Install Apache, MySQL, and PHP (LAMP Stack)
- Install the Apache web server, MySQL server, and PHP:
Install Apache (HTTP Server):
sudo apt-get install apache2 -y
sudo systemctl start apache2 && sudo systemctl enable apache2

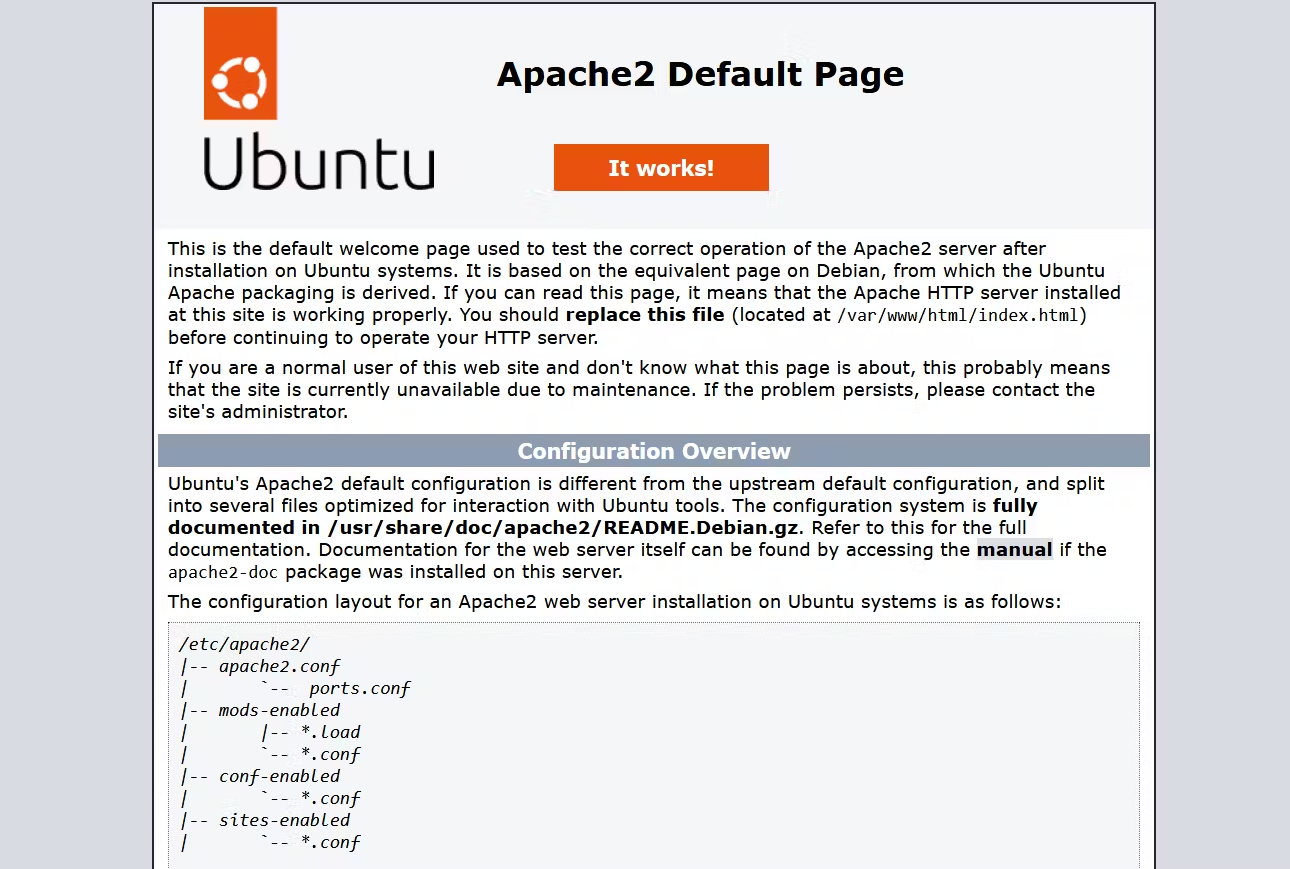
- Open your Apache server with your IP address

Install MySQL Server:
- Install MySQL Server and Secure MySQL installation:
sudo apt install mysql-client-core-8.0 -y

- Start MySQL service and Enable MySQL to start on boot:
sudo systemctl start mysql && sudo systemctl enable mysql

- Run the following commands in your terminal to connect to your MySQL database. Replace "<user>" and <password>" with the master username and password you configured when creating your Amazon RDS databse. -h is host which is RDS database enpoint.
sudo mysql -h <rds-database-endpoint> -P <port-no> -u <user> -p

- Finally,create a database user for your WordPress application one by one and give the user permission to access the WordPress database.
CREATE DATABASE wordpress;
CREATE USER 'wordpress' IDENTIFIED BY 'wordpress-password';

GRANT ALL PRIVILEGES ON wordpress.* TO wordpress;

FLUSH PRIVILEGES;

Exit

Install PHP:
- Install PHP and modules
sudo apt install php libapache2-mod-php php-mysql -y

- Restart Apache to apply changes:
sudo systemctl restart apache2
7 . Install WordPress
- Download the latest version of WordPress
sudo wget https://wordpress.org/latest.tar.gz

- Extract the WordPress files
sudo tar -xvzf latest.tar.gz


- Change the director to the wordpress directory and create a copy of the default config file using the following commands.
sudo cp wp-config-sample.php wp-config.php

- Now enter into that file which you copied and Edit the database configuration by changing the following lines
sudo vim wp-config.php
Explanation of wp-config.php file with its working:-

DB_NAME: "YOUR RDS database name."

DB_USER: "The name of the user you created in the database in the previous steps."

DB_PASSWORD: "The password for the user you created in the previous steps."

DB_HOST: "The host name of the database means your database endpoint."

- The second configuration section you need to configure is the Authentication Unique Keys and Salts. There you will see the link keep your cursor on it and press ctrl and click on it your Authentication keys.


- Copy that above keys and remove default keys and pas on it.

- Move the extracted files to the Apache document root directory
sudo mv wordpress/* /var/www/html/

8 . Configure WordPress
- Finally, restart the Apache web server
sudo systemctl restart apache2
- Browse
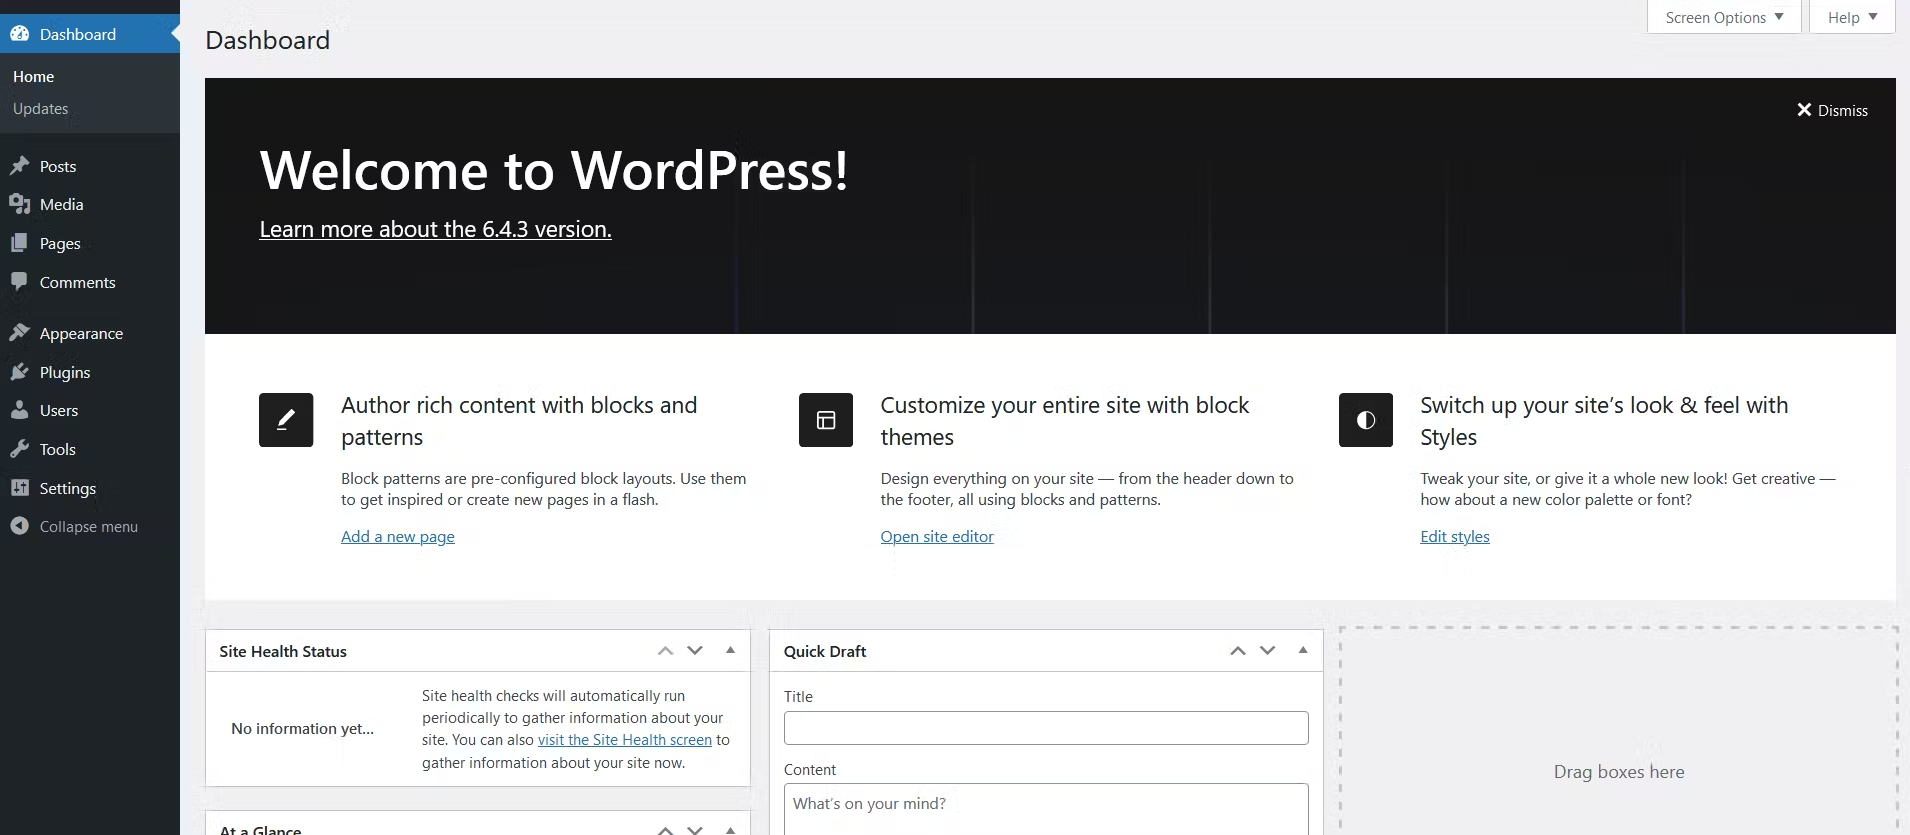
ec2-public-ip/wp-admin/you should see the WordPress welcome page in your Browser.

Subscribe to my newsletter
Read articles from Pooja Bhavani directly inside your inbox. Subscribe to the newsletter, and don't miss out.
Written by

Pooja Bhavani
Pooja Bhavani
Hi, I am Pooja Bhavani, an enthusiastic DevOps Engineer with a focus on deploying production-ready applications, infrastructure automation, cloud-native technologies. With hands-on experience across DevOps Tools and AWS Cloud, I thrive on making infrastructure scalable, secure, and efficient. My journey into DevOps has been fueled by curiosity and a passion for solving real-world challenges through automation, cloud architecture, and seamless deployments. I enjoy working on projects that push boundaries whether it's building resilient systems, optimizing CI/CD pipelines, or exploring emerging technologies like Amazon Q and GenAI. I'm currently diving deeper into platform engineering and GitOps workflows, and I often share practical tutorials, insights, and use cases from my projects and experiences. ✨ Let’s connect, collaborate, and grow together in this ever-evolving DevOps world. Open to opportunities, ideas, and conversations that drive impactful tech!