Deploy Node.js app with Docker and Jenkins: A Complete Tutorial
 Anas
AnasPhontiqe is a 2-tier web application built using Node.js and Express.
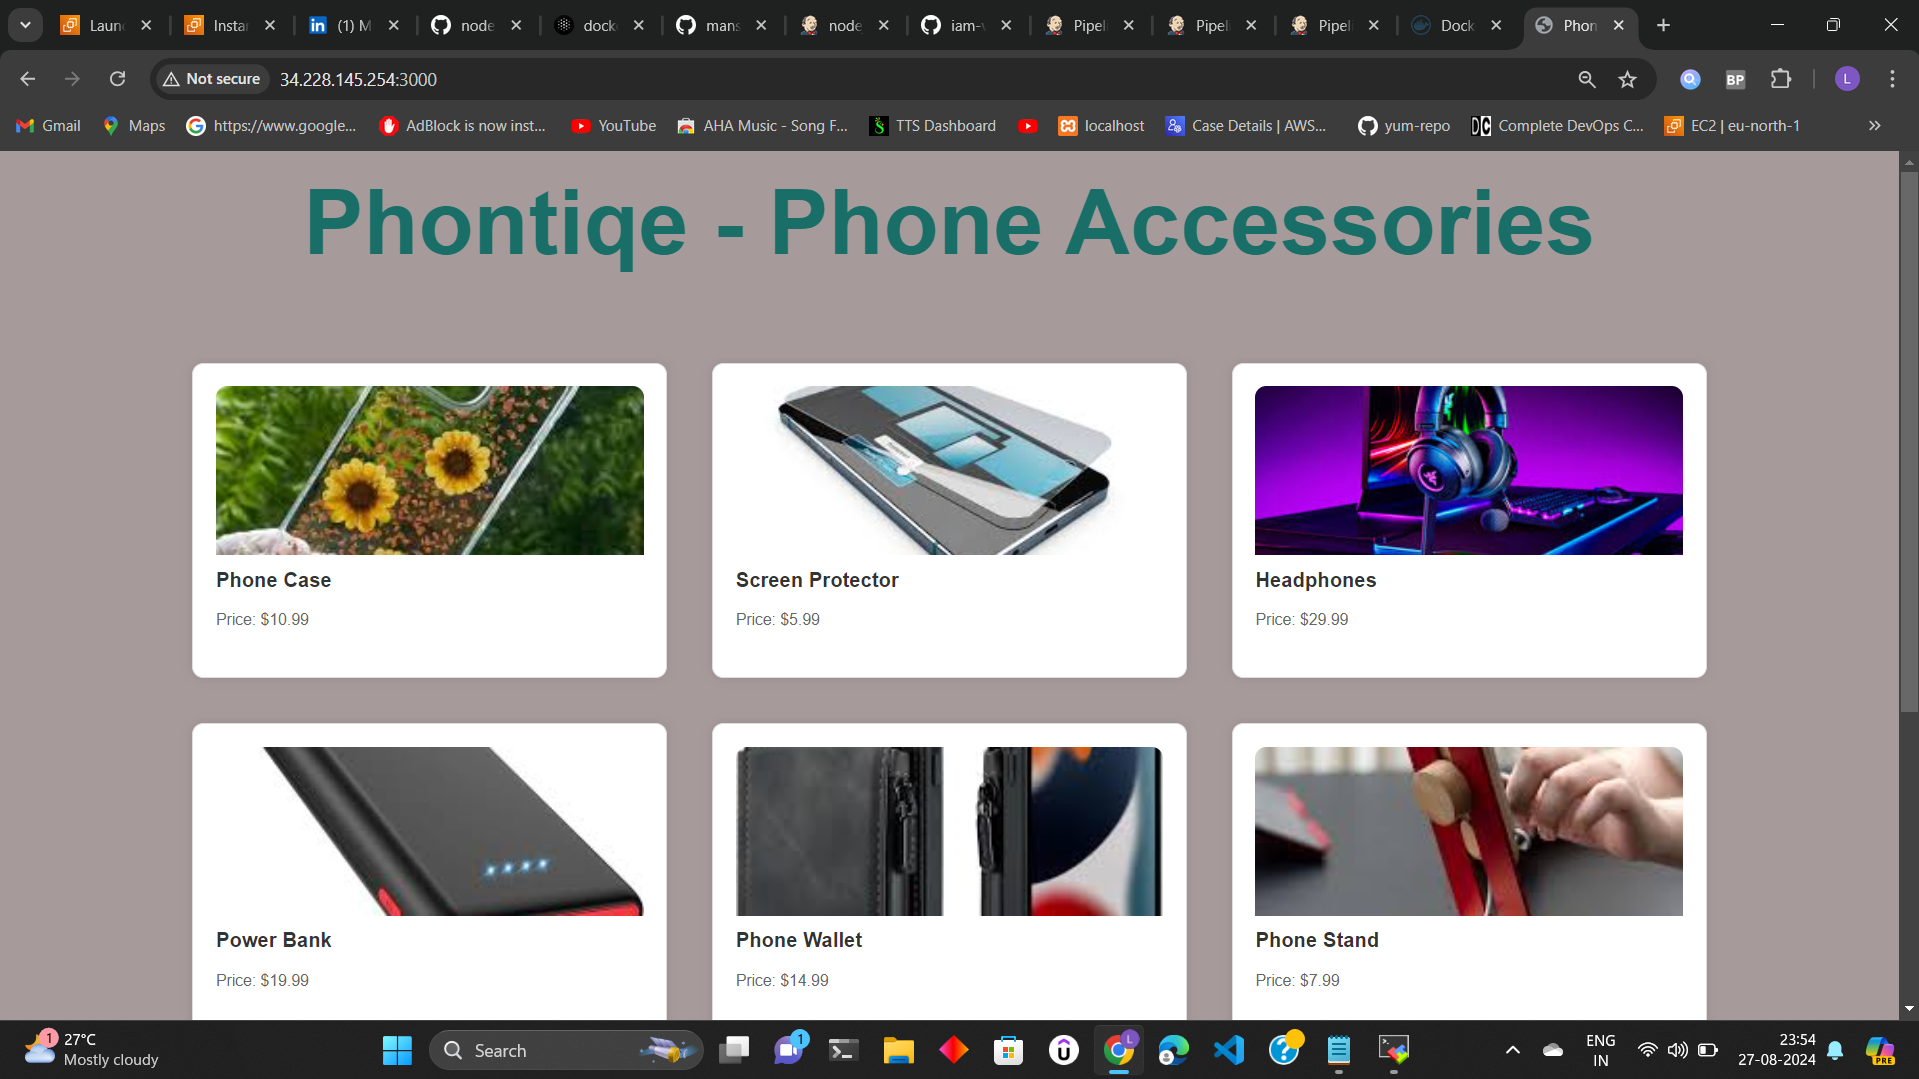
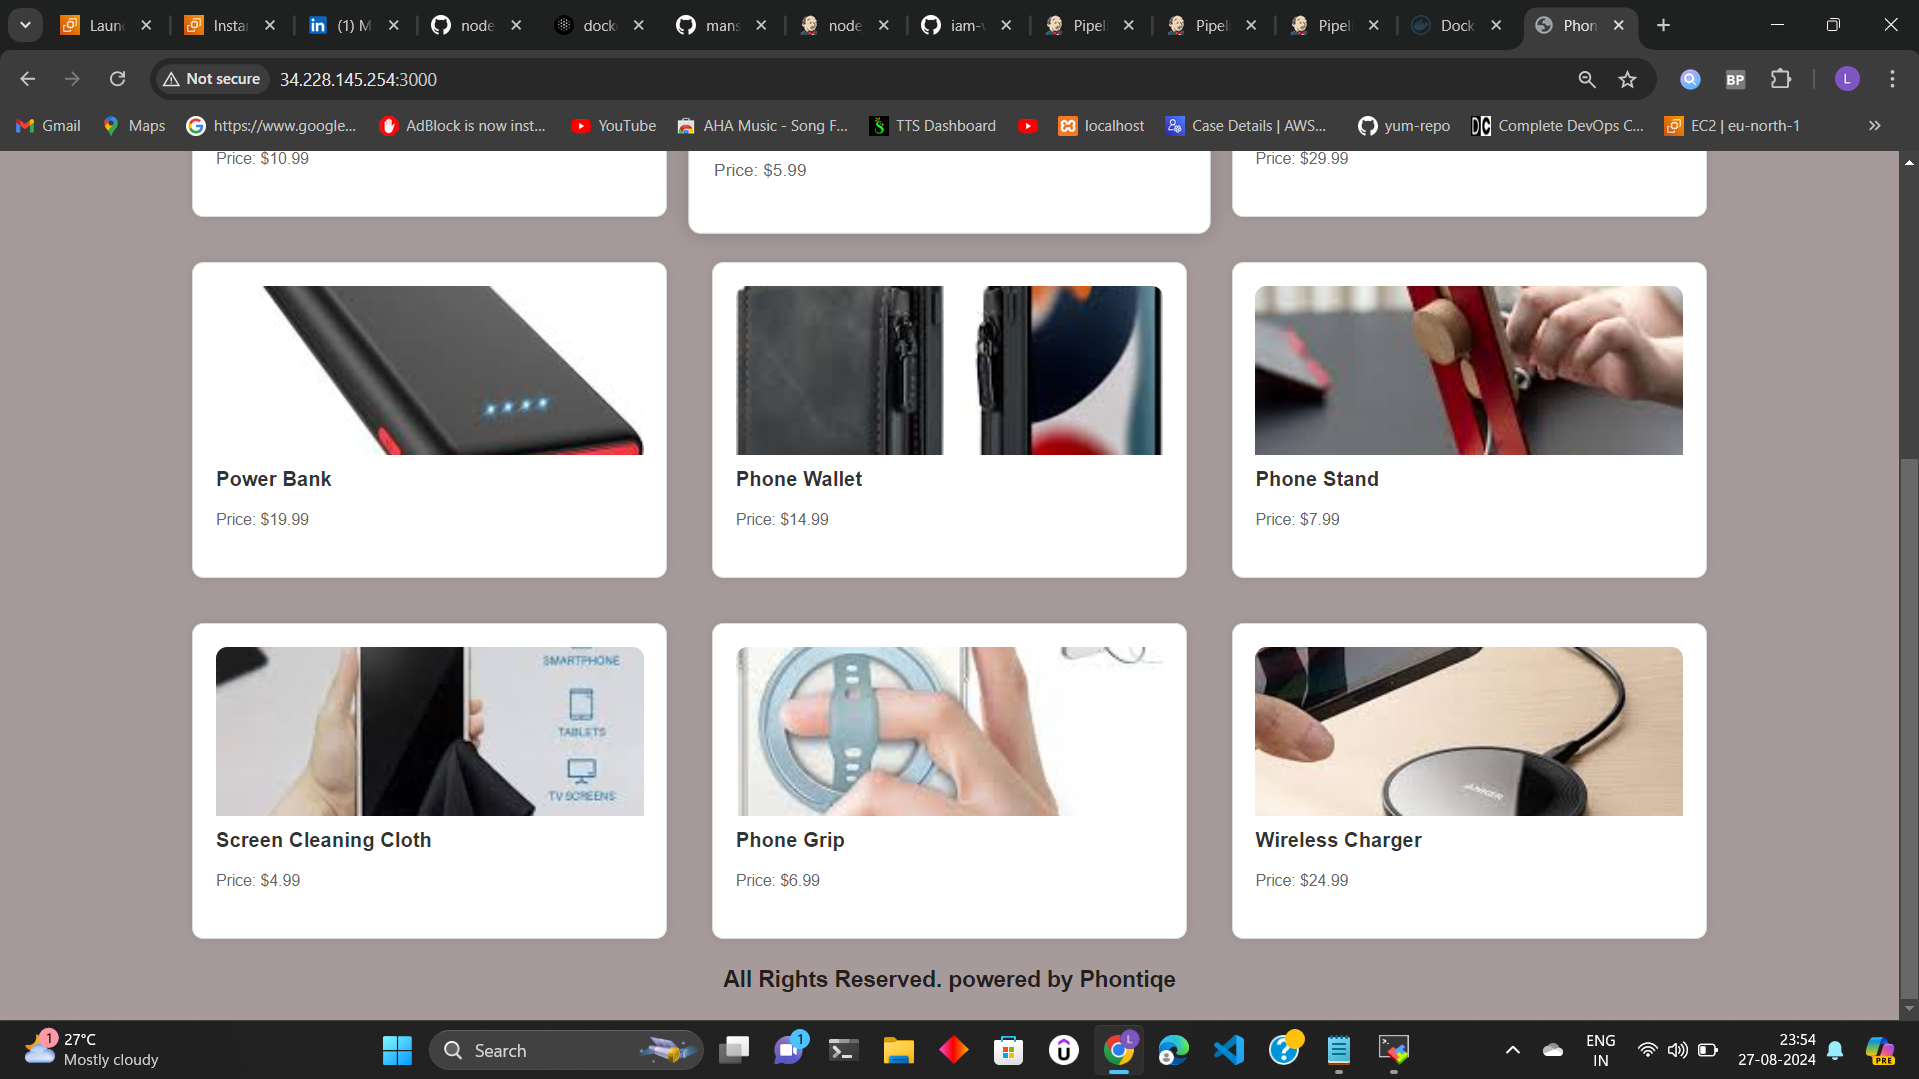
This is a simple web application that displays a list of accessories retrieved from a server-side API. The application uses JavaScript, HTML, and CSS to dynamically generate the list of accessories on the client-side.
https://github.com/mansurianas/node-phontiqe.git
AWS EC2 Instance
Go to AWS Console
Instances(running)
Launch instances
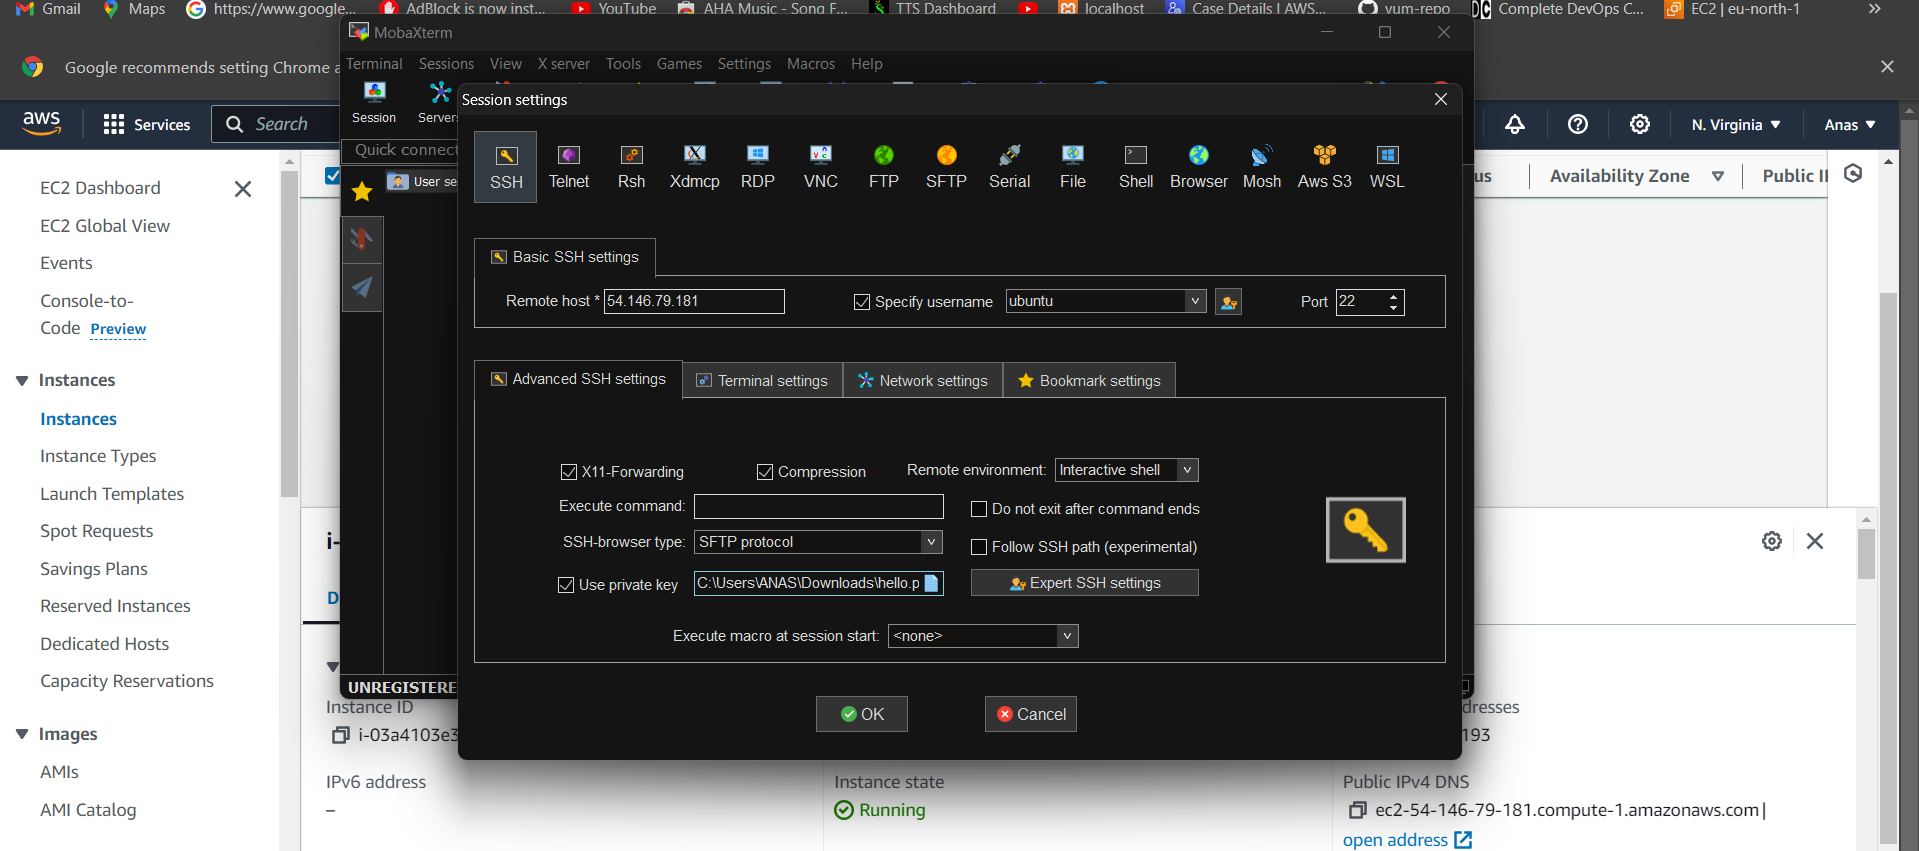
use mobaXterm terminal :
Install Jenkins.
Pre-Requisites:
- Java (JDK)
Run the below commands to install Java and Jenkins
Install Java
sudo apt update
sudo apt install openjdk-17-jre
Verify Java is Installed
java -version
Now, you can proceed with installing Jenkins
curl -fsSL https://pkg.jenkins.io/debian/jenkins.io-2023.key | sudo tee \
  /usr/share/keyrings/jenkins-keyring.asc > /dev/null
echo deb [signed-by=/usr/share/keyrings/jenkins-keyring.asc] \
  https://pkg.jenkins.io/debian binary/ | sudo tee \
  /etc/apt/sources.list.d/jenkins.list > /dev/null
sudo apt-get update
sudo apt-get install jenkins
Note: By default, Jenkins will not be accessible to the external world due to the inbound traffic restriction by AWS. Open port 8080 in the inbound traffic rules as show below.
EC2 > Instances > Click on
In the bottom tabs -> Click on Security
Security groups
Add inbound traffic rules as shown in the image (you can just allow TCP 8080 as well, in my case, I allowed
All traffic).
Login to Jenkins using the below URL:
http://:8080 [You can get the ec2-instance-public-ip-address from your AWS EC2 console page]
Note: If you are not interested in allowing All Traffic to your EC2 instance 1. Delete the inbound traffic rule for your instance 2. Edit the inbound traffic rule to only allow custom TCP port 8080
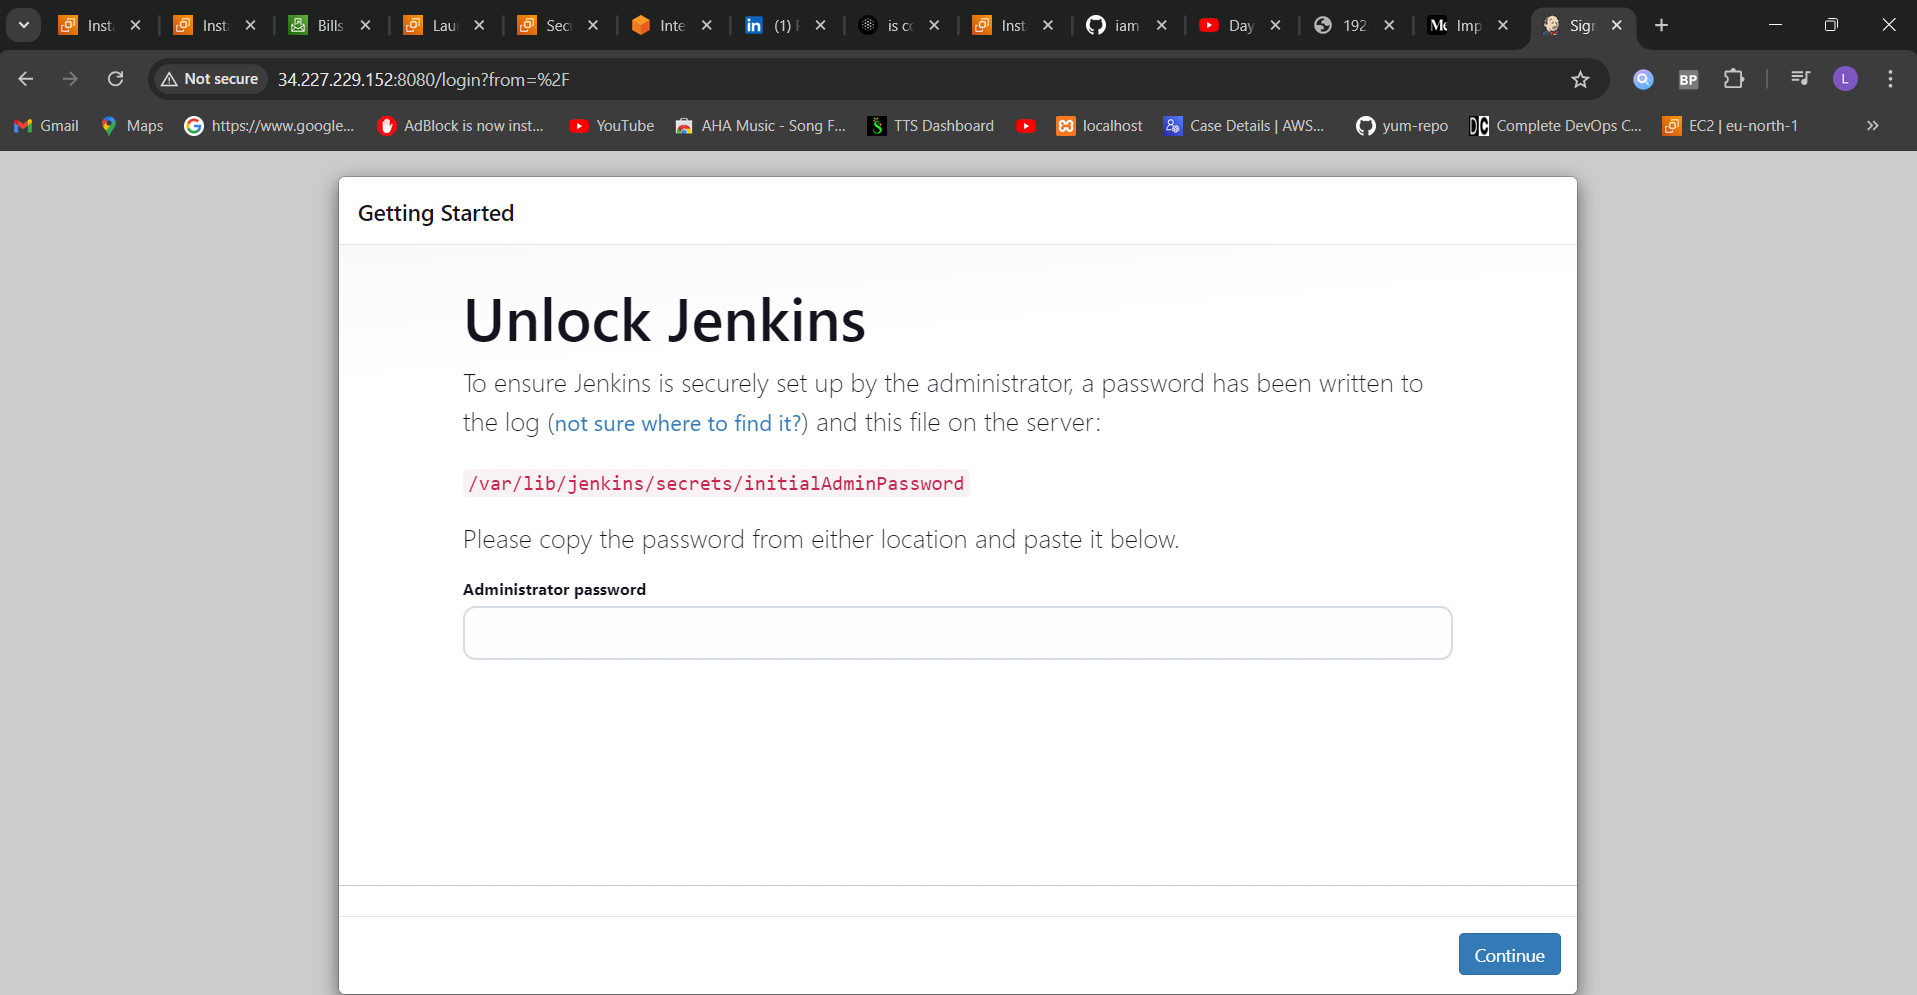
After you login to Jenkins, - Run the command to copy the Jenkins Admin Password - sudo cat /var/lib/jenkins/secrets/initialAdminPassword - Enter the Administrator password
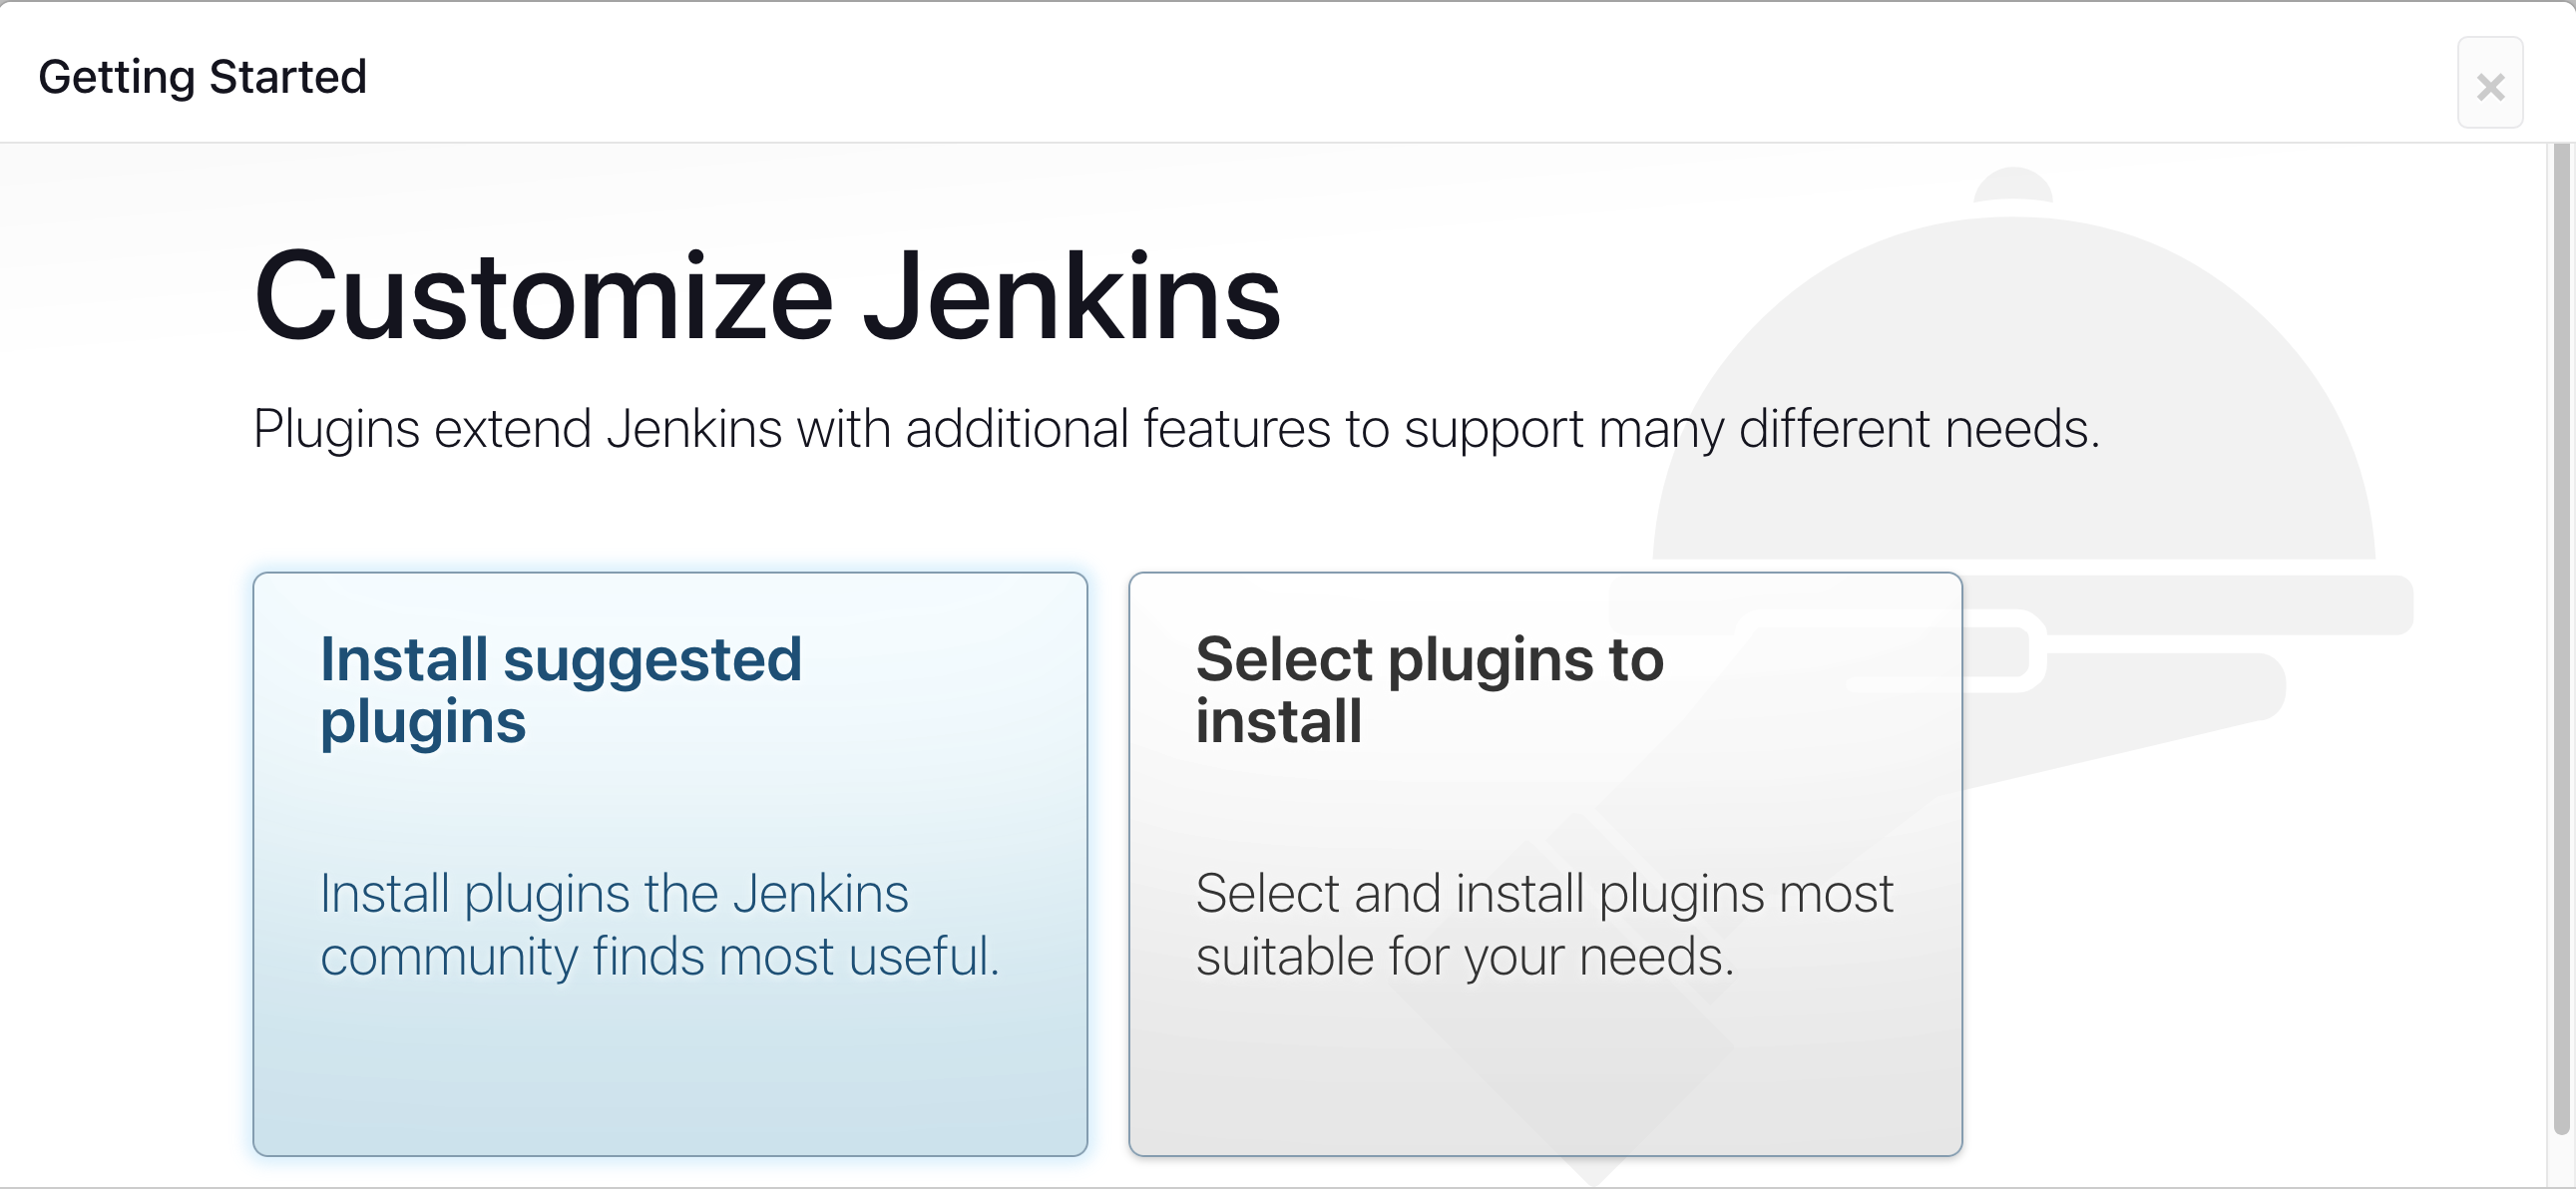
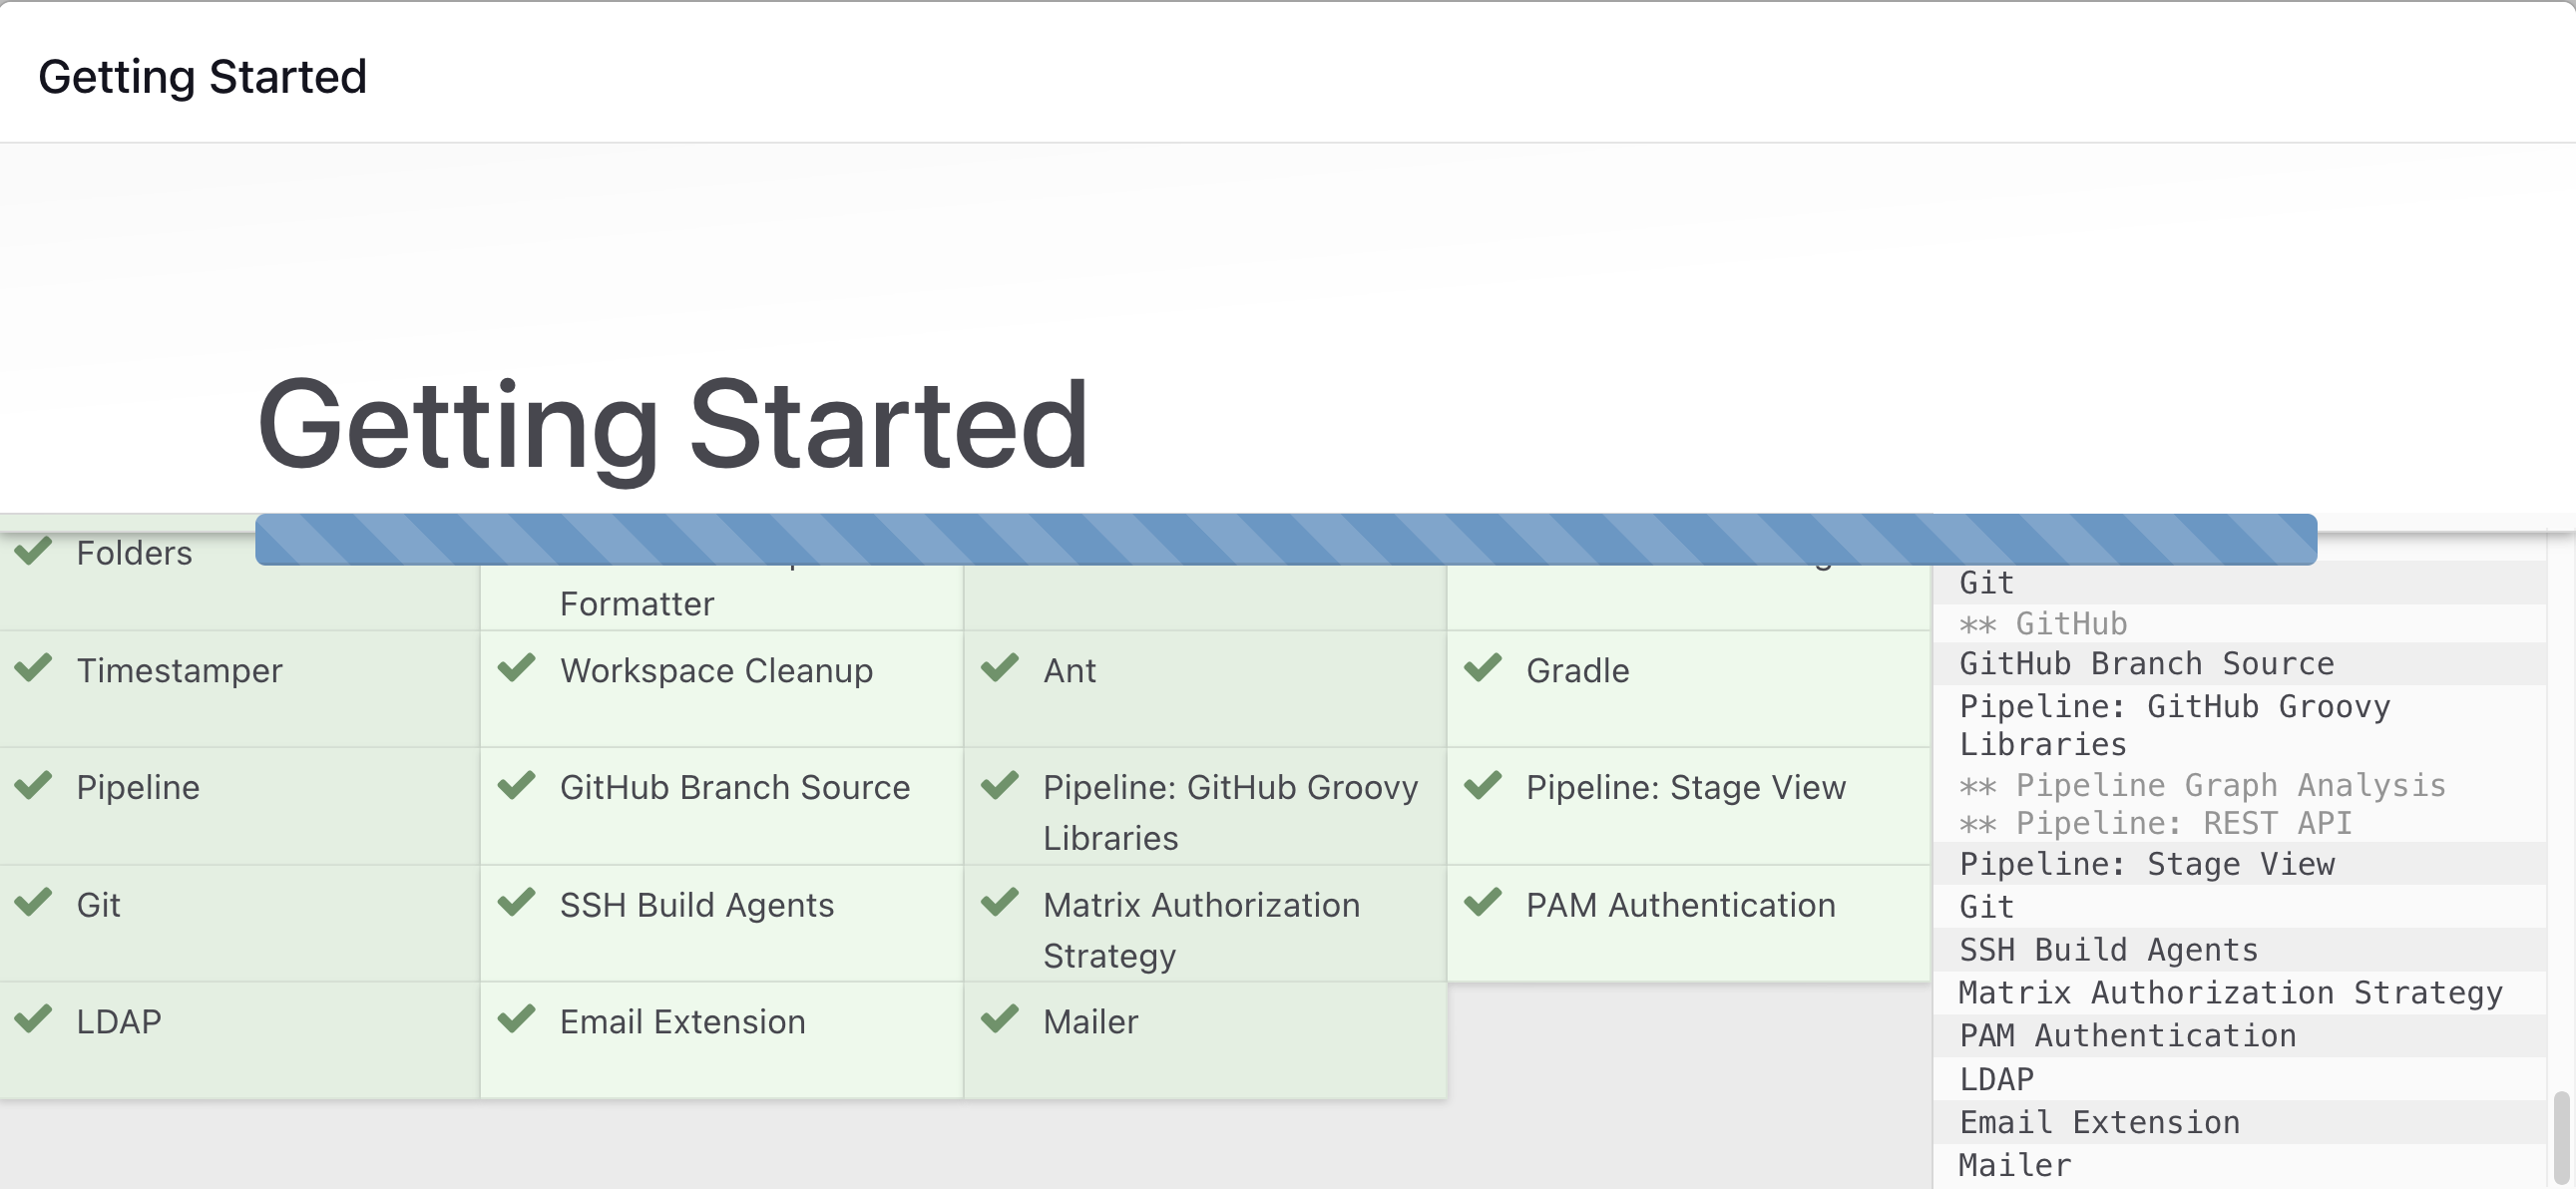
Click on Install suggested plugins
Wait for the Jenkins to Install suggested plugins
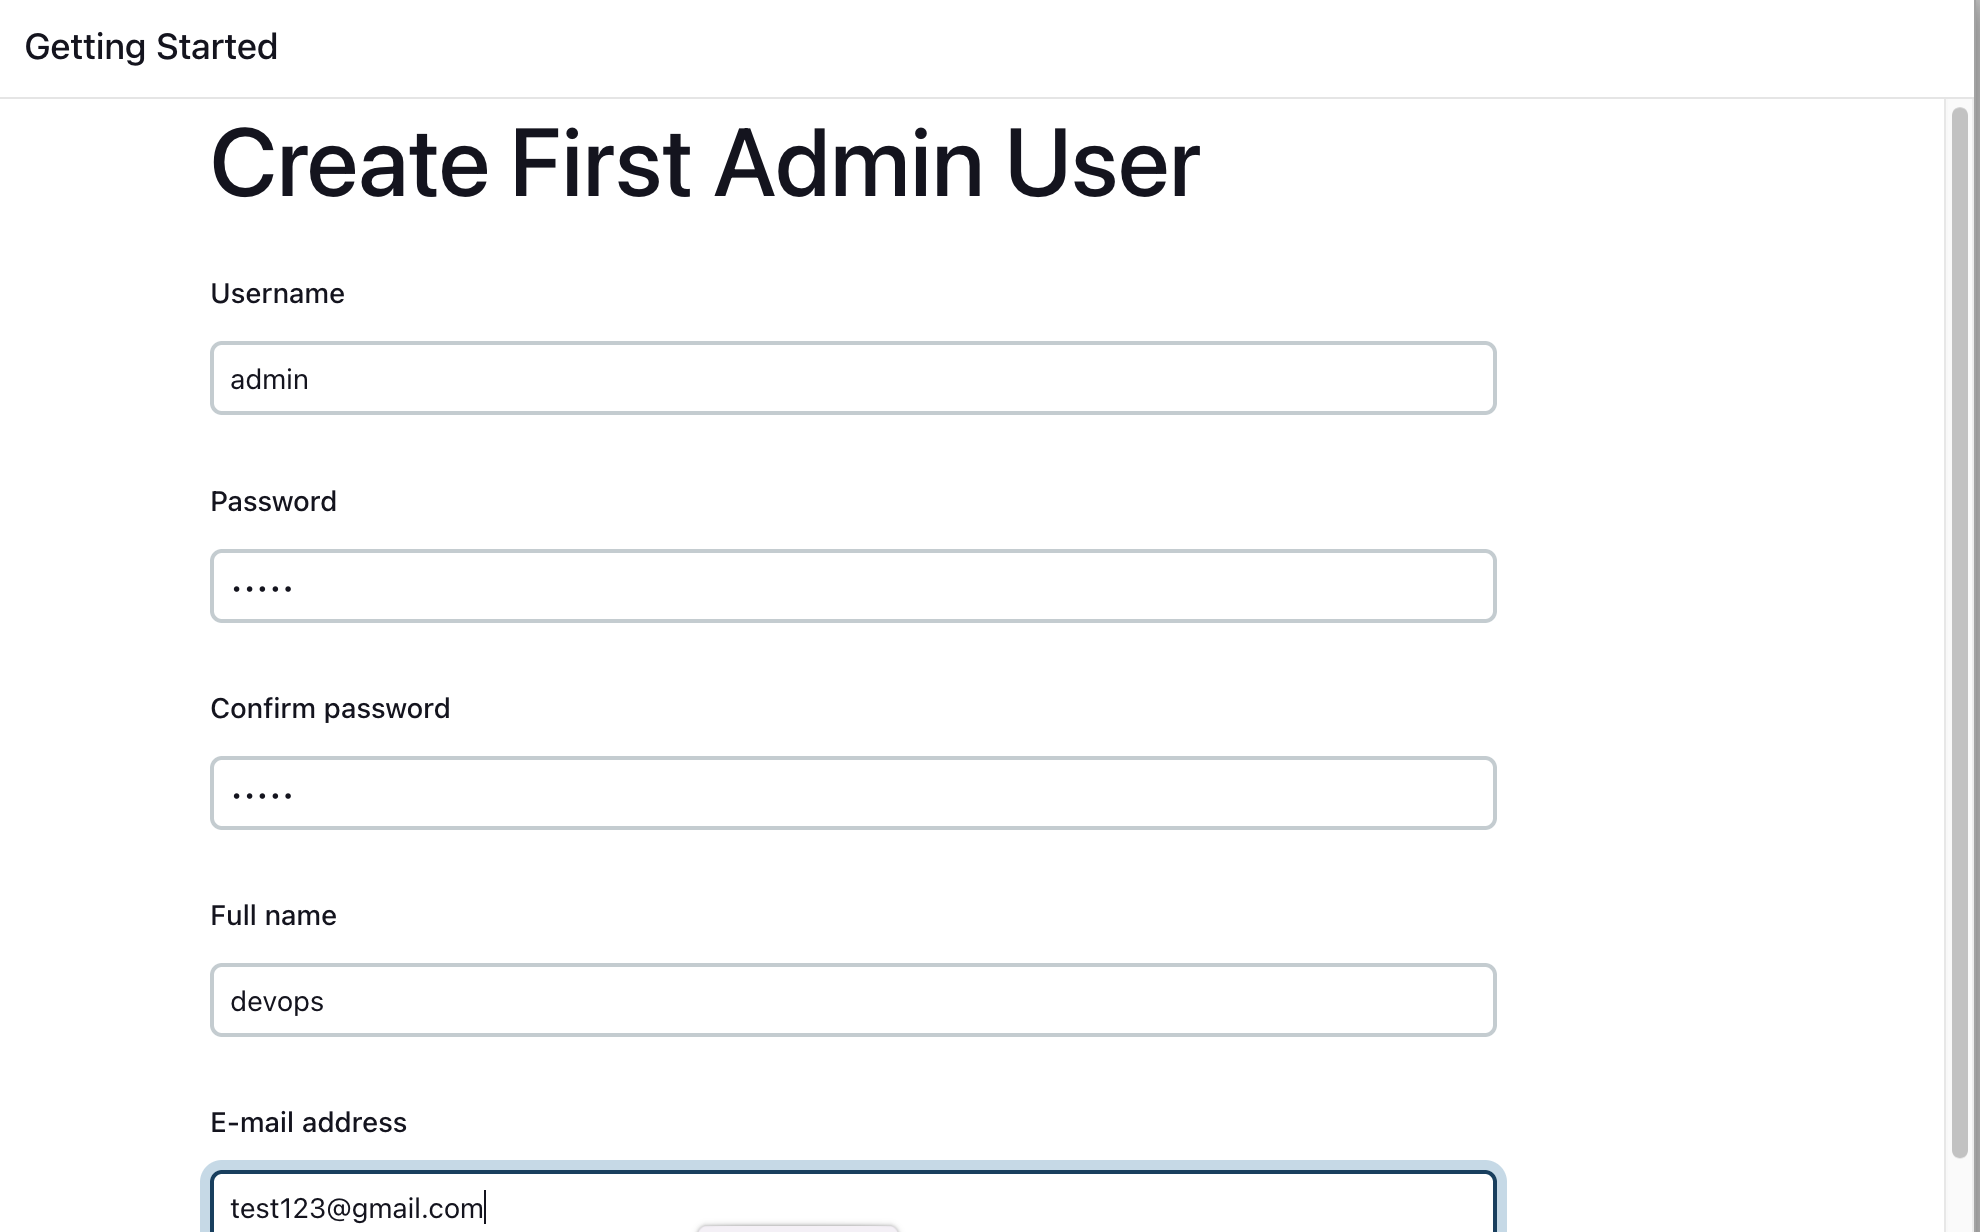
Create First Admin User or Skip the step [If you want to use this Jenkins instance for future use-cases as well, better to create admin user]
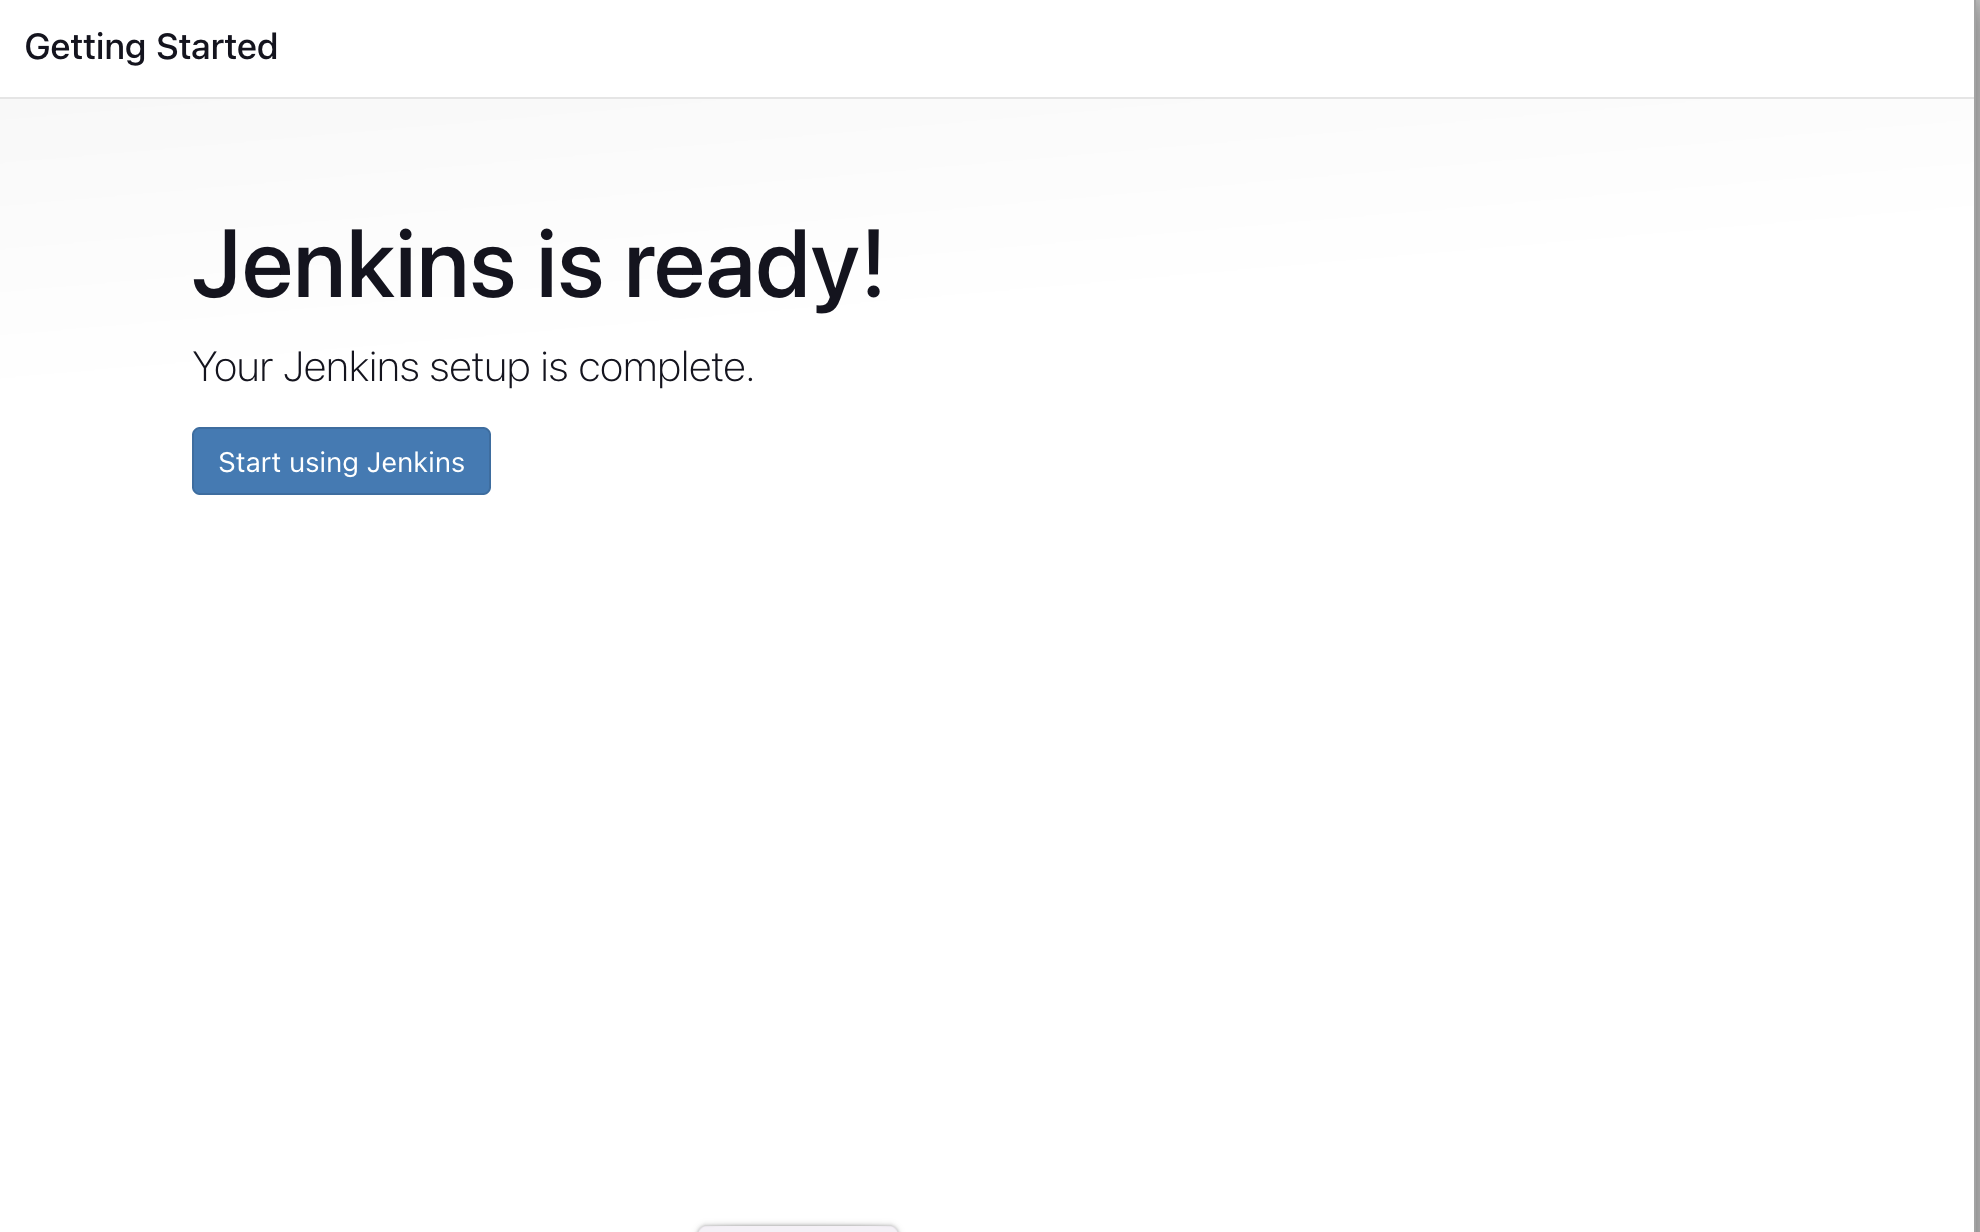
Jenkins Installation is Successful. You can now starting using the Jenkins
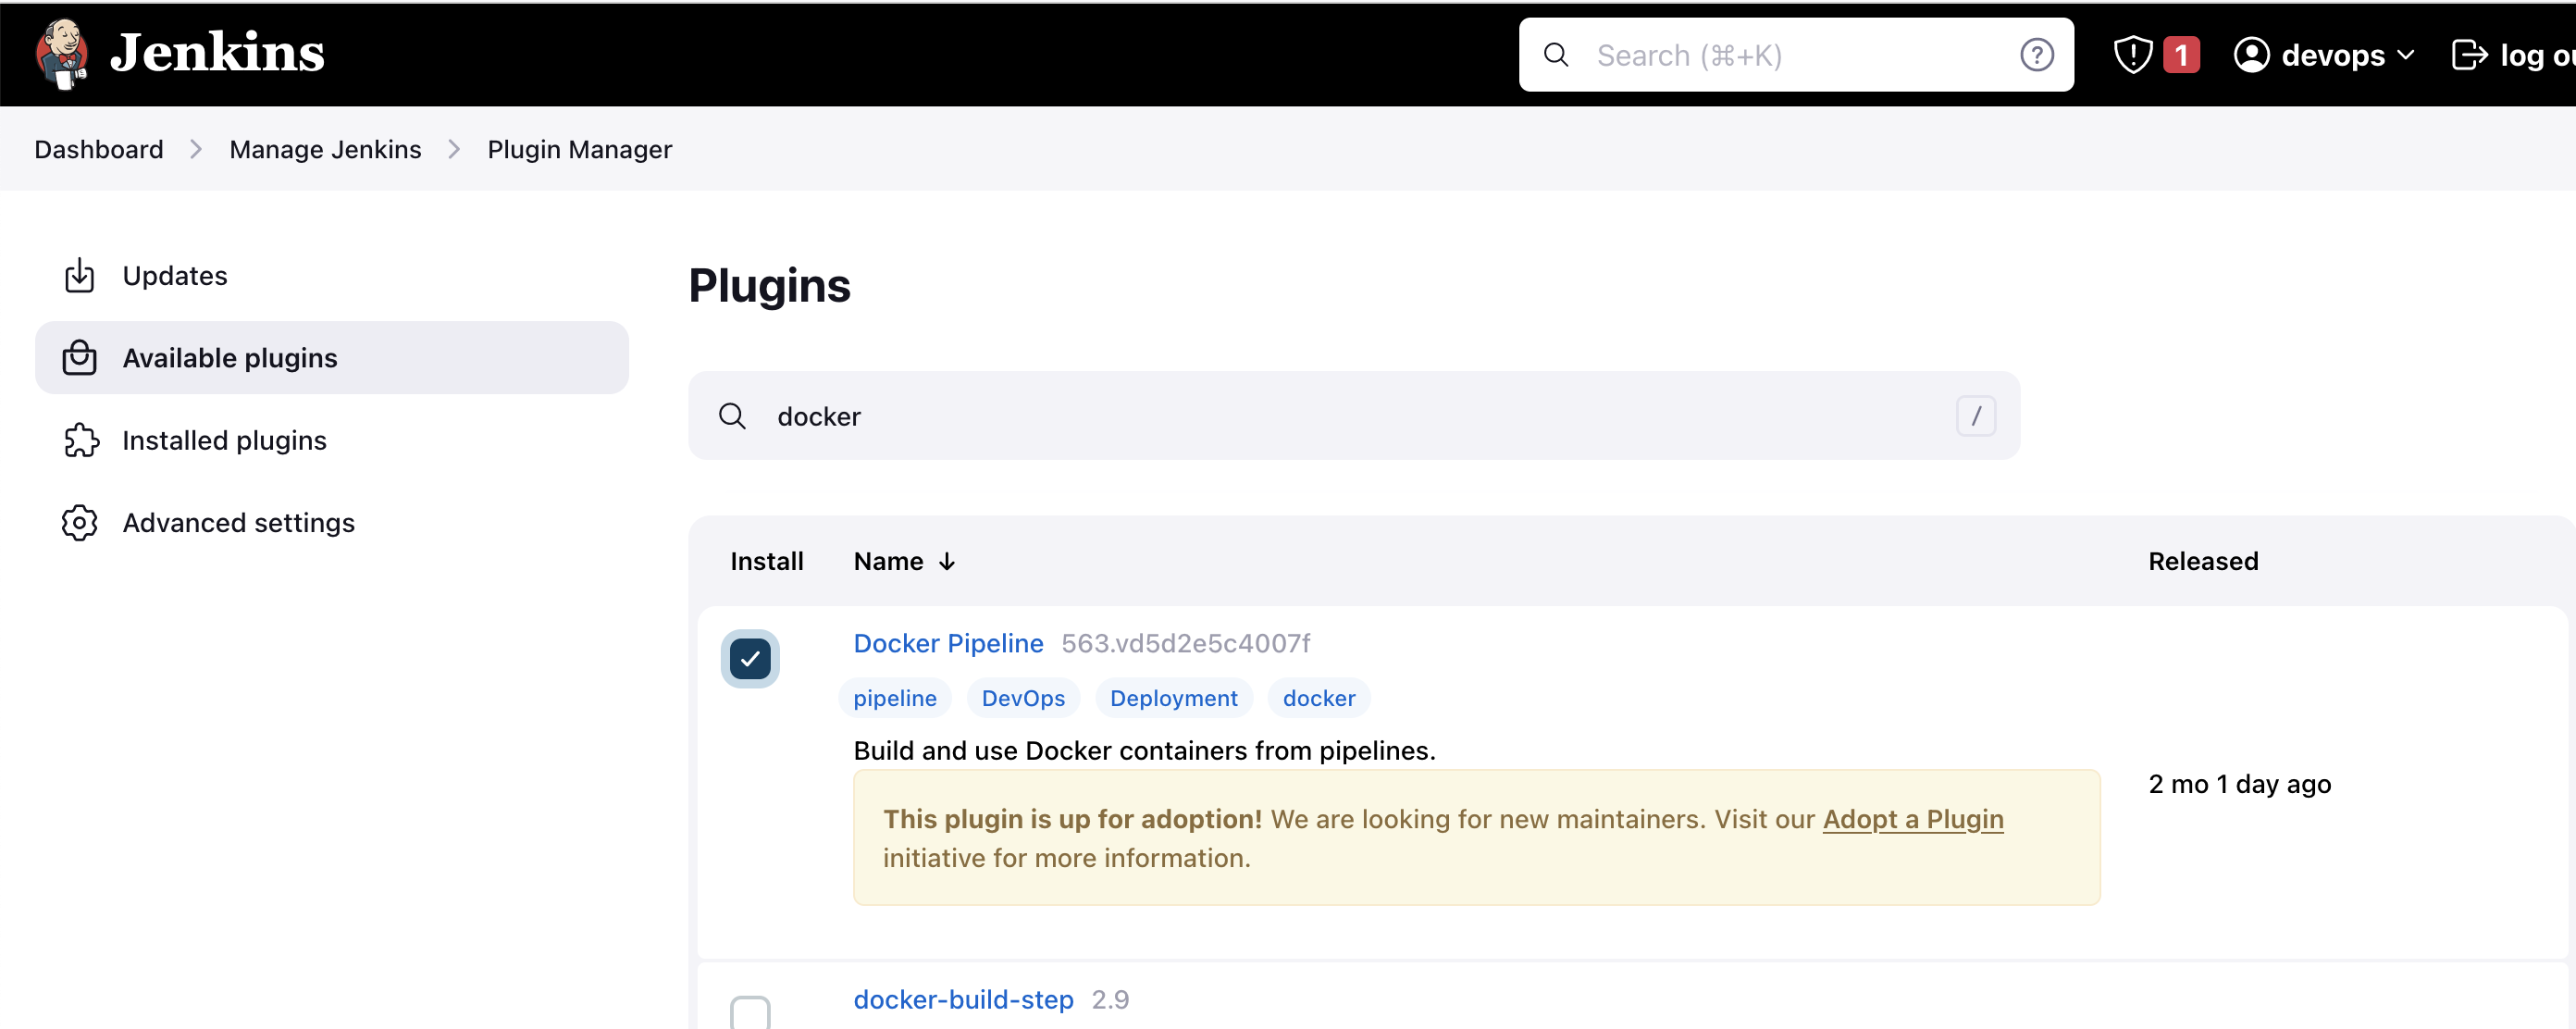
Install the Docker Pipeline , nodeJs plugin in Jenkins:
Log in to Jenkins.
Go to Manage Jenkins > Manage Plugins.
In the Available tab, search for "Docker Pipeline".
Select the plugin and click the Install button.
Restart Jenkins after the plugin is installed.
Run the below command to Install Docker
sudo apt update
sudo apt install docker.io
Grant Jenkins user and Ubuntu user permission to docker deamon.
sudo su -
usermod -aG docker jenkins
usermod -aG docker ubuntu
systemctl restart docker
Once you are done with the above steps, it is better to restart Jenkins.
http://<ec2-instance-public-ip>:8080/restart
Architecture of this project
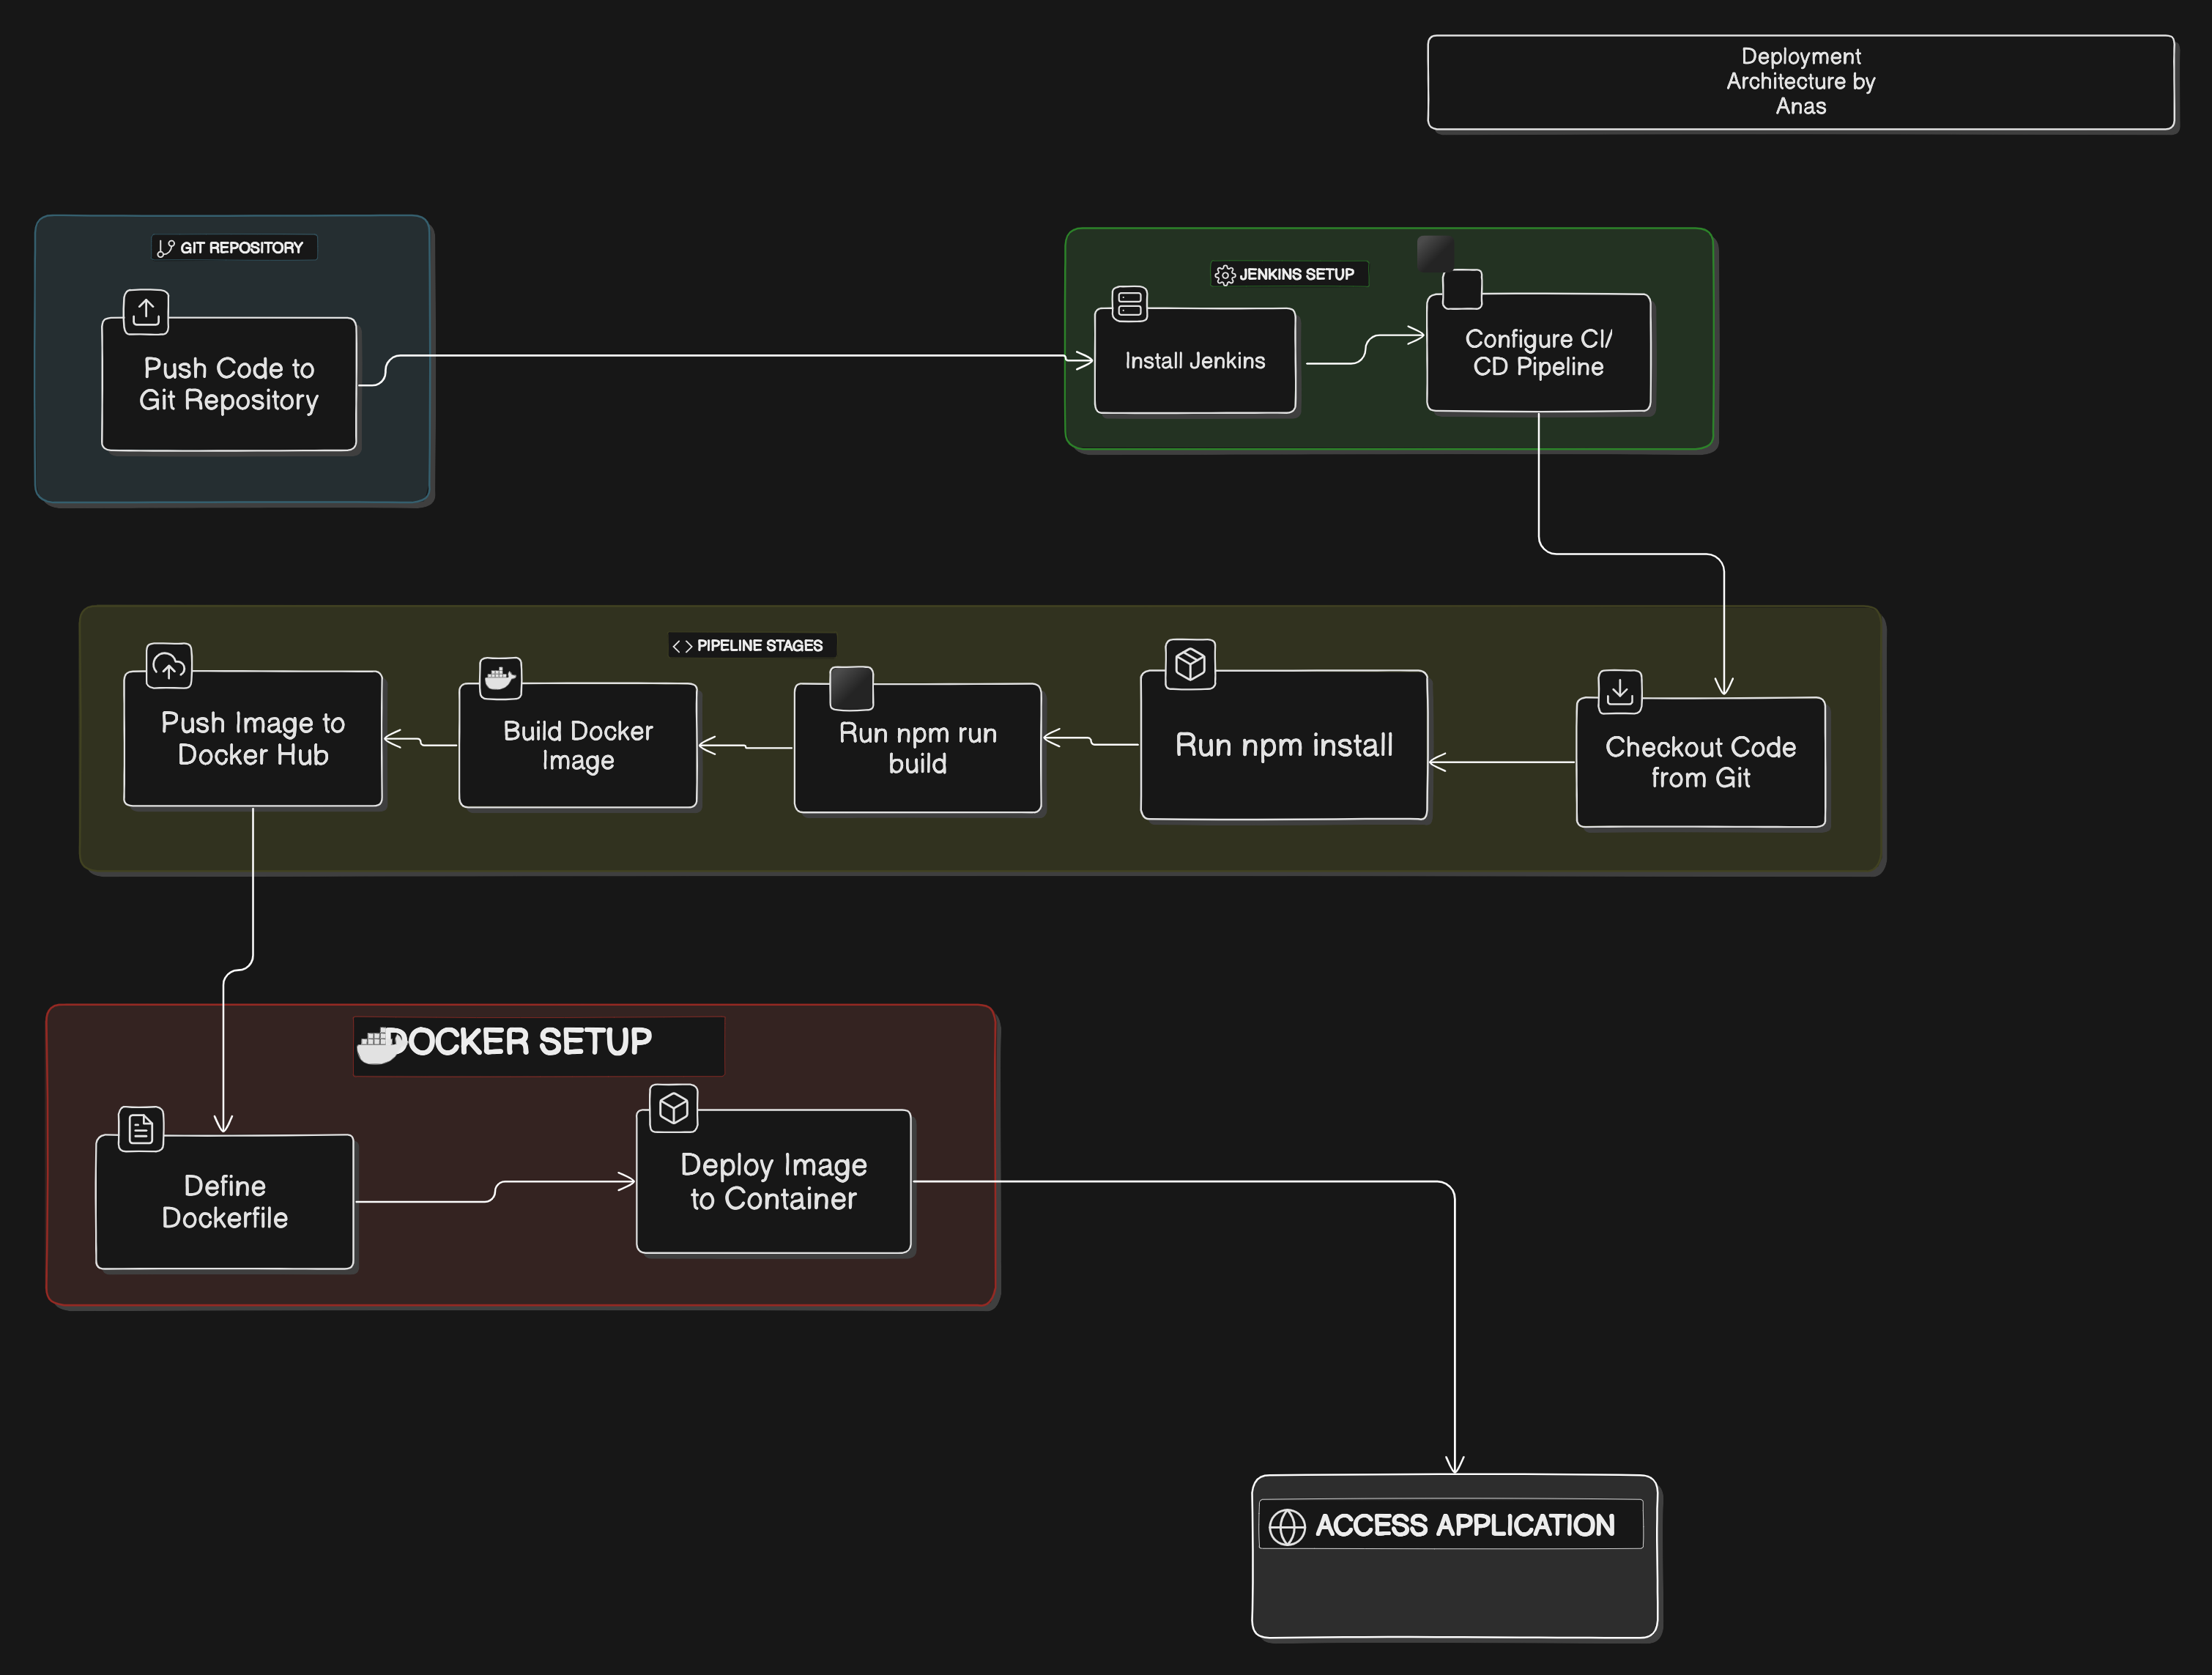
Set Up GitHub Integration with Jenkins
Step 1: Install the necessary Jenkins plugins:
Navigate to Manage Jenkins > Manage Plugins.
Under the Available tab, search for "GitHub Integration" and "Git" plugins, , nodejs then install them.
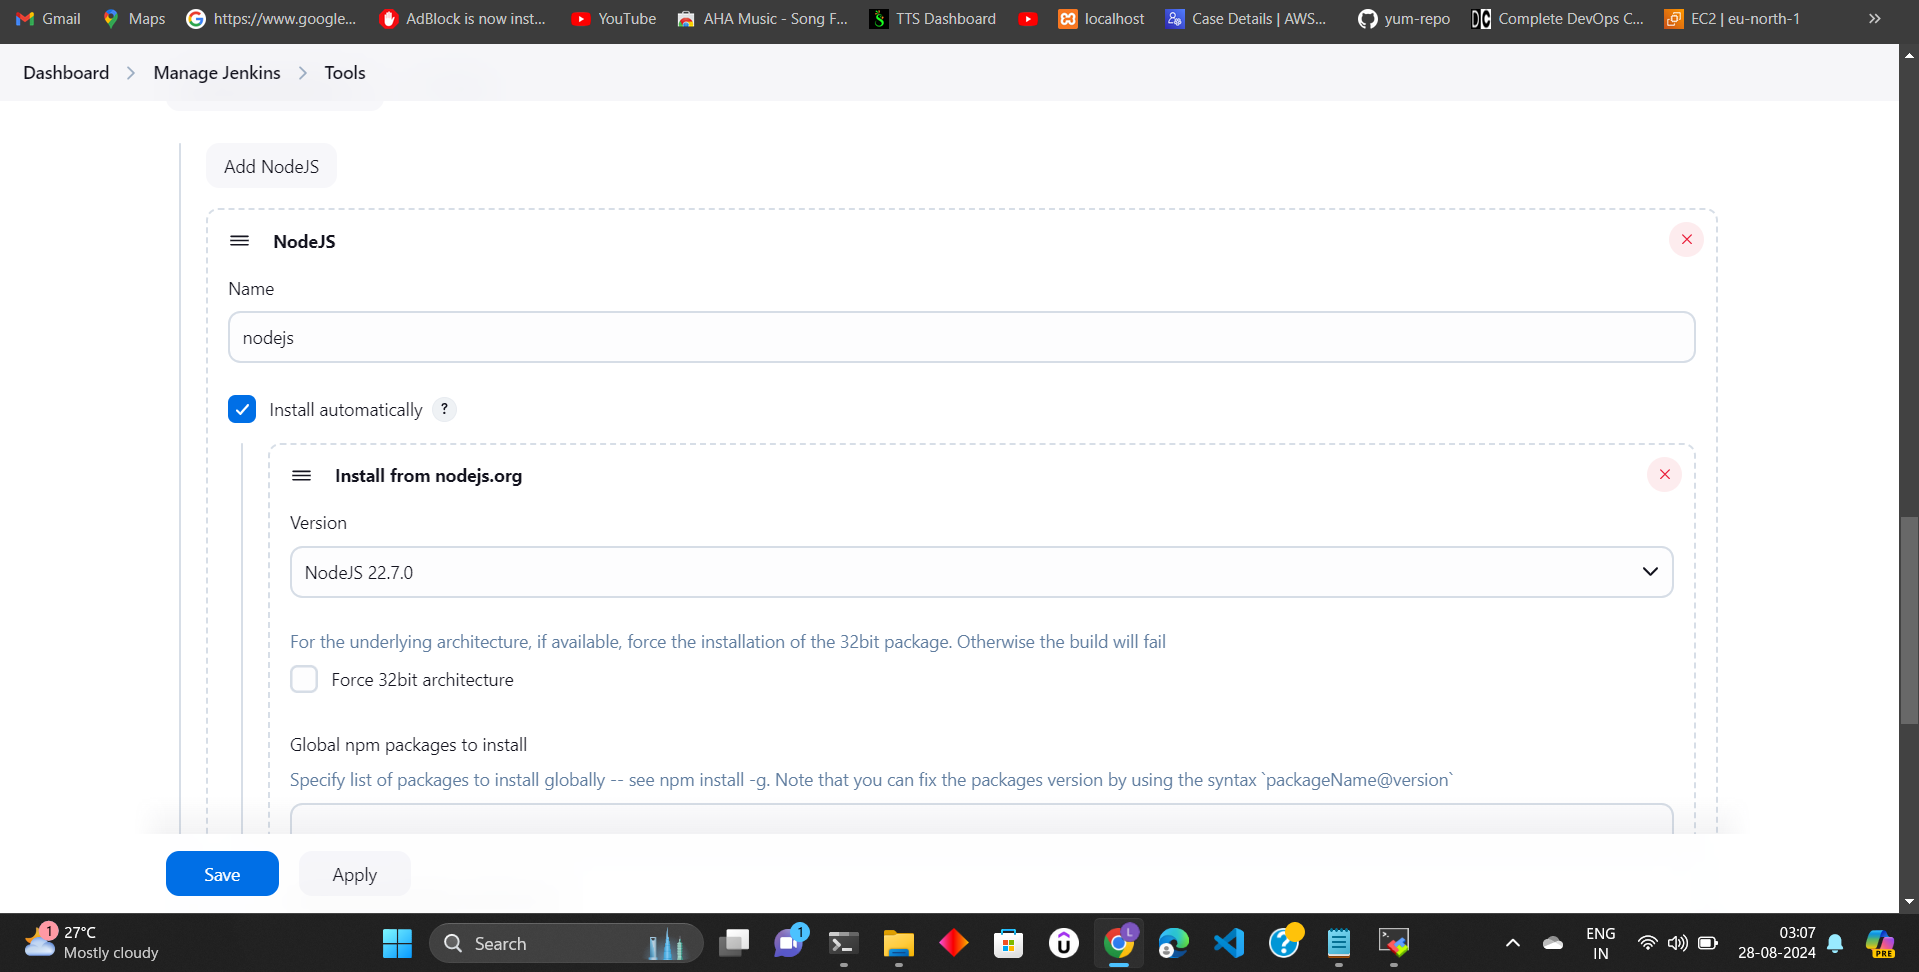
click on apply
Create a new Jenkins job:
Go to New Item in Jenkins.
Select pipeline and name it according to your project.
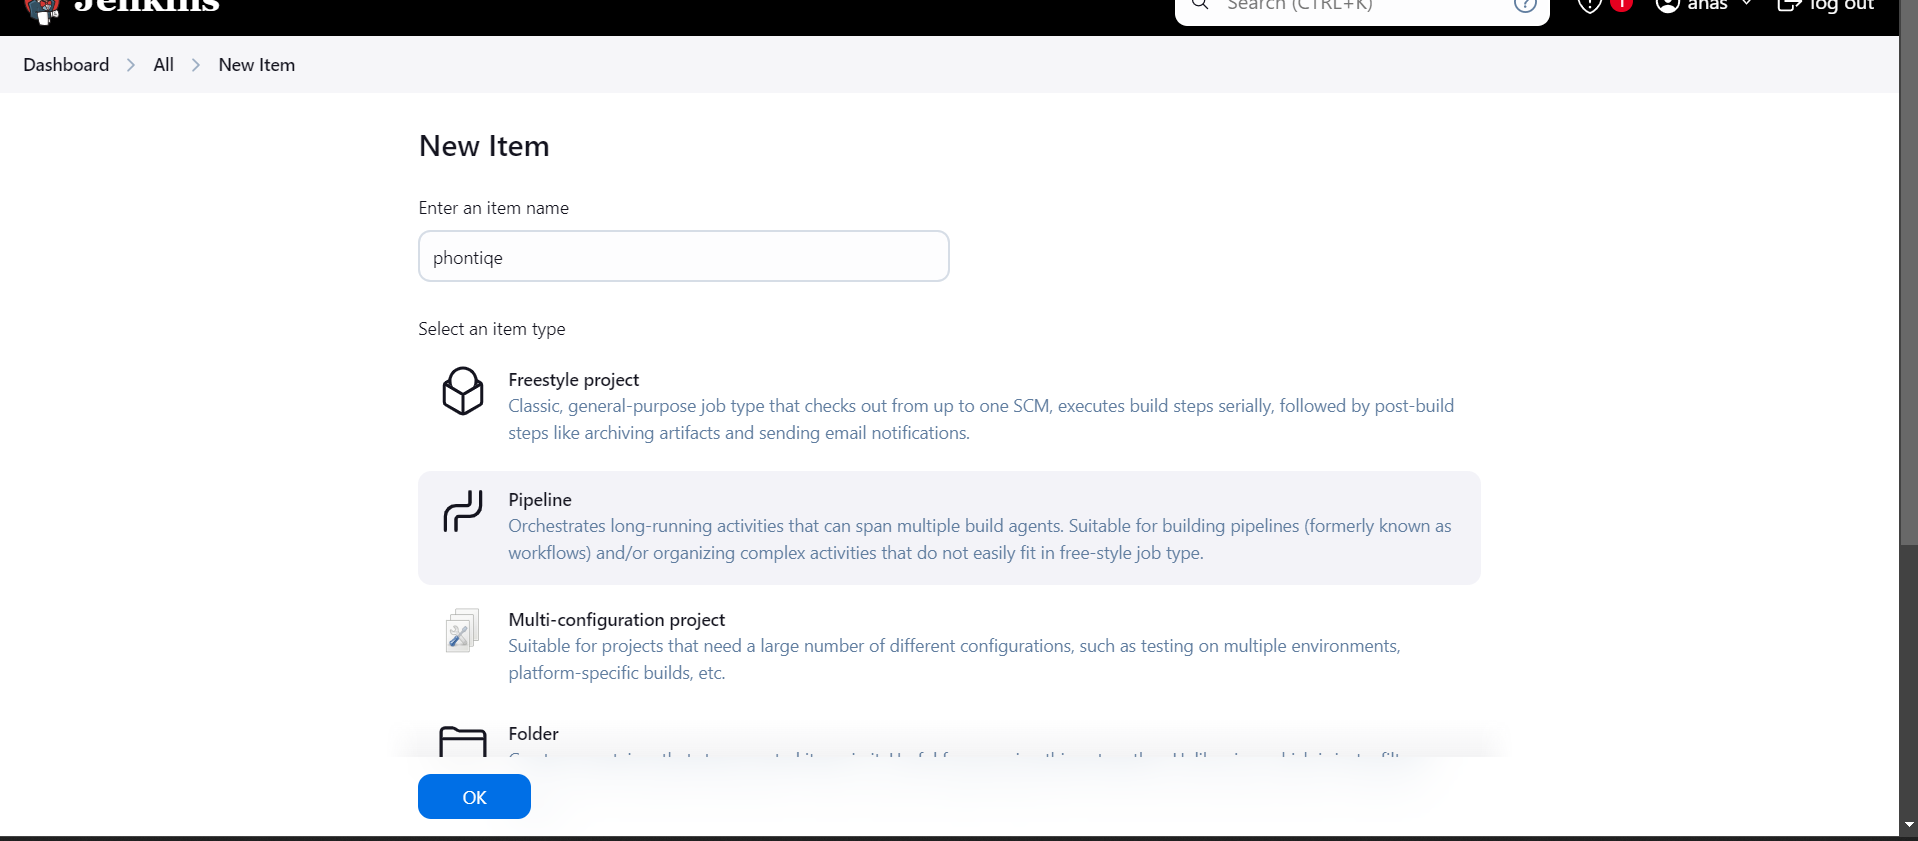
Configure the Git repository:
Paste the URL of your forked GitHub repository.
Under Credentials, add your GitHub credentials (username and personal access token).
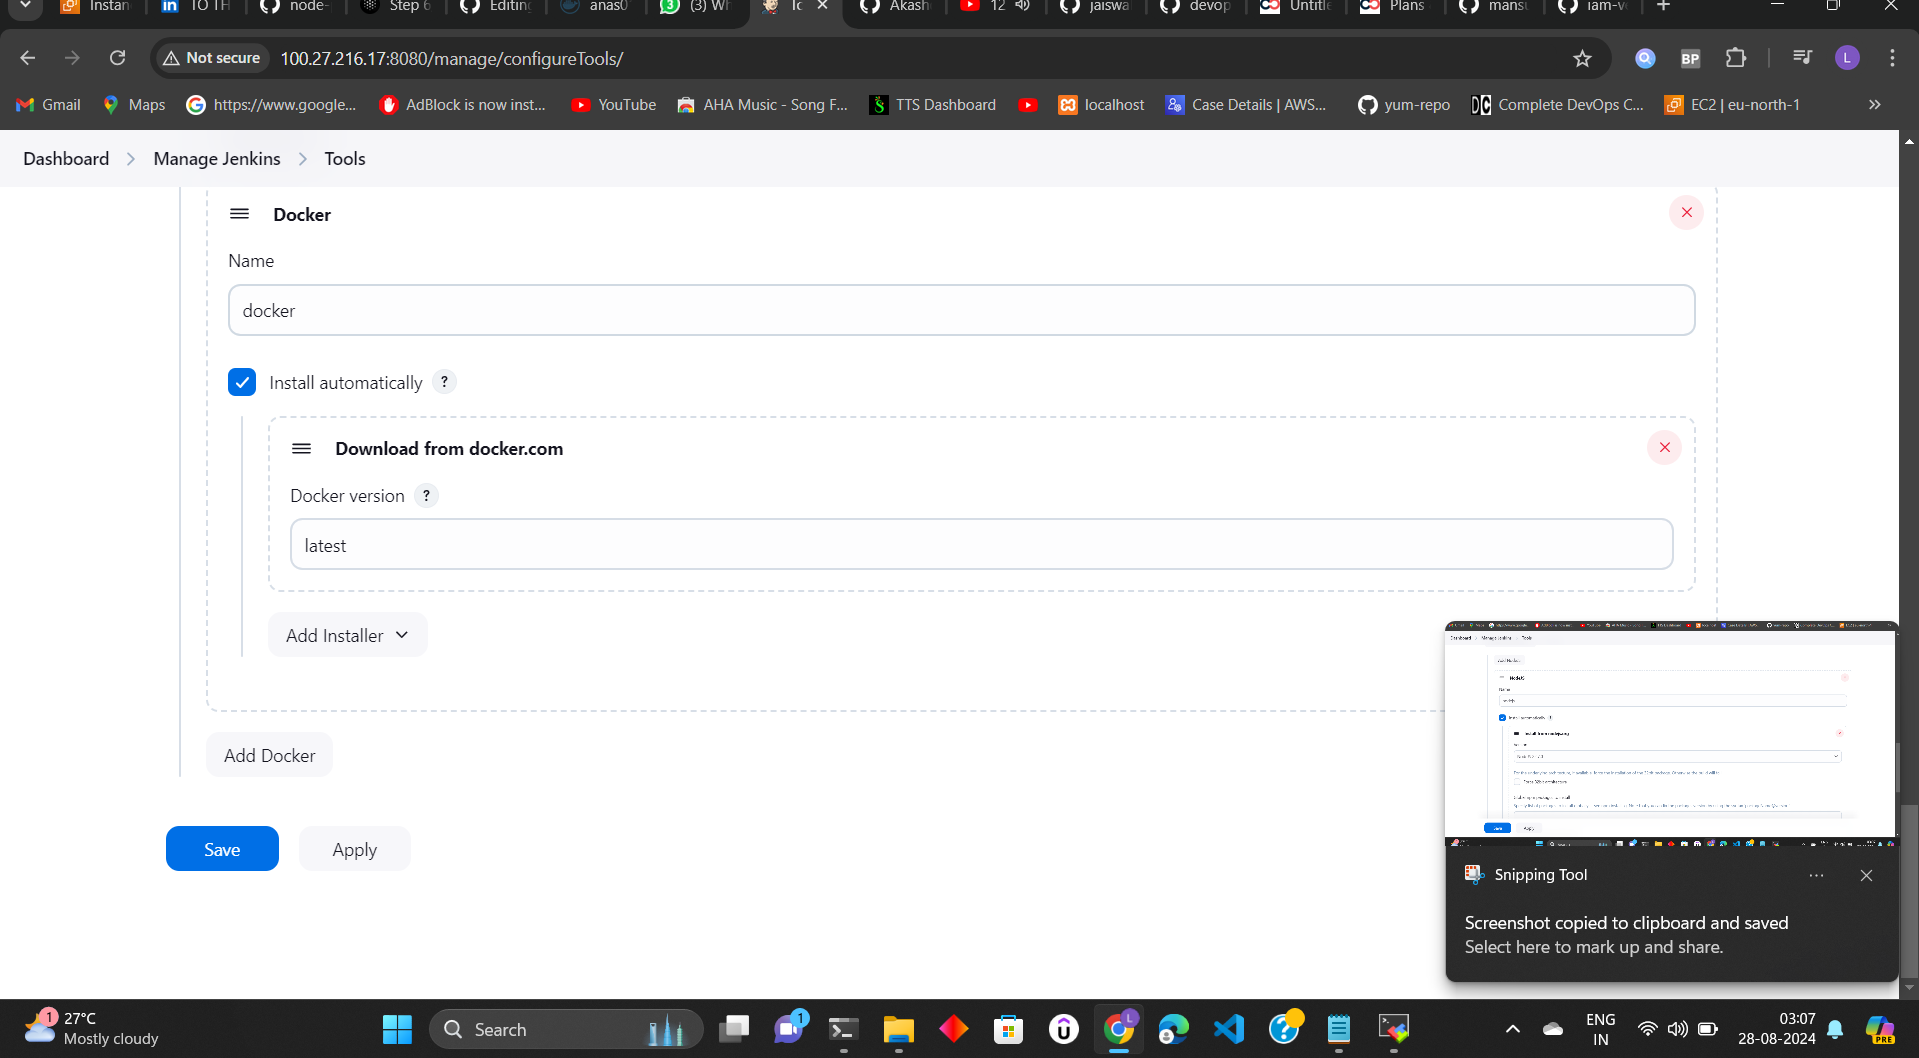
go to configure
write pipeline script
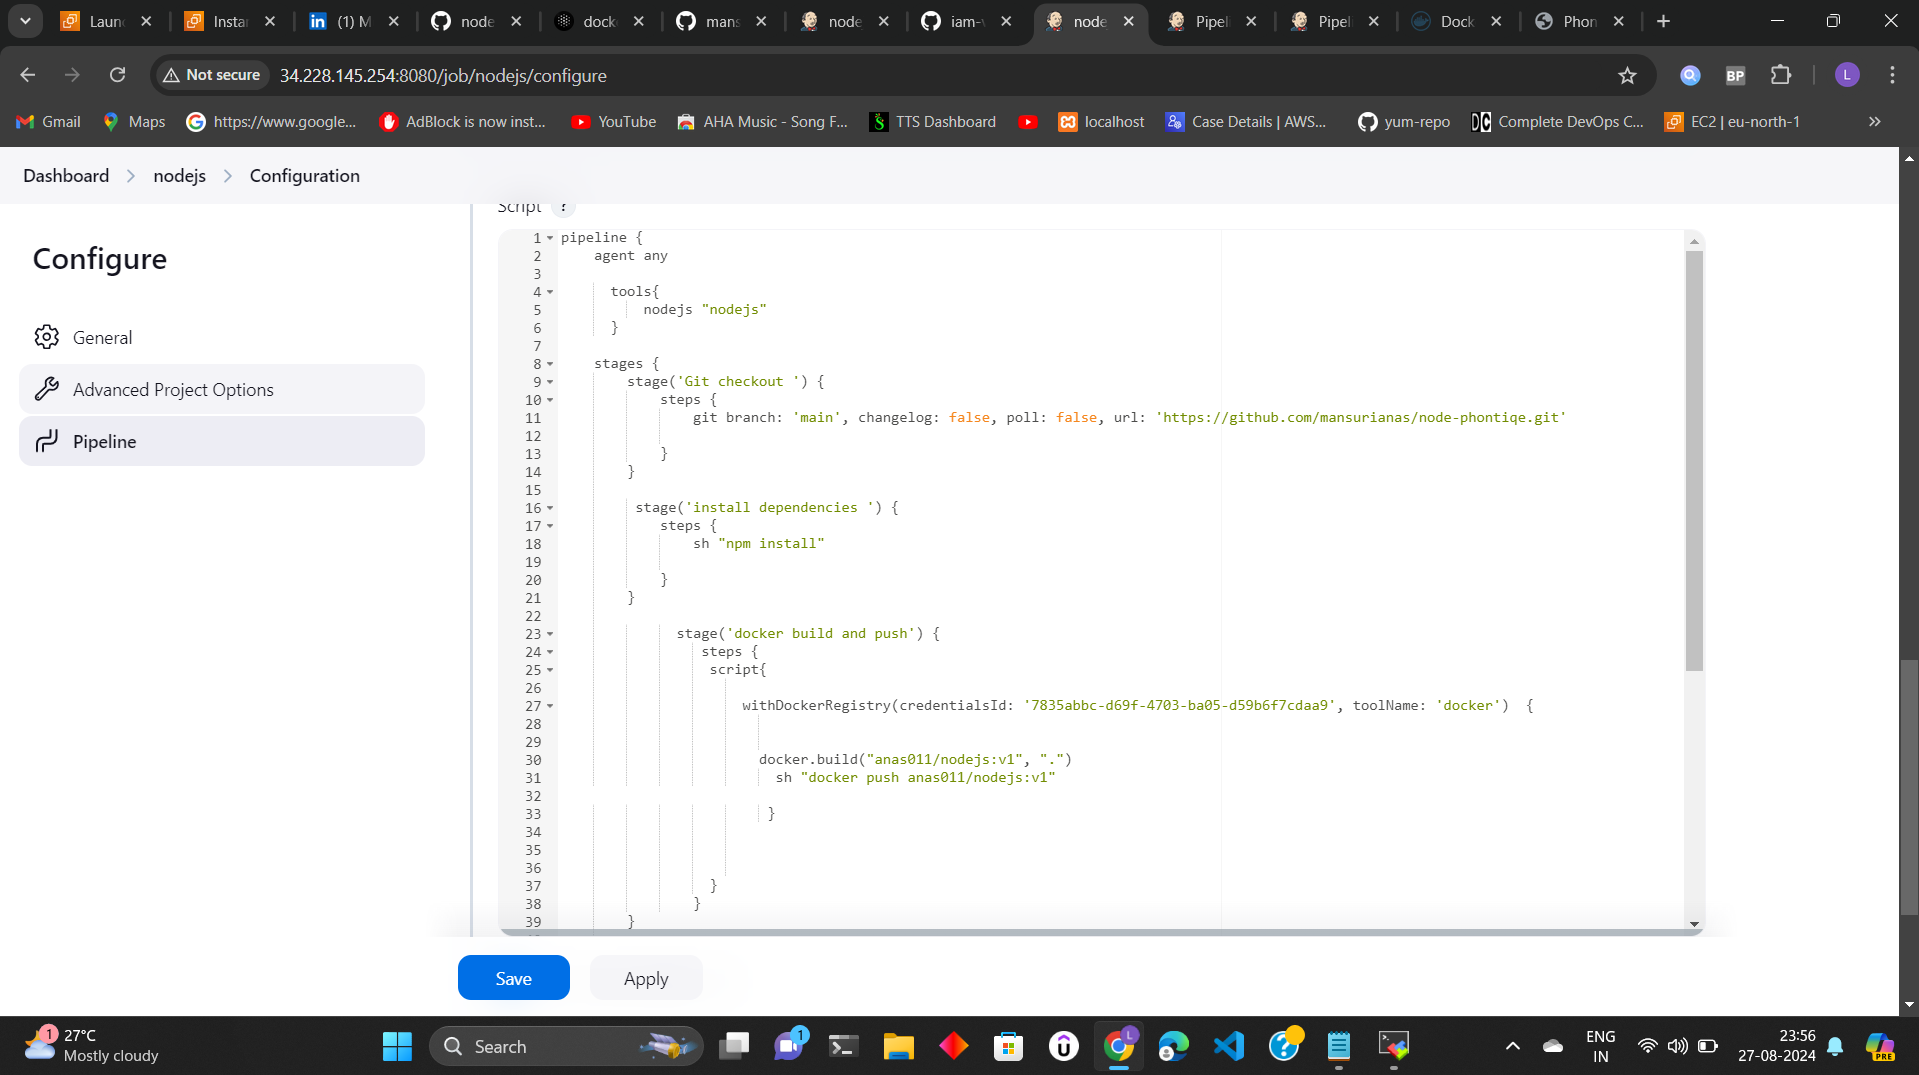
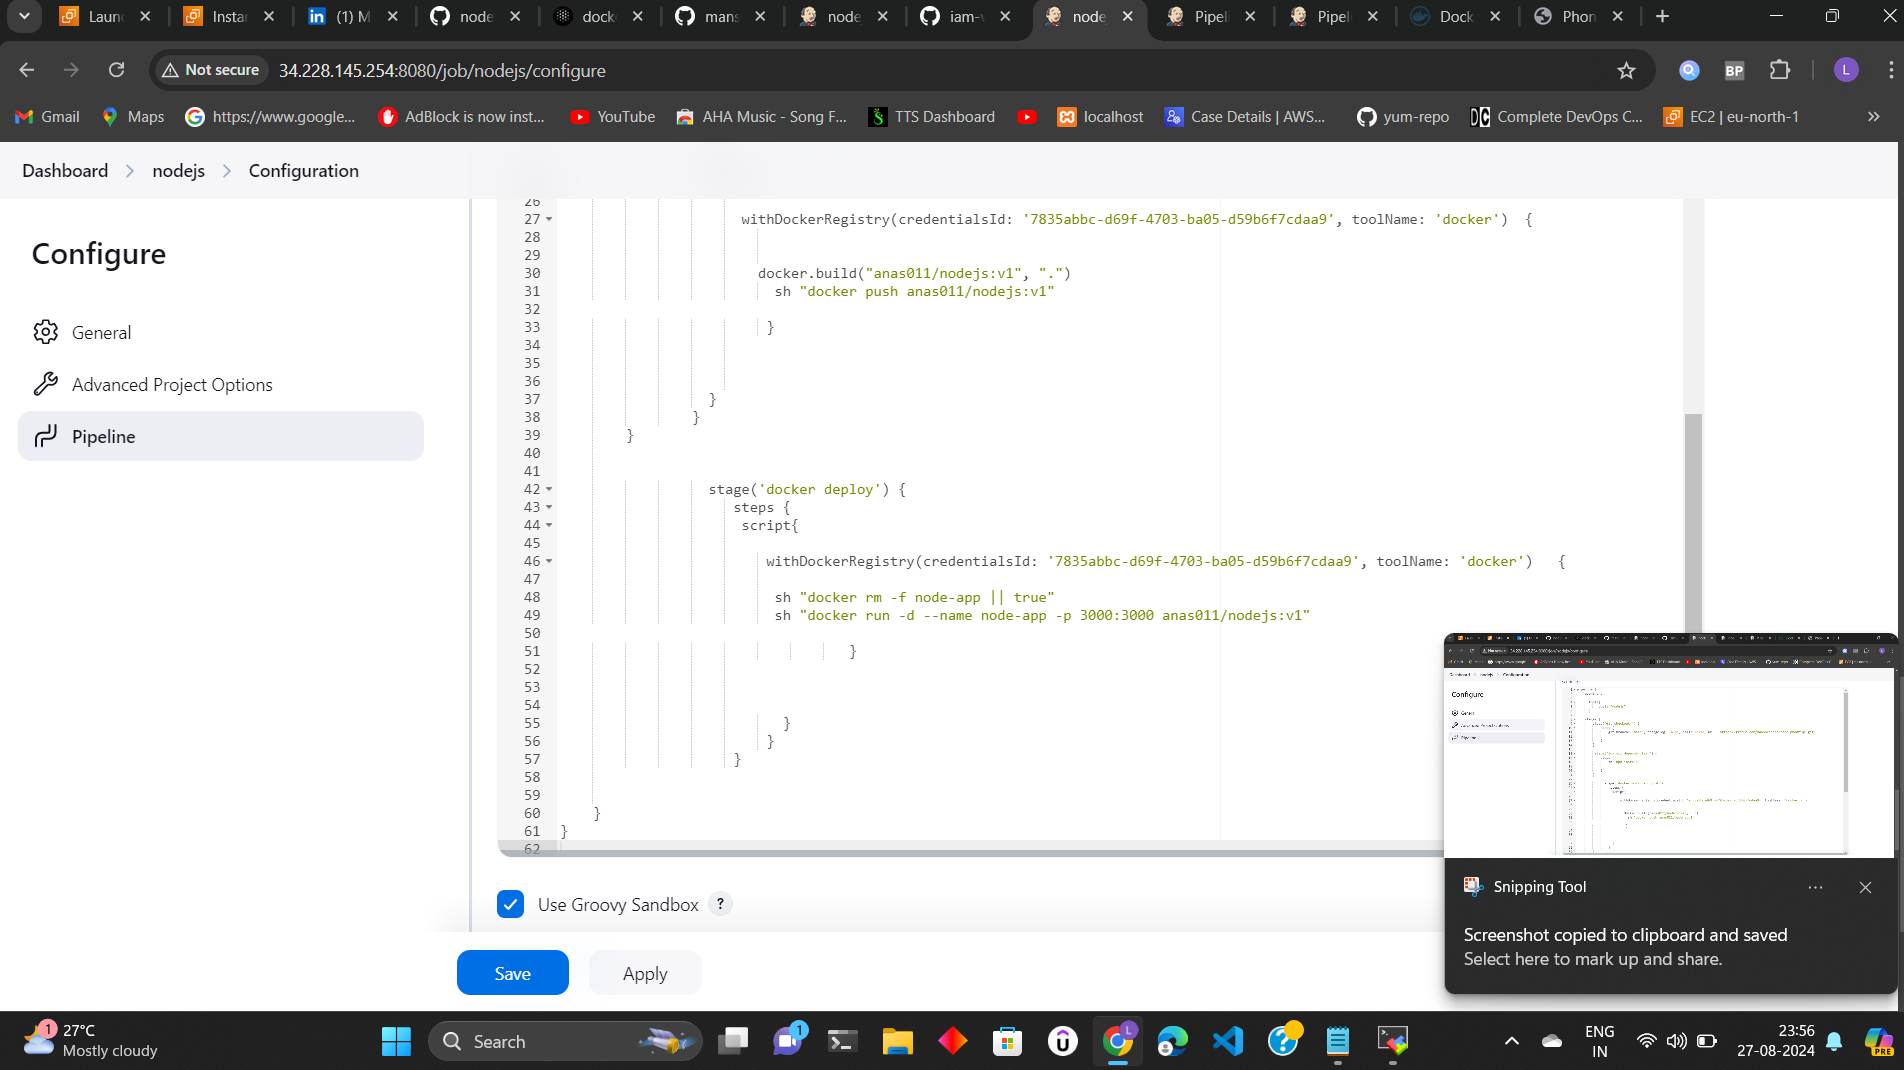
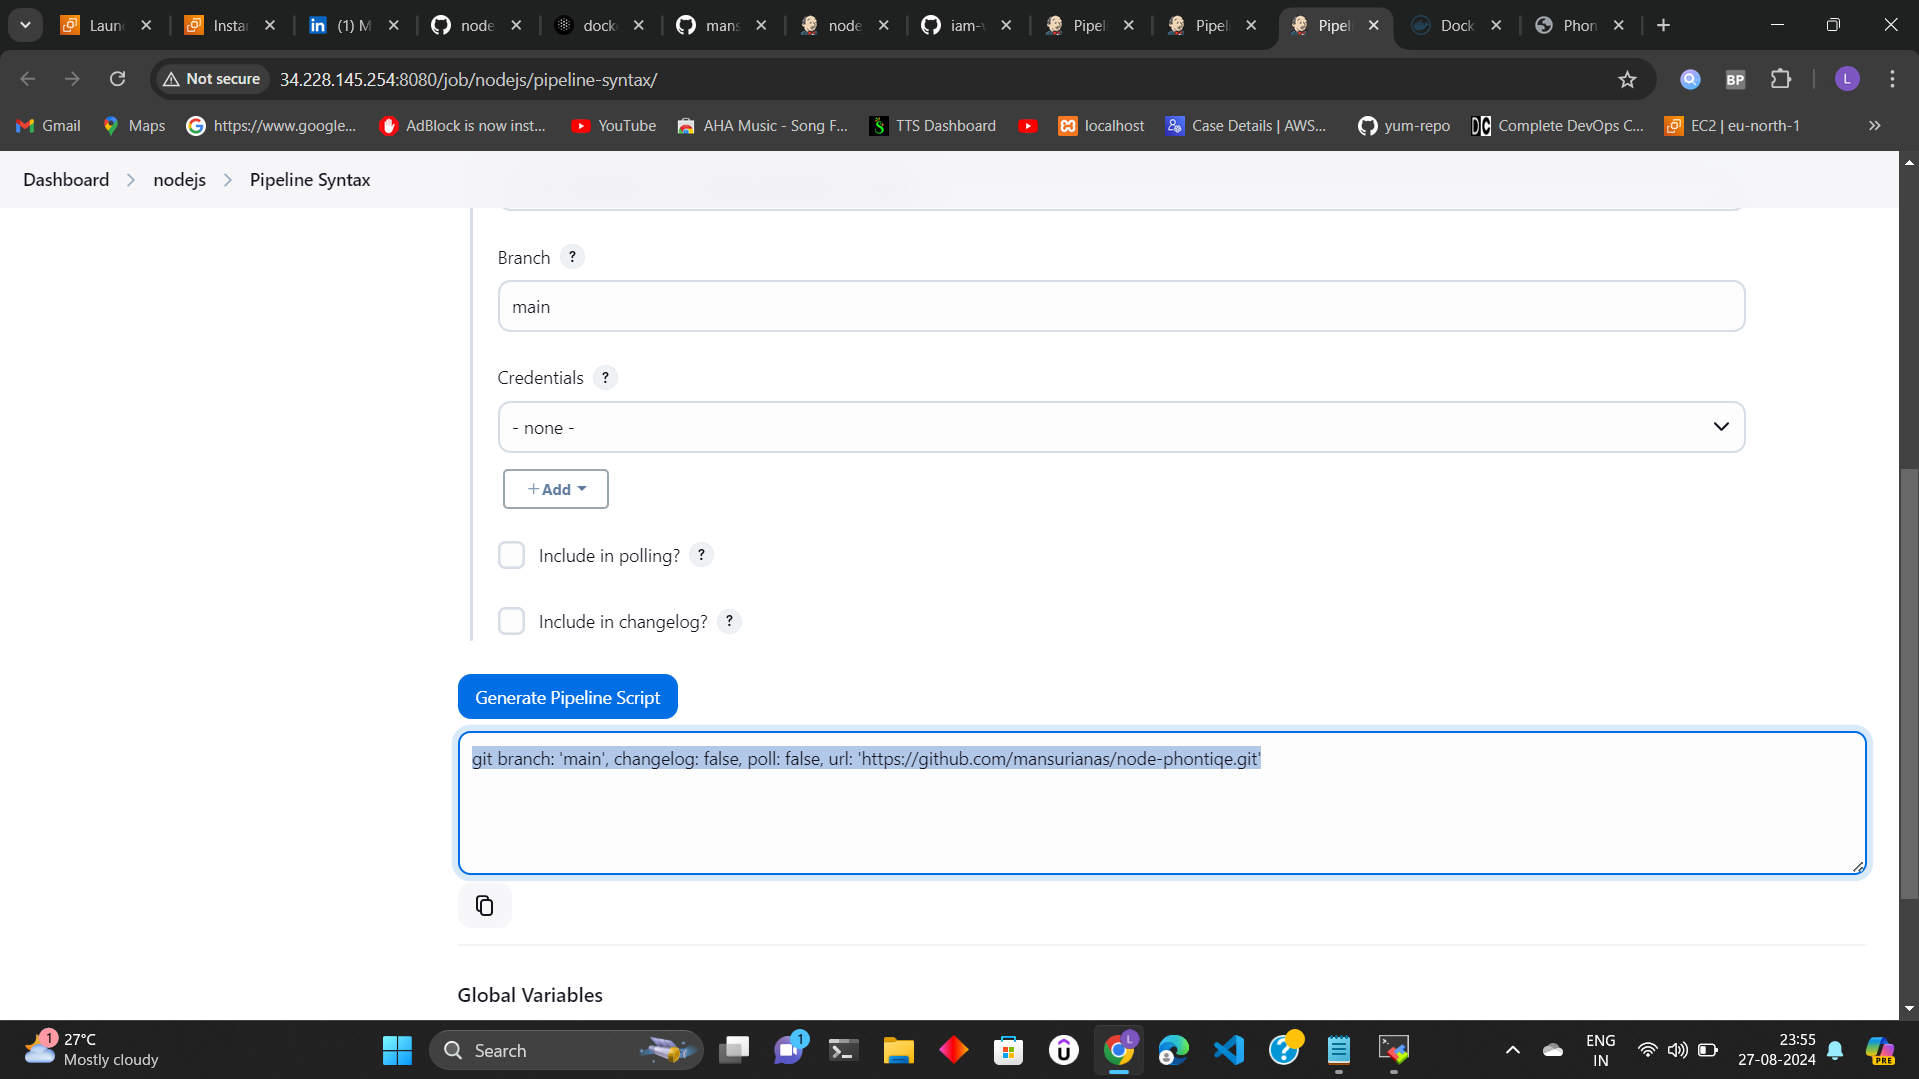
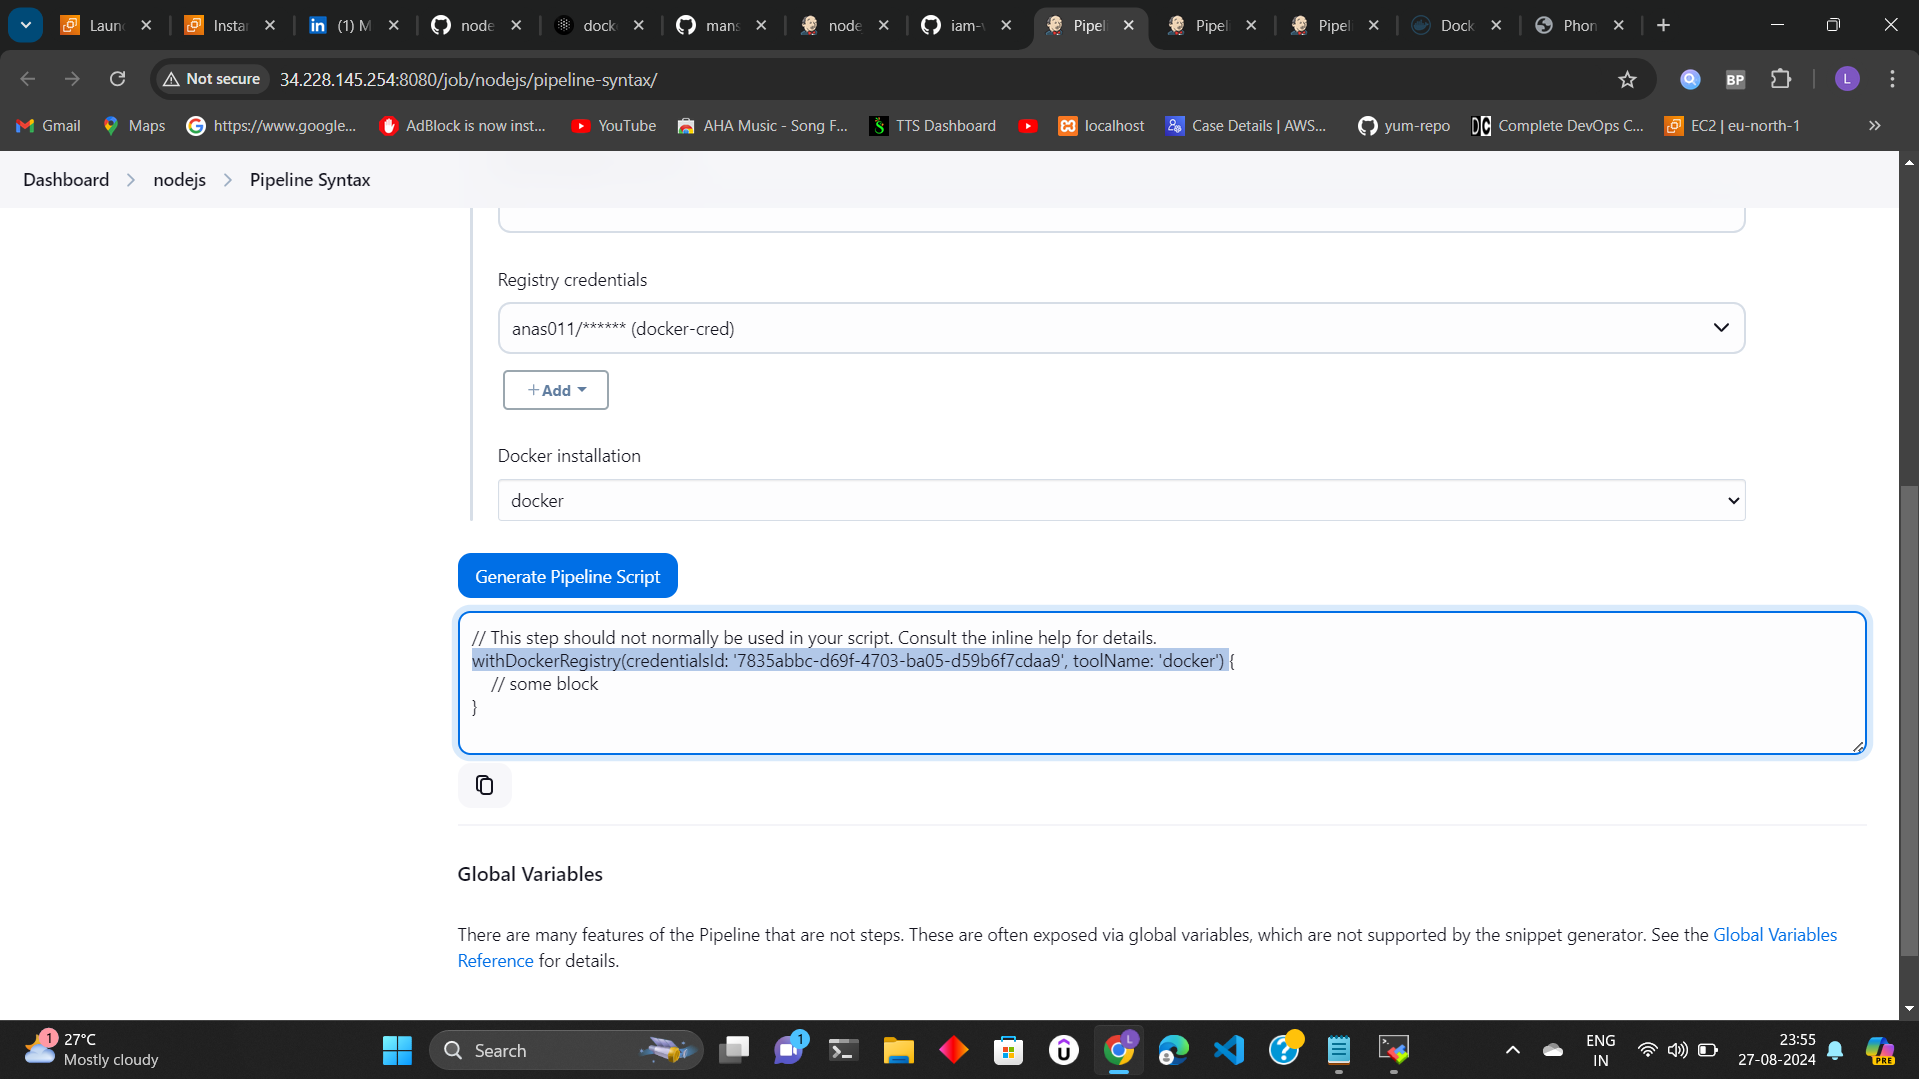
for write pipeline go to pipeline syntax
create for both git and docker
click on Build now
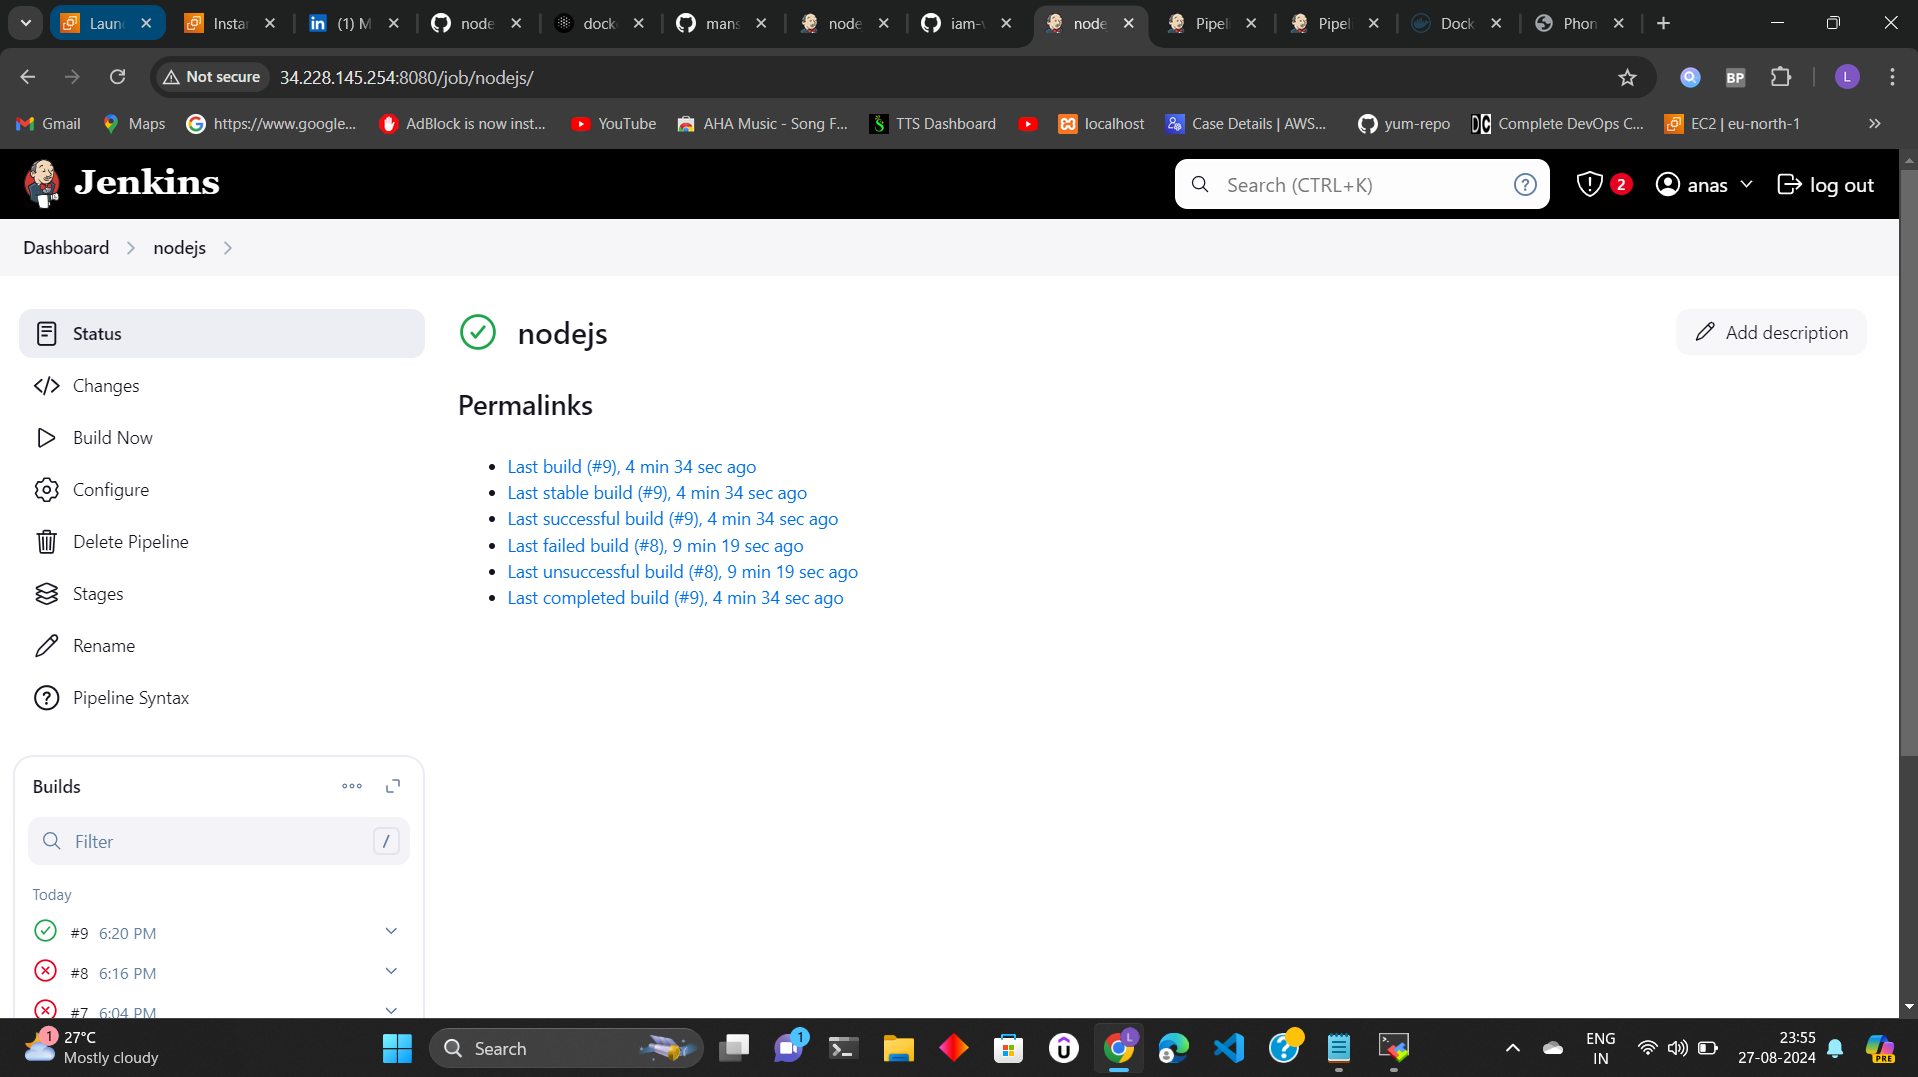
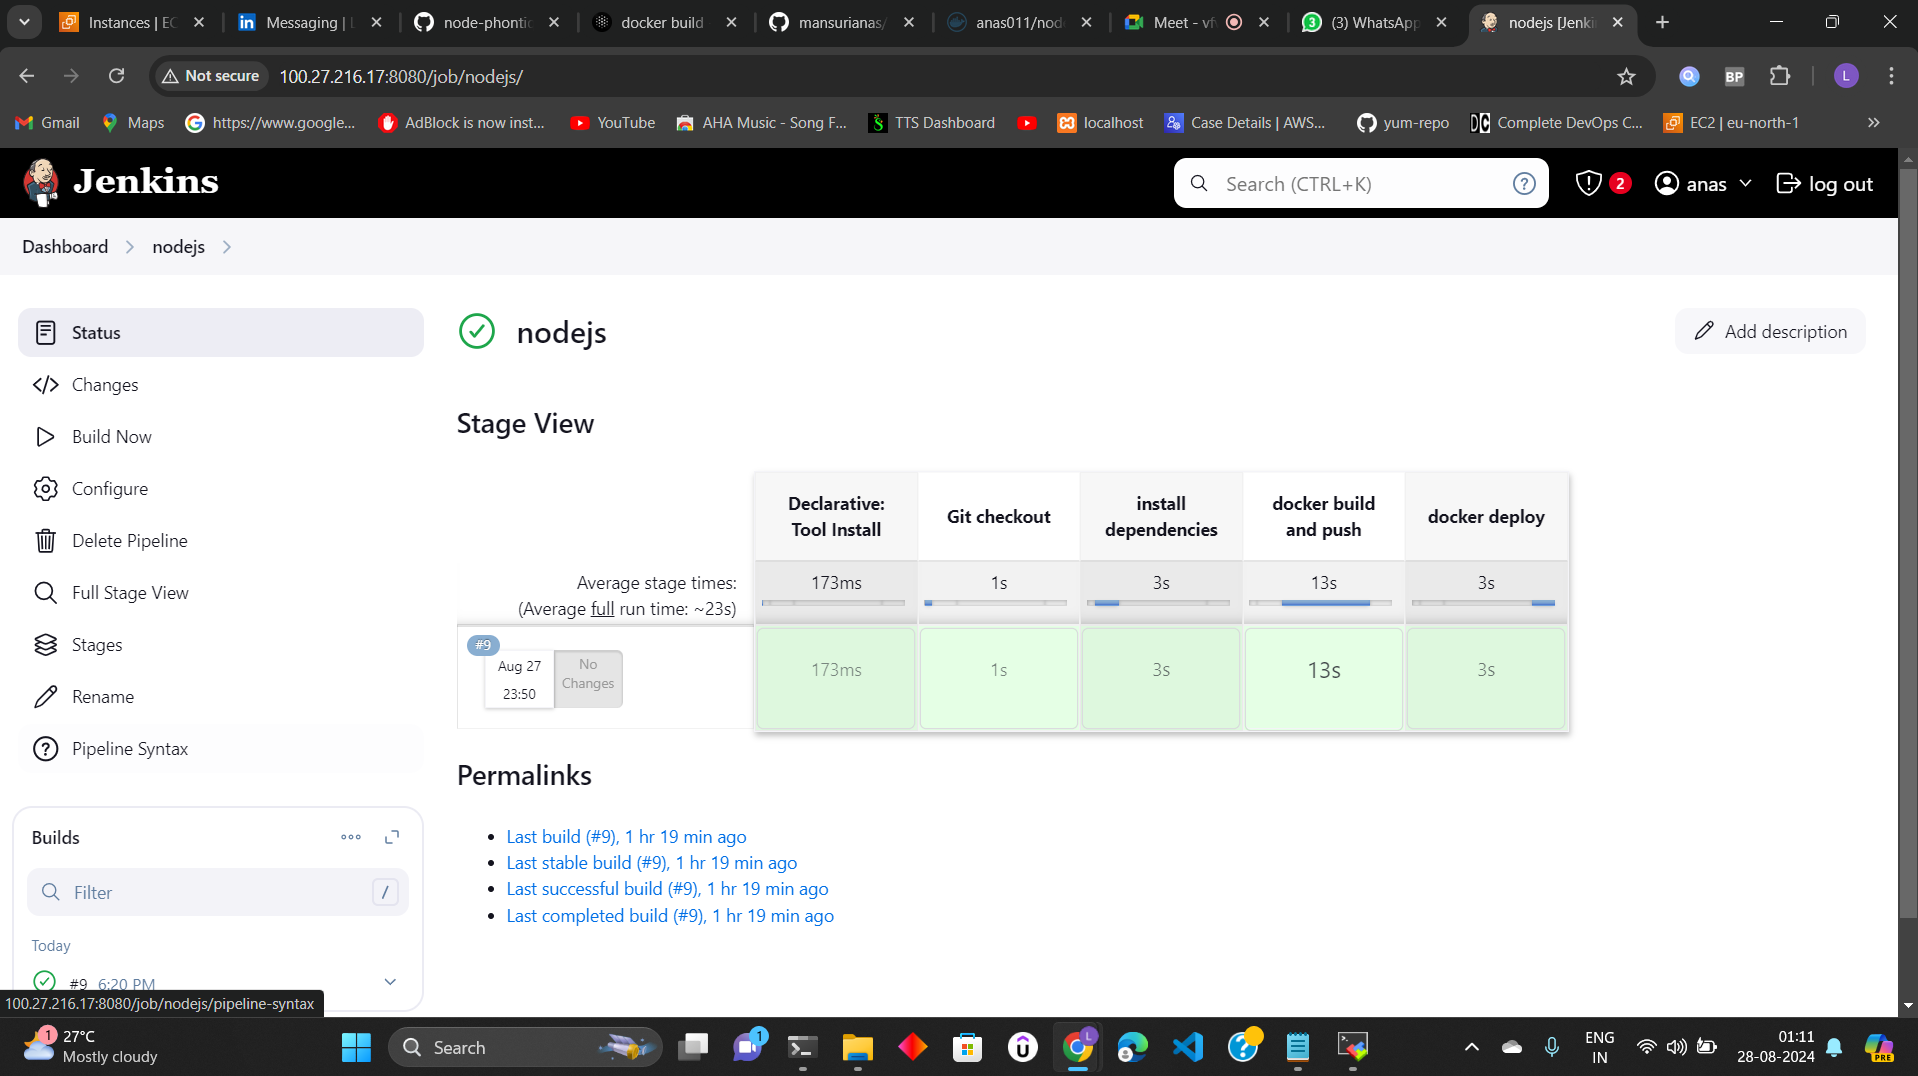
click on console output:
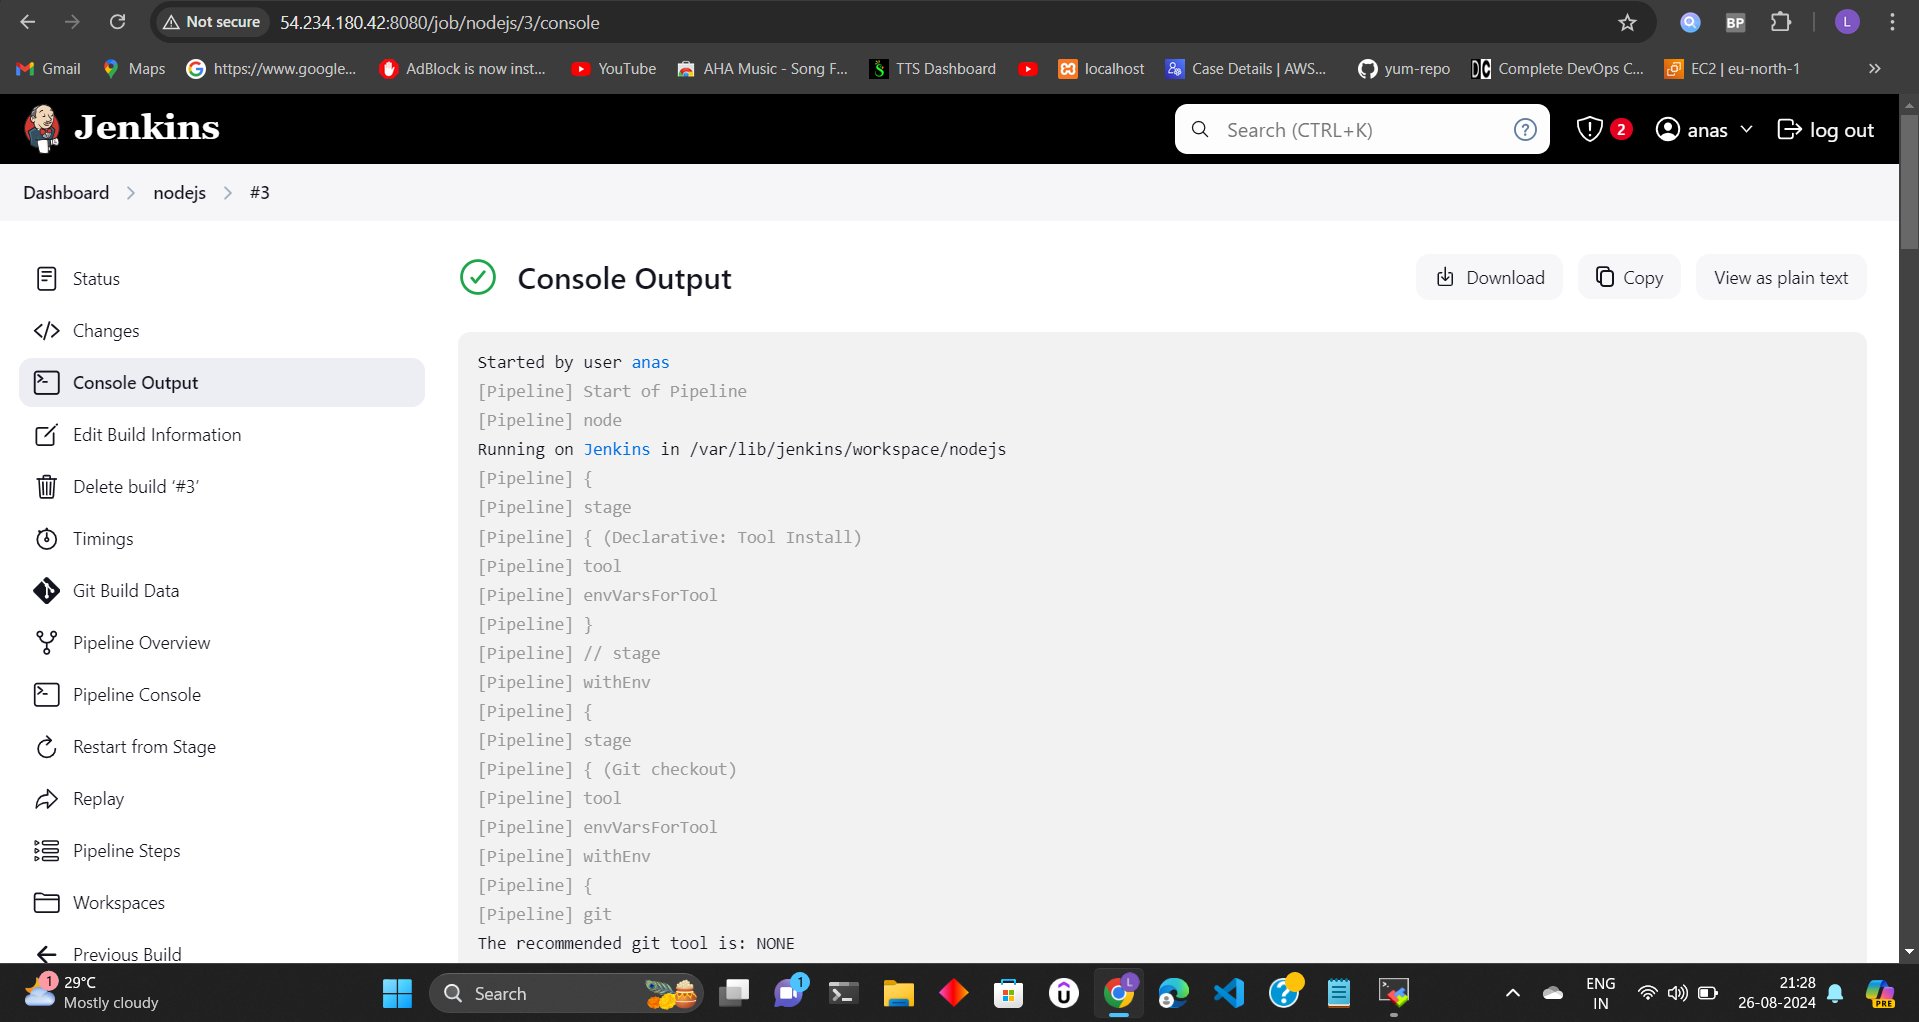
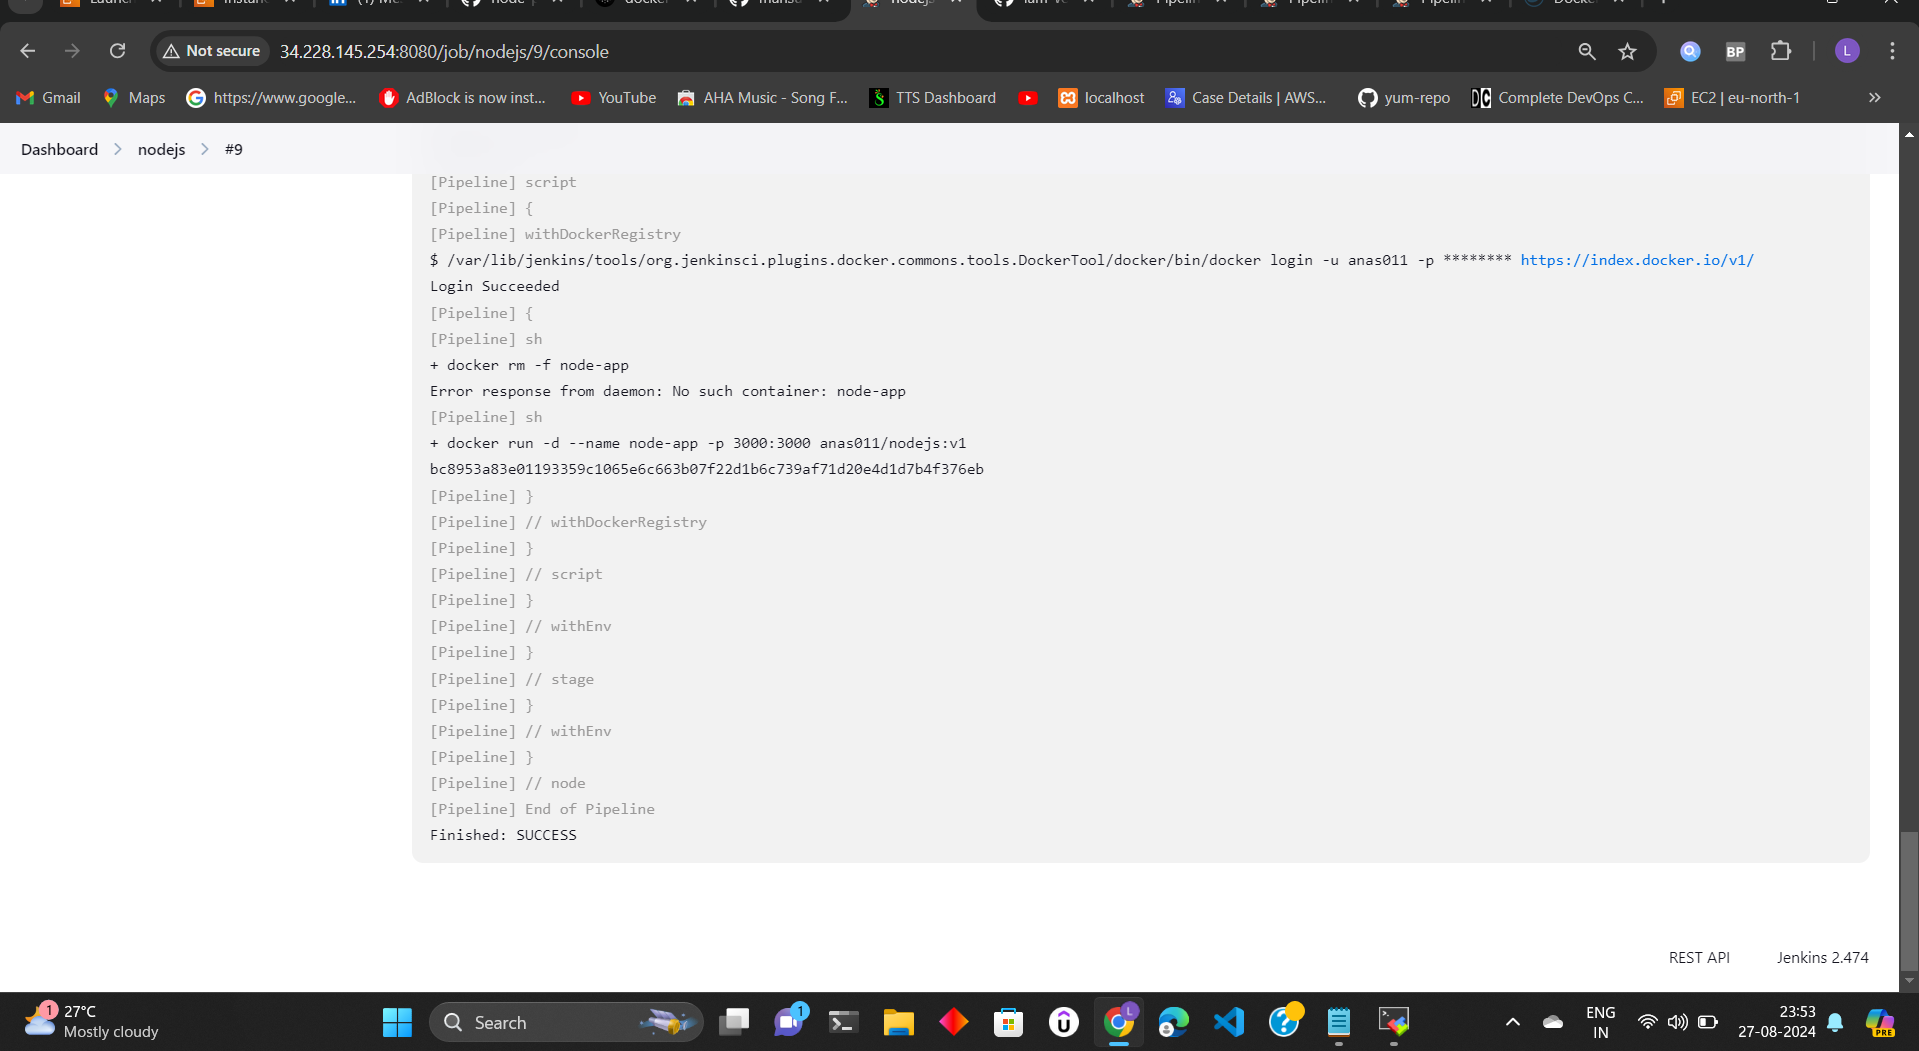
to view stages :
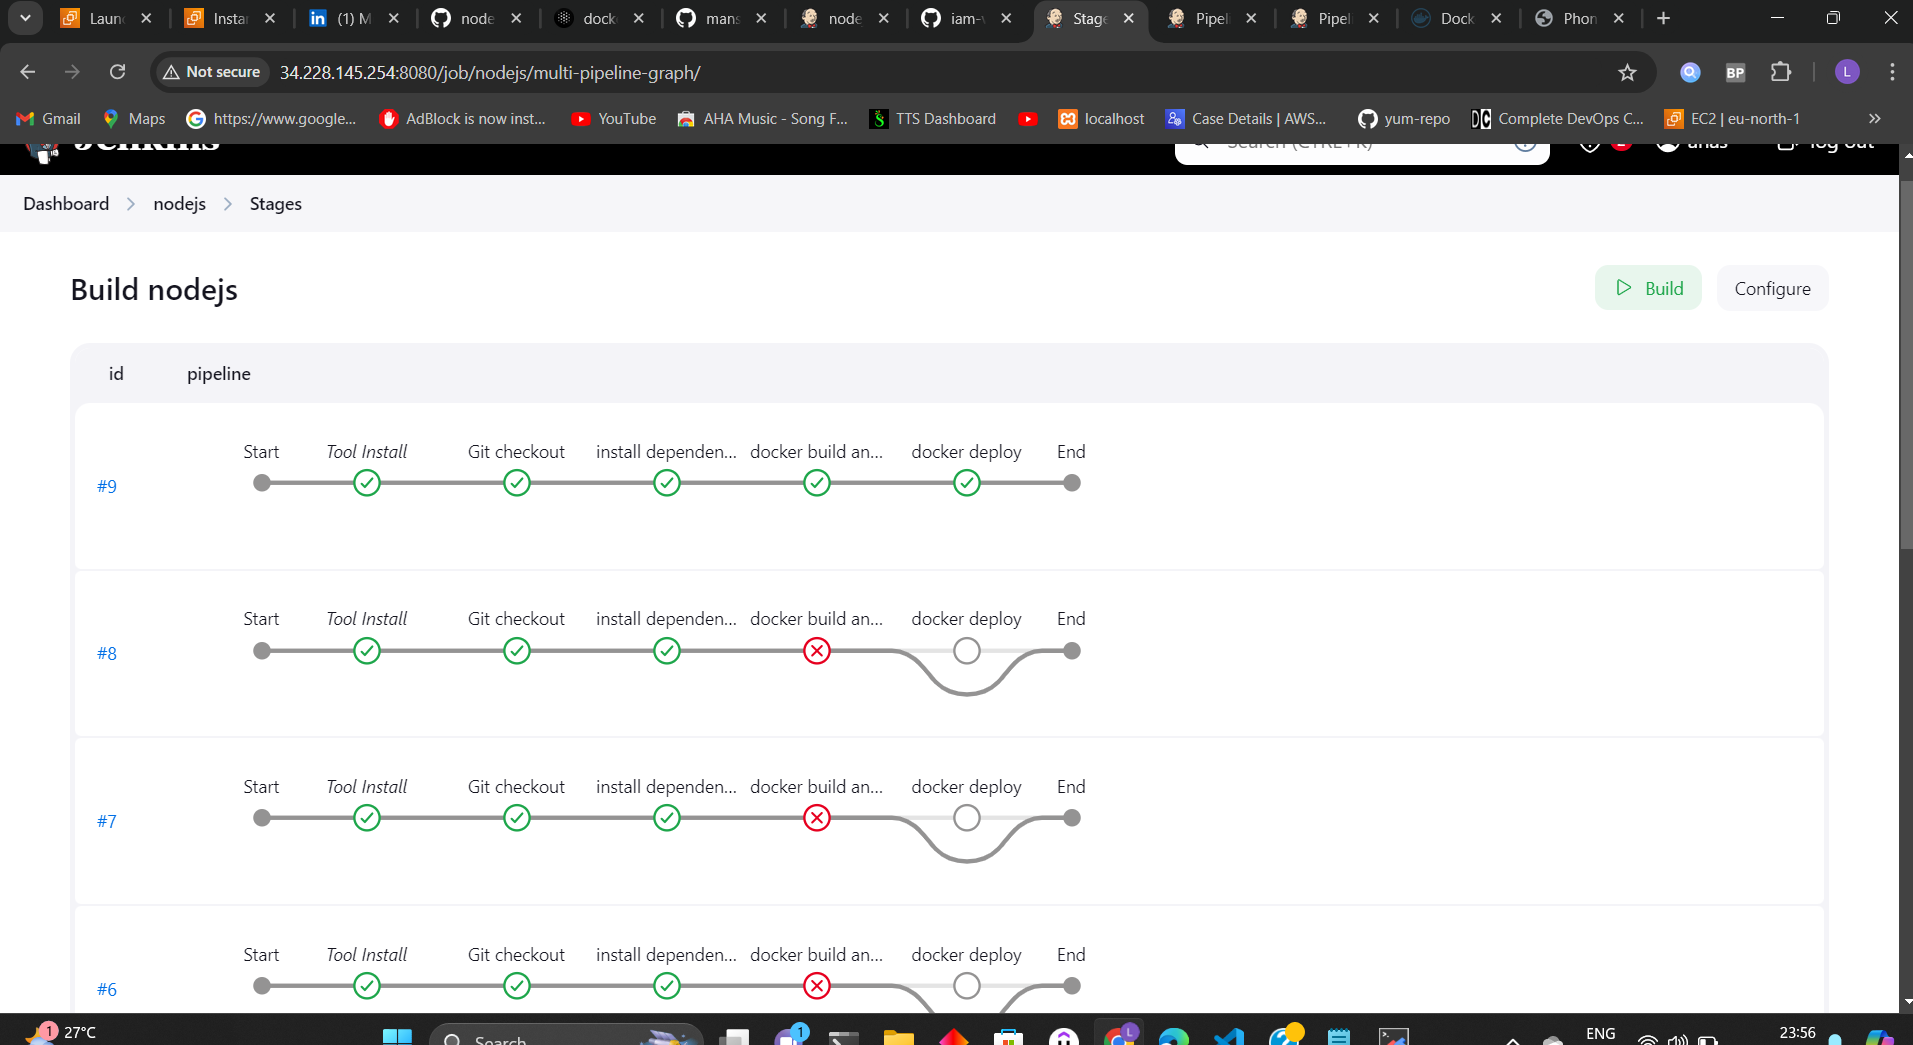
Verify the Application: Your application should run once the job is completed. You can verify it by accessing the application URL or checking the status of the Docker containers using:
docker ps
on docker hub :
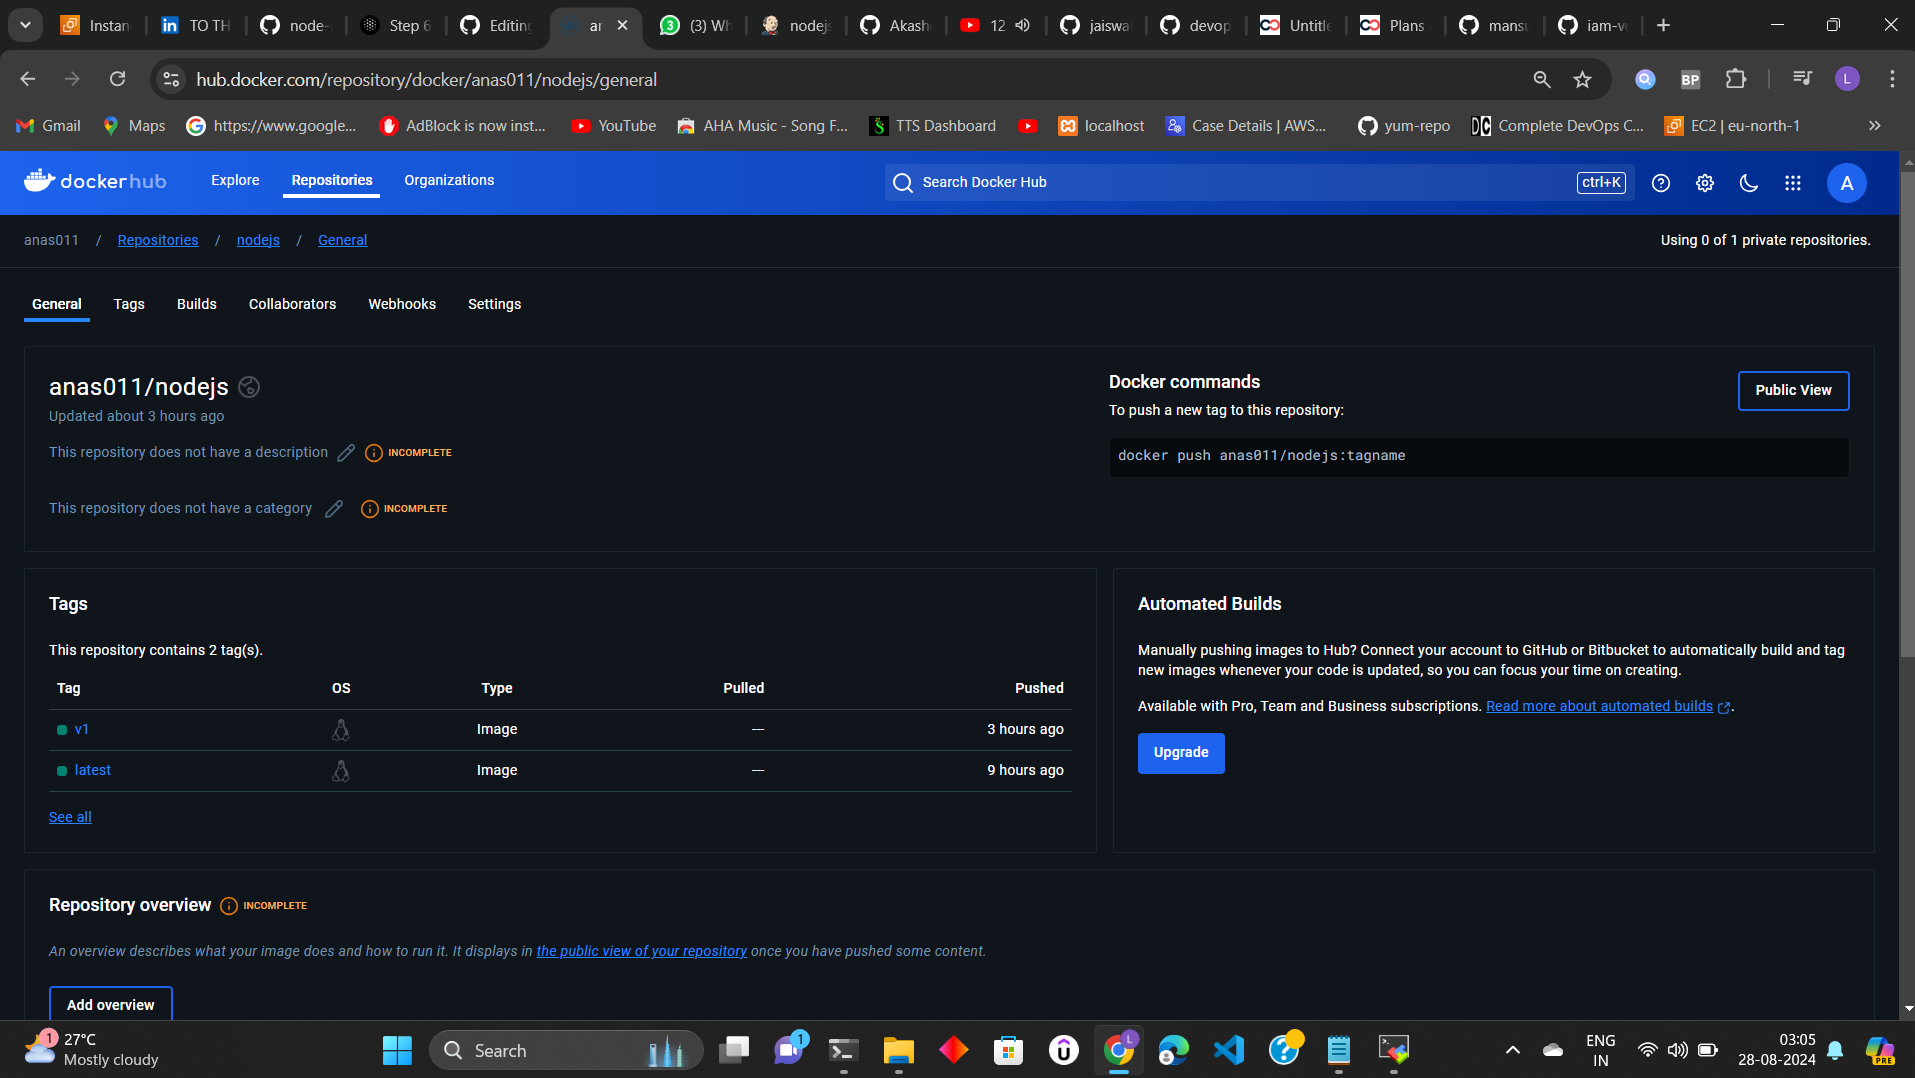
now access using it through ip:3000 on browser:
Subscribe to my newsletter
Read articles from Anas directly inside your inbox. Subscribe to the newsletter, and don't miss out.
Written by

