Conducting the First 5G Test with free5GC
 Lobna Ahmed
After successfully installing free5GC, let's proceed with our first 5G user test, where the UE will perform 5G registration and establish a PDU session connection.
As we confirmed in the previous article, our 5G core network functions are up and running. The good news is that all 5G core functions are preconfigured, allowing us to begin testing right away.
docker compose ps -a

In order to perform the test we only need:
To ensure that 5G subscriber information of our 5G test UE is correctly provisioned in
UDM.A 5G UE and 5G RAN (gNB): the container named
UERANSIMis used to simulate UE and RAN functions. UE and RAN are also preconfigured, so we only need to start the UE (i.e. turning on our 5G test UE).
So let's get started.
WEBUI container can be used to manage subscribers data via GUI (we can think of it as a simple Web UI of the UDM).
WEBUI container is externally accessible on port 5000, so all we need to do is to open the web browser and type the URL http://YOUR_MACHINE_IP_ADDRESS:5000. In case you are running free5GC locally in your machine, you can use localhost or your loopback IP 127.0.0.1 as YOUR_MACHINE_IP_ADDRESS. If you are using a remote machine, type the IP address of the machine or domain name (if available).
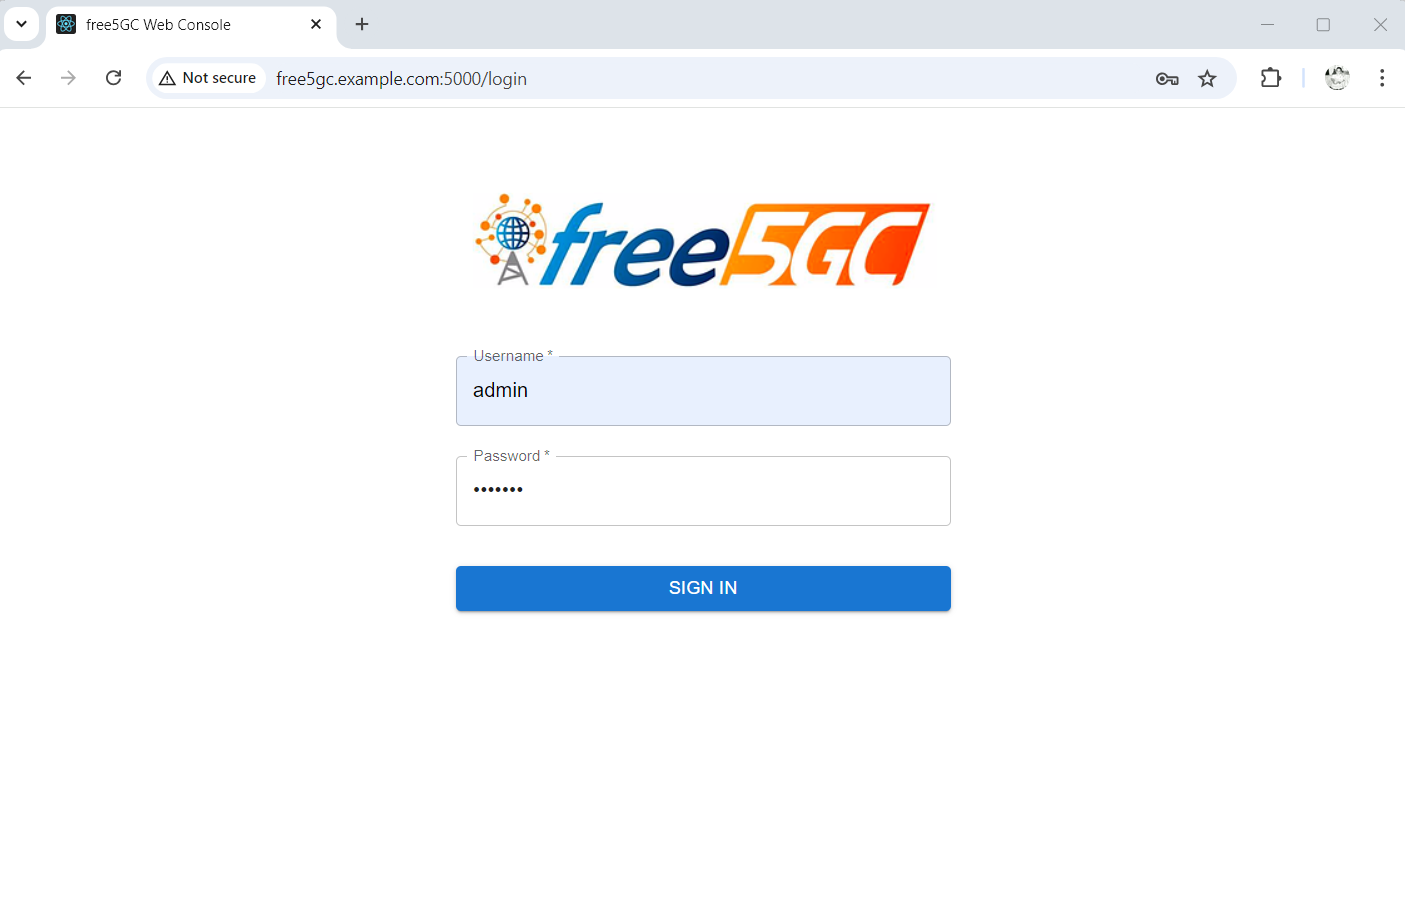
The WEBUI GUI will be shown as below.
The default user name is admin and the default password is free5gc (you can change it after login).
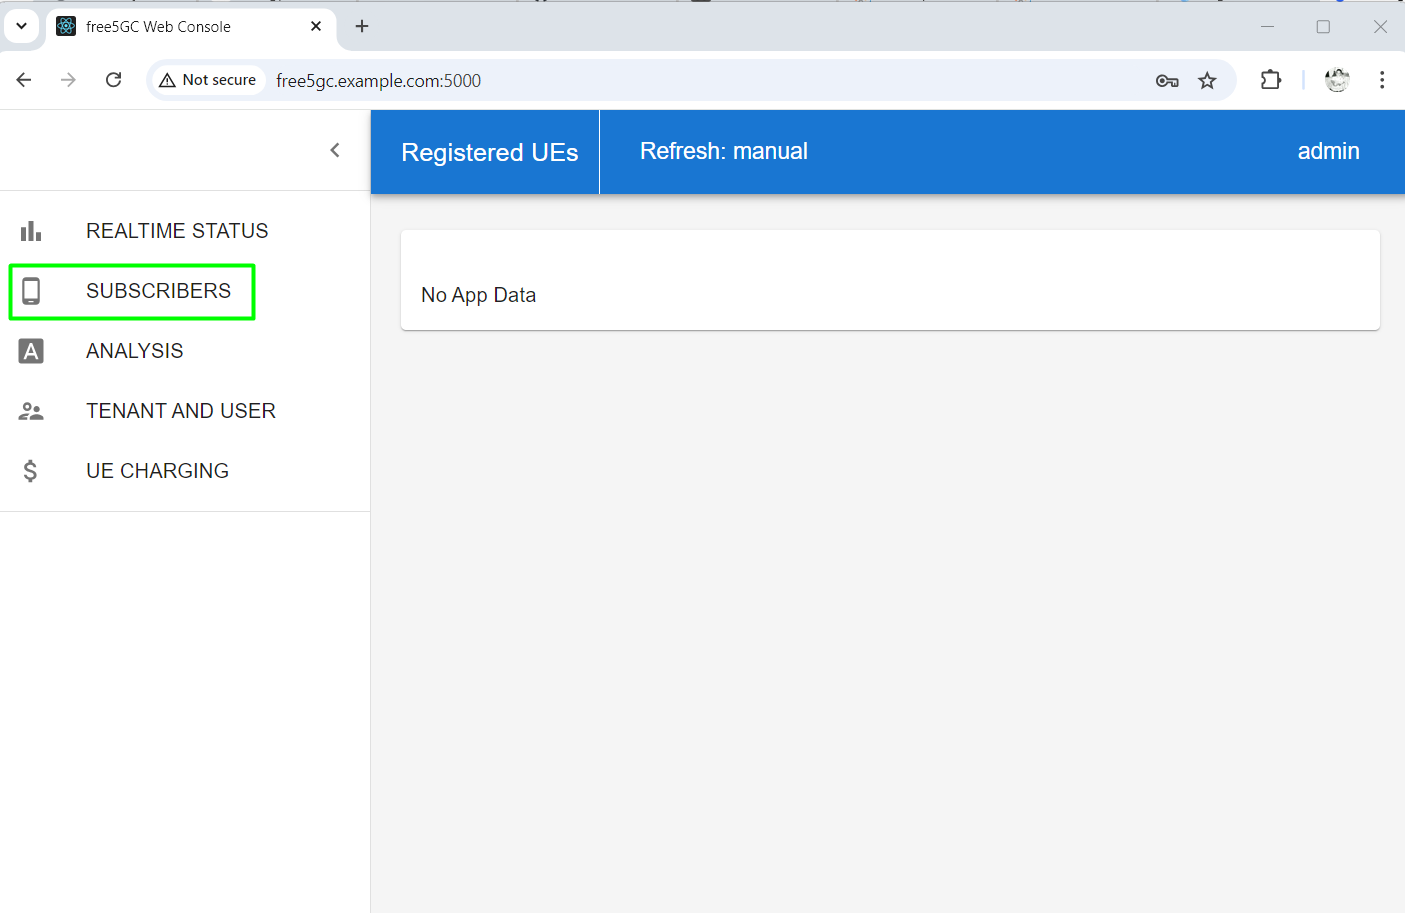
After a successful login, the following page will be displayed. In the left side of the page, click on SUBSCRIBERS.
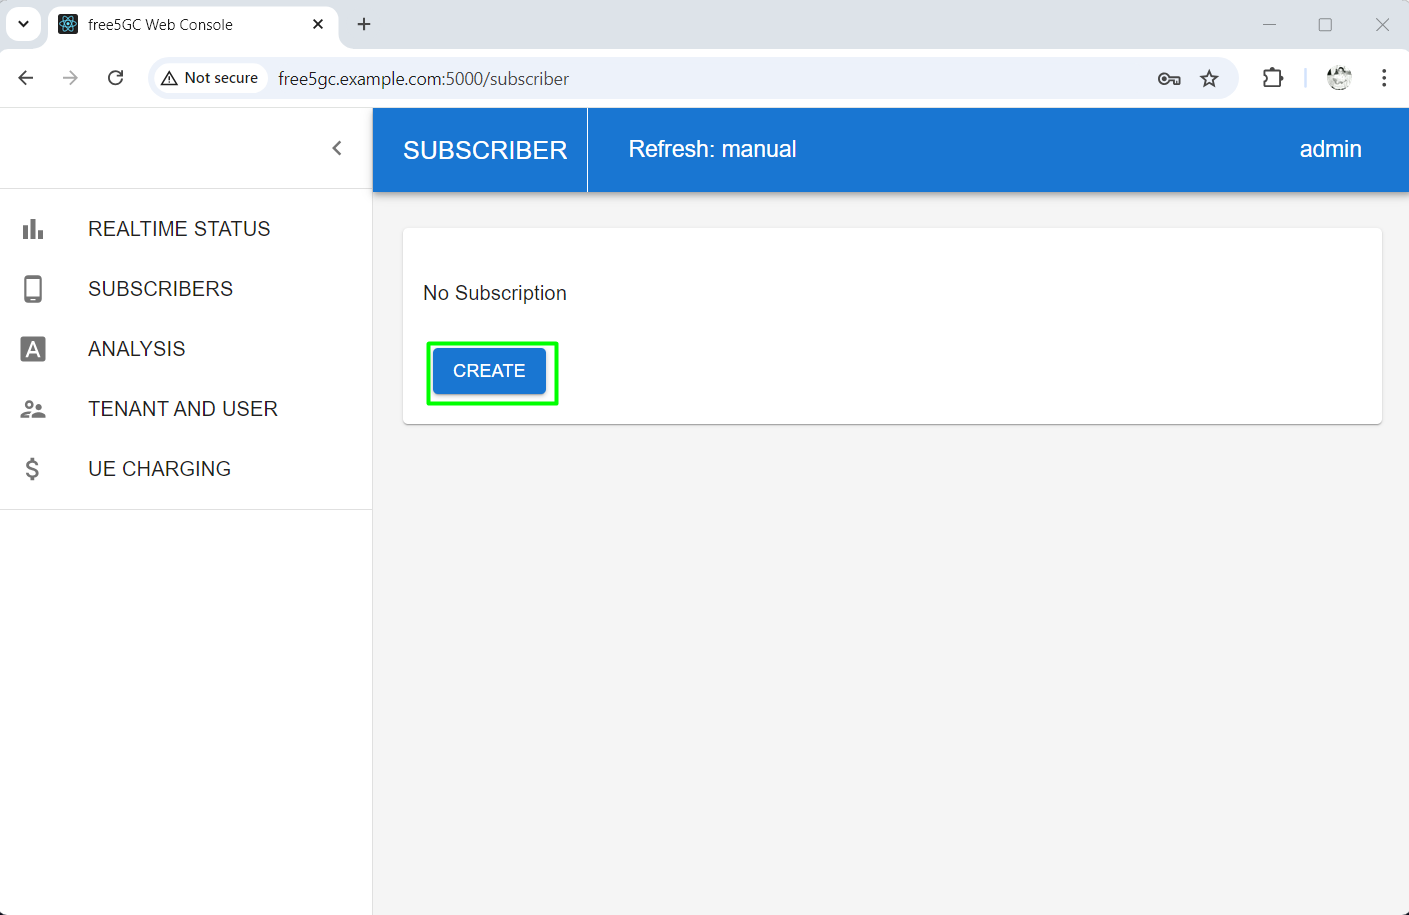
Initially there is no subscribers data available as shown below. Let's provision our first test 5G subscriber by clicking on create.
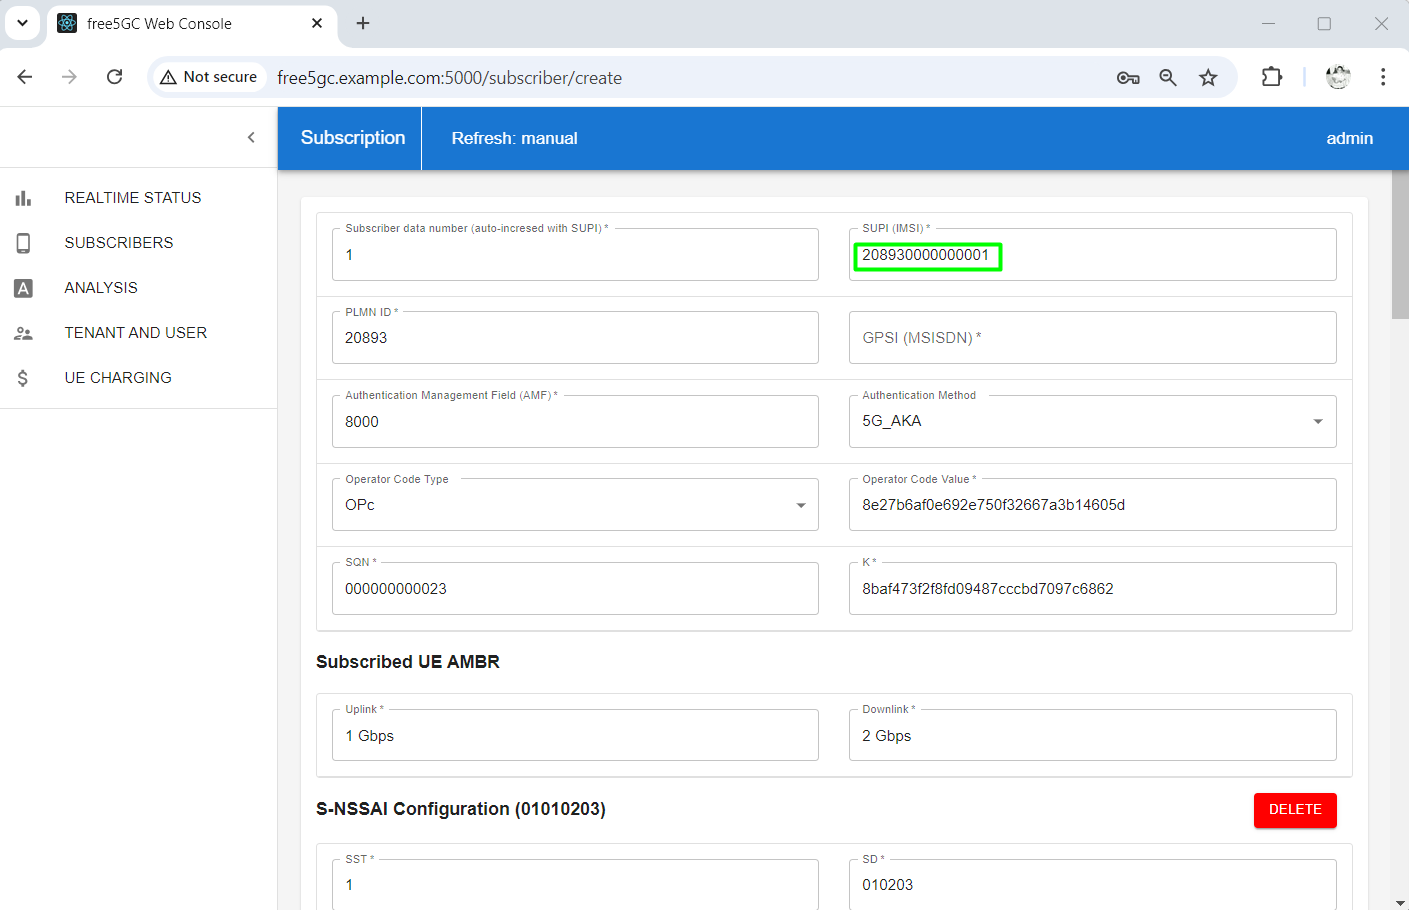
Once we click on create, a form will be displayed with fields about 5G subscriber needed information such as (SUPI/IMSI, MSISDN, PLMNID, Authentication Key, UE subscribed slices, Data Network Names DNN, etc...).
We will notice that the fields are already auto filled with some information, which is the same UE information preconfigured inside UERANSIM container. We can change it of course, but we will need to change UE configuration as well in this case, so let's keep everything simple for now and create the subscriber with the auto filled information.
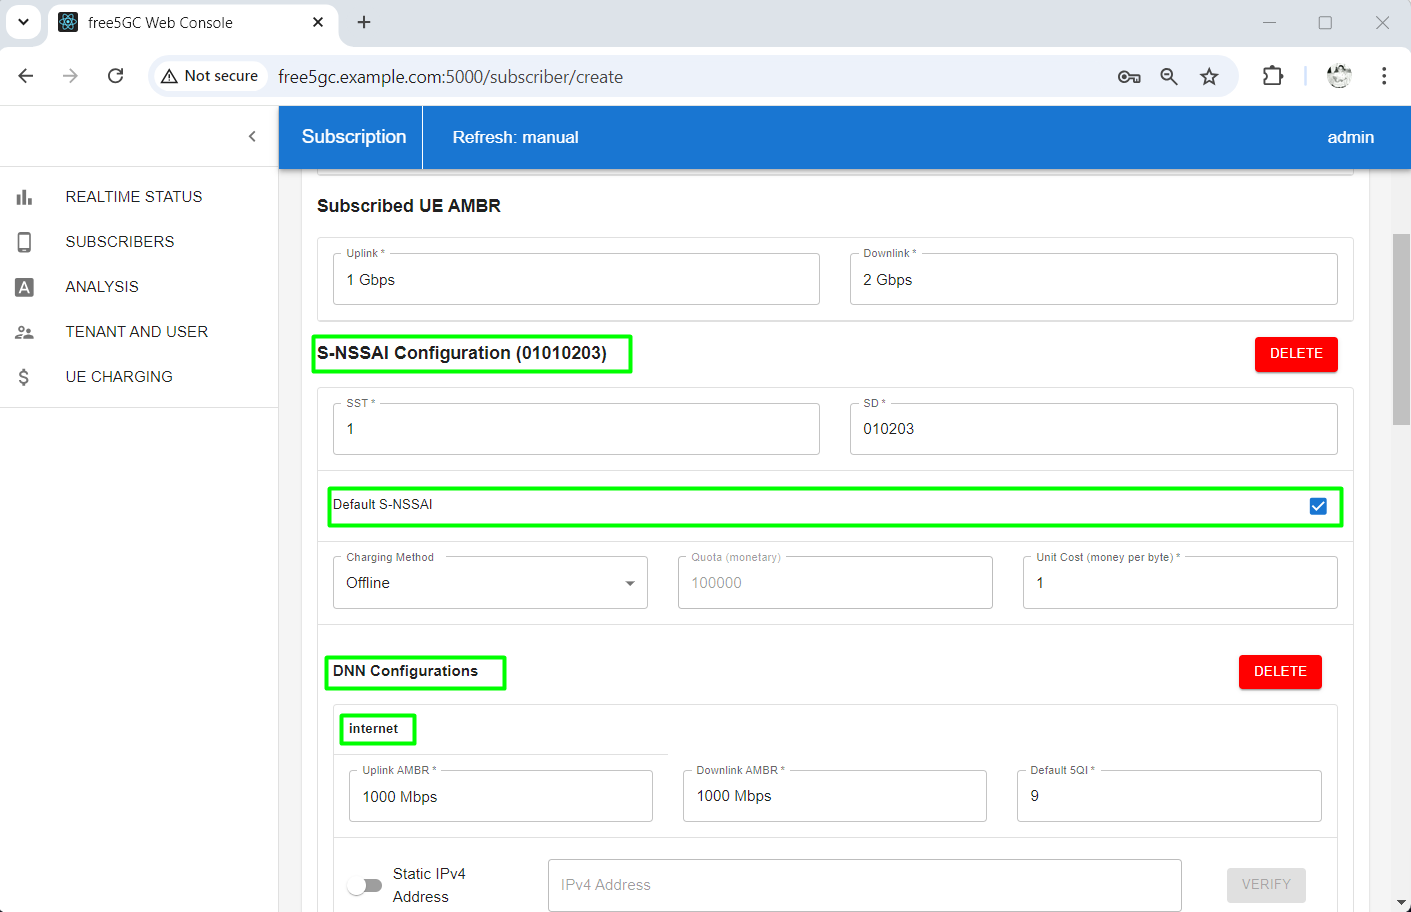
Scroll down the page and click CREATE to provision the subscriber.
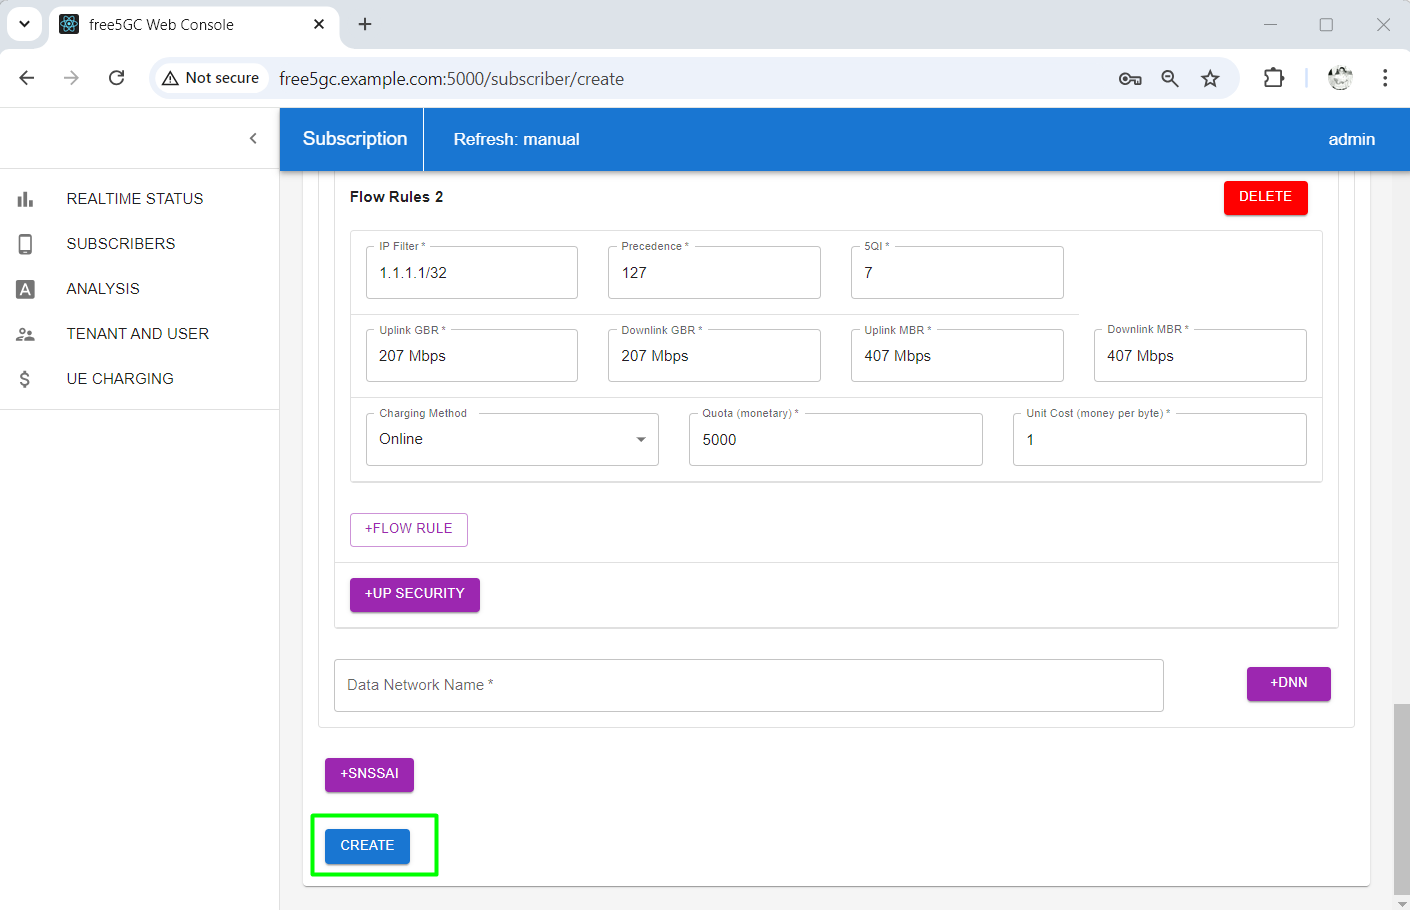
Once created, it will be shown in the subscribers list.
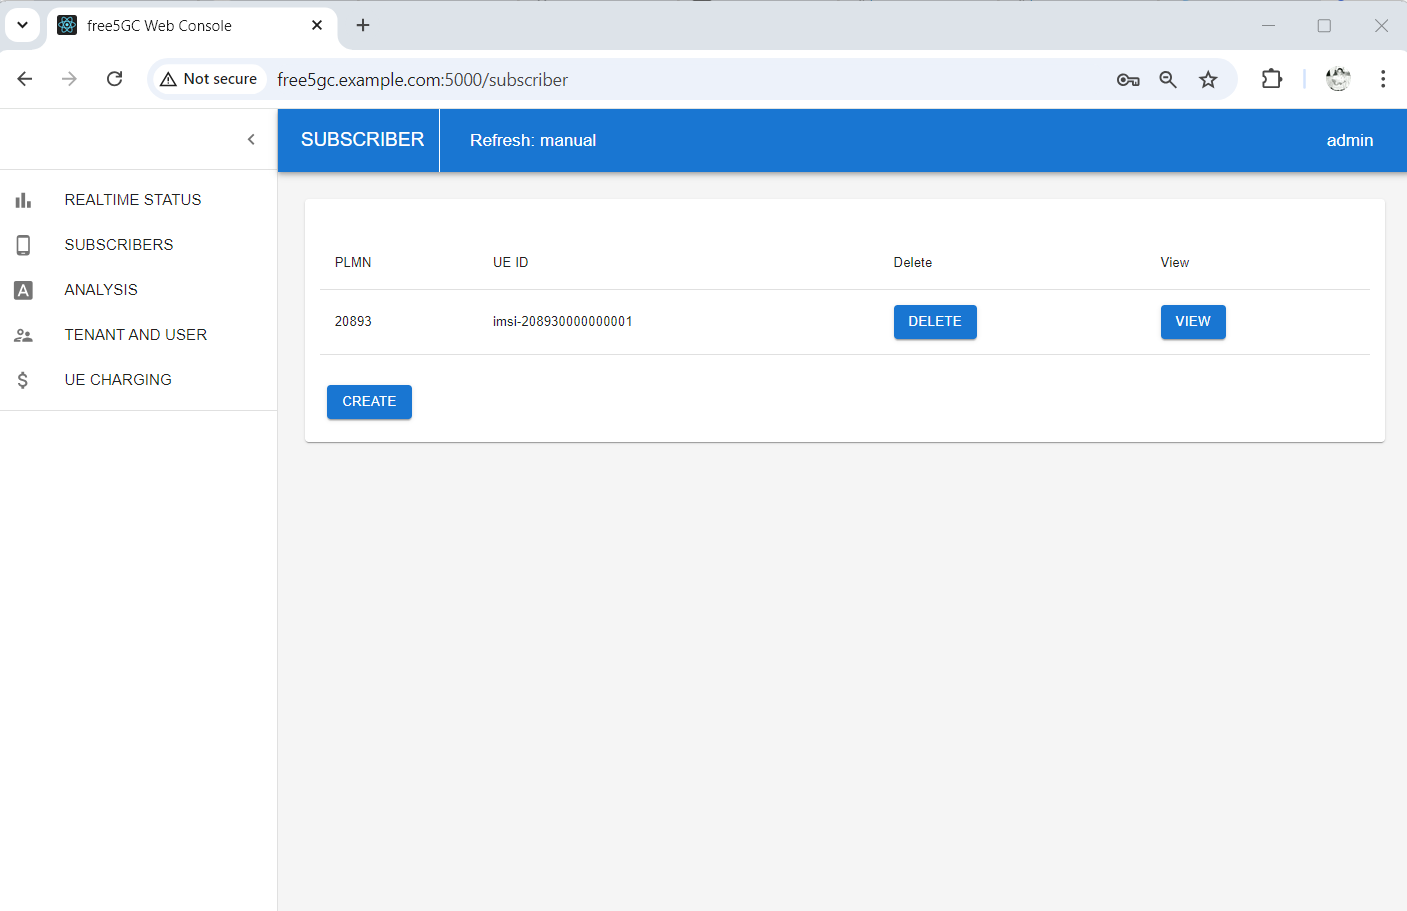
Next let's turn on our 5G test UE.
We will need to start the UE from inside UERANSIM container, docker exec command can be used to get access to a container shell in order to run commands inside container.
docker exec -it ueransim bash
Once executed we will get bash terminal access inside UERANSIM container. You will notice that the prompt has changed to root@CONTAINER_ID:/ueransim# which indicates that we are currently running commands inside container.

If we list the contents of the current directory using ls -ltr command, we will find (among other stuff) two executable files named nr-ue and nr-gnb which are actually the programs that simulates 5G UE and 5G RAN respectively.
Moreover, a directory named config is listed which contains two configuration files uecfg.yaml and gnbcfg.yaml for 5G UE and 5G RAN configuration.
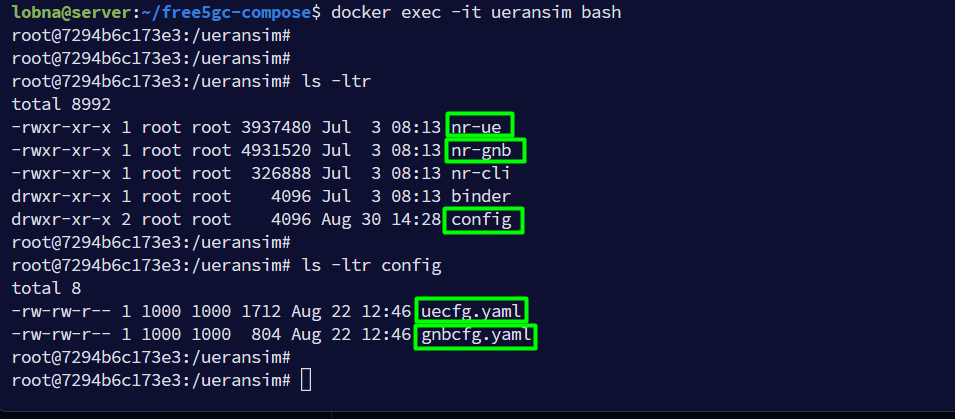
Let's check the contents of uecfg.yaml file as it should have the same UE information that we provisioned earlier in UDM via WEBUI.
cat config/uecfg.yaml
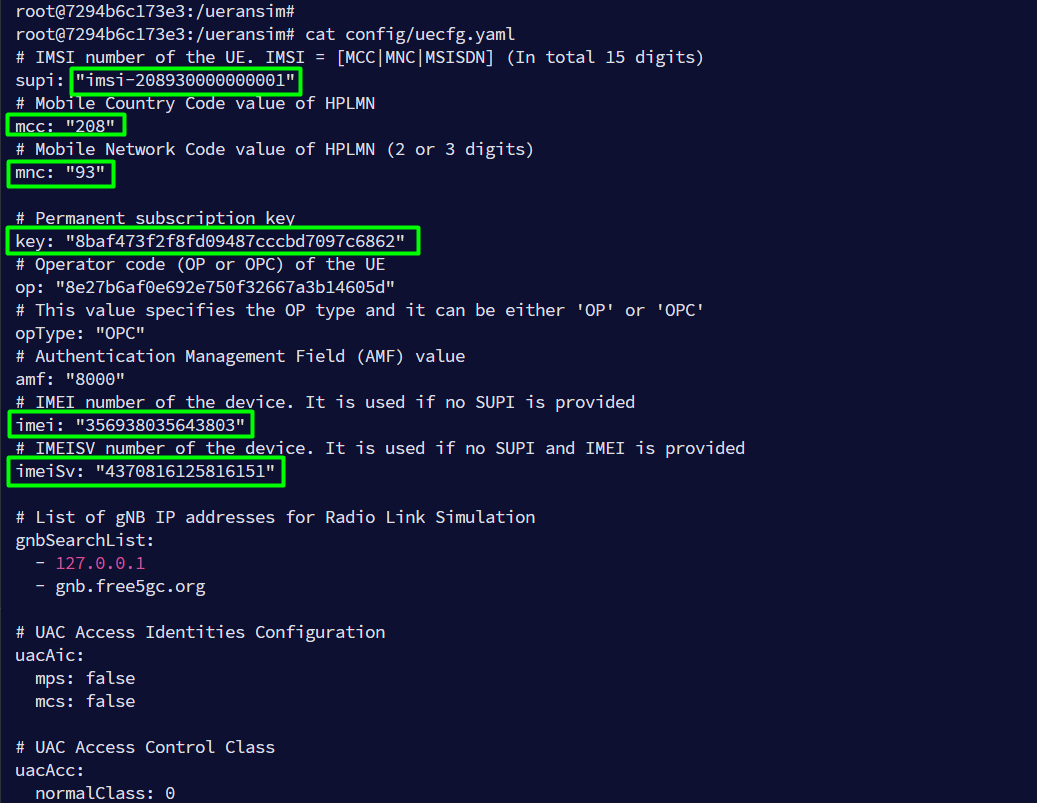
As shown above, the information inside uecfg.yaml file is identical with subscriber information that was previously provisioned in UDM.
Let now power on our 5G test UE using the following command. Once executed, the logs about UE initial registration and PDU session establishment will be displayed.
./nr-ue -c config/uecfg.yaml
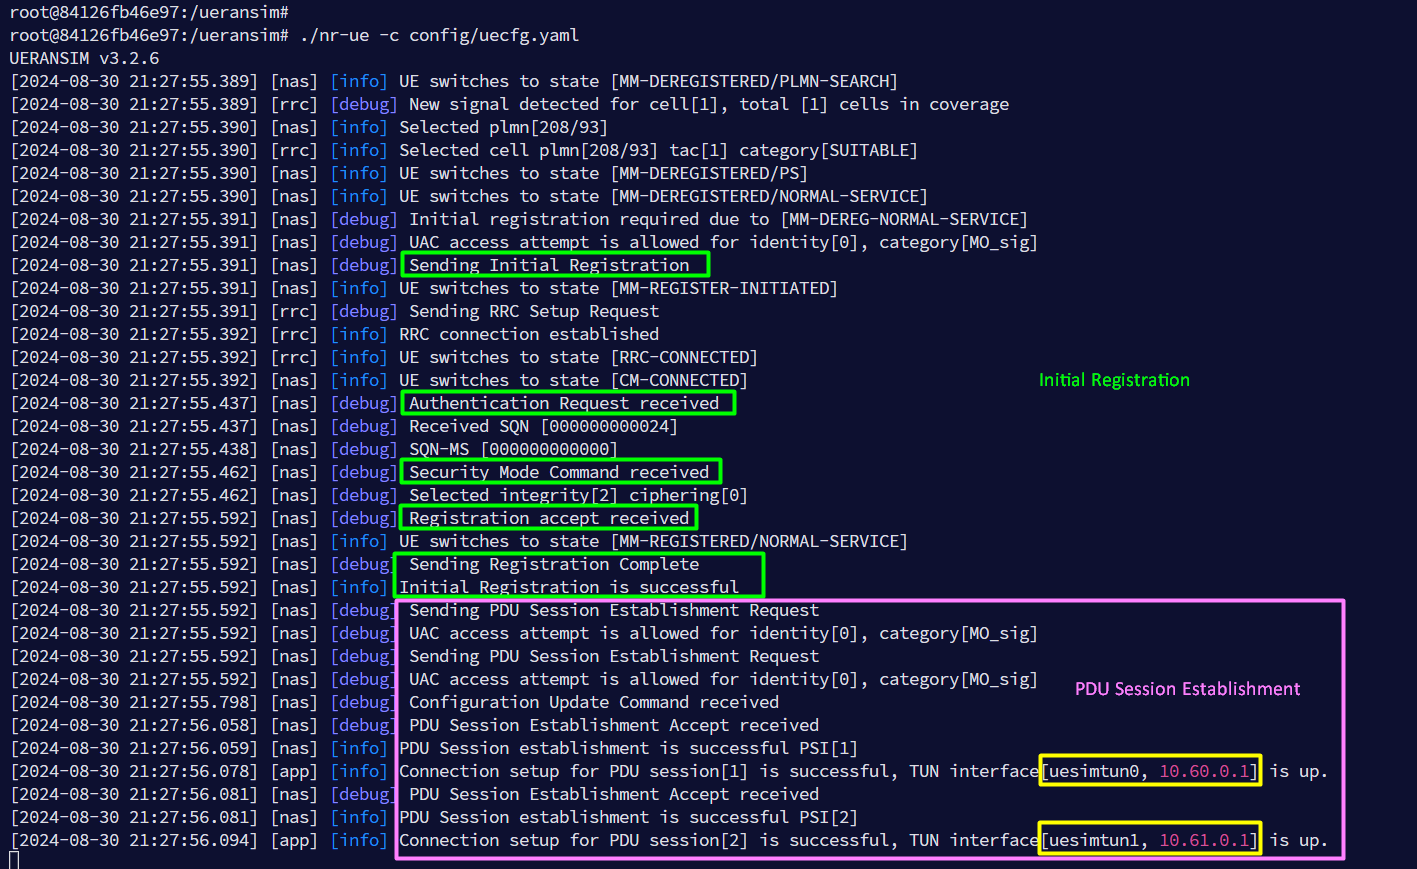
From the logs it is shown that the UE has successfully registered under 5G network and it has also established two PDU sessions.
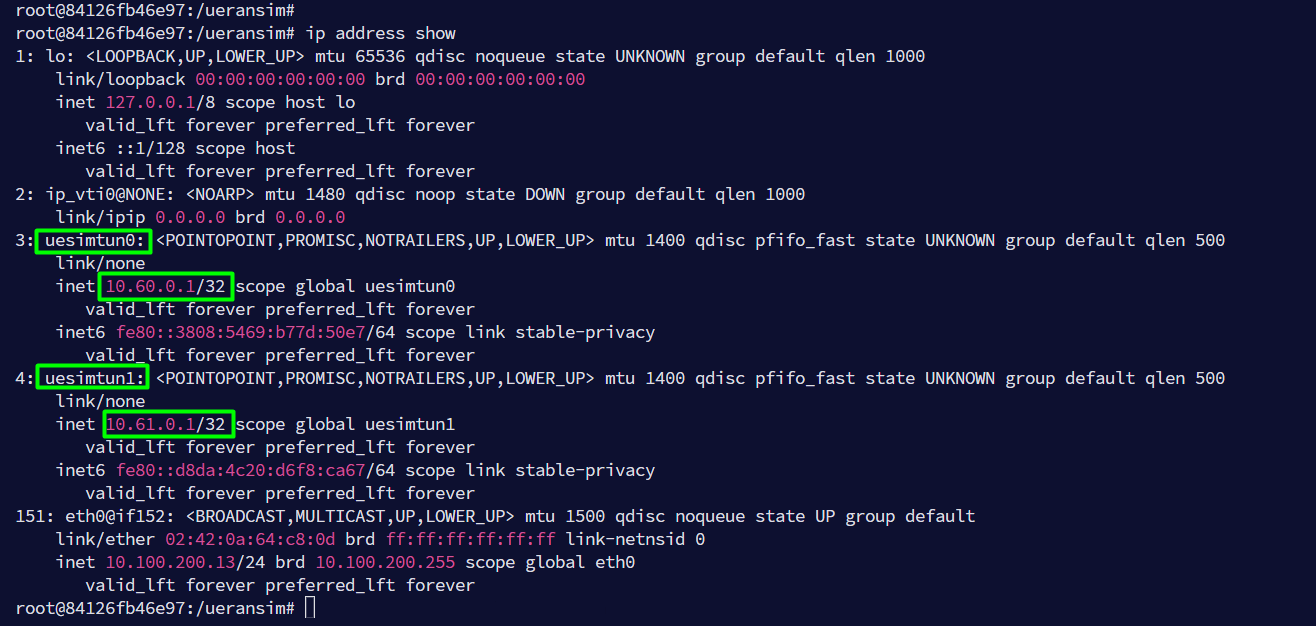
A linux tun interface will be created inside the container for each PDU session (uesimtun0 and uesimtun1) with the IP address assigned to the UE during PDU establishment. To verify this, let's start another terminal session inside UERANSIM container and list the interfaces using the following command
ip address show
Let's now try to ping internet from the tun interface
ping -I uesimtun0 google.com

ping -I uesimtun1 google.com
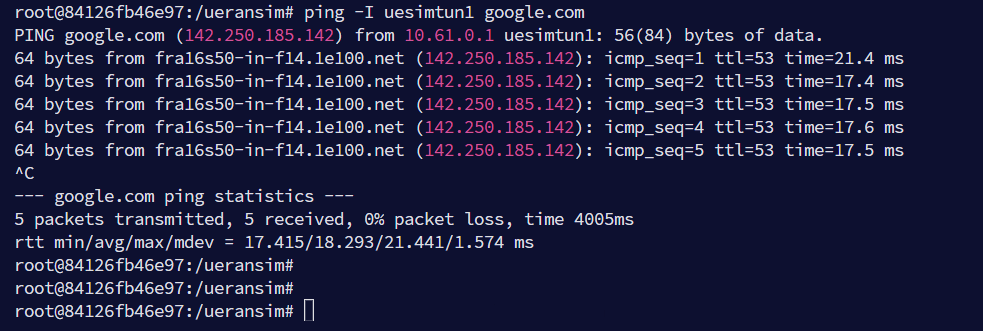
🥳 Yaay! our UE can reach the internet!
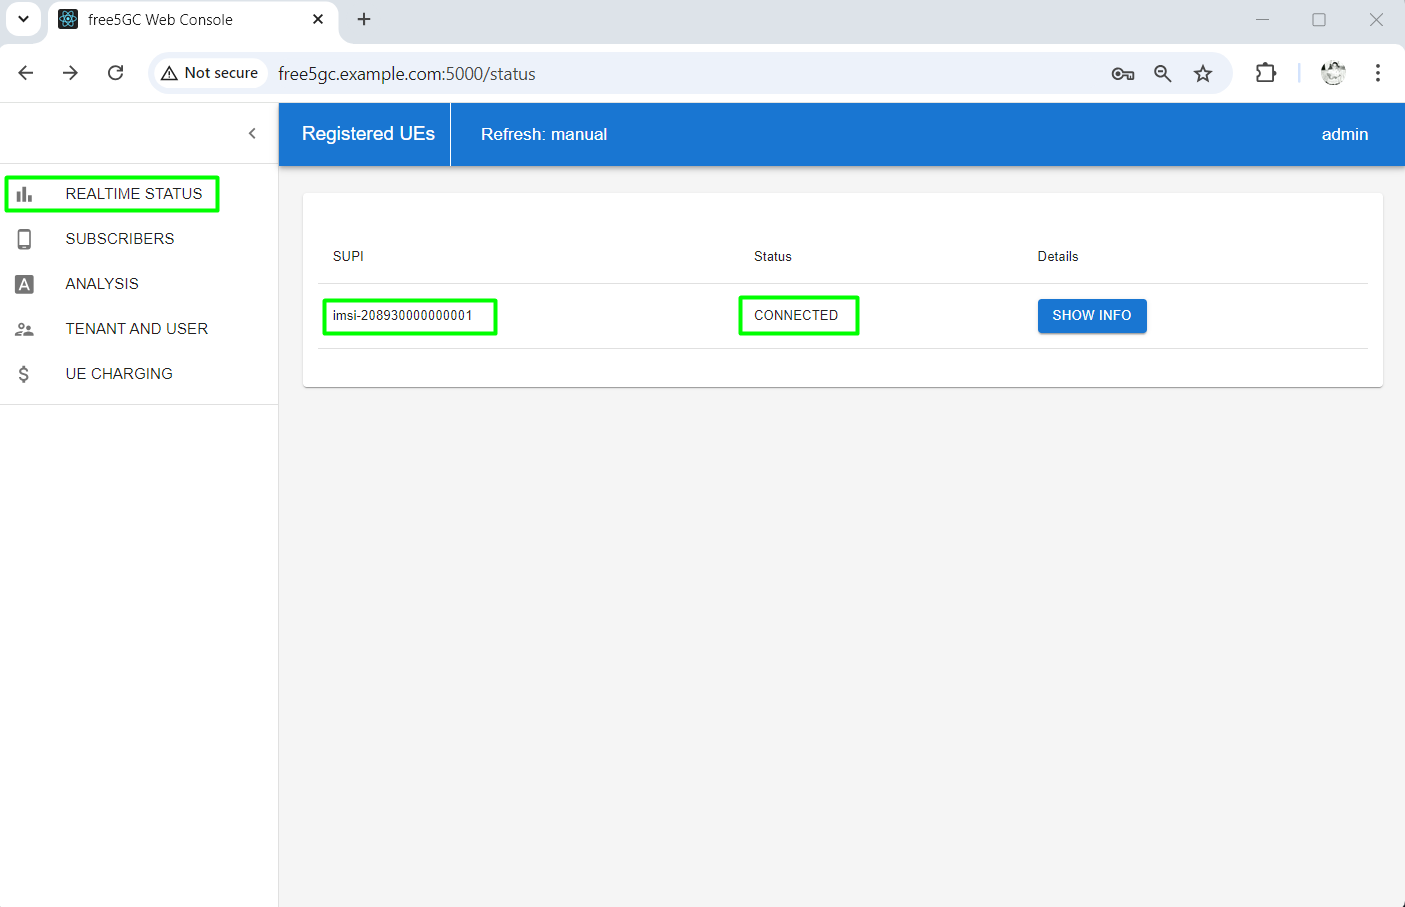
If we check REALTIME STATUS in WEBUI, we will find that our test UE is shown in connected status.
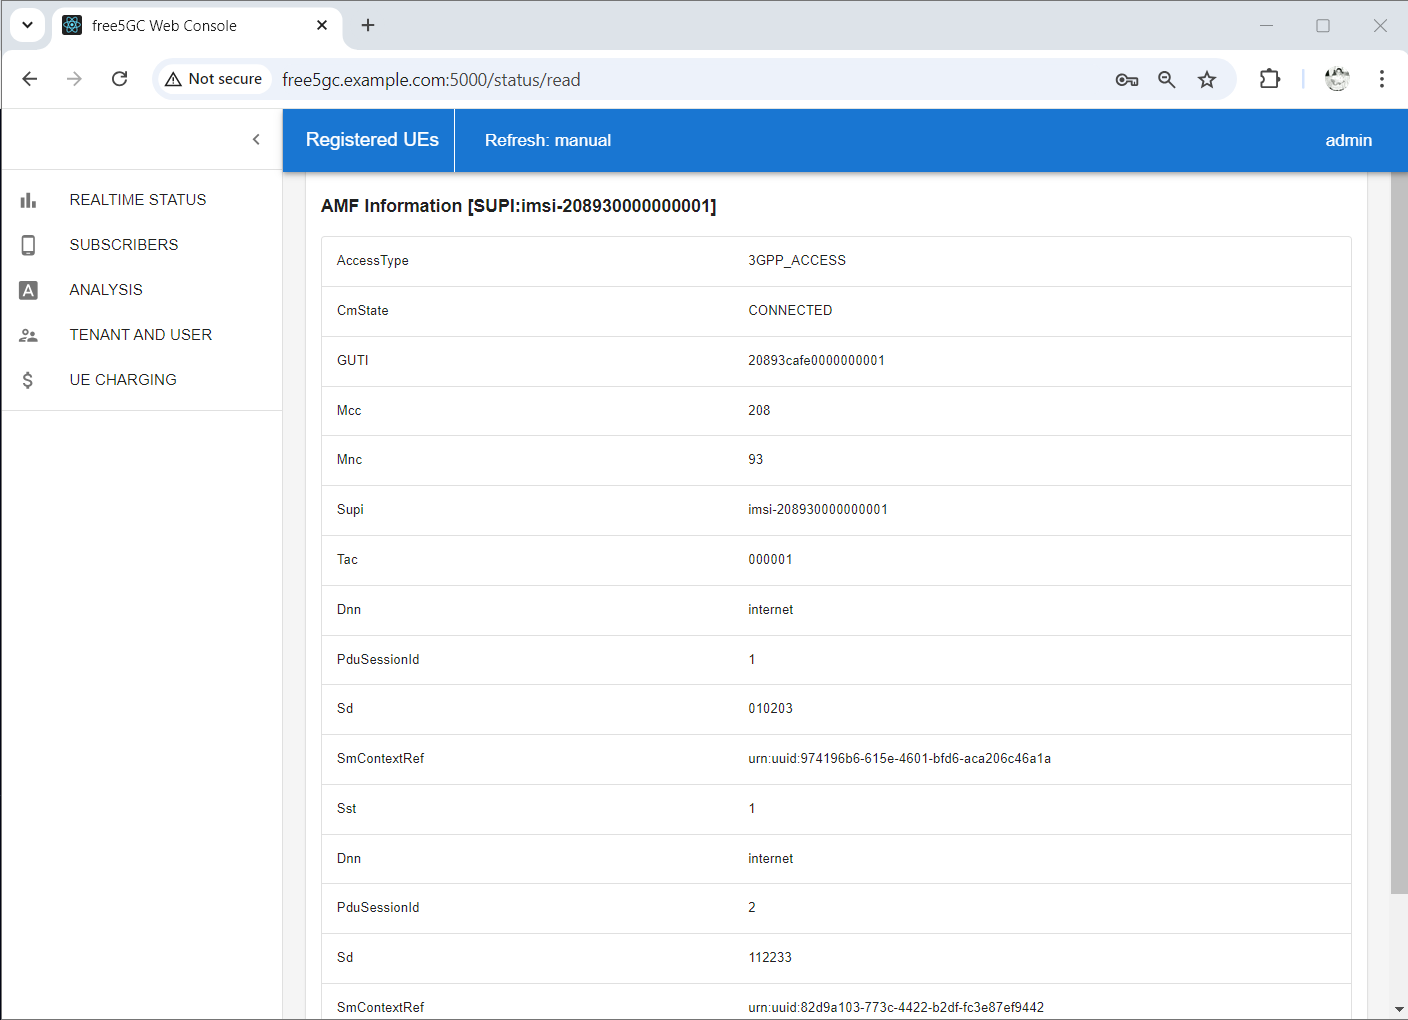
We can see more info by clicking on SHOW INFO
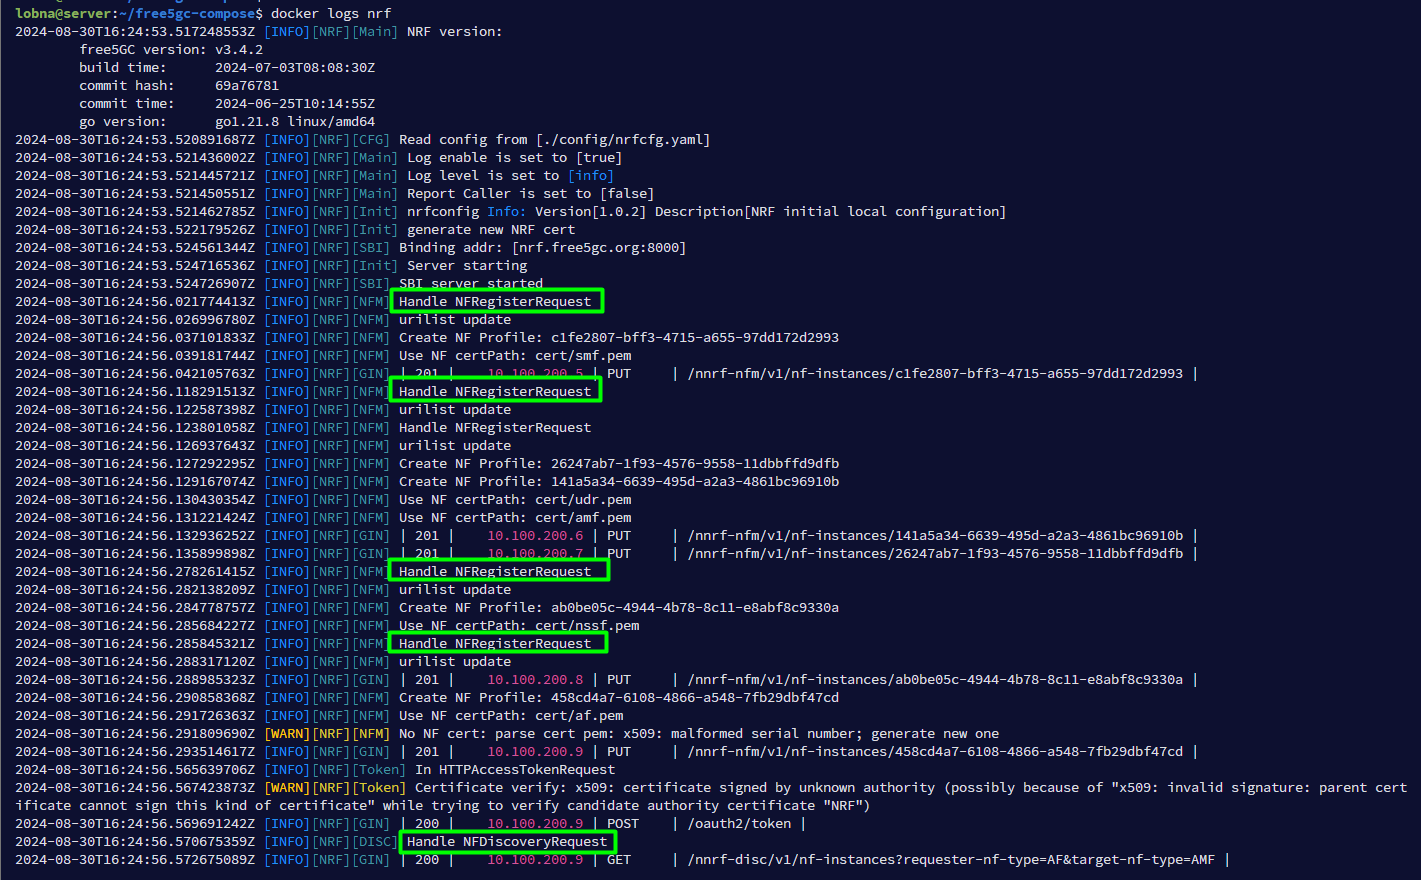
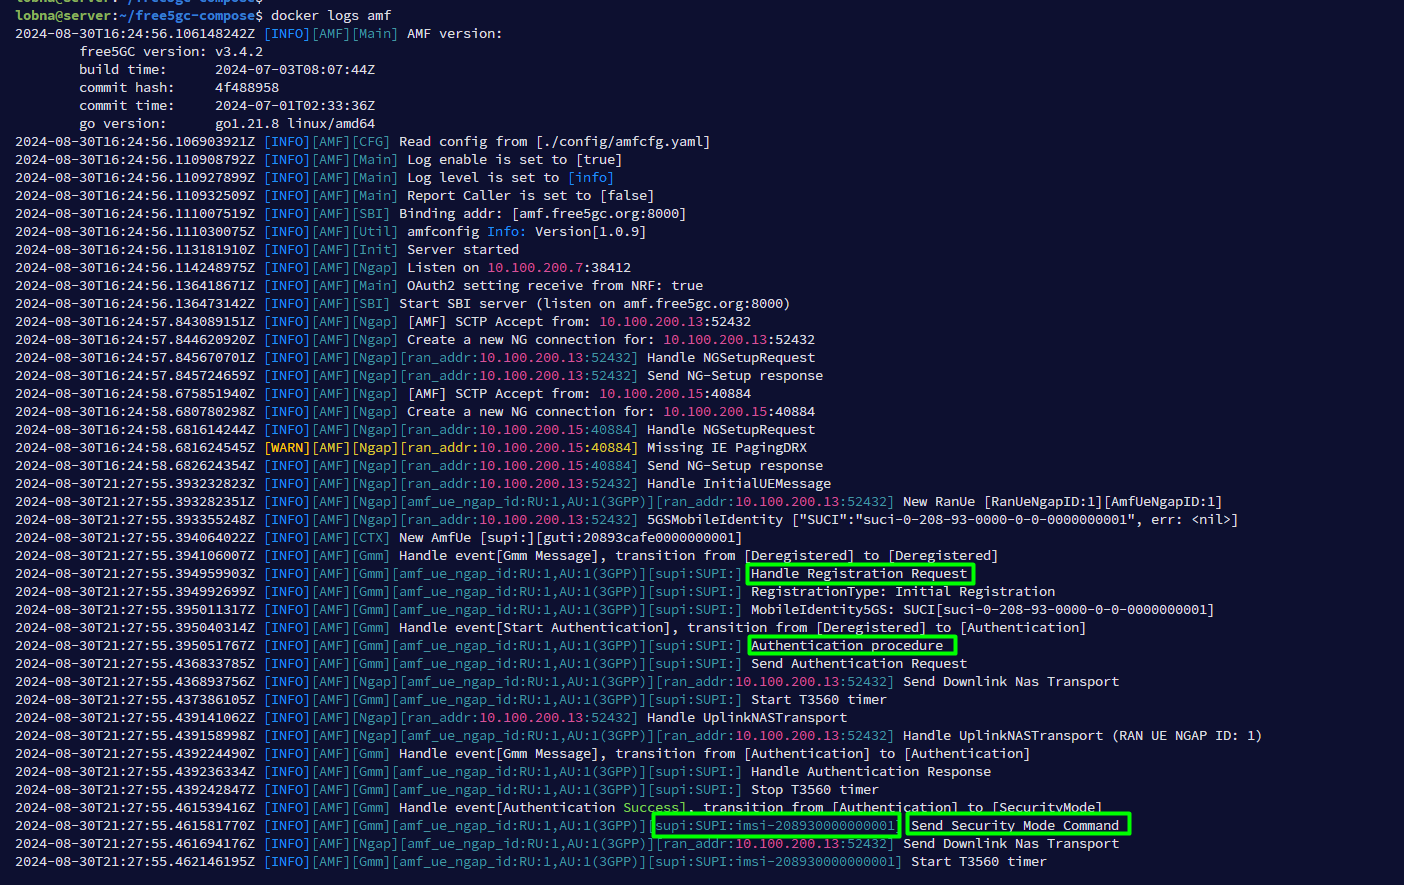
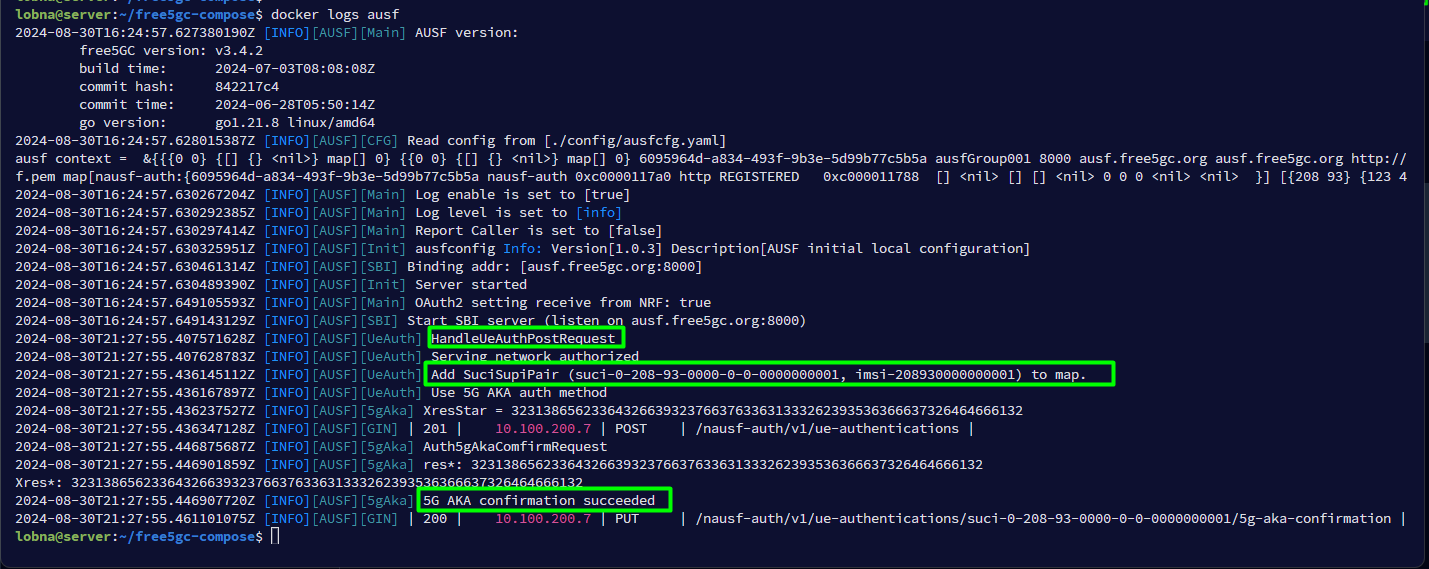
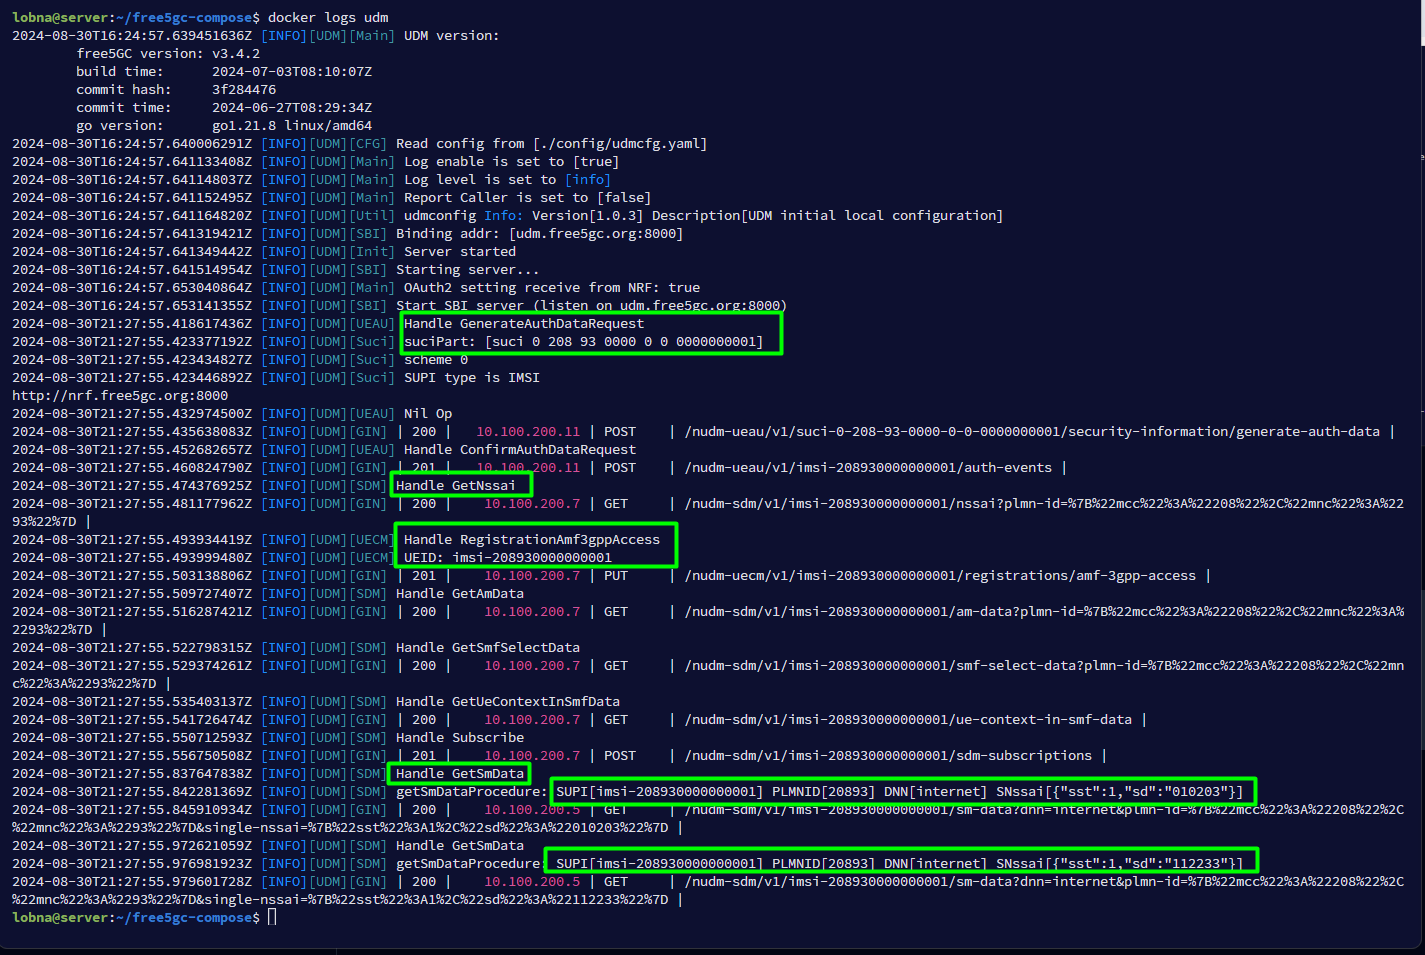
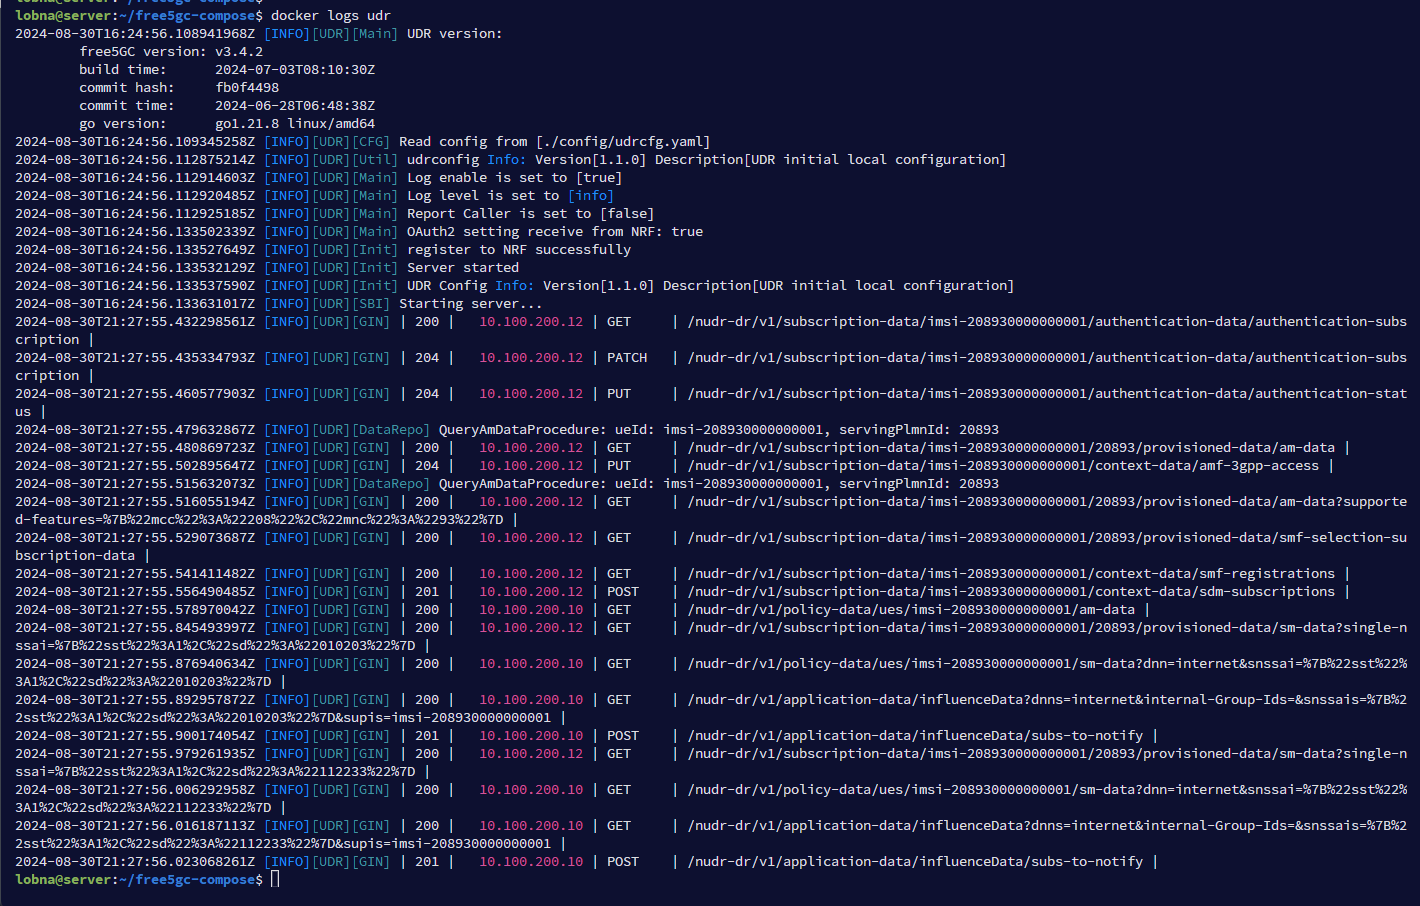
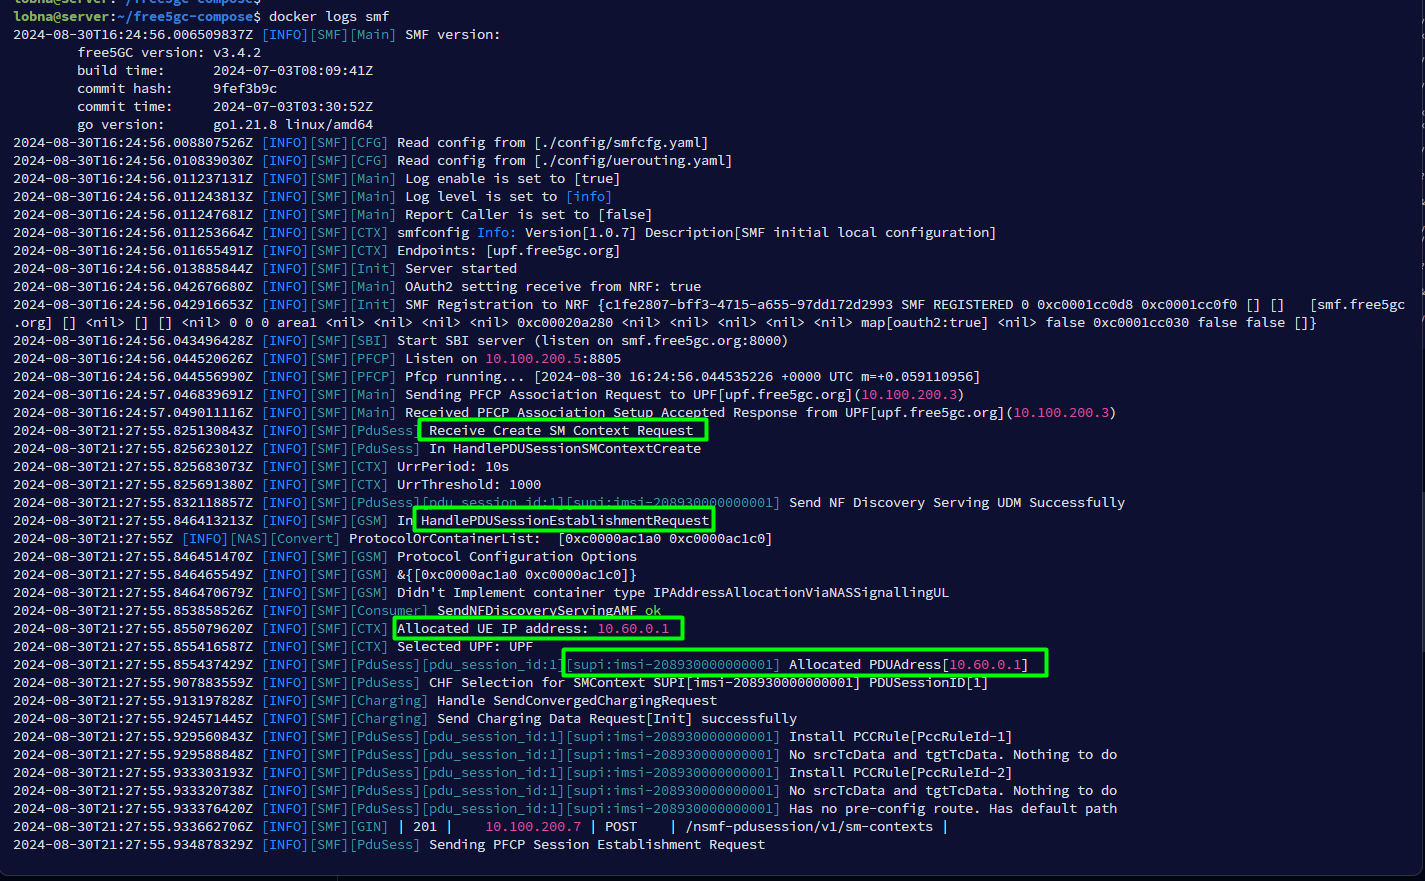
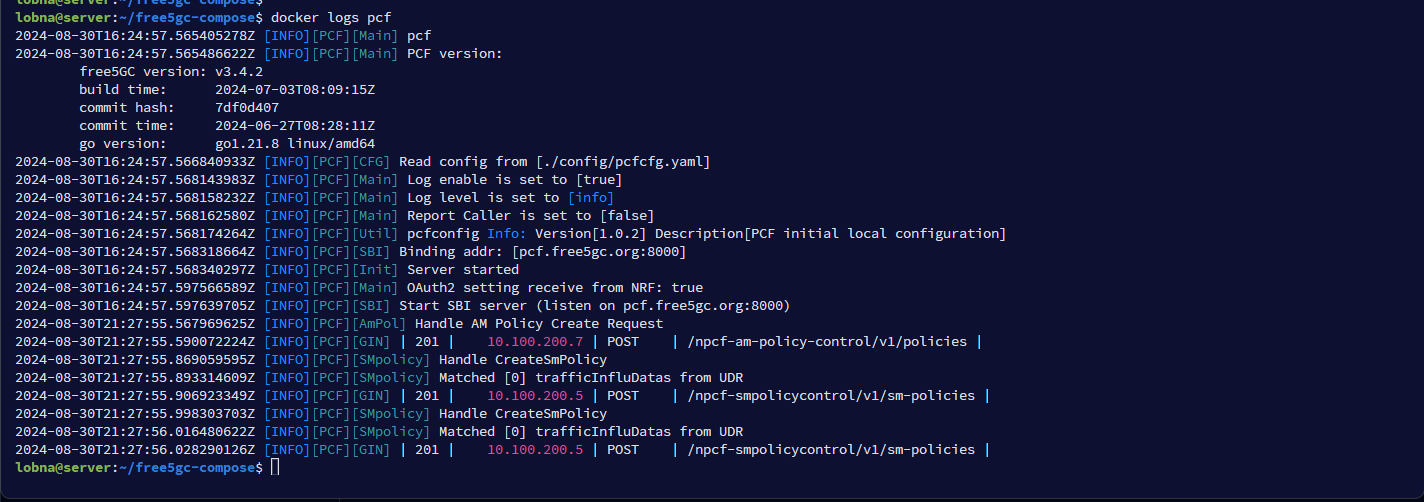
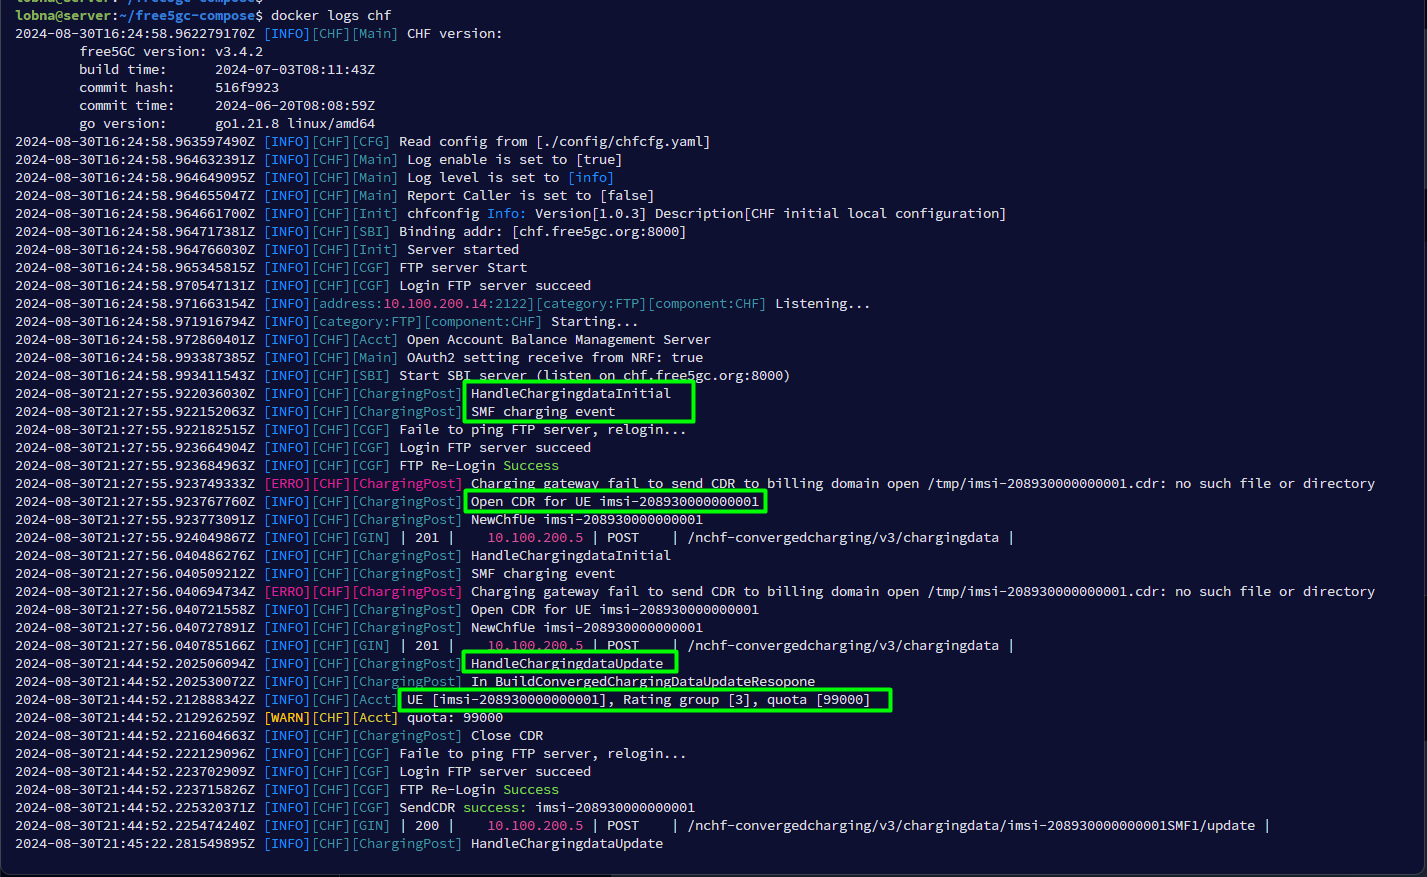
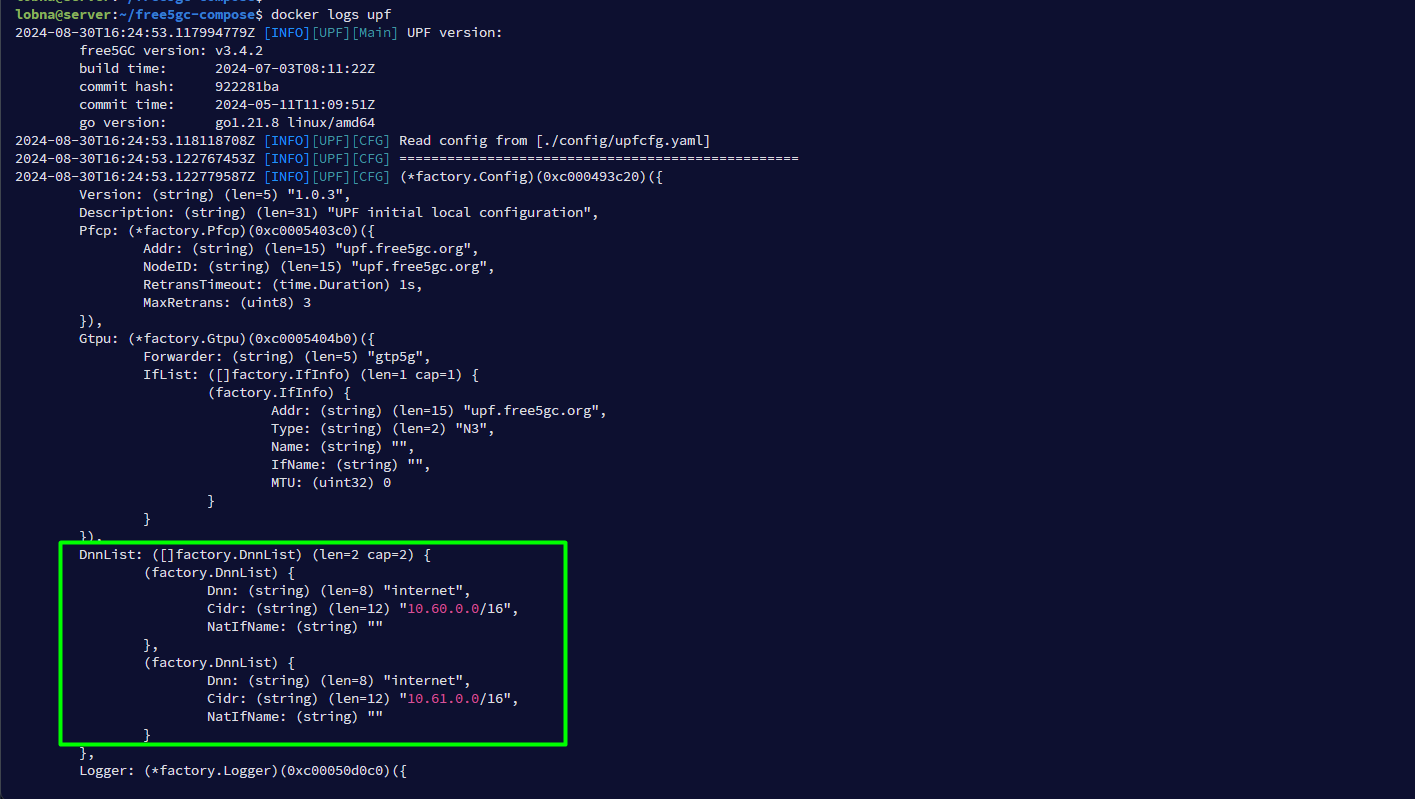
We can also check the logs from 5G core side in order to see the interaction between 5G core NFs during the test. docker logs command can be used for this.
- NRF logs
docker logs nrf
- NSSF logs
docker logs nssf

- AMF logs
docker logs amf
- AUSF logs
docker logs ausf
- UDM logs
docker logs udm
- UDR logs
docker logs udr
- SMF logs
docker logs smf
- PCF logs
docker logs pcf
- CHF logs
docker logs chf
- UPF logs
docker logs upf
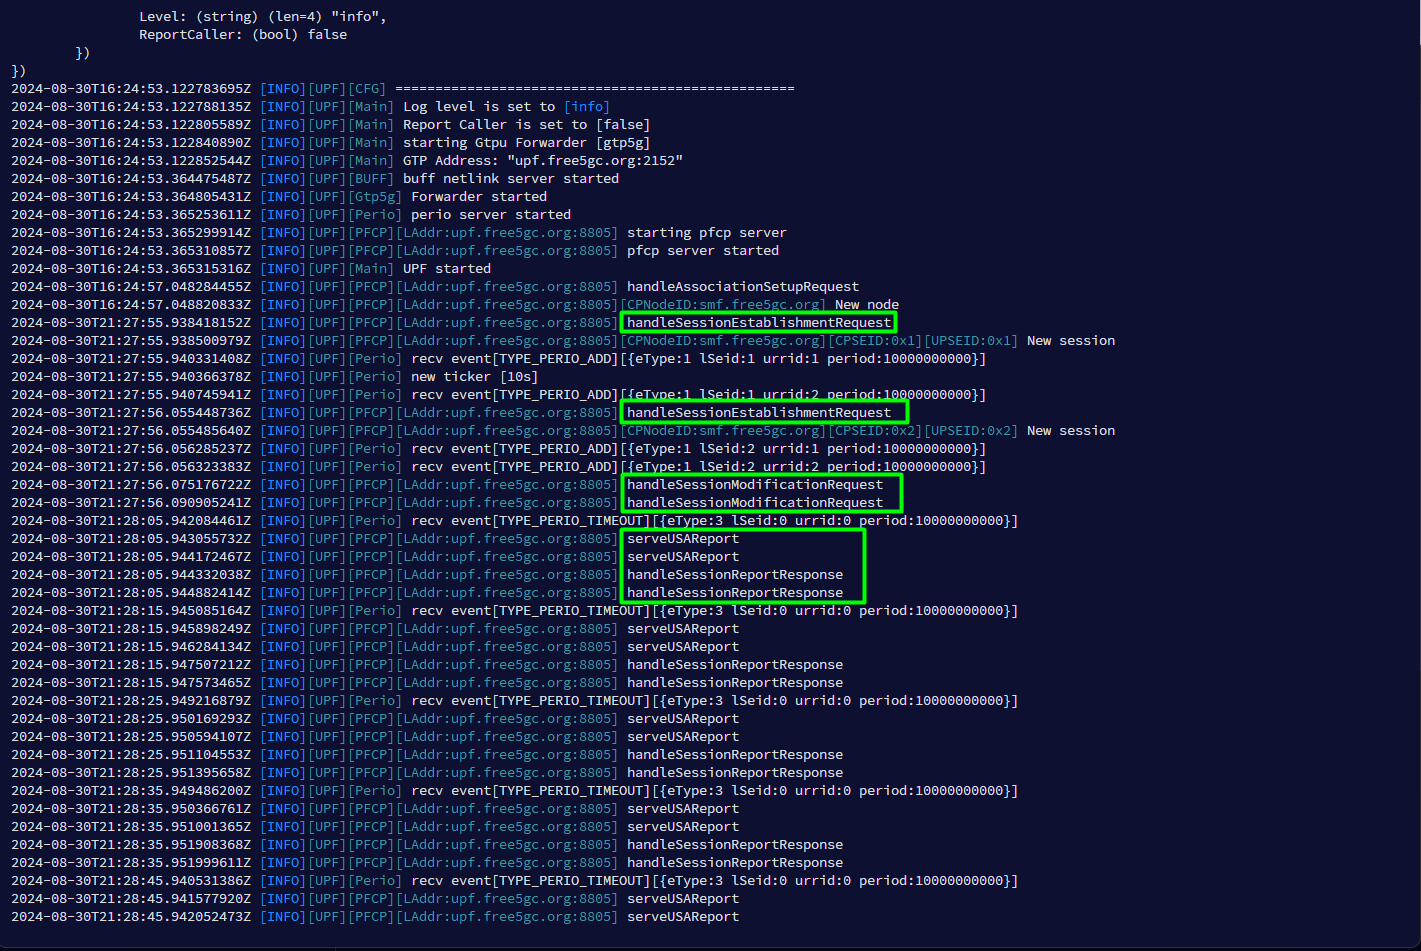
That's all! In the next article, we will try to play with 5GC NFs config files and look closer into 5GC procedures.
Subscribe to my newsletter
Read articles from Lobna Ahmed directly inside your inbox. Subscribe to the newsletter, and don't miss out.
Written by
