DevSecOps with Kubernetes: Deploying a Secure Tetris Game on AWS EKS
 Saurabh Adhau
Introduction
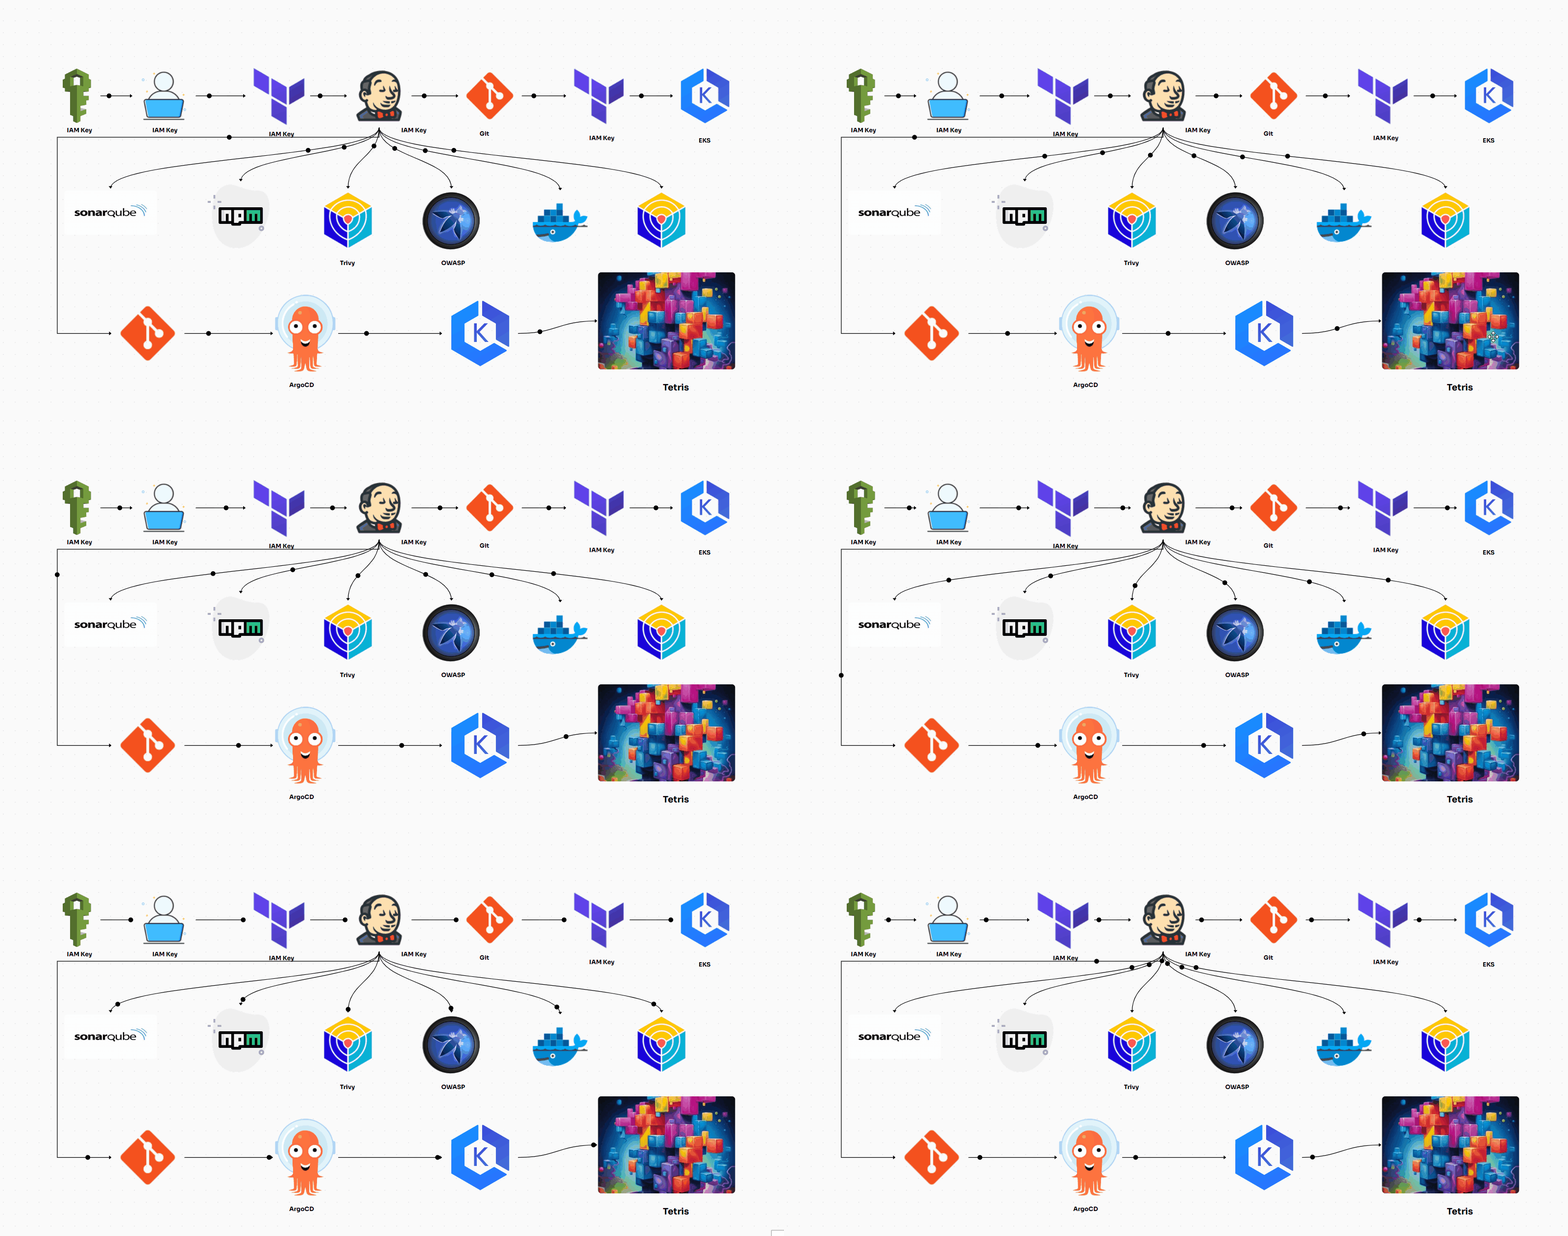
Welcome to the End-to-End DevSecOps Kubernetes Project! This comprehensive guide is designed to set up a robust DevSecOps pipeline on Amazon Web Services (AWS) using Kubernetes. The project focuses on deploying a Tetris game application on an Amazon Elastic Kubernetes Service (EKS) cluster, all while incorporating best practices for security and automation.
Step 1: Set Up Terraform
Please follow the Step 1 from the below article:
Step 2: Configure AWS
Step 3: Clone the GitHub Repository
Clone the repository containing the Tetris deployment scripts:
git clone https://github.com/Saurabh-DevOpsVoyager77/Tetris-v1.git
Step 4: Setup IAM User
- Go to the AWS Console, Search for IAM, Click on Users, and Give name to it
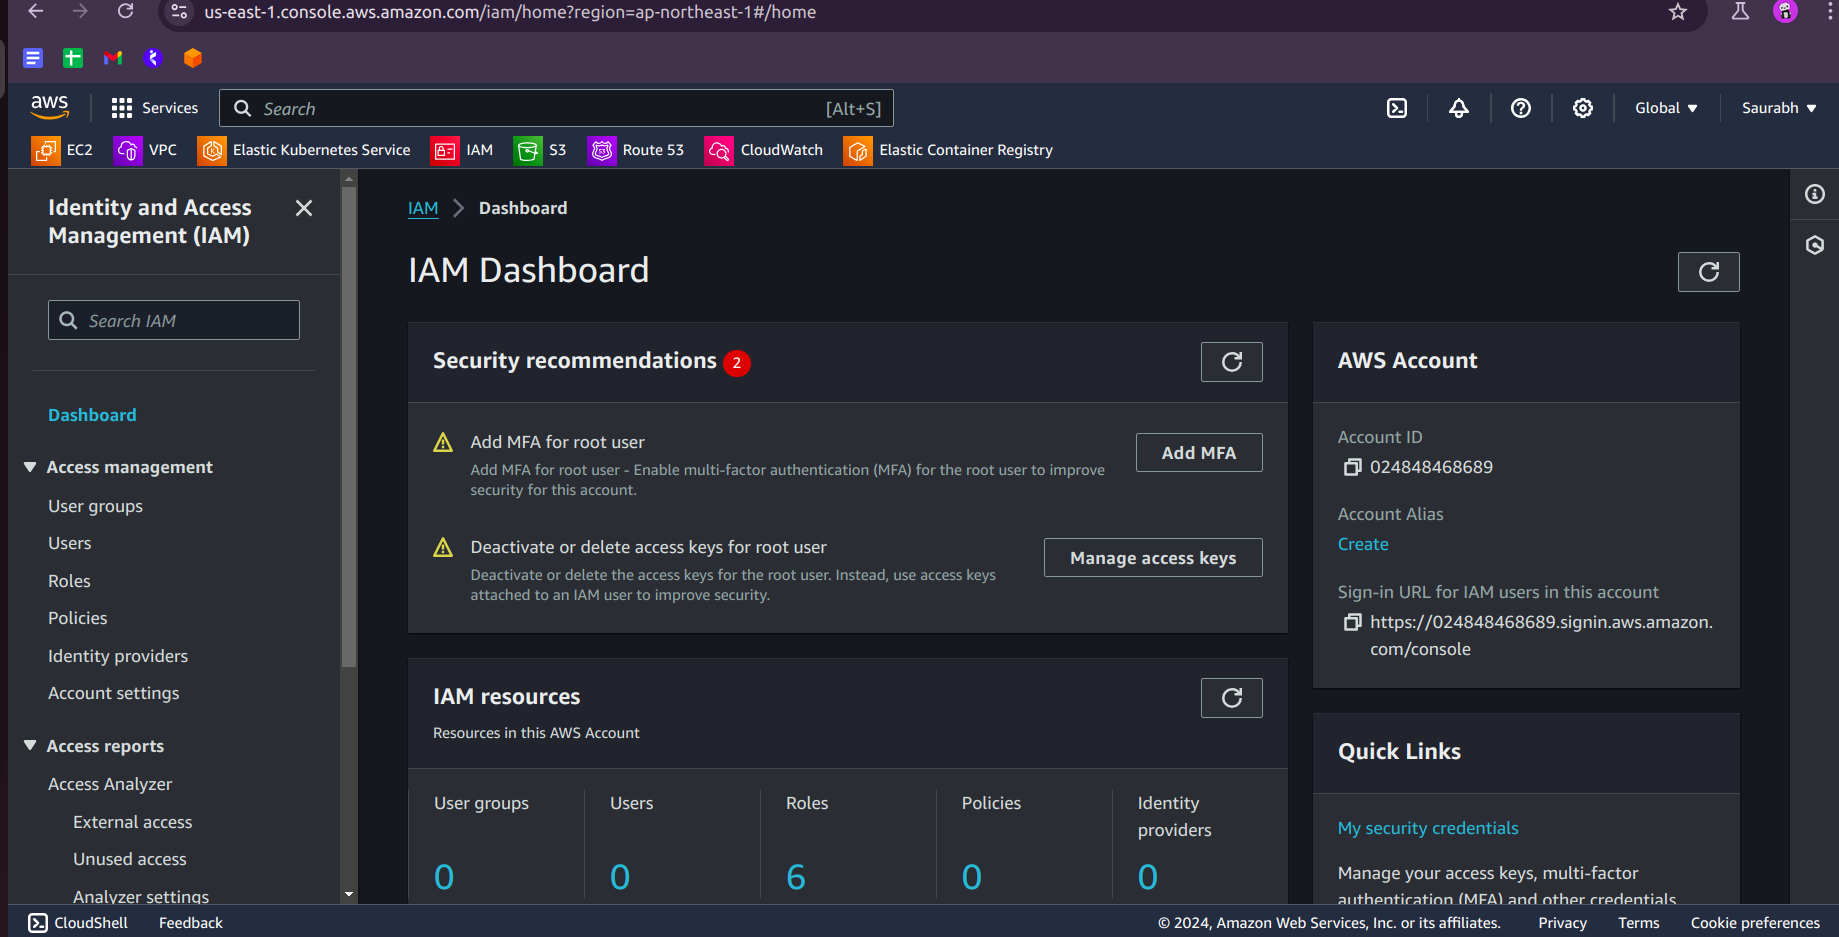
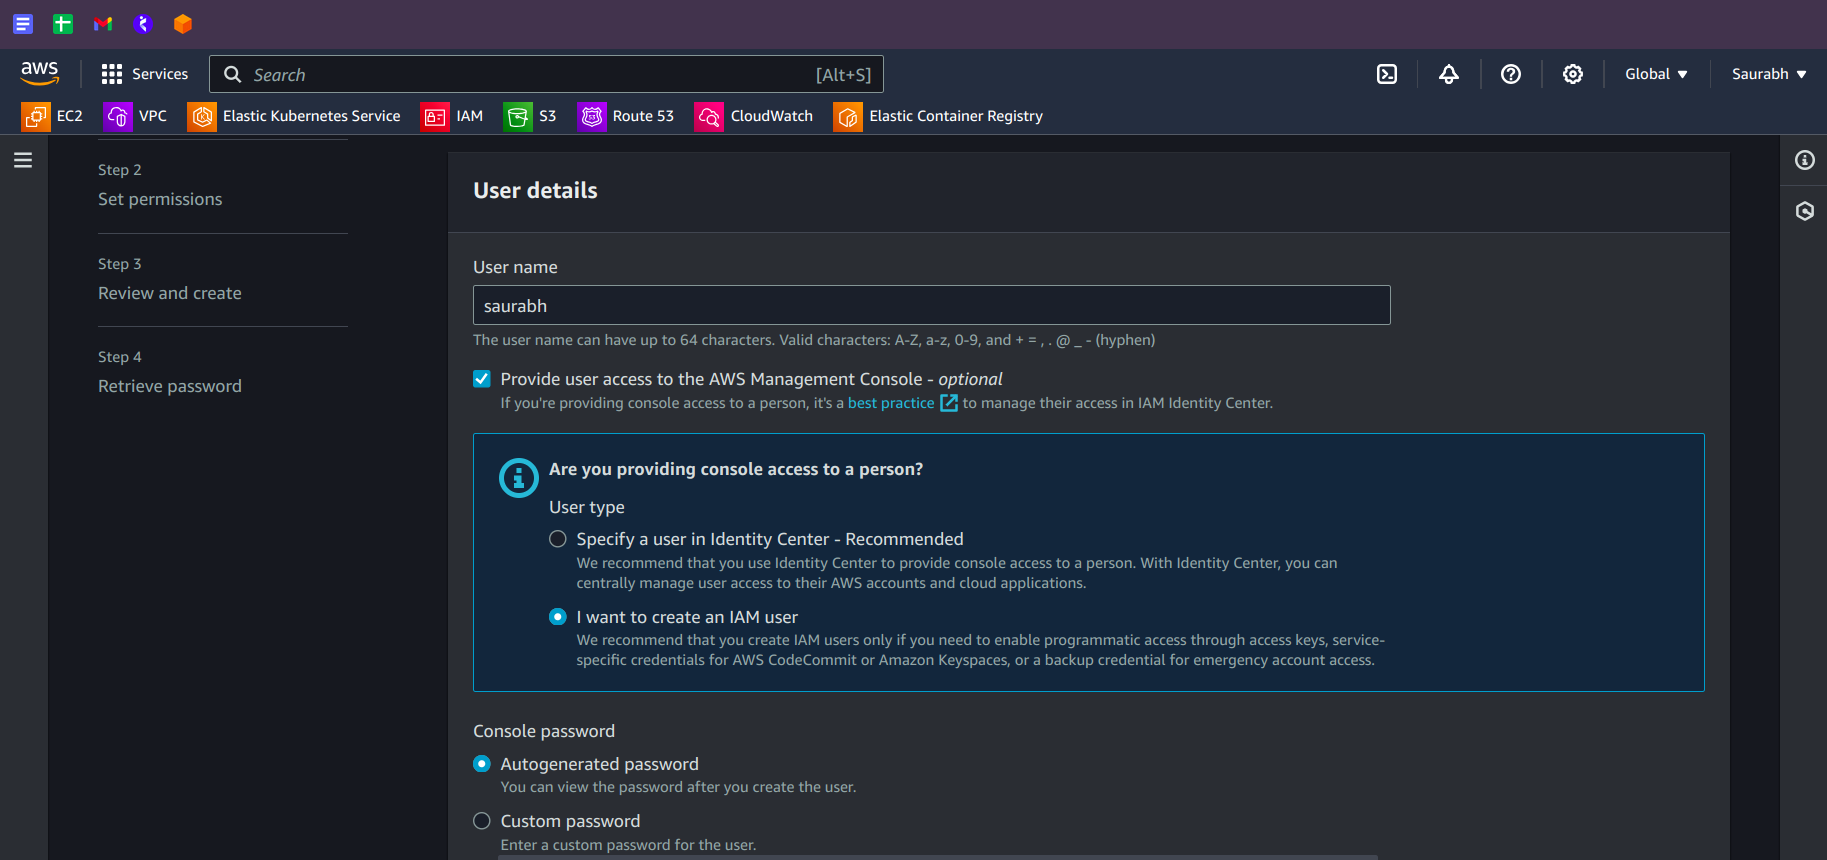
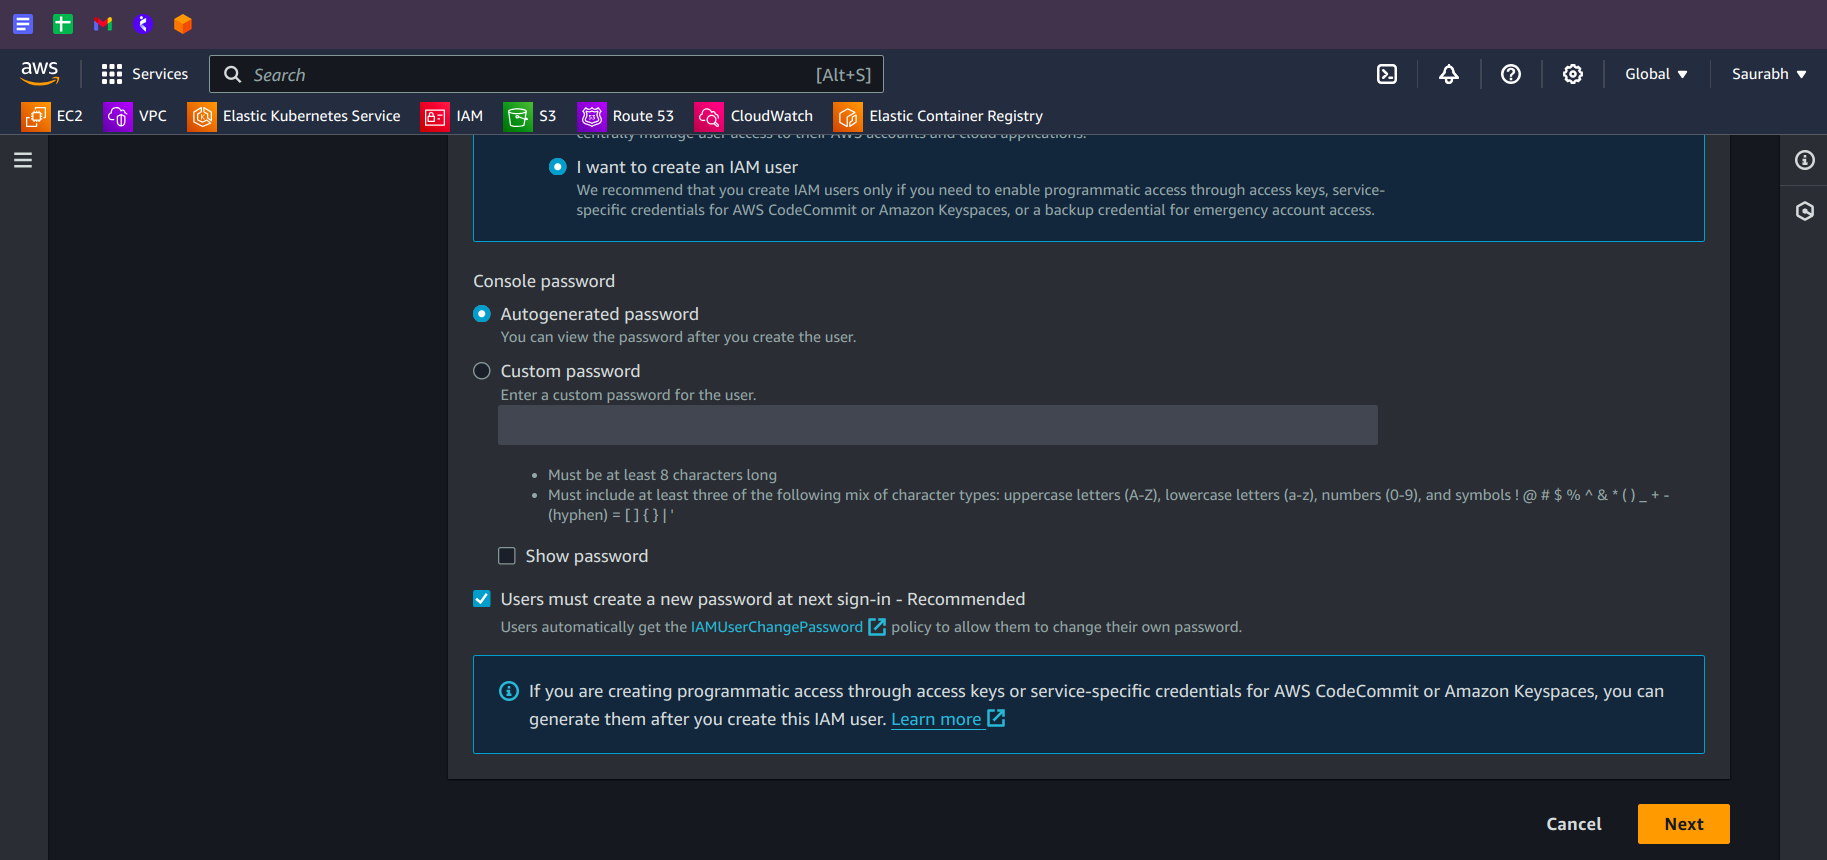
Click on Next and Attach policies directly.
Click on Review and Create.
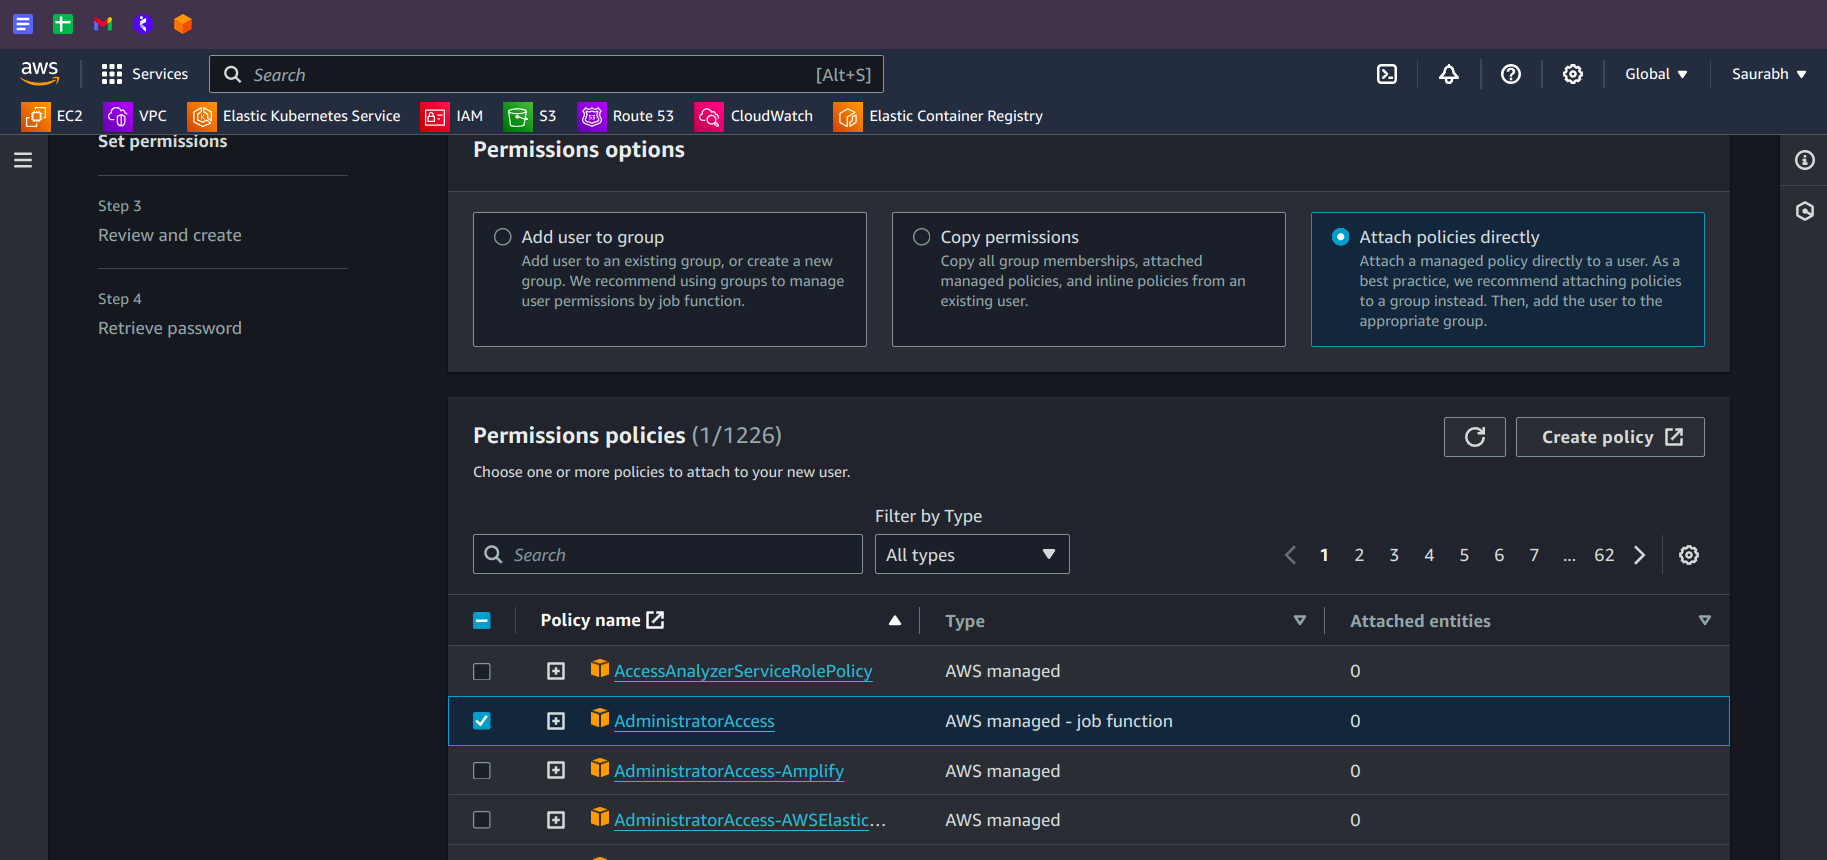
- Check into the permission and Policies.
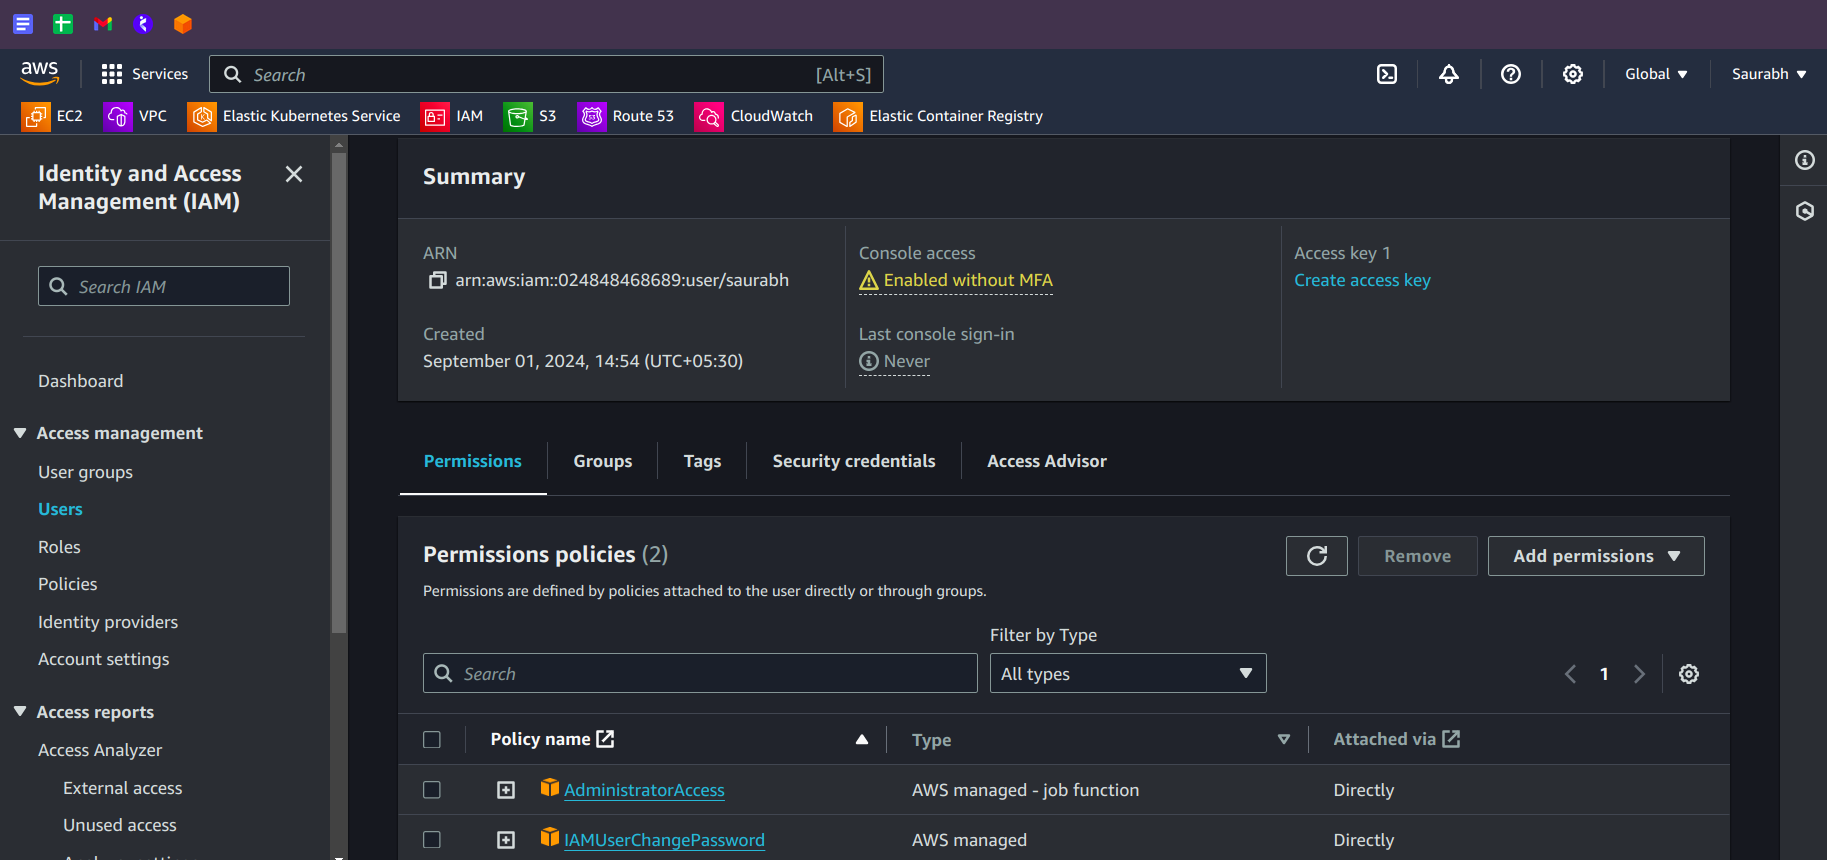
- Go to the Security Credentials
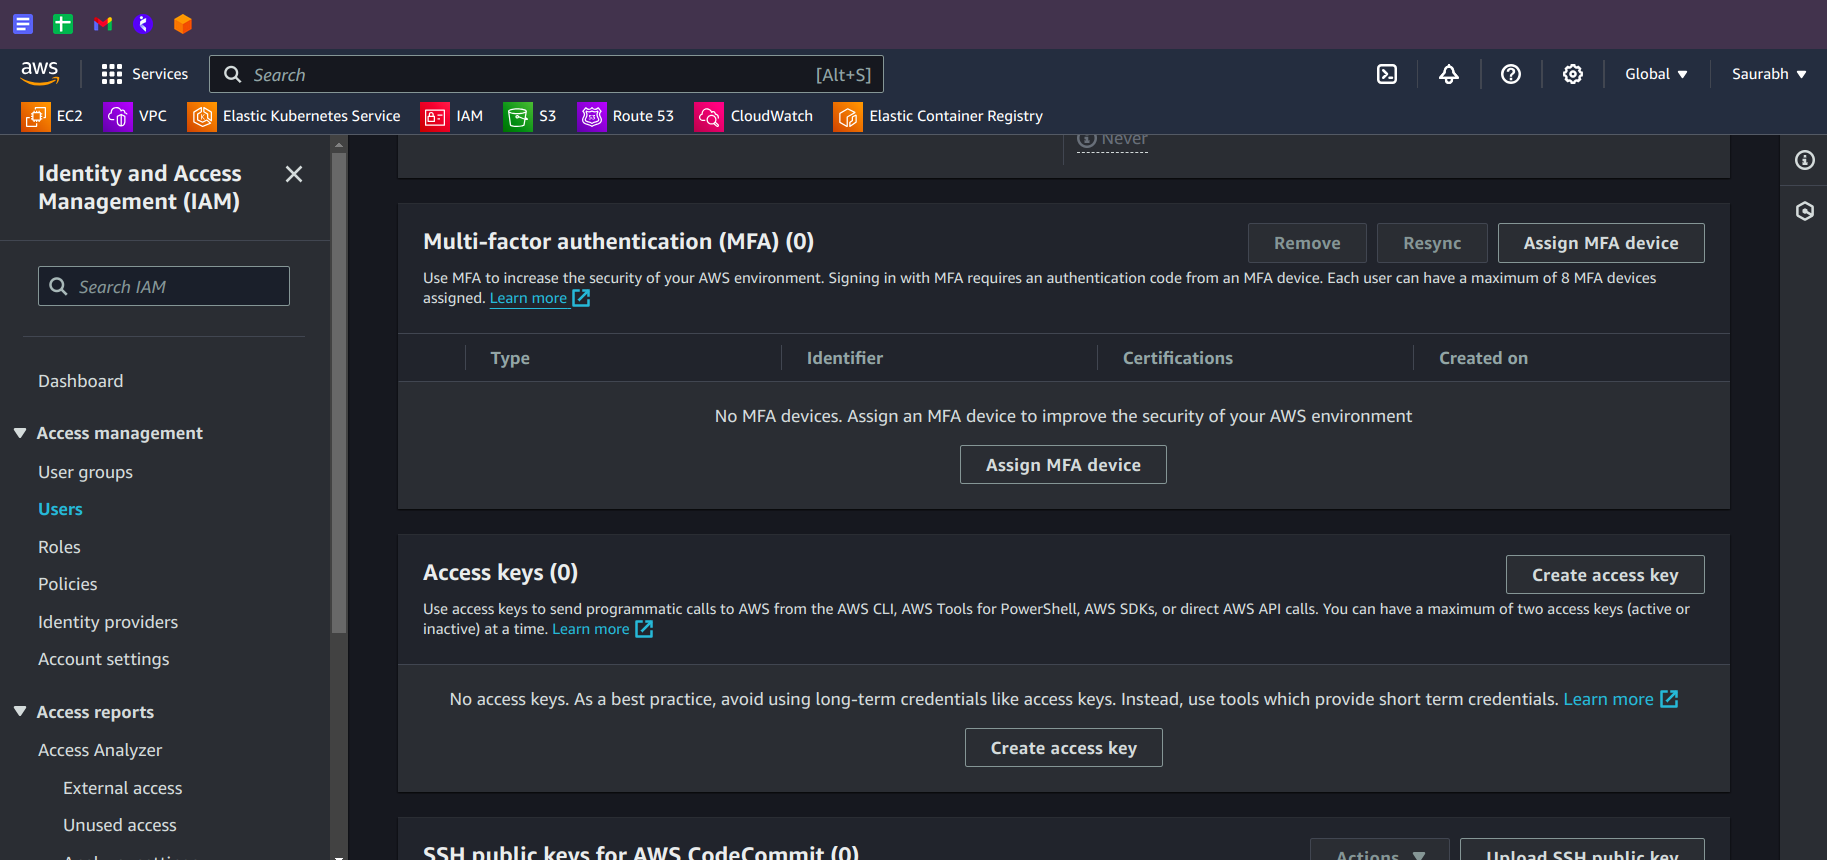
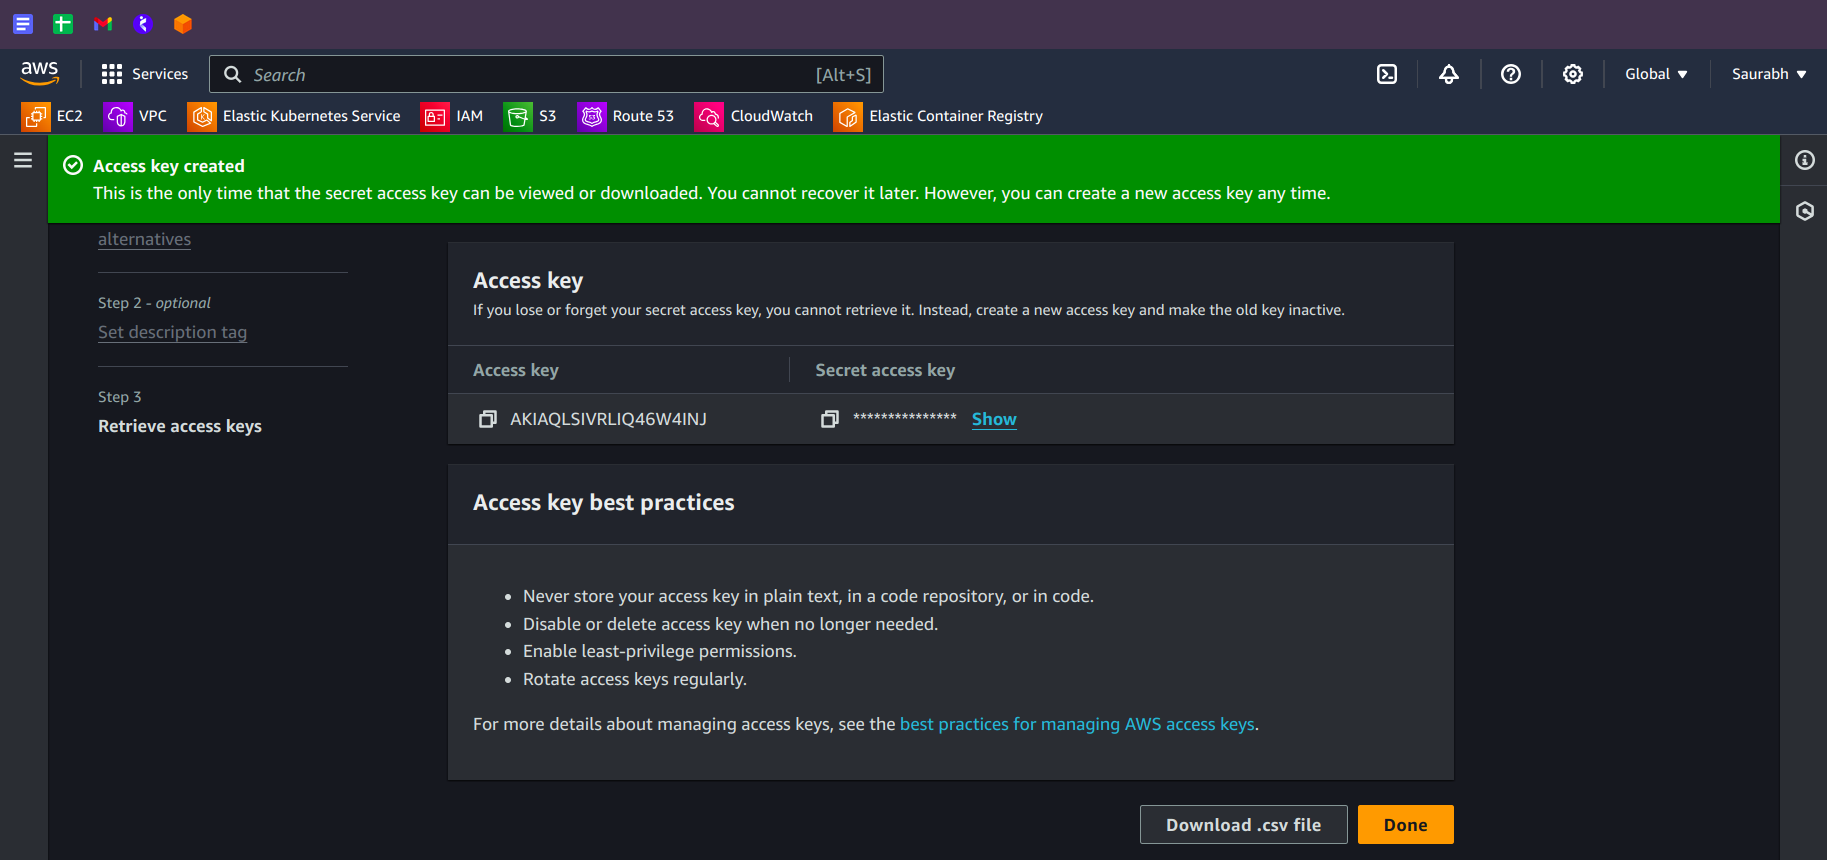
- Click on Create access key. Follow the below process
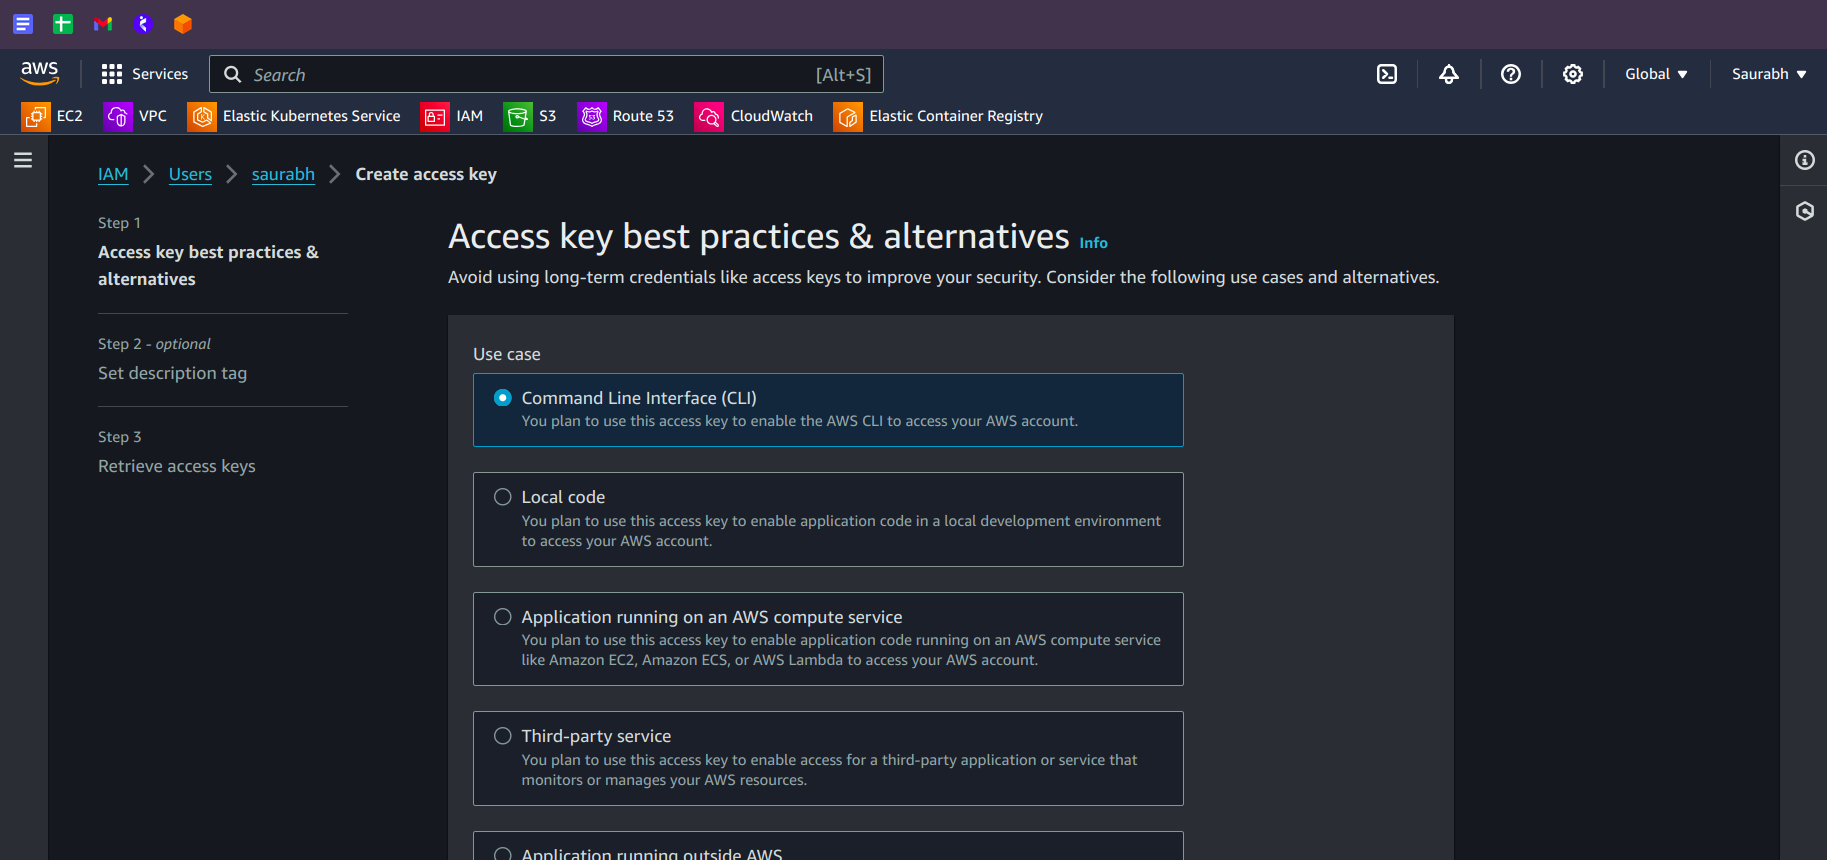
- Click on Next.
Step 5: Building a Jenkins Server using Terraform
We'll build a simple infrastructure using Terraform. The infrastructure includes a user data script that installs Jenkins, Docker, and Trivy and starts a SonarQube container on port 9000. We'll run the Terraform commands to initialize, validate, plan, and apply the infrastructure configuration.
Run Terraform Commands:
cd Jenkins-terraform
terraform init
terraform validate
terraform plan
terraform apply --auto-approve
Step 6: Set Up Jenkins
A. Jenkins
Log into Jenkins server
Now, we have to configure Jenkins. So, copy the public IP of your Jenkins Server and paste it on your favorite browser with an 8080 port.
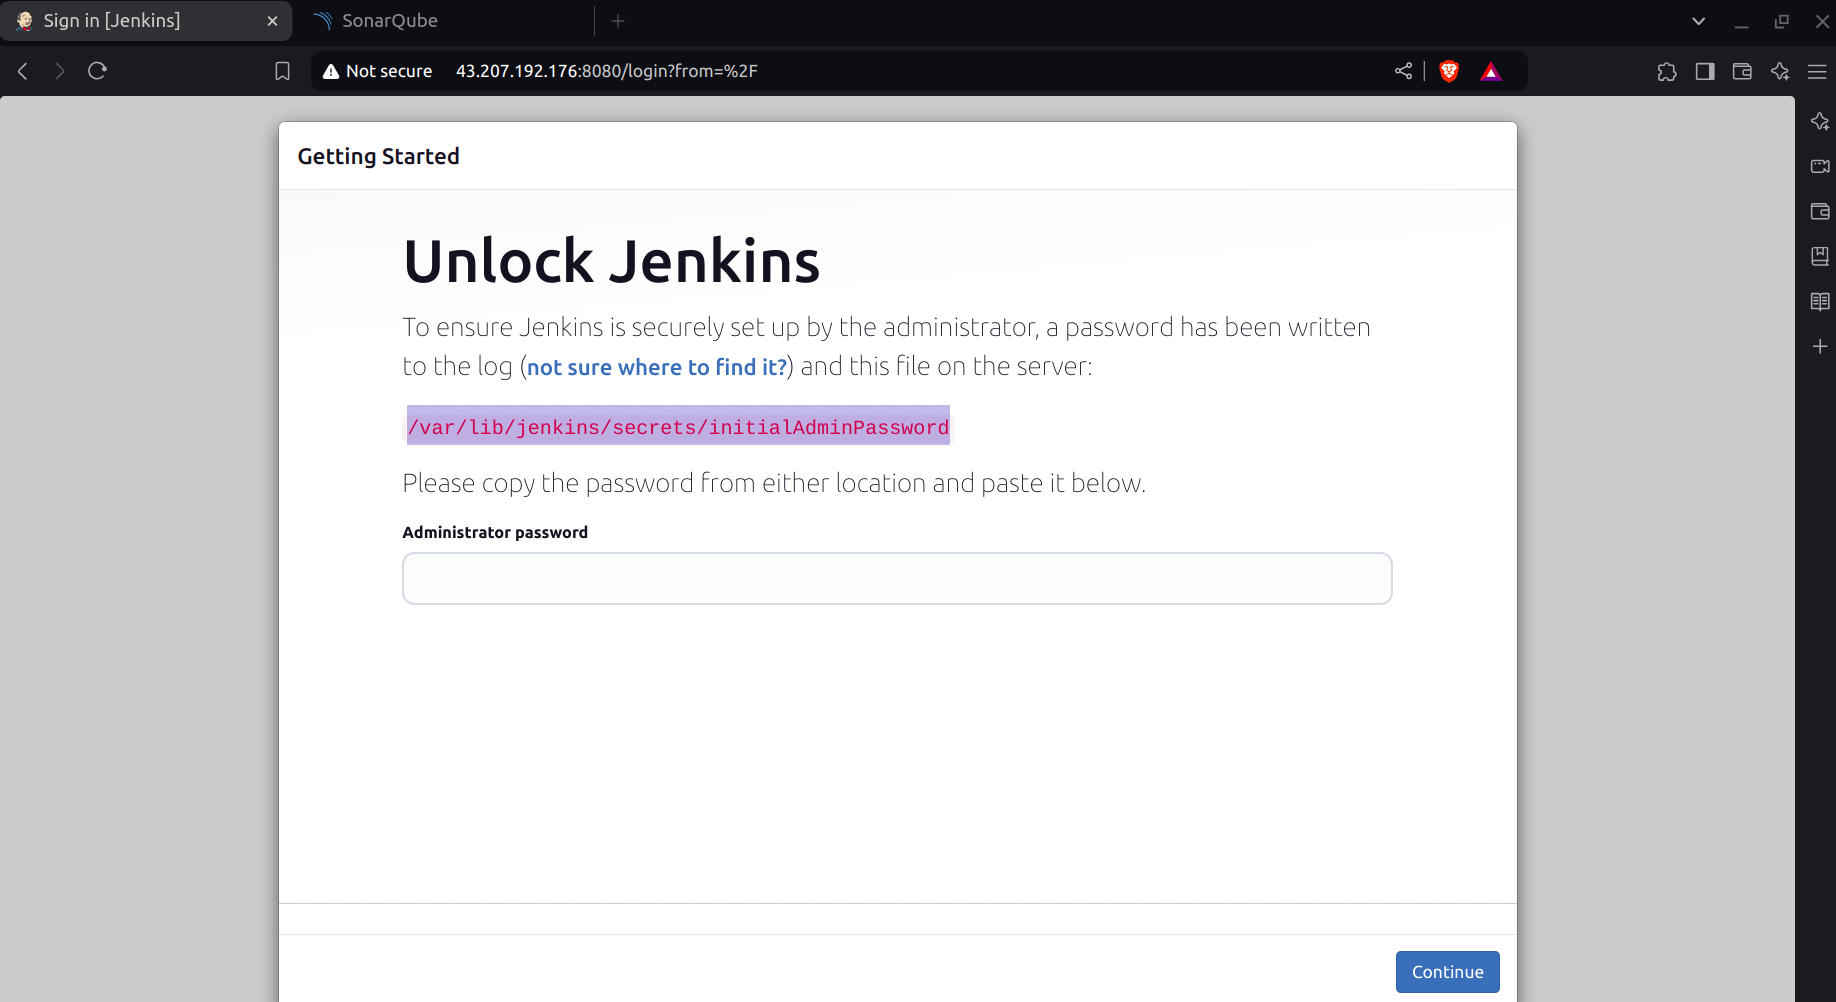
- Now, run the below command to get the administrator password and paste it on your Jenkins.
sudo cat /var/lib/jenkins/secrets/initialAdminPassword
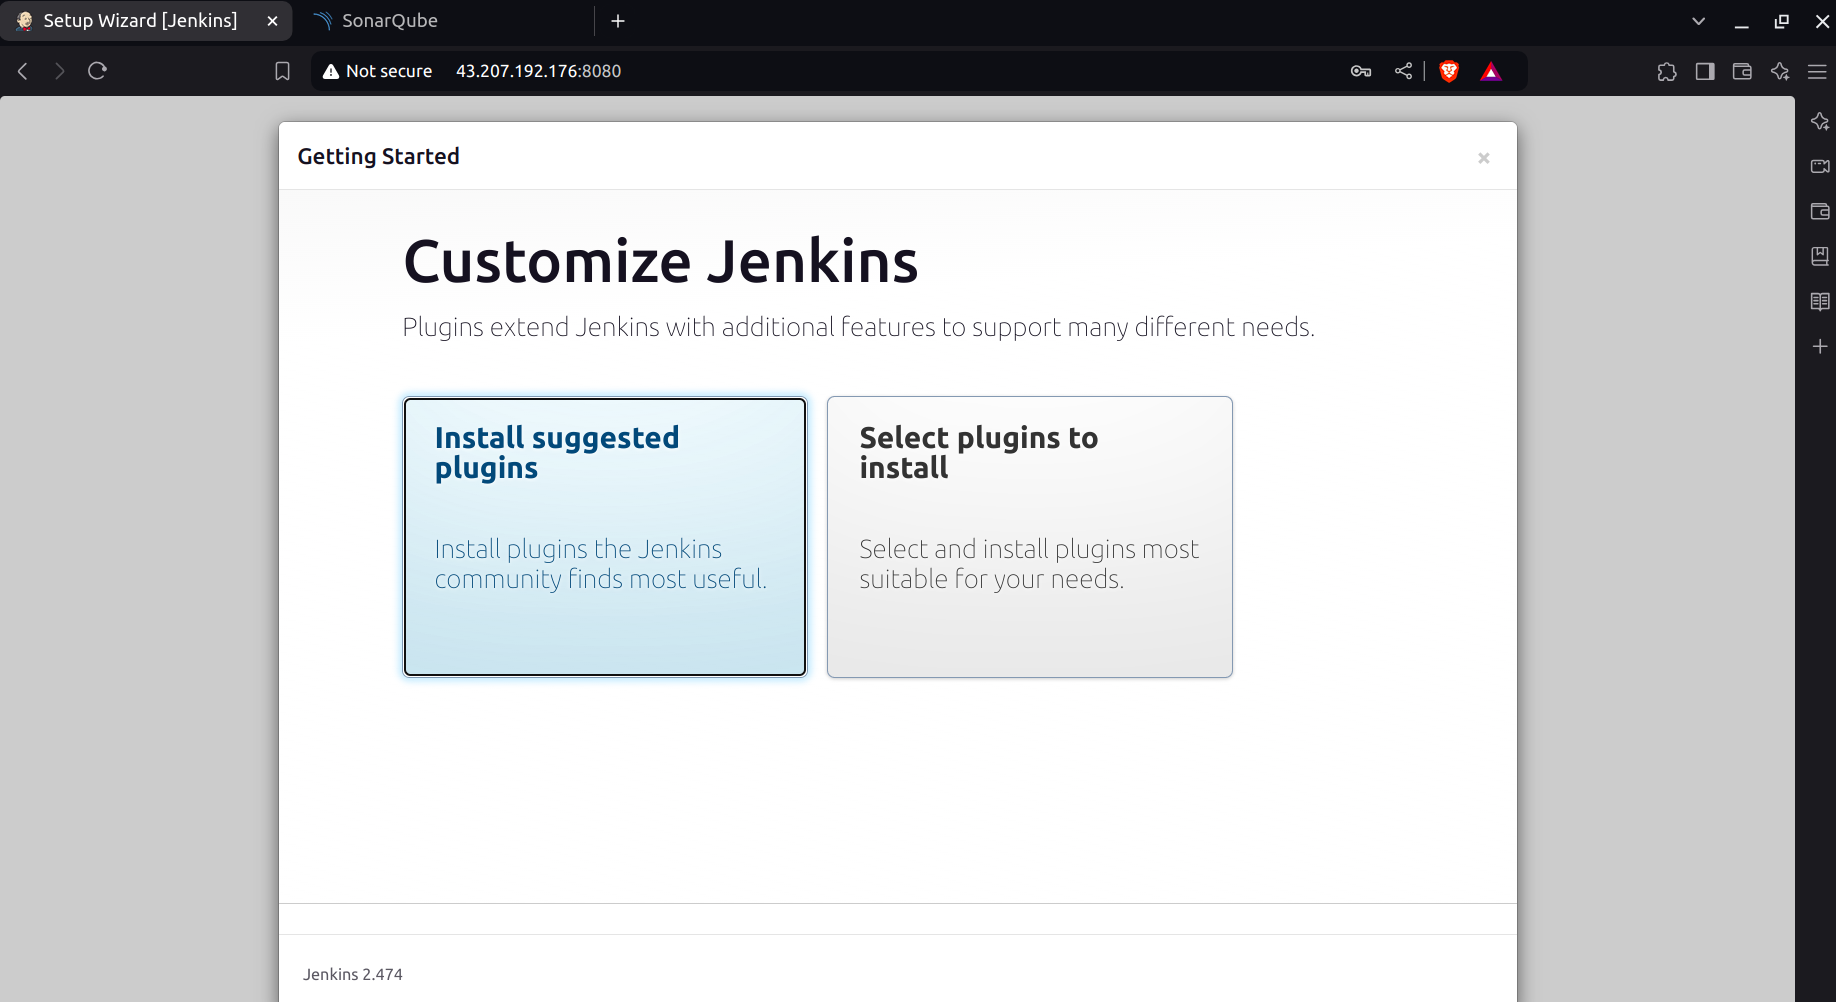
- Click on Install suggested plugins
- Give username and all details as per your requirement
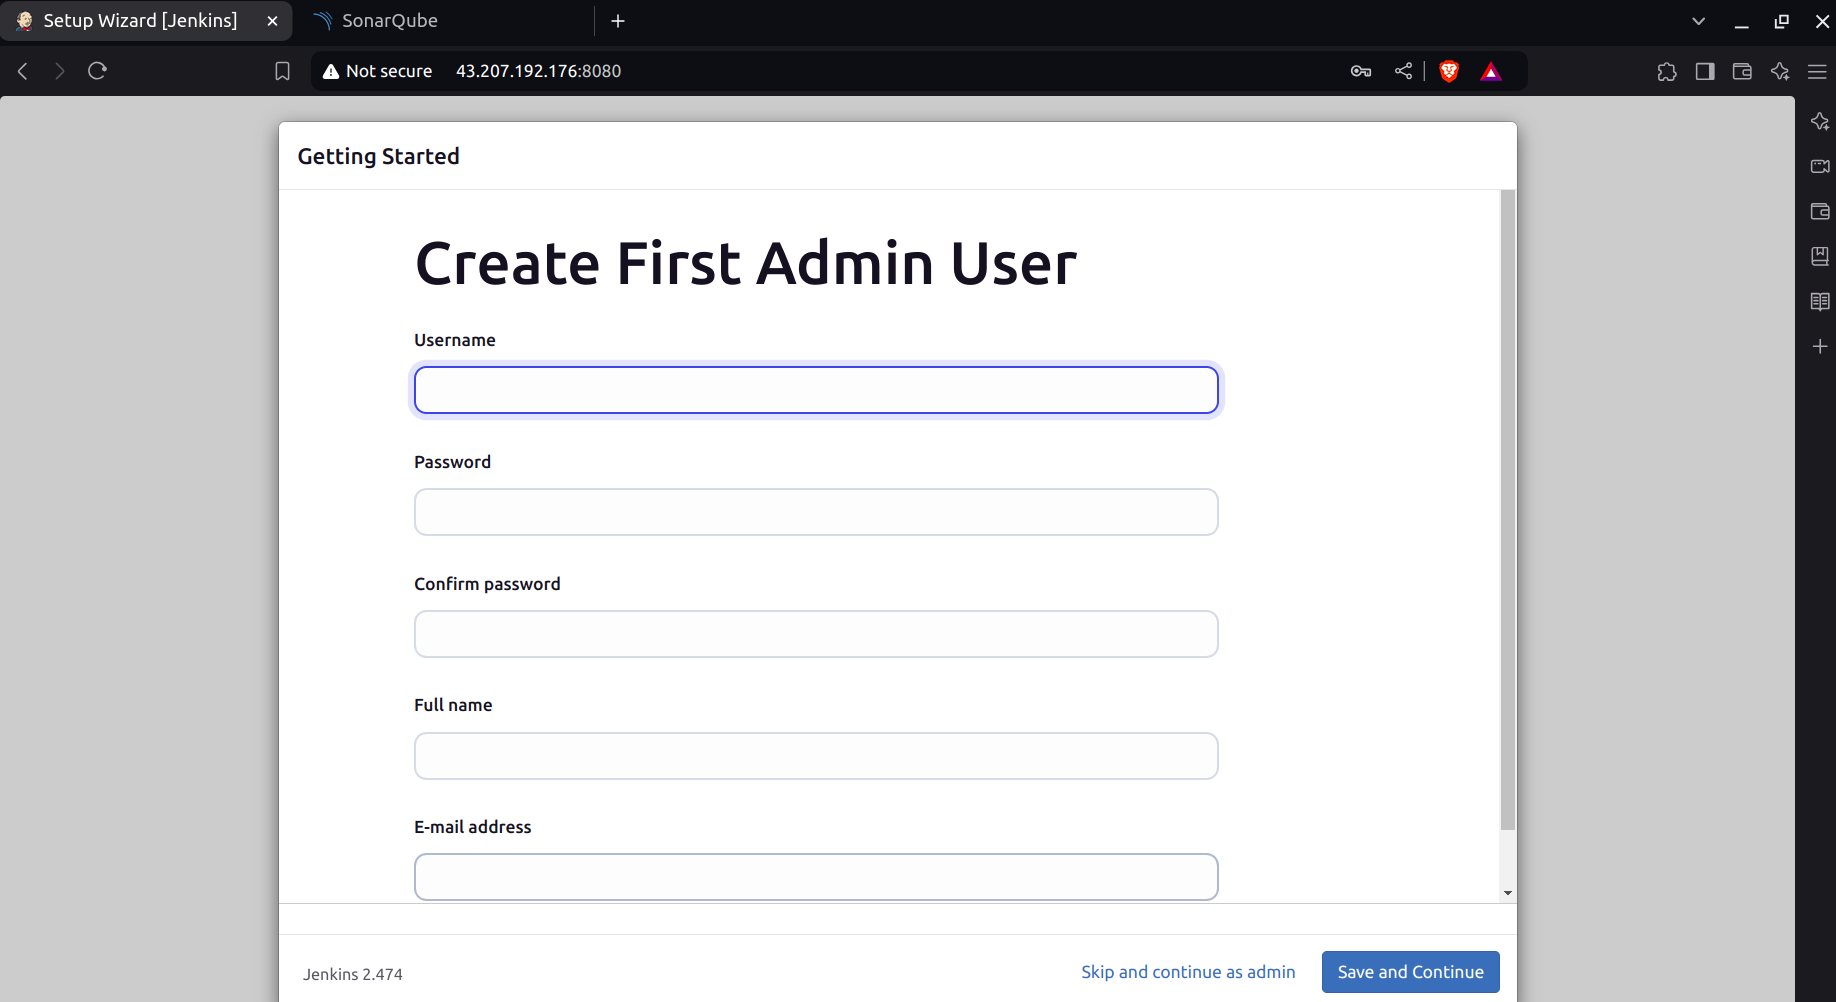
- Click on Save and Finish.
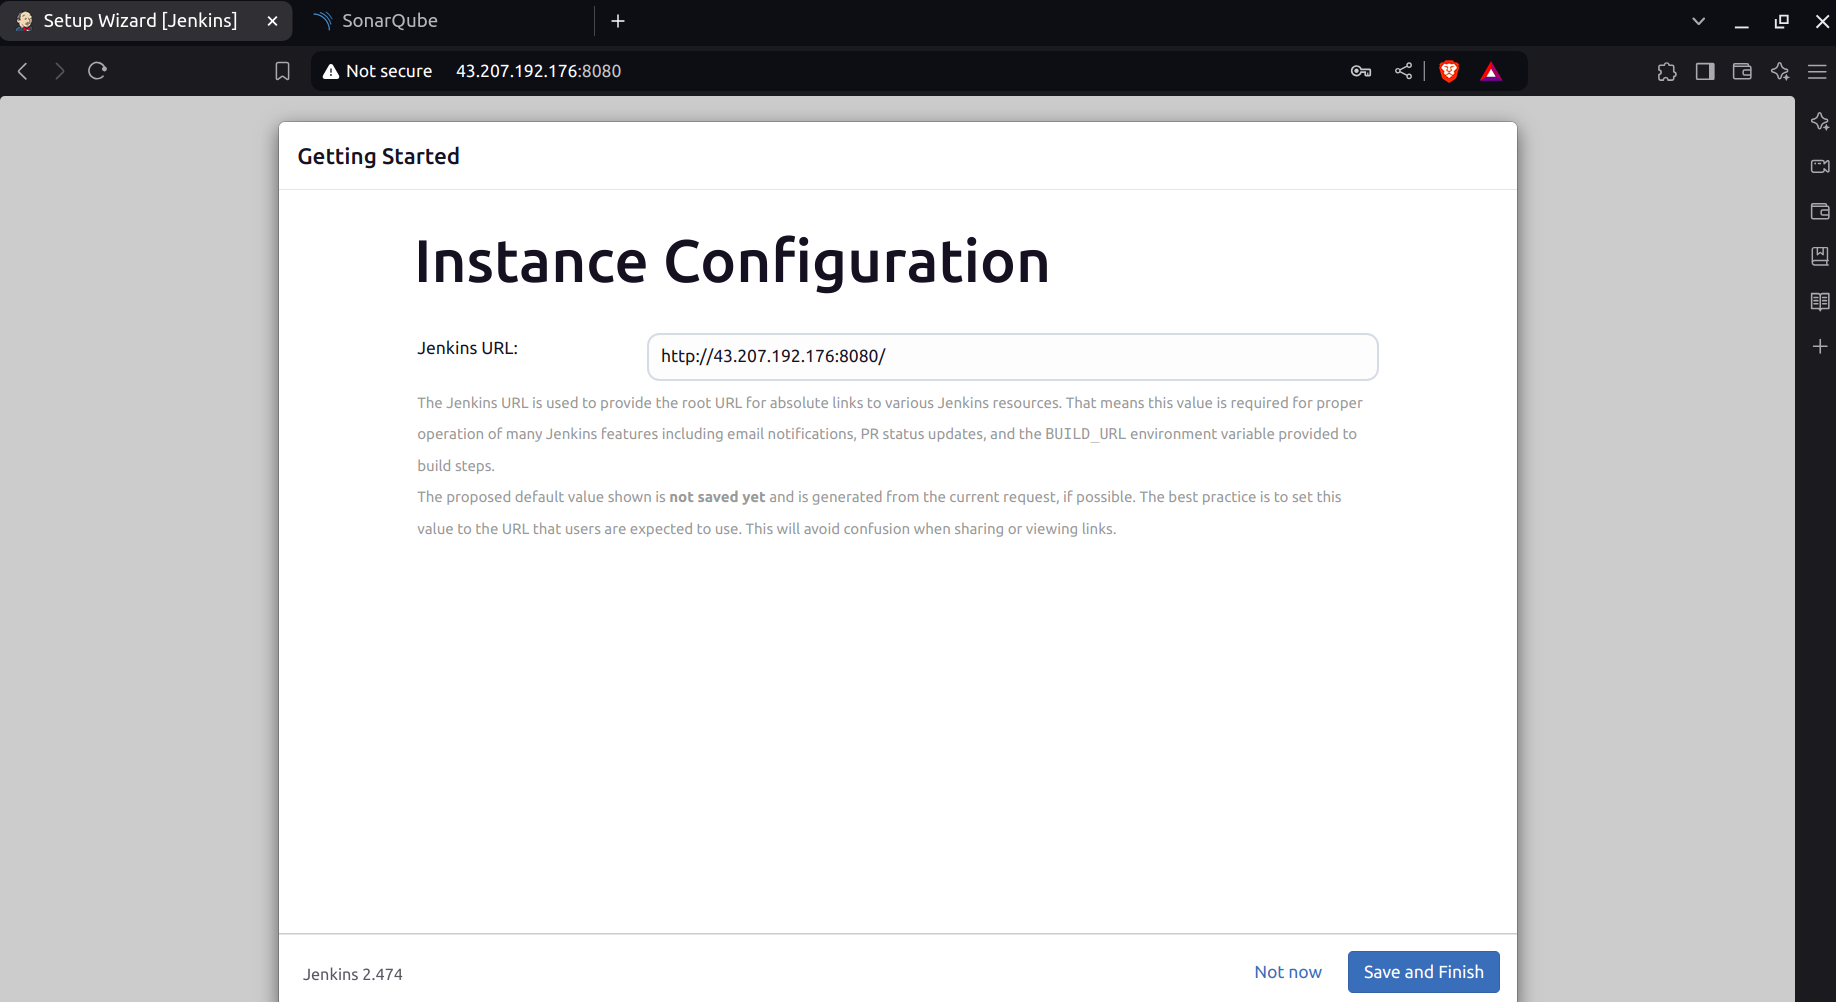
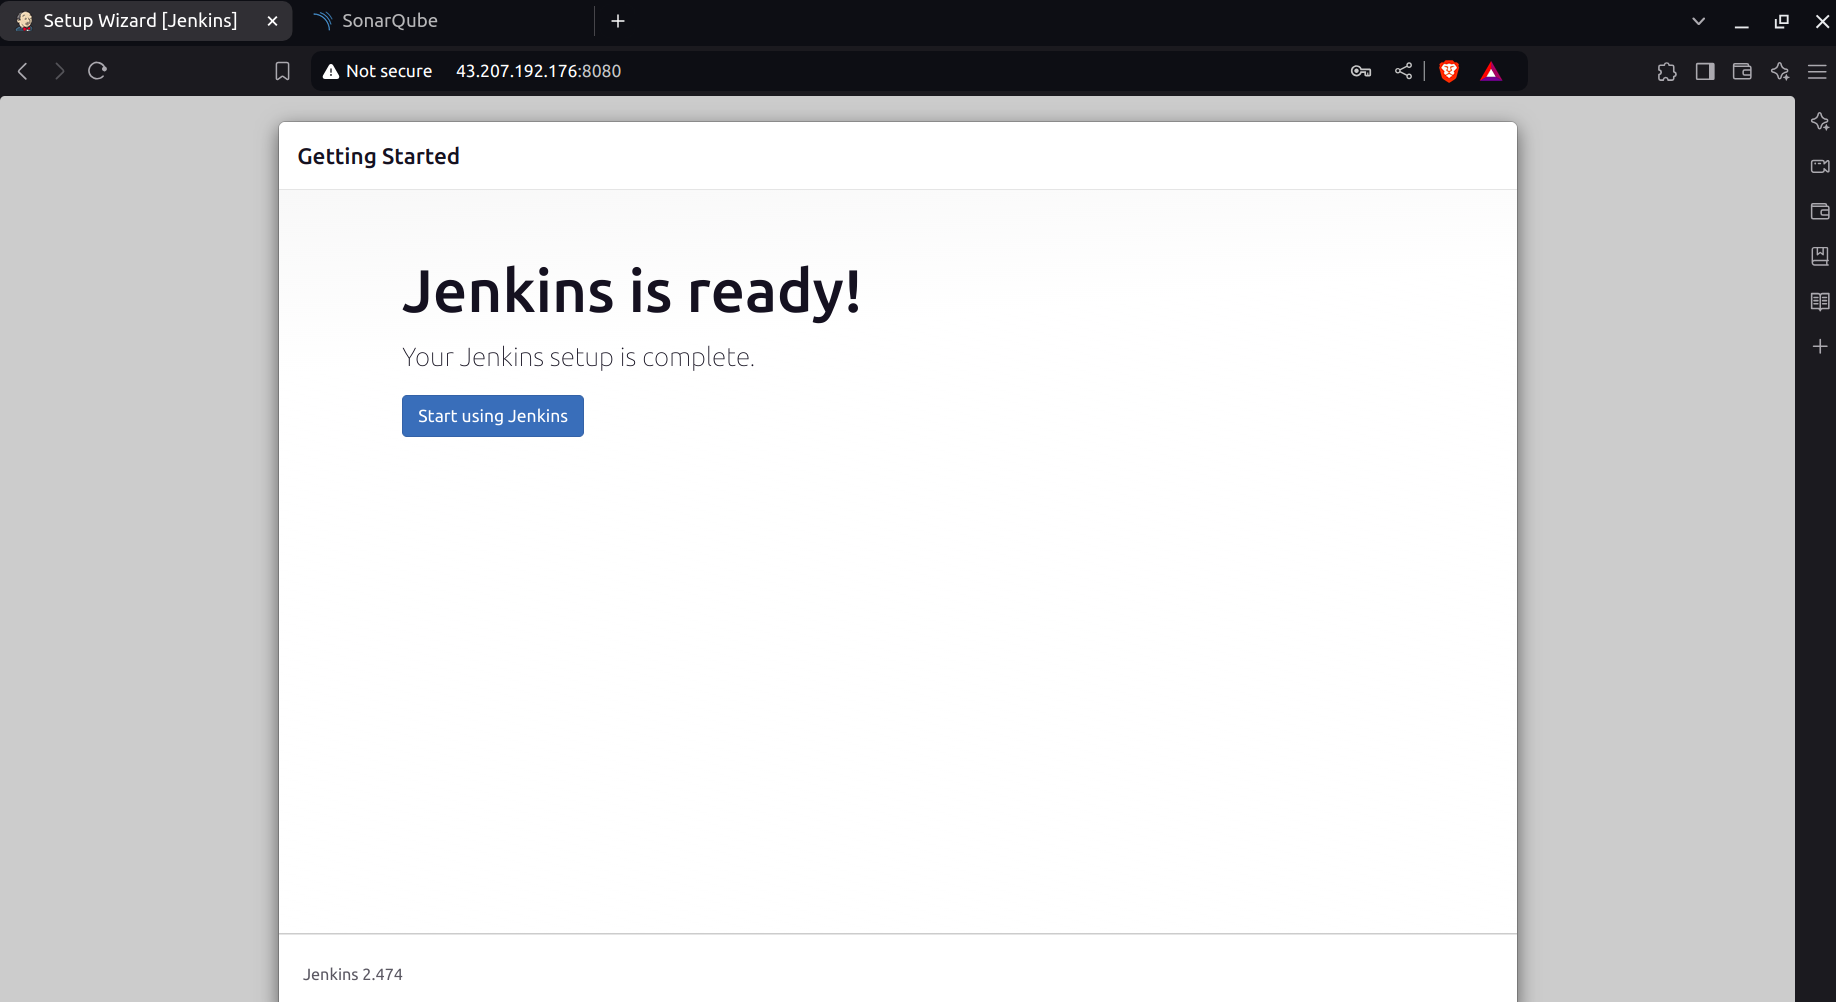
- Click on Start using Jenkins
B. SonarQube
Copy the public IP of your Instance.
Open your browser and navigate to
<public-ip>:9000.

- When the SonarQube window opens, log in with the initial credentials:
Username: admin
Password: admin
Update your password with the New Password.
You will see SonarQube's welcome window.

Step 7: CI/CD Pipeline
A. Installation of Plugins
Go to the Jenkins Dashboard -> Manage Jenkins -> Plugins and Install the Following Plugins:
Eclipse Temurin Installer: Install without restart
SonarQube Scanner: Install without restart
NodeJs Plugin: Install without restart
OWASP Dependency-Check Plugin
Prometheus metrics: To monitor Jenkins on the Grafana dashboard
Download Docker-related Plugins: Docker, Docker Commons, Docker Pipeline, Docker API
Kubernetes
Kubernetes CLI
Kubernetes Client API
Kubernetes Pipeline DevOps Steps
AWS Credentials
Pipeline: AWS Steps
terraform
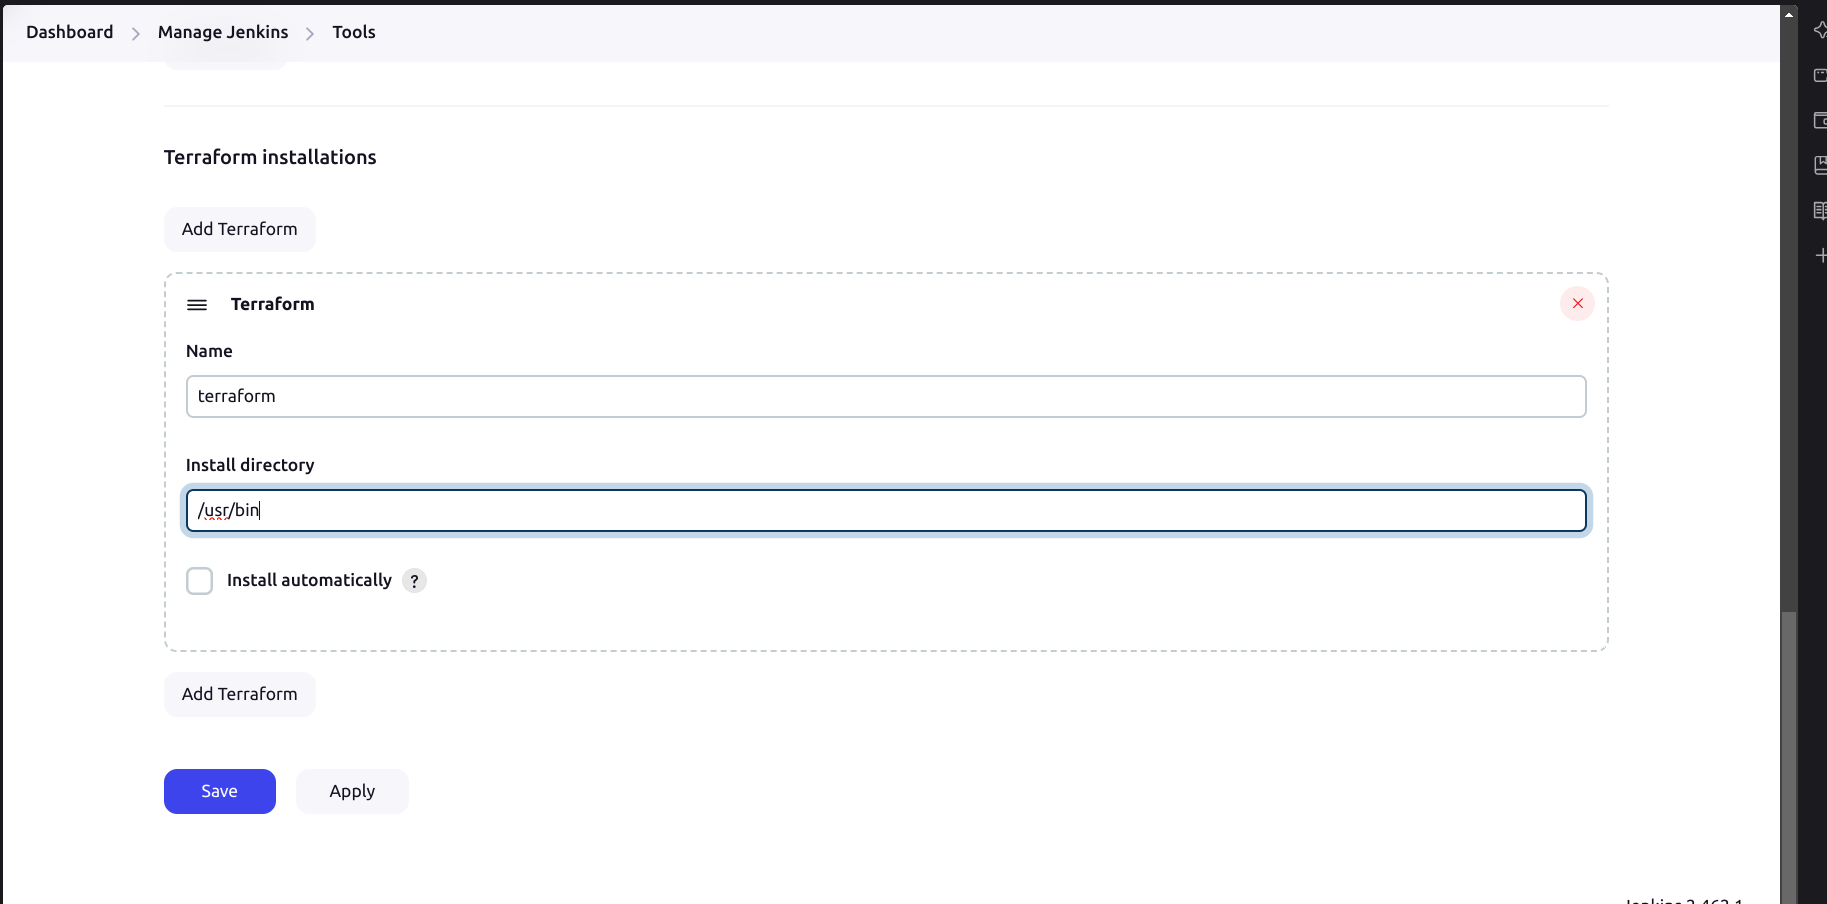
Now setup terraform plugin in Jenkins:
Go to Jenkins Dashboard → manage Jenkins → Tools
Give Install Directory like below
B. Create a Pipeline
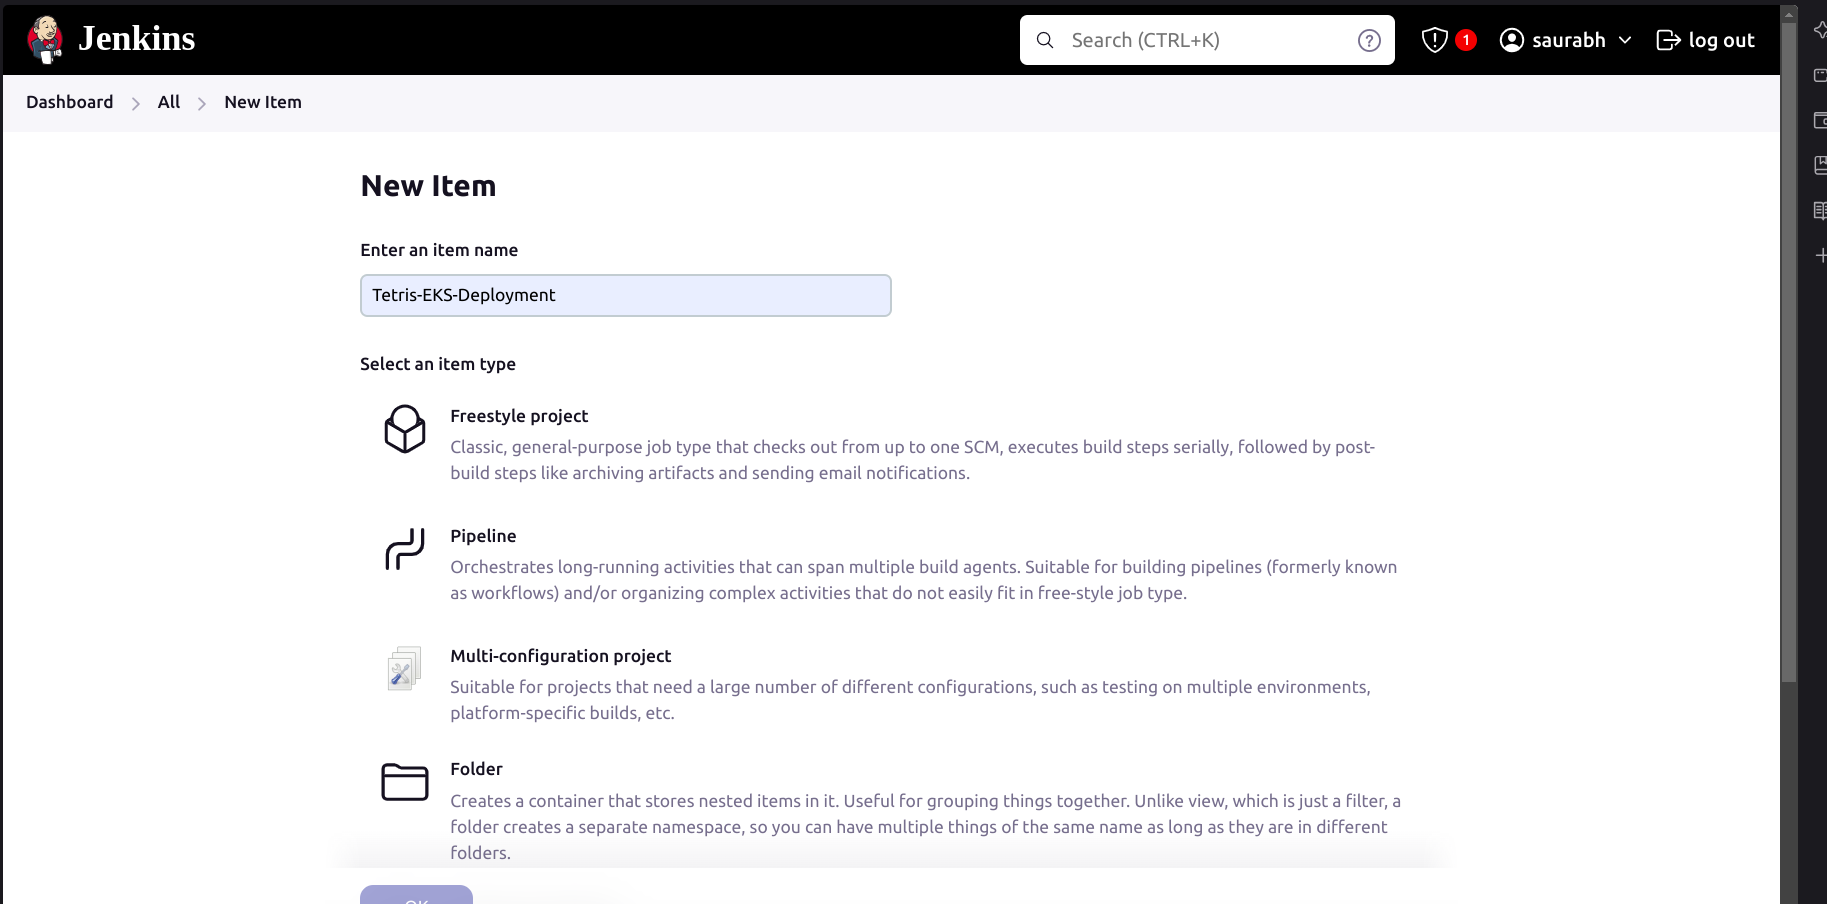
- Go to Dashboard → All → New Item, Select on Plugins and Give a name to your pipeline
Go to the Pipeline section and paste the script which is in the Repo, the file name is
Jenkins-Pipeline/Jenkinsfile-EKSSave and Apply. Then below screen will appear then click on Build.
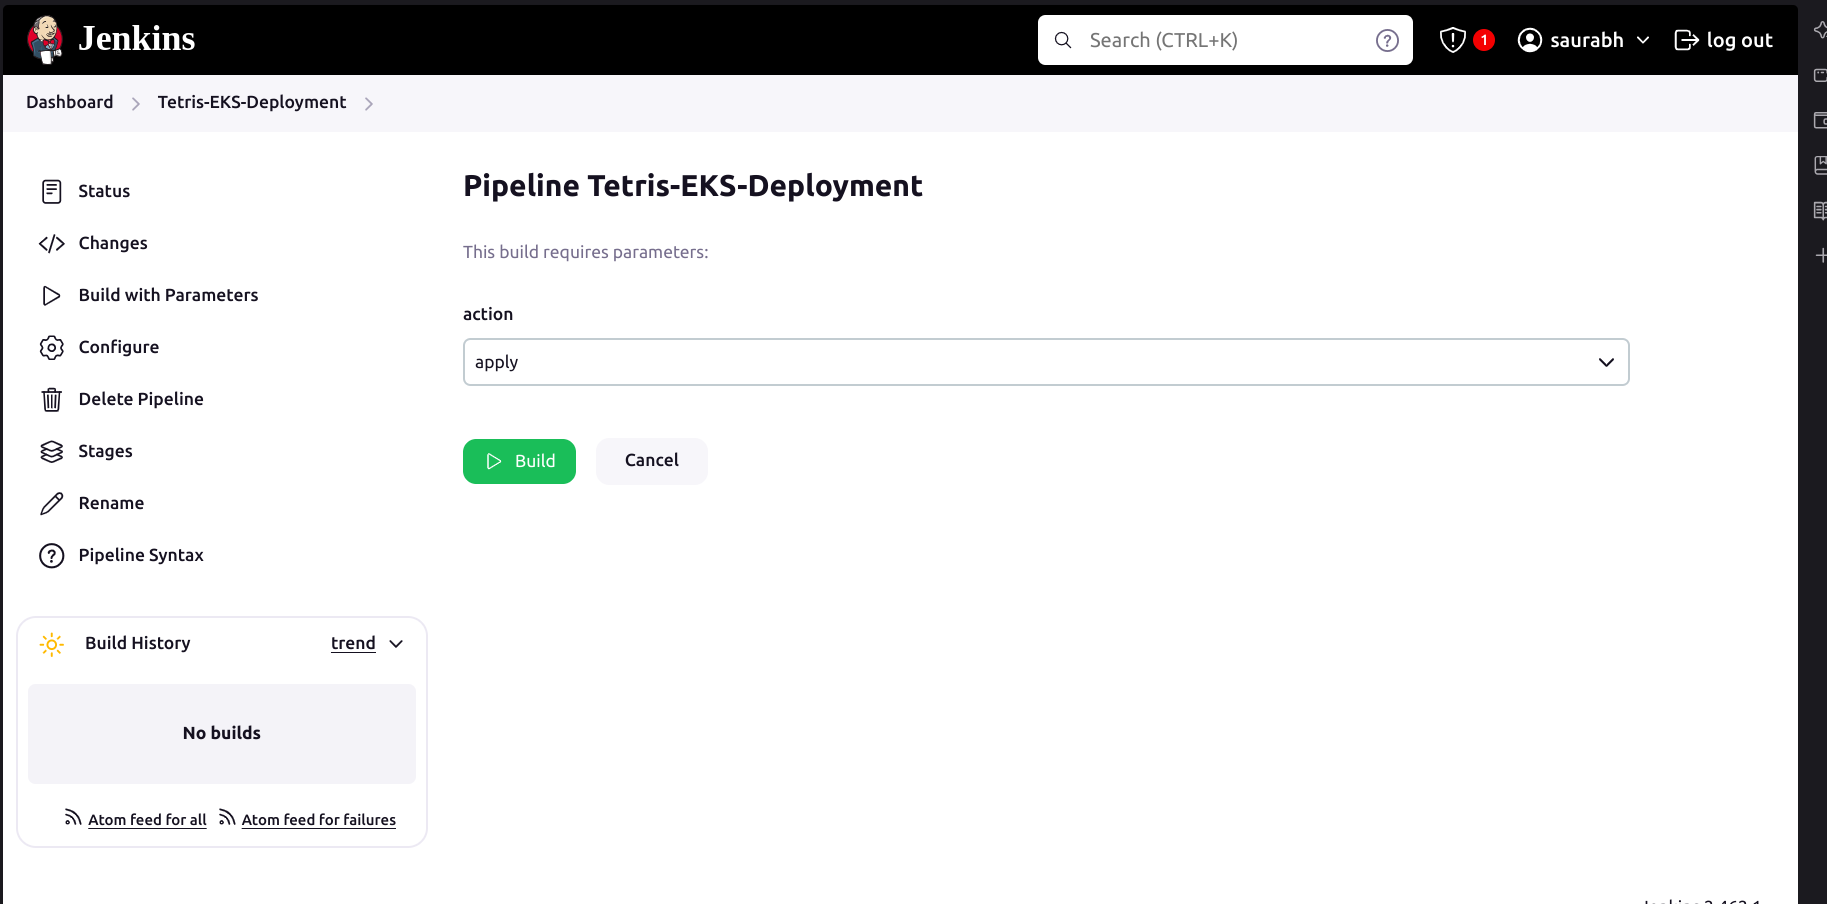
- You can see below the console output.
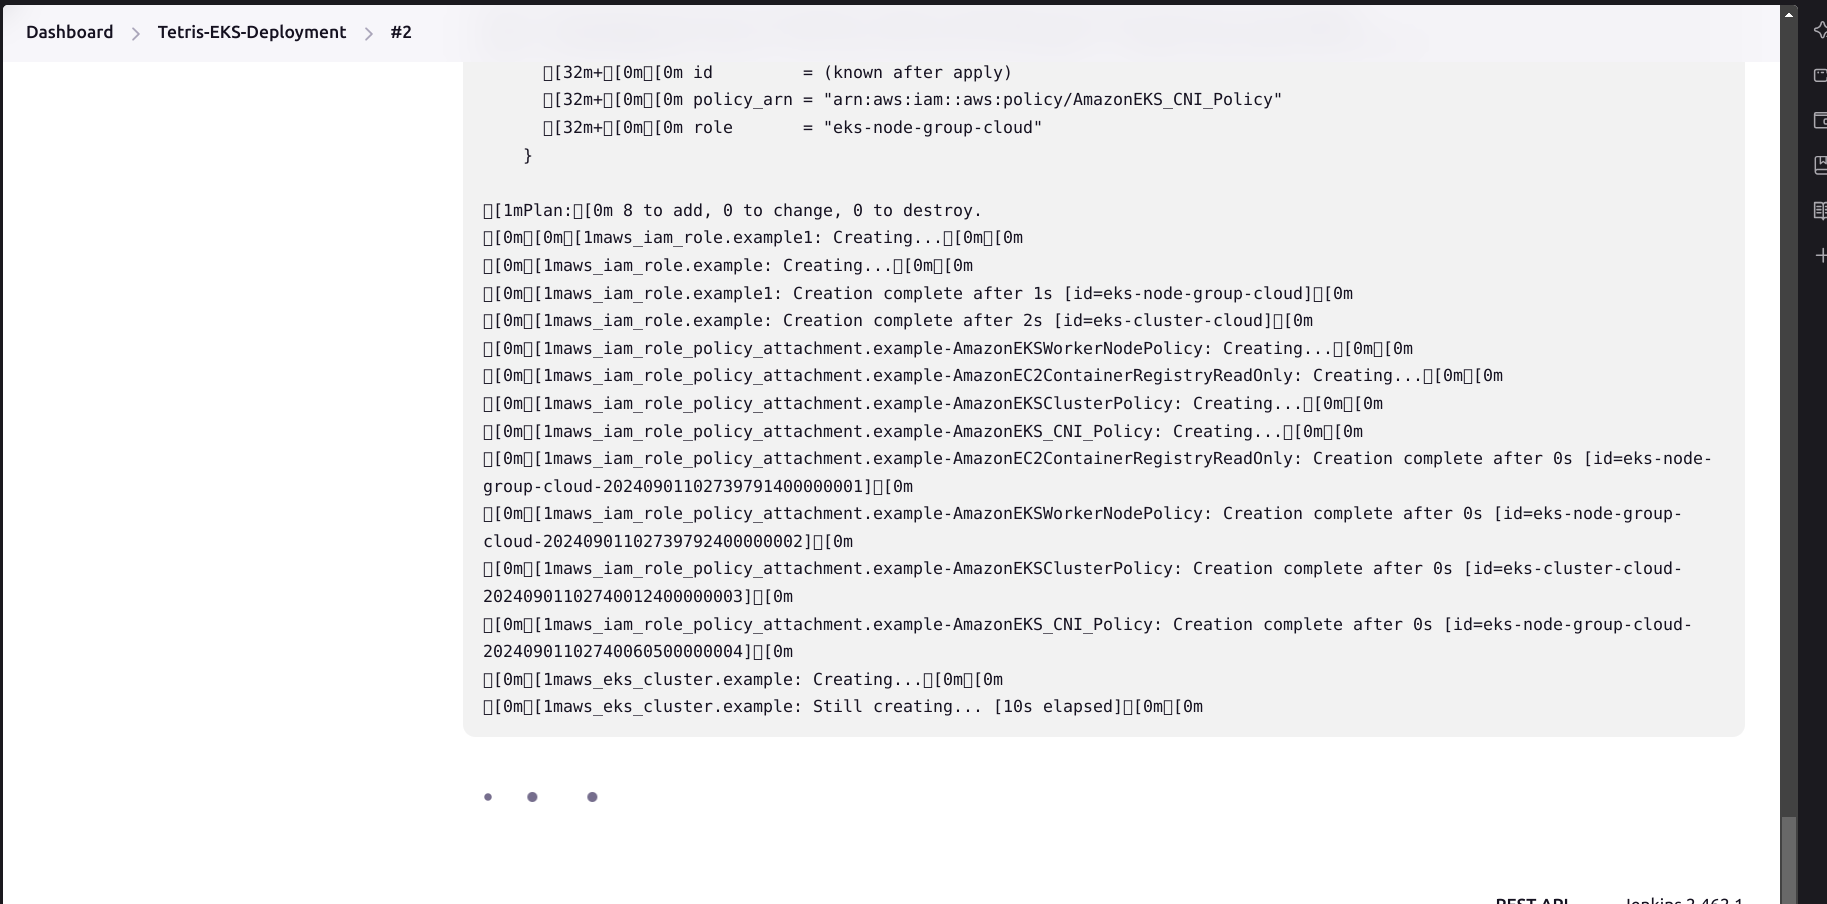
- We will setup the tools till our job is built. It will take 15-20 mins to create a cluster.
C. Tools Installation
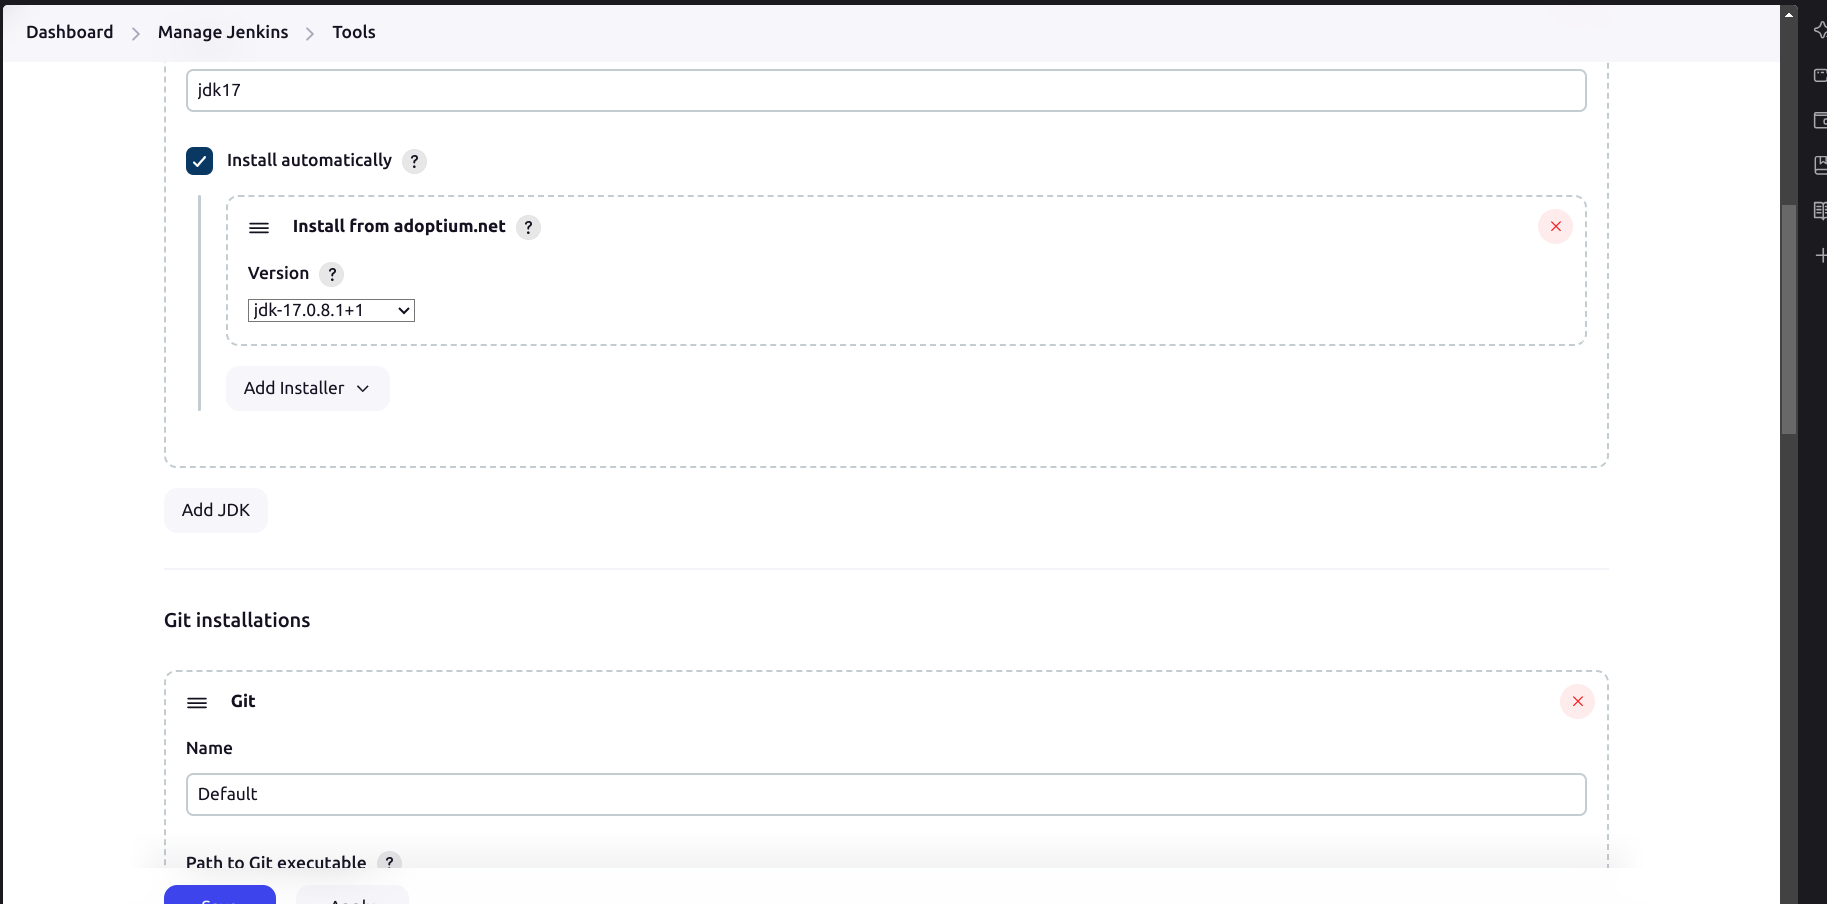
Go to Dashboard → Manage Jenkins → Tools
In jdk give name jdk17 , Click on Install automatically, Select Install from adoptium.net and version 17.0.8.1+1
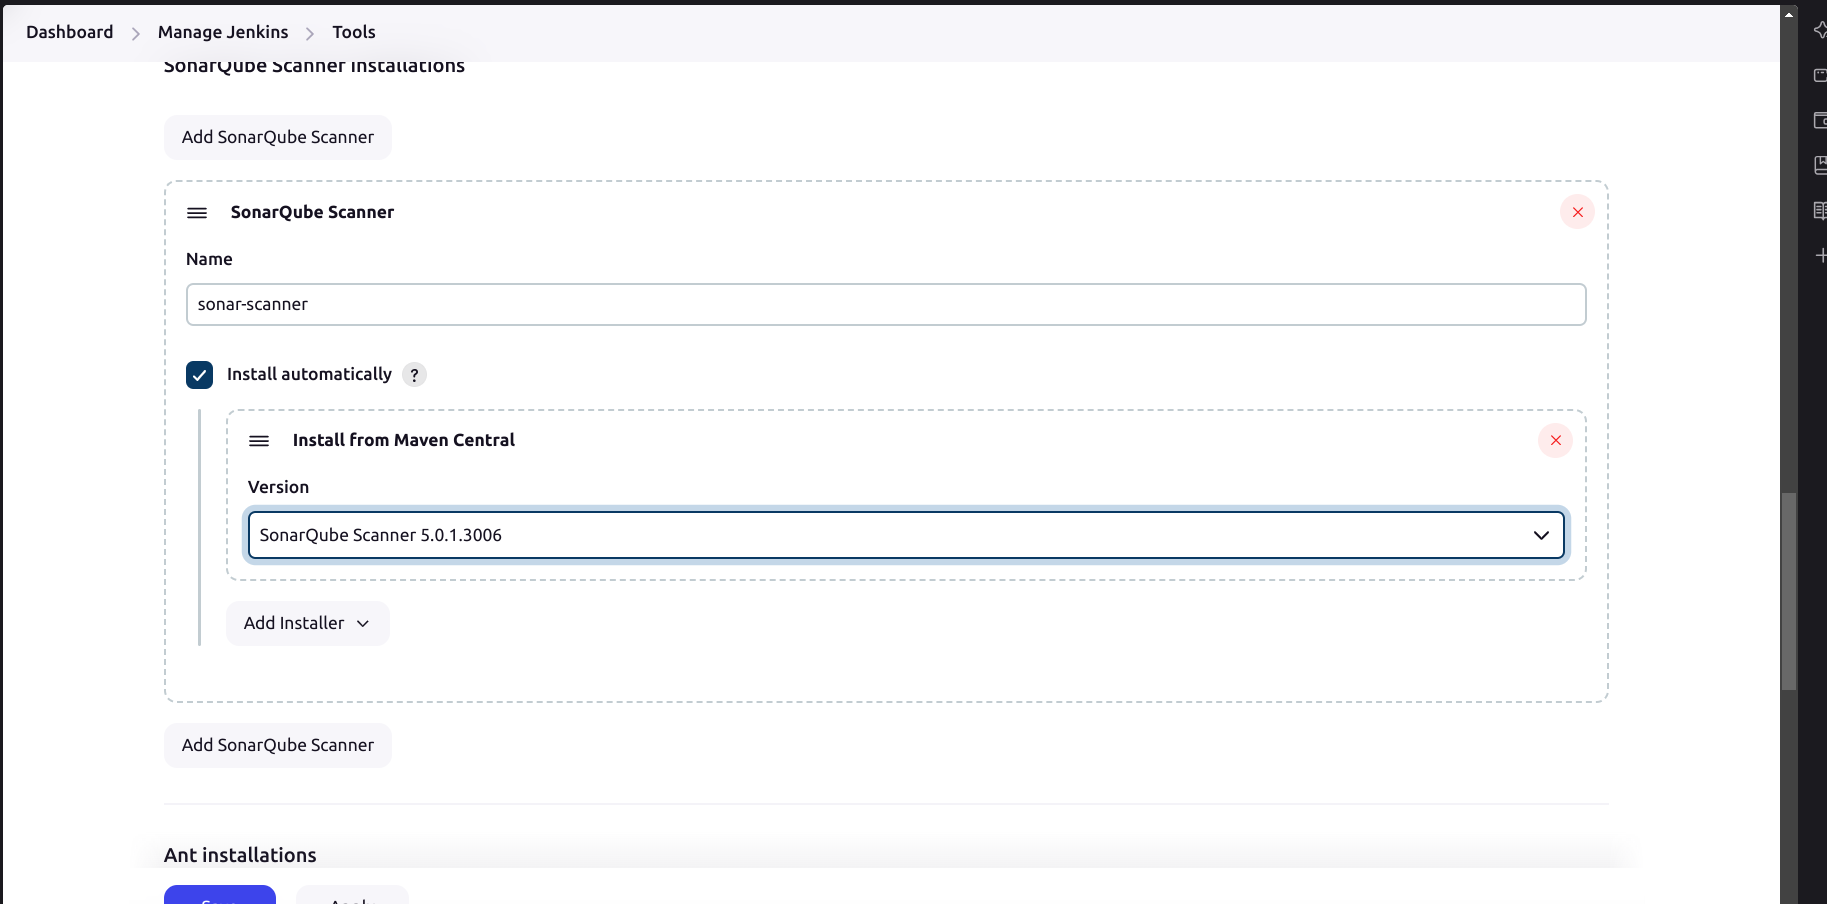
- Add SonarQube Scanner, Give all the details as you can see below
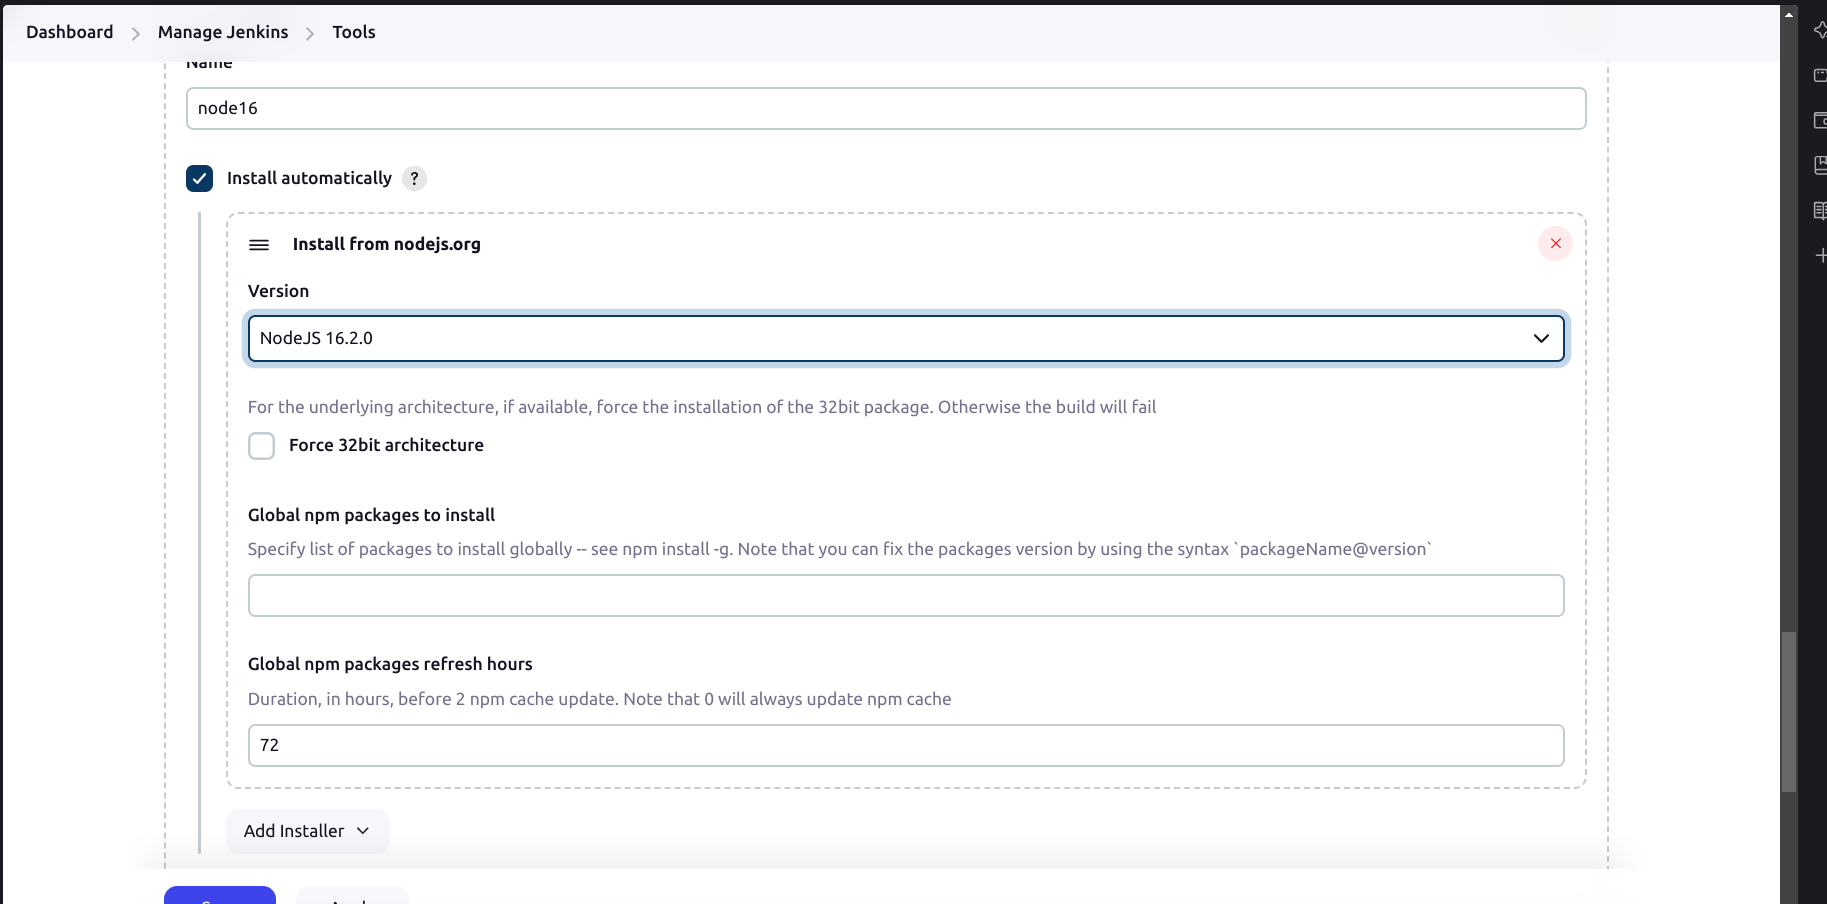
- For Node installation enter the below details
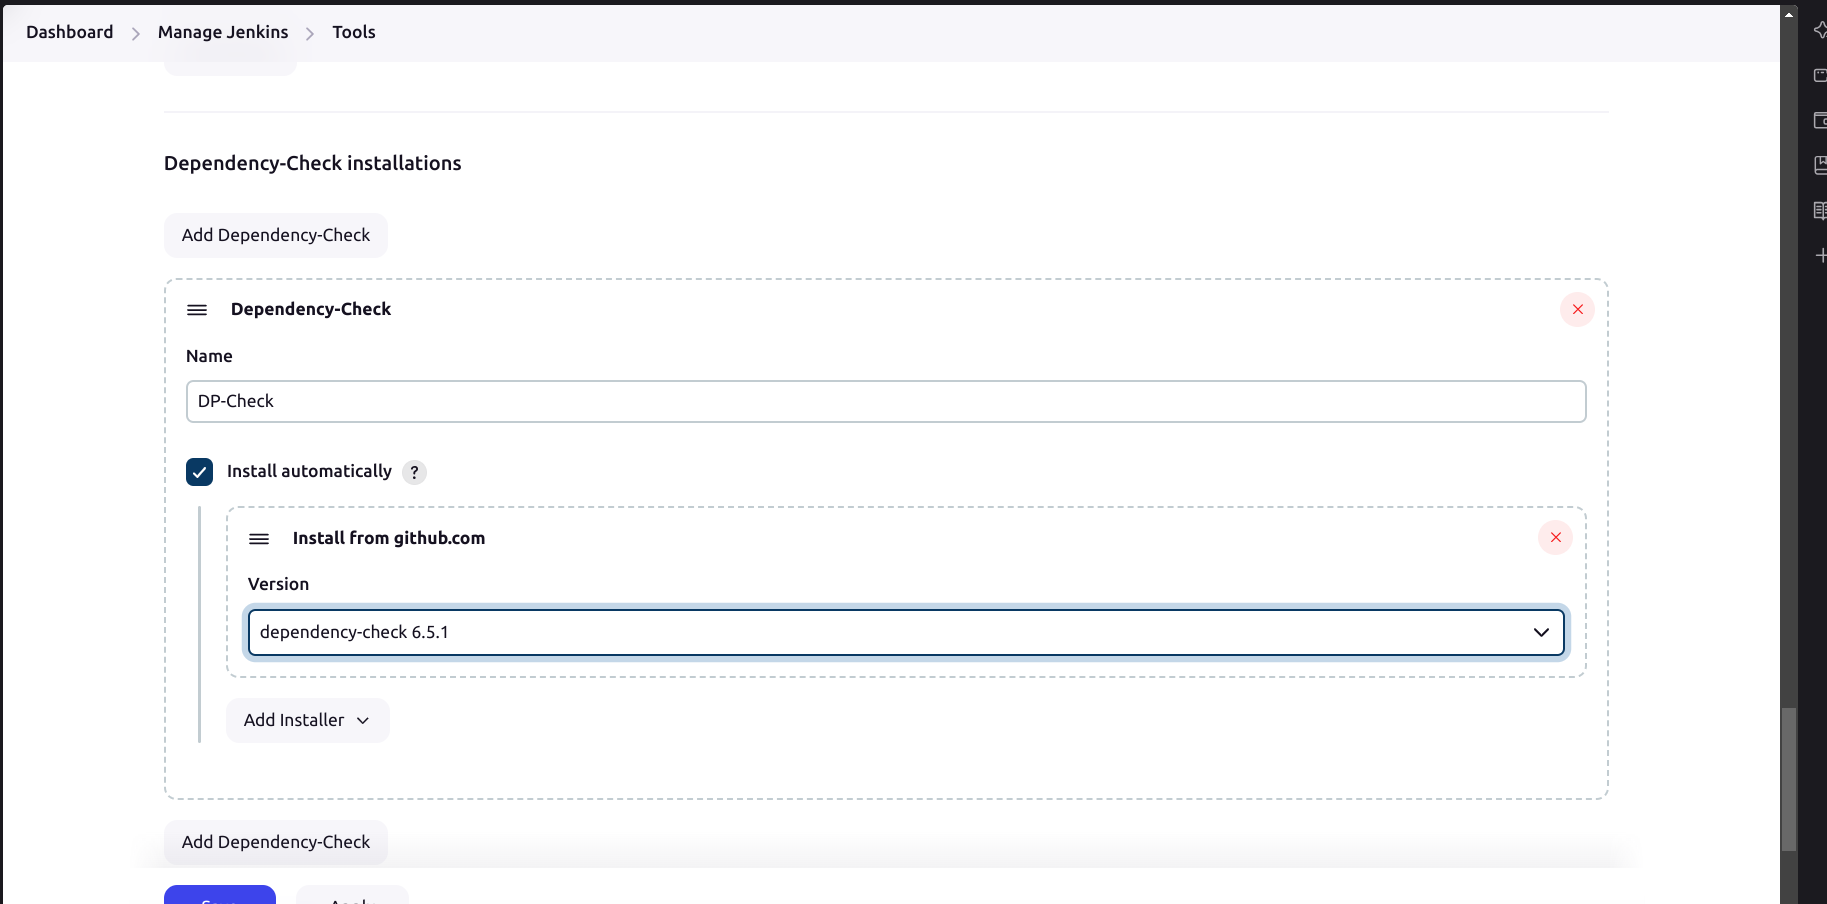
- For Dependency Check installation, enter the below details
D . Add Credentials for SonarQube
a. SonarQube Credentials Setup:
Go to http://publicip:9000.
Log in with your username and password.
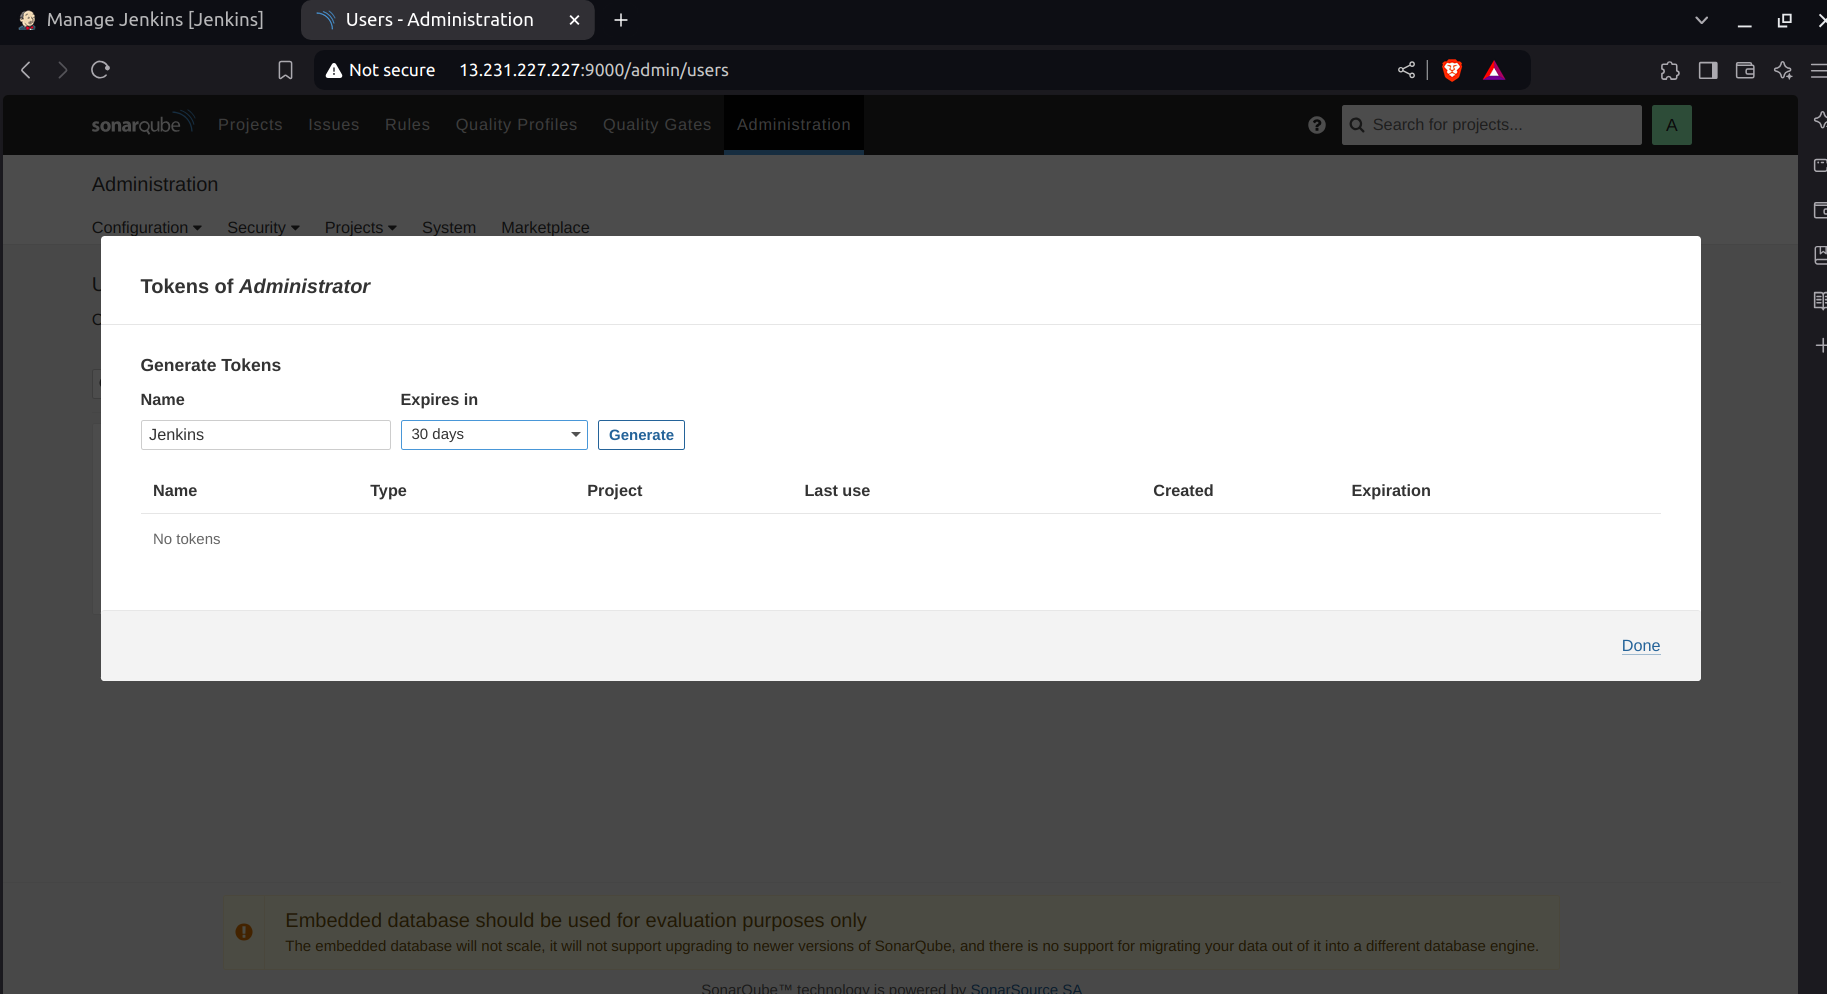
Click on Administration → Security → Users → Token → Generate Token.
Set
token_nameasJenkins.Copy the Token.
b. Configure Jenkins:
Copy the generated token.
Go to your Jenkins dashboard.
Navigate to Manage Jenkins → Credentials → System.
Click on Global → Add Credentials.
Select Secret text from the dropdown.
Set the Secret as your token.
Set the ID as
jenkins.Click on Create.

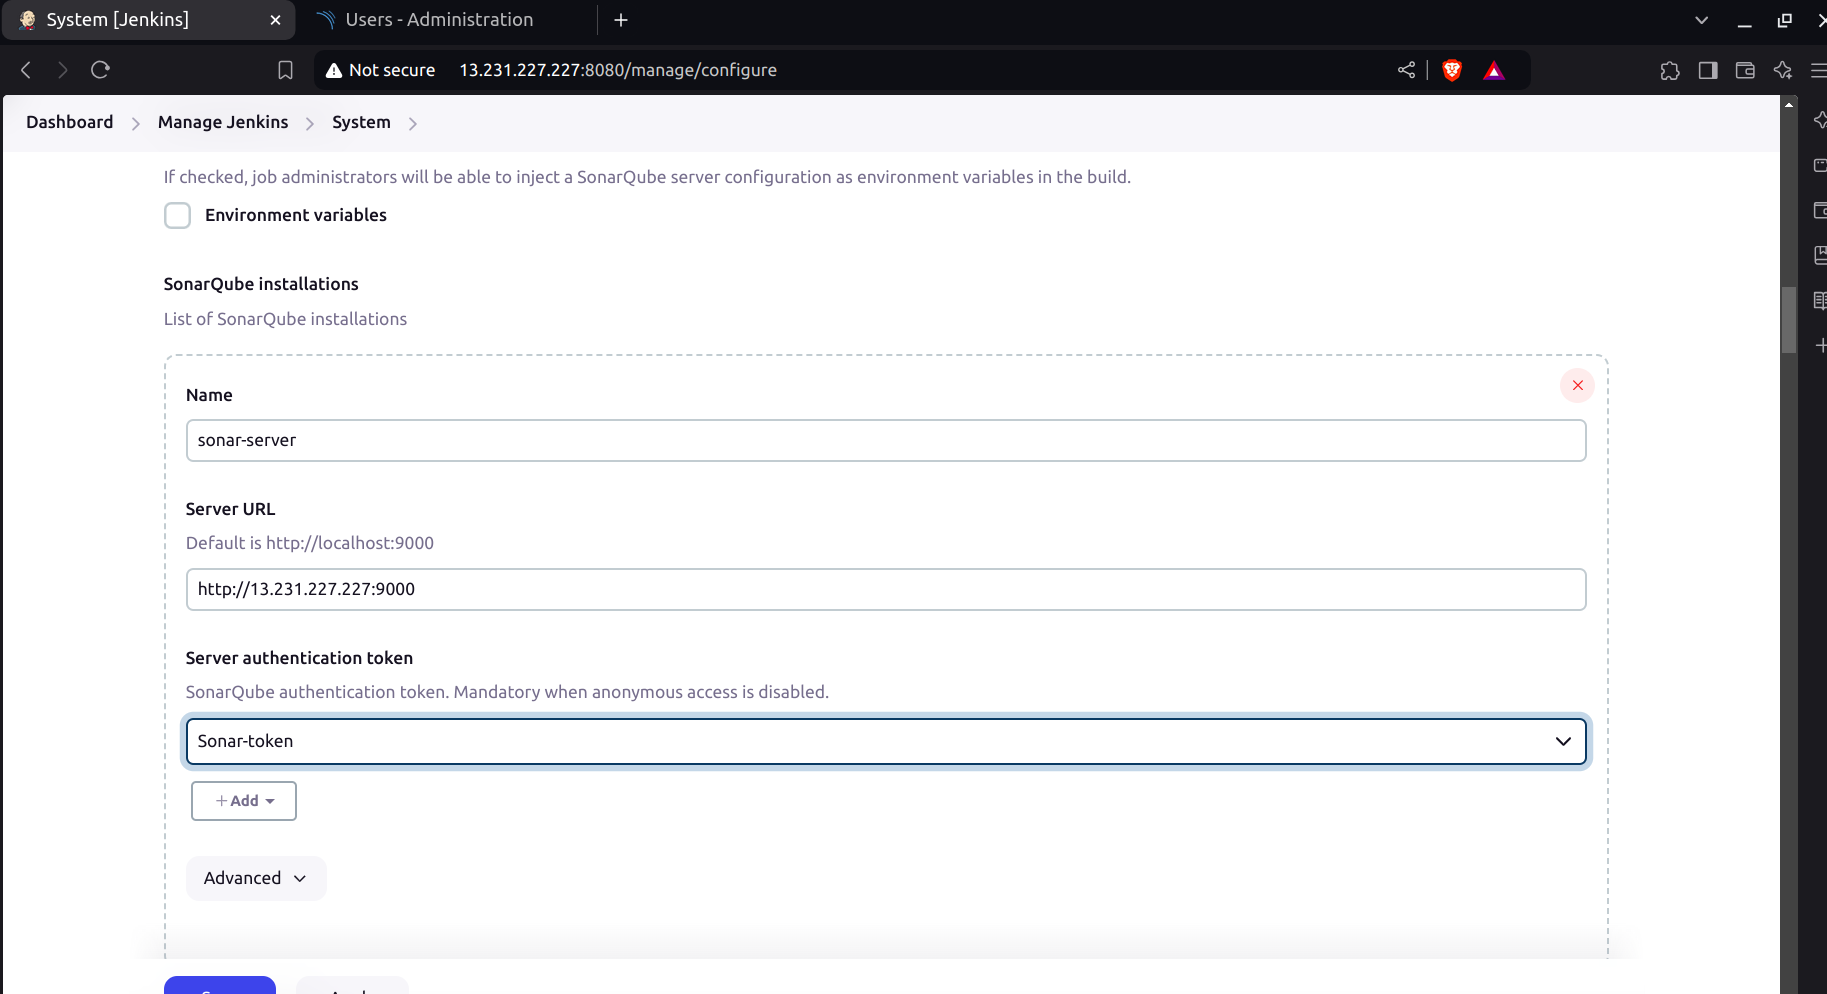
- Go to Dashboard →Manage Jenkins → System, and enter the details below
c. Setup Webhook in SonarQube
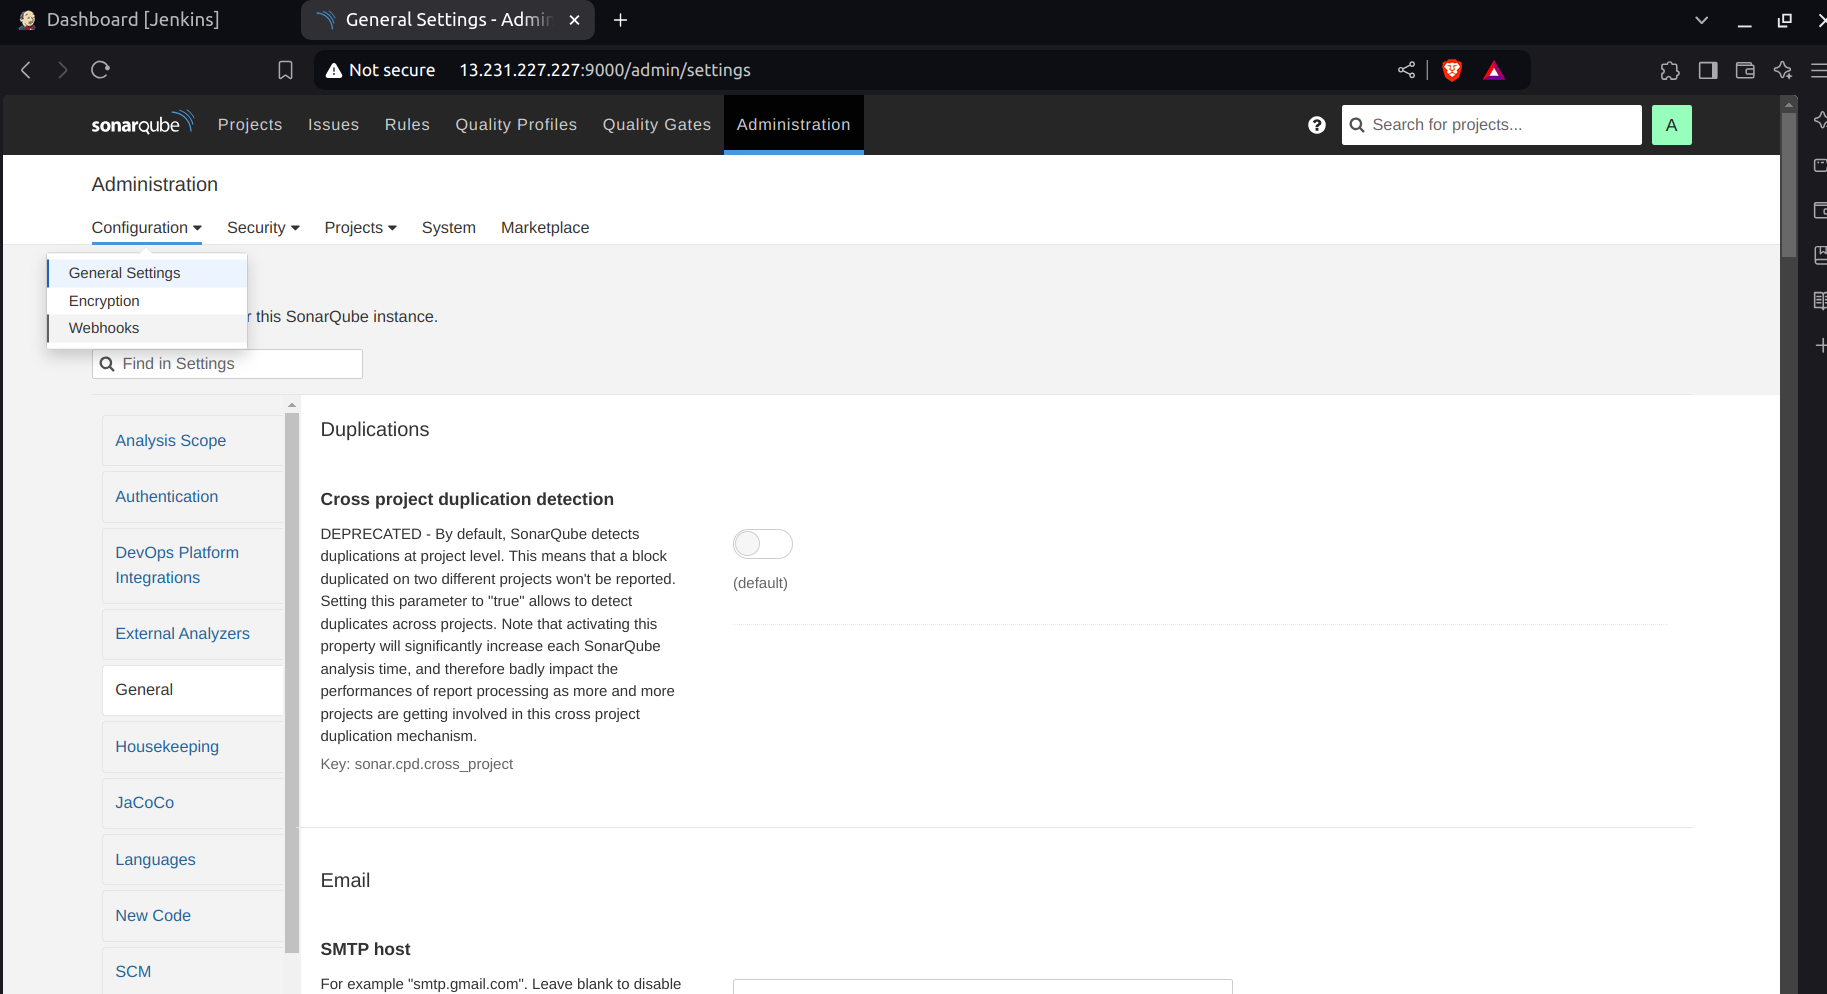
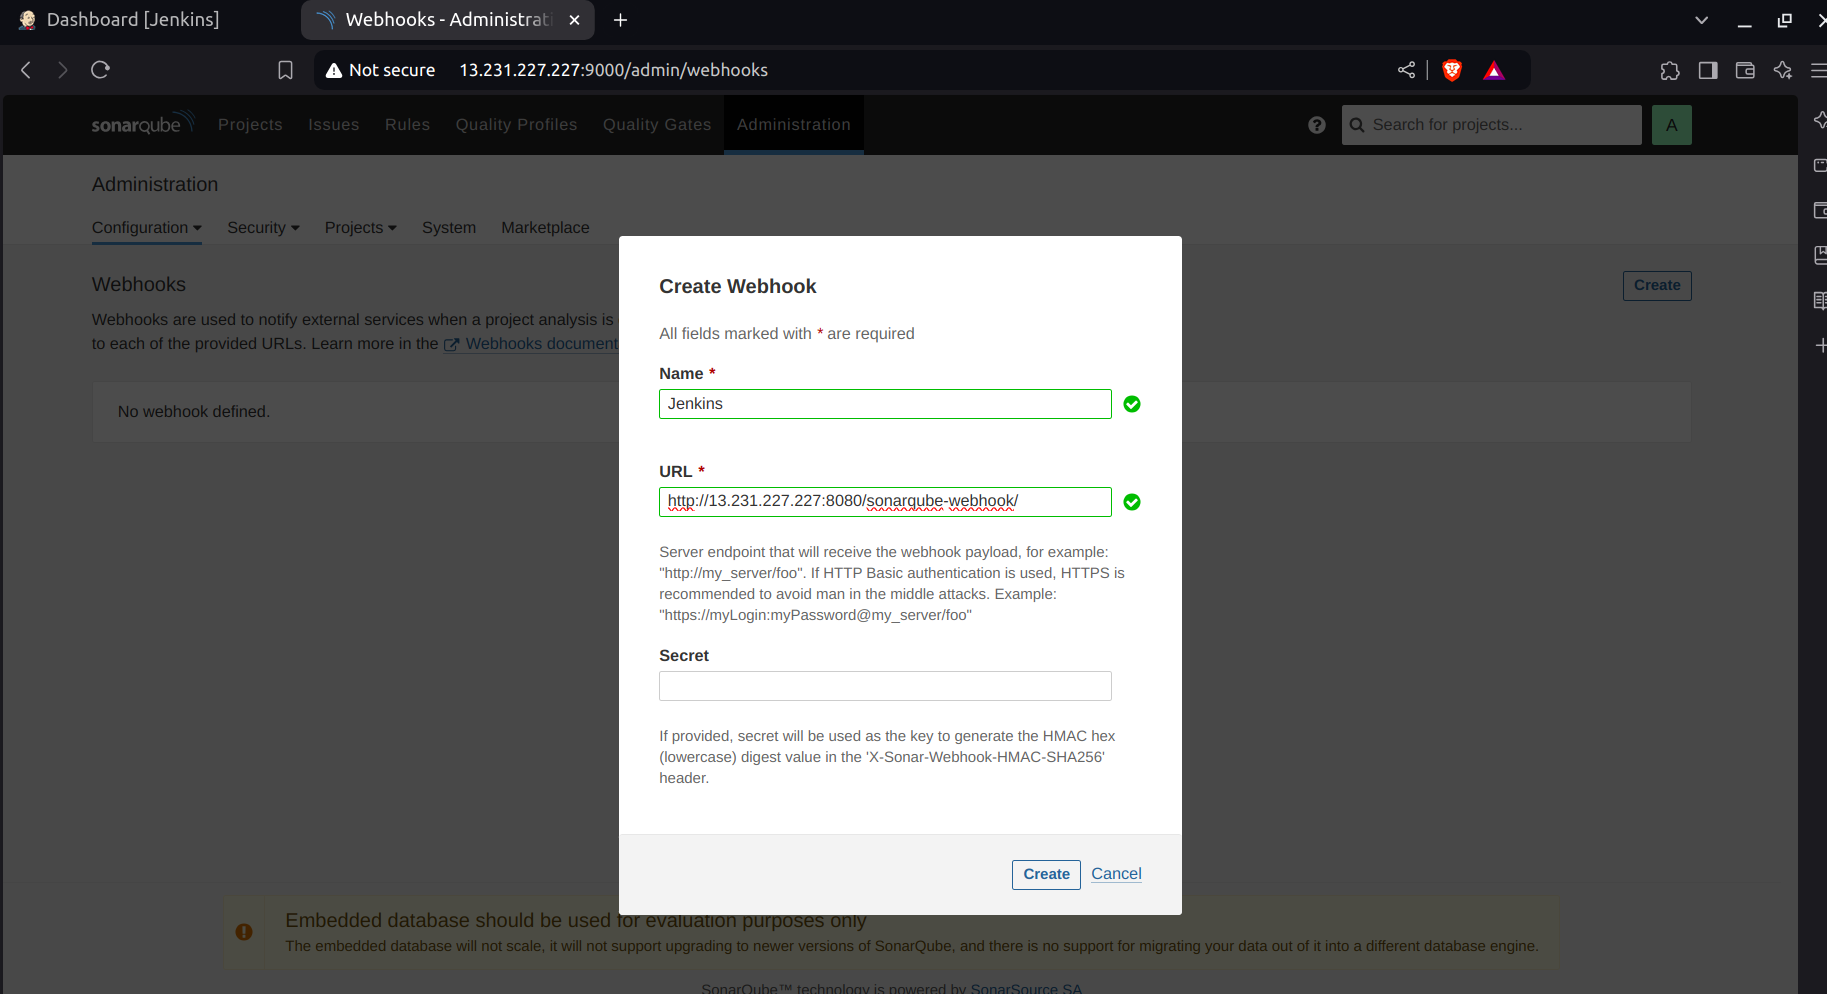
- Go to Administration → Configuration → Webhooks, And Fill details like below
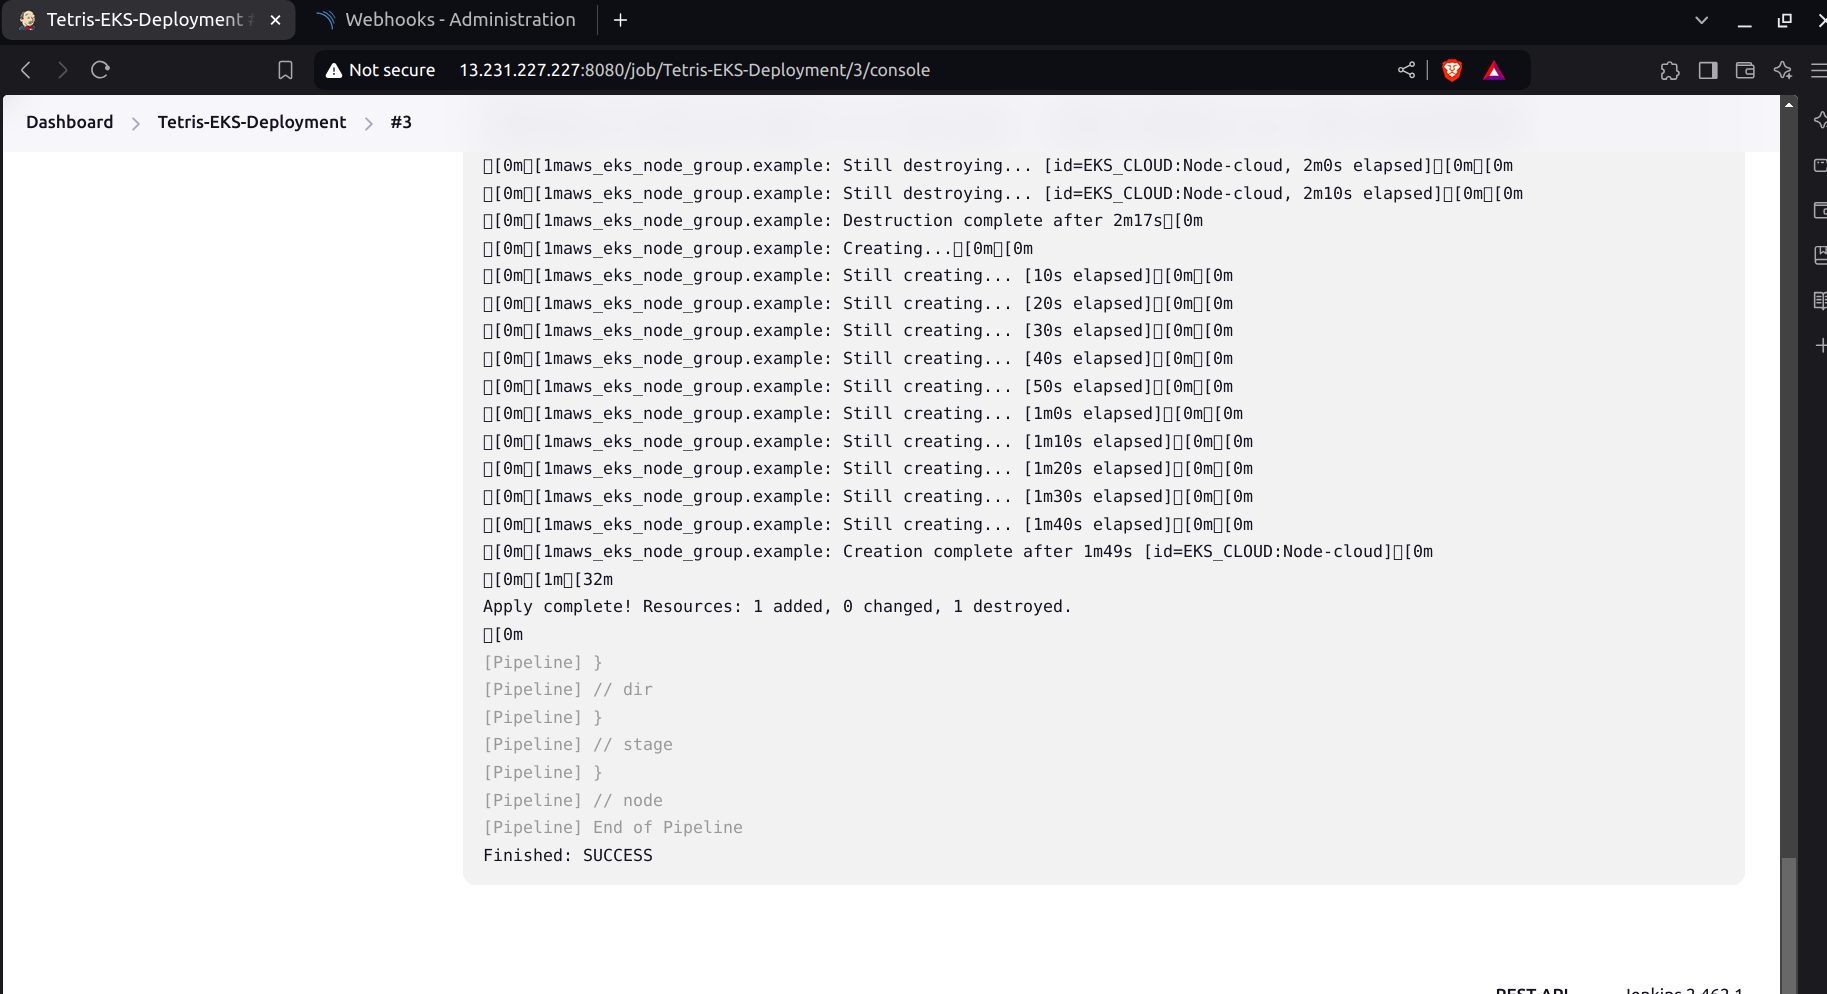
Check whether your job is successful or not navigating to the pipeline.
d. Setup projects in SonarQube for Jenkins
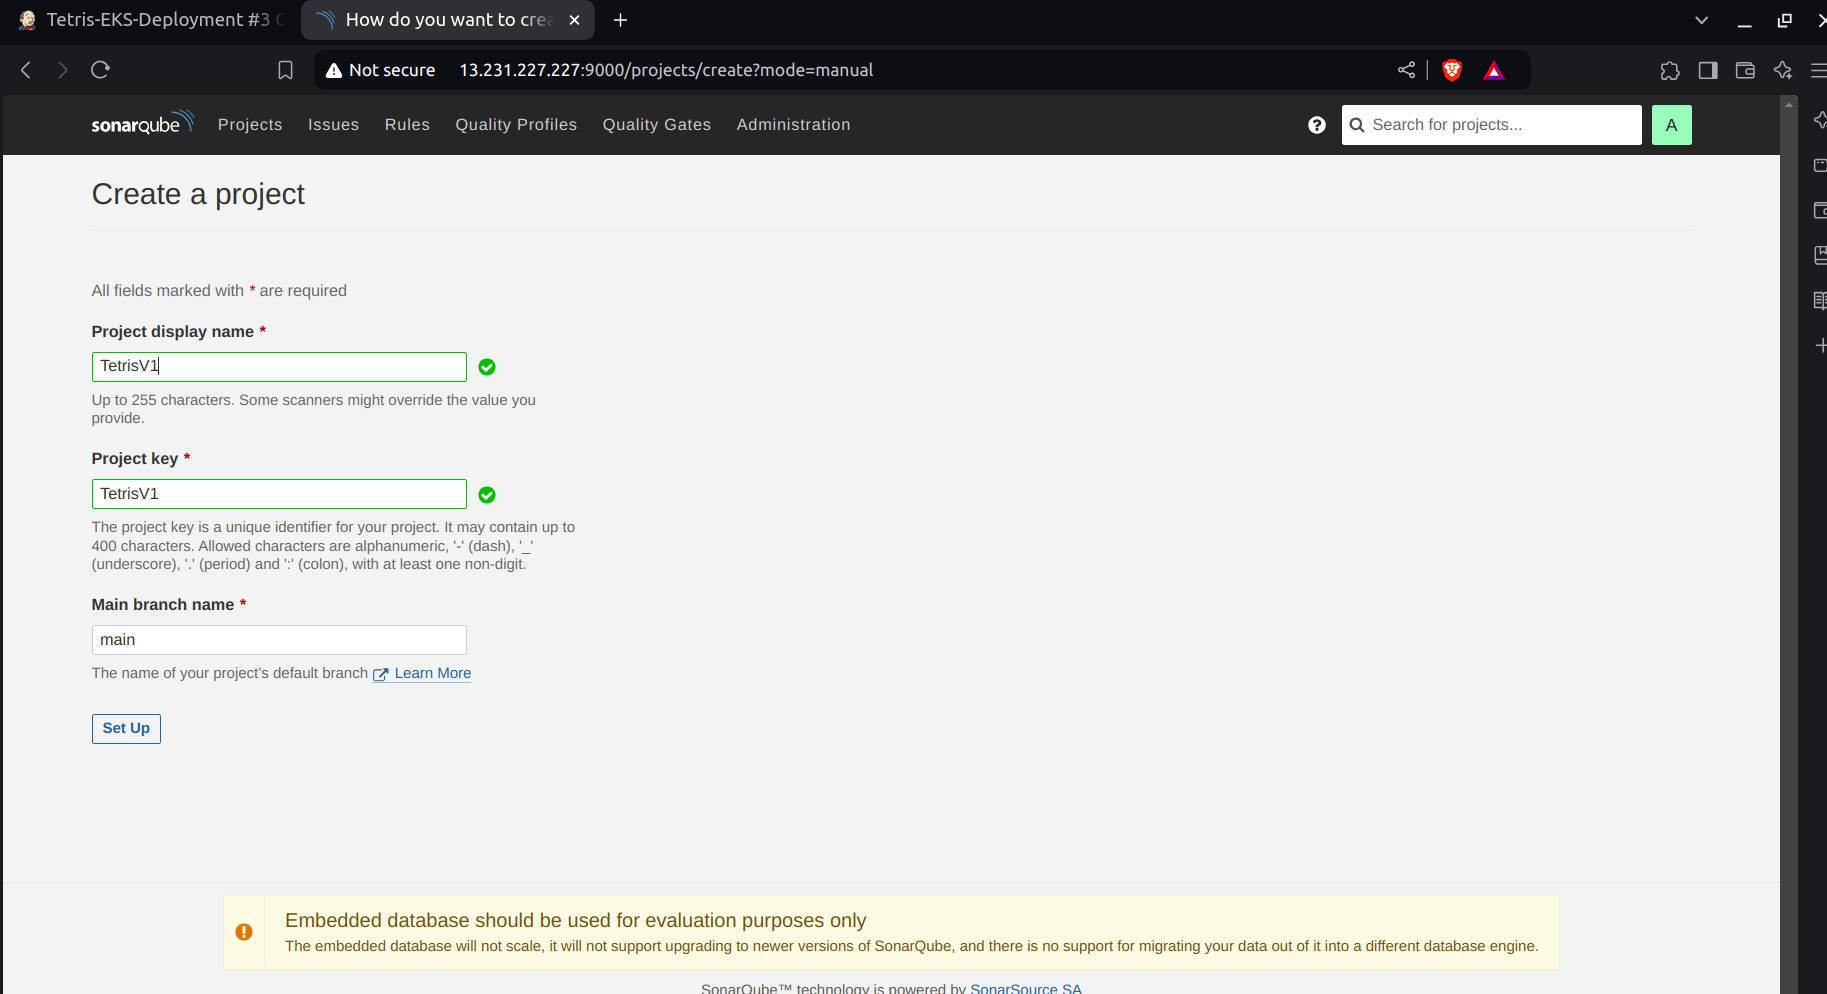
Go to your SonarQube server.
Click on projects and in the name field type
TetrisV1.Click on set up.
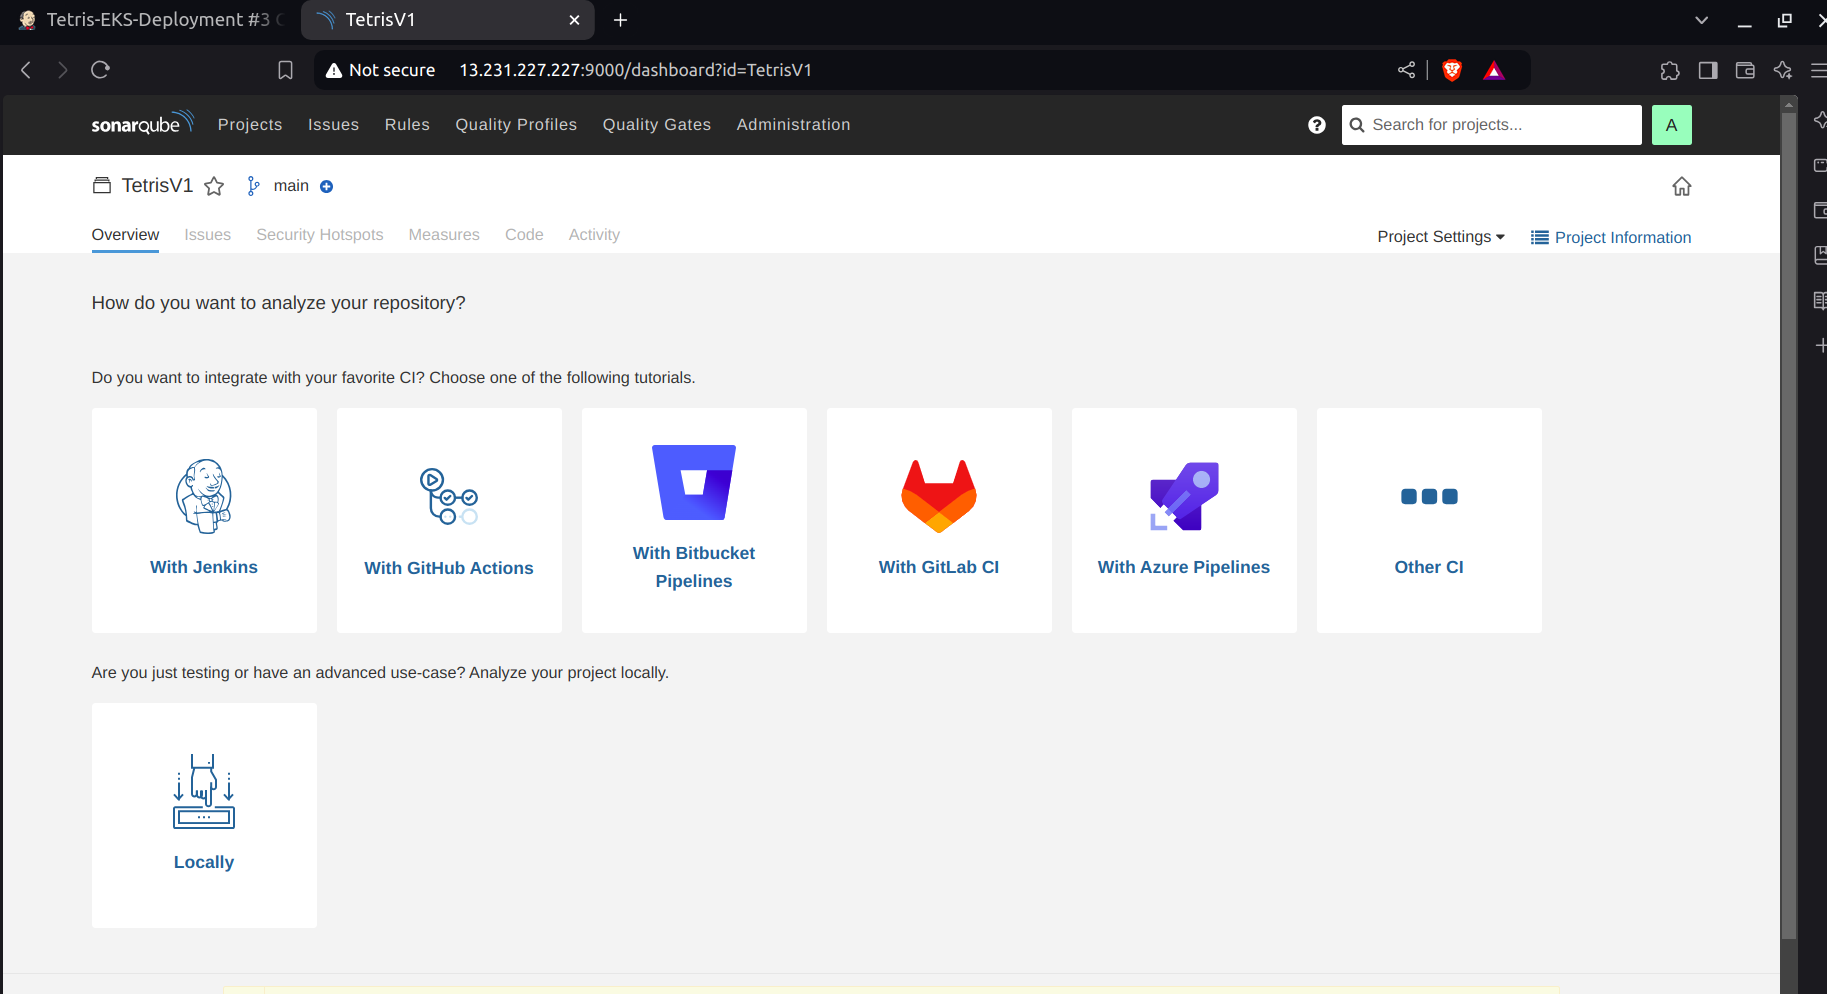
- Click on Locally.
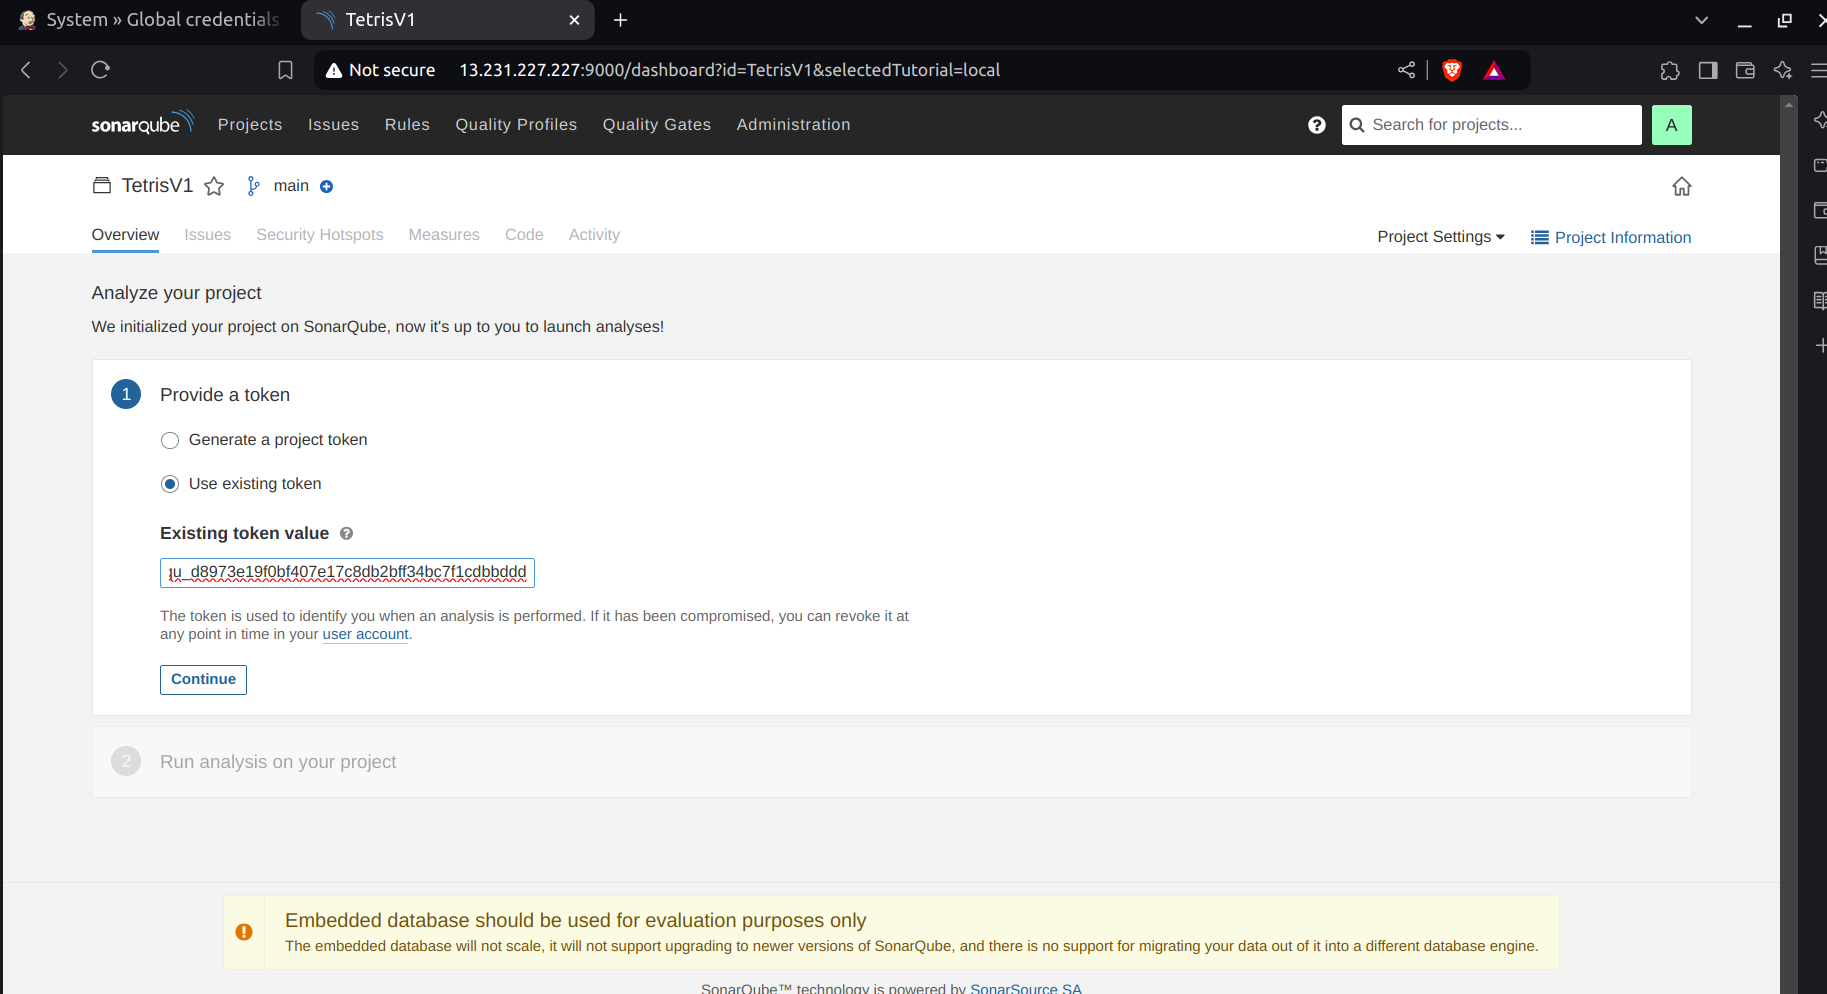
Click on Use existing token and paste your sonar token.
Click on continue.
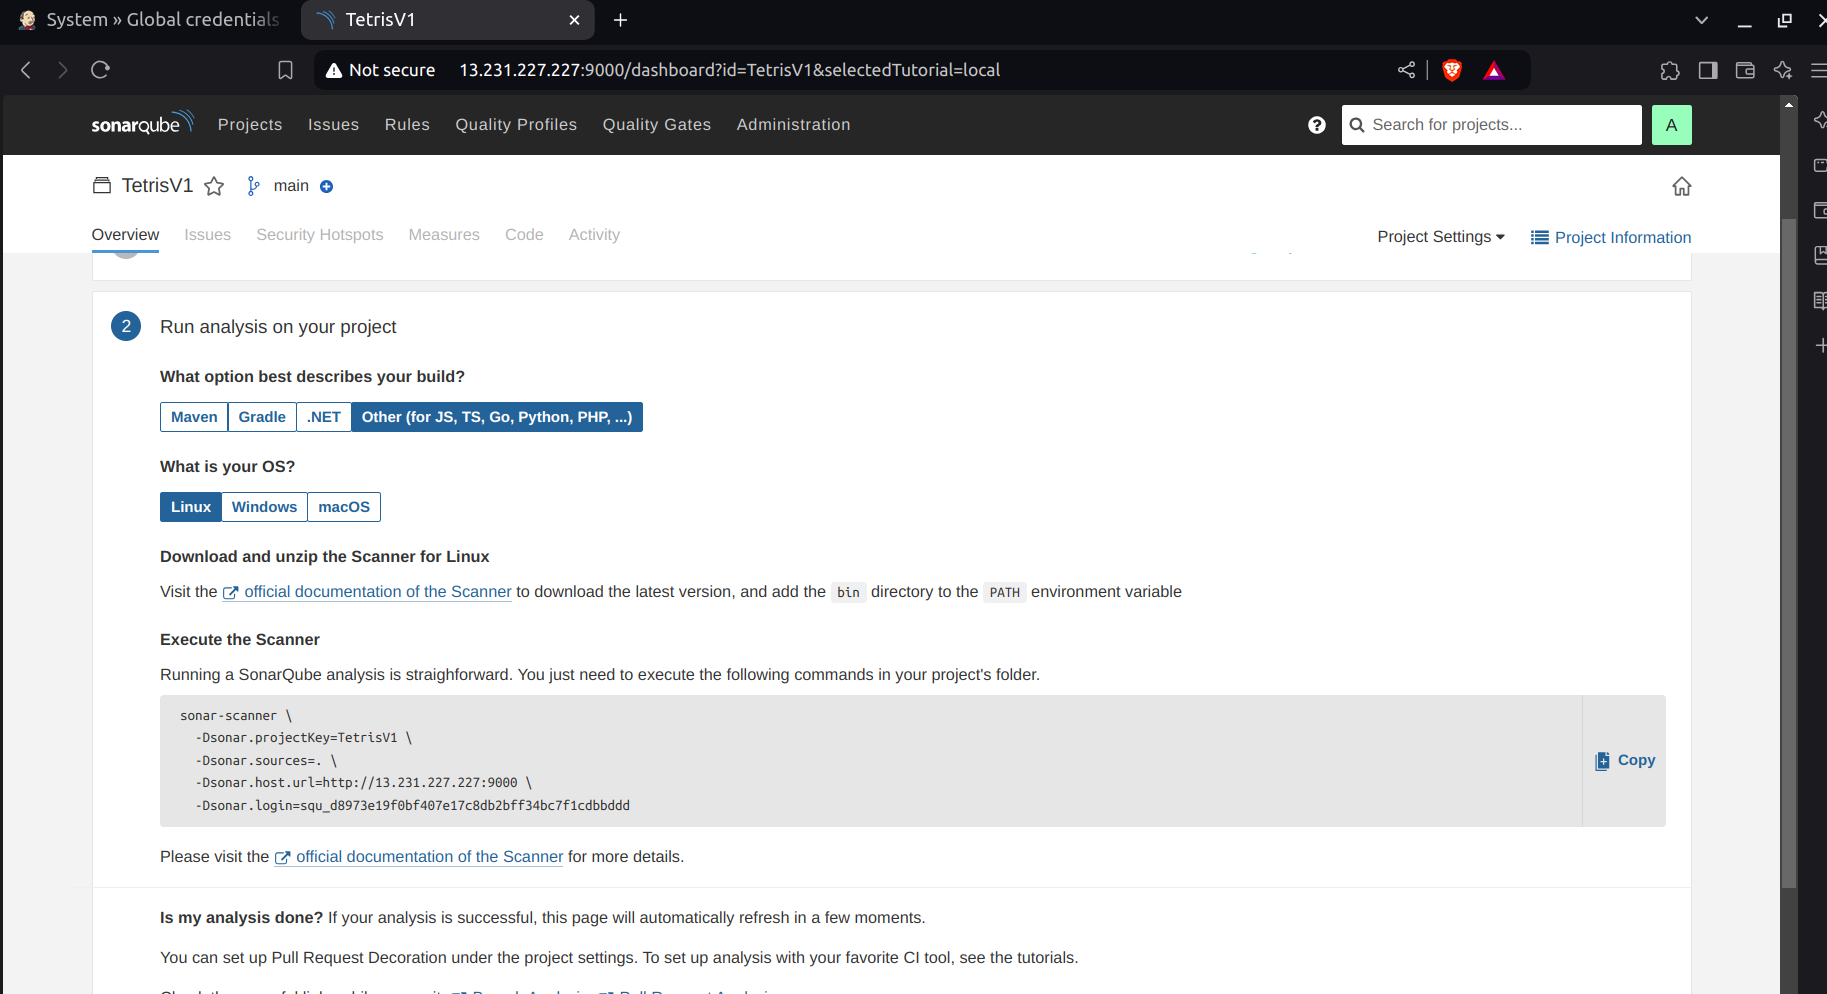
- Enter the details like below.
e. Setup Docker Credentials
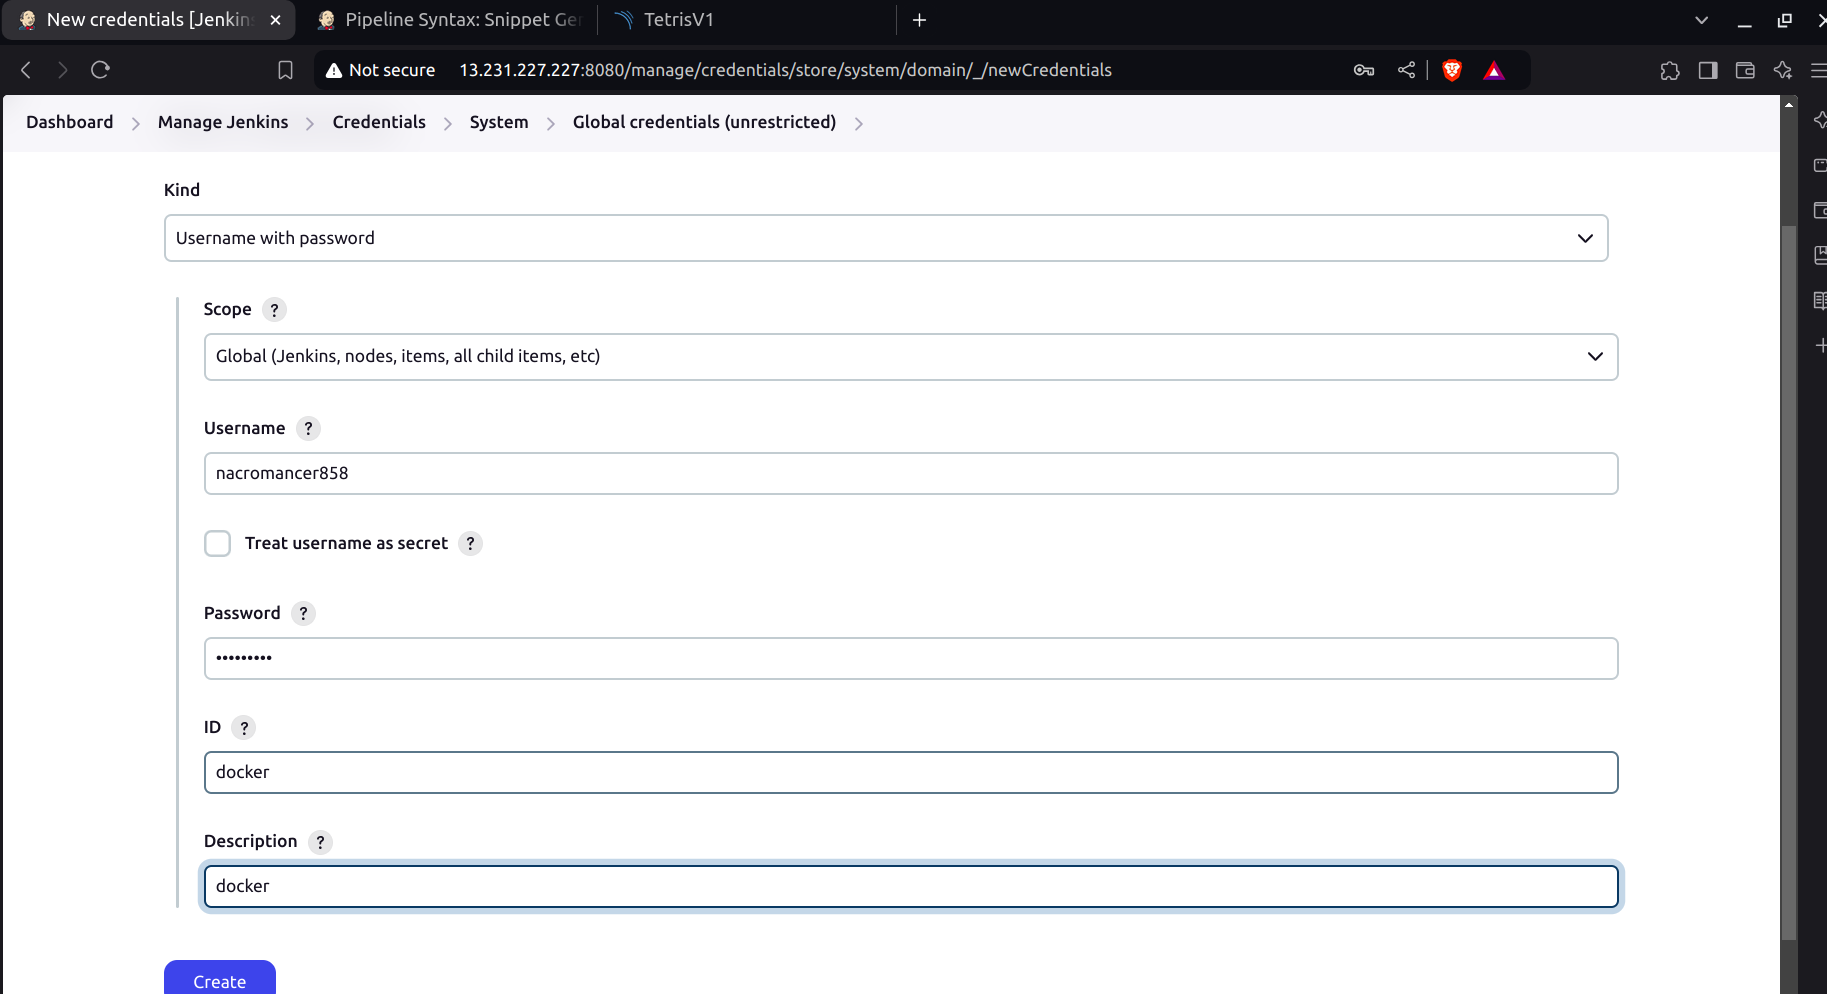
Go to your Jenkins dashboard.
Navigate to Manage Jenkins → Manage Credentials.
Click on Global → Add Credentials.
Provide your DockerHub username and password.
Set the ID as docker.
Click on Create.
E. Create Pipeline for TetrisV1
Go to your Jenkins, create a new pipeline, and give the pipeline name in Pipeline section enter the pipeline which is at
Jenkins-Pipeline/Jenkinsfile-tetris-v1in the repo.And Click on Build.
Go to the SonarQube then you can see below like this.
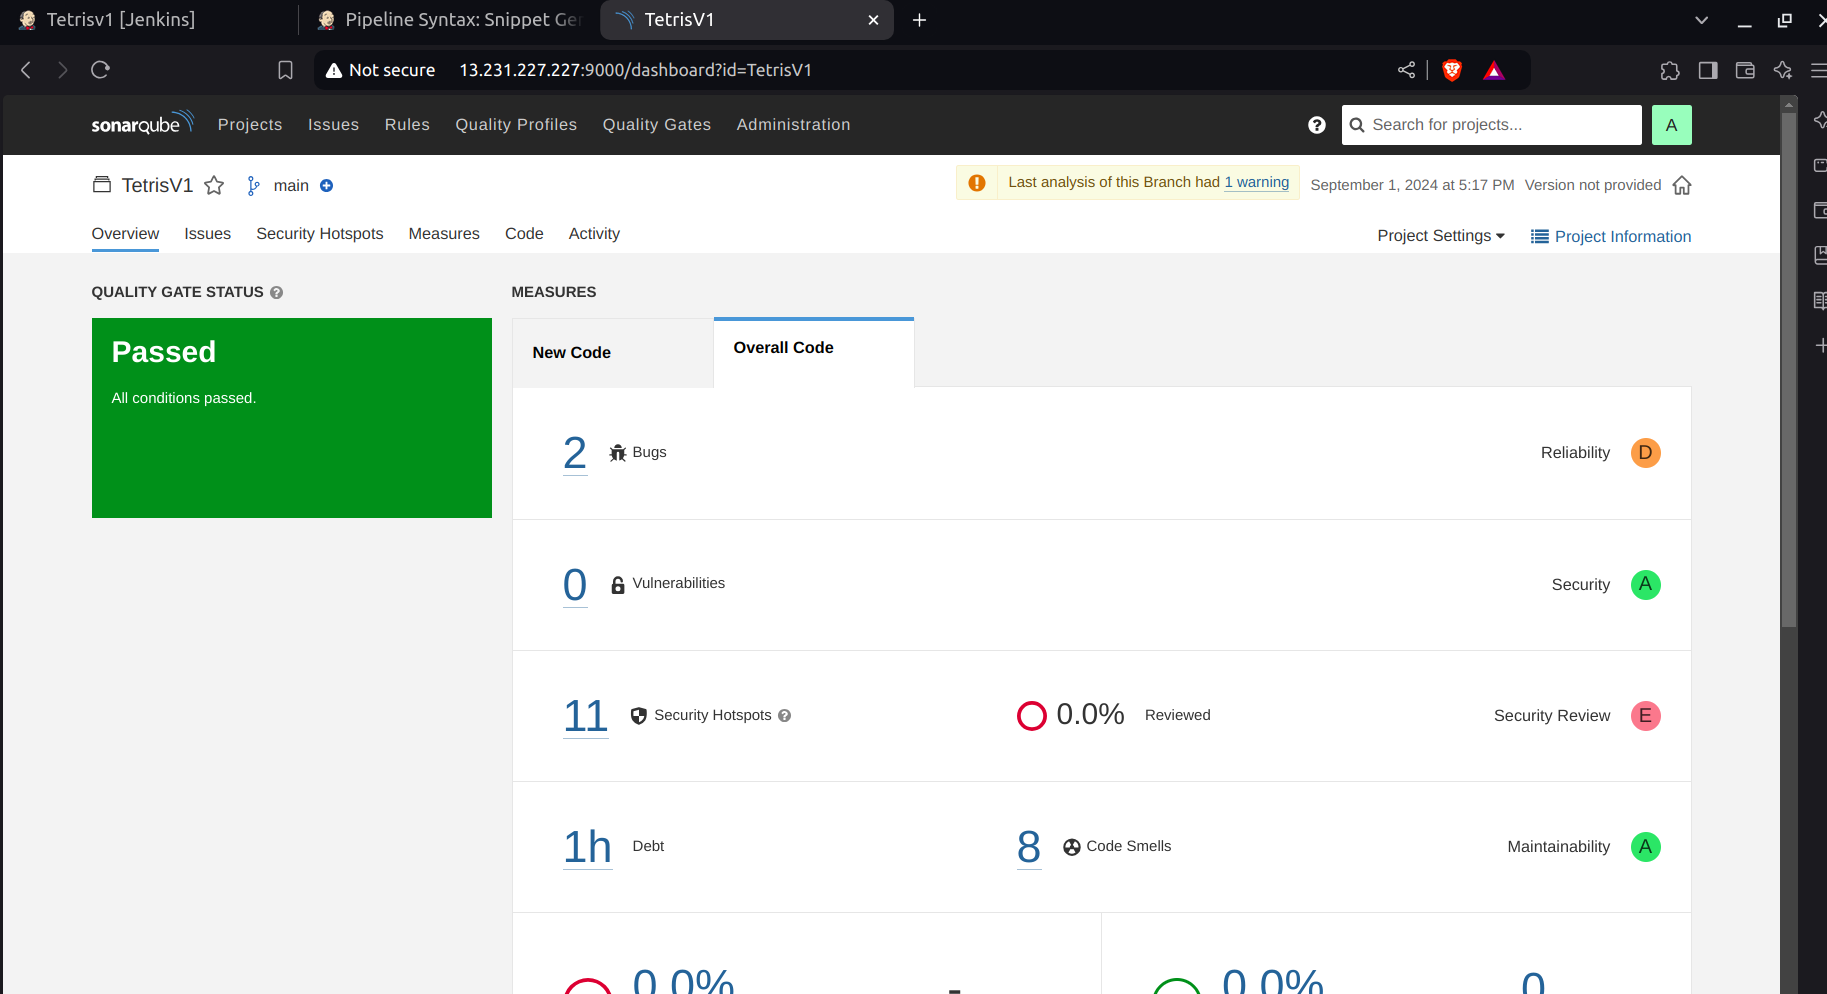
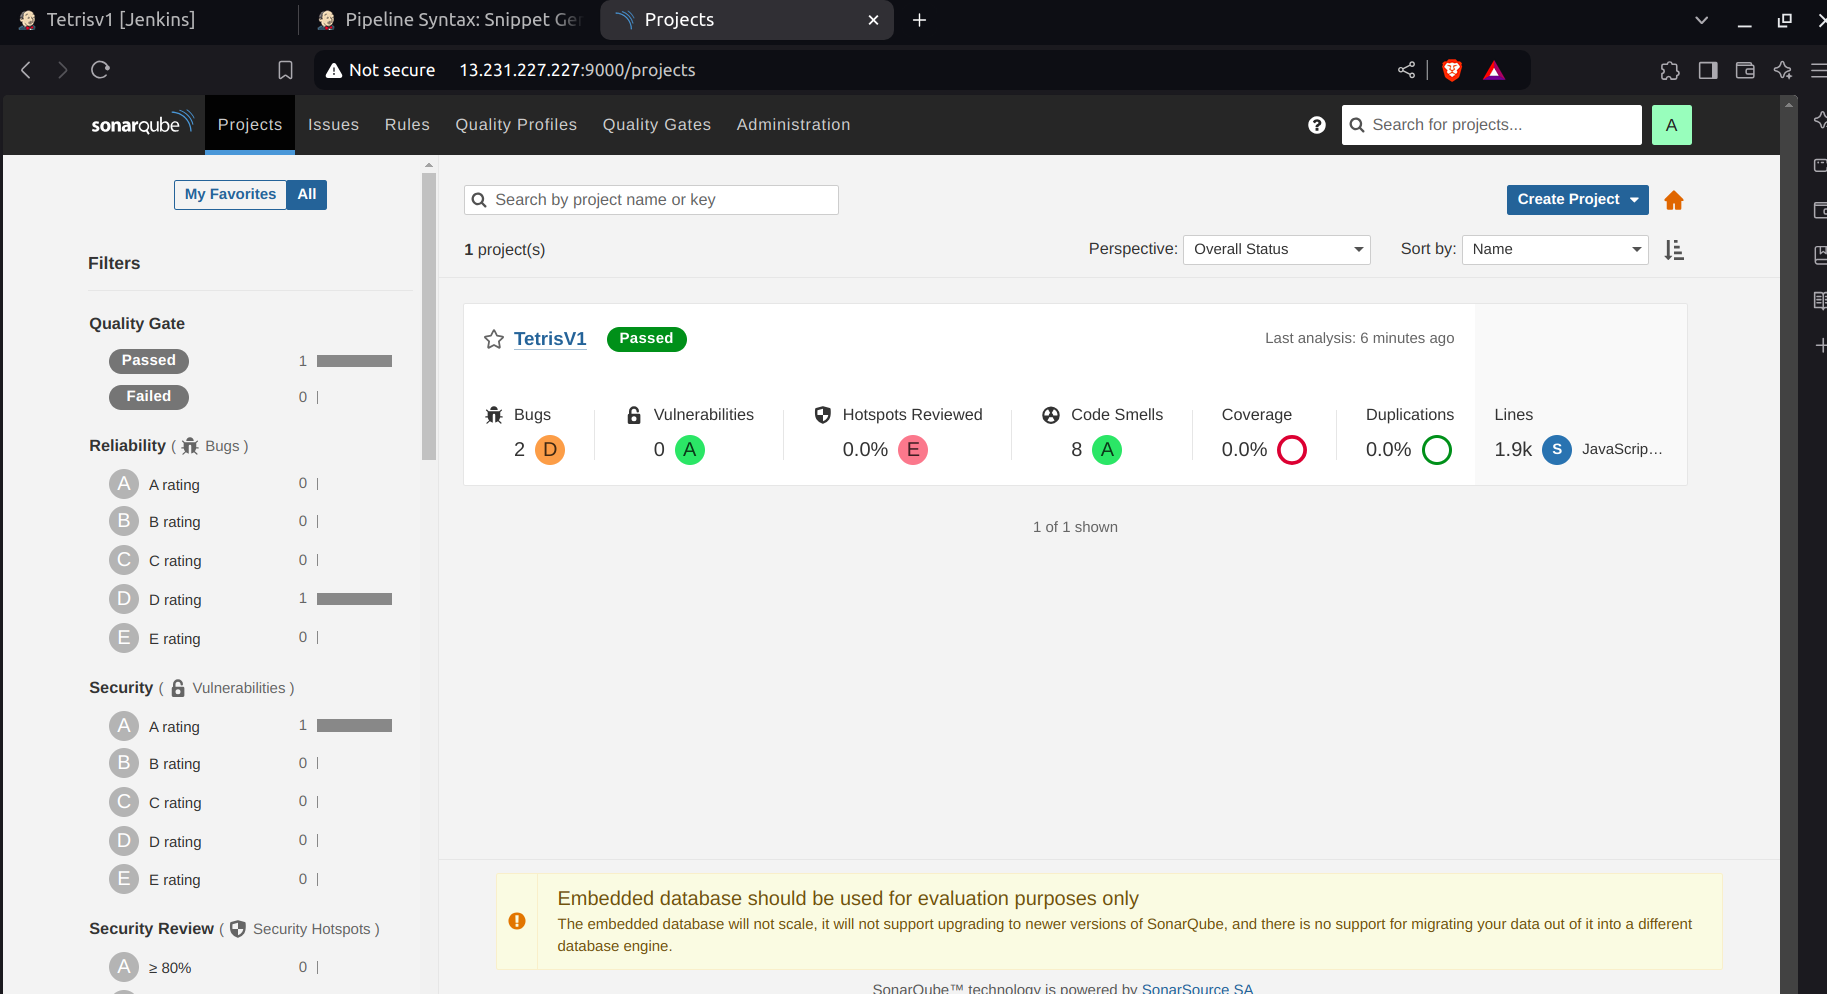
In Jenkins, you can see after the build.

- Access the server then run the following command:
aws eks update-kubconfig --name EKS_CLOUD --region <your-region>
kubectl get nodes
- If you can see the nodes then your Setup is wonderful.

Step 8: ArgoCD Setup
- Follow these steps:
kubectl create namespace argocd
kubectl apply -n argocd -f https://raw.githubusercontent.com/argoproj/argo-cd/v2.4.7/manifests/install.yaml
kubectl patch svc argocd-server -n argocd -p '{"spec": {"type": "LoadBalancer"}}'
export ARGOCD_SERVER=`kubectl get svc argocd-server -n argocd -o json | jq --raw-output '.status.loadBalancer.ingress[0].hostname'`
export ARGO_PWD=`kubectl -n argocd get secret argocd-initial-admin-secret -o jsonpath="{.data.password}" | base64 -d`
echo $ARGOCD_SERVER
echo $ARGO_PWD
You will get the server and password.
Enter the server whatever you got in the browser, then you can see ArgoCD login page.
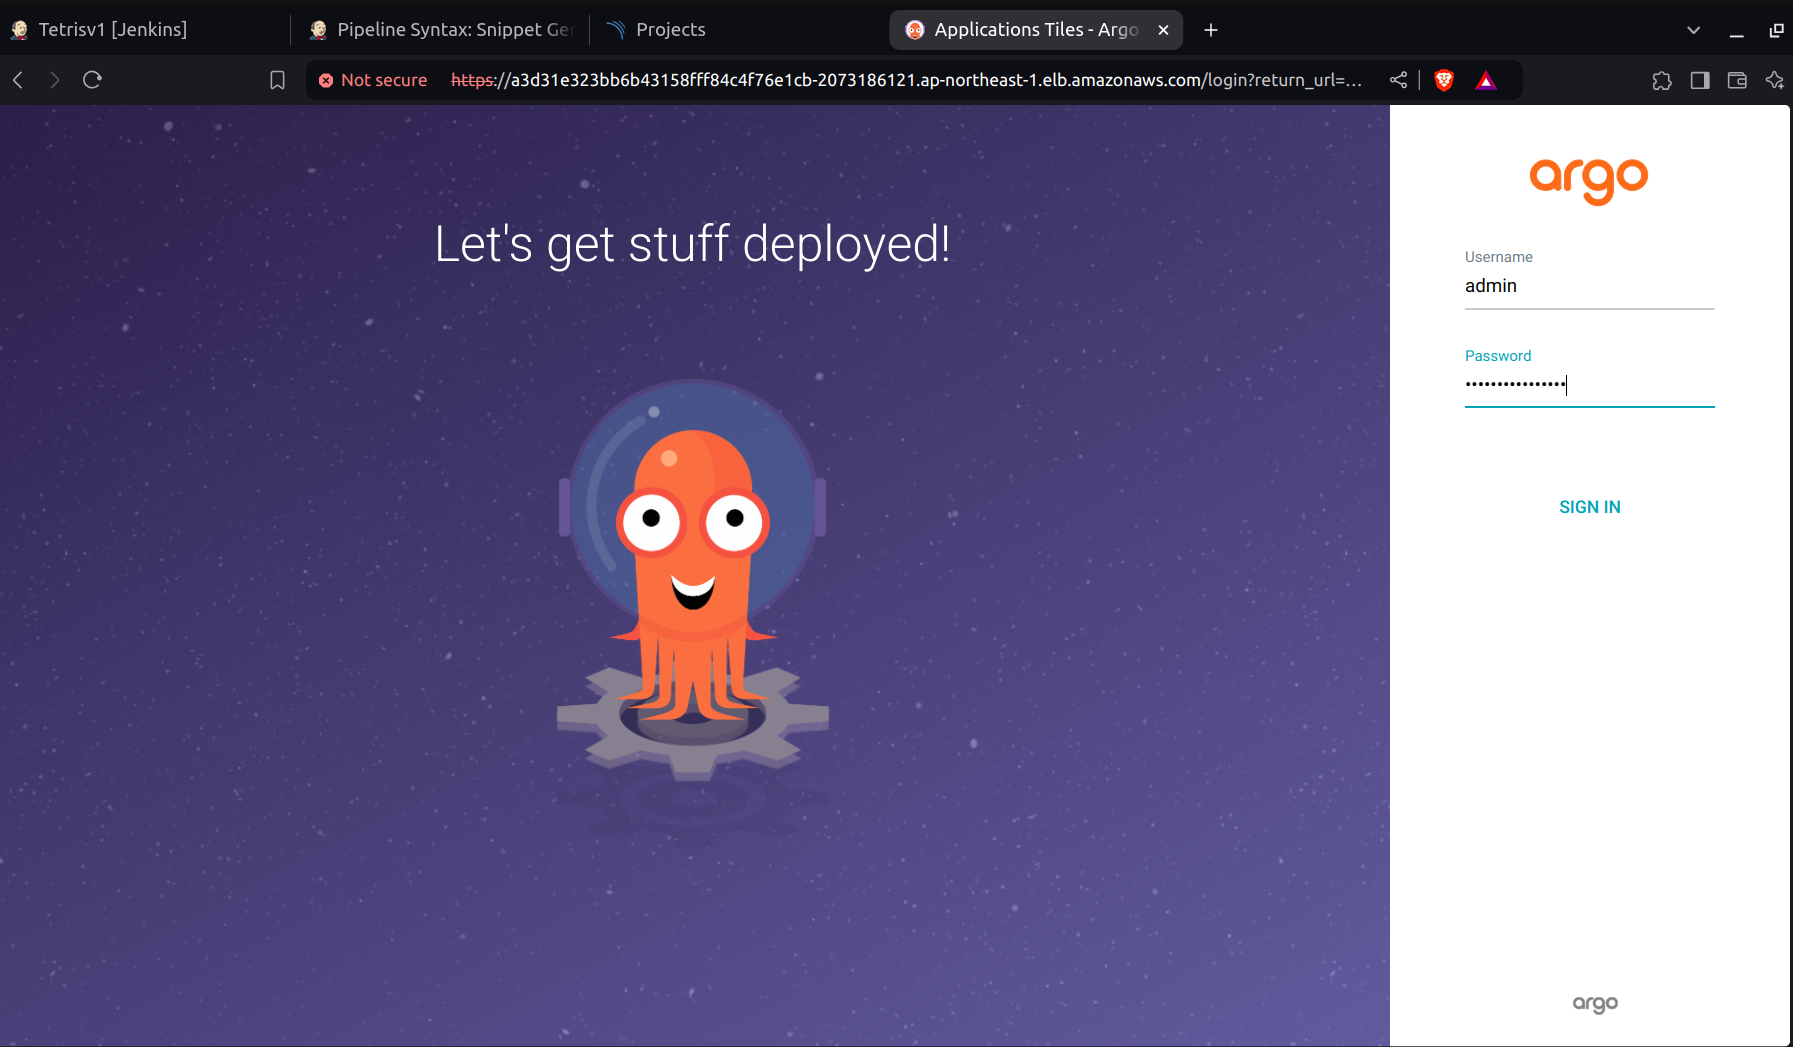
Enter Username as admin and password as whatever the password you have got.
Click on
connect repo using https
In this repo
https://github.com/Saurabh-DevOpsVoyager77/Tetris-Deployment.git, update the docker image with your docker image and tag.In type enter
git, projectdefault, in Repository URL givehttps://github.com/Saurabh-DevOpsVoyager77/Tetris-Deployment.git, Then click on Connect.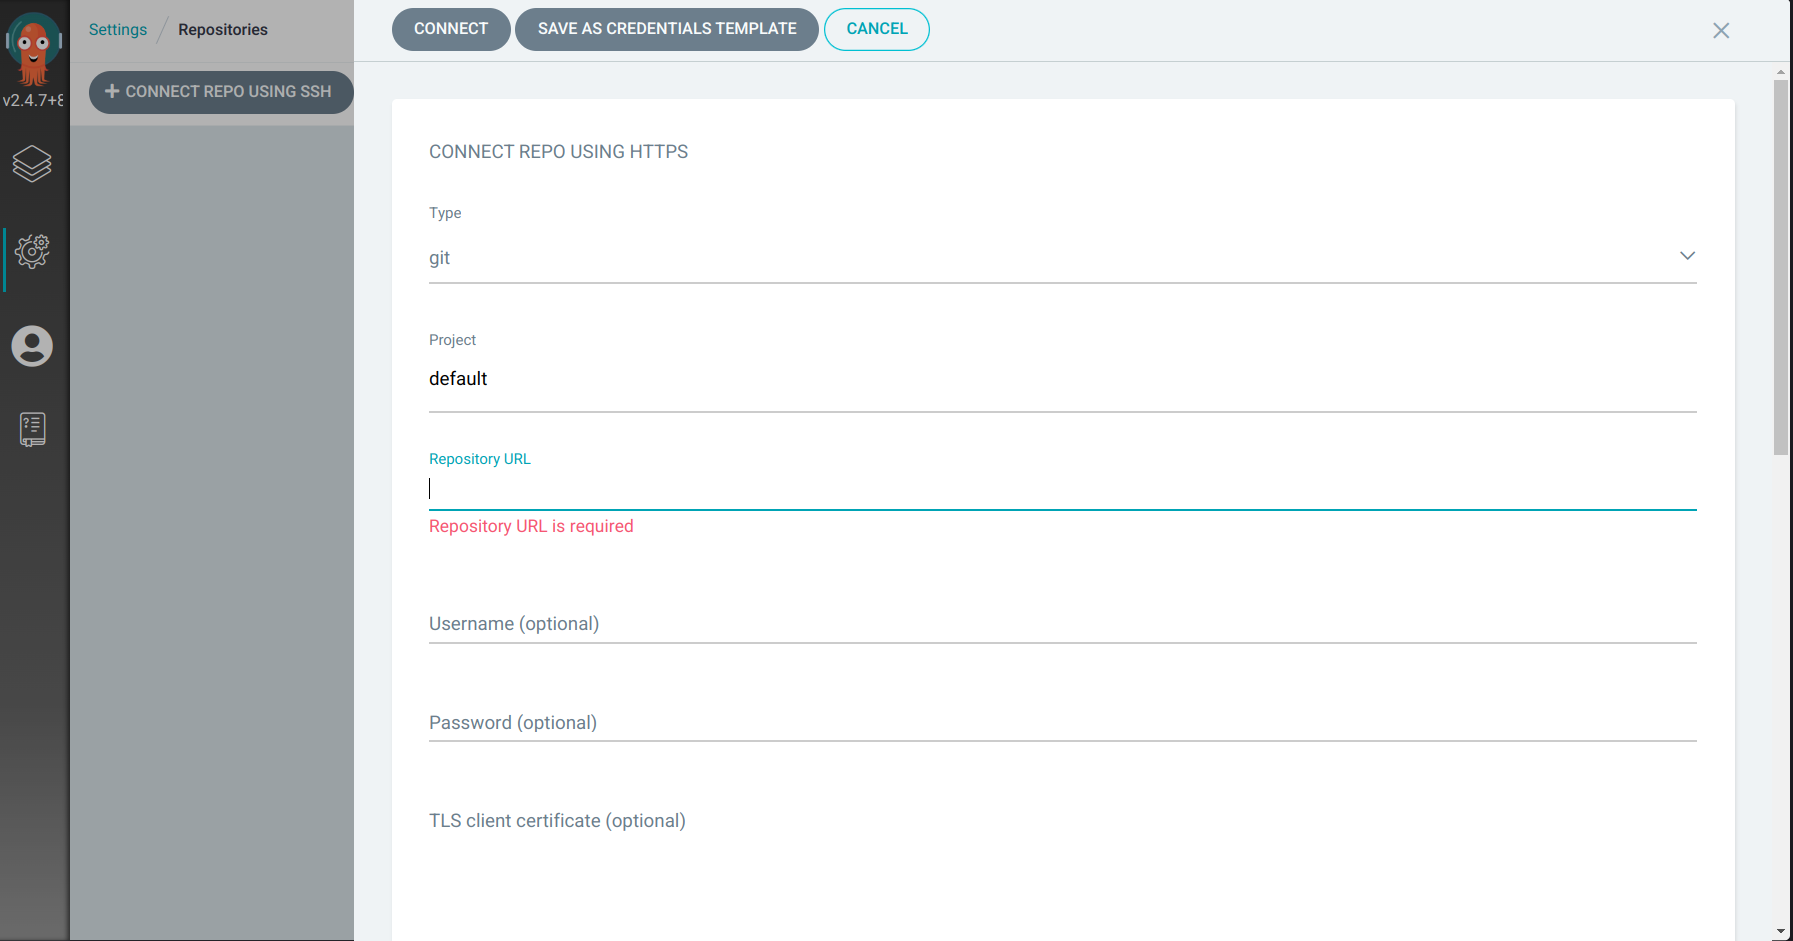
Click on
New App
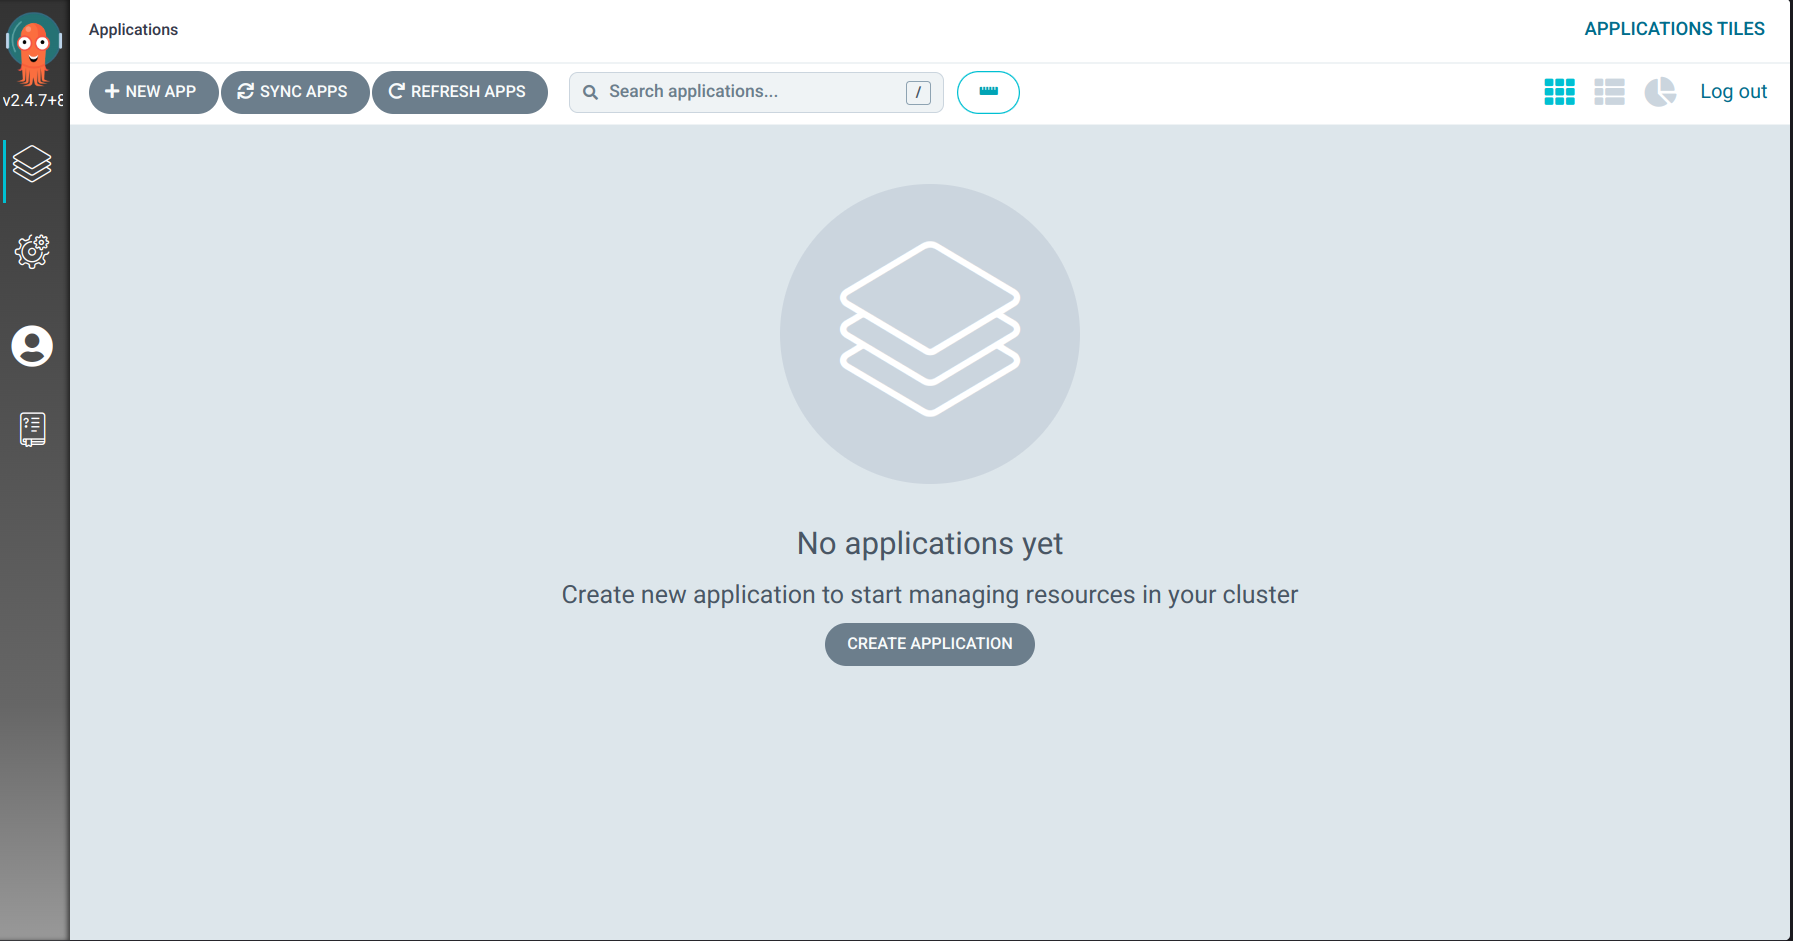
- Give details like below
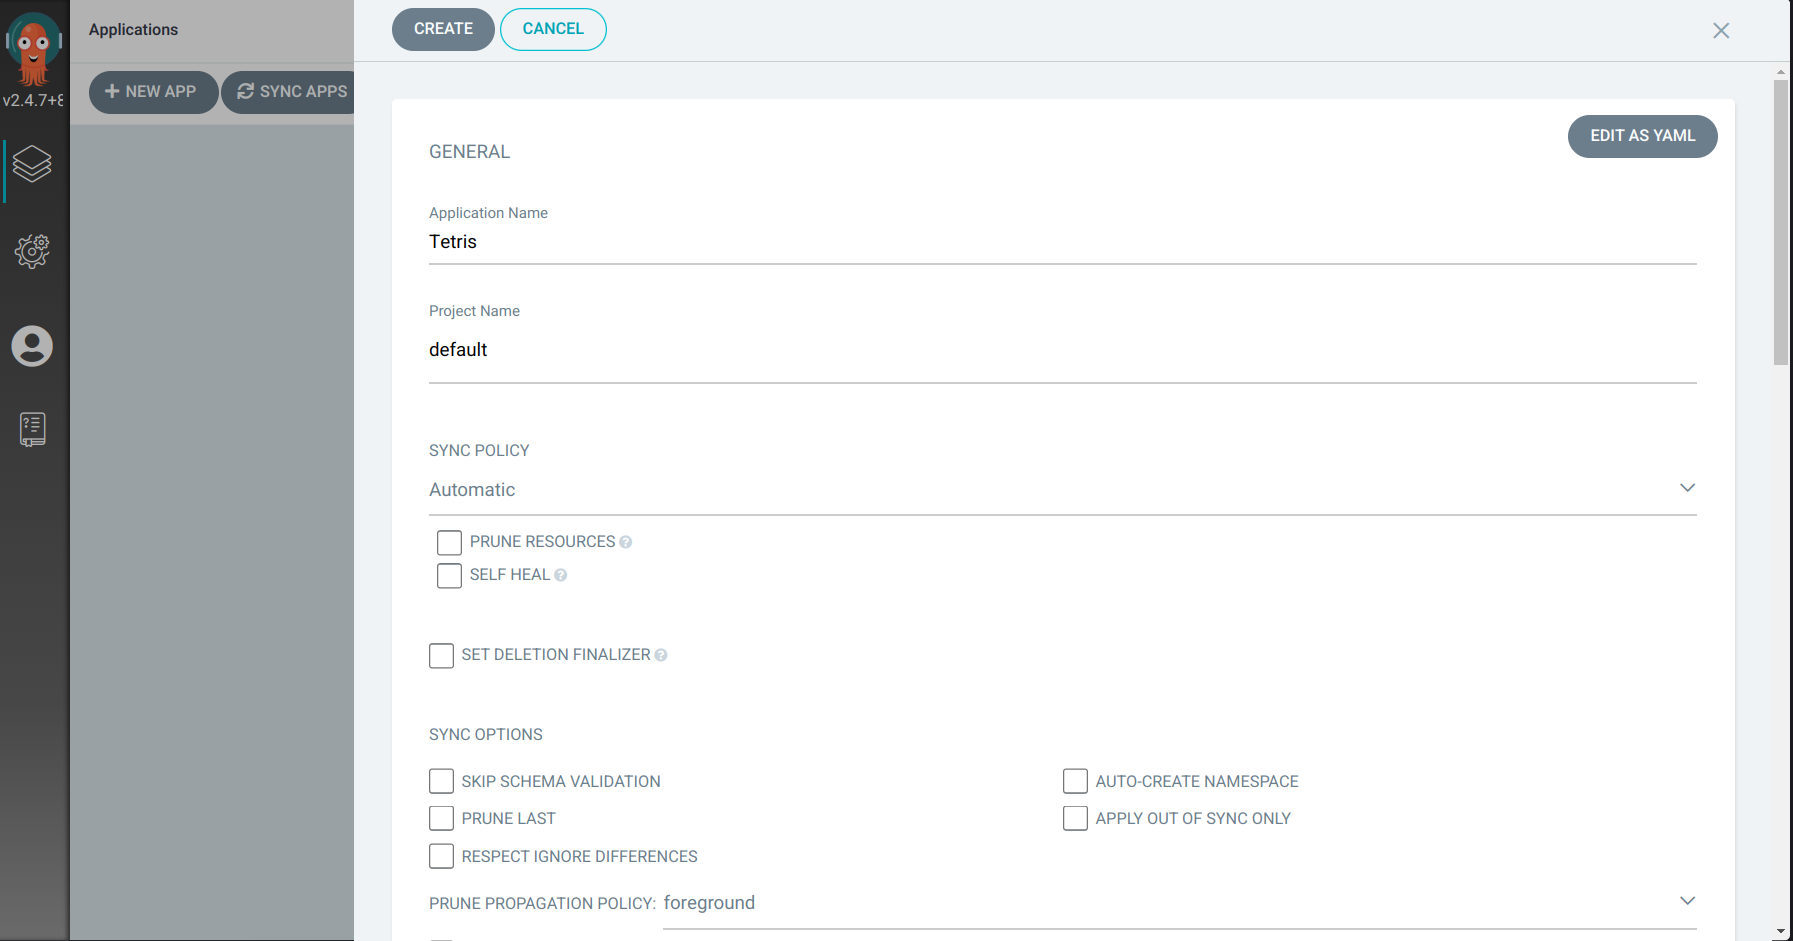
- In repo mention
https://github.com/Saurabh-DevOpsVoyager77/Tetris-Deployment.git
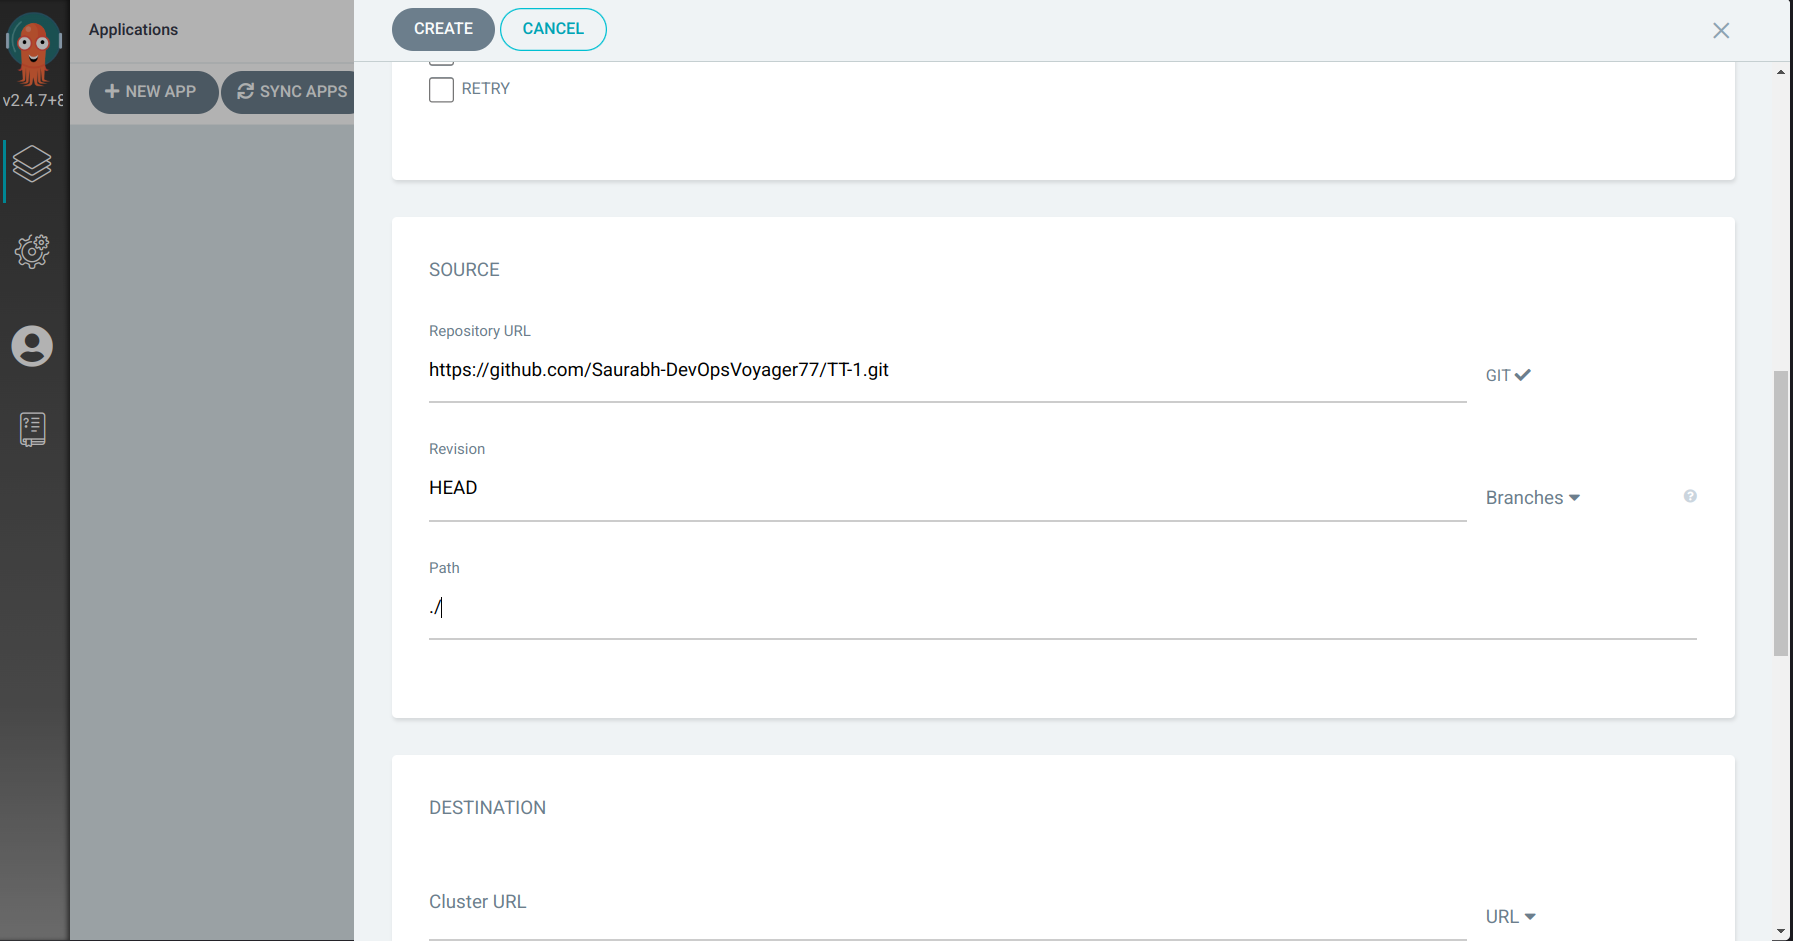
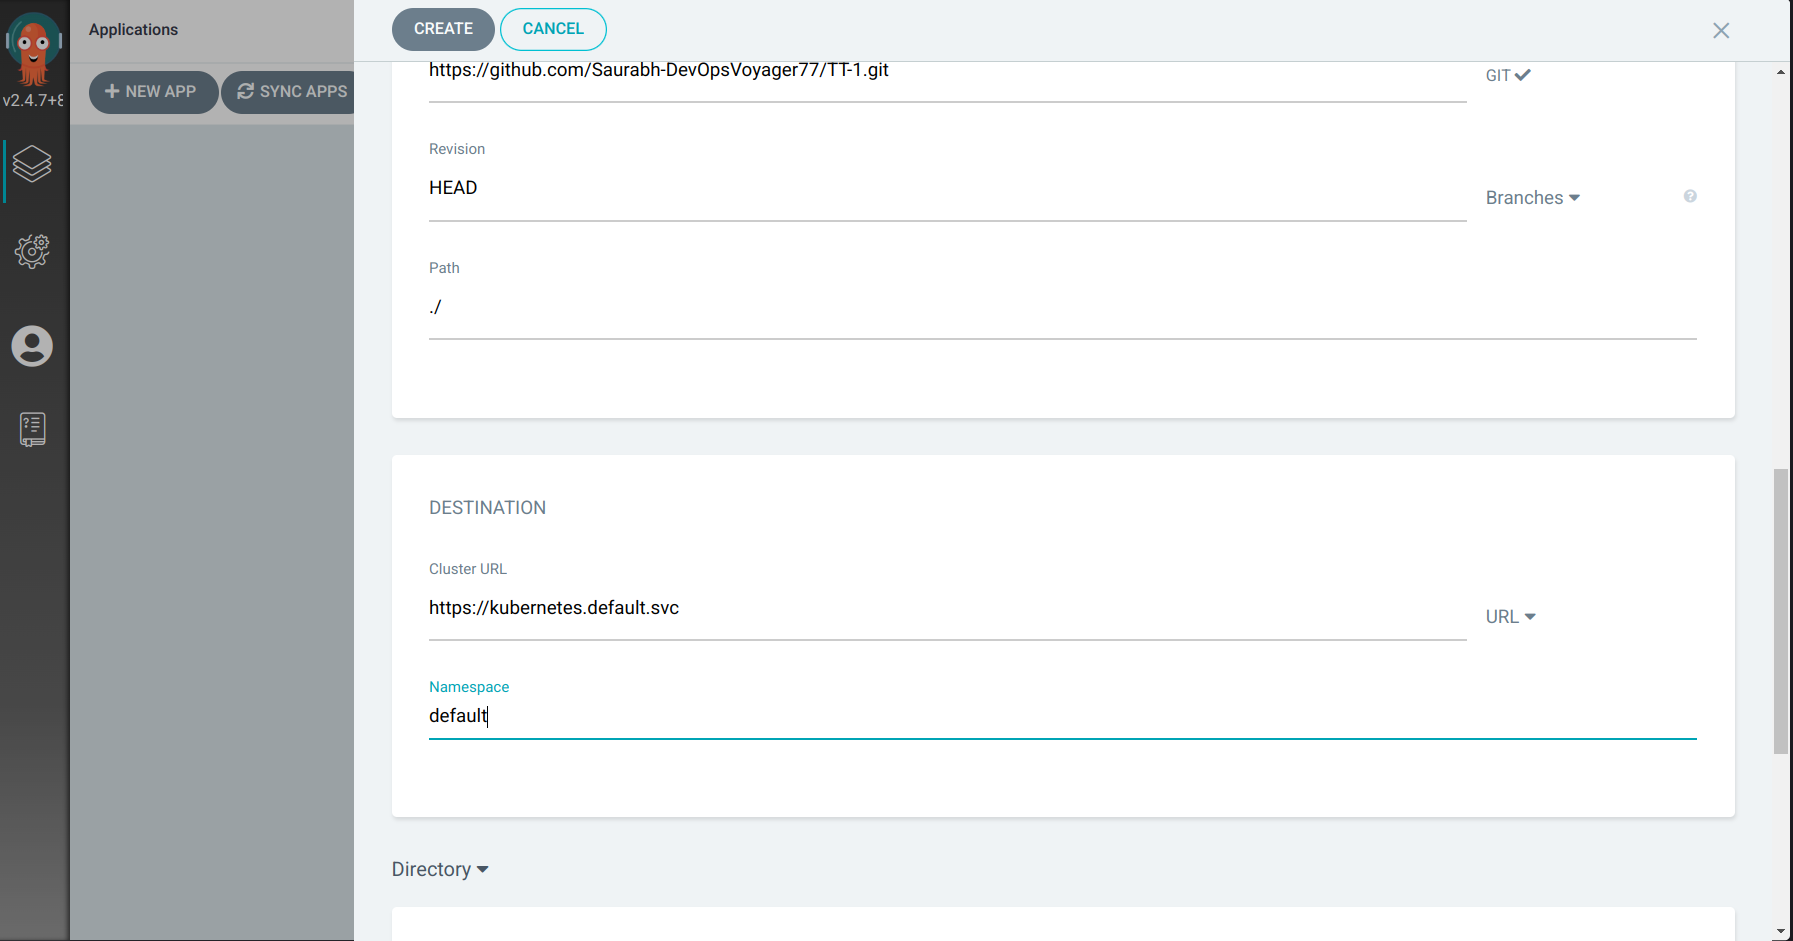
- Then you can see
tetris-service, click on three dots, then you can see like this
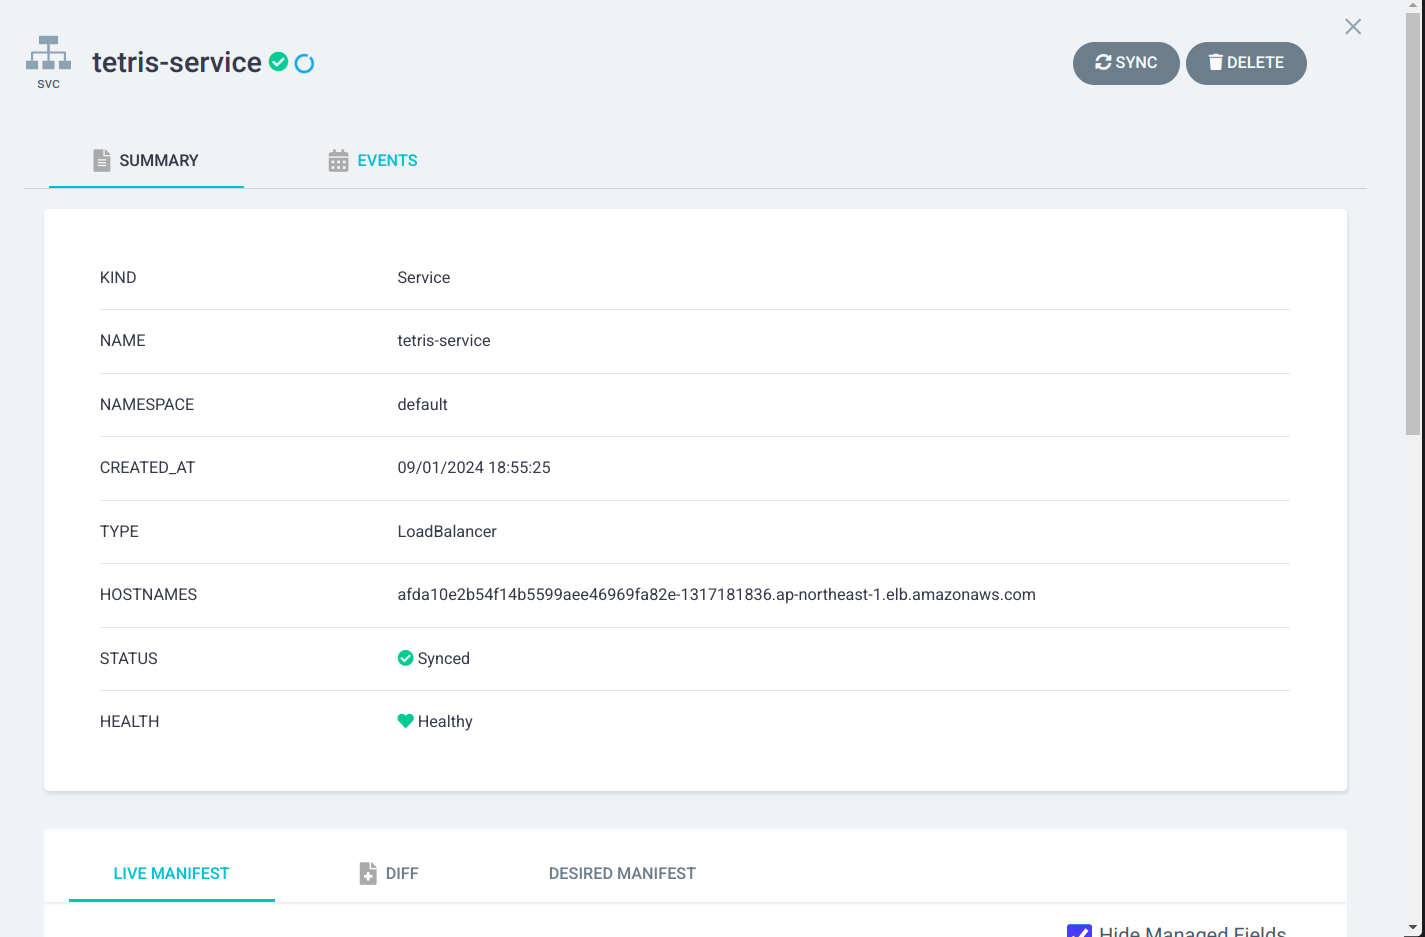
Then copy the HOSTNAMES here.
Go to the Node group instance
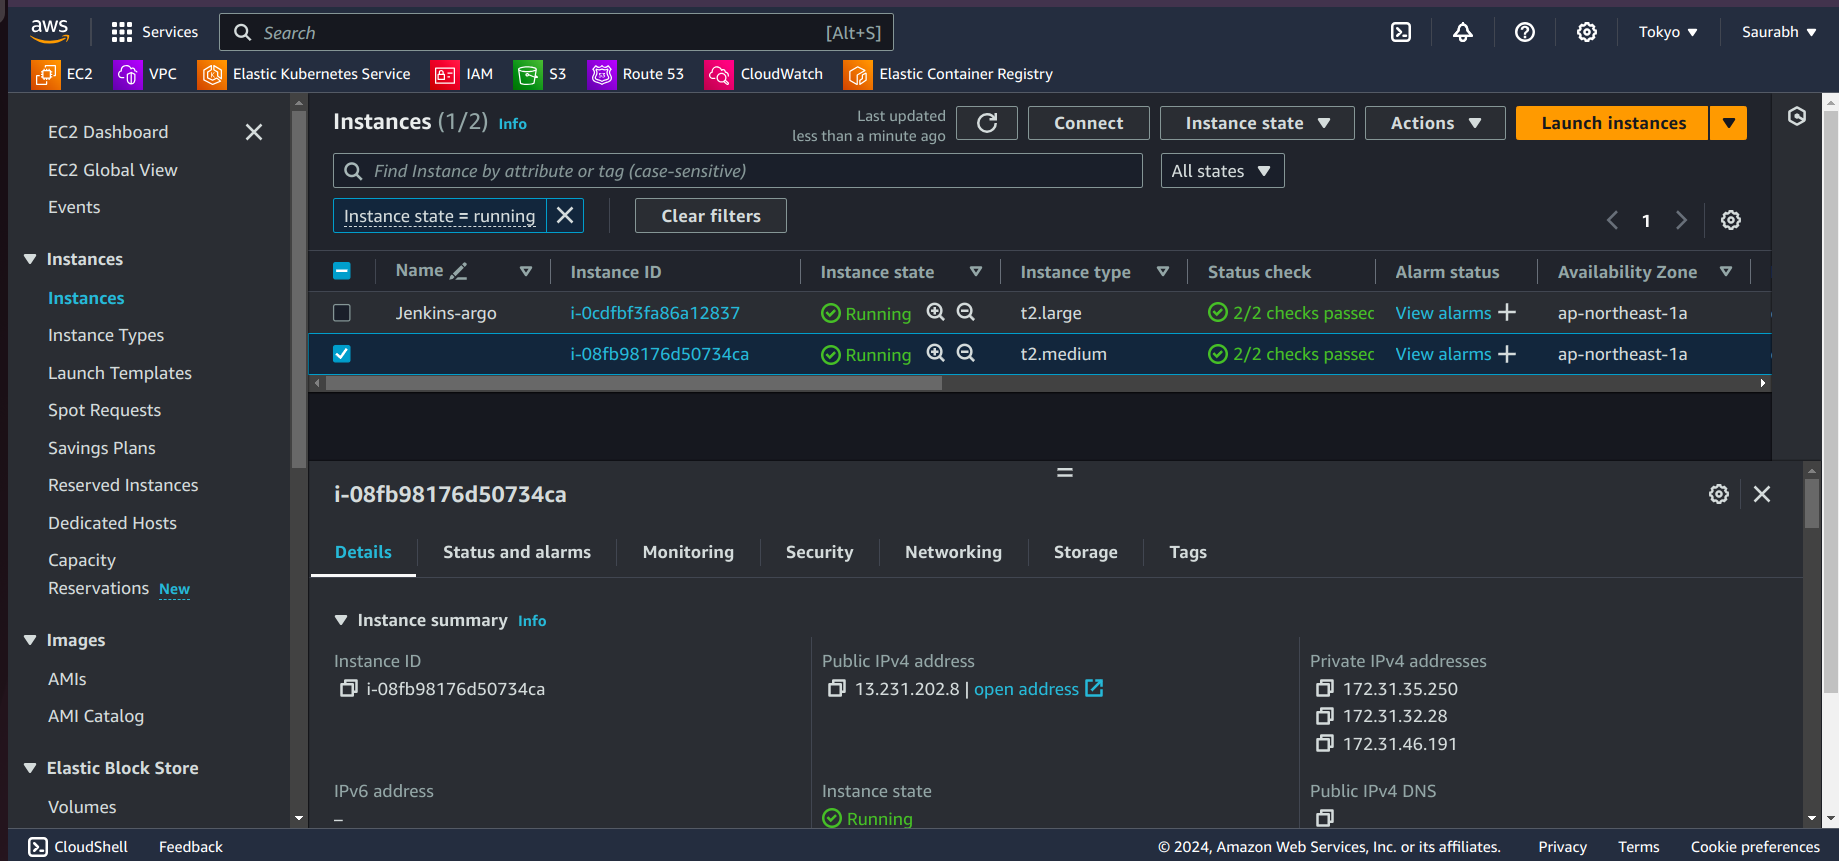
- Edit Inbound Rules
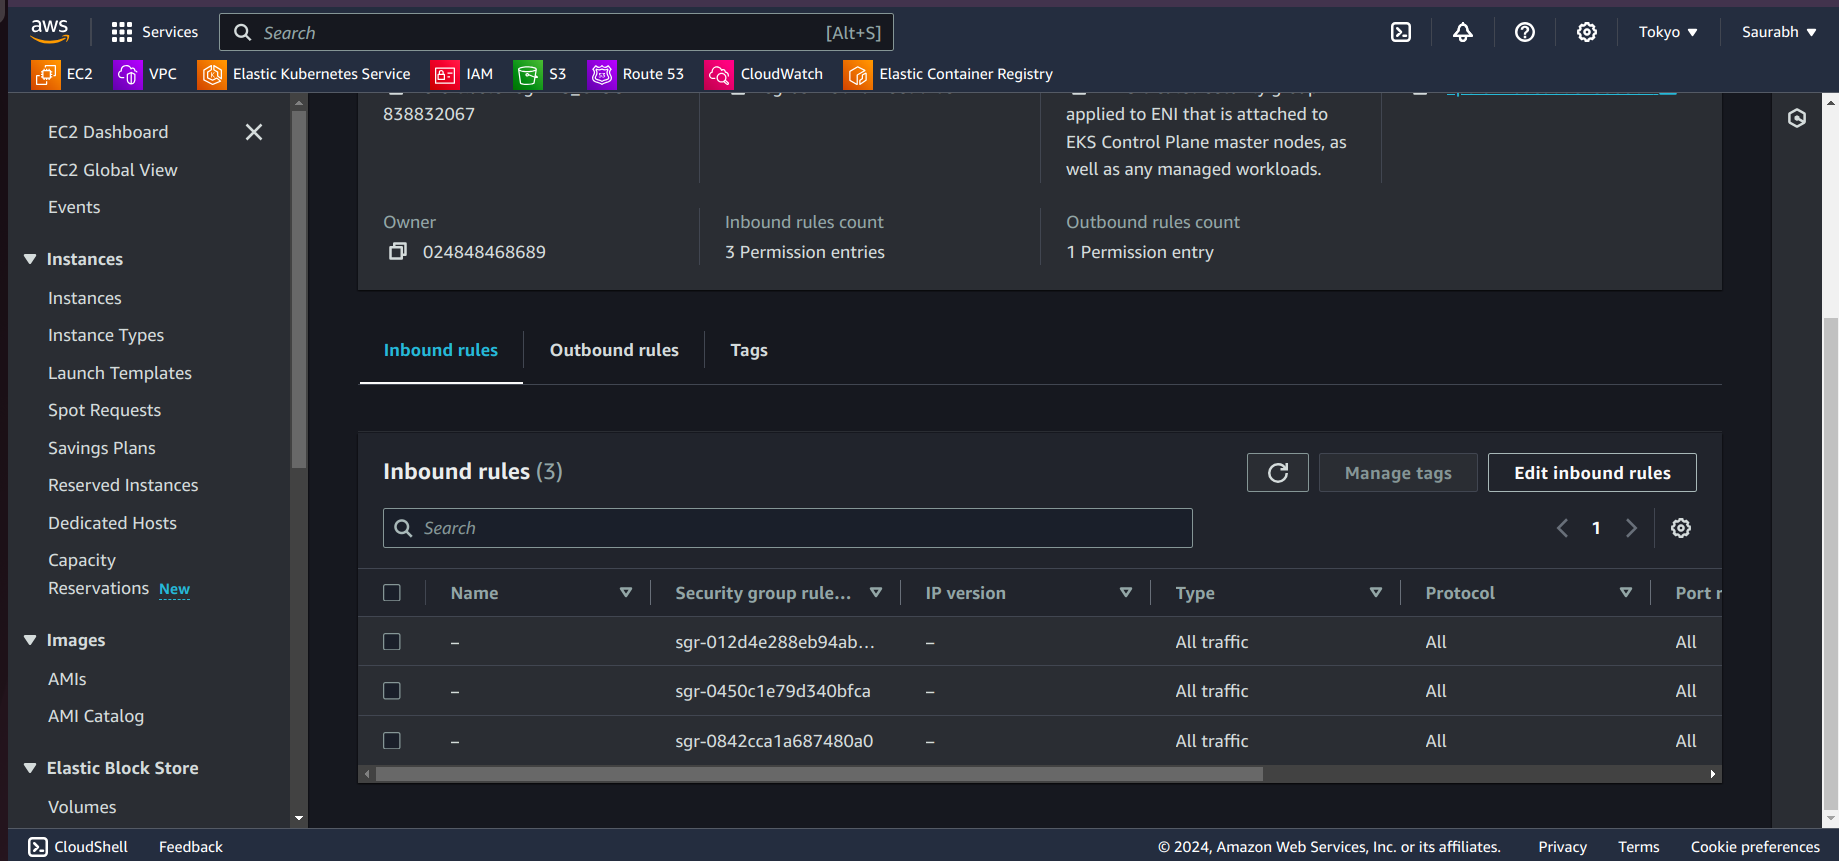
- Add Rule
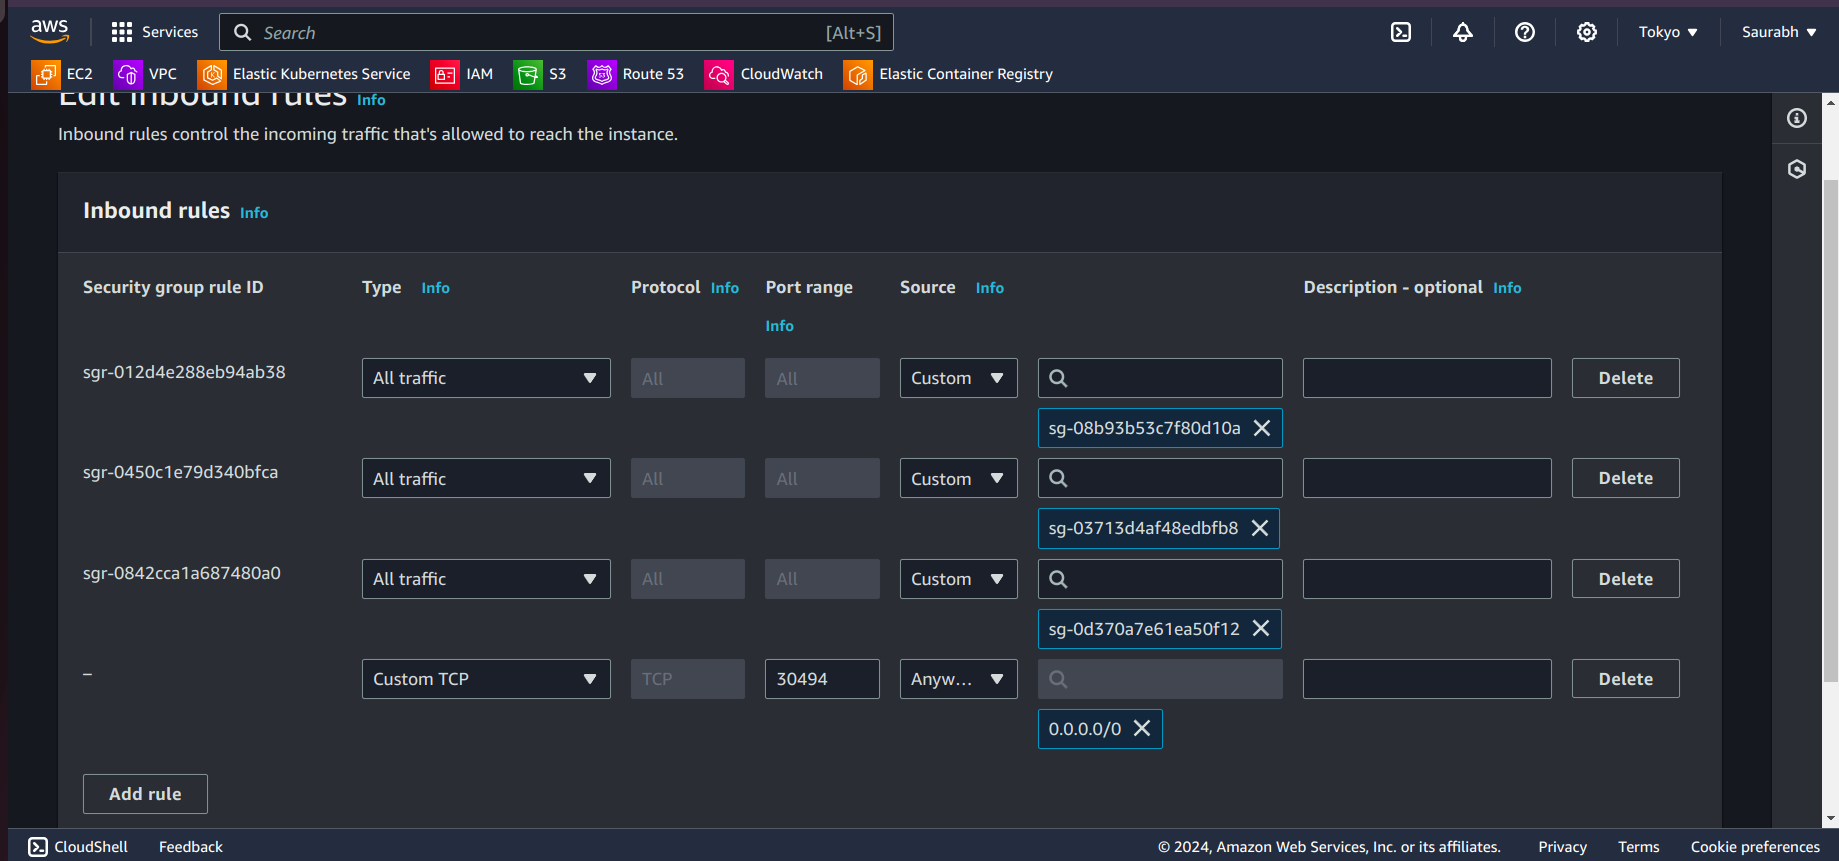
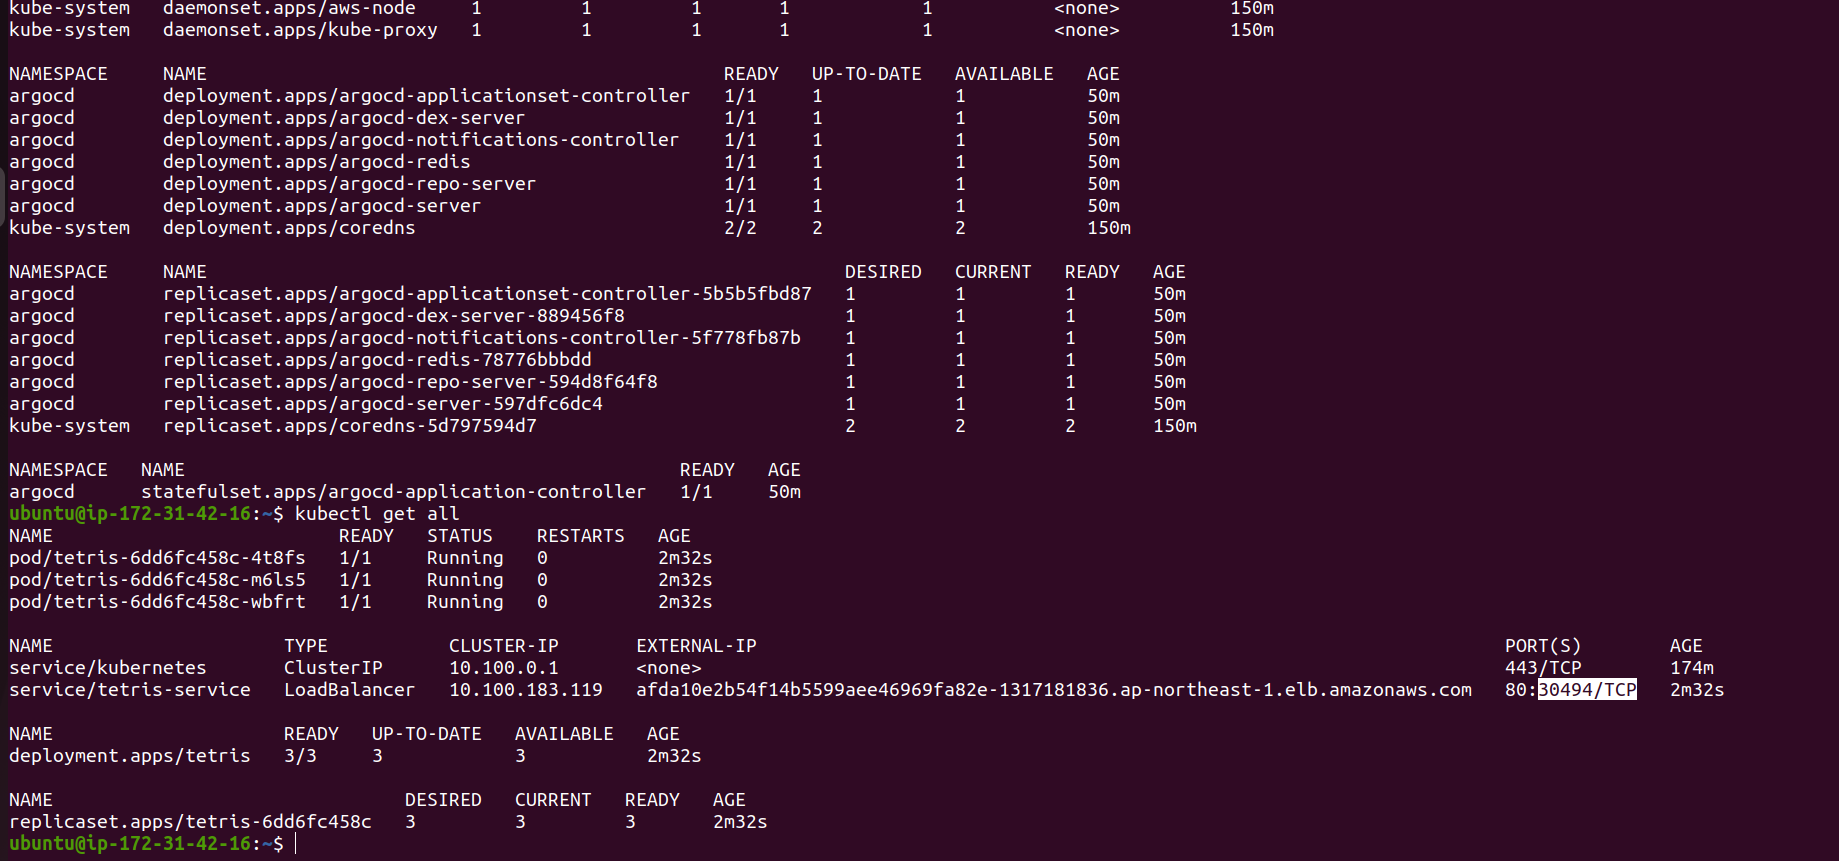
- In Port range give a port number that you can see in your terminal, run
kubectl get alland copy the port that is in External IP in LoadBalancer. (your Port number could be different)
Click on save in AWS Console.
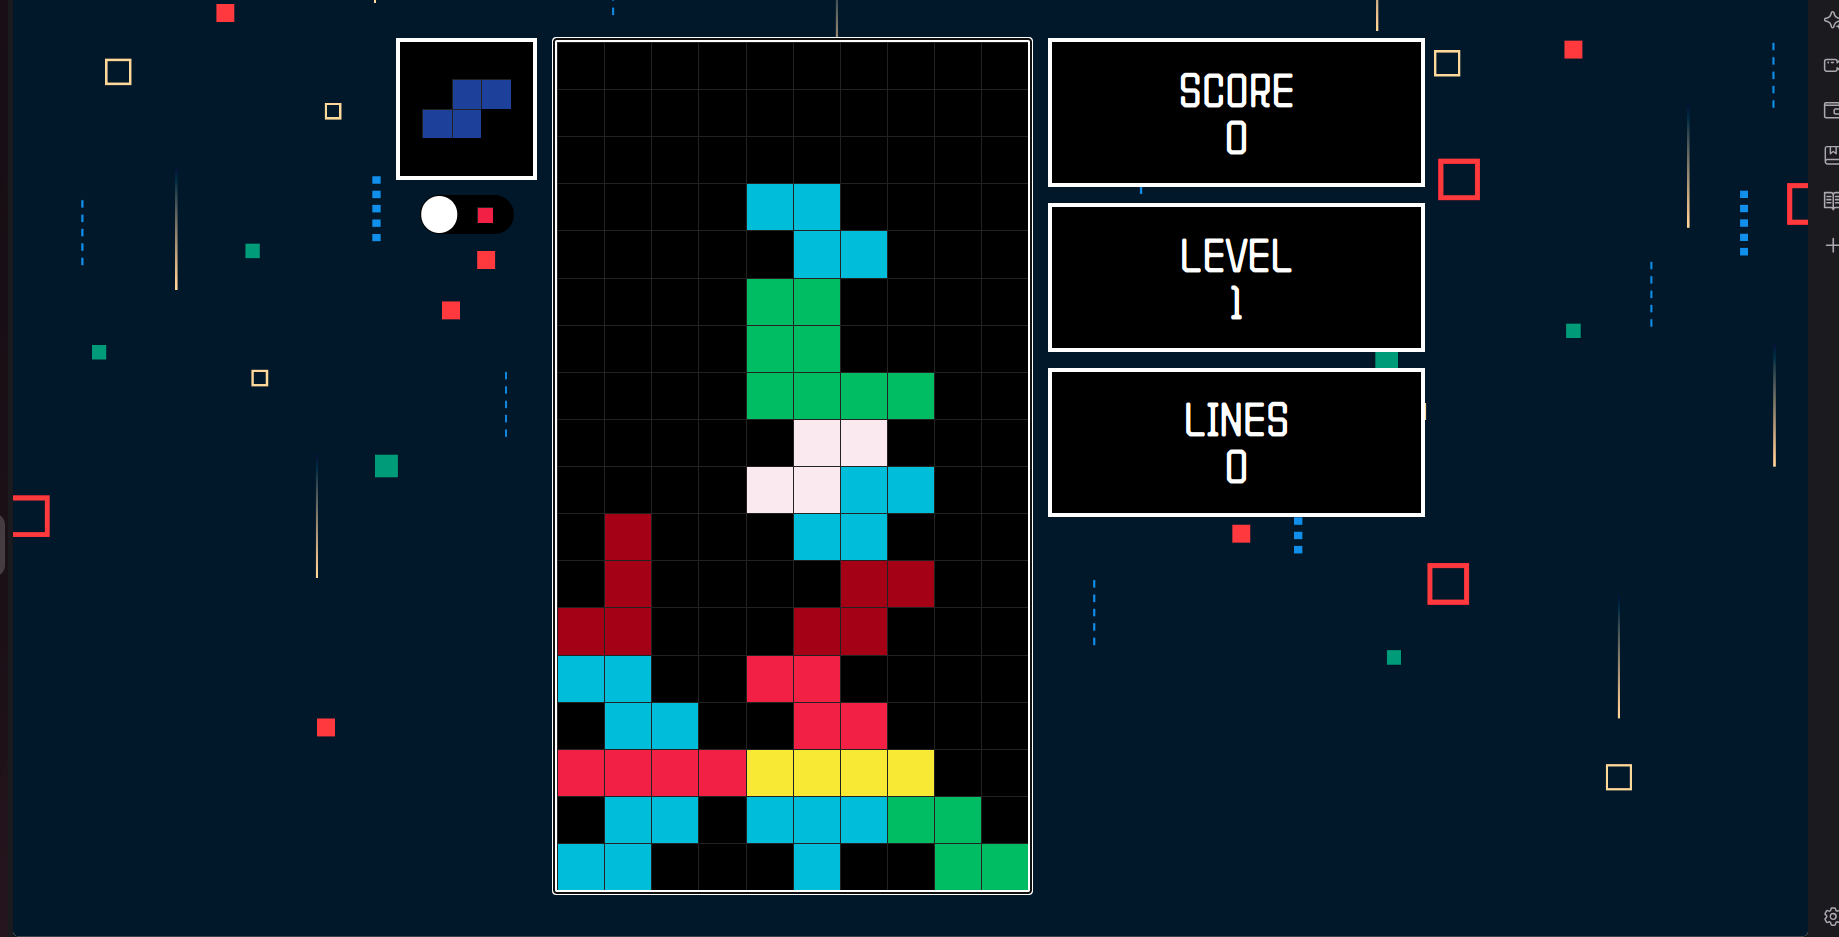
Then paste whatever the Hostname you can copy in the ArgoCD Tetris service into the browser.
Then you can see.
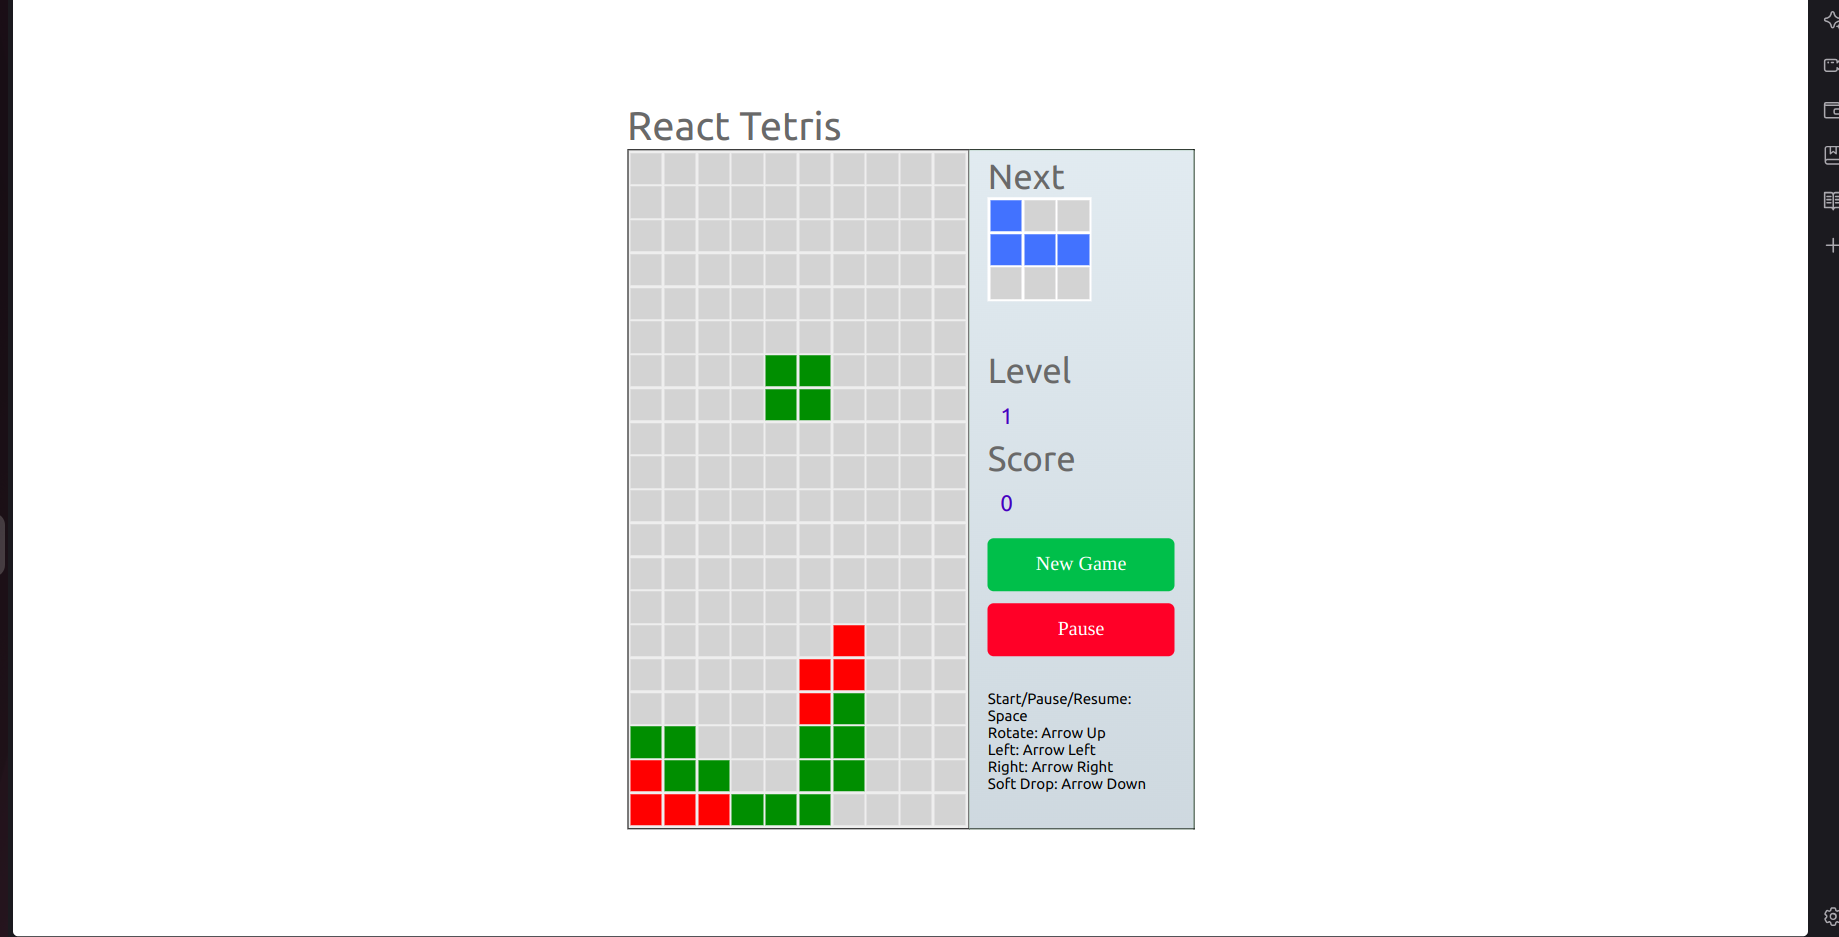
- So this is the TetrisV1 we have deployed successfully.
G. Create Pipeline for TetrisV2
Create a pipeline and run the below pipeline
Jenkins-Pipeline/Jenkinsfile-tetris-v2Then you can in SonarQube like this
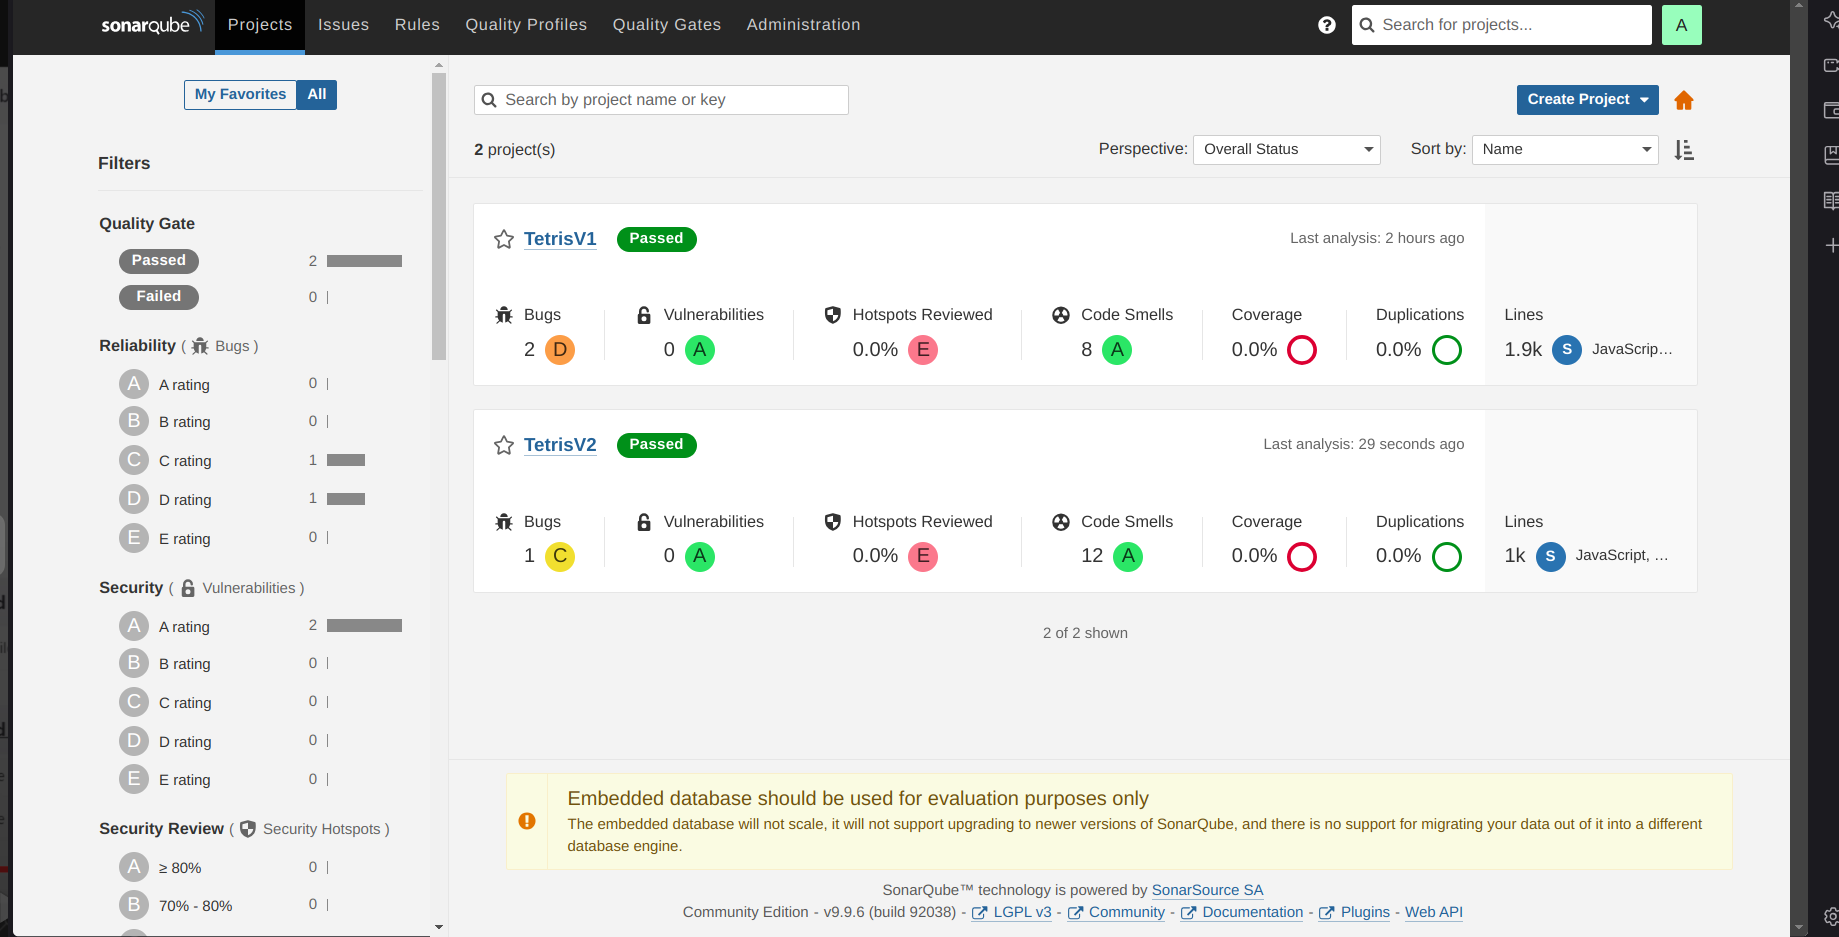
Update the Image in the Tetris Deployment repo. and follow the Argo Setup steps, you don't need to set it again ArgoCD, just create new apps and follow the same process then paste your Hostnames in browser which is in service.
Tadaa !!!... Your TetrisV2 is also deployed.
Conclusion
Congratulations on completing the DevSecOps Kubernetes Project! You've set up a DevSecOps pipeline on AWS using Kubernetes, deploying a Tetris game on Amazon EKS.
You've configured Terraform, built and configured Jenkins, integrated SonarQube for code quality, and used ArgoCD for continuous deployment. These steps have equipped you with essential skills in modern DevSecOps practices.
Feel free to apply these techniques to other projects. Happy deploying!
References:
https://archive.eksworkshop.com/intermediate/290_argocd/install/
https://developer.hashicorp.com/terraform/docs
https://docs.aws.amazon.com/IAM/latest/UserGuide/introduction.html
Subscribe to my newsletter
Read articles from Saurabh Adhau directly inside your inbox. Subscribe to the newsletter, and don't miss out.
Written by

Saurabh Adhau
Saurabh Adhau
As a DevOps Engineer, I thrive in the cloud and command a vast arsenal of tools and technologies: ☁️ AWS and Azure Cloud: Where the sky is the limit, I ensure applications soar. 🔨 DevOps Toolbelt: Git, GitHub, GitLab – I master them all for smooth development workflows. 🧱 Infrastructure as Code: Terraform and Ansible sculpt infrastructure like a masterpiece. 🐳 Containerization: With Docker, I package applications for effortless deployment. 🚀 Orchestration: Kubernetes conducts my application symphonies. 🌐 Web Servers: Nginx and Apache, my trusted gatekeepers of the web.