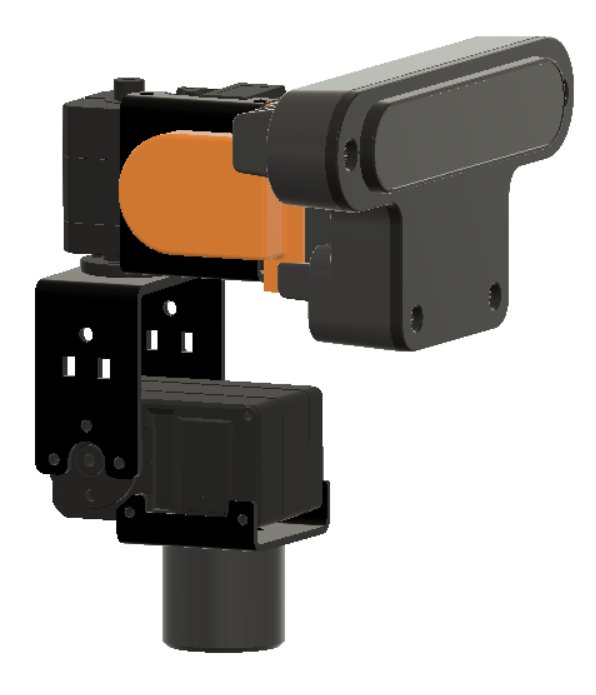
Building a Pan-Tilt Mechanism
 Aditya Kamath
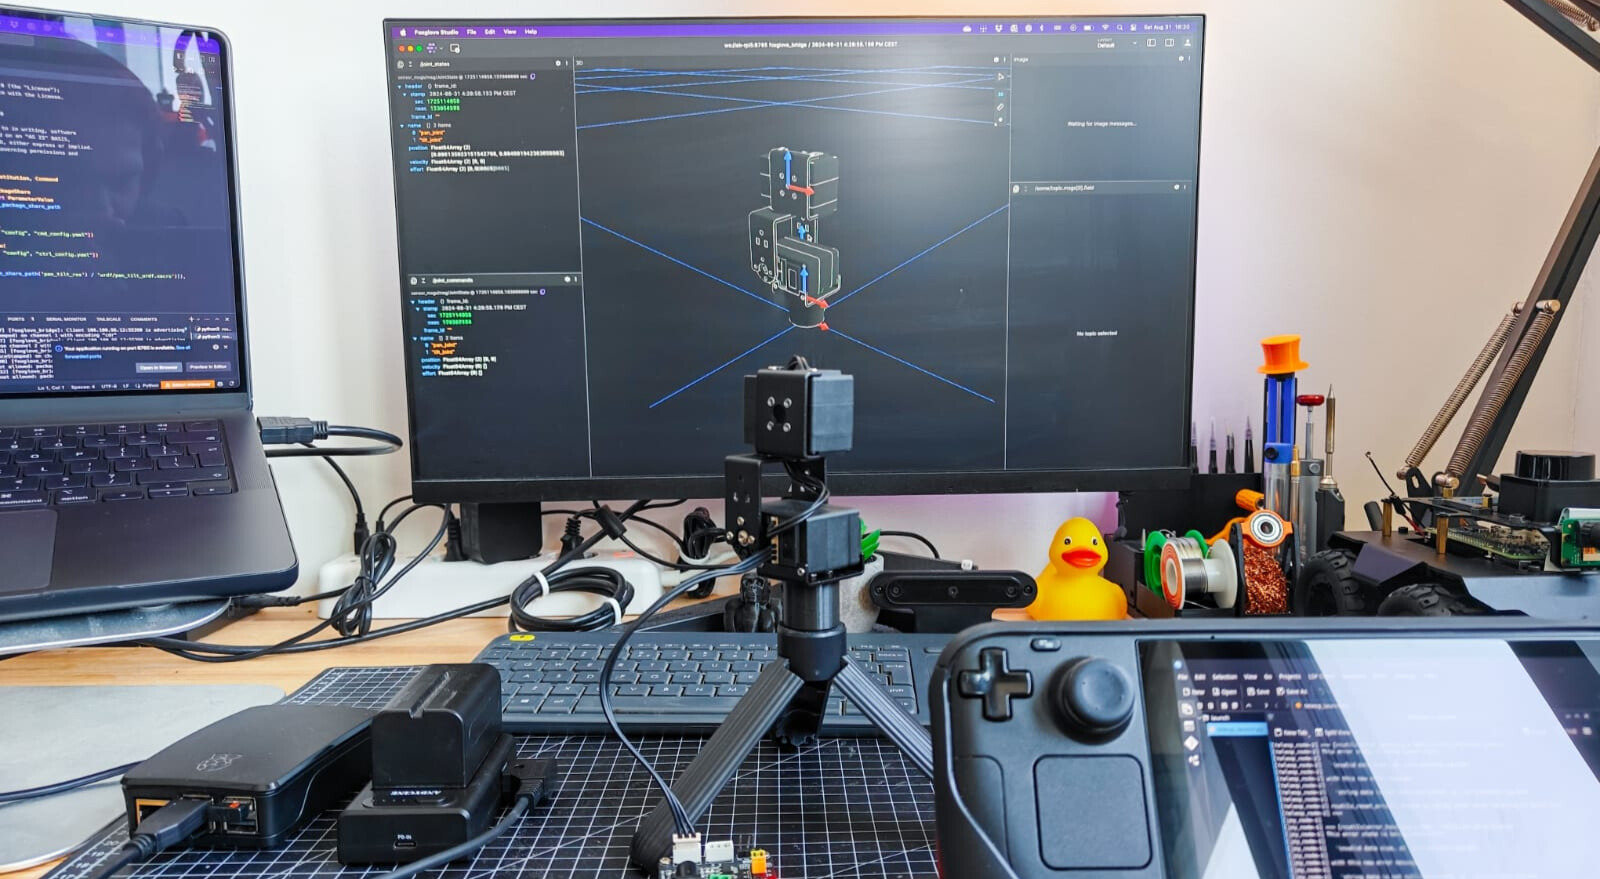
Before I begin, note that this post follows an earlier article about driving serial bus servo motors, where I tried different things with the Feetech STS3215 motors and their SCServo_Linux C++ library. This was all in the context of the 3-wheeled omni robot I was working on. Eventually, I also managed to design a high-level controller to drive this robot and was able to control it using ROS 2 Humble.
Eventually, I took a break from this robot (and other hobby projects) to focus on some innovative robotics projects at work. Honestly, it wasn't far off my hobby projects, as I ended up (re)using my AKROS2 mecanum robot's ROS 2 / micro-ROS stack on the mecanum robot we were building for internal R&D. Once I completed this implementation, I was promoted to Product Owner in addition to my role as System Architect. This meant I wasn't doing much hands-on work anymore.
I started looking through my unused electronics box for components I could use for a new project. I found a few Waveshare ST3215 motors (same protocol and dimensions as the Feetech motors but with 30kgcm torque compared to 19kgcm, and they can work with voltages up to 12V compared to 7.4V), some metal brackets, and a Luxonis OAK-D camera. So, I decided to make a pan-tilt camera module.
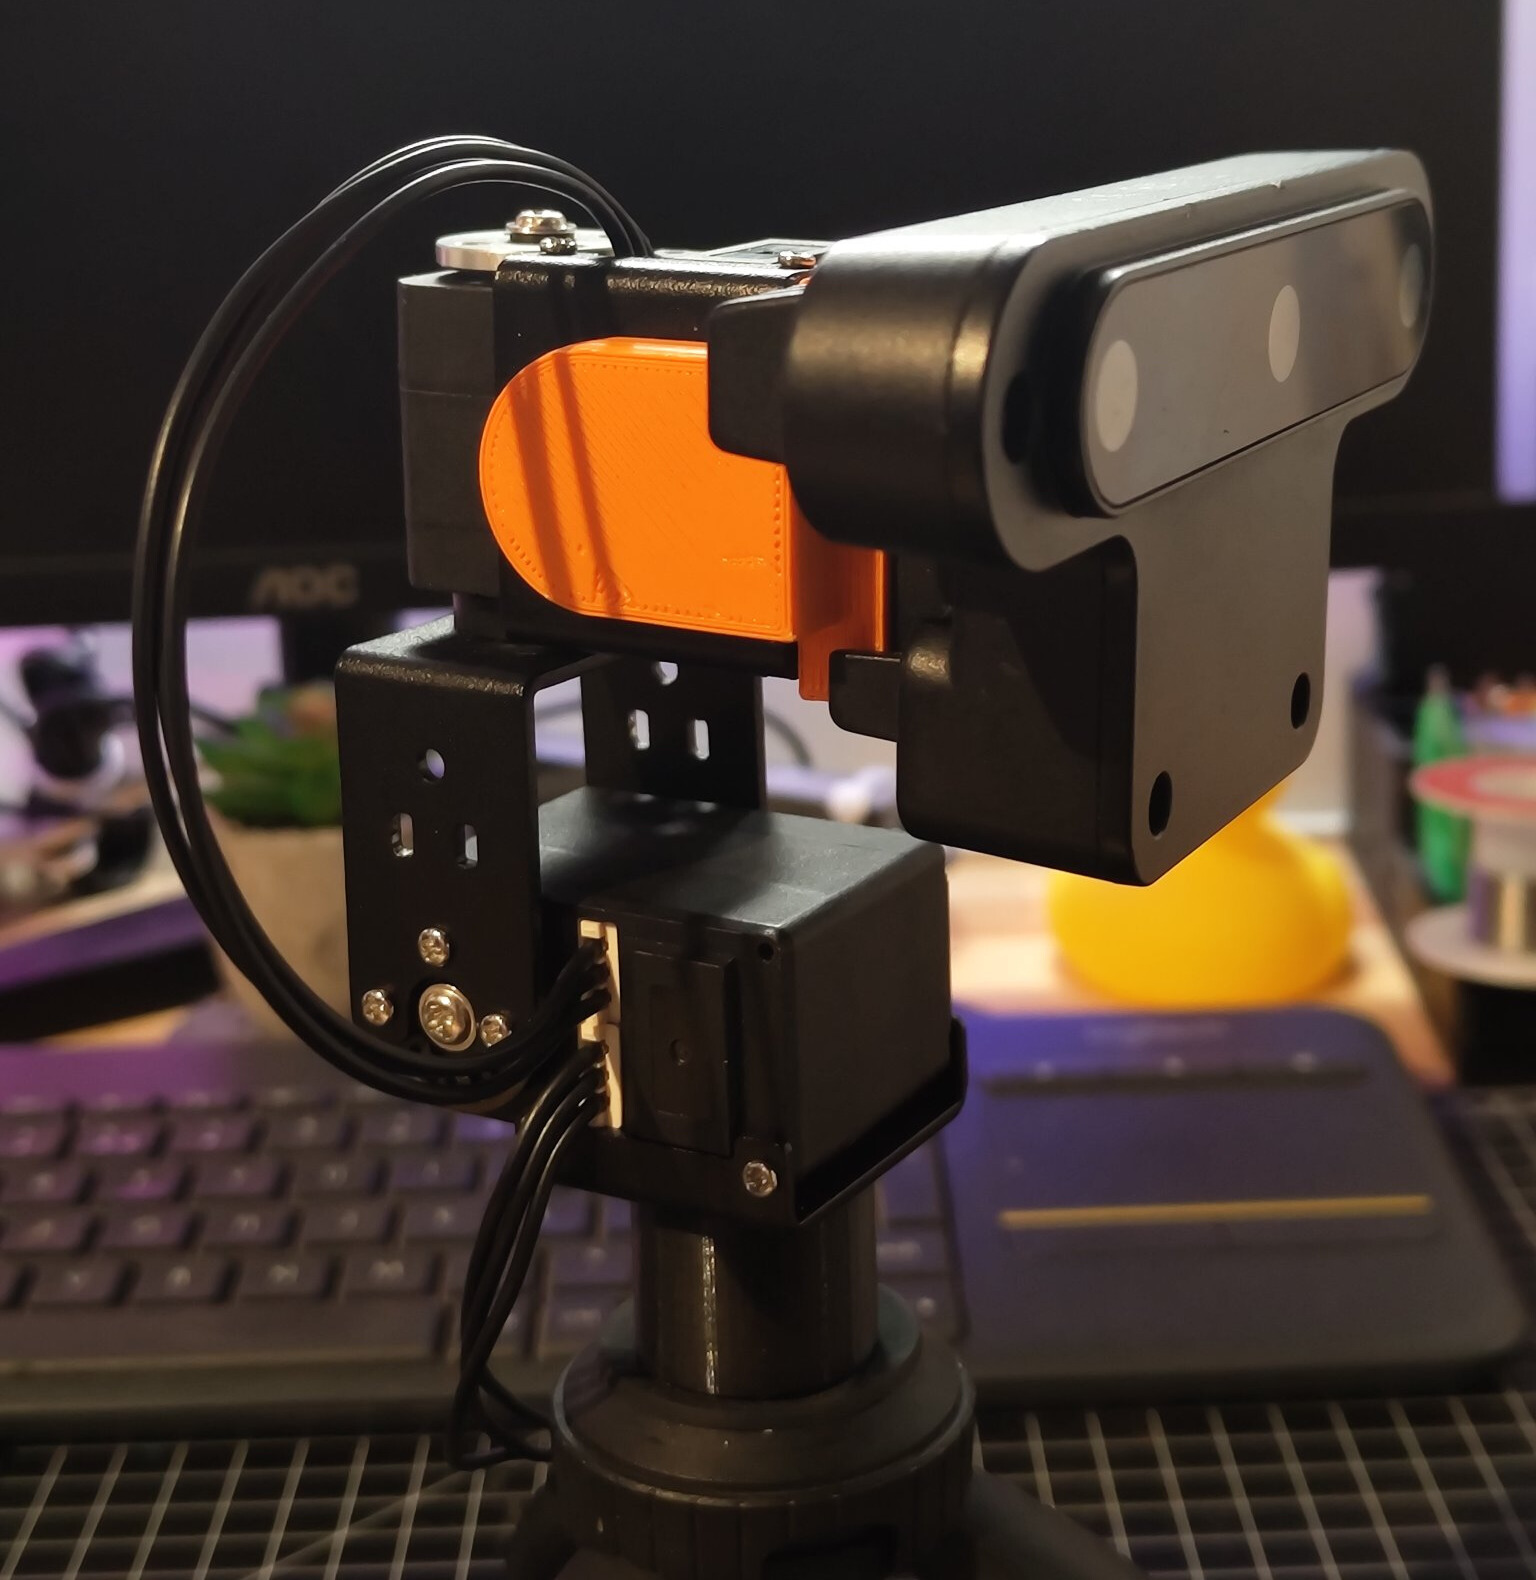
Once I assembled the motors and brackets, I 3D printed a mount for the OAK-D and a tripod mount (both using heat-set inserts), as shown in the image above. In a few hours, the hardware was ready. The next step was to implement the software.
ROS 2 Implementation
I chose ROS 2 for the software stack because I want to eventually integrate this mechanism with a ROS-based system. I started with ROS 2 Humble, but as I upgraded my systems to ROS 2 Jazzy, I successfully tested it with Jazzy as well. The implementation is divided into two parts: the control software and the URDF. I plan to add Gazebo simulation packages later, but that's for another time.
Joystick Control
First, I calibrated the mid-points of the motors (see my earlier article on how to do this). Then, I started coding by writing a ROS 2 node (control node) that subscribes to a JointState message from a joint state publisher (I used the joint_state_publisher_gui for testing). This node converts the input message to motor commands, sends them to the motors using the SCServo_Linux library, and then publishes another JointState message with the measured readings from each motor.
Next, I wrote a ROS 2 node (command node) that subscribes to Joy messages from a joystick, converts them to JointState messages based on a configuration file, and publishes these messages for the control node to subscribe to. I tested this out with my trusty Steam Deck and it works great as you can see in the thread below. To learn how to use the Steam Deck as a ROS robot controller, check out my previous article.
During testing, I almost pinched my finger in the mechanism which led me to add an emergency stop button. This configurable button on the game controller (Steam Deck in my case) stops the motors and disables torque, allowing me to move the motors by hand. When the emergency stop is turned off, the motors return to the latest JointState message.
Pro tip: use AI, especially with ROS! Since ROS is open-source and has a very active community, most AI tools are already trained with a lot of ROS code. All you need to do is design, and tools like GitHub Copilot or Cursor can help write boilerplate code (don't trust them for anything more than this though) really well! I implemented the above prototype over a weekend, with a lot of time spent watching Netflix and going out with friends.
URDF
For the URDF, I started by creating a CAD assembly on Fusion360 and combined the smaller parts with fixed links. I had many issues getting everything right to run the Fusion360 to URDF script, and I didn't have the time or patience for it anymore.
Eventually, I hired someone from Fiverr to do it for me. Nixon from Kenya did a fantastic job setting everything up and generating the URDF using the script mentioned earlier. During this time, I decided it was better to create a general-purpose pan-tilt mechanism instead of one with a camera, so I removed the OAK-D and its 3D-printed mounting part.
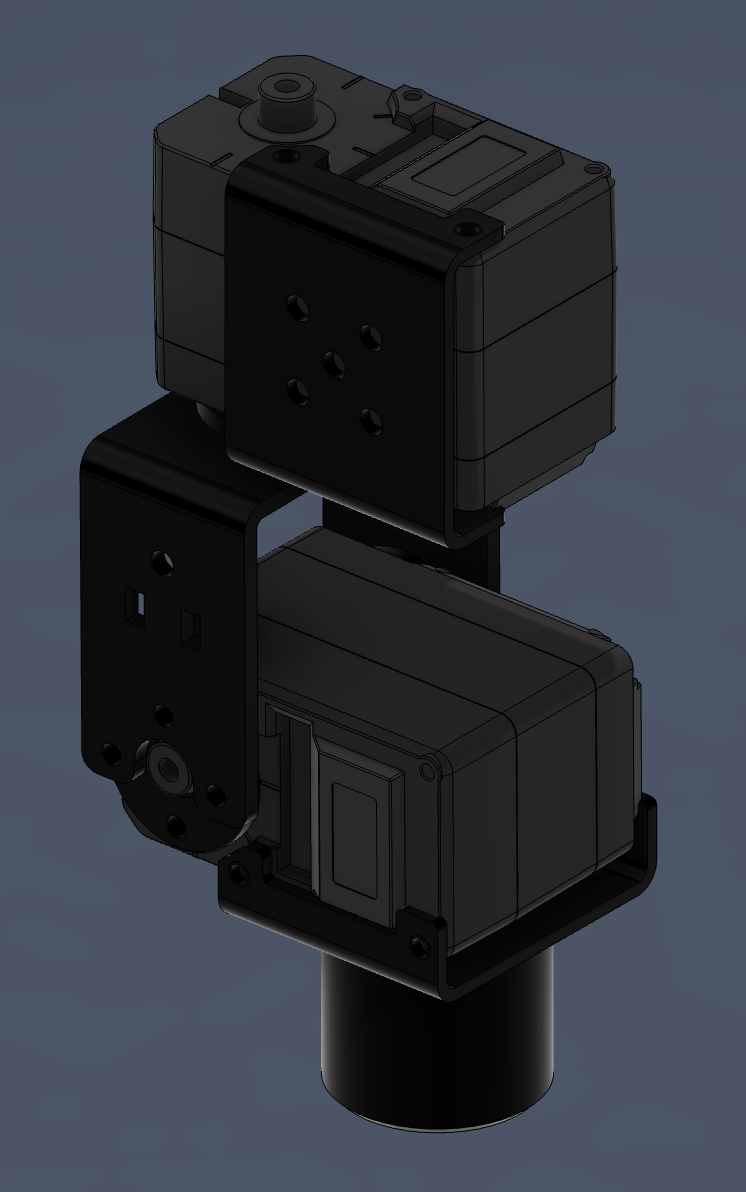
I must say, the final results look great! Here's a video of the pan-tilt mechanism in action, along with the URDF visualized on Foxglove.
Cleanup and Documentation
My next step was to clean up the code by creating parameters for relevant variables so they could be set during runtime. I also added configuration YAML files and wrote a launch file to run the control nodes and the URDF. Finally, I documented the project and published everything on my GitHub:
Once I have more time, I plan to set up a Gazebo simulation for the pan-tilt mechanism. I will update the same repository once it is ready.
Other applications
Other than this pan-tilt mechanism, these serial bus servo motors can be used in many other applications. Many variants of these servo motors use the same protocol and are all more affordable than Dynamixel motors while offering similar or better performance. Dynamixels are considered the standard for serial bus servos, but they are expensive! For example, the STS3215 costs about the same as a Dynamixel XL-330 but has metal gears instead of plastic ones and provides much higher torque. The only downside is that the software is not fully accessible and lacks proper documentation, so you will end up doing a lot of reverse engineering.
Arvatar Pan-Tilt Mechanism
Arvatar is a project we are building at work, aiming to teleoperate robots using commercial VR headsets. One of the robots we are working with is the mecanum robot I mentioned earlier. Our objective was to add a camera to provide a video stream to the user. Initially, we intended to use a 360-degree camera and digitally adjust the FOV based on the user's movements, but we encountered some issues with the camera that couldn't be easily resolved.
Eventually, we decided to use an OAK-D Lite for stereo vision, as we realized the user would also want depth perception. Since we couldn't move the FOV, I decided to repurpose my pan-tilt mechanism (and its software stack) to provide the user with the correct view based on their head movements.
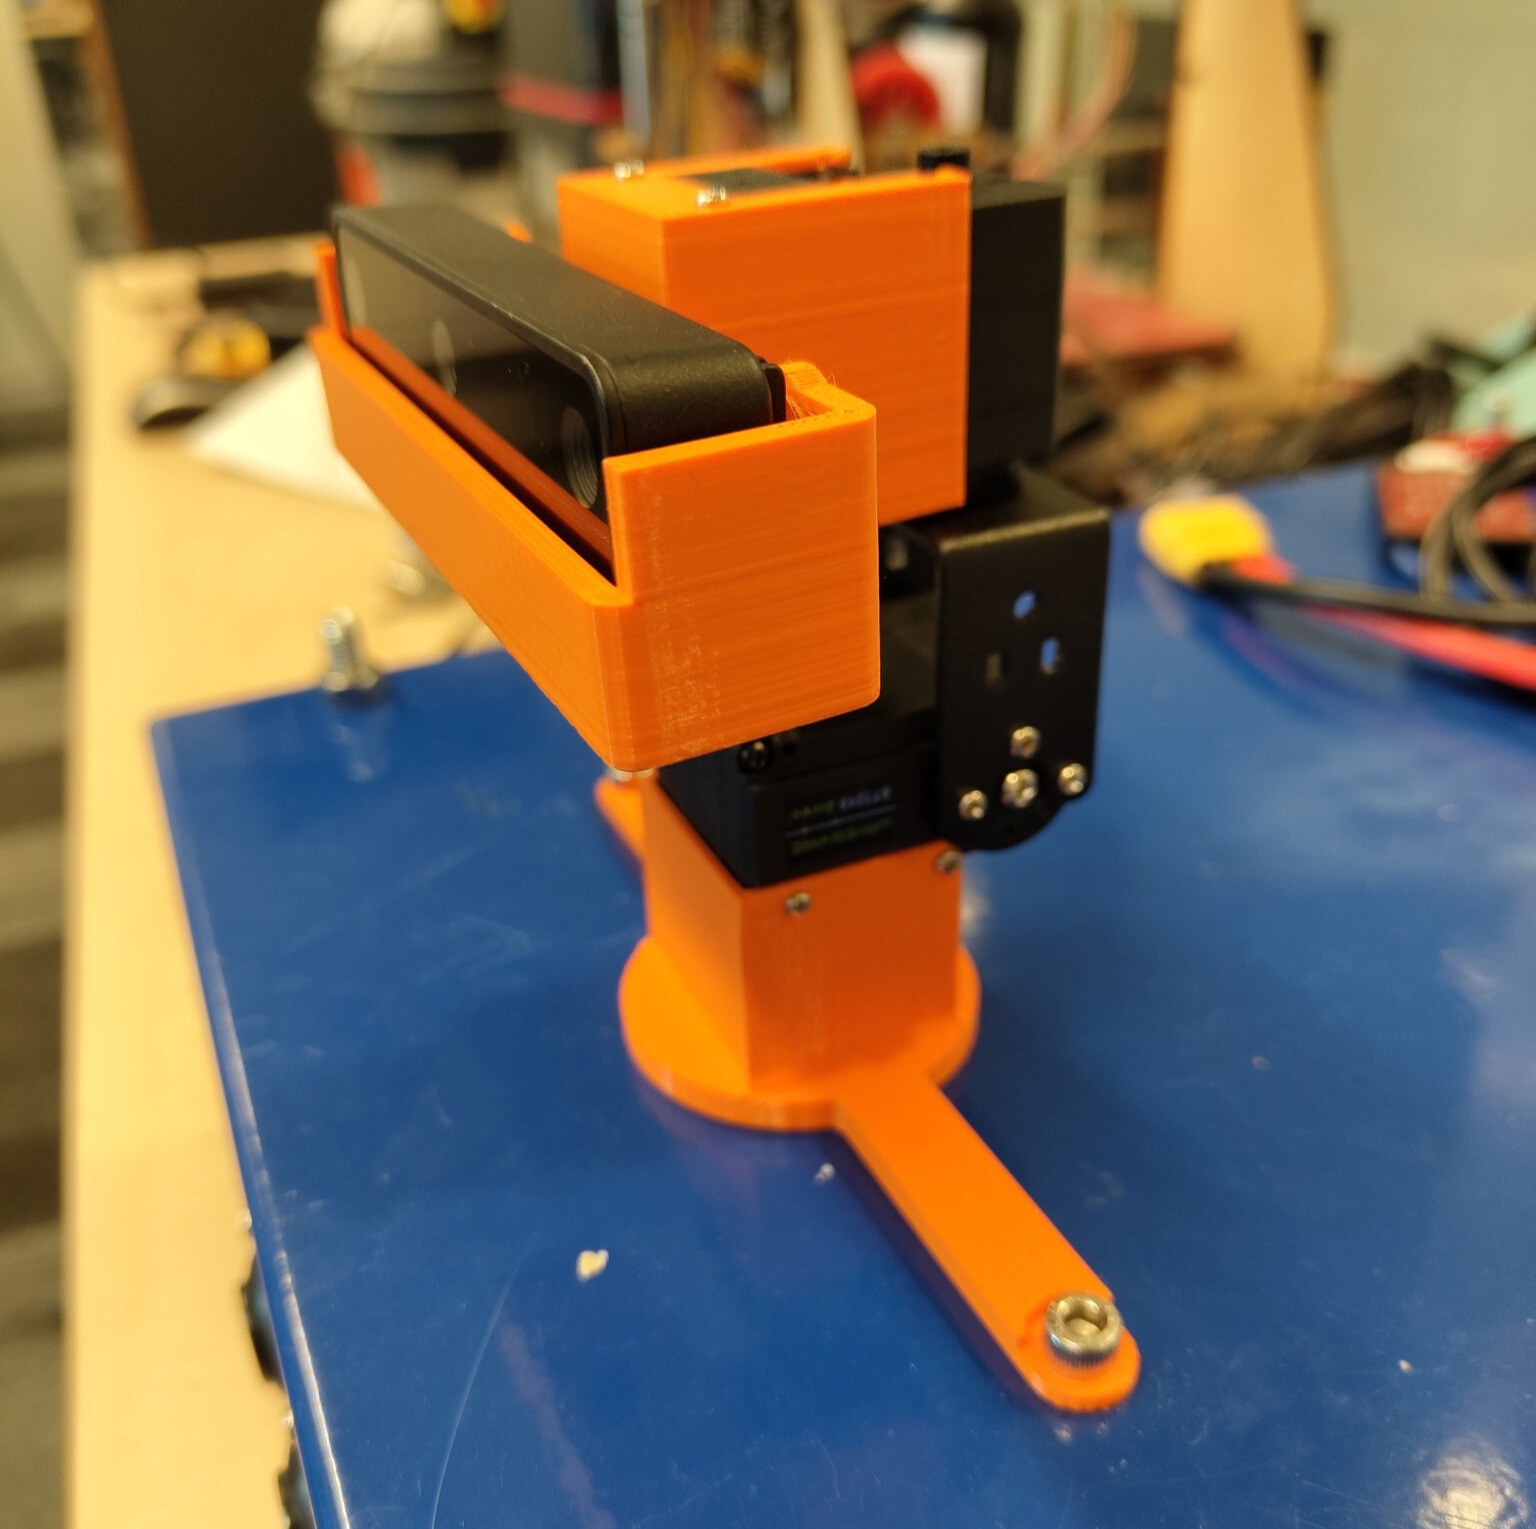
This was a good decision since we were also using ROS 2 and had the same motors in our inventory. We didn't have some of the metal brackets, so the bottom and camera mounts are entirely 3D printed, as shown in the image above. Another key difference is that the mechanism is mounted to the robot enclosure, while my project uses a tripod. This means the only change in the software stack is the URDF. Here's a video of this pan-tilt camera module in action:
ST3215 Variants
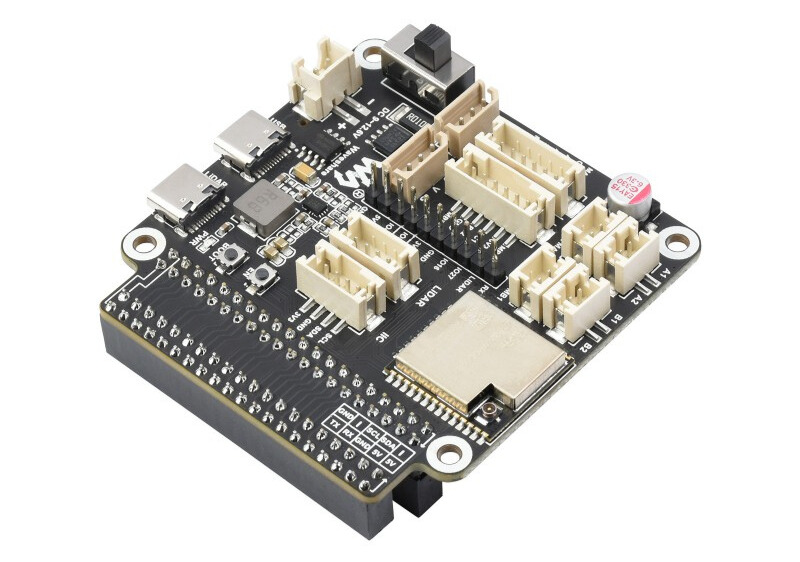
I talked about the two variants - the Feetech STS3215 and the Waveshare ST3215. Turns out there are even more variants than I had expected. Waveshare also has a high-speed version of the ST3215 called the ST3215-HS, with lower torque but nearly double the RPM of the ST3215. Besides the different variants, Waveshare also sells a range of related products like standalone servo drivers, ESP32-based controllers, and even a general-purpose robotics driver with many more features than just a serial bus servo controller.
Feetech has also been busy developing new products - they now have a dual-shaft variant of the STS3215, with 25kgcm torque (still at 7.4V) and a 12V dual-shaft variant with 50kgcm torque.
Waveshare Robot Products
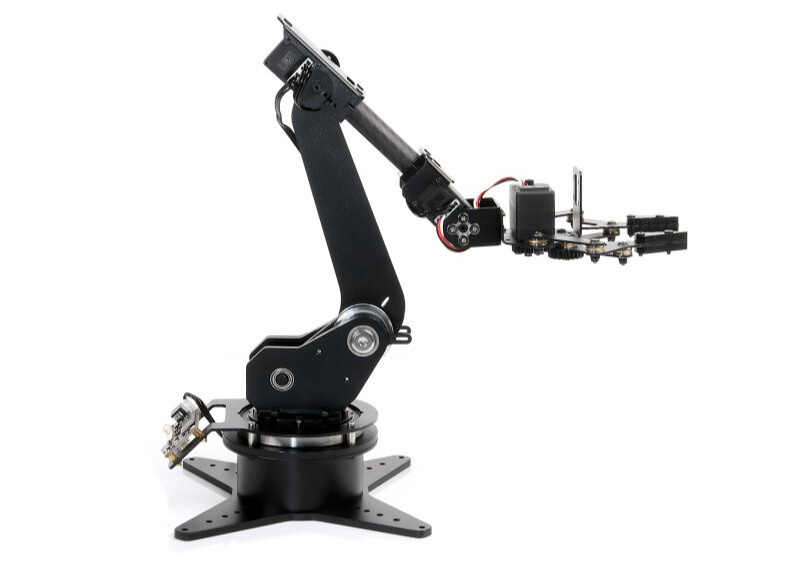
Waveshare, in addition to selling motor variants, has also designed several products using these motors. They currently offer two robot arm variants: a 5-DoF RoArm-M1 and a 4-DoF RoArm-M2-S.
Additionally, they sell their own pan-tilt camera module for standalone use or for some of their mobile robots. If that isn't enough, they even provide STEP files for a 12-DoF robot dog using these ST3215 motors at the bottom of the wiki for these motors.
Arvatar Arm
Speaking of arms, we are also working towards adding a small robot arm on the Arvatar mecanum robot. Since we had these amazing motors from Waveshare, we decided to build the arm entirely out of them. We have prototyped the arm, and are currently designing the wrist and gripper mechanisms, and initial testing shows some promising results. This low-cost robot arm is expected to have a BOM cost of less than 200 Euros, and we plan on open sourcing the design once ready. More on this soon, but for now, here's how the arm looks:
Open-Source Humanoid
One of my favorite ST3215-based robots is the RX1 Humanoid by Red Rabbit Robotics. It's a humanoid robot built with various Feetech motors, most of which are STS3215 motors with bearings and 3D-printed planetary gearboxes.
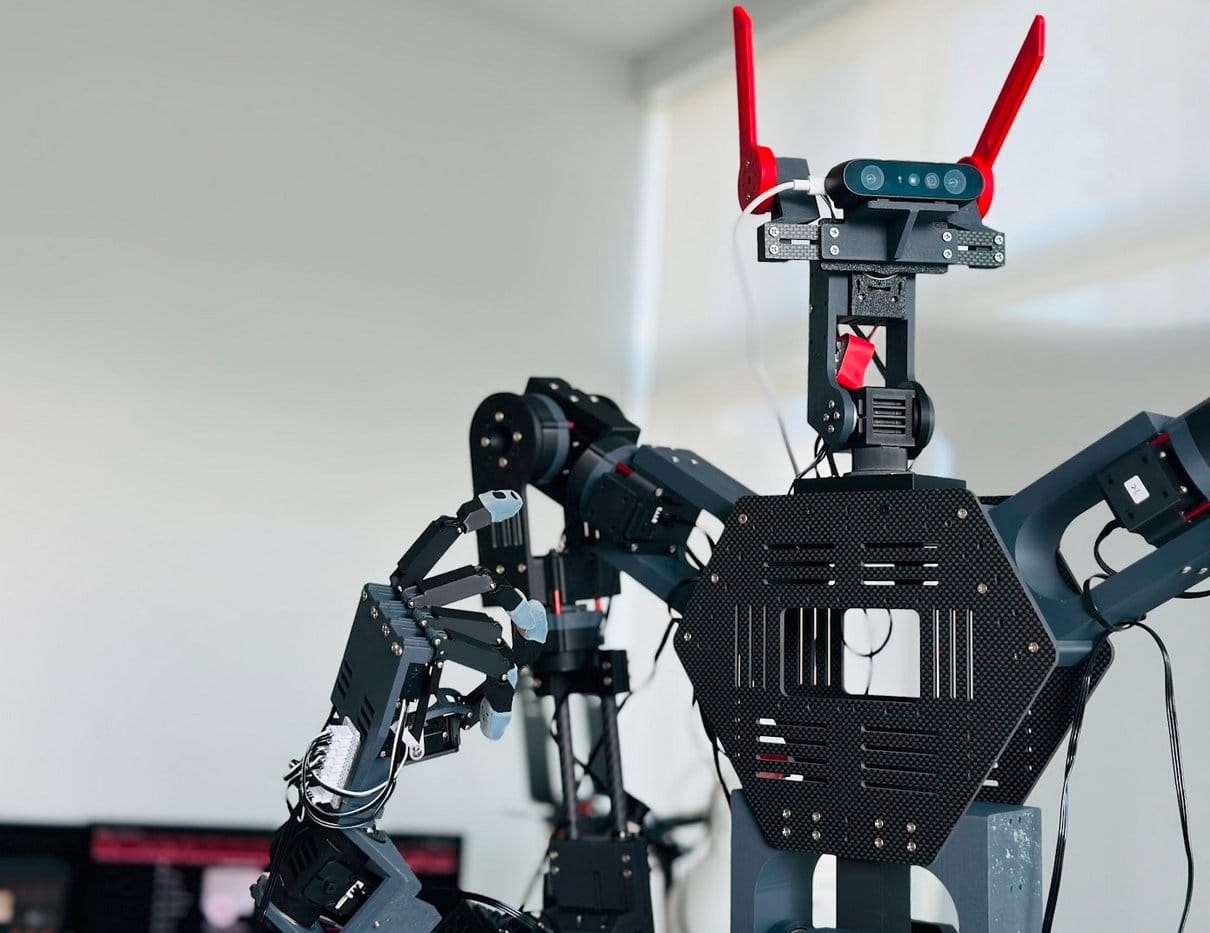
I've been following the progress of the RX1 humanoid through its creator Lethic's Twitter account. When he open-sourced its actuator design, I decided to use my last two spare STS3215 motors and built my own over a weekend. Check out the results in this Twitter thread:
Next Up
Next, I want to write a post about my experiences at RoboCup 2024 in Eindhoven. I had an amazing time there and saw more robots than ever before. I've shared many pictures on Twitter, but I can't wait to write about them in detail. Update: I am too lazy to write a long post, but have a look at my Twitter threads about my experiences..
I recently purchased my first MacOS device - a Macbook Pro. Funnily enough, I received it the day the CrowdStrike issue happened, which made me feel super lucky. Its a gorgeous device, but compared to Windows, it does have some limitations - especially when it comes to installing ROS 2. Although it's technically possible to install it from source, I haven't heard of anyone using this method without any issues. Instead, I decided to run ROS 2 using Docker, using this excellent blog post by Sebastian Castro aka Robotic Sea Bass. While this worked very well, I also stumbled upon Pixi, a package manager by Prefix.dev. It's an amazing tool so far, and I plan on experimenting a bit more with it and will write a blog post in the coming months.
Finally, I am slowing down on my hardware projects to focus more on software development. Between testing new tools like Pixi for package management, Zenoh middleware for ROS 2, Rerun for visualization, and my work projects, I do not have a lot of time to play around with hardware. Another big reason is to control my spending as I prepare for my (self-funded) trip to Denmark for ROSCon 2024 in Odense and a short holiday to Billund (can't visit Denmark without checking out the Lego House) and Copenhagen. I will definitely share my experiences once I'm back.
If you will also be at ROSCon this year, hit me up and let's grab a coffee at Odense!
Subscribe to my newsletter
Read articles from Aditya Kamath directly inside your inbox. Subscribe to the newsletter, and don't miss out.
Written by

Aditya Kamath
Aditya Kamath
I'm a generalist engineer, specializing in robotics, embedded systems, and mechatronics. I work as an engineering consultant for clients in the Brainport area in the Netherlands, and build robots as a hobby and a side-gig.
