Installing vCenter 8.0.3 in VMware Workstation Pro 17.
 Ciaran
Difficulty: Easy
vCenter: 8.0.3.00100
VMware Workstation: 17.6.0 (build-24238078)
This article outlines the steps for installing vCenter Server (VCSA) 8.0 on VMware Workstation 17.6.0. The process involves preparing the ISO media, extracting it to convert the OVA file to an OVF file using the 'OVF Tool' to bypass known deployment issues, importing the OVF file into VMware Workstation, and configuring the appliance using VAMI.
1/4: Preparing The Installation.
After downloading the vCenter Server (VCSA) 8 ISO media, mount the media to open it in Windows. There is a known issue in deploying the OVA file contained in the ISO directly to VMware Workstation. Hence, you must make a change to avoid an error message.
Extract the VCSA ISO into a folder. We will then use the 'OVF Tool' to create an OVF file from the OVA file. This step allows us to make a necessary change for the VCSA installation.
2/4 Import The OVF File Into VMware Workstation.
Use the OVF file to deploy the vCenter Server 8 appliance. In VMware Workstation, click 'File > Open'. Choose the file you created with the OVF tool.
When you open the OVF appliance file, you will be presented with the Import Virtual Machine wizard to configure the values needed for the appliance import.
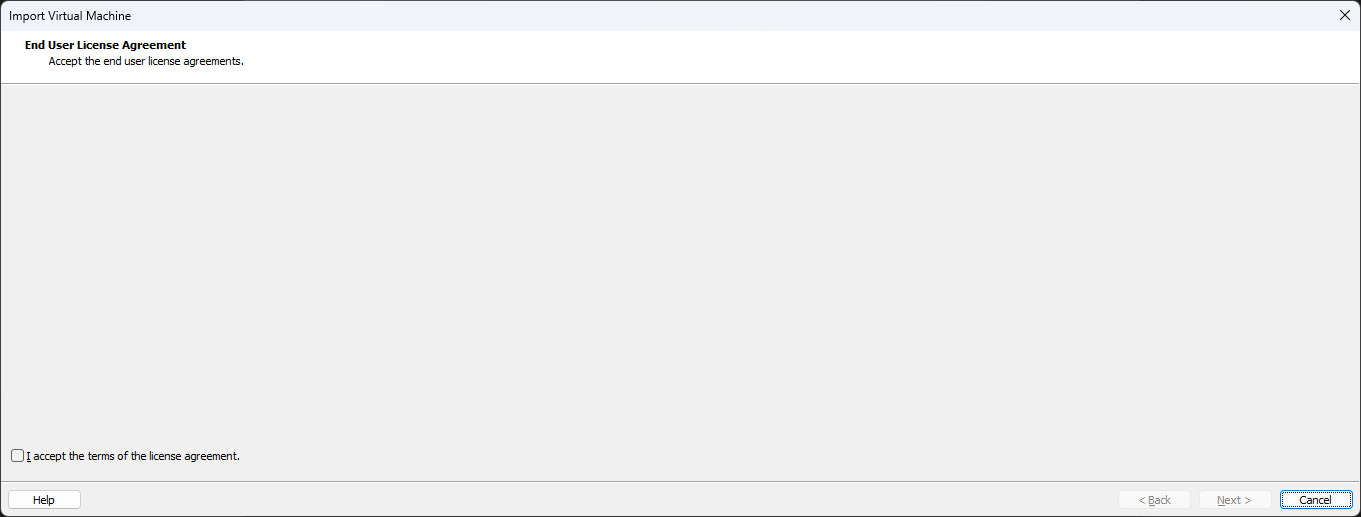
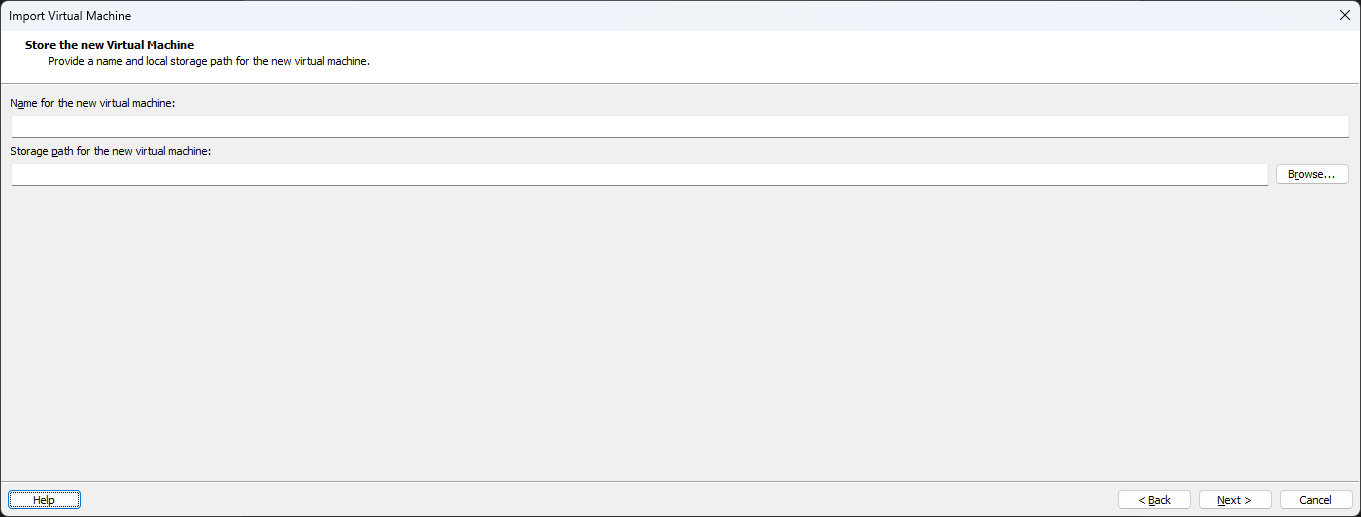
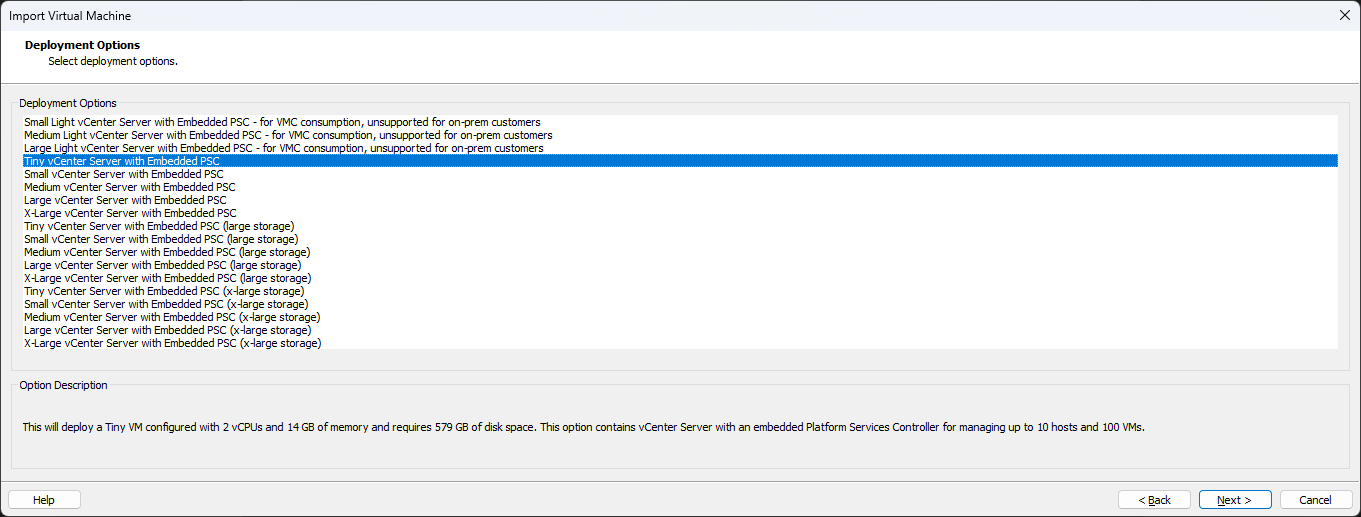
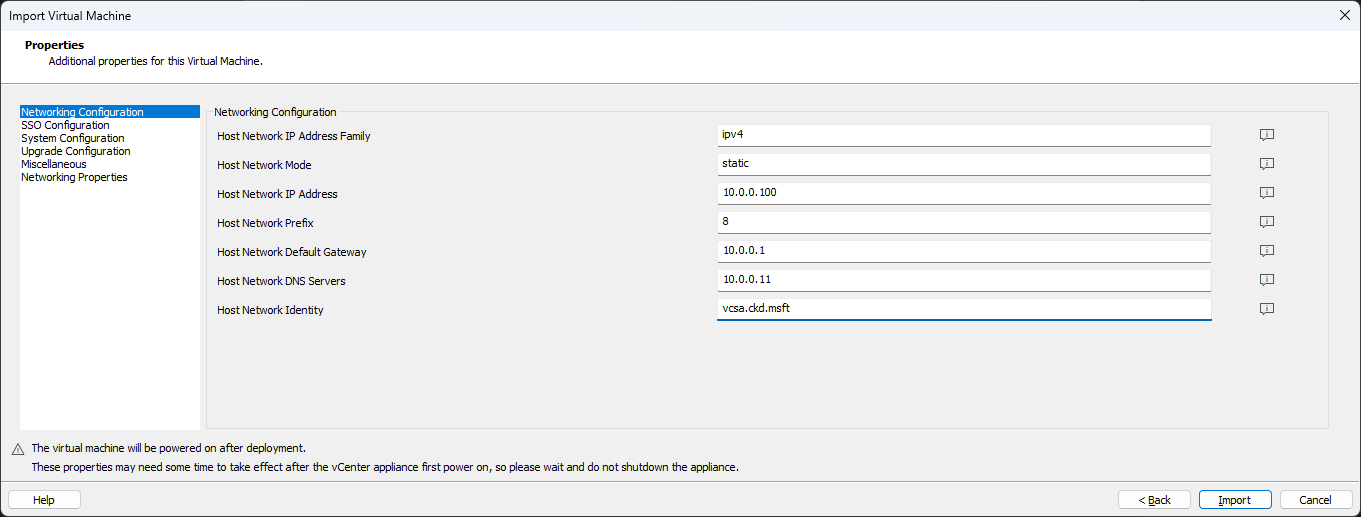
For more context, hover over the information icons on the right-hand side of the textboxes.
Wait for the import process to complete. This should take less than a minute.

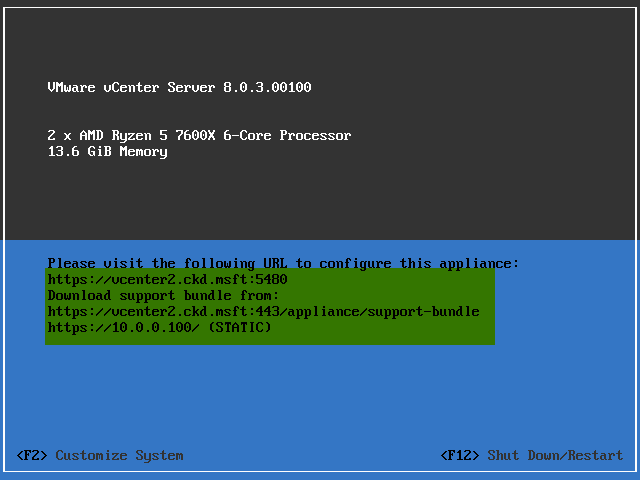
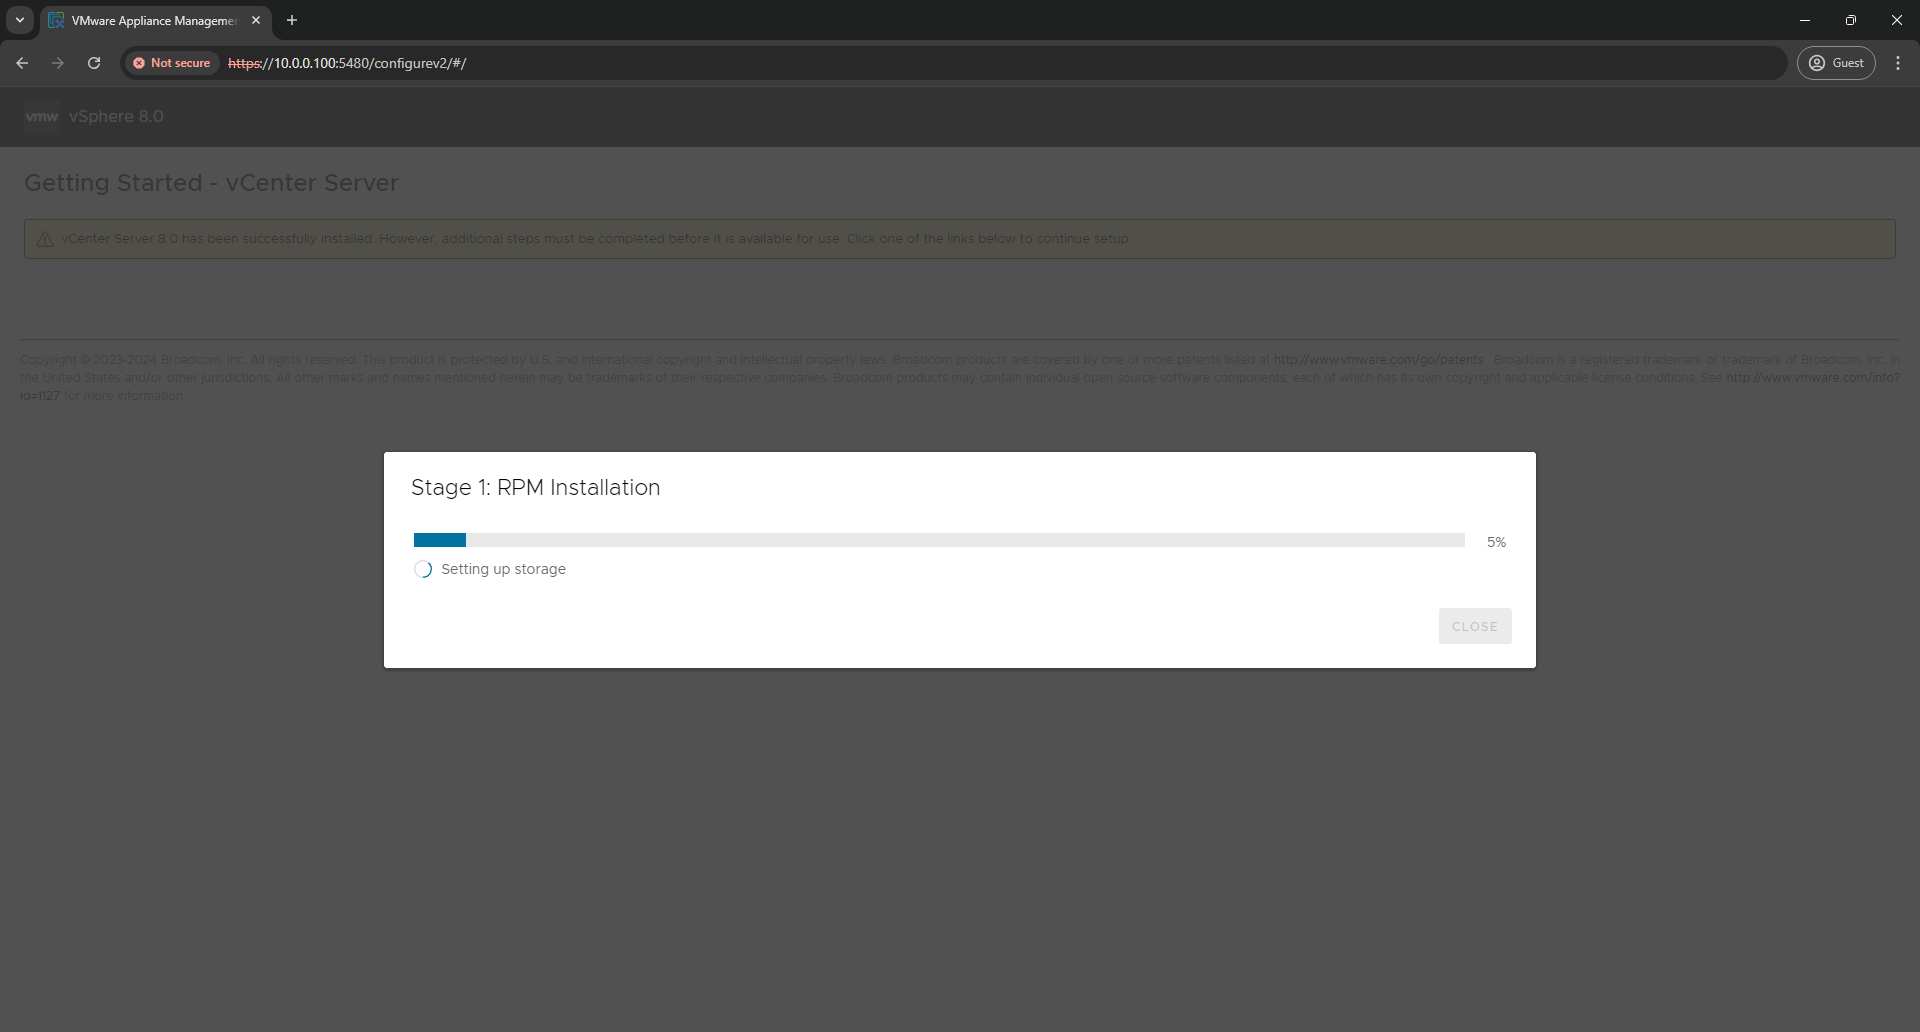
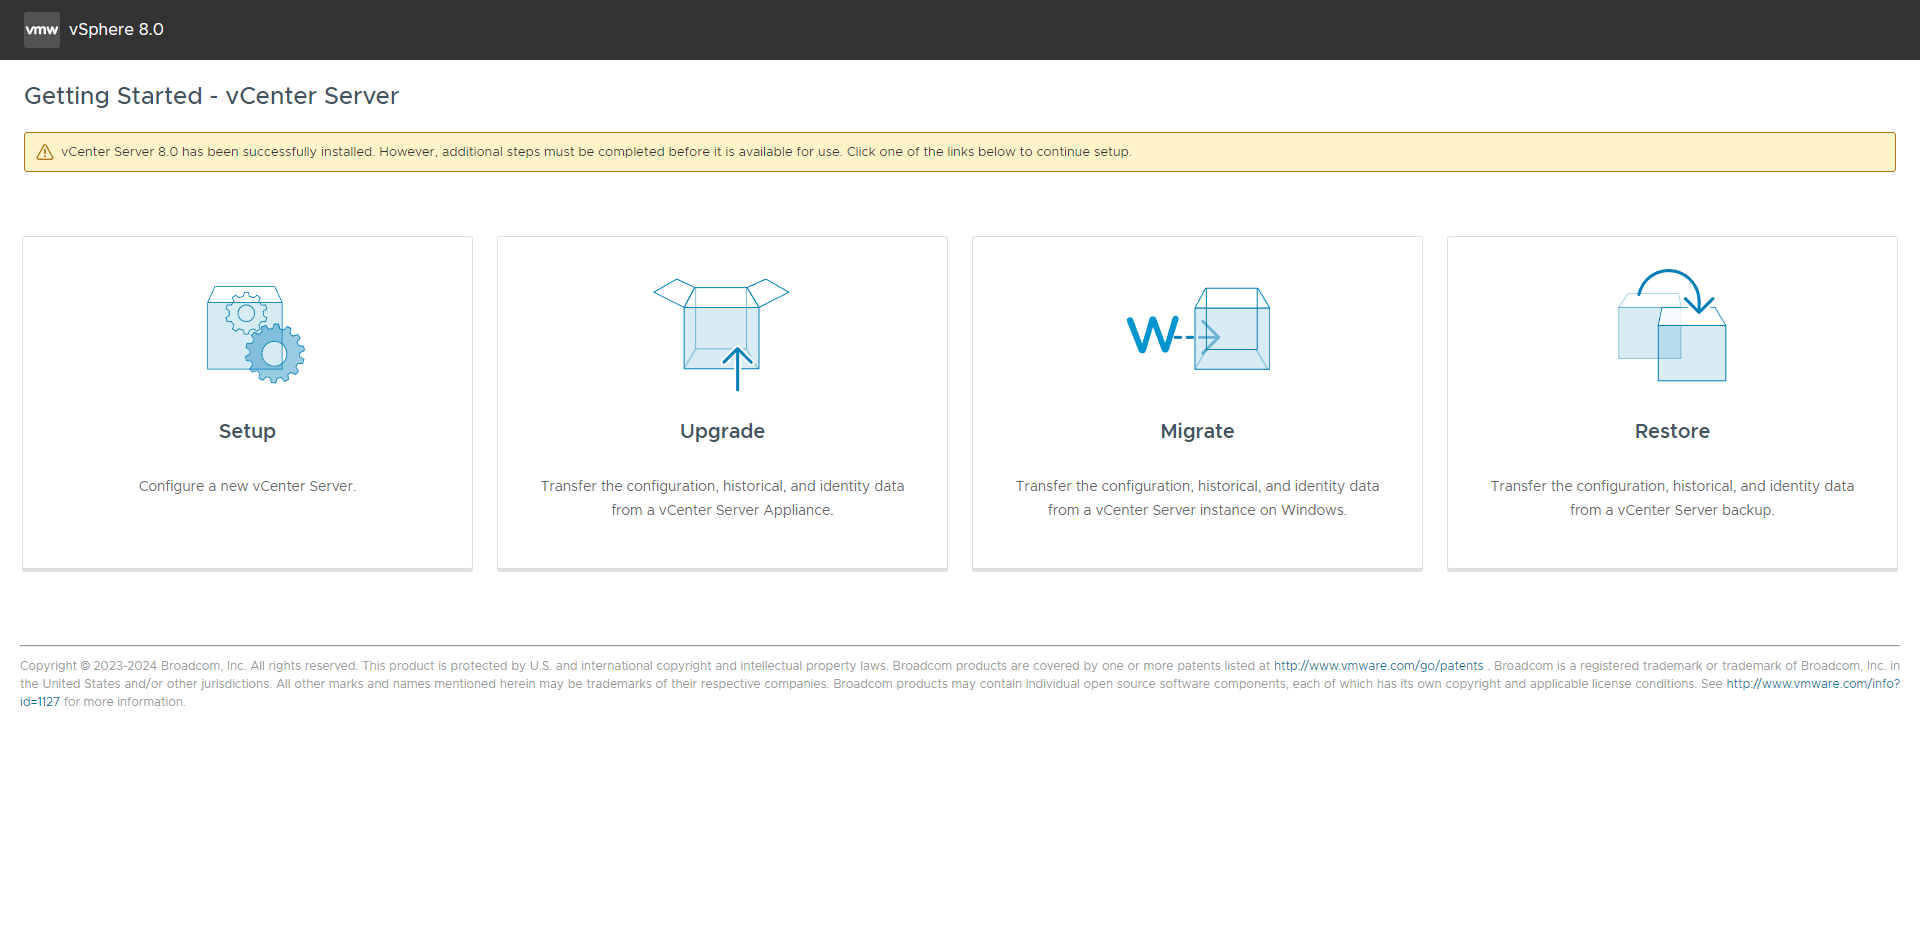
3/4: Configure The Appliance Using The VAMI.
4/4 Summary.
Subscribe to my newsletter
Read articles from Ciaran directly inside your inbox. Subscribe to the newsletter, and don't miss out.
Written by

Ciaran
Ciaran
Security Analyst, Azure Cloud Specialist