JavaScript Polyfills : An Introductory Guide
 Hardik Dhamija
What Are Polyfills?
Polyfills are simple fallback functions used when a browser doesn’t support a specific JavaScript feature.
The polyfill makes sure that your code behaves the same way across different browsers, regardless of their support for the latest JavaScript features.
Why Do We Use Polyfills?
Identify the Feature: Determine if a specific feature (like a method or function) is missing in the browser.
Provide a Fallback: If the feature is missing, a polyfill provides an alternative implementation.
Using polyfills allows developers to write code that works consistently across different environments, even if some browsers don't support the latest JavaScript features.
External Libraries for Polyfills
Before you start writing your own polyfills, it's worth noting that there are already robust libraries available that provide polyfills for a wide range of JavaScript features. These libraries are maintained by the community and are well-tested, which can save you time and effort.
One popular library is core-js It includes polyfills for many ECMAScript features, such as promises, symbols, and array methods. Using such libraries is a quick way to ensure your code works across all browsers, even those that do not support the latest JavaScript features.
But if you're curious about how polyfills work or you've got a unique feature that no library covers, why not try creating your own? Ready to get started? Here’s a simple, step-by-step guide to help you create your own polyfill!
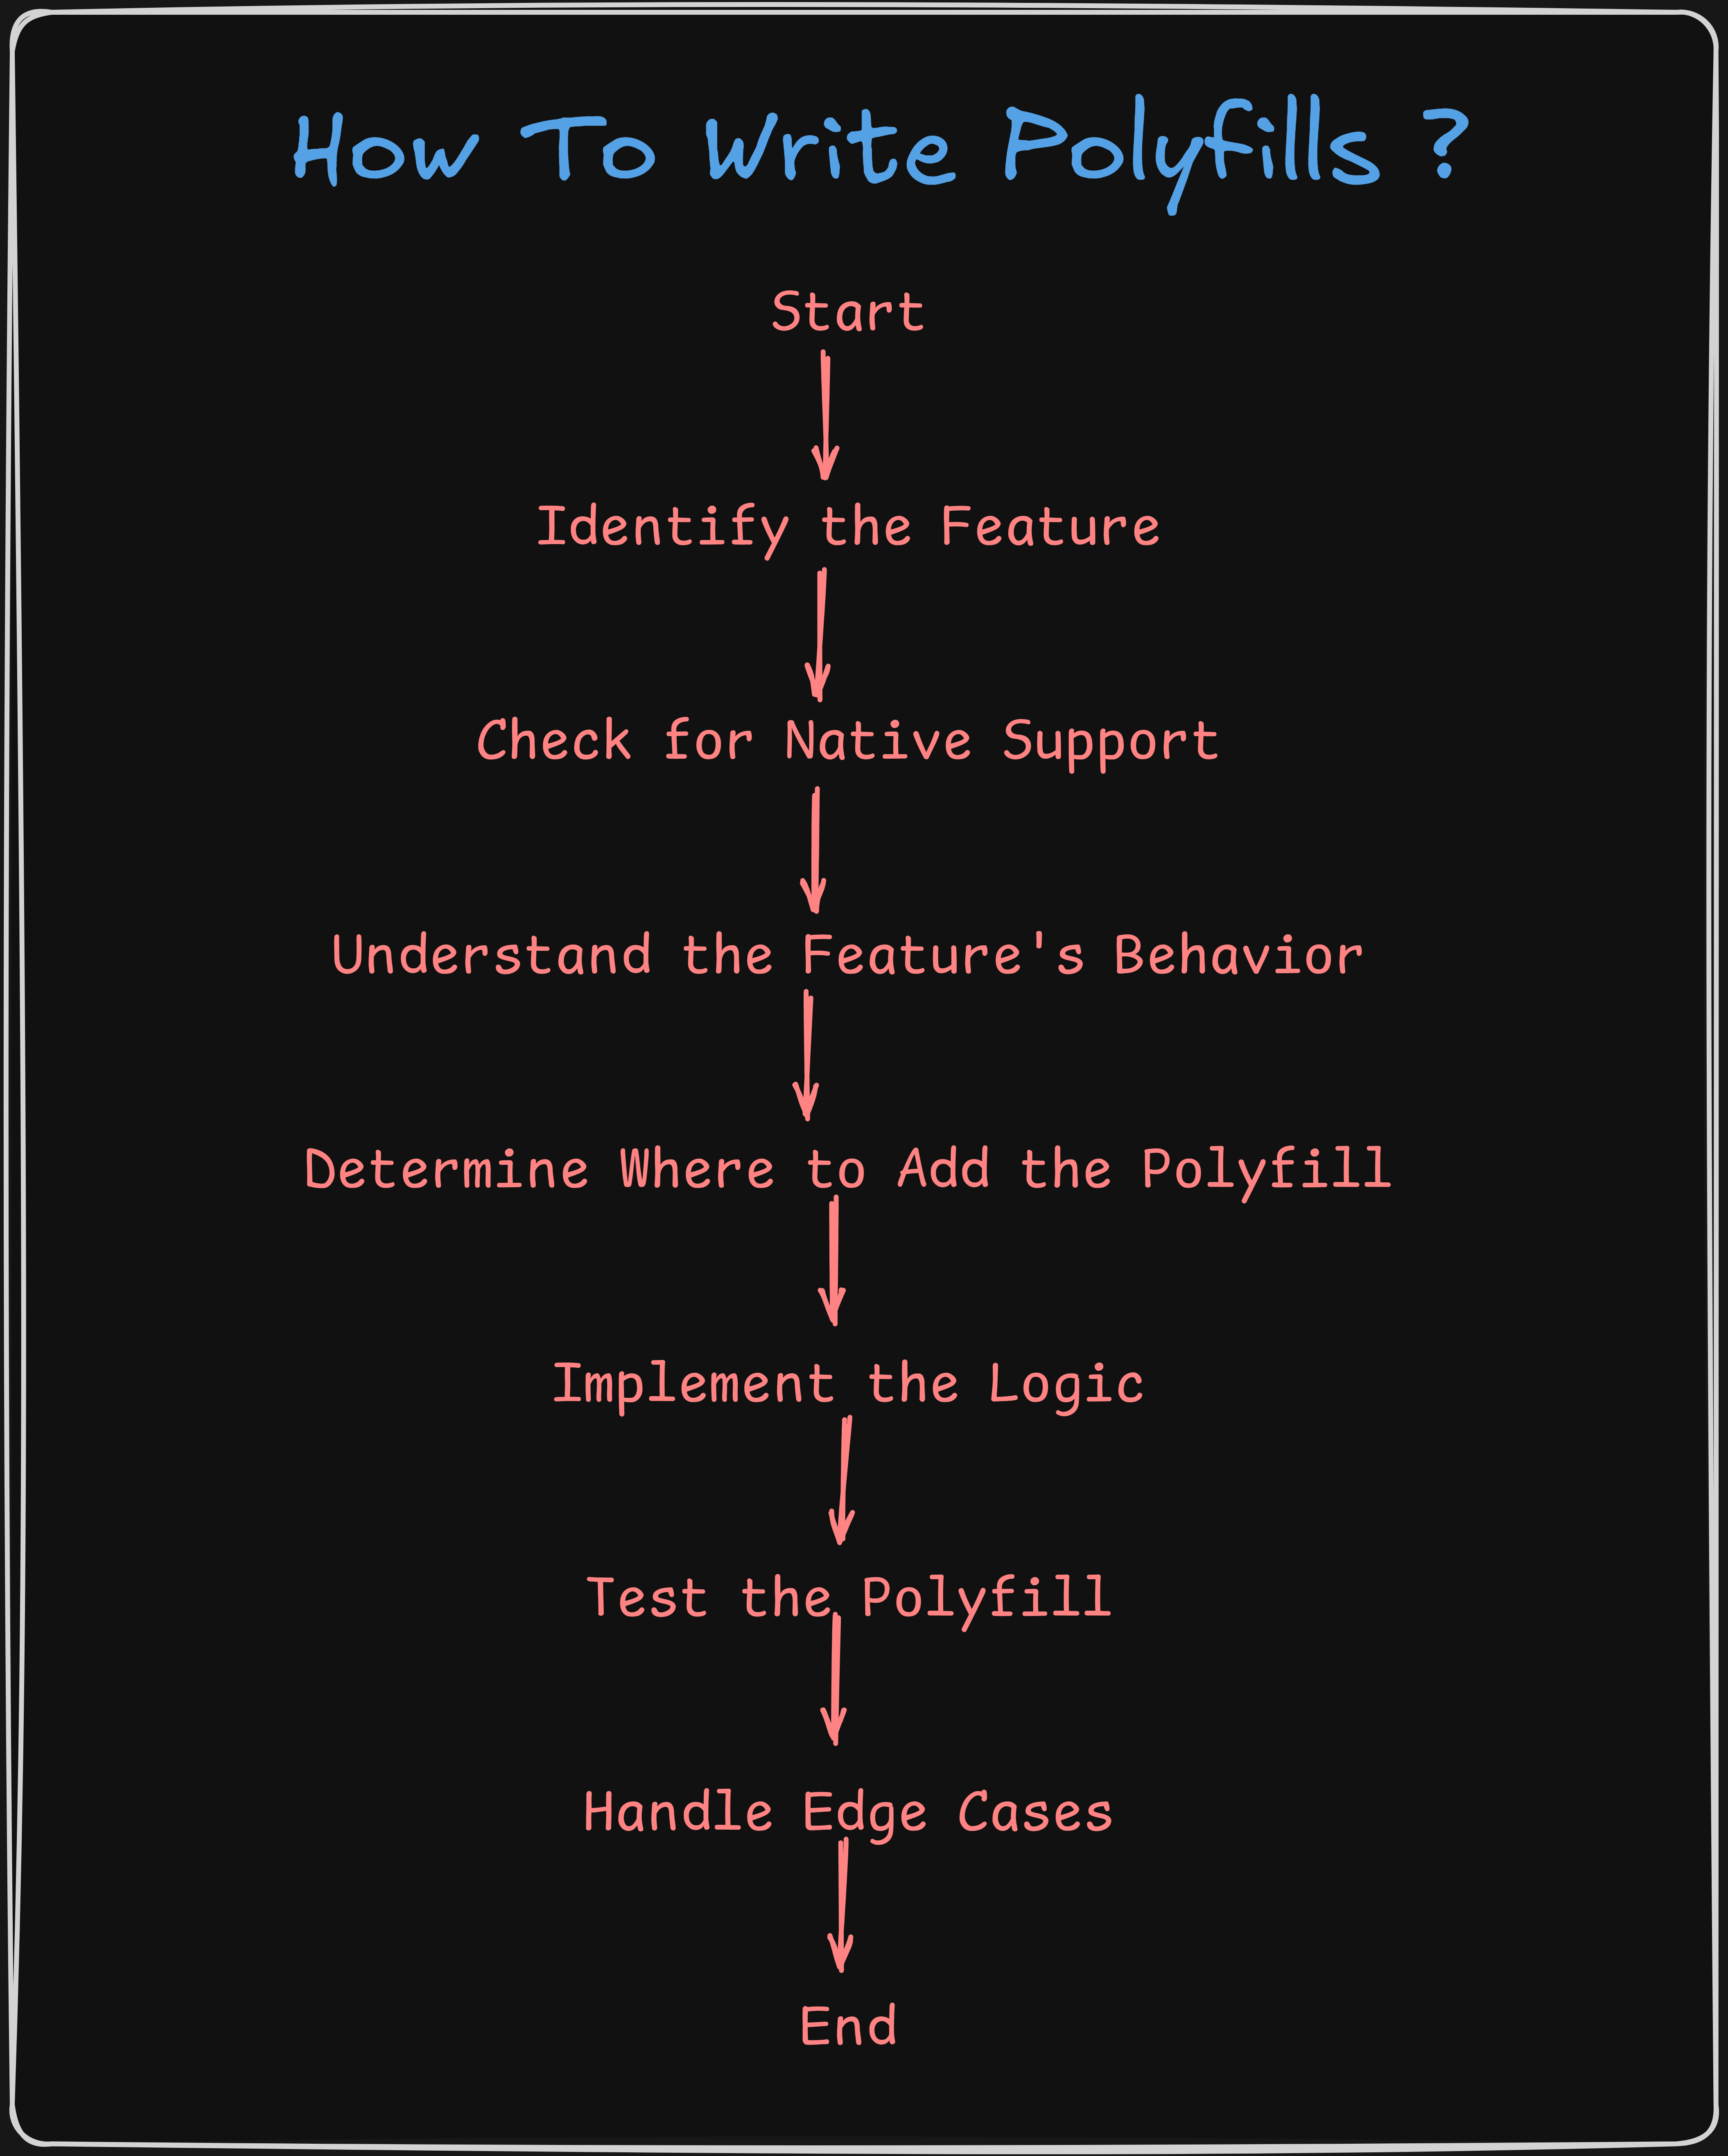
How to Think While Writing a Polyfill ?
Identify the Feature: Start by figuring out which modern JavaScript feature or API you need to support. This could be anything from a new method to a specific functionality that’s missing in some browsers.
Check for Native Support: Before you start writing your polyfill, check if the feature is already available in the environment. This helps you avoid overwriting existing implementations and ensures you're only adding what’s necessary.
if (!Array.prototype.push) {
  // Code for polyfill
}
- Understand the Feature's Behavior: Take some time to understand how the feature should work. For example,
Array.prototype.push:
Adds one or more elements to the end of an array
returns the new length.
Knowing the details helps you recreate the functionality accurately.
Determine Where to Add the Polyfill: Decide where the polyfill should go based on the type of feature you’re dealing with:
Prototype Methods: For methods on built-in objects like
Array,String, orObject.Global Objects: For global constructors or functions like
Promiseorfetch.Static Methods: For static methods on built-in objects like
Math.max.Object Properties: For methods or properties on the
Objectconstructor likeObject.create.
Implementing Logic Part: Once you understand the feature and know where to add the polyfill, it’s time to apply your logic. This involves recreating the feature’s behavior by handling all the necessary arguments and returning the appropriate results. For example, for
Array.prototype.push:Handle Arguments: Ensure the polyfill can handle any number of arguments.
Update the Array: Add each argument to the end of the array.
Return the Result: Return the new length of the array.
if (!Array.prototype.push) {
  Array.prototype.push = function() {
    var i, length;
    for (i = 0, length = arguments.length; i < length; i++) {
      this[this.length] = arguments[i];
    }
    return this.length;
  };
}
- Test the Polyfill: Make sure your polyfill works by running some test cases:
var arr = [1, 2];
console.log(arr.push(3)); // Should output 3 (new length)
console.log(arr); // Should output [1, 2, 3]

Polyfill Series: Implementing Common Methods
In this series, we’ll create polyfills for various JavaScript methods often discussed in interviews. This exercise not only helps you understand how these methods work but also demonstrates your programming skills and problem-solving abilities.
What to Expect
Array Methods: We’ll start with essential methods like
map,filter, andreduce. These methods are commonly asked about in interviews to test your understanding of array manipulation and functional programming.String Methods: Next, we’ll cover
includes,startsWith, andendsWith. These are crucial for text processing and knowing how to polyfill them will show your grasp of string operations.Object Methods: We’ll then implement
Object.assign,Object.keys, andObject.entries. These methods are key for working with objects and are frequently tested in technical interviews.Other Useful Methods: Finally, we’ll look at polyfills for methods like
Promise.all,fetch, andArray.from. These are valuable for handling asynchronous operations and transforming arrays.
By building these polyfills, you'll deepen your understanding of each method and enhance your coding skills, preparing you for various coding challenges and interviews.
Conclusion
Polyfills are essential tools that ensure JavaScript code runs consistently across different browsers by providing alternative implementations for features that might not be natively supported. They enable developers to write code that performs reliably, regardless of browser support for the latest JavaScript features. While libraries like core-js offer a wide range of pre-built polyfills, you can also create your own by identifying the missing feature, checking for native support, understanding how it should work, placing the polyfill correctly, implementing the logic, and testing it thoroughly.
In future series, we’ll explore creating polyfills for commonly used methods like map, filter, reduce, includes, startsWith, Object.assign, and Promise.all. Mastering these polyfills will enhance your understanding of JavaScript and prepare you for coding challenges and technical interviews.
Stay tuned!
Subscribe to my newsletter
Read articles from Hardik Dhamija directly inside your inbox. Subscribe to the newsletter, and don't miss out.
Written by

Hardik Dhamija
Hardik Dhamija
I’m a frontend developer with a strong focus on React, TypeScript, and Next.js, currently expanding my skills into full-stack development with Node.js. My goal is to create impactful web solutions and collaborate on innovative projects.