Day 19 Task: Two-Tier Web Application Deployment with Docker
 Vibhuti Jain
Docker Volume
Docker allows you to create volumes, which are like separate storage areas that can be accessed by containers. They enable you to store data, like a database, outside the container, so it doesn't get deleted when the container is removed. You can also mount the same volume to multiple containers, allowing them to share data.
Docker Network
Docker allows you to create virtual networks, where you can connect multiple containers together. This way, the containers can communicate with each other and with the host machine. Each container has its own storage space, but if we want to share storage between containers, we need to use volumes.
Setup of Project -
Git Repository:
ubuntu@ip-172-31-29-238:~/docker/shopping-website$ tree .
.
├── Dockerfile
├── app.py
├── products.sql
├── requirements.txt
├── static
│   └── styles.css
└── templates
    └── index.html

- Create one volume for your project to store all your data and make sure your would be container access it.
$docker volume create mysql_data
How to check volume list:
docker volume ls
- Create an image for our database and run the container for it with attached volume and create database "shopping_db" to store all the data for this project.
docker run -d -v mysql_data:/var/lib/mysql --name mysql_db -e MYSQL_ROOT_PASSWORD=test@123 -e MYSQL_DATABASE=shopping_db -e MYSQL_USER=admin -e MYSQL_PASSWORD=test@456 mysql:8.0
You can run the container directly without extracting an image, run command by default create image first and run the container.
In above command i gave container_name:mysql_db and volume_name: mysql_data and along with that you have to mention password field as well because here we are creating database for our project with MYSQL_ROOT_PASSWORD variable.
- Once your container ran then execute your container to create a database "shopping_db".
$docker exec -it mysql_db <container_name> bash
It will execute your database and you can insert database inside sql interface it ask this required to enter the sql. Give all the necessary fileds and create database "shop".
bash-4.2# mysql -u admin -p
Enter password:

This kind of interface will generate after running above things, now run below thing:
mysql> create database shopping_db;
Query OK, 1 row affected (0.00 sec)
show databases;

we can see the shop database generated with volume attached now if your database container gets deleted by mistake your data will be stored in this database "shopping_db" .
mysql> exit
Bye
bash-4.2# exit
exit
Enter exit 2 times to get out of bash and database.
In Docker network we learnt if we want to communicate two containers with each other we have to connect them with network.
- Create one user defined network which help containers to communicate with each other.
$docker create network flask_mysql_network
How to check list of network in your system:
$docker network ls
- After creating networks create a Dockerfile to build an image of our 2nd container - Flask Container. Dockerfile will create an image then we run that image using network (twotier) to bind or communicate two containers database and application.
Dockerfile:
# Use an official Python runtime as a parent image
FROM python:3.11-slim


# Copy the current directory contents into the container at /app
COPY . /app

# Install any needed packages specified in requirements.txt
RUN pip install --no-cache-dir -r requirements.txt

# Make port 5000 available to the world outside this container
EXPOSE 5000

# Define environment variables
ENV FLASK_APP=app.py

# Run app.py when the container launches
CMD ["flask", "run", "--host=0.0.0.0"]
- Build an image from Dockerfile (twotier_app), using below command
$docker build -t shopping_app:latest .


After creating an image we will get "Successfully tagged shopping_app:latest" message would be shown in our screen.
Check by the image listing command is image created or not :
$docker images
REPOSITORY                  TAG        IMAGE ID       CREATED         SIZE
shopping_app                latest     8ec2fb2ad713   4 minutes ago   136MB
python                      3.11-slim  10f461201cdb  5 weeks ago      130MB
Note: Delete all your running containers and run again with network and environment variables.
$docker stop <container_id> && docker remove <container_id>
- Now run our mysql container with user defined network and with environment variables.
docker run -d -v mysql_data:/var/lib/mysql --network flask_mysql_network --name mysql_db -e MYSQL_ROOT_PASSWORD=test@123 -e MYSQL_DATABASE=shopping_db -e MYSQL_USER=admin -e MYSQL_PASSWORD=test@456 mysql:8.0
- Now run your flask container with user defined network and with its environment variables.
docker run -d -p 5000:5000 --network flask_mysql_network --name flask_app -e MYSQL_HOST=mysql_db -e MYSQL_USER=admin -e MYSQL_PASSWORD=test@456 -e MYSQL_DB=shopping_db shopping_app:latest
Check flask app container is running or not:
$docker ps -a

In above screenprint we can see both SQL and Flask container are up and running.
Now set the security groups and ports to run this application on your local server.
Go to Security Groups of EC2 instances:

- Inside Security there is secuirty group option click on that security group:

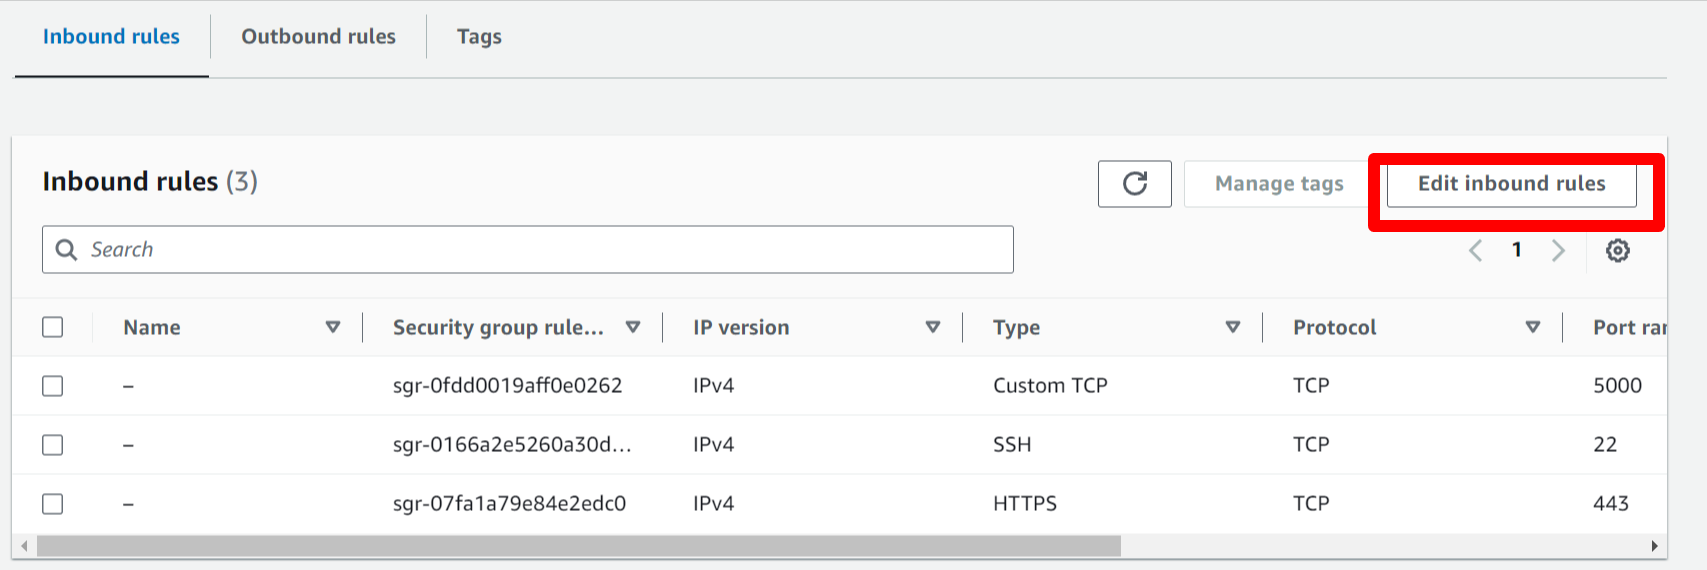
- Now edit Inbound rules of that security group and add port 5000 to run your container.


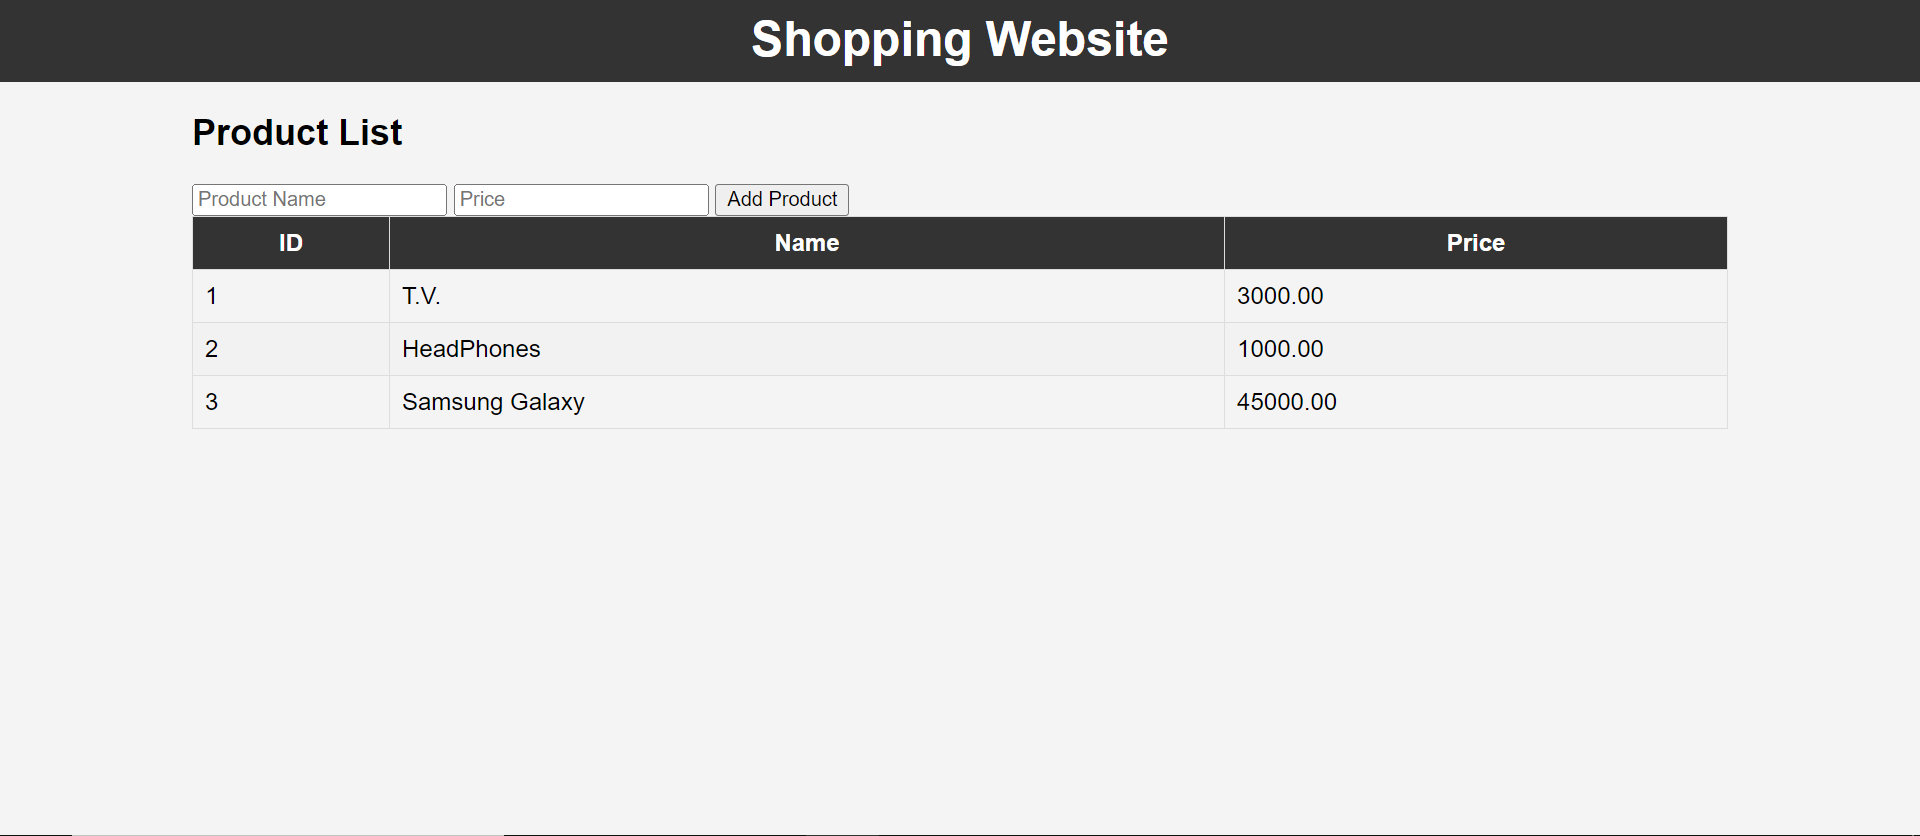
- Copy your public ip address and attached it with port 5000 to run it and run your application.

Follow for more updates:)
Subscribe to my newsletter
Read articles from Vibhuti Jain directly inside your inbox. Subscribe to the newsletter, and don't miss out.
Written by

Vibhuti Jain
Vibhuti Jain
Hi, I am Vibhuti Jain. A Devops Tools enthusiastic who keens on learning Devops tools and want to contribute my knowledge to build a community and collaborate with them. I have a acquired a knowledge of Linux, Shell Scripting, Python, Git, GitHub, AWS Cloud and ready to learn a lot more new Devops skills which help me build some real life project.