Day 52: Your CI/CD pipeline on AWS - Part 3 🚀 ☁
 Pooja Bhavani
What is CodeDeploy ?
- AWS CodeDeploy is a deployment service that automates application deployments to Amazon EC2 instances, on-premises instances, serverless Lambda functions, or Amazon ECS services.
CodeDeploy can deploy application content that runs on a server and is stored in Amazon S3 buckets, GitHub repositories, or Bitbucket repositories. CodeDeploy can also deploy a serverless Lambda function. You do not need to make changes to your existing code before you can use CodeDeploy.
Task-01 :
Read about Appspec.yaml file for CodeDeploy.
The
appspec.ymlfile is used by AWS CodeDeploy to manage and specify deployment actions. It defines the structure and the actions that CodeDeploy will execute during the deployment process.Here is an example structure of an
appspec.ymlfile:yamlversion: 0.0 os: linux files: - source: / destination: /var/www/html/ hooks: BeforeInstall: - location: scripts/install_dependencies.sh timeout: 300 runas: root AfterInstall: - location: scripts/start_server.sh timeout: 300 runas: root ApplicationStart: - location: scripts/restart_server.sh timeout: 300 runas: rootversion: Specifies the version of the
appspec.ymlfile.os: Specifies the operating system (Linux or Windows).
files: Lists the source files and their destination on the instance.
hooks: Specifies lifecycle event hooks, which are scripts that run at different stages of the deployment.
Deploy index.html file on EC2 machine using nginx
To deploy nginx on an EC2 machine, you need to follow these steps:
- Launch an Ubuntu instance for CodeDeploy.

- Open your AWS Management Console and navigate to the CodeDeploy console, then click on Create Application.

- In the Application Configuration, write your Application name as Day-52-Code-Deploy and in the compute platform, choose ec2/on-premises and click on Create application.

- After that, open your IAM console and create a role called code-deploy-role for CodeDeploy. Attach policies to it AmazonEC2FullAccess, AmazonEC2RoleforAWSCodeDeploy, AmazonEC2RoleforAWSCodeDeployLimited, AmazonS3FullAccess, AWSCodeDeployFullAccess, AWSCodeDeployRole.

- Now, come back to the CodeDeploy console and click on Create Deployment Group.

- In the deployment group name, write the group name as code-deploy-group. In the service role, select your IAM role which you created just now. In Environment configuration, select Amazon EC2 instances. In the place of the key, select Name, and in the place of value, select the instance that you launched. In Agent Configuration with AWS Systems Manager, select Never and Disable the load balancer and click on Create Deployment Group and click on create deployment.


- Now open your instance and connect to it with SSH on your local machine. Create a file called
code-deploy-agent-installation.sh.
#!/bin/bash

sudo apt-get update
sudo apt-get install -y ruby wget
cd /tmp
wget https://aws-codedeploy-us-east-1.s3.us-east-1.amazonaws.com/latest/install
chmod +x ./install
sudo ./install auto
sudo service codedeploy-agent start
sudo service codedeploy-agent status
sudo systemctl enable codedeploy-agent
- Now, come back to your local machine and enter the Day-51-NGINX folder. Create a file called
appspec.yml. In the folder, create a folder named scripts, and in that folder, create a file for installing and starting the nginx script. Commit and push it to the CodeCommit repository.
vim appspec.yml
 version: 0.0
 os: linux

 files:
   - source: /
     destination: /var/www/html

 hooks:
   BeforeInstall:
     - location: scripts/install_dependencies.sh
       timeout: 300
       runas: root

   ApplicationStart:
     - location: scripts/start_server.sh
       timeout: 300
       runas: root
mkdir scripts && cd script
vim install_dependencies.sh
#!/bin/bash

sudo apt update
sudo apt install nginx -y
vim start_server.sh
#!/bin/bash

sudo systemctl start nginx
sudo systemctl enabale nginx
git add .
git commit -m "<message>"
git branch
git push origin "<branch-name>"
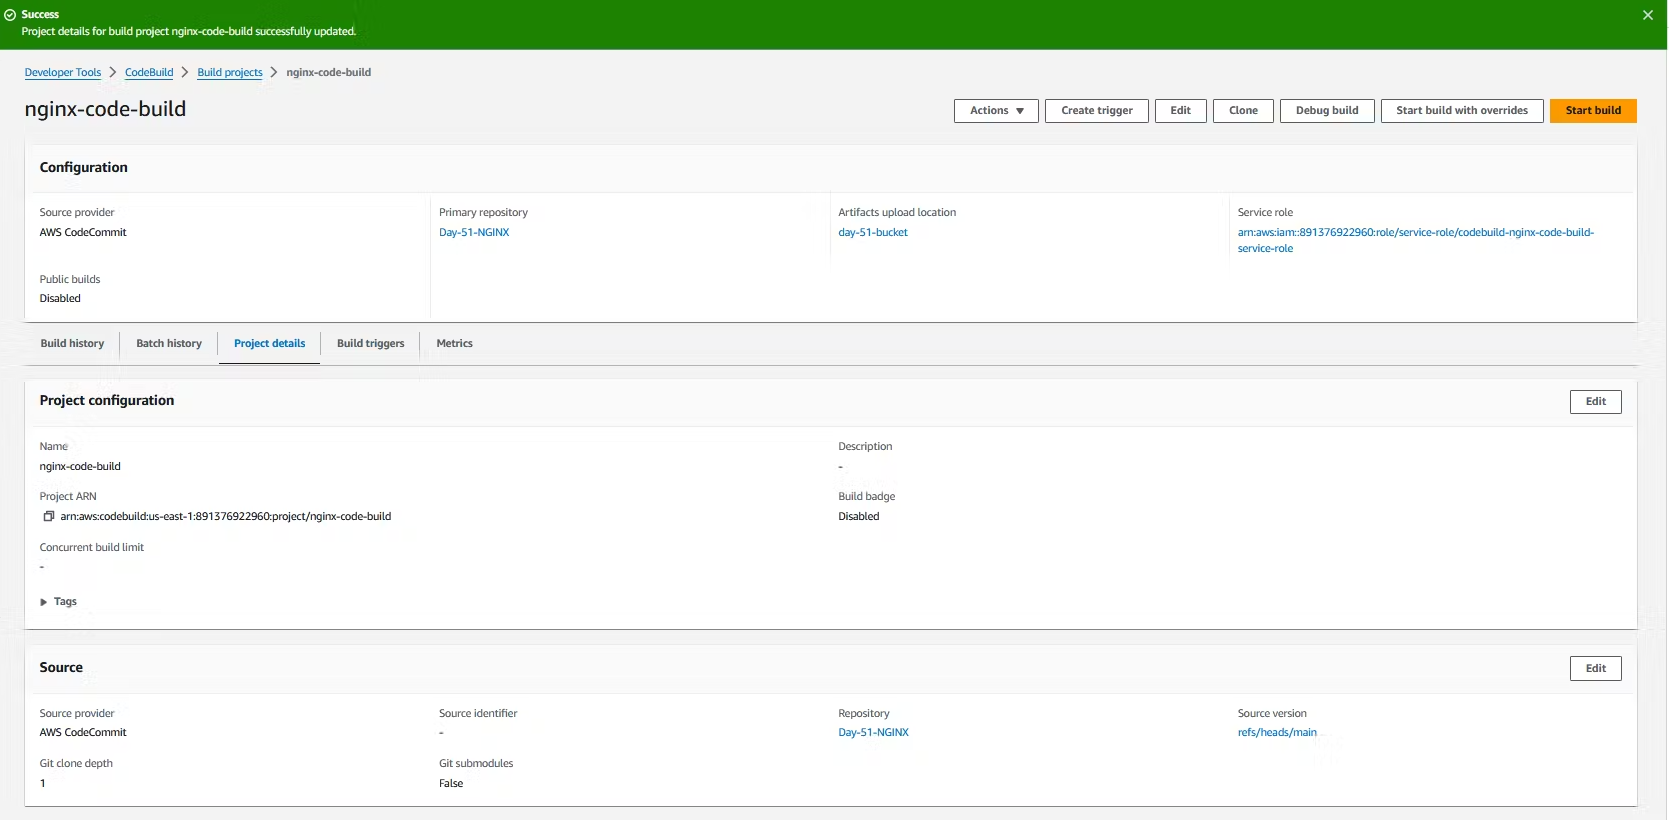
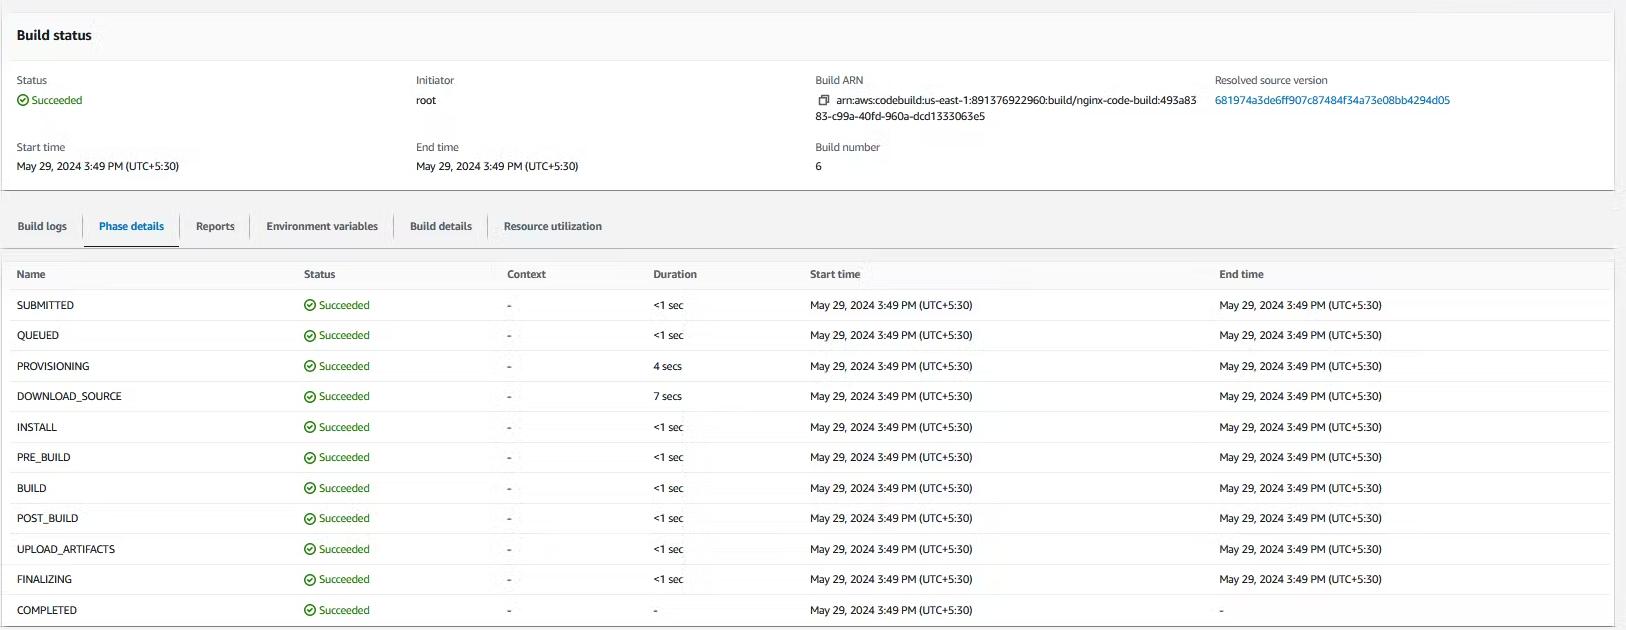
- Now navigate to the CodeBuild console, click on your folder, and then click on Start Build. The status in the Phase Details should show success.
- Once you go to your S3 bucket, check whether your appspec and scripts folders are there or not.

- Now come back to the CodeCommit console, and in the artifacts section, in the name field, write .zip. In artifacts packaging, select zip and click on update project. Then click on start build and ensure it reaches a success state.


- Now go to the S3 bucket and refresh. You will see the zip file of your folder.

- After clicking on Create Deployment in deployment settings, choose "My application is stored in Amazon S3." Navigate to the S3 bucket, select your folder's zip file that you created just now, and click on "Copy S3 URI." Your zip file URI will be copied. Go back to the CodeDeploy console, in the Revision type, paste your zip file URI, keep the rest of the settings as default, and click on "Create deployment."


- Now navigate to the EC2 instance, select your instance, at the top right click on "Action", go to "Security," and click on "Modify IAM role."

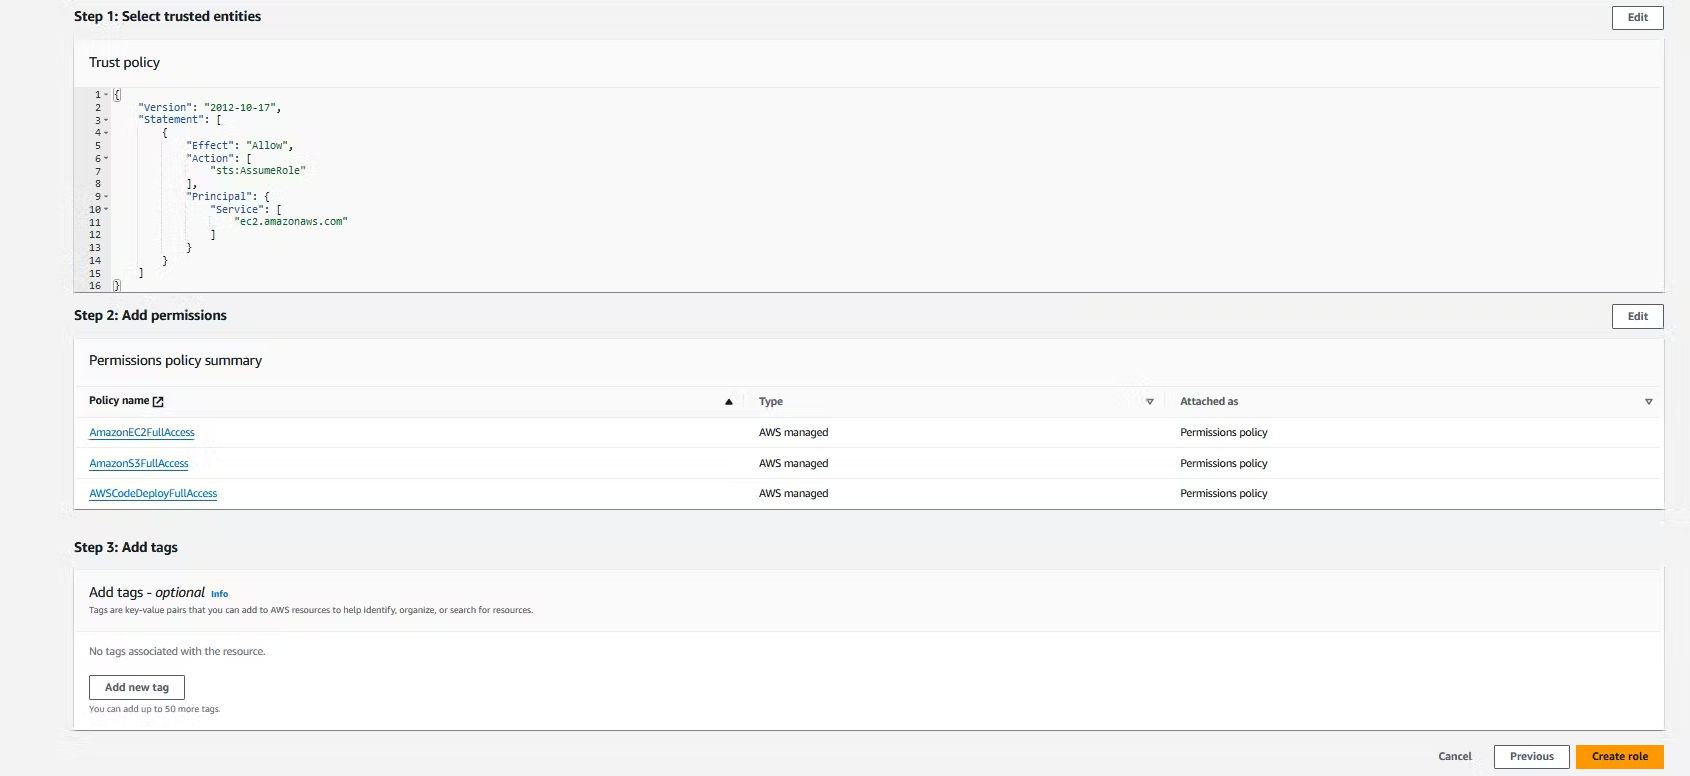
- Now click on Create new IAM role and click on Create role. In the use case, select EC2 and click on Next. Select the policies such as AmazonEC2FullAccess, AmazonS3FullAccess, and AWSCodeDeployFullAccess, and click on Next. Write the role name as Ec2-code-deploy-role and click on Create role.


- Now come back to modify the IAM role, refresh, and select the IAM role you created and update the IAM role.

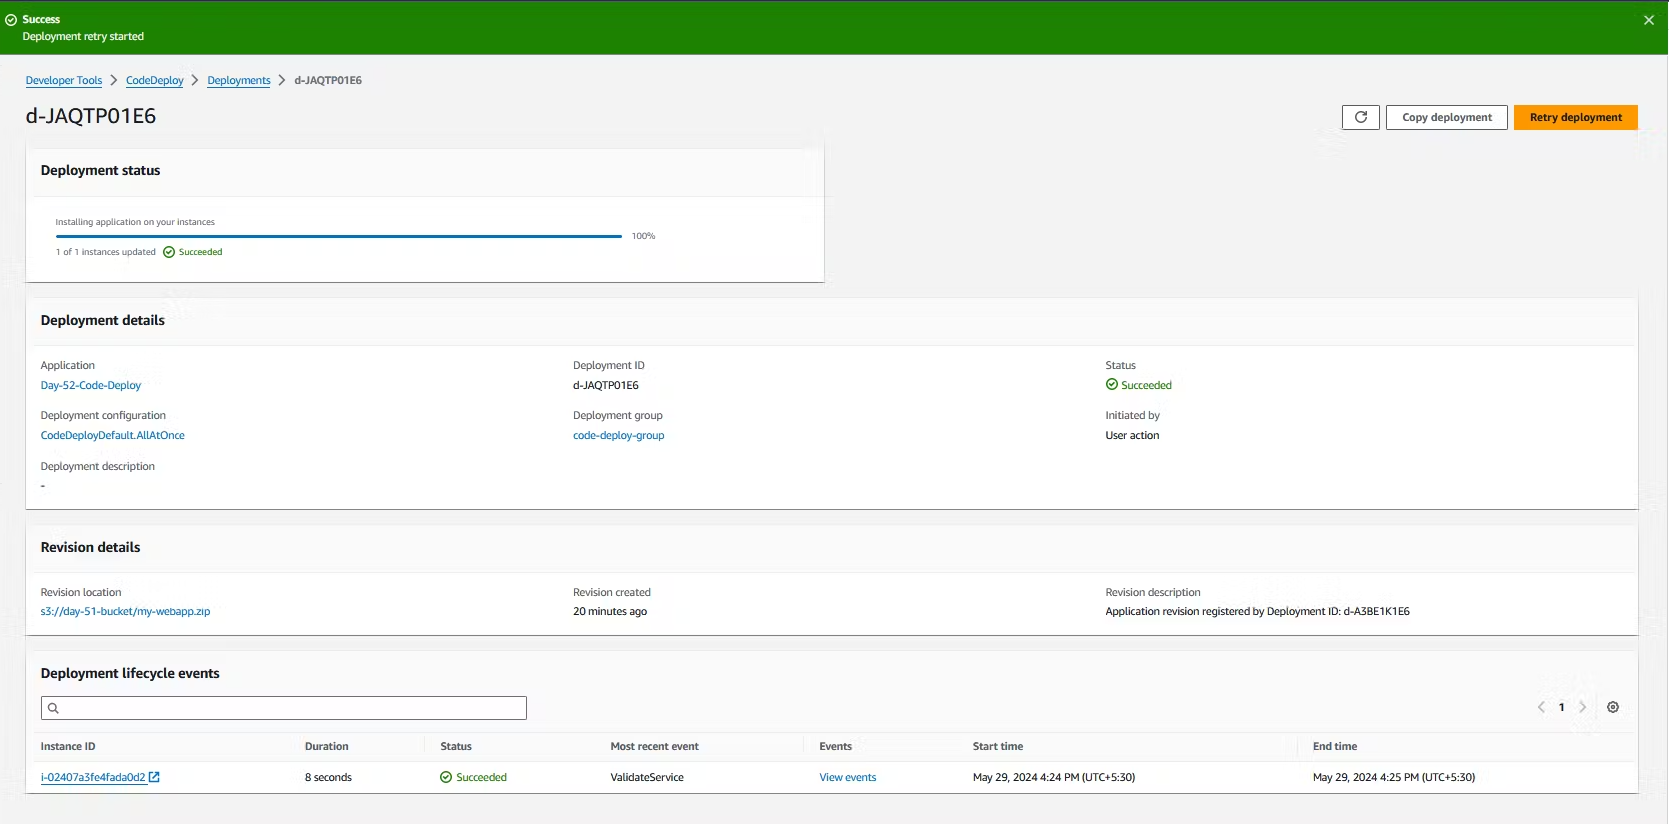
- Now go to your instance and restart your code agent, then click on retry deployment.
sudo service codedeploy-agent restart && sudo service codedeploy-agent status

- Now copy your EC2 IP address and paste it into your web browser. Your server should run.

Subscribe to my newsletter
Read articles from Pooja Bhavani directly inside your inbox. Subscribe to the newsletter, and don't miss out.
Written by

Pooja Bhavani
Pooja Bhavani
Hi, I am Pooja Bhavani, an enthusiastic DevOps Engineer with a focus on deploying production-ready applications, infrastructure automation, cloud-native technologies. With hands-on experience across DevOps Tools and AWS Cloud, I thrive on making infrastructure scalable, secure, and efficient. My journey into DevOps has been fueled by curiosity and a passion for solving real-world challenges through automation, cloud architecture, and seamless deployments. I enjoy working on projects that push boundaries whether it's building resilient systems, optimizing CI/CD pipelines, or exploring emerging technologies like Amazon Q and GenAI. I'm currently diving deeper into platform engineering and GitOps workflows, and I often share practical tutorials, insights, and use cases from my projects and experiences. ✨ Let’s connect, collaborate, and grow together in this ever-evolving DevOps world. Open to opportunities, ideas, and conversations that drive impactful tech!