Debugging : Controlling Temperature Sensor Ds18b20 - part 3
 Sam Lee
In the previous blog post, we set up the GPIO and CLOCK, connected the hardware, and got everything ready to run. However, when we executed the program, no data appeared.
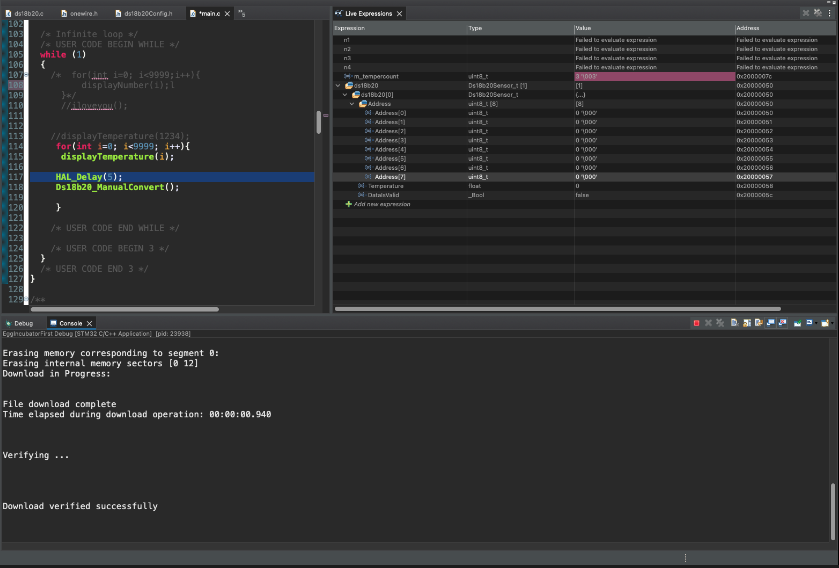
This is quite disappointing.
Let's try disabling the LCD display code and running it again.
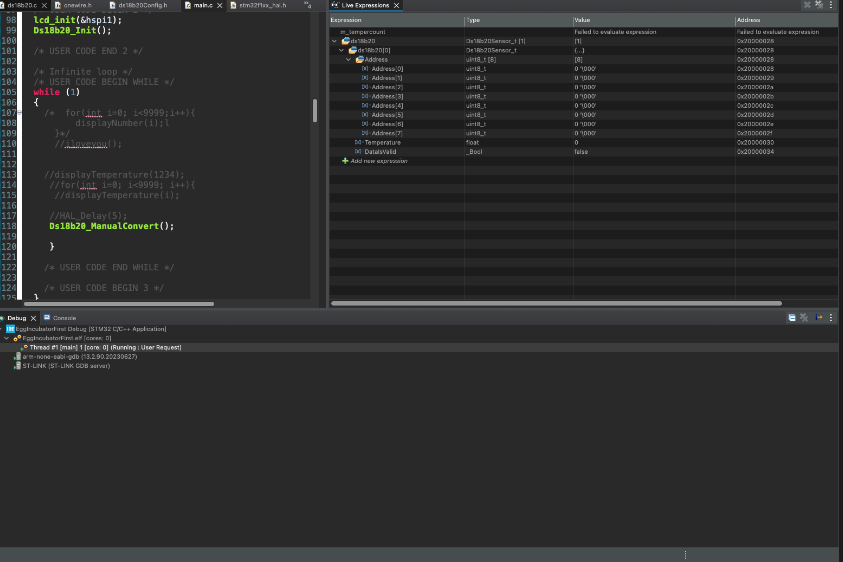
Still, nothing happens.
Next, let's set some debugging points in the ds18b20 file.

The debugging points are set correctly up to this point.
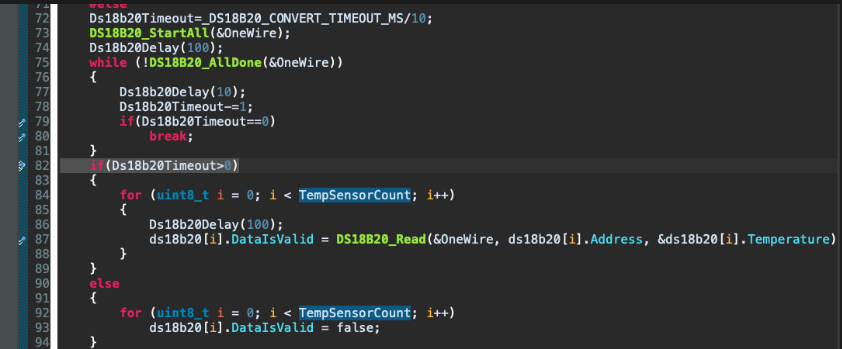
Looking at the manual convert() code, it’s clear that the issue is not due to a timeout.
This means the start_all function and all_done function seem to be working fine.
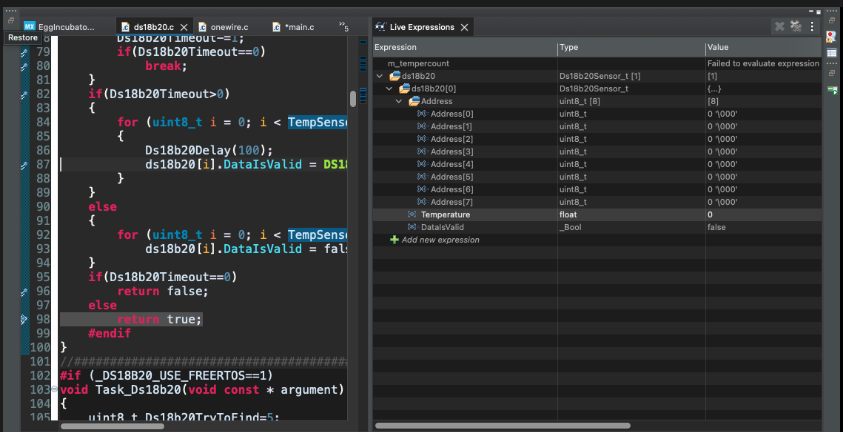
The strange part is that while the if statement is entered without timing out, the datavalid function is not executed inside it.
In the end, it returns true.

The for loop is attempted but never entered. This means that TemperSensorCount is 0, so the loop doesn't execute.
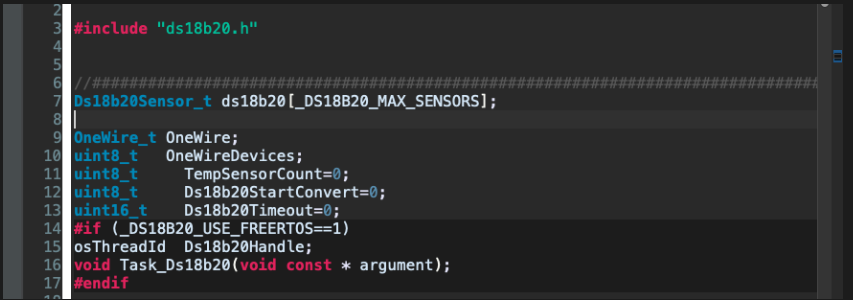
Initially, TemperSensorCount is set to 0.
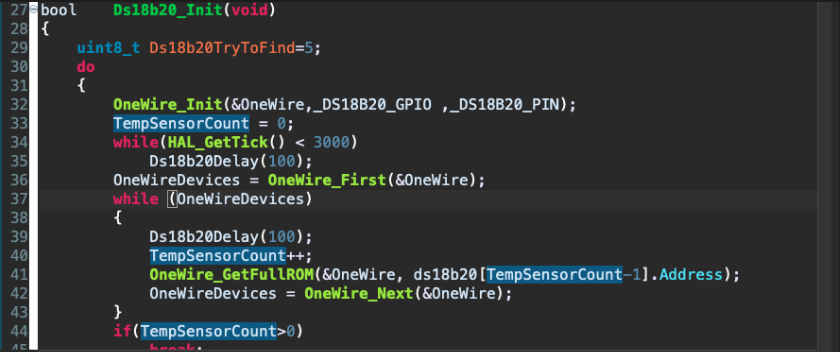
Now, let's investigate why the temperature sensor count is 0. Did it fail to find the temperature sensor?

Indeed, it did not find the sensor.
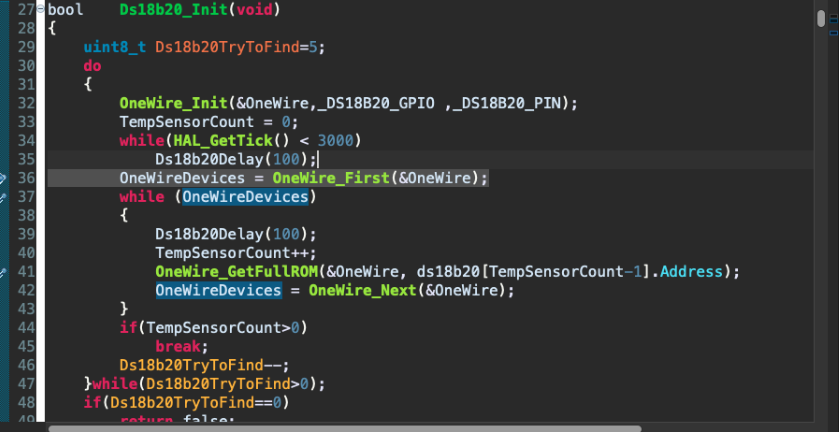
It seems that OneWire_First() returned 0, as it never entered the while (OneWireDevices) loop.

Here, it resets and returns the result of the search. It likely failed the search.
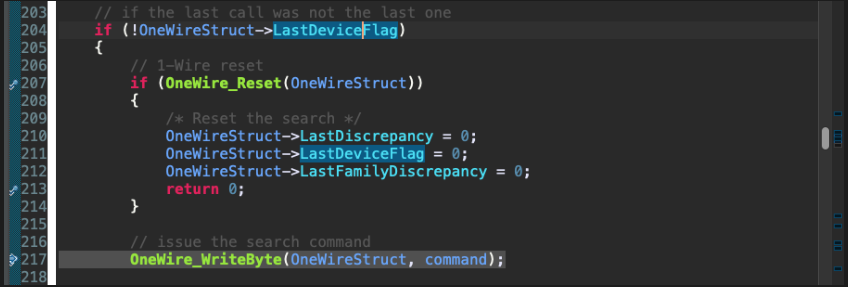
This is a scene from the OneWireSearch function, confirming that it didn’t end due to a reset.

If the search result is 0 or ROM_NO[0] is 0, it returns 0 and exits.

I tried removing the search result and using only rom_no[0], but it still found nothing.
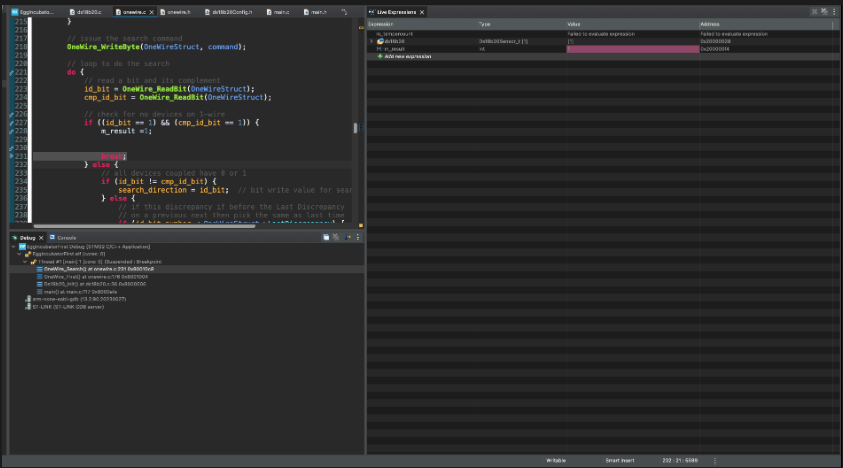
Since the debugging points were not working well, I created a static variable m_result to check the condition, and it turns out the condition was met, causing it to exit.

The fact that it doesn't enter this if statement means id_bit_number < 65 is true. The id_bit_number is likely 0.
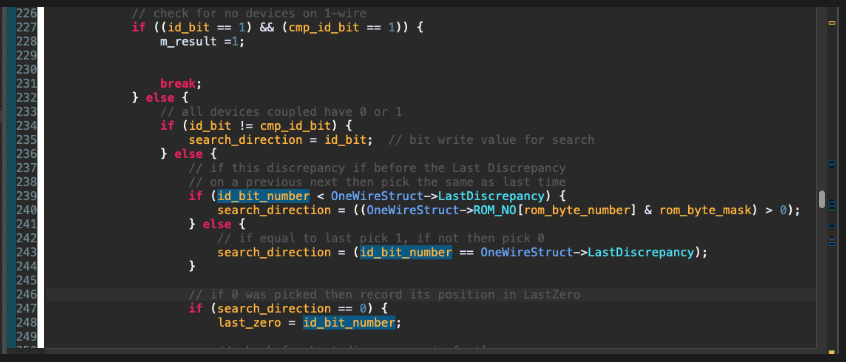
The id_bit_number is incremented inside the else statement.

Currently, both id_bit and comp_id_bit are 1, causing a break, so id_bit_number is 1.
But the question is, since the same function is executed, shouldn't the values be the same?
Let's look at the ReadBit() function.
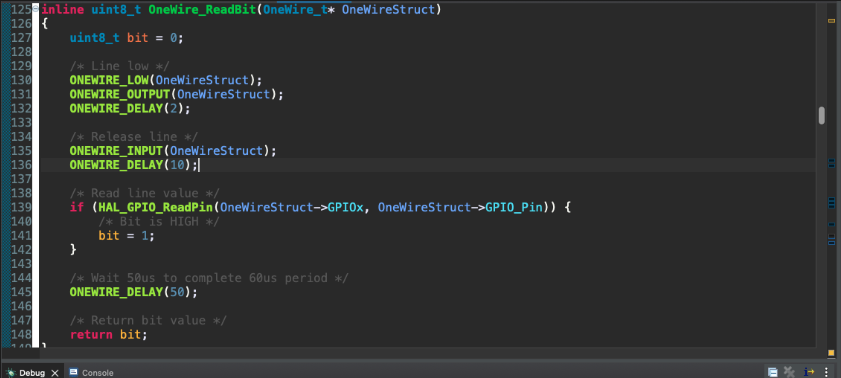
This function returns the bit value.
For the bit value to differ,
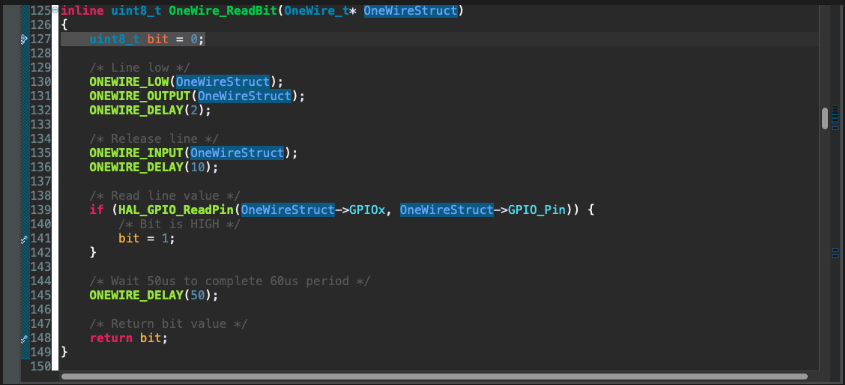
Sometimes it should enter the if (HAL_GPIO_ReadPin(OneWireStruct->GPIOx, OneWireStruct->GPIO_Pin)) statement, and sometimes it shouldn't.
But it always enters now.
This means the GPIO pin is always stuck at HIGH.
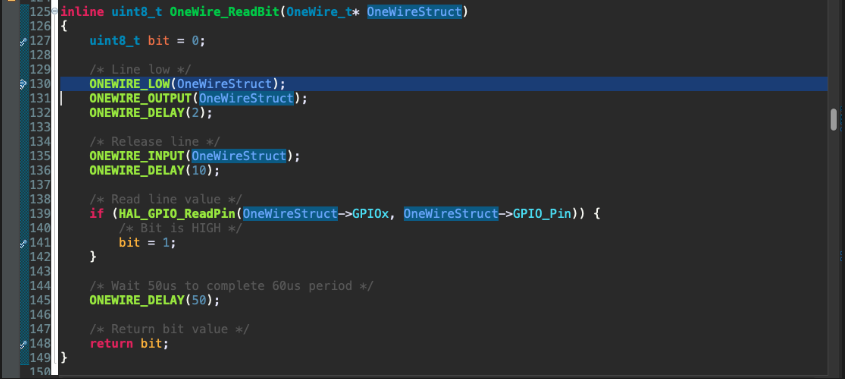
So, it should have changed to LOW in the underlined part, but it seems it didn't work.

Let's observe OneWireLow.
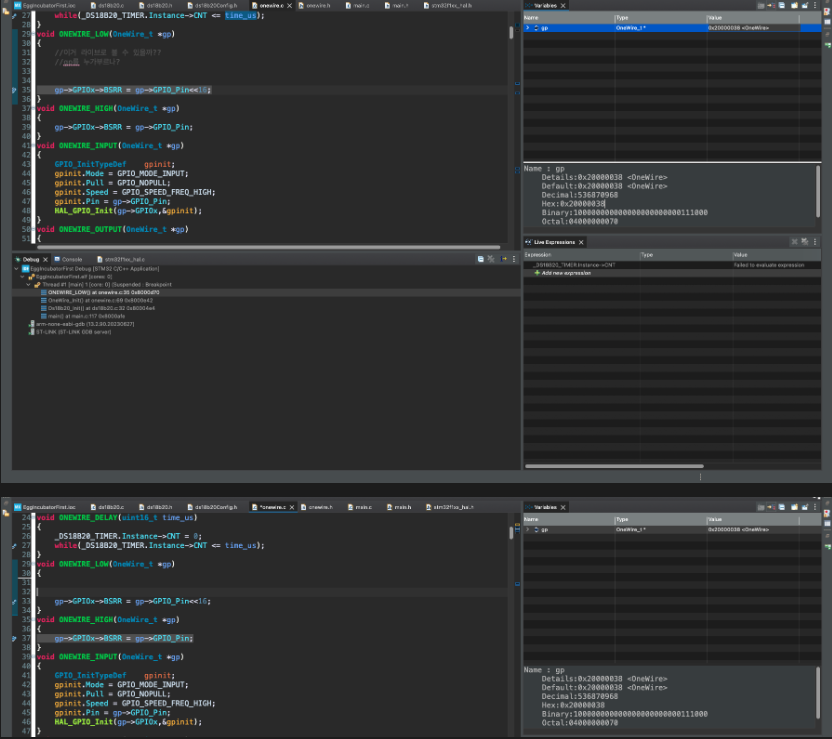
When Onewire_HIGH is called.

Onewire_LOW is called.
The value remains the same.
No operation is performed.

When HIGH.

When LOW.
Ultimately, BSRR has no value.
I even tried writing a random value to BSRR, but it didn't work.
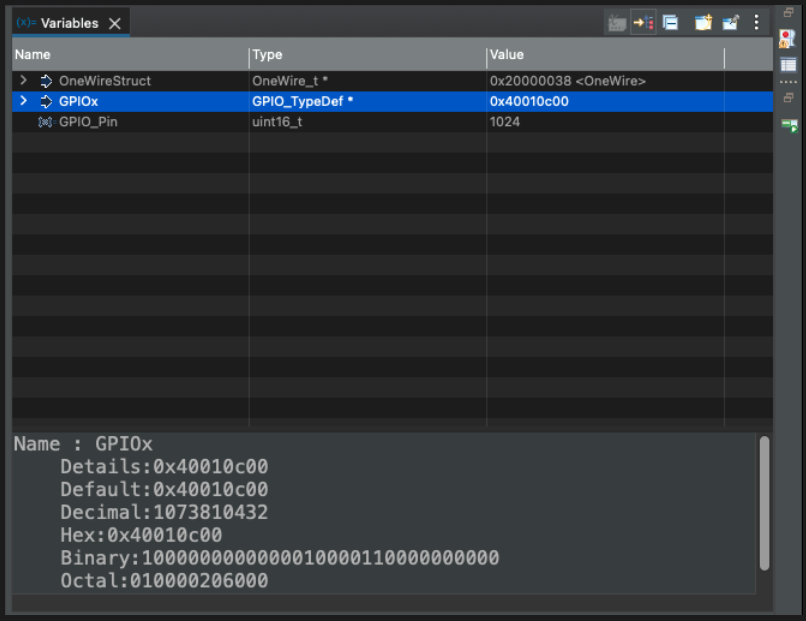
I can see the GPIO's detail.
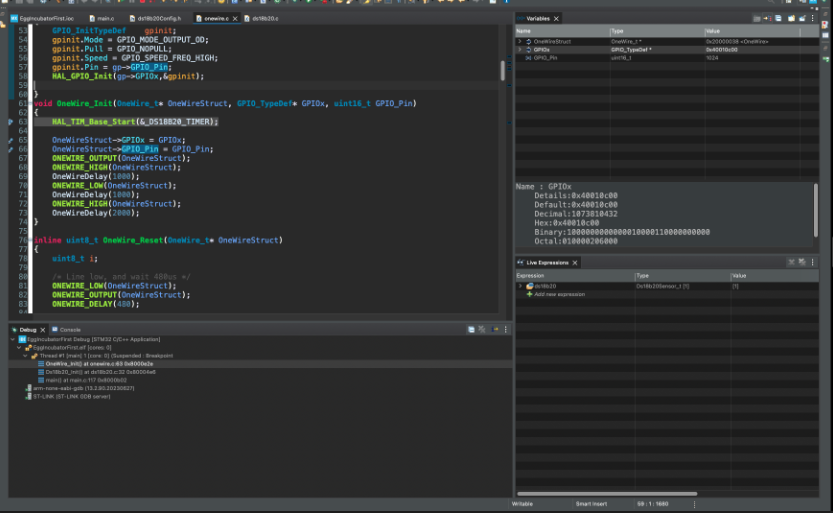
Lets see if any change is made while we go through the init function.
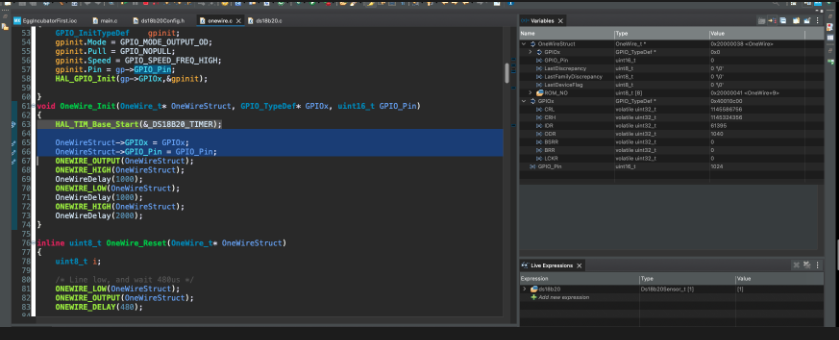
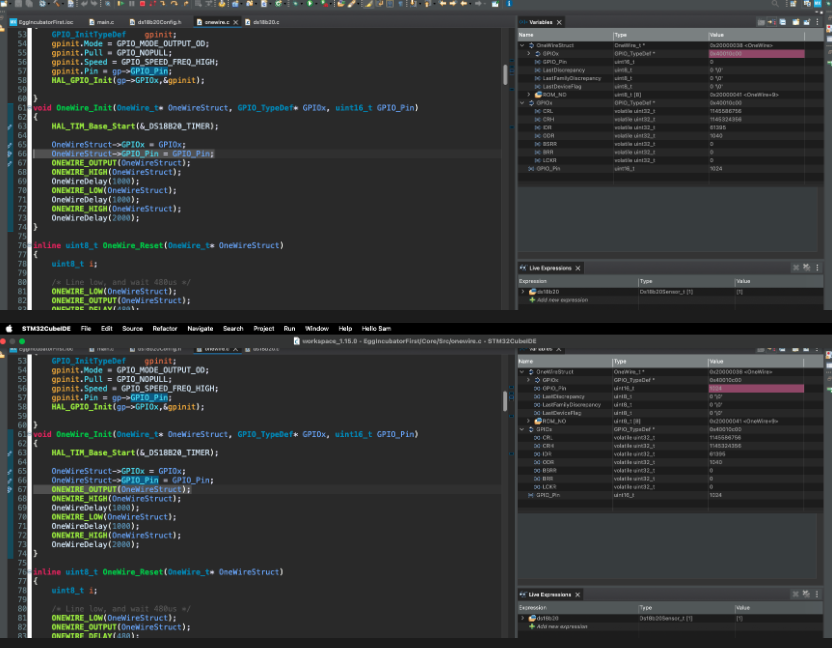
I confirmed that the GPIO setting is correct.
I can confirm that the GPIO is set to OneWire.GPIO.
So, the question is, what is the value 0x400010c00 1024? Let's check the datasheet. (As mentioned earlier, I replaced the PB2 pin with PB10 due to an issue.)
This post is getting too long, so I will continue debugging with the datasheet in the next post.
Subscribe to my newsletter
Read articles from Sam Lee directly inside your inbox. Subscribe to the newsletter, and don't miss out.
Written by
