A Step-by-Step Guide to Set Up Stripe Webhooks and Efficiently Store Data in Your Database for Seamless Transactions!
 wirayuda
Welcome to our comprehensive guide on optimizing your website's payment processing system! In this tutorial, we'll walk you through the process of setting up Stripe webhooks using Node.js and Express, while seamlessly integrating them with your React.js frontend.
By the end, you'll not only master the art of handling webhooks but also learn how to store valuable transaction data efficiently in your database. Let's dive in and elevate your website's user experience to a whole new level.
Step 1 - Create an Account
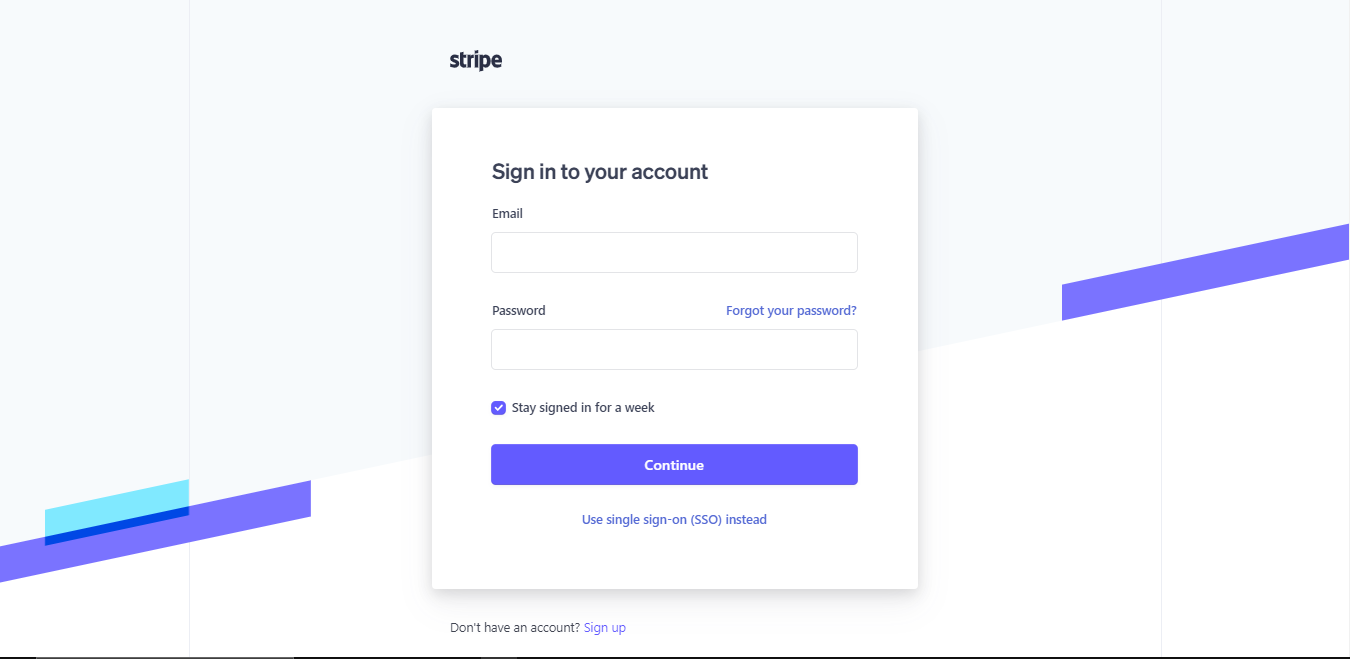
First, go to the Stripe website. On the top right corner, click the 'Sign In' button. You will be redirected to the login page. If you don't have an account click 'Sign up'.
Follow step by step of the sign-in or sign-up process.
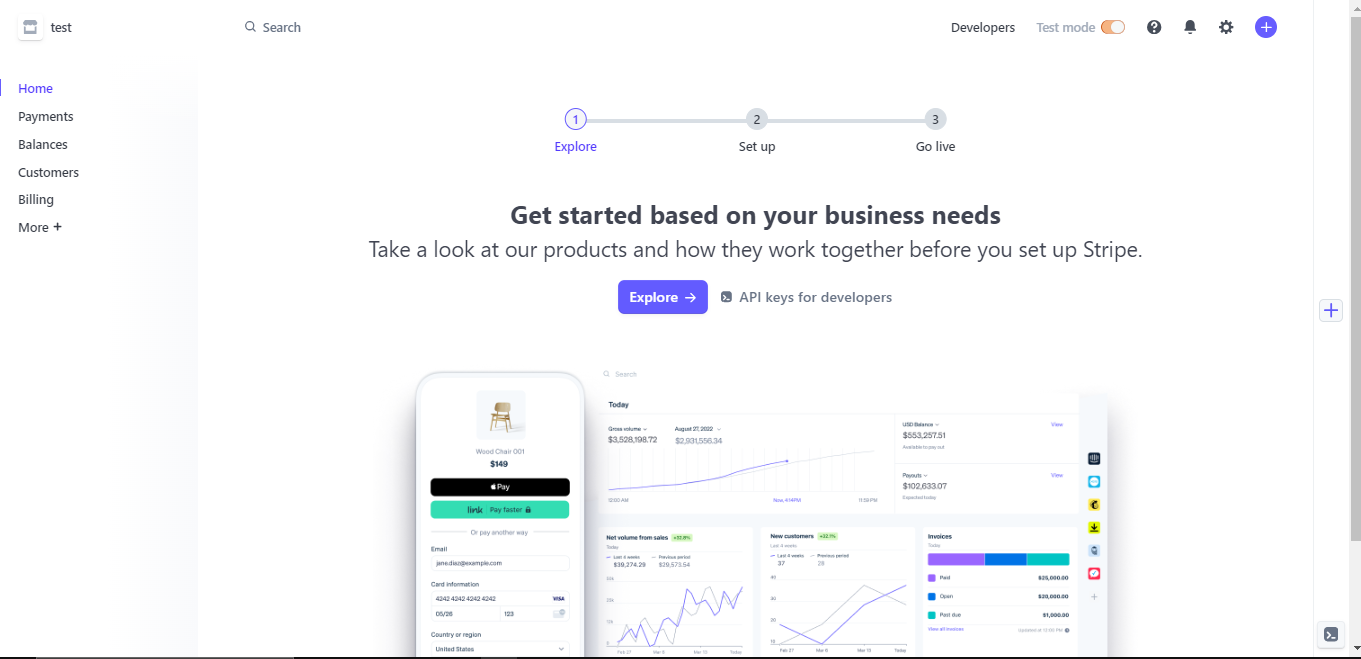
Once you've completed the setup, you'll be seamlessly redirected to the dashboard page. It's important to ensure that 'test mode' is enabled during this stage. This feature proves invaluable for development, allowing you to test your implementation without processing real transactions. Stay in control and confidently refine your payment system before it goes live!
Step 2 - Get the Access Key
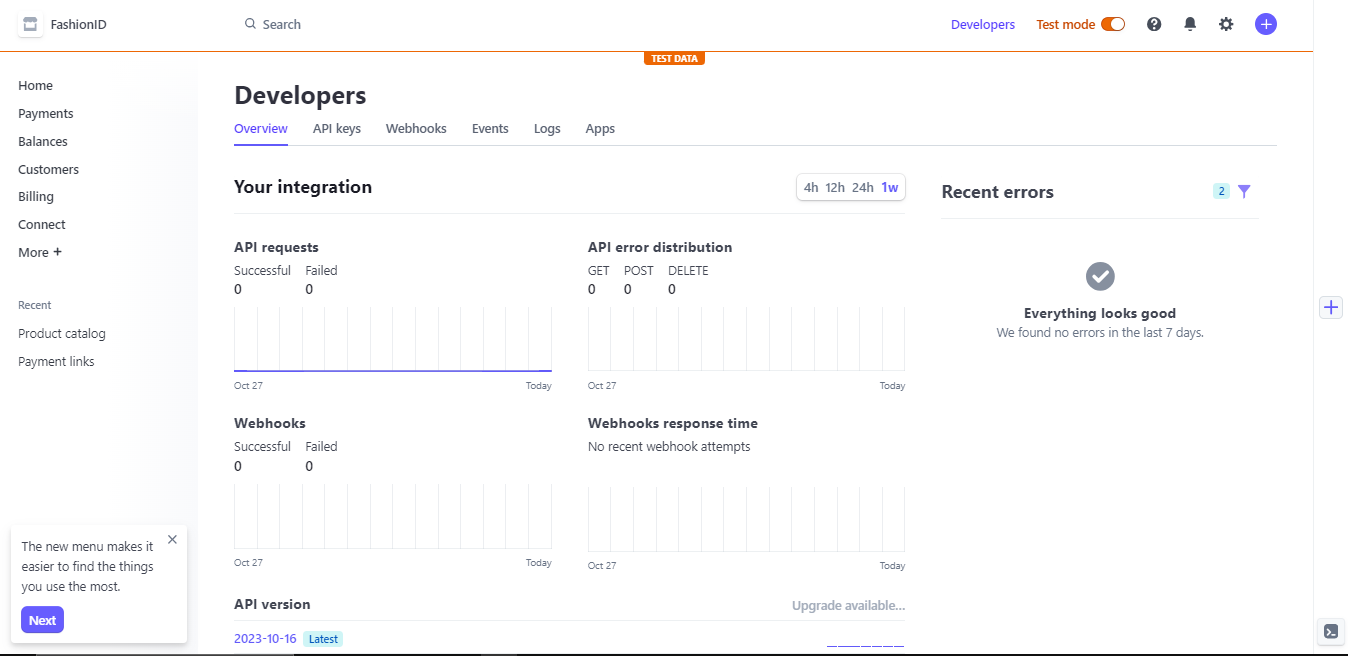
Next, you'll need your Stripe private key to enable seamless functionality. This key is essential to ensure smooth operation and successful transactions within your Stripe integration. Let's obtain your private key to make your Stripe system fully operational.
To get your access key, click the 'Developers' link and you will be redirected to developers' page. Then, click on the 'API keys' tab and copy the 'Secret key'. Make sure you store it in your .env file later.
Step 3 - Setup Backend
In this crucial phase, we'll delve into the heart of your payment processing system. Using the power of Node.js and Express, we will craft a robust backend infrastructure, seamlessly integrated with MongoDB as the database of choice.
By the end of this step, you'll have a resilient foundation that ensures secure data management and efficient communication between your front end and the Stripe payment gateway. Let's dive in and transform your payment processing capabilities!
Let's start by creating a project folder, you can choose whatever name you want. Inside this folder we will create 2 folders, one is the front end and the other is the back end.
Next, navigate to the backend folder and type:
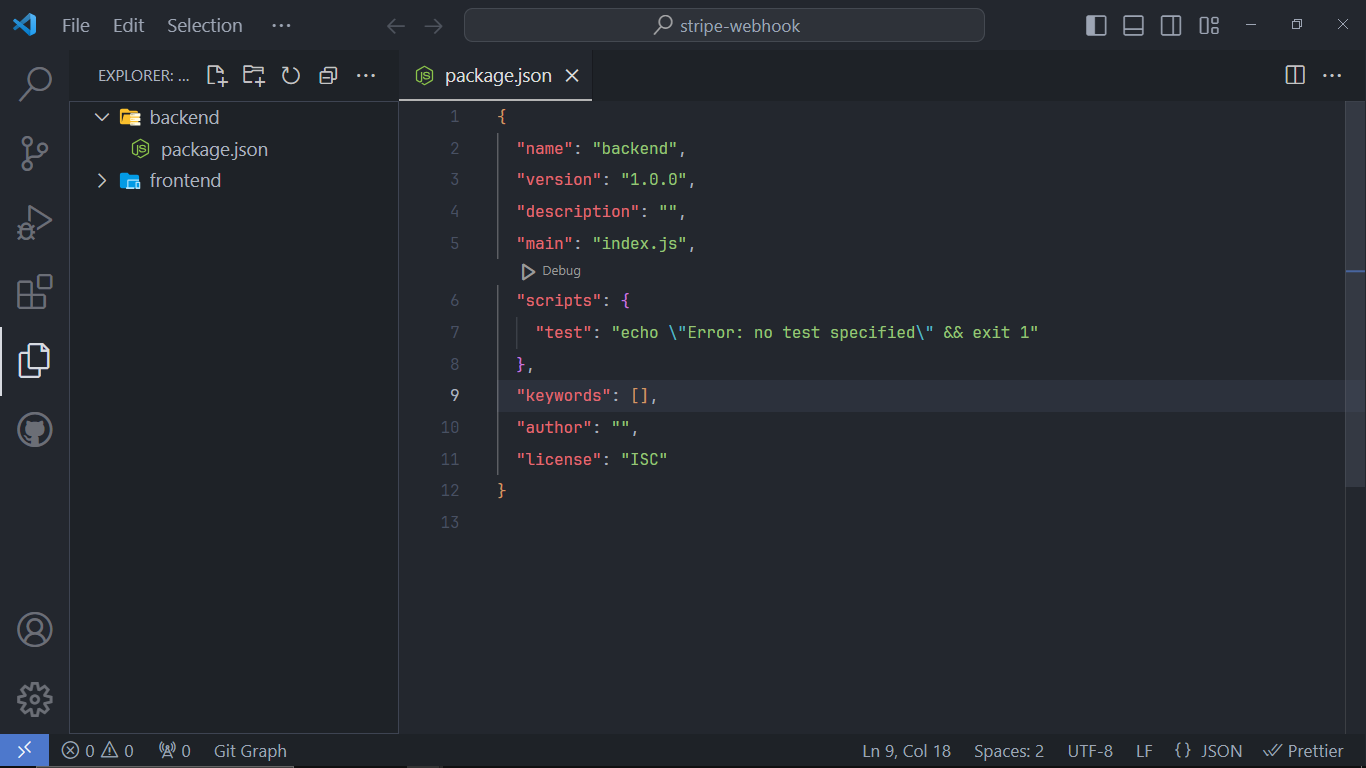
npm init -y
This command will make a basic node js project, you should see the same as the image below.
Add "type": "module" inside package.json if you want to use ES Modules import or you can leave it as it is.
Next, we will start installing dependencies that we need for the back end. In your terminal type:
npm i express mongoose stripe cors dotenv
Then, we will create an index.js file inside the backend folder. You can add this to that file.
This will create a basic server using express.js
import dotenv from 'dotenv'
import express from 'express'
import cors from 'cors';

dotenv.config()
// this will load env file that we need


const app = express()
app.use(cors())

app.get('/', (req, res) => {
  res.json({ message: 'Hello from server' })
})


app.listen(3000, () => {
  console.log(`Listening on port 3000`);
})
We also need nodemon package, this package will run our server and restart the server if there is a change in our file without restarting the server manually.
To install nodemon, type:
npm i nodemon --save-dev
After that, update your package.json file and add this to your script:
"dev": "nodemon"
In your terminal, type "npm run dev".
This command will run your server and if your server is successfully running, you should see a message that says "Listening on port 3000".
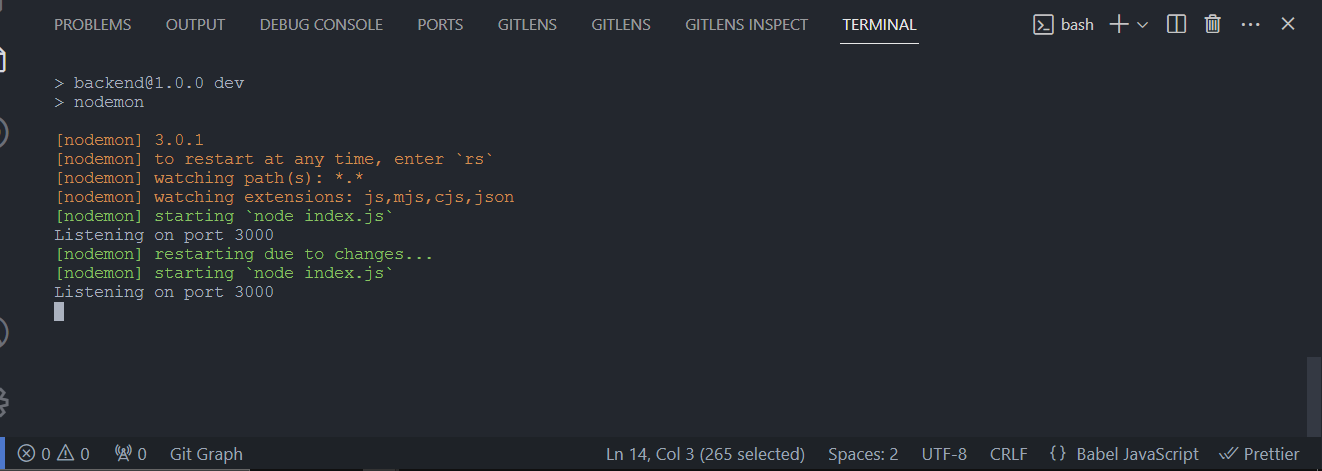
Congratulations, you successfully created a basic server using Express.js
Next, we will create a controller for checkout functionality. To create that create a controller folder and inside that create a checkout.js file.
The file contains this code:
import dotenv from 'dotenv';
dotenv.config();

import stripe from 'stripe';

const stripeInit = stripe(process.env.STRIPE_PRIVATE_KEY);
//Here we init stripe using Access Key that we get earlier

export async function checkout(req, res) {
  try {
    const { user, productName, price, id } = req.body;
    //We extract data from req.body

    //Create customer
    const customer = await stripeInit.customers.create({
      metadata: {
        data: JSON.stringify({
          userId: user.id,
          price,
          productId: id,
          currentUser: user,
          productName
        }),
      },
    });

    const session = await stripeInit.checkout.sessions.create({
      line_items: [
        {
          price_data: {
            currency: 'usd',
            product_data: {
              name: productName,
            },
            unit_amount: price,
          },
          quantity: 1,
        },
      ],
      customer: customer.id,
      metadata: customer.metadata,
      mode: 'payment',
      success_url: `${process.env.CLIENT_URL}/success`,
      cancel_url: `${process.env.CLIENT_URL}/cancel`,
    });

    res.send({ url: session.url }).end();

  } catch (error) {
    res.status(500).json({ error: true, message: error.message });
  }
}
Let me explain this code:
import dotenv from 'dotenv';
dotenv.config();

import stripe from 'stripe';
In this section, we begin by importing the 'dotenv' package and invoking it. This step is crucial as it allows us to load environment variables stored in the .env file. These variables contain sensitive information required for configuring Stripe securely.
Next, we initialize our Stripe integration using the access key obtained earlier. This key acts as a secure passcode, granting our application access to the Stripe platform. By properly initializing Stripe, we ensure seamless and secure communication between our backend system and Stripe's payment services, setting the stage for smooth transaction processing
const stripeInit = stripe(process.env.STRIPE_PRIVATE_KEY);
Next, we create Stripe customers. Why? Creating a customer in Stripe is a common practice in payment processing systems for several reasons:
Recurring Payments: If you have subscription-based services or products, storing customer information allows you to set up recurring payments without requiring users to enter their payment details every time a payment is due. Customers can be billed automatically for their subscriptions.
Enhanced User Experience: Storing customer information, such as shipping addresses or preferences, allows for a smoother checkout process in the future. Returning customers don't need to re-enter their details, improving user experience and increasing the likelihood of repeat business.
Order History and Analytics: By associating payments with specific customer profiles, you can maintain detailed order histories. This information is valuable for customer support, analytics, and business intelligence. You can analyze purchasing patterns, identify popular products, and tailor marketing strategies based on customer behavior.
Fraud Prevention: Storing customer data enables you to implement additional security measures. For example, you can track unusual purchasing behavior and flag potentially fraudulent transactions, helping protect both your business and your customers.
Refunds and Disputes: If an issue arises with a transaction, having customer information allows you to handle refunds and disputes more effectively. You can identify the customer, verify the transaction, and resolve the problem efficiently.
Compliance: Storing customer data in a secure and compliant manner is essential, especially when dealing with regulations such as GDPR (General Data Protection Regulation). Stripe provides tools and features to help businesses handle customer data responsibly and comply with relevant regulations.
  const customer = await stripeInit.customers.create({
      metadata: {
        data: JSON.stringify({
          userId: user.id,
          price,
          productId: id,
          currentUser: user,
          productName
        }),
      },
    });
Next, we implement checkout functionality using Stripe.
    const session = await stripeInit.checkout.sessions.create({
      line_items: [
        {
          price_data: {
            currency: 'usd',
            product_data: {
              name: productName,
            },
            unit_amount: price,
          },
          quantity: 1,
        },
      ],
      customer: customer.id,
      metadata: customer.metadata,
      mode: 'payment',
      success_url: `${process.env.CLIENT_URL}/success`,
      cancel_url: `${process.env.CLIENT_URL}/cancel`,
    });

    res.send({ url: session.url }).end();
I Will explain this code,
line_items: Contains an array with a single item object representing the product being purchased.currency: Specifies the currency for the price (e.g., USD)product_data: Contain product that the user wants to pay. In this case, I just put a name for simplicityunit_amount: The price of the product, expressed in the smallest currency unit (e.g., cents).quantity: Indicates the quantity of the product being purchased. Set to 1 for a single unit.customer: Specifies the ID of the customer making the purchase.Ensures the session is associated with the correct customer in Stripe's system.metadata: Includes any additional information about the customer, enhancing the transaction context. In this code, customer metadata is passed along with the session.mode: Set to'payment'to indicate that this session is for a one-time payment.success_url: Specifies the URL where the customer will be redirected after a successful payment.cancel_url: Specifies the URL where the customer will be redirected if they cancel the payment process.
Next, we will create a route for this checkout functionality. In order to do that, create a folder called routes and put this code inside.
import { Router } from 'express';

import { checkout } from '../controller/checkout.js';

const router = Router()

router.post('/checkout', checkout);

export default router
And in your index.js file, put this code
import checkout from './routes/checkout.js'
app.use('/', checkout);
When the user calls our API by hitting http://localhost:3000/checkout, the checkout function will be called
Step 4 - Front-end Setup
In this pivotal stage, we will dive into testing the checkout functionality before delving into the implementation of the Stripe webhook. By focusing on the front-end setup first, we ensure a seamless user experience during the payment process. Join us as we fine-tune the checkout system, providing users with a smooth and intuitive transaction flow. Let's perfect the user interface and functionality, setting the stage for a flawless integration with the Stripe payment gateway!
Navigate to frontend folder and in your terminal type:
npm create vite@latest .
We are using Vite as an alternative of create-react-app. After finishing type:
npm install
After all dependencies are installed, test the server by type:
npm run dev
Open the http://localhost:5173 and you should see a basic web template created by Vite.
Congratulations, you successfully created React.js project using Vite. Now let's create a button and call our backend API
Step 5 - Implement payment functionality
function App() {
    const checkout = async () => {
        const res = await fetch('http://localhost:3000/checkout', {
            method: 'POST',
            headers: {
                'Content-type': 'application/json',
            },
            body: JSON.stringify({
                user: 'user-1',
                productName: 'apple',
                price: 200000,
                id: 'product-1',
            }),
        });
        const data = await res.json();
        window.location.href = data.url;
    };
    return <button onClick={checkout}>Call Api</button>;
}

export default App;
In this step, we trigger the checkout endpoint within our backend system. Upon successful processing, Stripe furnishes us with a unique URL. We then seamlessly redirect users to the Stripe checkout page, ensuring a streamlined and secure payment experience.
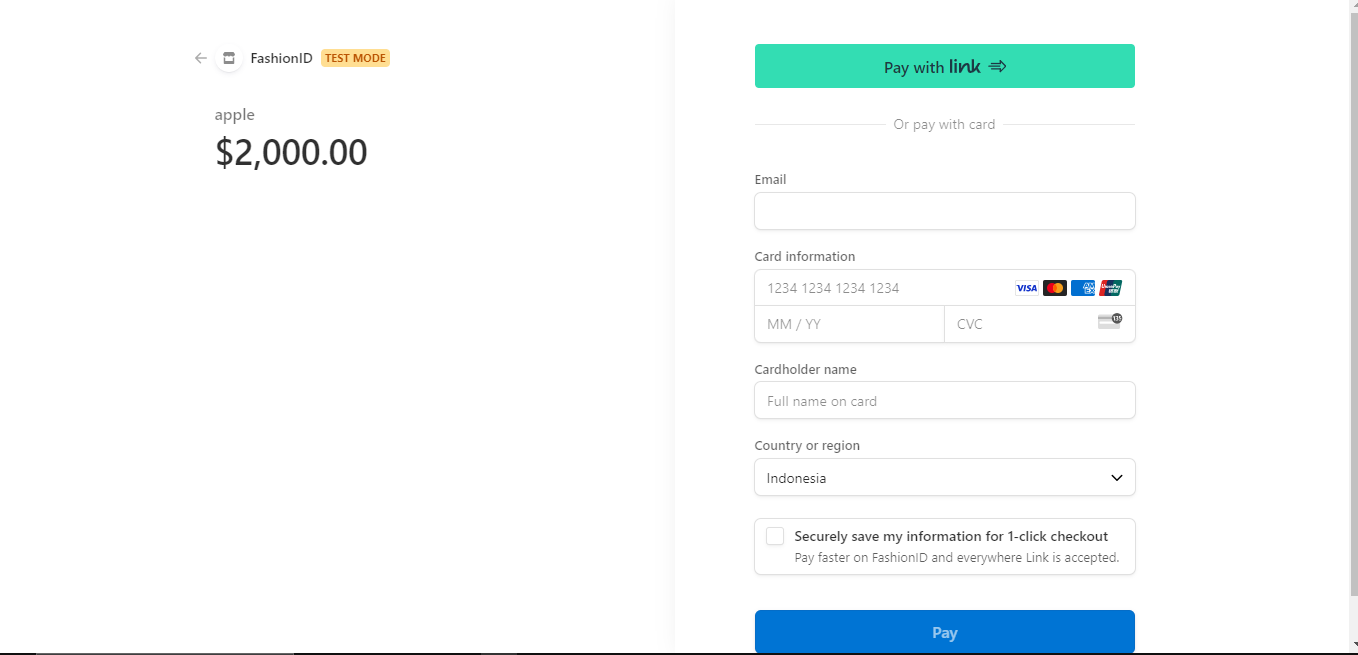
No need to worry about exorbitant product prices! Rest assured, you won't incur any actual charges, as we're operating within Stripe's test mode.
Feel free to explore and experiment without any financial concerns. It's a risk-free environment designed for testing and perfecting your payment system.
Feel free to use the following test card details for your transactions:
Card Number: 4242 4242 4242 4242
Expiration Date: You can input any future date.
CVC: 424
These test card details are specifically designed for experimentation within Stripe's test environment. No actual charges will occur, allowing you to explore and refine your payment system with ease and confidence.
After the payment success, you will be redirect to success page.
Congratulations, you successfully integrate your backend with stripe checkout functionality
Step 7 - Create Webhook
In this step, we will create a webhook. What is webhook and why we need it?
Let me explain
A webhook is an HTTP endpoint that receives events from backend. Imagine you want to get realtime update
Webhooks allow you to be notified about payment events that happen in the real world outside of your payment flow such as:
Successful payments (
payment_intent.succeeded)Disputed payments (
charge.dispute.created)Available balance in your Stripe account (
balance.available)
First we need to go to the developers page
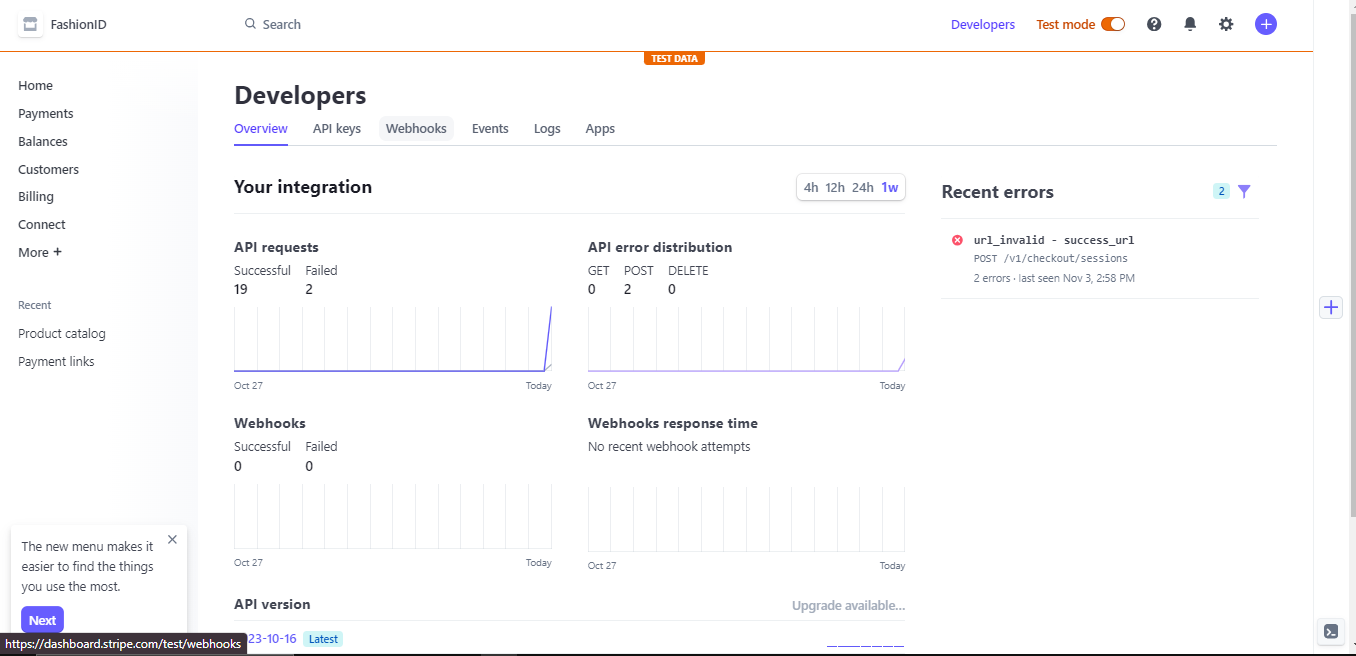
Click 'webhooks' tab and you should see the same as the image below.
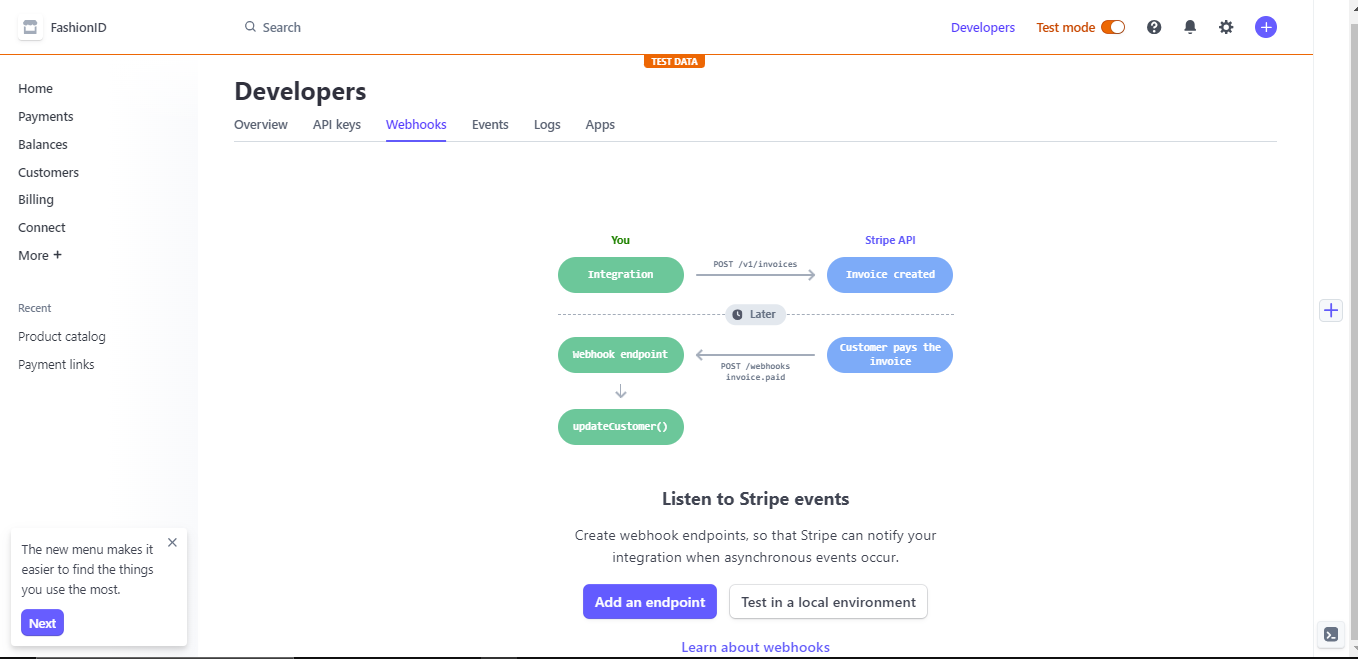
Then click 'Test in a local environment' and you should see this on your screen. Copy the endpoint secret and store in your env file.
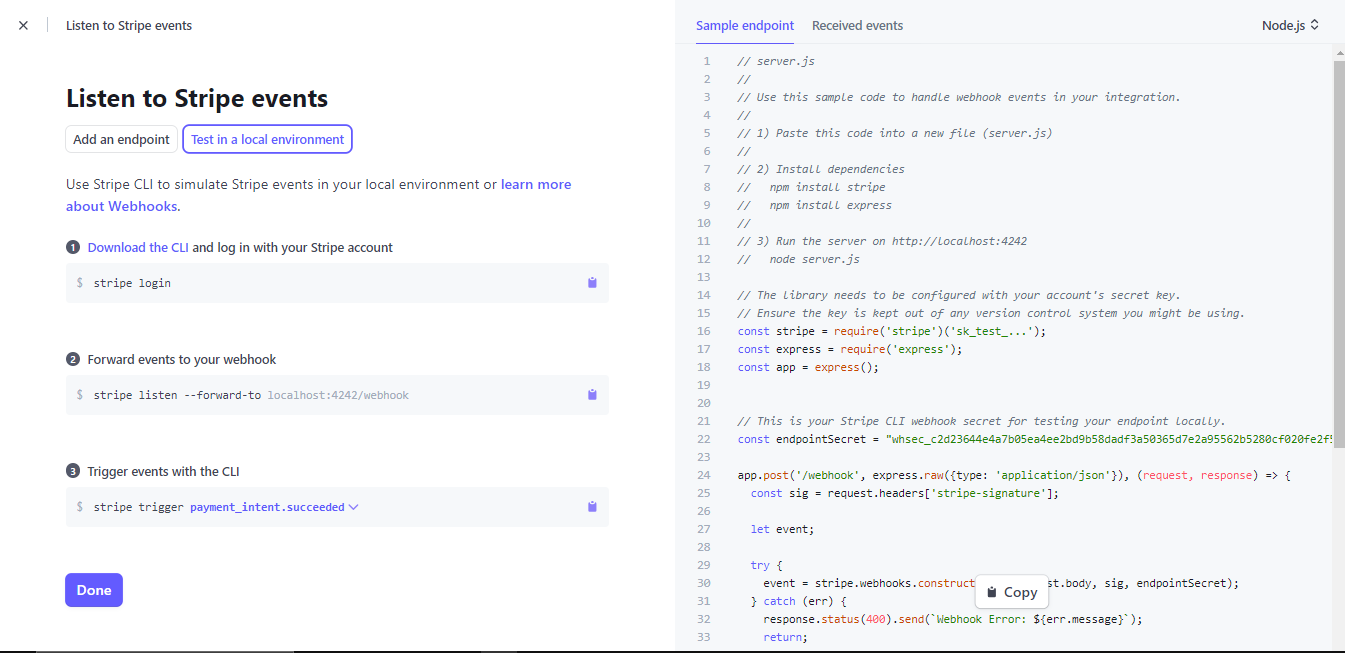
Next, let's create code for webhook.
First in order to able to receive data from the webhook we have to add this in the index.js file. We have to convert request data from client into buffer.
app.use(
  express.json({
    verify: (req, res, buf) => {
      req.rawBody = buf;
    },
  })
);
Then, inside routes folder create webhook.js file and put this code
import dotenv from 'dotenv'
dotenv.config()

import { Router, raw } from 'express'
import stripe from 'stripe';

const stripeInit = stripe(process.env.STRIPE_PRIVATE_KEY);

const router = Router()

const endpointSecret = process.env.STRIPE_WEBHOOK_SECRET

router.post('/', raw({ type: 'application/json' }), (req, res) => {
  let event;

  try {
    const signature = req.headers['stripe-signature'];
    const rawBody = req.rawBody.toString();
    event = stripeInit.webhooks.constructEvent(
      rawBody,
      signature,
      endpointSecret
    );
  } catch (err) {
    console.log(`⚠️  Webhook signature verification failed.`, err.message);
    return res.sendStatus(400);
  }
  if (event.type === 'checkout.session.completed') {
    const session = event.data.object.metadata;
    console.log(session);
  }
  res.status(200).end();
})
Next use it index.js
import webhook from './routes/webhook.js'
app.use('/webhook', webhook)
Next, you will need Stripe CLI, follow step by step how to install it based on your operating system
After you install Stripe CLI, open your terminal and type
stripe login
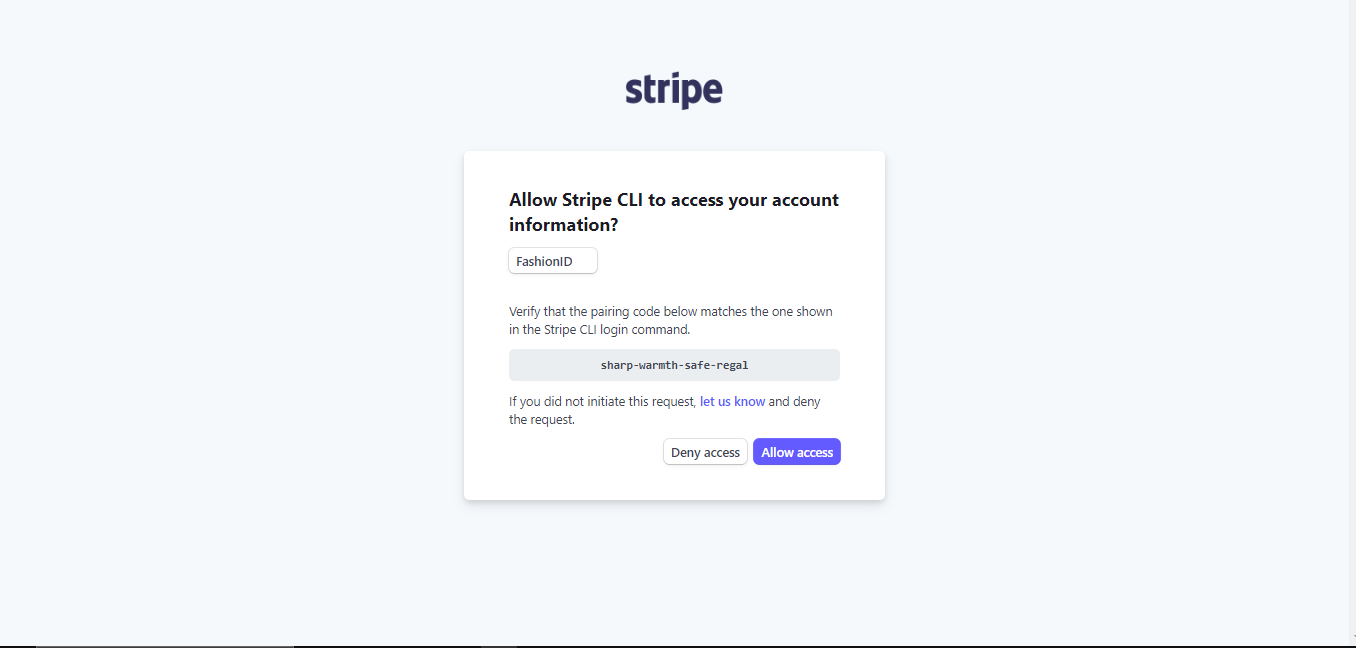
You will be ask to enter your pairing-code that you get in terminal and paste in the browser. Press 'Enter' to let stripe redirect you to stripe website
You should see this on your screen, make sure the pairing code is same between your browser and your terminal. If it's same click 'Allow Access'
After that you should see this on your screen
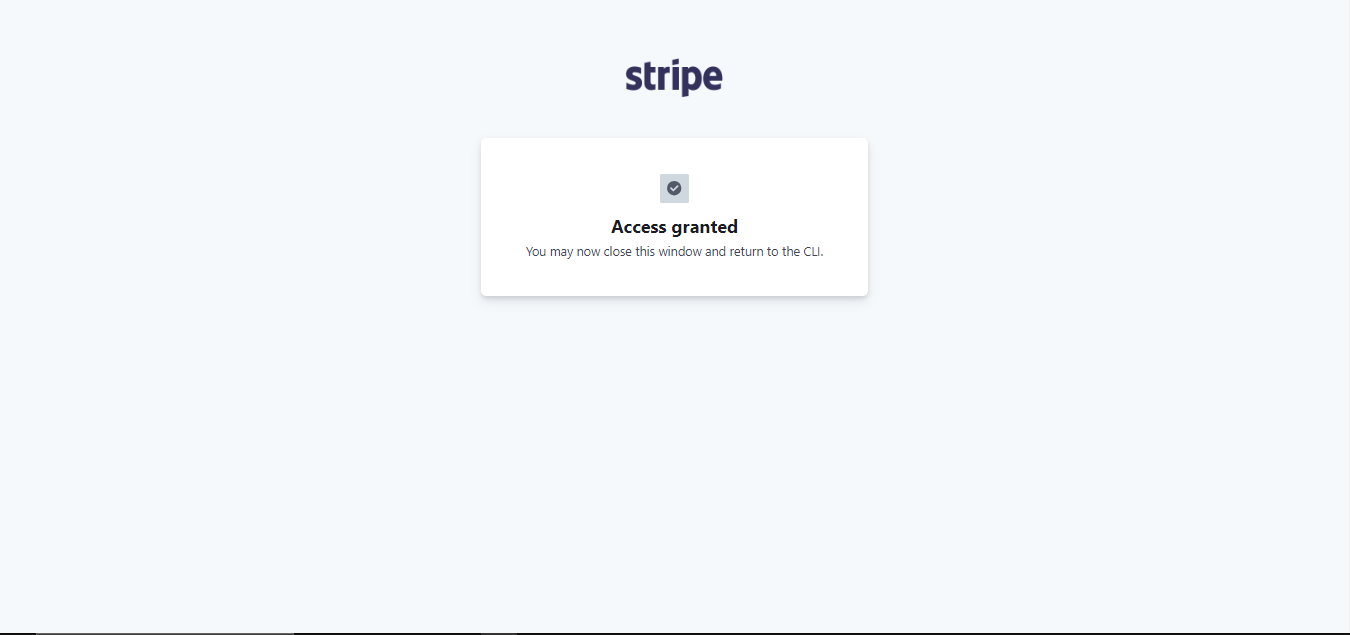
Next, it's time to listen to changes from Stripe. Open your terminal and type:
stripe listen --forward-to localhost:3000/webhook
Make sure your backend endpoint and webhook route is the same then press 'Enter'.
Now stripe will listen event created by the client, let's test it now. Open your browser where your react app running and click that button to call stripe checkout
Subscribe to my newsletter
Read articles from wirayuda directly inside your inbox. Subscribe to the newsletter, and don't miss out.
Written by
