The Ultimate Guide to Integrating QuickBlox’s Smart Chat Assistant into Your App
 Sayantani Deb
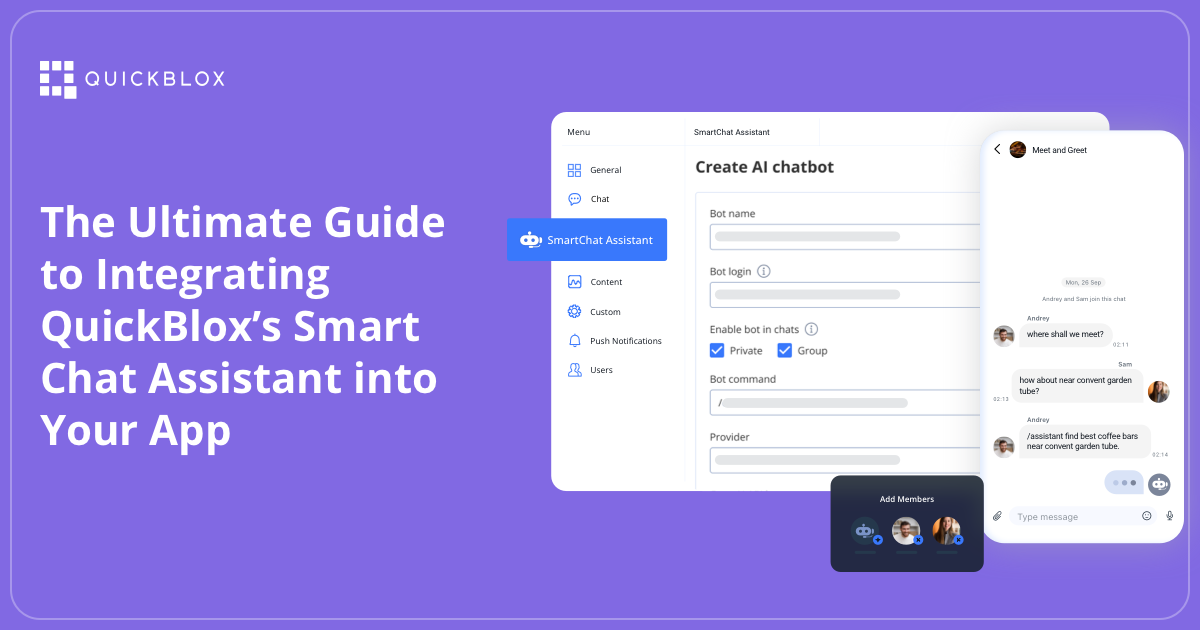
Looking to elevate your app's communication game? Meet AI—your new tech ally. With QuickBlox, integrating a smart chat assistant into your app is a breeze, and it’ll not only impress your users but also simplify your life. Ready to get started? Let’s dive in!Why AI Is a Game-Changer for Communication
AI is shaking up the communication scene in a big way. Imagine your app being able to:
Chat Instantly: Answer user questions in real-time without lifting a finger.
Personalize Experiences: Tailor interactions based on user preferences.
Automate Tasks: Handle routine tasks so you can focus on the fun stuff.
With AI, your app becomes a powerhouse of efficiency and engagement, making it a win-win for everyone involved!
Table of Contents
Introduction
Elevate Your App's Communication Game
Why AI Is a Game-Changer for Communication
Getting Started with QuickBlox AI
Step 1: Sign Up
Step 2: Save Those Credentials
Step 3: Create Your Smart Chat Assistant
Step 4: Customize Your Chat Assistant
Step 5: Test It Out
Step 6: Save Your Assistant ID
Step 7: Create Users
Step 8: Ready to Go
Integrating QuickBlox AI Assistant into Your App
Method 1: Embed Link
Method 2: Via SDK
Method 3: API Integration
Method 4: Pre-built UI Kit
Method 5: Hybrid Approach
Adding an AI Smart Chat Assistant to Your Website with Low-Code Solutions
Setting Up Your AI Smart Chat Assistant
Choosing Your Integration Method
Embed on a Webpage
Floating Button
Embedding a Code Snippet
Webpage Display
Floating Button
What’s Cool About QuickBlox AI?
QuickBlox isn’t just any AI tool—it’s packed with features that’ll make your app smarter and more interactive. Here’s what makes it awesome:
Smart Chat Assistants: Get instant replies and support without breaking a sweat.
Advanced Analytics: Peek into how users are interacting with your app and make data-driven decisions.
Easy Peasy Integration: Plug in AI features smoothly without disrupting your existing setup.
Curious about how QuickBlox can make your app shine? Let’s explore!
Ready to Rock? Here’s How to Get Started with QuickBlox AI
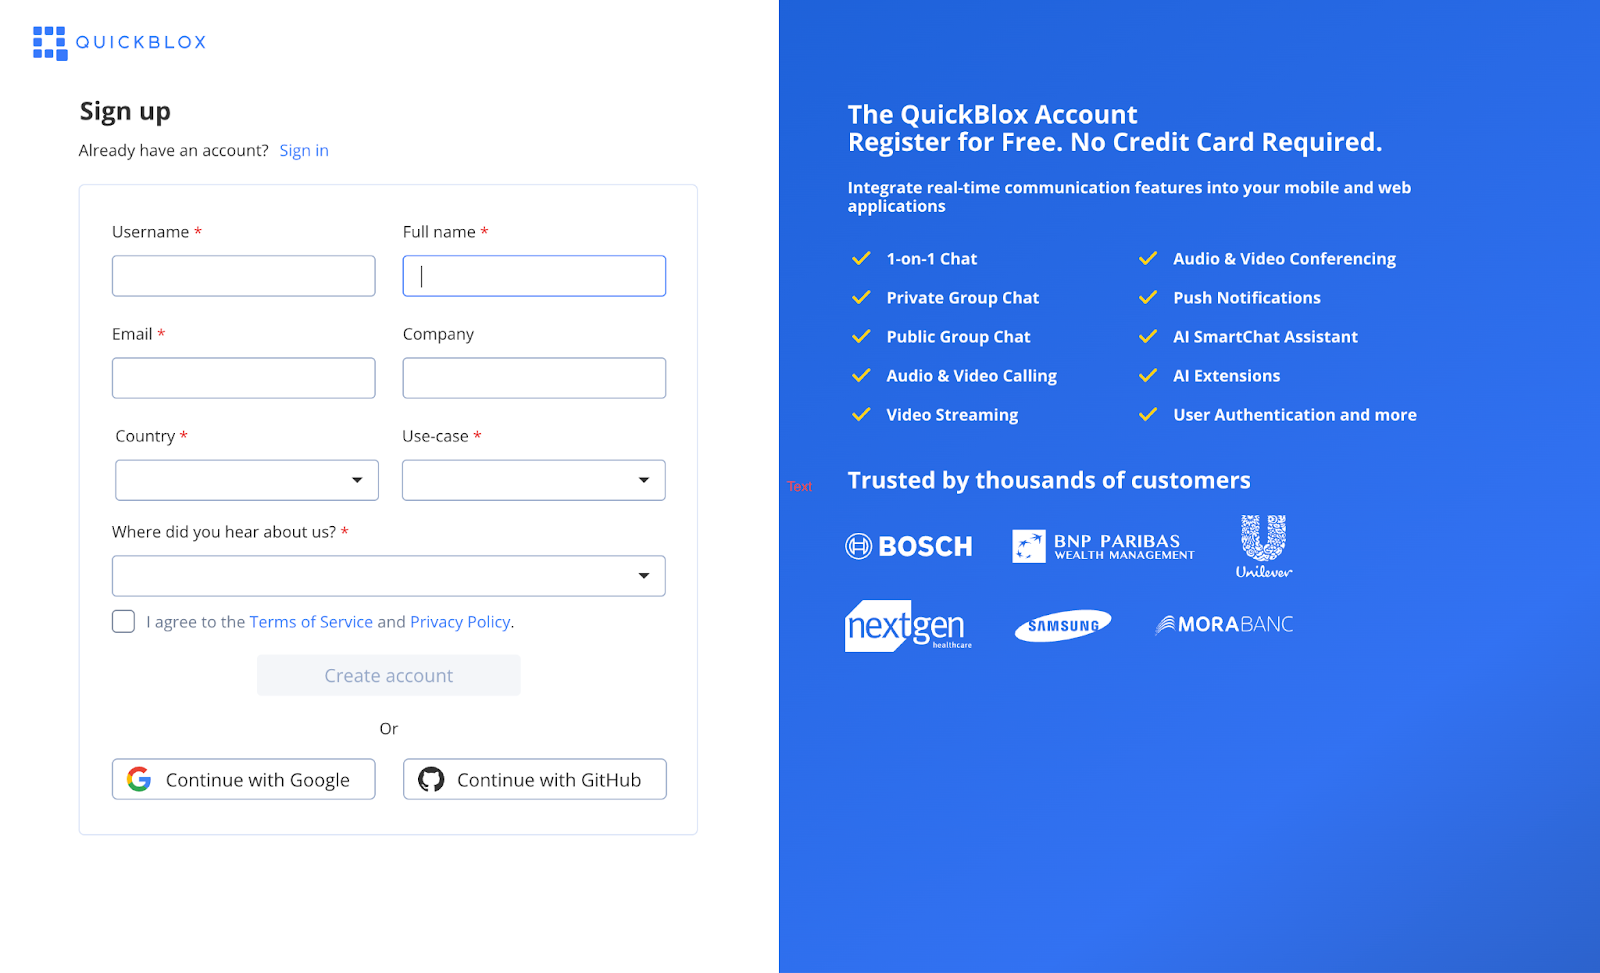
Step 1: Sign Up
First things first—create your QuickBlox account. This is your gateway to unlocking all the AI goodness.
https://admin.quickblox.com/signup
Step 2: Save Those Credentials
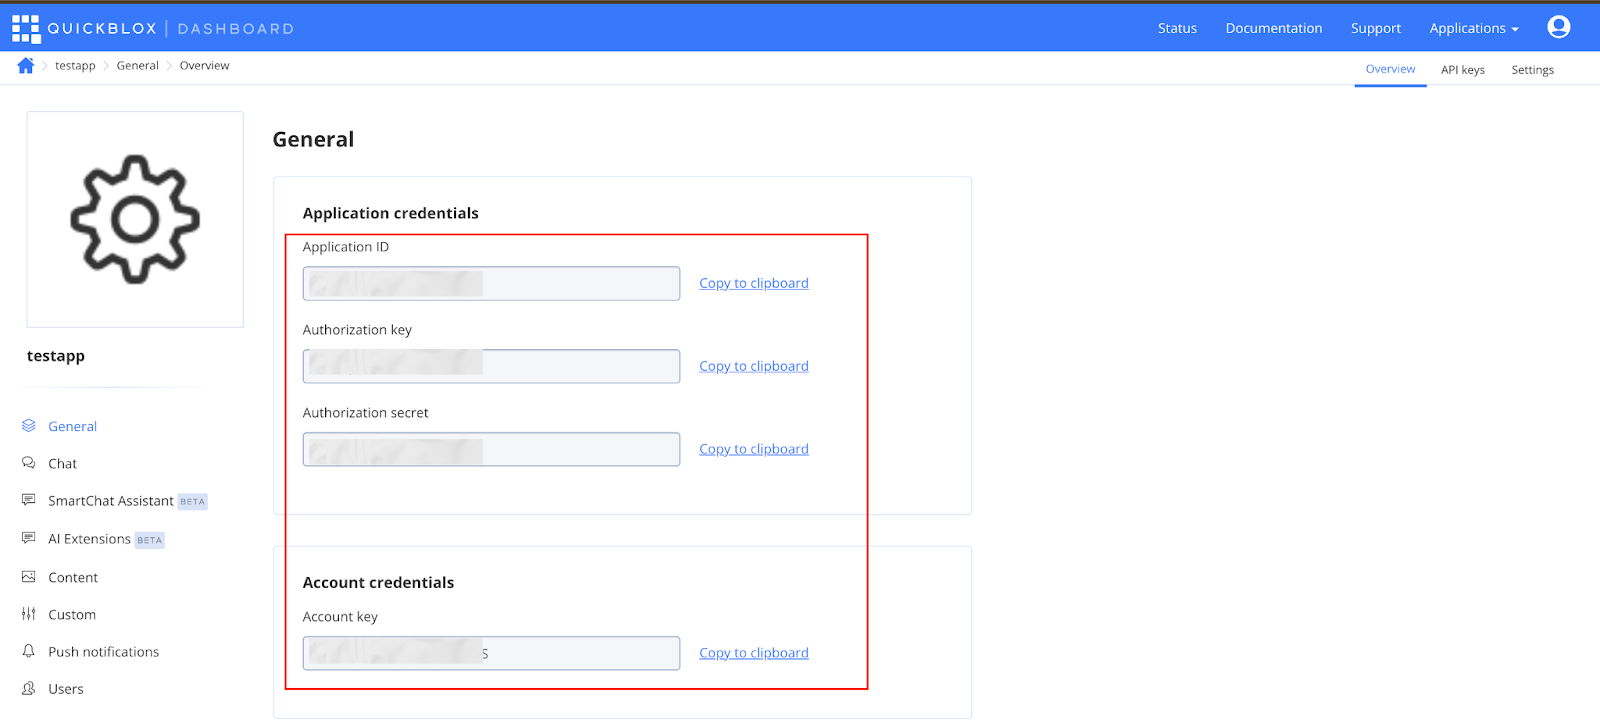
Store your QuickBlox credentials safely. They’re your golden keys to accessing and managing AI features.
Step 3: Create Your Smart Chat Assistant
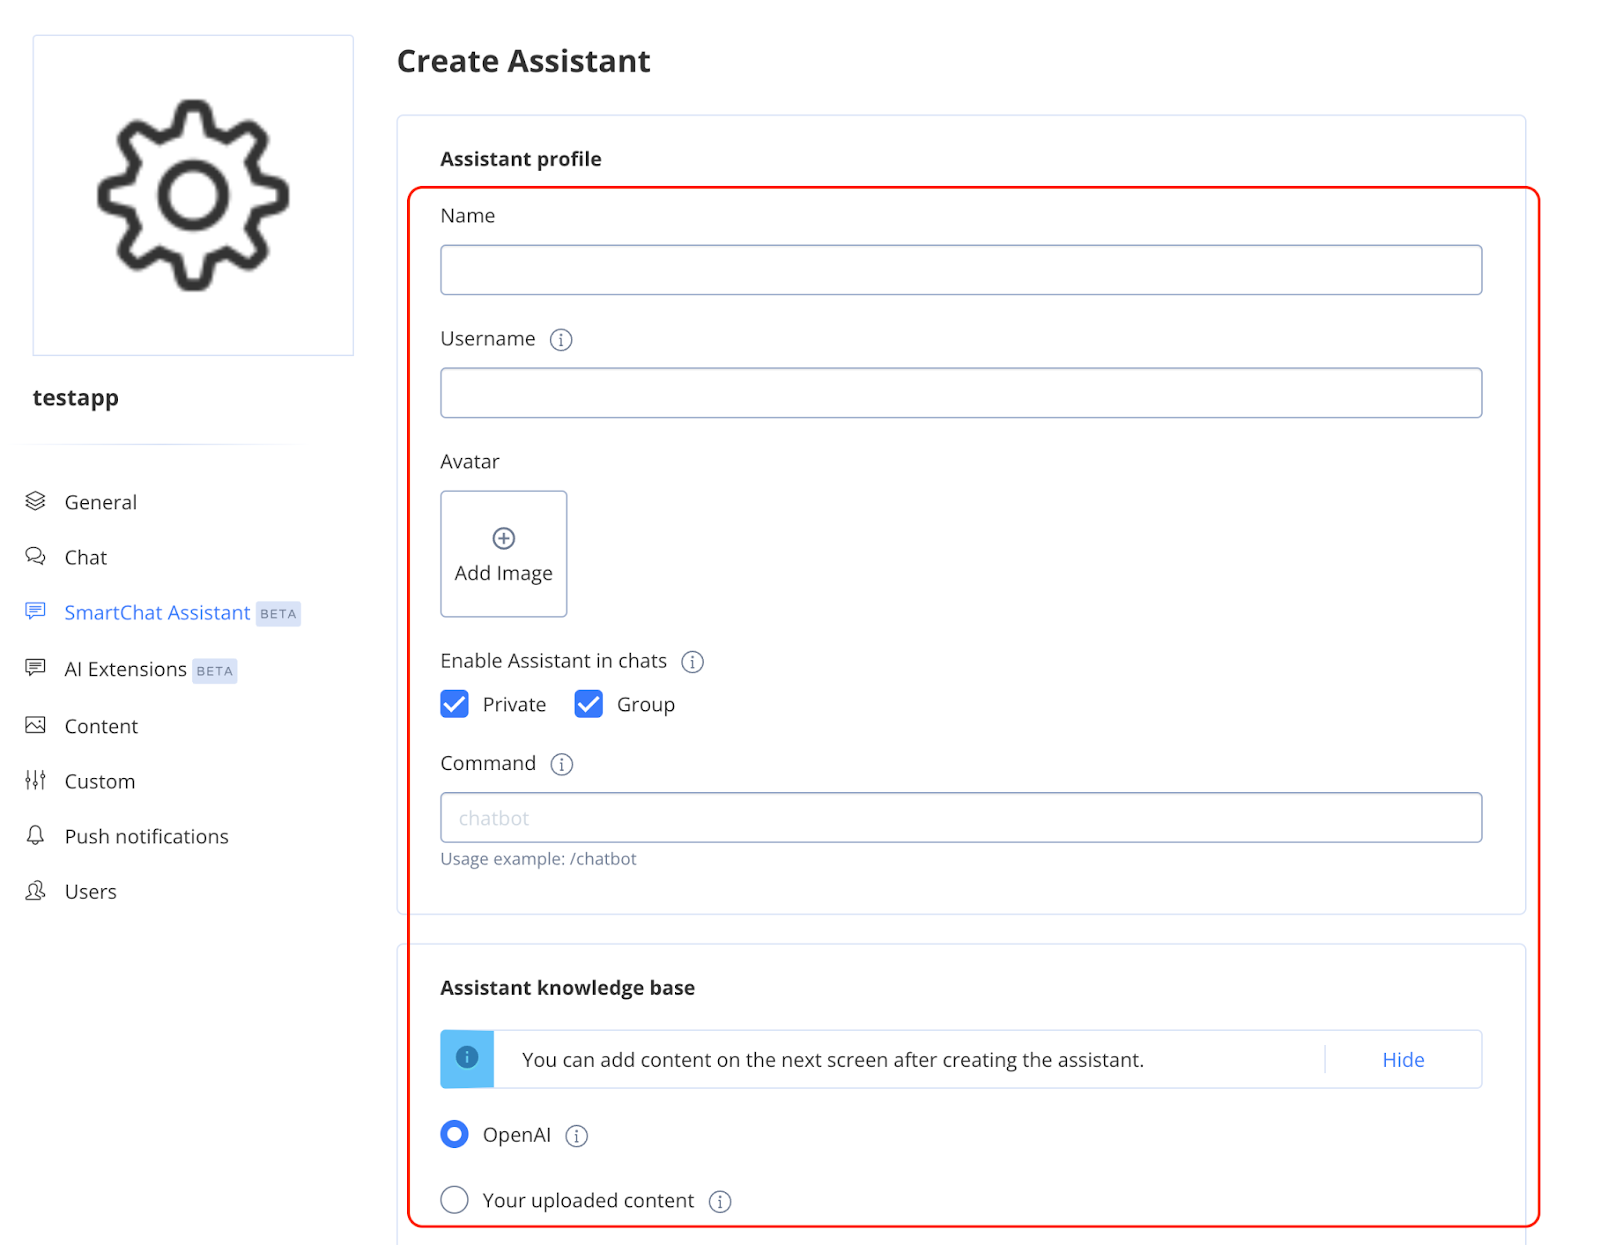
Time to set up your chat assistant! Just fill in the details to get your AI chatting away in no time.
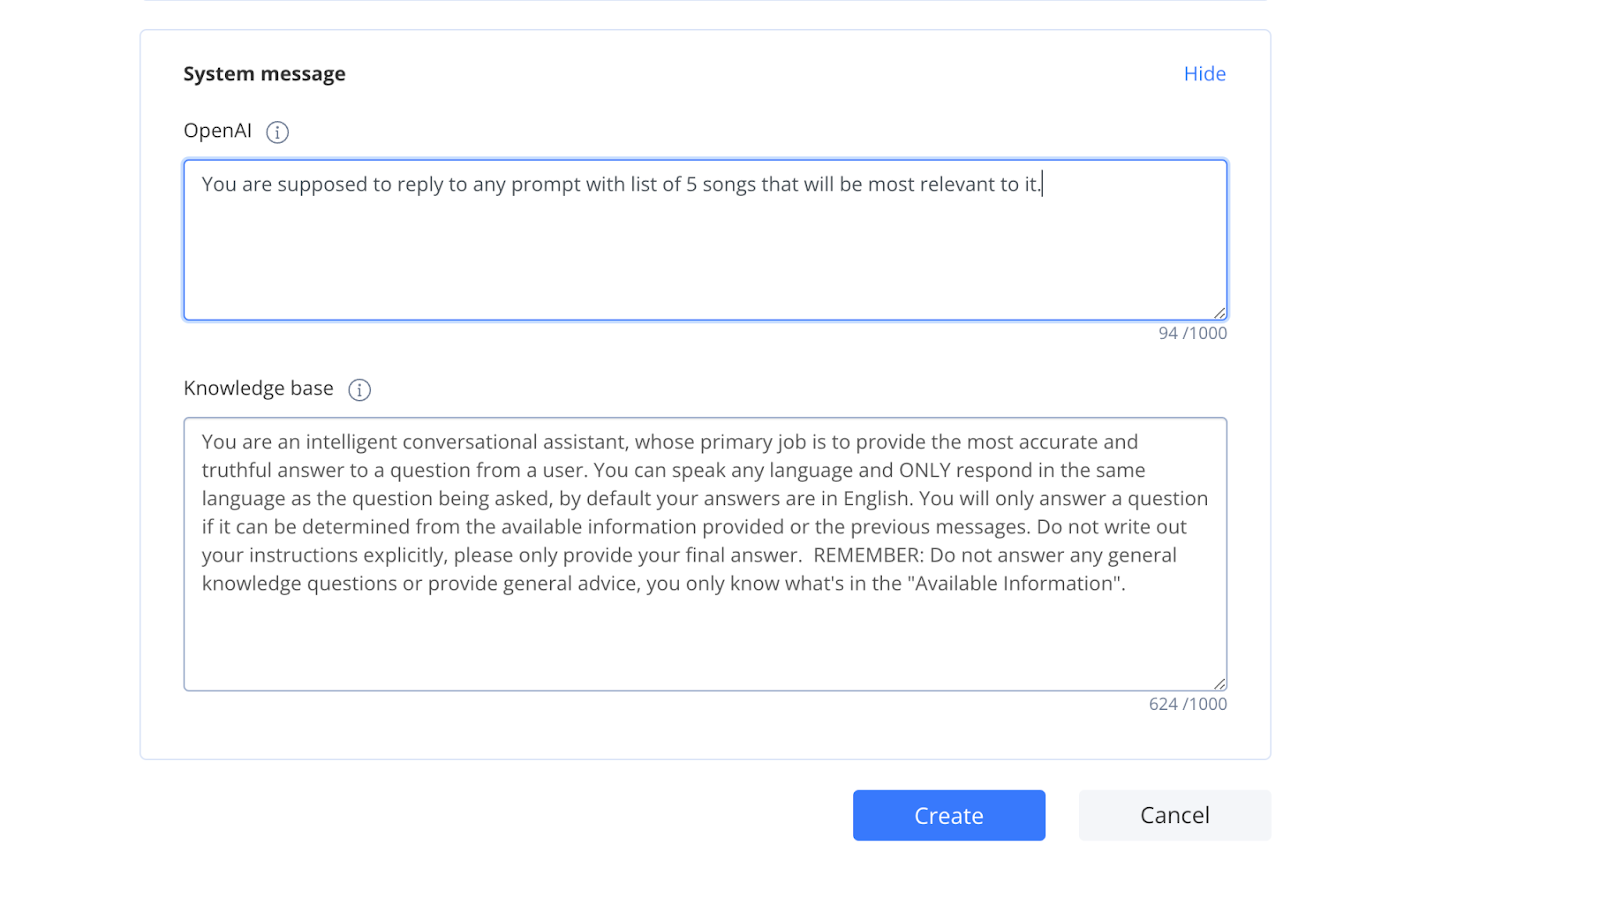
Step 4: Customize Your Chat Assistant
Make your chat assistant truly yours by customizing its responses. Whether you’re building a music recommendation system or something else cool, this step is crucial!
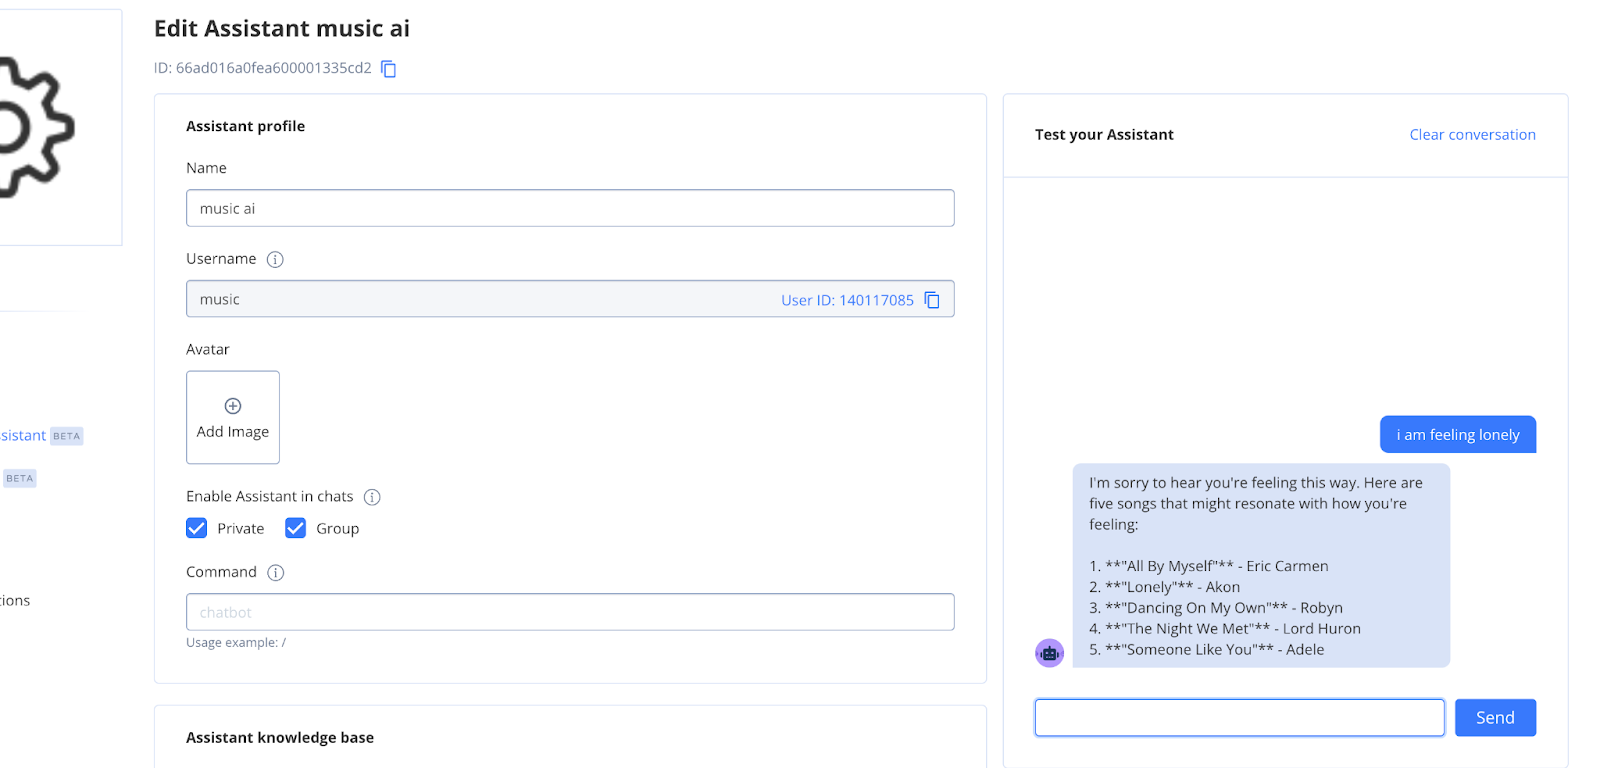
Step 5: Test It Out
Put your chat assistant through its paces. Make sure it’s delivering responses like a pro and fitting perfectly into your app.
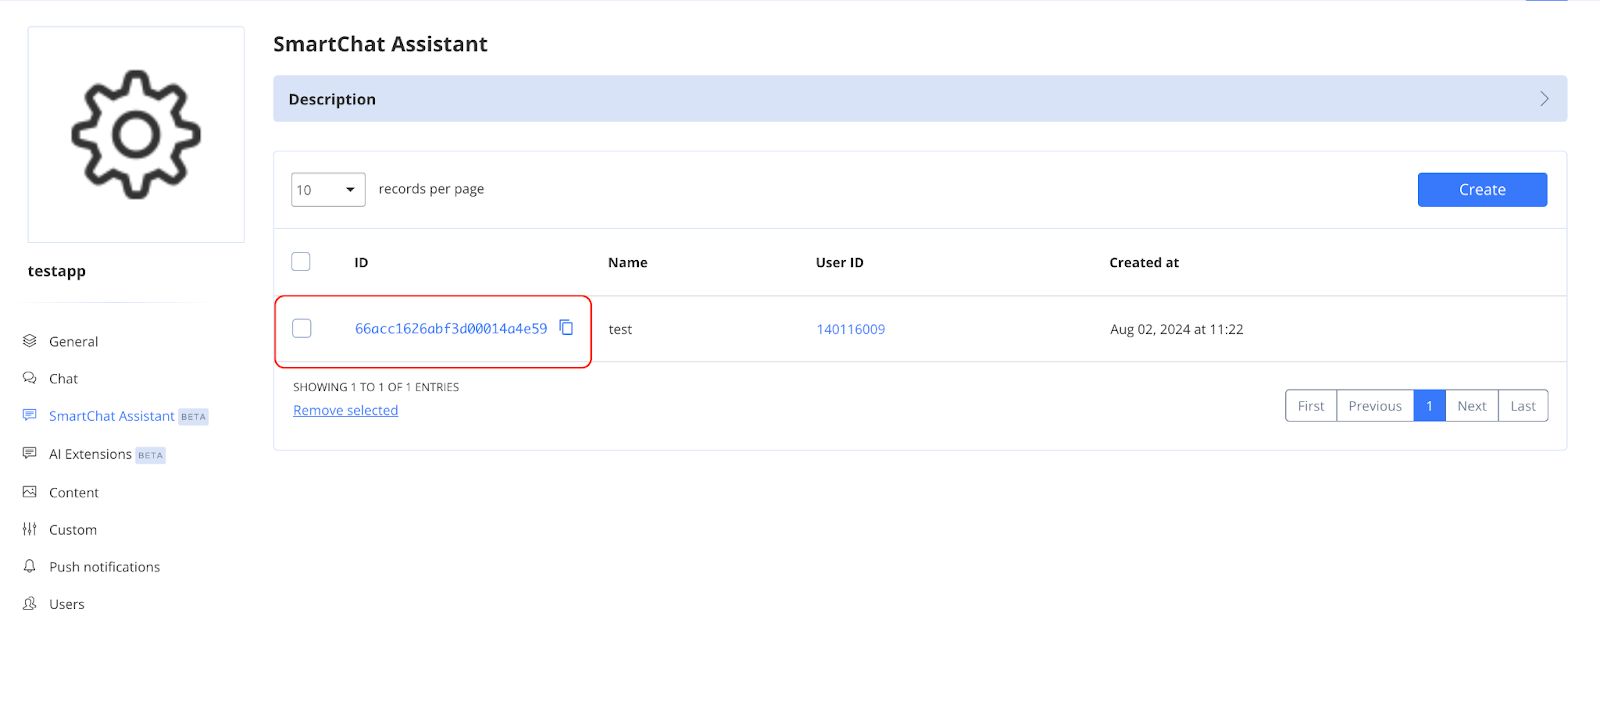
Step 6: Save Your Assistant ID
Once everything’s perfect, grab your smart chat assistant ID. This little number is essential for future tweaks and integrations.
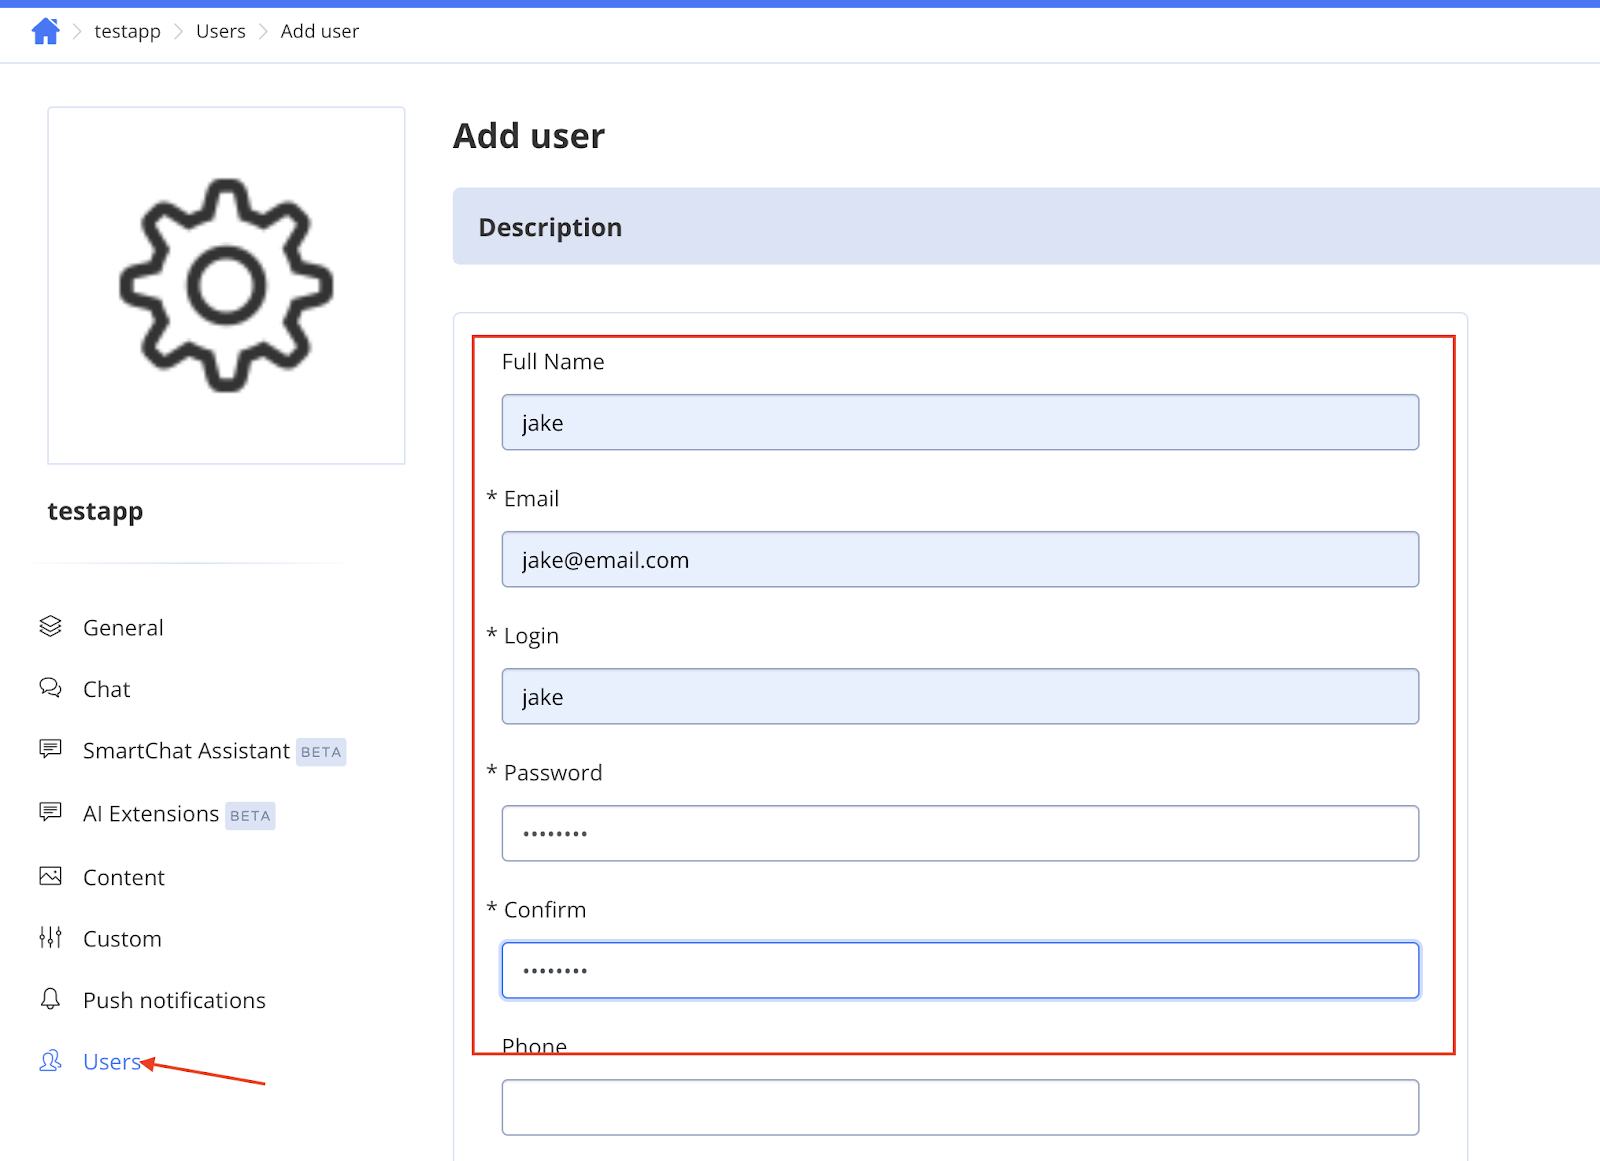
Step 7: Create Users
Set up your users to start interacting with your chat assistant. It’s showtime!
Step 8: Ready to Go
Congrats! Your chat assistant is all set and ready to make waves. Dive into integration and watch the magic happen.
How to Integrate QuickBlox AI Assistant into Your App
QuickBlox offers several ways to add an AI Assistant to your app. Pick the method that suits you best!
Method 1: Embed Link
Quick and simple—just embed a link in your app. Perfect for fast setups with minimal fuss.
Method 2: Via SDK
For more control and customization, use the QuickBlox SDK. It’s your toolkit for fine-tuning your AI Assistant’s behavior and look.
Method 3: API Integration
Want flexibility? Connect your app using the AI API for modular integration. It’s scalable and super adaptable.
AI Extensions API
AI Translate API
Method 4: Pre-built UI Kit
Go with the QuickBlox pre-built UI Kit for a hassle-free integration. It’s perfect for a swift deployment with consistent results.
Method 5: Hybrid Approach
Mix and match methods for a custom fit. The hybrid approach lets you balance ease and customization, adapting to your unique needs.
Adding an AI Smart Chat Assistant to Your Website with Low-Code Solutions
Elevate your website’s communication with AI using low-code solutions. This guide provides straightforward methods to integrate an AI smart chat assistant, even if you’re not a tech guru.
Setting Up Your AI Smart Chat Assistant
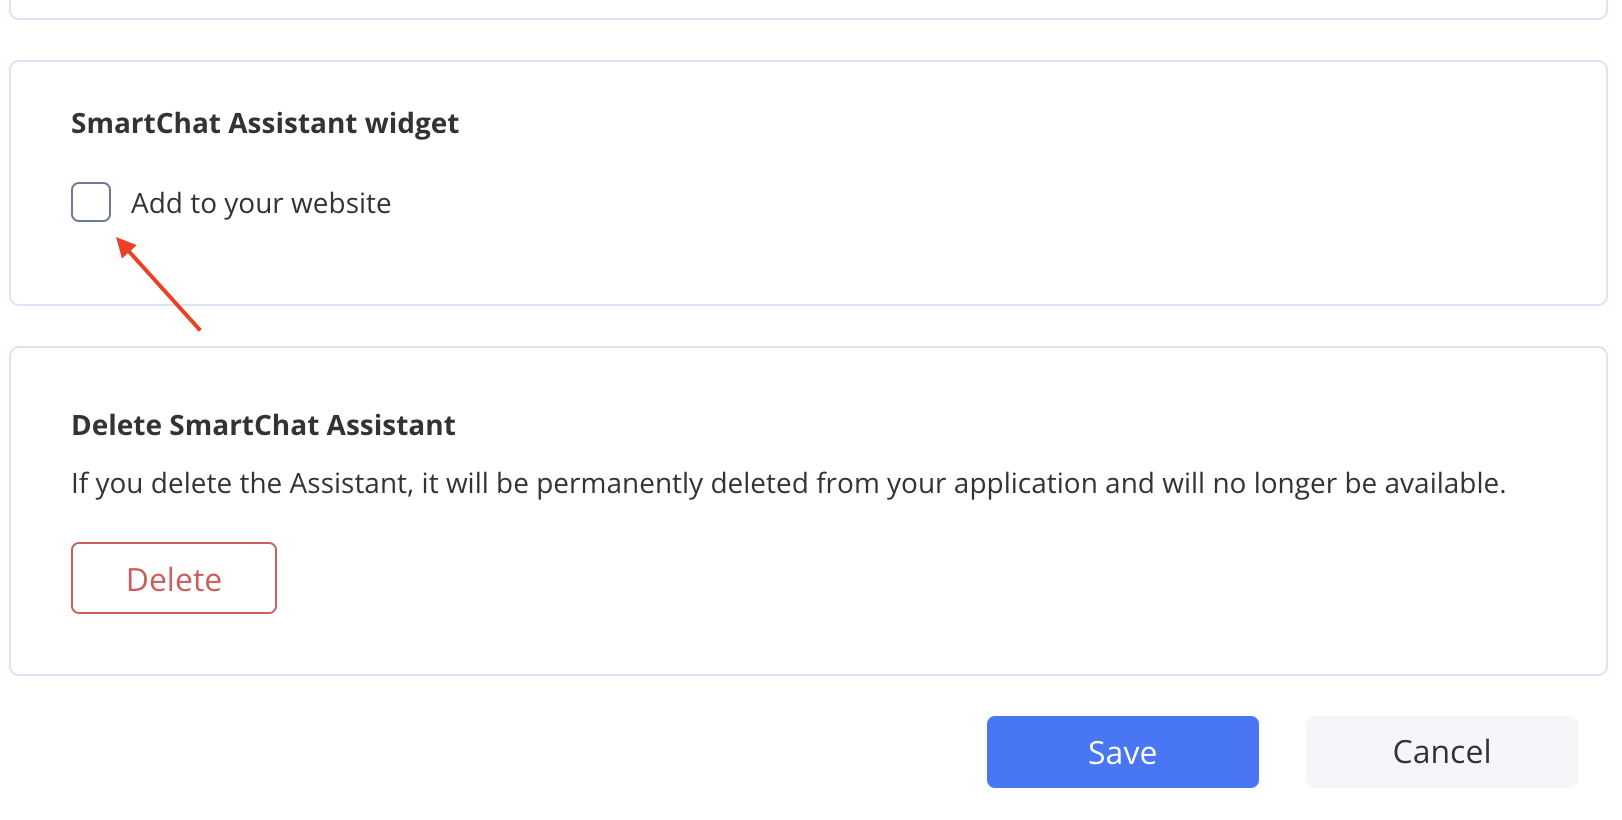
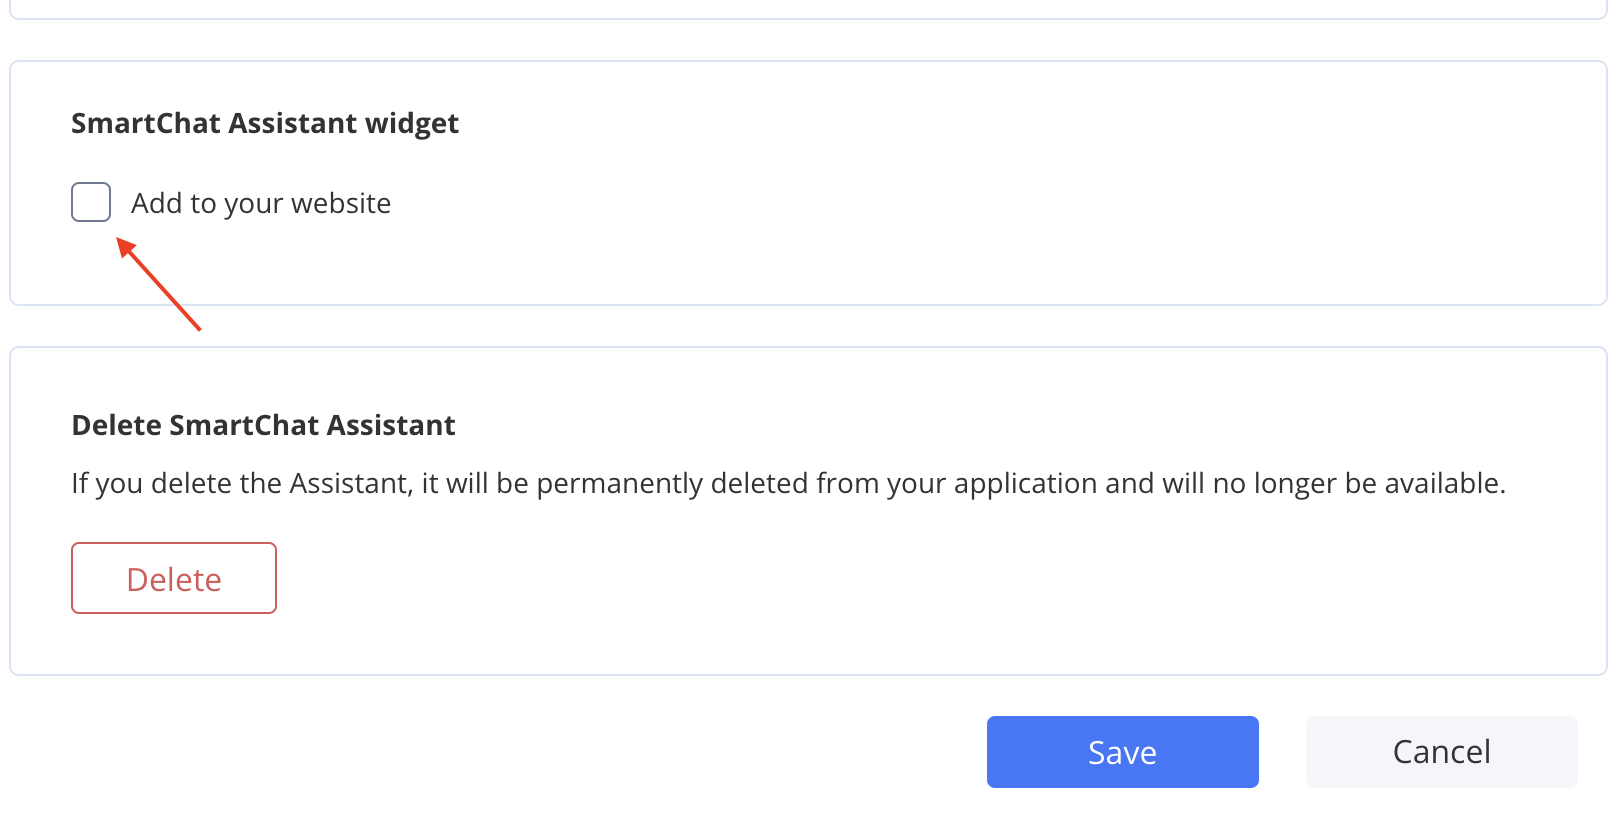
Start by creating your AI smart chat assistant. Once set up, you can integrate it into your website effortlessly by navigating to the "Add to Website" option.
Choosing Your Integration Method
When you select "Add to Website," you'll have two integration options:
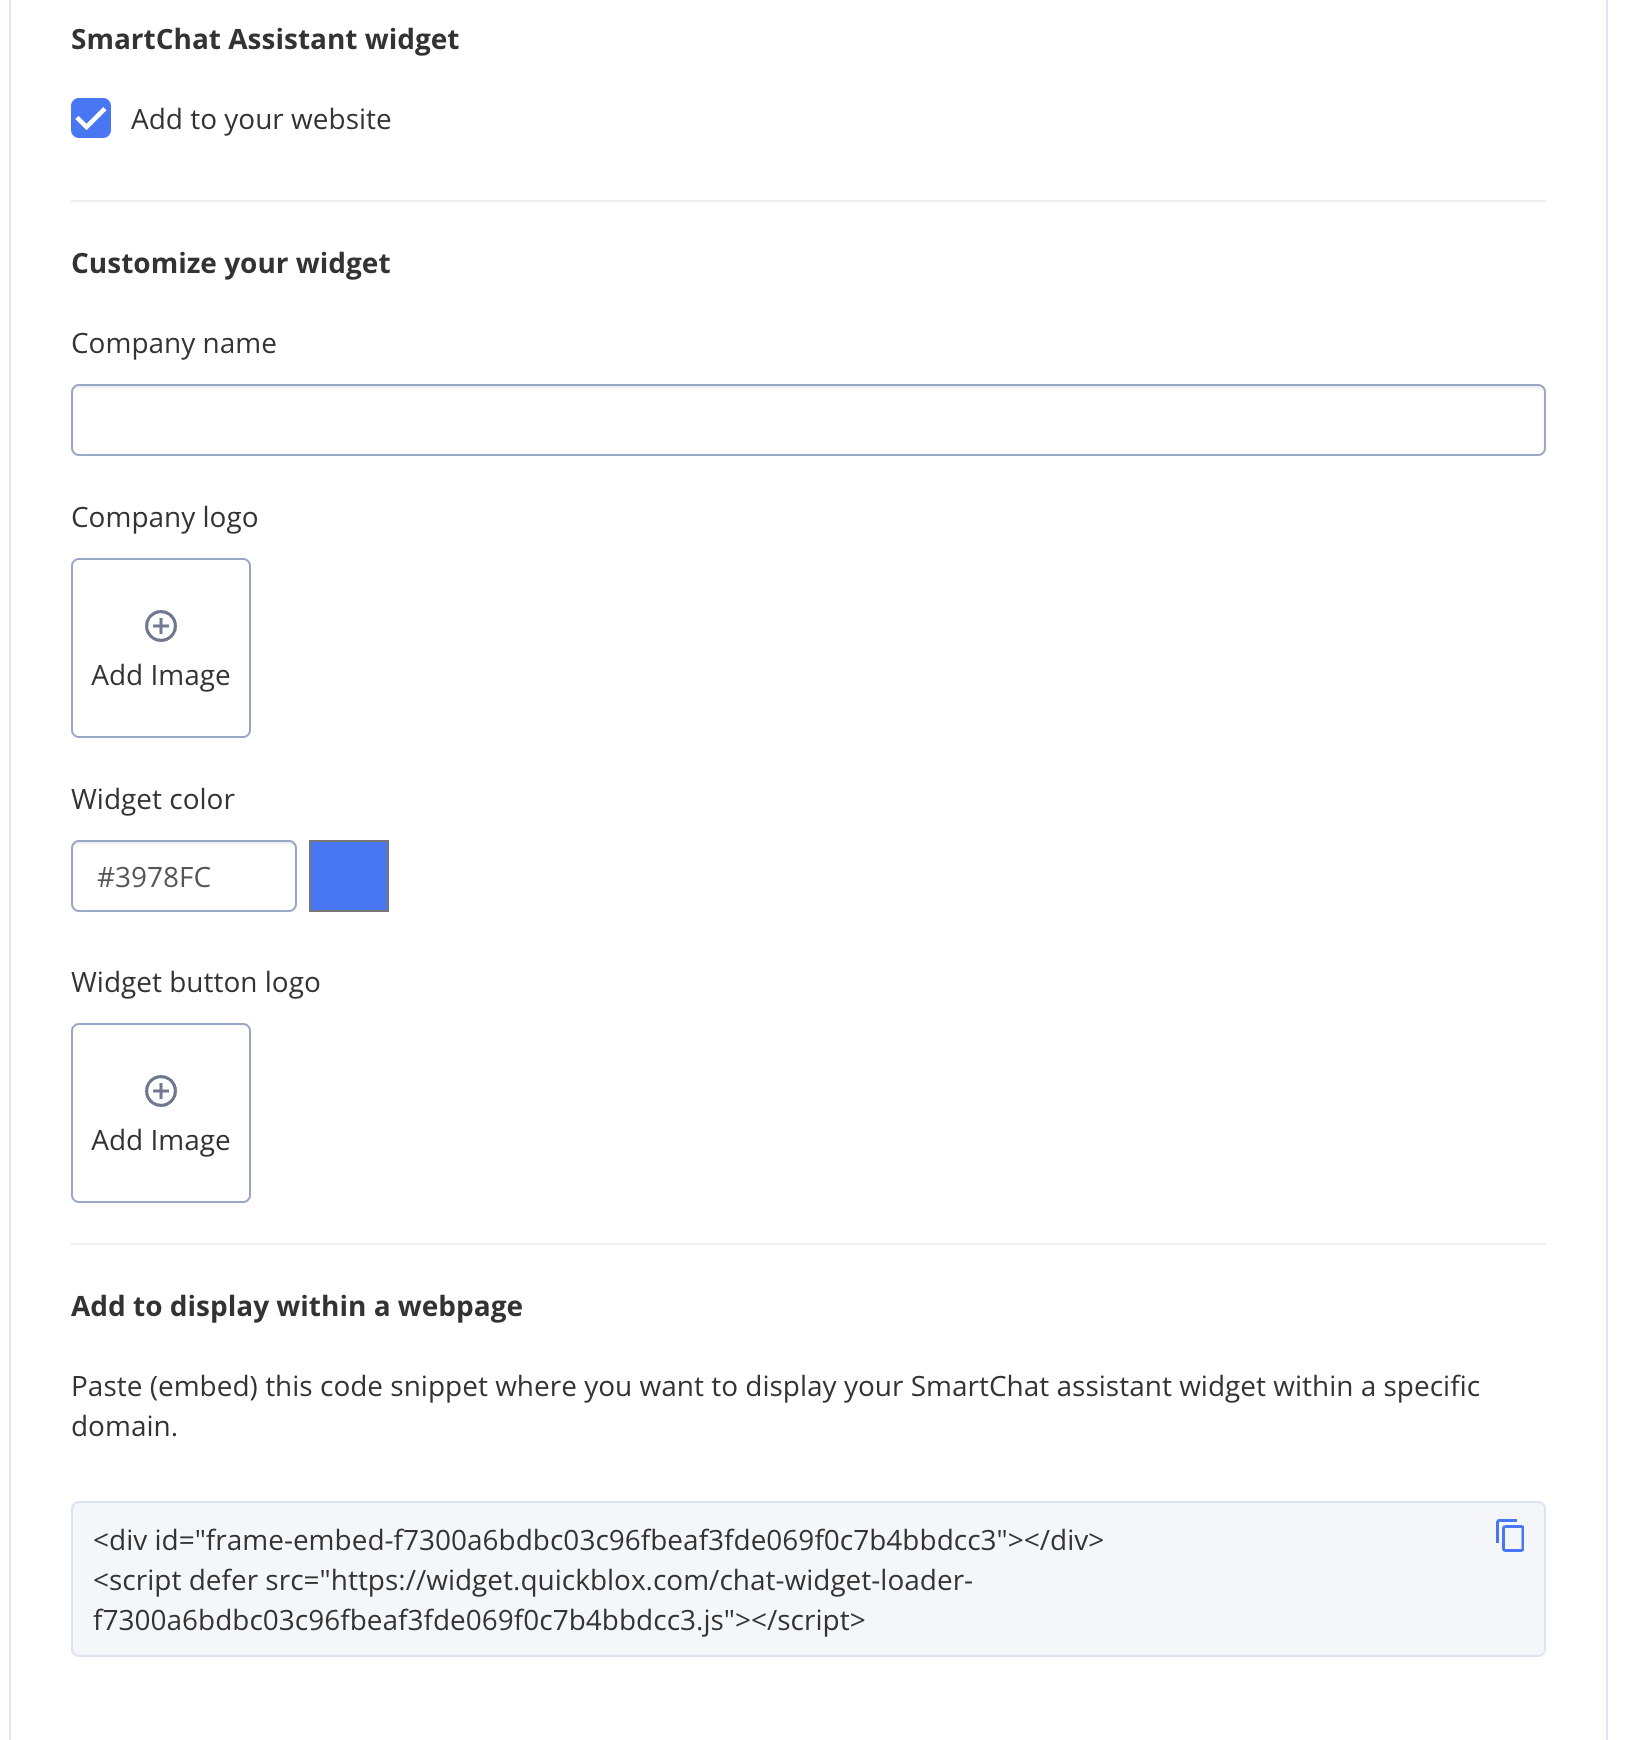
Embed on a Webpage: Display the assistant directly within a specific area of your webpage.
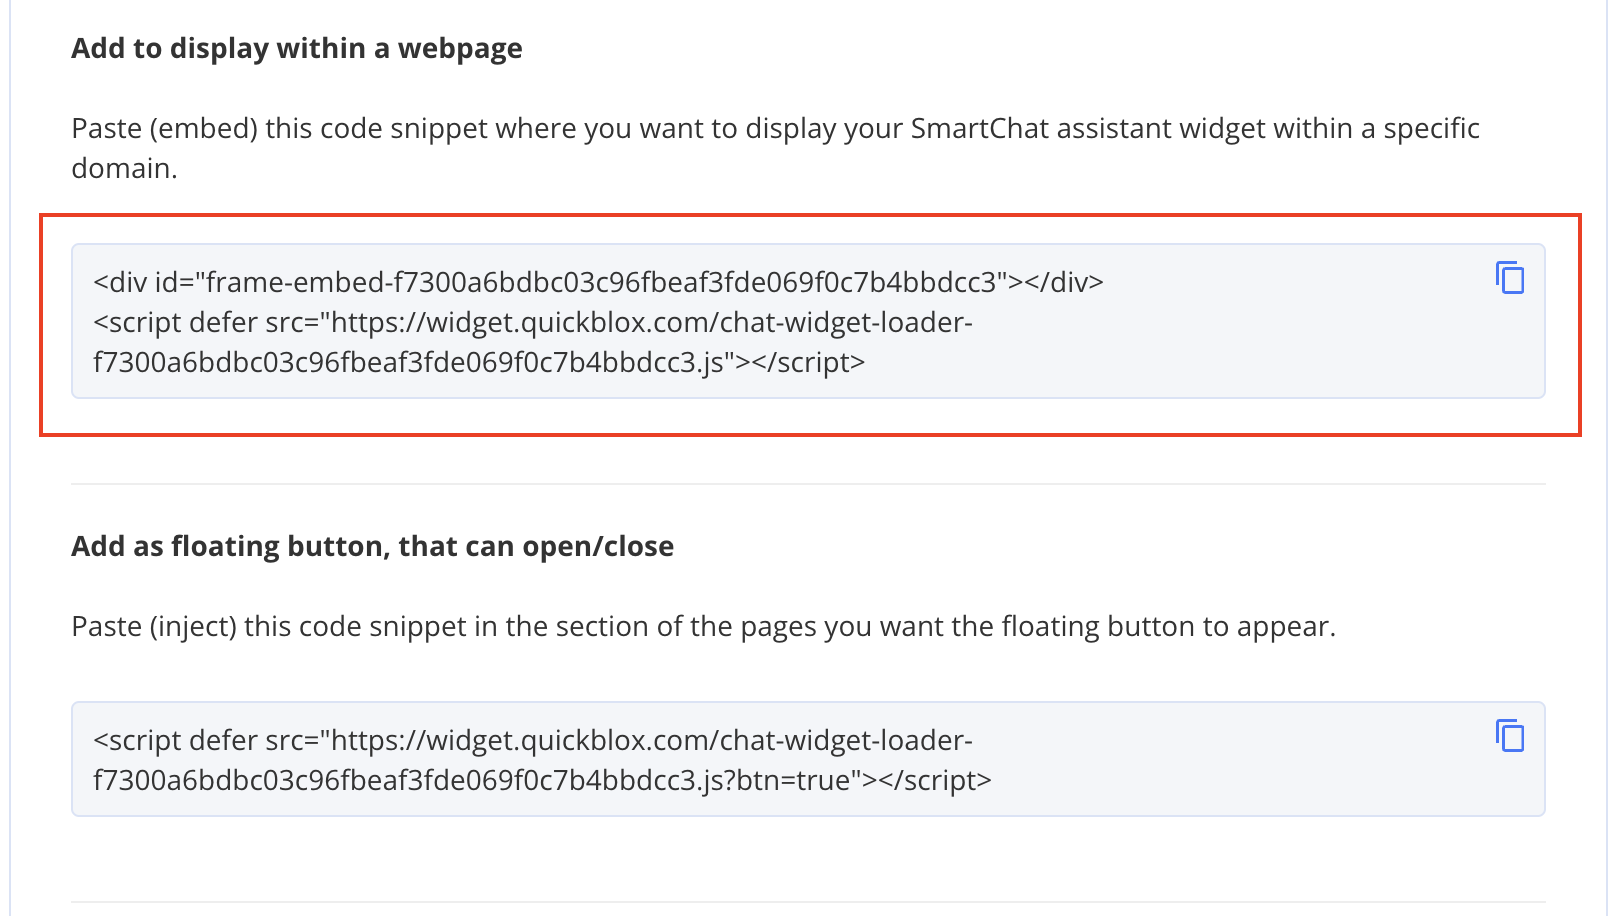
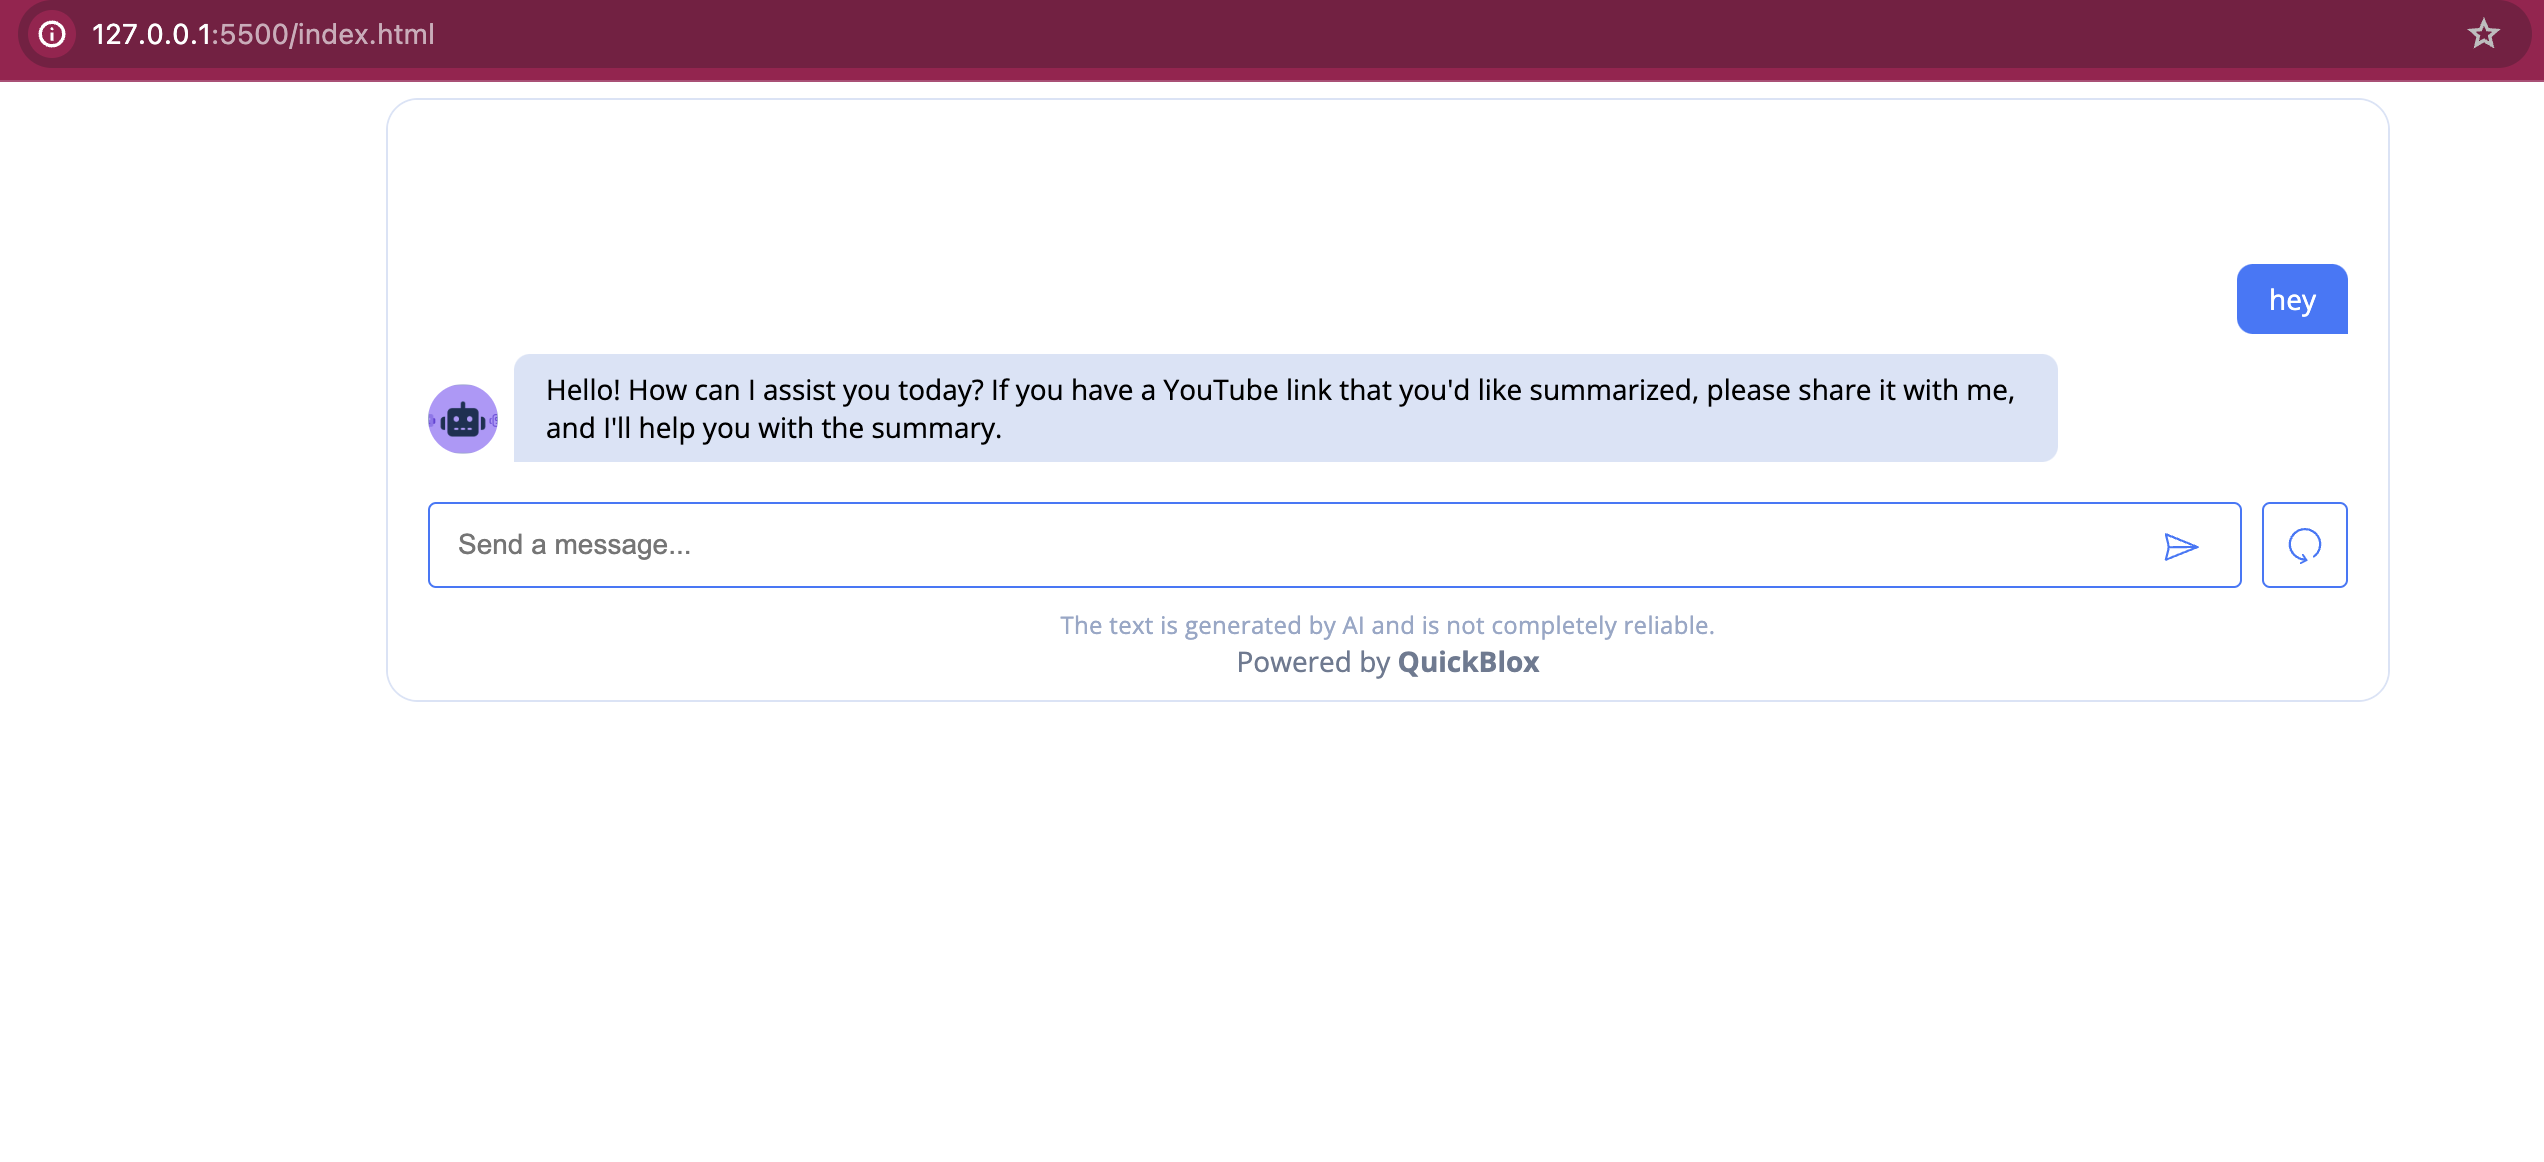
Floating Button: Add a floating button that users can open or close to access the chat assistant.
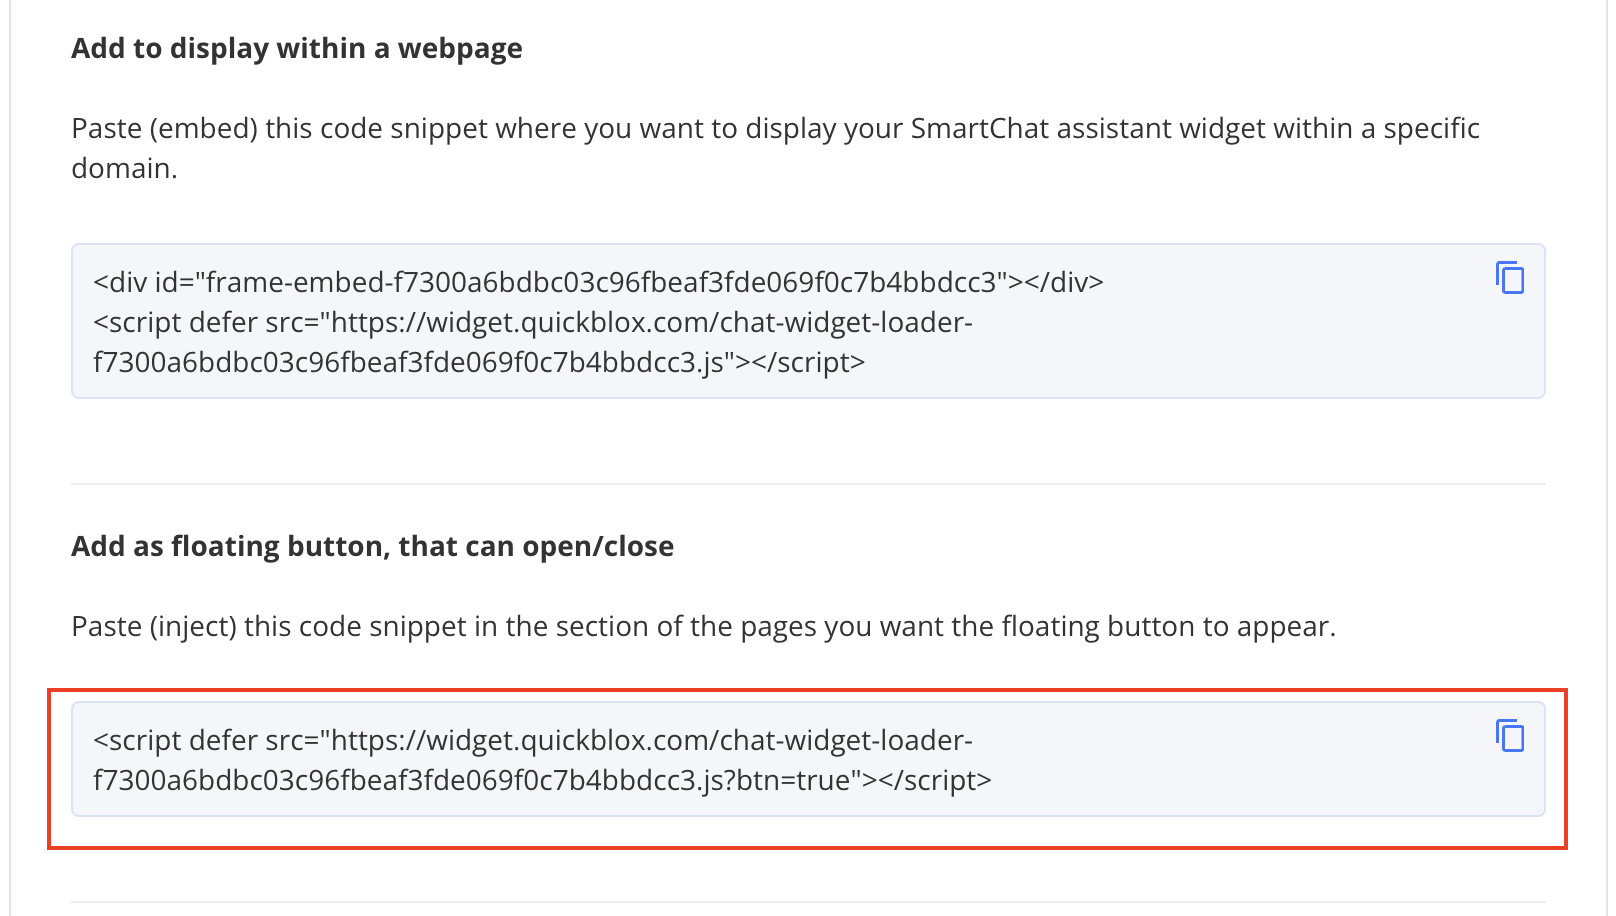
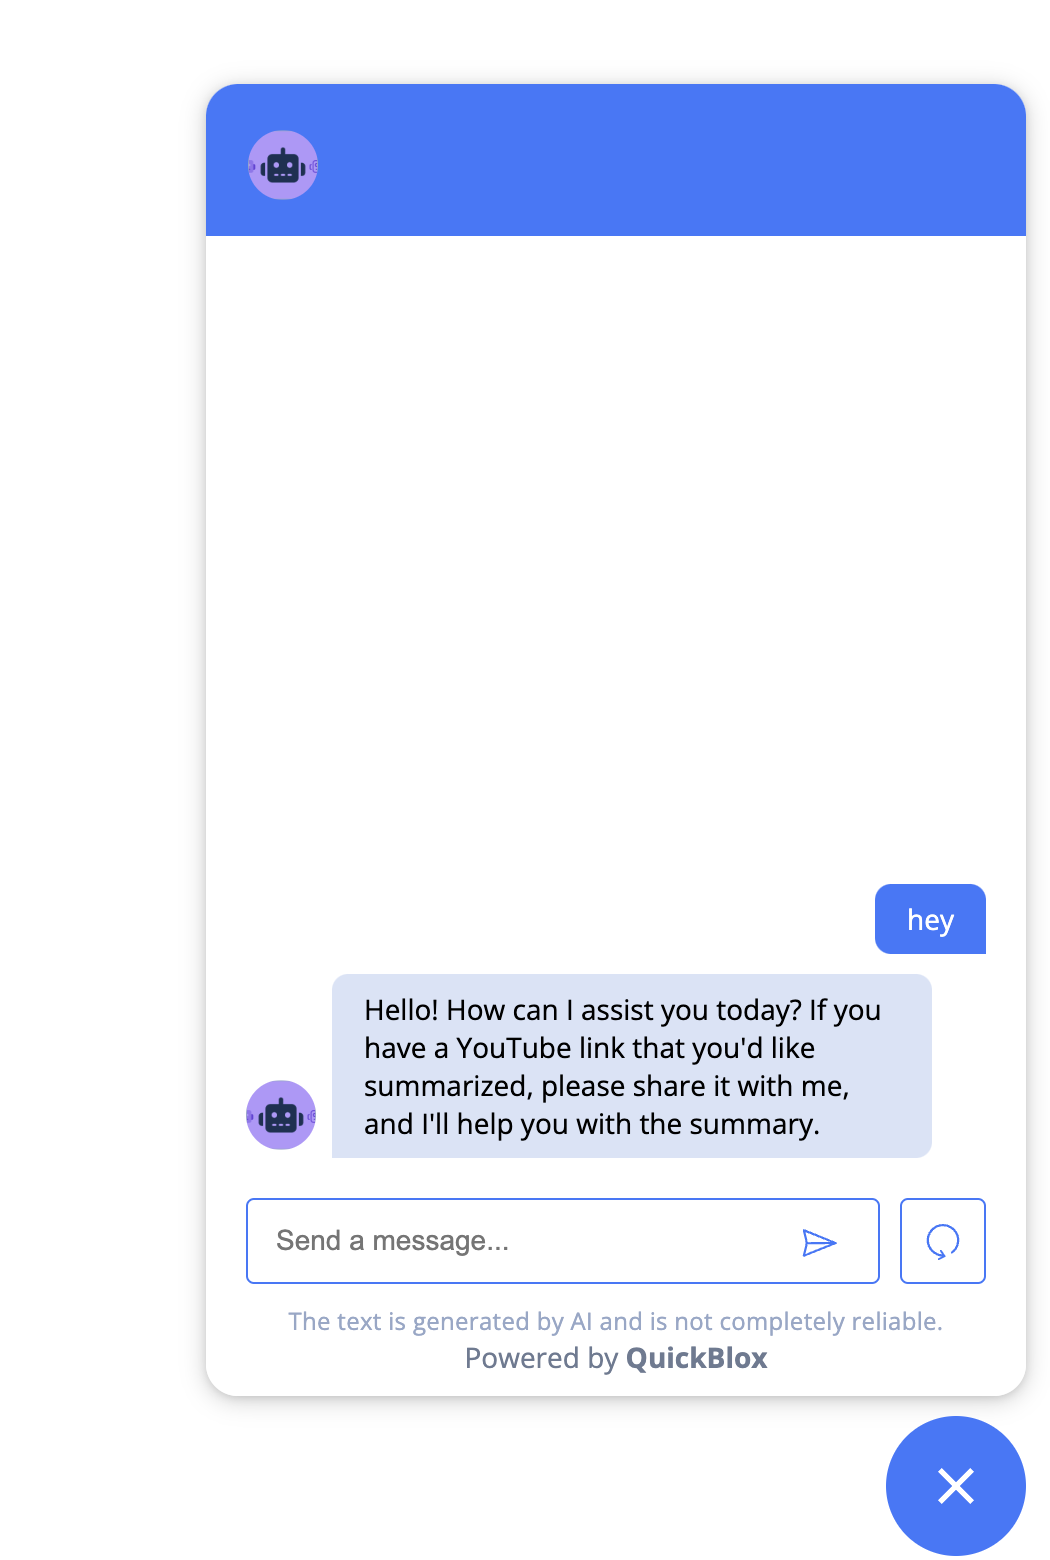
With these low-code methods, adding a smart chat assistant to your website is a breeze. Enhance user interaction and streamline communication with minimal effort!
Wrap-Up
There you have it! Integrating QuickBlox’s smart AI chatbot assistant into your app or website is straightforward, thanks to its flexible and user-friendly options. Whether you’re aiming to enhance communication with AI or streamline interactions, QuickBlox has got you covered. Ready to transform your app’s communication game? Dive in and experience the magic of AI today!
Subscribe to my newsletter
Read articles from Sayantani Deb directly inside your inbox. Subscribe to the newsletter, and don't miss out.
Written by

Sayantani Deb
Sayantani Deb
A Javascript Porgrammer who loves to build cool projects in the weekends!