Deploying Kubernetes Pods with NodePort, ClusterIP, and LoadBalancer Services
 Dinesh Kumar K
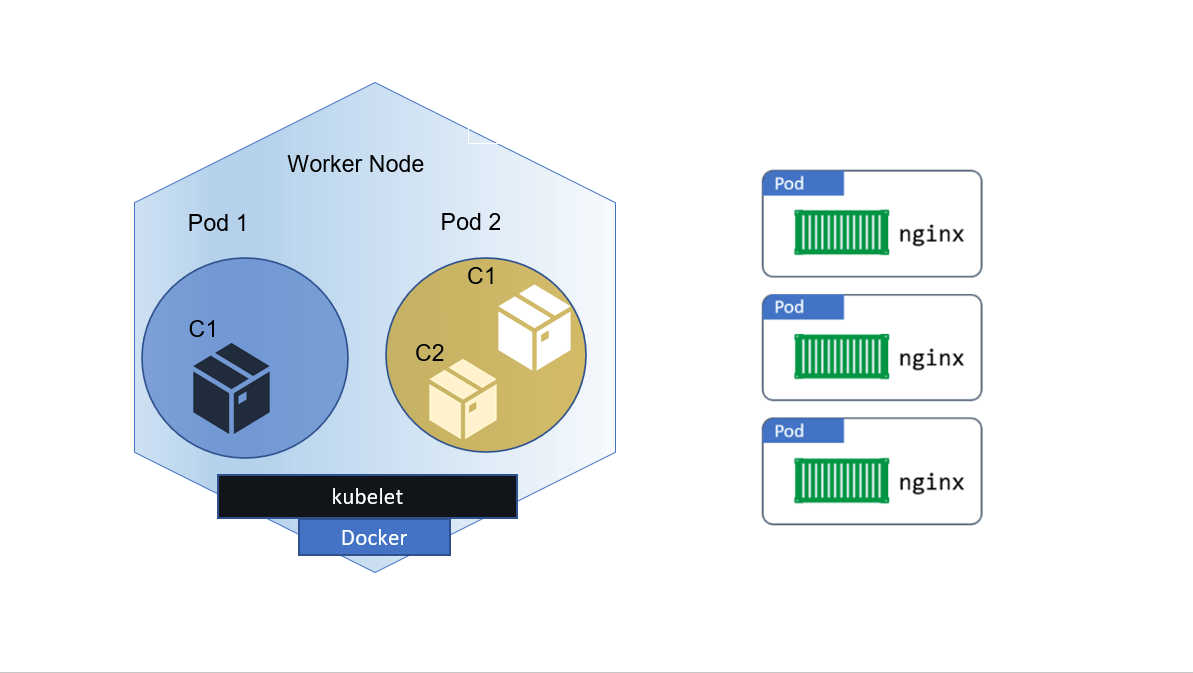
In this guide, we'll walk through how to expose a Kubernetes pod to the outside world using three different types of services: NodePort, ClusterIP, and LoadBalancer. By the end of this tutorial, you will understand how each service type functions and how to test them.
Expose a Pod Using NodePort
NodePort allows you to expose a service on a static port on each node’s IP address.
Step 1: Check the Existing Services
Before creating a new service, let's check which services are currently running in the cluster:
kubectl get services

Step 2: Create a NodePort Service
Create a YAML configuration file for the NodePort service. Save this as nodeport.yaml:
apiVersion: v1
kind: Service
metadata:
  name: my-nodeport
spec:
  type: NodePort
  selector:
    app: dev
  ports:
    - port: 80
      targetPort: 80
      nodePort: 32001
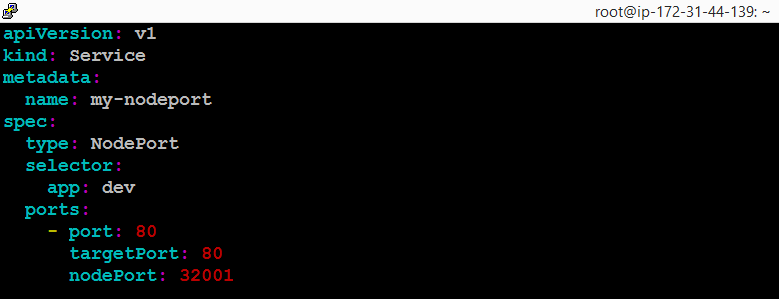
Apply the configuration:
kubectl apply -f nodeport.yaml

Verify that the service has been created:
kubectl get services

Step 3: Create a Pod
Create a YAML configuration file for the pod. Save this as pod.yaml:
apiVersion: v1
kind: Pod
metadata:
  name: my-pod1
  labels:
    app: dev
spec:
  containers:
  - name: cont1
    image: httpd
    ports:
    - containerPort: 80
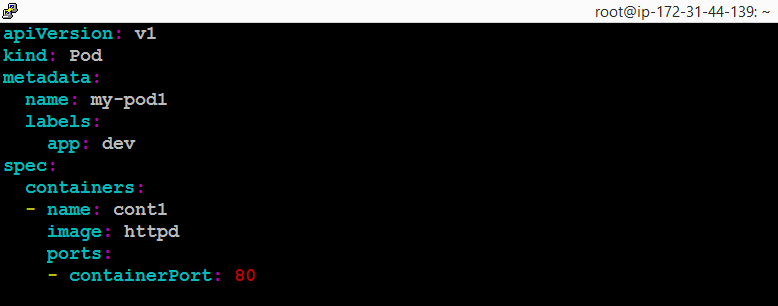
Apply the configuration:
kubectl apply -f pod.yaml

Find the Worker Node IP Address
Identify which worker node the pod is running on:
kubectl get pod -o wide

Access the service via the worker node IP address and NodePort in your browser:
http://<worker-node-ip>:32001

Ensure that the port 32001 is open in the security group associated with your worker nodes.

If you have multiple worker nodes, you should be able to access the pod via any worker node’s IP and the same port number.
Create ClusterIP for Pod-to-Pod Communication
ClusterIP exposes the service on a cluster-internal IP. It’s the default service type and is only accessible within the cluster.
Step 1 : Create a ClusterIP Service
Create a YAML configuration file for the ClusterIP service. Save this as cluster-ip.yaml
apiVersion: v1
kind: Service
metadata:
  name: my-clusterip
spec:
  type: ClusterIP
  ports:
    - port: 80
  selector:
    app: nginx
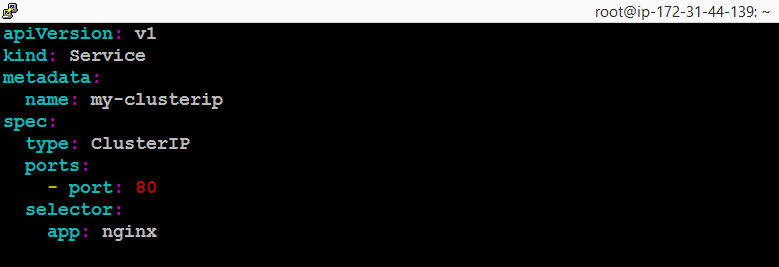
Apply the configuration:
kubectl apply -f cluster-ip.yaml
Verify the service:
kubectl get services

Create a New Pod for Communication
Create a new pod with the nginx image. Save this as pod2.yaml:
apiVersion: v1
kind: Pod
metadata:
  name: my-pod2
  labels:
    app: nginx
spec:
  containers:
  - name: cont1
    image: nginx
    ports:
    - containerPort: 80
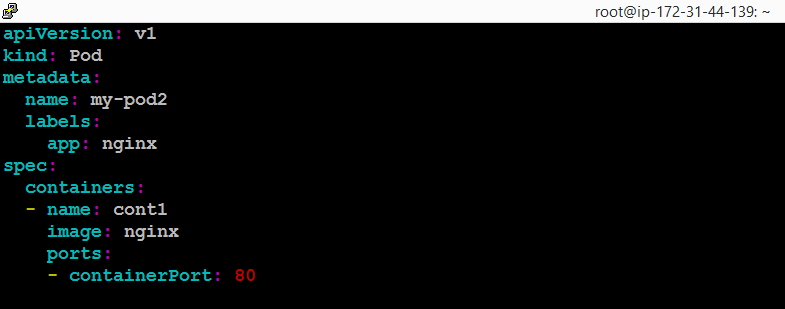
Apply the configuration:
kubectl apply -f pod2.yaml

Test Pod-to-Pod Communication
Access the first pod:
kubectl exec -it my-pod1 -- /bin/bash

Use curl to test communication:
Check the pod2 ip address
kubectl get pods -o wide

curl http://<pod2-ip>:80
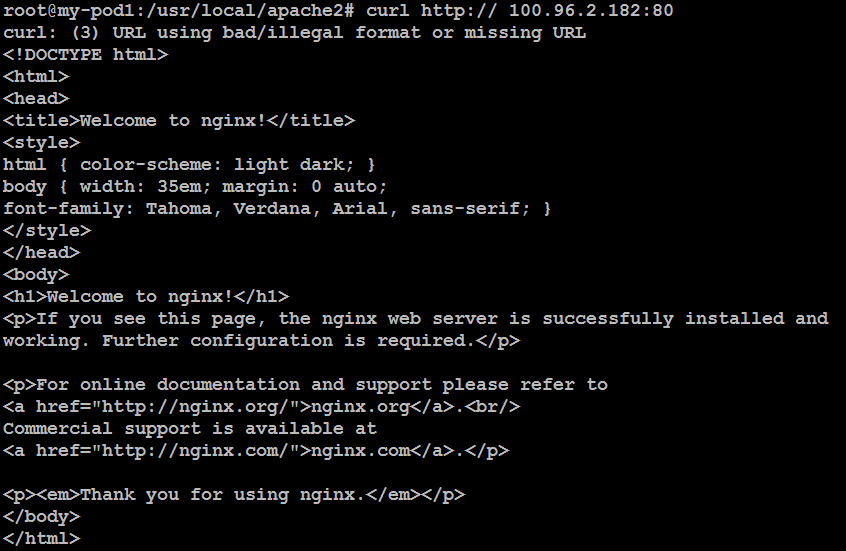
Also, test accessing the ClusterIP service:
curl http://<cluster-ip>:80
You should see the output from nginx, confirming that both direct pod-to-pod communication and service-based communication are working.

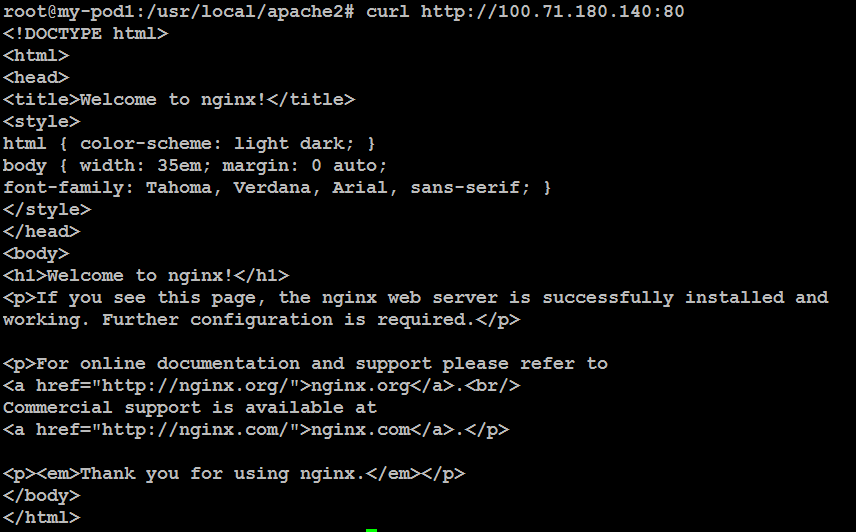
Step 3: Create a LoadBalancer Service
LoadBalancer provisions a load balancer for your service, making it accessible from outside the cluster. This is particularly useful in cloud environments.
Create a LoadBalancer Service and Deployment
Create a YAML configuration file for the LoadBalancer service and a corresponding deployment. Save this as loadbalancer.yaml:
apiVersion: v1
kind: Service
metadata:
  name: my-loadbalancer
spec:
  type: LoadBalancer
  selector:
    app: hello
  ports:
    - name: http
      protocol: TCP
      port: 80
---
apiVersion: apps/v1
kind: Deployment
metadata:
  name: my-deployment
spec:
  replicas: 3
  selector:
    matchLabels:
      app: hello
  template:
    metadata:
      labels:
        app: hello
    spec:
      containers:
        - name: cont-1
          image: httpd
          ports:
          - containerPort: 80
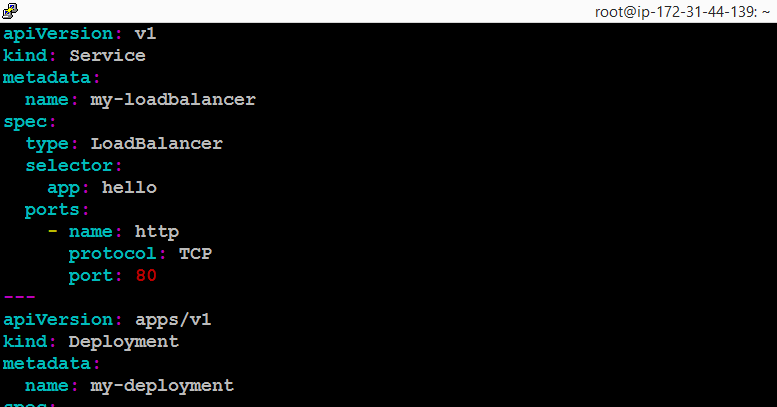
Apply the configuration:
kubectl apply -f loadbalancer.yaml

Verify that the LoadBalancer service has been created and is provisioning:
kubectl get services

ad856d5d974ee4258b970fb02ff1b8f7-1585886479.us-east-2.elb.amazonaws.com
Check LoadBalancer on Cloud Console
If you are using a cloud provider like AWS, navigate to the Load Balancer section of your console. You should see a new Load Balancer created. Copy the DNS name of the Load Balancer.
Access the Application
Open a browser and navigate to the Load Balancer’s DNS name:
http://<loadbalancer-dns-name>
http://ad856d5d974ee4258b970fb02ff1b8f7-1585886479.us-east-2.elb.amazonaws.com
You should see the output from the httpd container.

Clean Up
Once you are done, you can delete the services and deployments:
kubectl delete services my-nodeport my-clusterip my-loadbalancer

kubectl delete deployment my-deployment

By following these steps, you’ve learned how to expose a Kubernetes pod using different service types and tested their functionality.
Subscribe to my newsletter
Read articles from Dinesh Kumar K directly inside your inbox. Subscribe to the newsletter, and don't miss out.
Written by

Dinesh Kumar K
Dinesh Kumar K
Hi there! I'm Dinesh, a passionate Cloud and DevOps enthusiast. I love to dive into the latest new technologies and sharing my journey through blog.