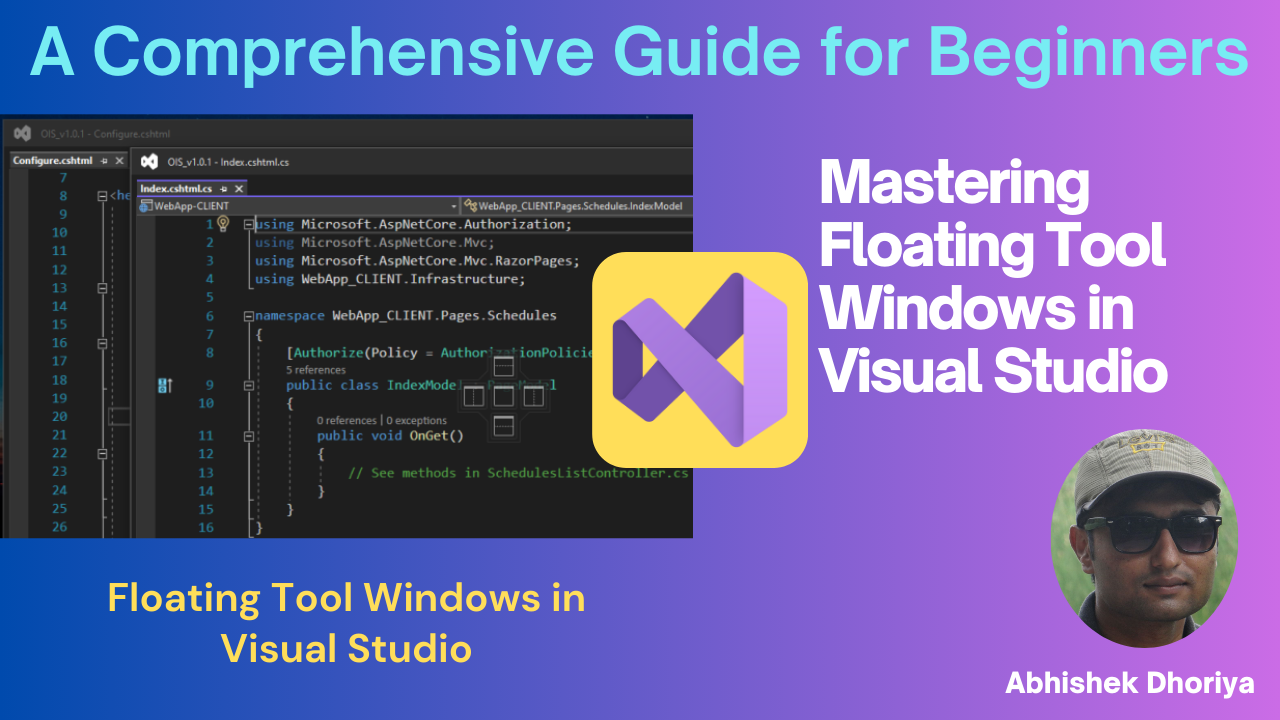
Mastering Floating Tool Windows in Visual Studio
 Abhishek Dhoriya
Mastering Floating Tool Windows in Visual Studio: An Ultimate Guide for Beginners
Summary
Diving into Visual Studio can be overwhelming for beginners, especially when navigating through its numerous windows. Fear not! This ultimate guide will explain the concept of Floating Tool Windows in Visual Studio in a clear, friendly, and conversational manner. You'll gain essential knowledge on how to dock, float, and manage these windows to enhance your productivity. Let's get started on demystifying this fantastic feature!
Introduction to Floating Tool Windows
Visual Studio is a powerful integrated development environment (IDE) created by Microsoft. It comes equipped with many amazing features to help developers. One such feature is Floating Tool Windows. But what exactly are these, and why should you care? Let’s break it down.
A Floating Tool Window in Visual Studio is a utility window that you can move around the screen and even outside the main Visual Studio window. Imagine having a palette in an art studio that you can move anywhere, making your workspace more flexible and productive. These windows can display different types of content, such as solution explorers, property pages, output logs, and more.
Docking Tool Windows in Visual Studio
What is Docking?
Docking means attaching a tool window to a particular edge of the main Visual Studio frame. This action can help keep frequently used windows accessible without cluttering your workspace.
How to Dock a Tool Window
To dock a tool window:
Click on the title bar of the tool window you wish to dock.
Drag it towards the edge where you want to dock it.
When you see the docking guide diamond, lift your mouse.
Visual Guide: Docking Windows
| Step | Action | Visual Guide |
| 1 | Click and hold the title bar | |
| 2 | Drag it towards the desired edge | |
| 3 | Release the mouse to dock |
Floating Tool Windows in Visual Studio
What is Floating?
Floating a tool window means it will remain unattached, free-floating, and can be moved anywhere, even outside the main application window.
How to Float a Tool Window
To float a tool window:
Click on the title bar of the tool window.
Drag it to any location on your screen.
Release the mouse button, and voila! Your window is now floating.
Tips for Visual Studio Tool Windows
Useful Shortcuts
Ctrl + double-click: Quickly toggle between floating and docked states.
Alt + Shift + Arrow keys: Rearrange windows using keyboard shortcuts.
Customizing Layouts
Arrange your windows as desired.
Go to Window > Save Window Layout.
Name your layout and save.
To restore it:
Go to Window > Apply Window Layout.
Select your saved layout.
Managing Tool Windows During Debugging
Properly arranging tool windows is crucial during debugging. Here’s how to handle them effectively:
Watch Window: Keep it close to your code for quick variable inspections.
Output Window: Dock it at the bottom to monitor logs seamlessly.
Call Stack: Float it on a secondary monitor if available, ensuring you have more space to view the stack trace.
Best Practices for Window Management
Regularly update your window layouts to match your workflow.
Utilize multiple monitors to segregate debugging and coding tasks.
Customize and save different layouts for varying tasks.
Conclusion
Visual Studio's Floating Tool Windows feature provides flexibility and efficiency, transforming your coding experience. By learning to dock, float, and manage these windows, you can create a tailored IDE workspace that keeps you focused and productive. Happy coding!
FAQs
- How to dock a tool window in Visual Studio?
- Drag the tool window towards an edge of the main frame and release upon seeing the docking guide diamond.
- How to float a tool window in Visual Studio?
- Click and drag the tool window to any location on your screen and release.
- Can I undo dragging a tool window in Visual Studio?
- Yes, you can press Ctrl + Z to undo the previous docking or floating action.
- What is the Ctrl + double-click shortcut for tool windows in Visual Studio?
- This shortcut toggles a tool window between docked and floating states quickly.
- How do I manage tool windows during debugging in Visual Studio?
- Arrange windows like Watch Window, Output Window, and Call Stack appropriately and utilize multiple monitors if possible.
Subscribe to my newsletter
Read articles from Abhishek Dhoriya directly inside your inbox. Subscribe to the newsletter, and don't miss out.
Written by

Abhishek Dhoriya
Abhishek Dhoriya
Hello there! I'm Abhishek Dhoriya, a self-driven and dedicated professional with over 13 years of experience in the field of Consulting and Technical Development Management, Solution Architecture, and Consultation. My expertise lies in modernization and digital transformation customer engagements, specifically in Microsoft Dynamics 365, Power Platform, Azure Cloud, BI/Analytics, and Data Warehousing solutions. Throughout my career, I've successfully implemented CRM, Cloud, Power Platform, Azure, and BI solutions across various industry verticals. These include Banking & Finance, Healthcare, Government, Insurance, and Taxation. I've had the privilege of working with clients across the US, EMEA, and APAC, including esteemed organizations like BDO in Europe, Ashghal in Qatar, BoFA in the USA, Westpac in Australia, Metrolinx in Canada, and UOB in APAC.