Getting Started with Redux + TypeScript
 Satyanarayan Dalei
Hello everyone! In this article, we’ll explore how to set up Redux with TypeScript in a Next.Js app. Additionally, we'll dive into implementing redux-thunk for handling asynchronous actions in another blog to keep it short. We’ll reference the official documentation throughout to guide us.
Prerequisites:
Before we begin, I assume you have a basic understanding of React's Context API or state management techniques. You should also be familiar with TypeScript and have experience building a React or Next.js app.
Let's get started!
Create a Next.js App
npx create-next-app@latest
Here is what it looks.

After successfully setting up the Next.js app, navigate into your project folder & run npm run dev.
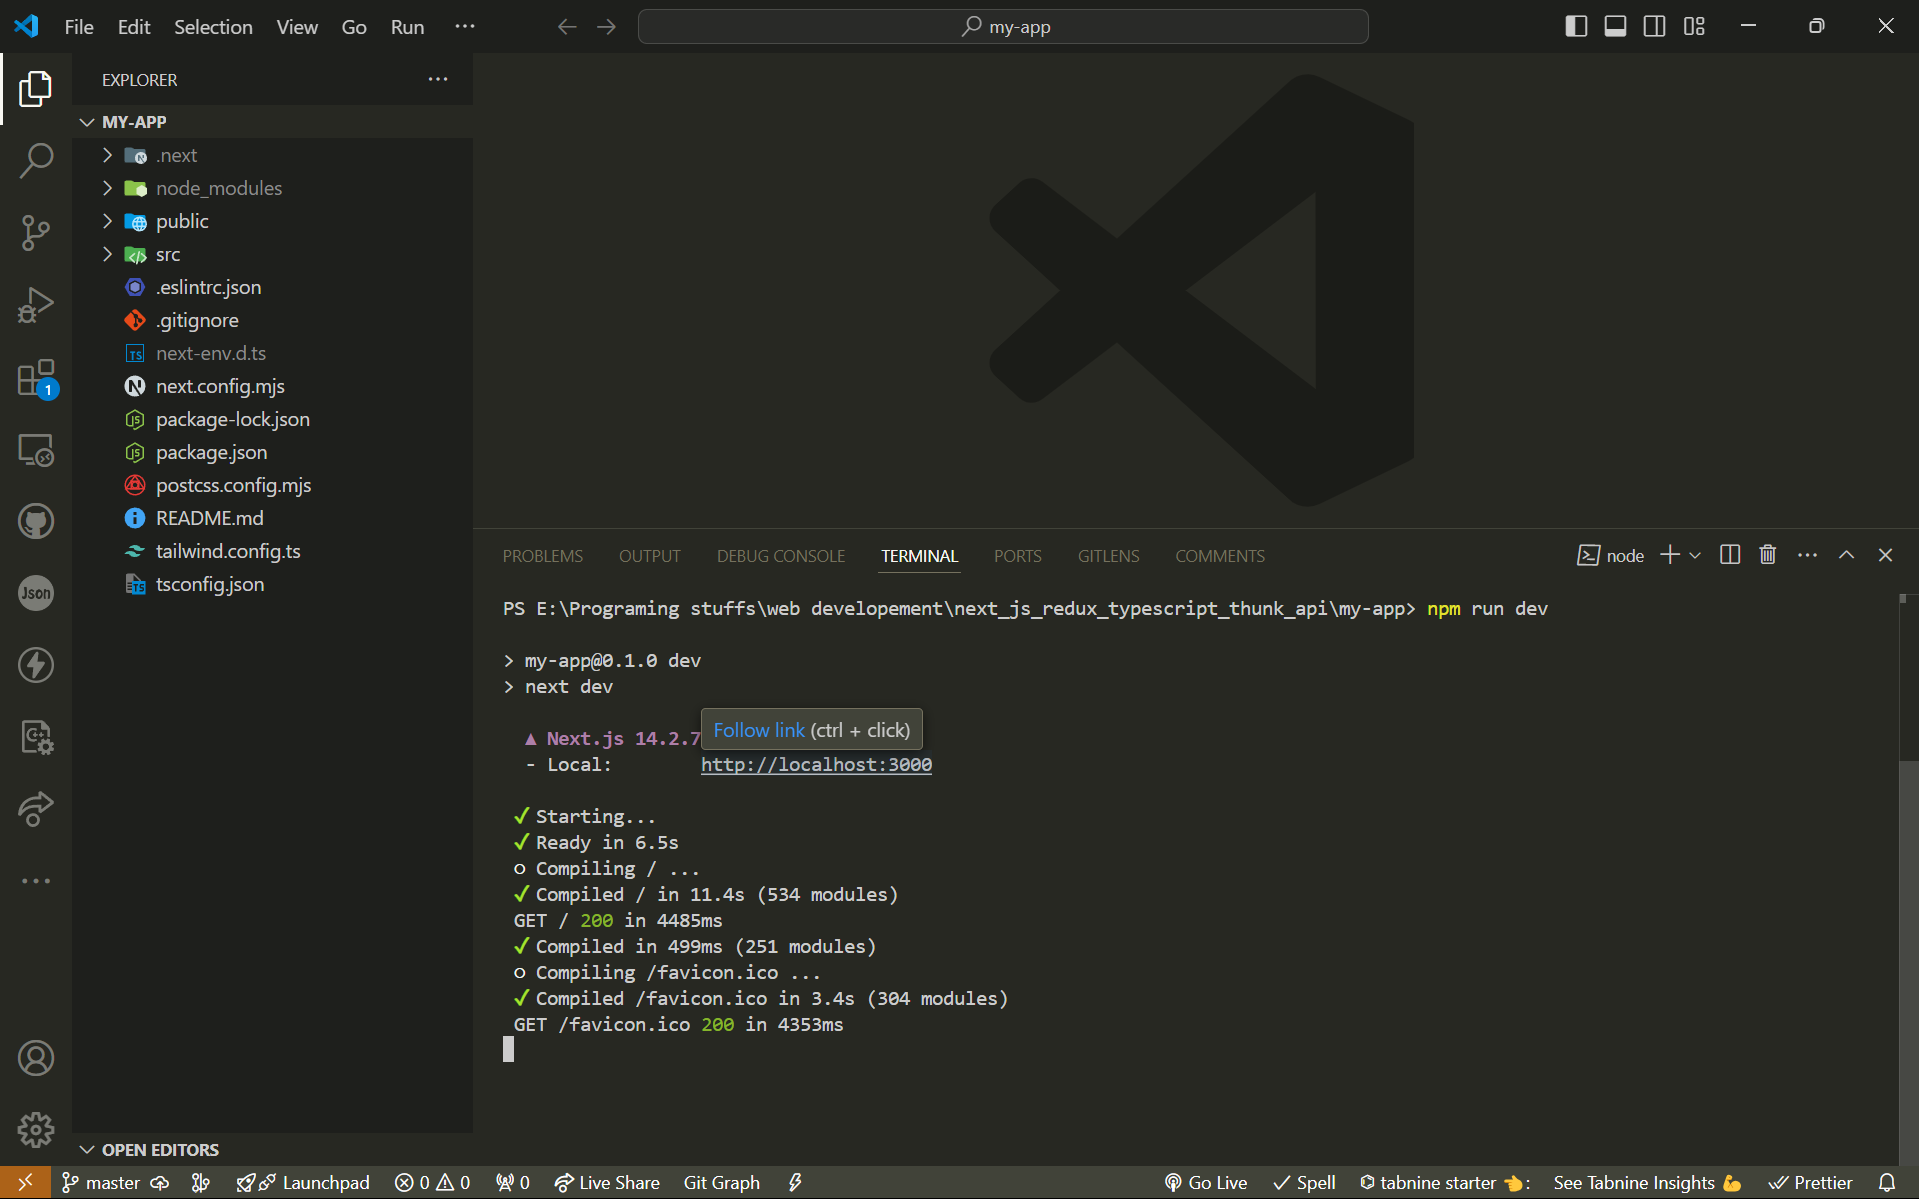
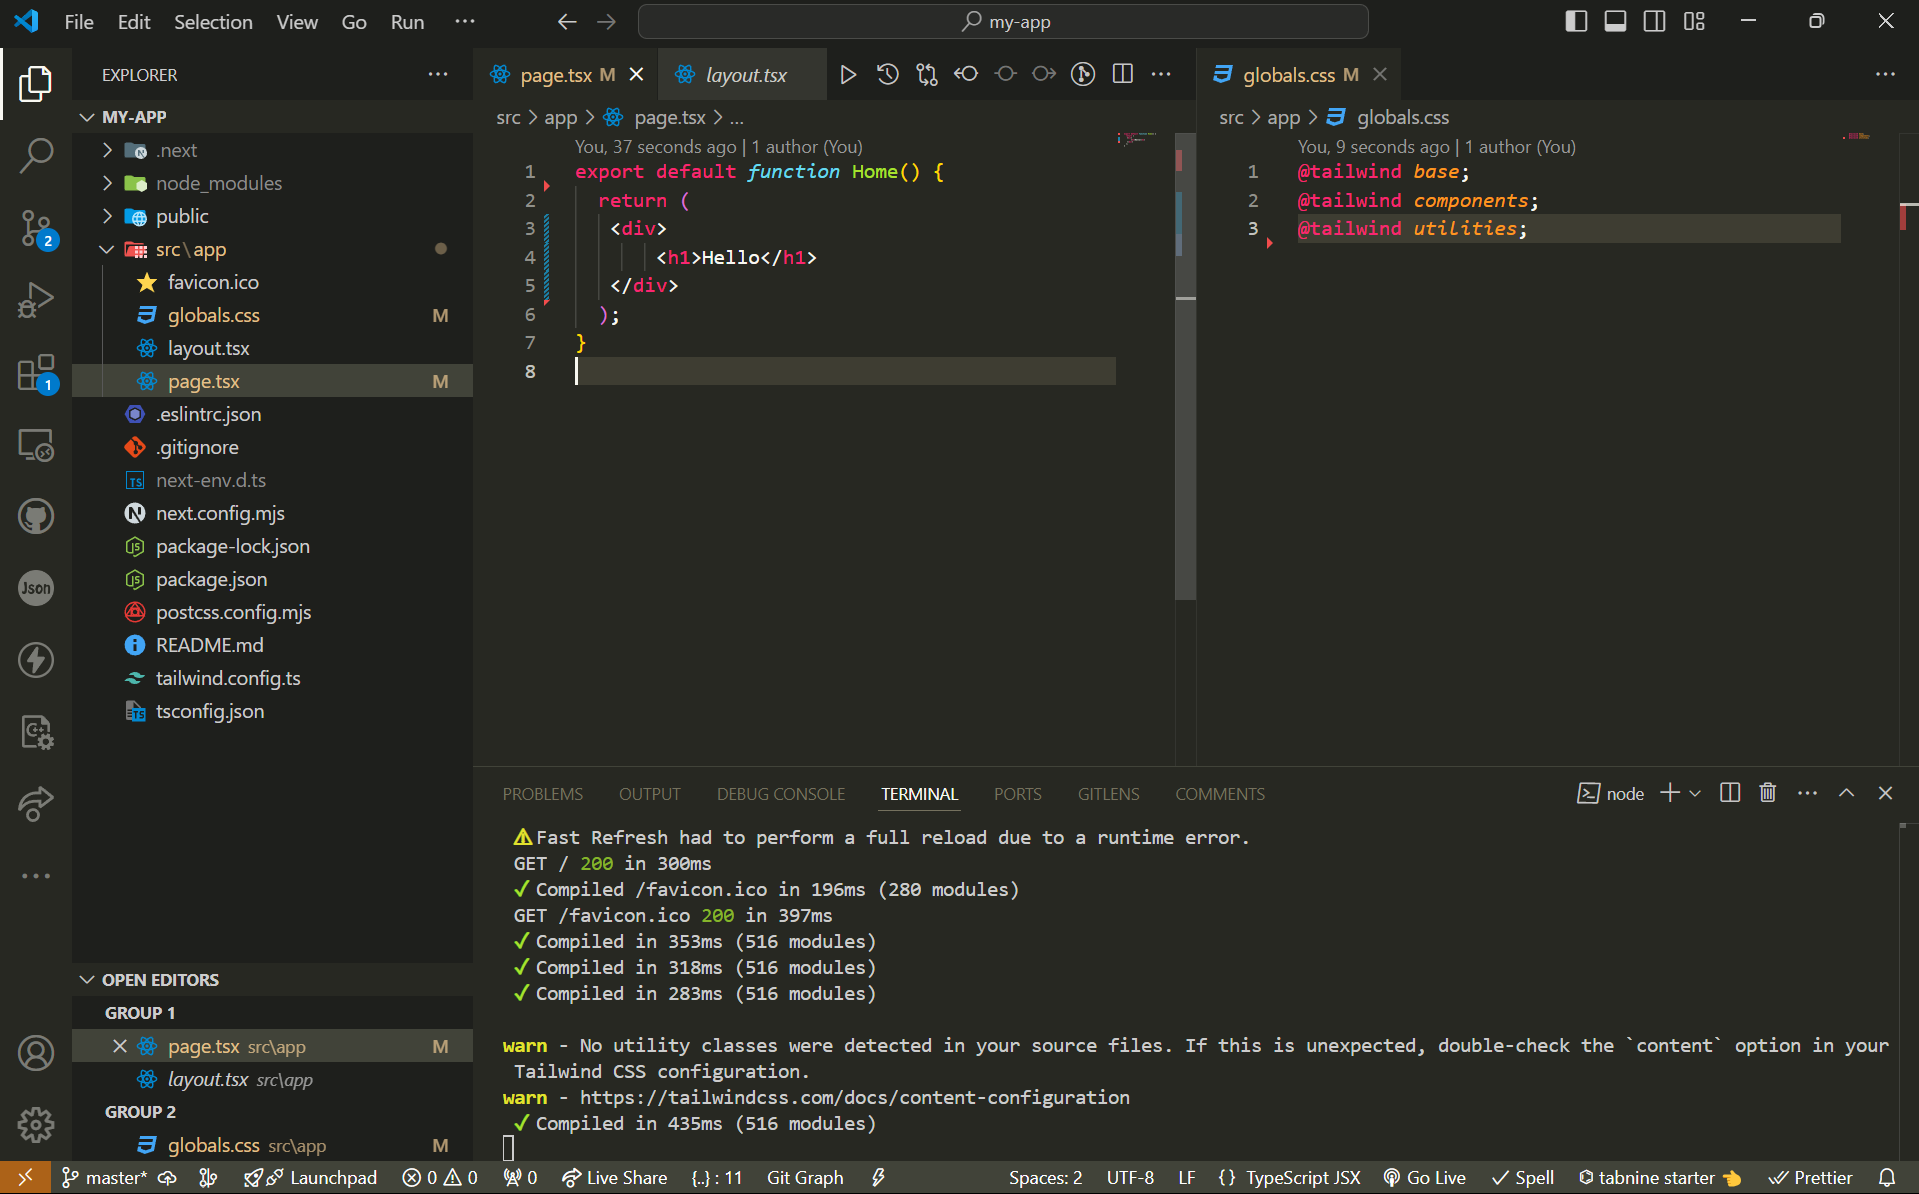
Now that the setup is complete, let’s remove the default content from the Next.js template. I won’t go into details about Next.js itself, as this is not a Next.js tutorial. Instead, we'll focus on integrating Redux with TypeScript.
Setting Up Redux
Installation
To begin, we need to install two essential packages:
react-reduxand@reduxjs/toolkit.Run the following command in your terminal where you have run the npm run dev command pervious or create another terminal with similar path:
 npm install react-redux
 npm install @reduxjs/toolkit

 # Or if you use Yarn:

 # yarn add react-redux
 # yarn add @reduxjs/toolkit
Setting Up the Global Store
Now, let’s create the global store that will hold all the states used in our application. We’ll set this up in the
src/store/store.tsfile.Create the
store.tsfile and add the following code:// src/store/store.ts import { configureStore } from '@reduxjs/toolkit'; export const store = configureStore({ reducer: { // We will link all the reducers (states) here } }); // Infer the `RootState`, `AppDispatch`, and `AppStore` types from the store export type RootState = ReturnType<typeof store.getState>; export type AppDispatch = typeof store.dispatch; export type AppStore = typeof store;In this file:
We’re using
configureStorefrom@reduxjs/toolkitto set up our store.RootStateis inferred from the store’s state, giving us type safety throughout our app.AppDispatchandAppStoreare also typed based on the store itself, which helps TypeScript infer the correct types for dispatch and store access.
We'll link specific reducers later as we define our slices of state.
Creating a Custom Hook for Typed Redux
Next, we’ll create a
hook.tsfile that will provide easy TypeScript support when usinguseSelectoranduseDispatch. Without this file, we would need to manually define the types foruseSelectoranduseDispatcheach time we use them. By setting this up, TypeScript will automatically know the types of the state and dispatched actions, making our development smoother.Create the
src/store/hook.tsfile and add the following code:// src/store/hook.ts import { TypedUseSelectorHook, useDispatch, useSelector } from 'react-redux'; import type { RootState, AppDispatch } from './store'; // Use throughout your app instead of plain `useDispatch` and `useSelector` export const useAppDispatch: () => AppDispatch = useDispatch; export const useAppSelector: TypedUseSelectorHook<RootState> = useSelector;In this file:
We’re creating custom hooks
useAppDispatchanduseAppSelector.useAppDispatchwill be typed based on ourAppDispatchfrom the store, so it knows the correct actions and their types.useAppSelectoris typed withRootState, meaning it will automatically suggest the available state values and their types when accessing the store.
By using these hooks, we avoid repetitive typing, making our code cleaner and more maintainable.
Defining State with Slices
Now, let's define the state that will be used across the application. To keep things organized, we’ll categorize related states into groups. For instance, user-related information such as name, email, and website will be stored in a single category called
userStates. These groups of related states are commonly referred to as slices, hence the term userSlice.We’ll create a folder inside
storenamedslicesto manage these categories.Create
userSlice.tsFirst, create a
userSlice.tsfile insrc/store/slices/userand add the following code:// src/store/slicces/user/userSlice.ts import { createSlice } from '@reduxjs/toolkit' // Define a type for the slice state export interface IUserStates { name: string; email: string; website: string; } // Define the initial state using that type const initialState: IUserStates = { name: 'Satya Dalei', email: 'satyaprofessional99@gmail.com', website: 'https://satyadalei.vercel.app' } export const userSlice = createSlice({ name: 'user', // `createSlice` will infer the state type from the `initialState` argument initialState, reducers: { // Define reducers for each action setName: (state, action) => { state.name = action.payload }, setEmail: (state, action) => { state.email = action.payload }, setWebsite: (state, action) => { state.website = action.payload }, resetUser: (state, action) => { if (action.payload) { state = action.payload }else { state = initialState } } } }) export const { resetUser, setEmail, setName, setWebsite } = userSlice.actions; export default userSlice.reducerExplanation:
Slice State: We define a TypeScript interface
IUserStatesthat describes the shape of the user state (name, email, and website).Initial State: The
initialStateis where we define the default values for the user.Reducers: We define several reducers, such as
setName,setEmail, andsetWebsite, which are responsible for updating individual pieces of state. TheresetUserreducer resets the state back to either the initial values or a provided payload.Exported Actions and Reducer: The
createSlicefunction automatically generates the necessary actions and reducers based on our configuration, which we can use throughout our app.
By using createSlice, Redux Toolkit automatically infers the types from the initialState, making the code more concise and type-safe.
Linking State to the Global Store
Now that we’ve defined our
userSlice, the next step is to integrate it into the global store. We’ll add theuserSlicereducer to ourstore.tsso that the user state becomes part of the overall application state.Here’s how you can link it:
 /*
  src/store/store.ts
  This file acts as the central store for all the states in our application.
 */
 import { configureStore } from '@reduxjs/toolkit';
 import userReducer from '@/store/slices/user/userSlice';

 export const store = configureStore({
   reducer: {
     user: userReducer,  // Linking userSlice to the store
   },
 });

 // Infer the `RootState`, `AppDispatch`, and `AppStore` types from the store
 export type RootState = ReturnType<typeof store.getState>;
 export type AppDispatch = typeof store.dispatch;
 export type AppStore = typeof store;
Explanation:
Global Store: We’re using
configureStoreto register theuserReducer(fromuserSlice) under the keyuser. This means that all user-related state will be accessible viastate.user.TypeScript Inference: We continue to infer types like
RootStateandAppDispatchfrom the store configuration, ensuring strong type safety across the app.
At this point, your userSlice is now part of the global Redux store, making the user state available throughout your application.
Setting Up the Redux Provider
To make the Redux store accessible to all components in your app, you need to set up the
Providerfromreact-redux.We'll create a
ReduxProvidercomponent that will handle this setup.Create
ReduxProvider.tsxCreate a file at
src/providers/ReduxProvider.tsxwith the following code:/* src/providers/ReduxProvider.tsx This file provides the global store to our entire app. */ "use client"; // Ensure this file runs on the client side import { store } from '@/store/store'; import React from 'react'; import { Provider } from 'react-redux'; interface IReduxProviderProps { children: React.ReactNode; } const ReduxProvider: React.FC<IReduxProviderProps> = ({ children }) => { return ( <Provider store={store}> {children} </Provider> ); }; export default ReduxProvider;Explanation:
ReduxProvider Component: This component wraps the
Providerfromreact-reduxaround any children components, passing thestoreto make the state globally accessible.Props: We define
IReduxProviderPropsto ensure the component can acceptchildren, which will be the rest of your app.
Wrapping the Redux Provider in the App Layout
With the
ReduxProviderset up, we need to wrap our application to ensure the Redux store is available globally.Update
layout.tsxas follows:/* src/app/layout.tsx Wraps the entire application with ReduxProvider to provide store access. */ import type { Metadata } from "next"; import { Inter } from "next/font/google"; import "./globals.css"; import ReduxProvider from "@/providers/ReduxProvider"; const inter = Inter({ subsets: ["latin"] }); export const metadata: Metadata = { title: "Create Next App", description: "Generated by create next app", }; export default function RootLayout({ children, }: Readonly<{ children: React.ReactNode; }>) { return ( <html lang="en"> <body className={inter.className}> <ReduxProvider> {children} </ReduxProvider> </body> </html> ); }Explanation:
Integration: By wrapping the
childrenwithReduxProvider, the Redux store is now available to all components in your Next.js app.Client-Side Rendering: Ensure the
ReduxProvideris used correctly with client-side rendering for compatibility with Next.js.
Why Use a Separate
ReduxProvider.tsx?You might wonder why we create a separate
ReduxProvider.tsxinstead of directly wrapping theProviderinlayout.tsx. Let's explore why this approach is necessary, especially when working with Next.js.Why Not Directly in
layout.tsx?You might think about directly including the
Providerinlayout.tsxlike this:/* src/app/layout.tsx */ import type { Metadata } from "next"; import { Inter } from "next/font/google"; import "./globals.css"; import { Provider } from "react-redux"; import { store } from "@/store/store"; const inter = Inter({ subsets: ["latin"] }); export const metadata: Metadata = { title: "Create Next App", description: "Generated by create next app", }; export default function RootLayout({ children, }: Readonly<{ children: React.ReactNode; }>) { return ( <html lang="en"> <body className={inter.className}> <Provider store={store}> {children} </Provider> </body> </html> ); }The Issue
Server-Side vs. Client-Side Rendering:
Next.js runs both on the server and client sides. The
Providerfromreact-reduxrelies on client-side rendering since it handles state management in the browser.Adding the
Providerdirectly inlayout.tsxwithout“use client”will cause errors because Next.js expects server-side rendering for pages.
Metadata and
"use client"Directive:Adding
"use client"at the top oflayout.tsxmakes it a client-side component, but it also conflicts with the export ofmetadata, which is meant for server-side processing.This conflict results in errors and makes it impossible to use
Providerdirectly in thelayout.tsxfile.
The Solution
To resolve these issues, we use a dedicated ReduxProvider.tsx file as in the above.
Accessing State
Now that we've set up Redux and the
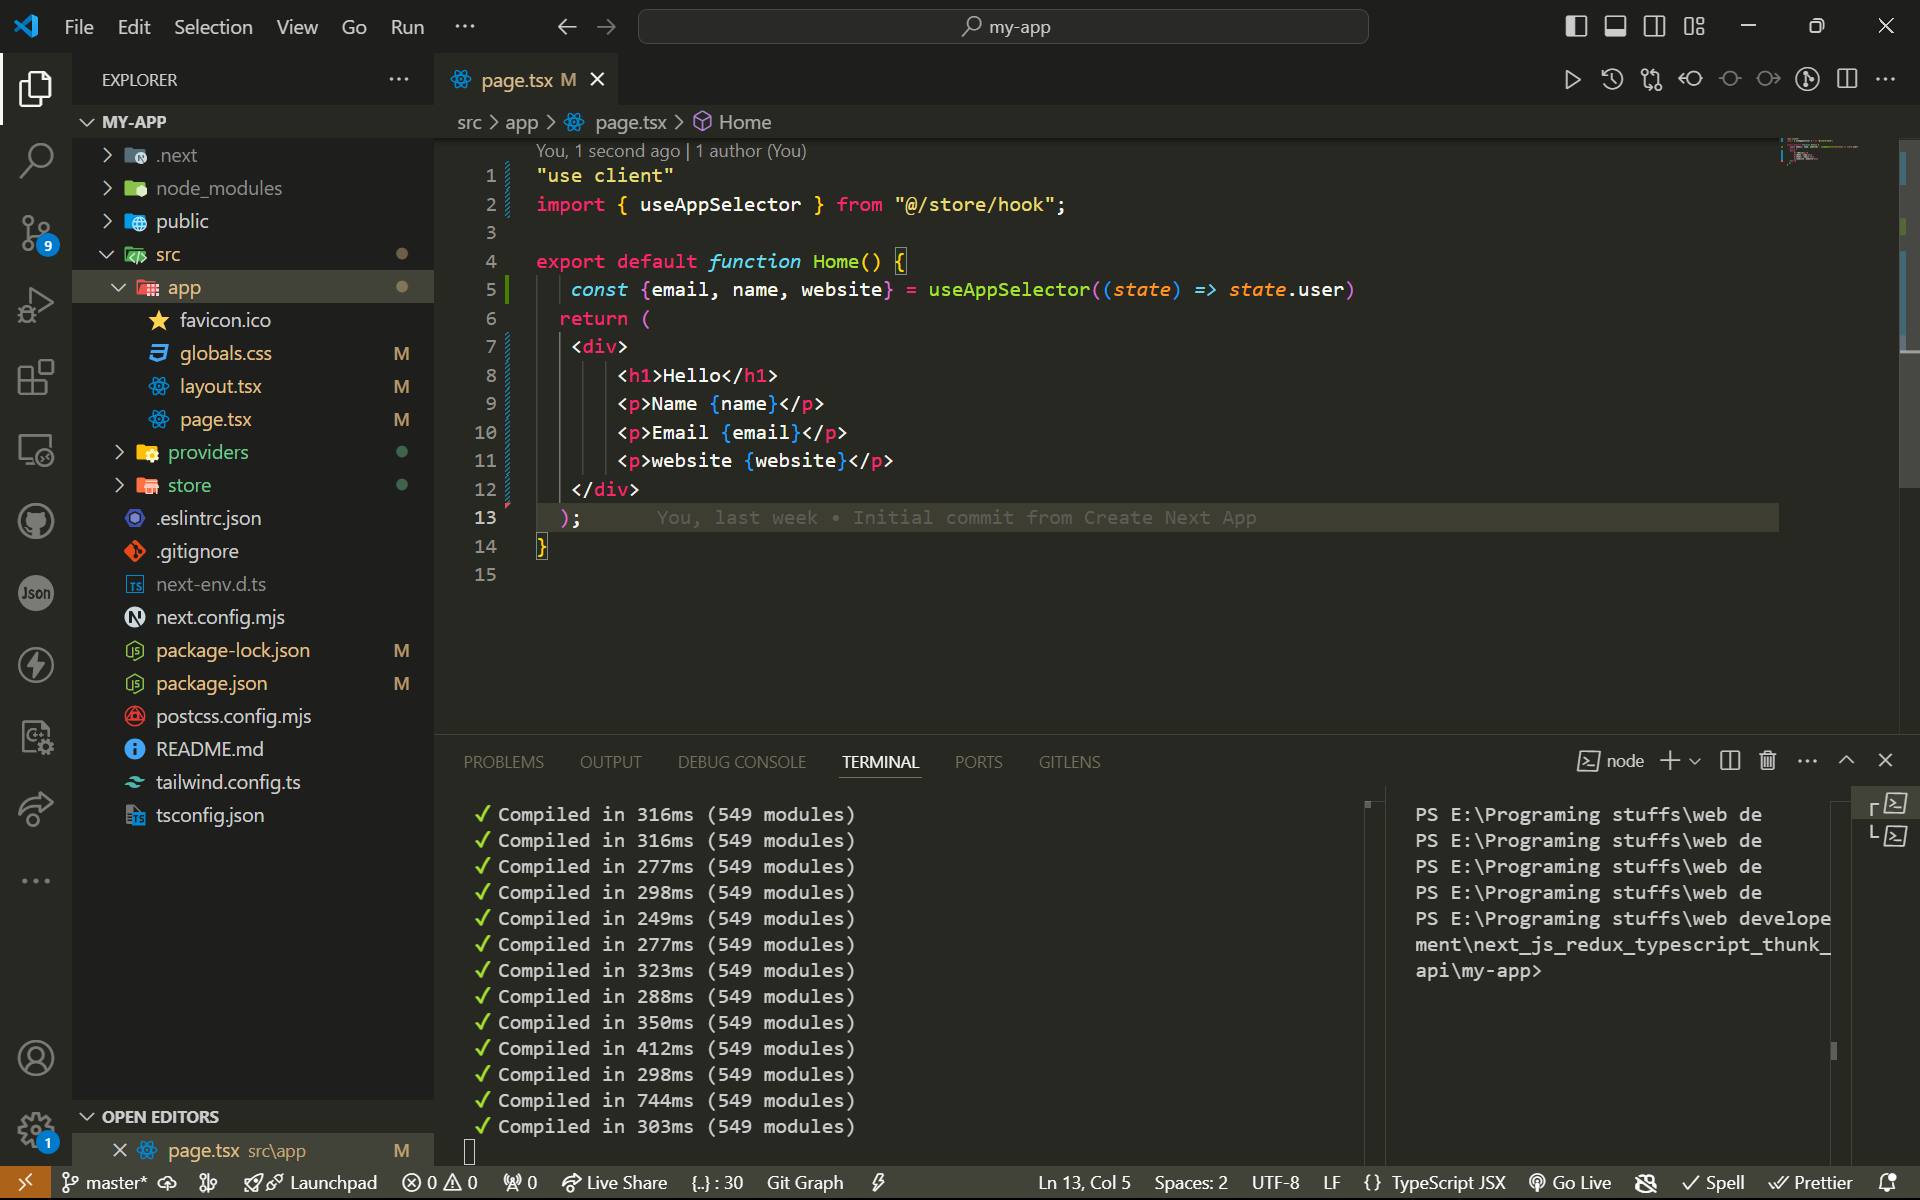
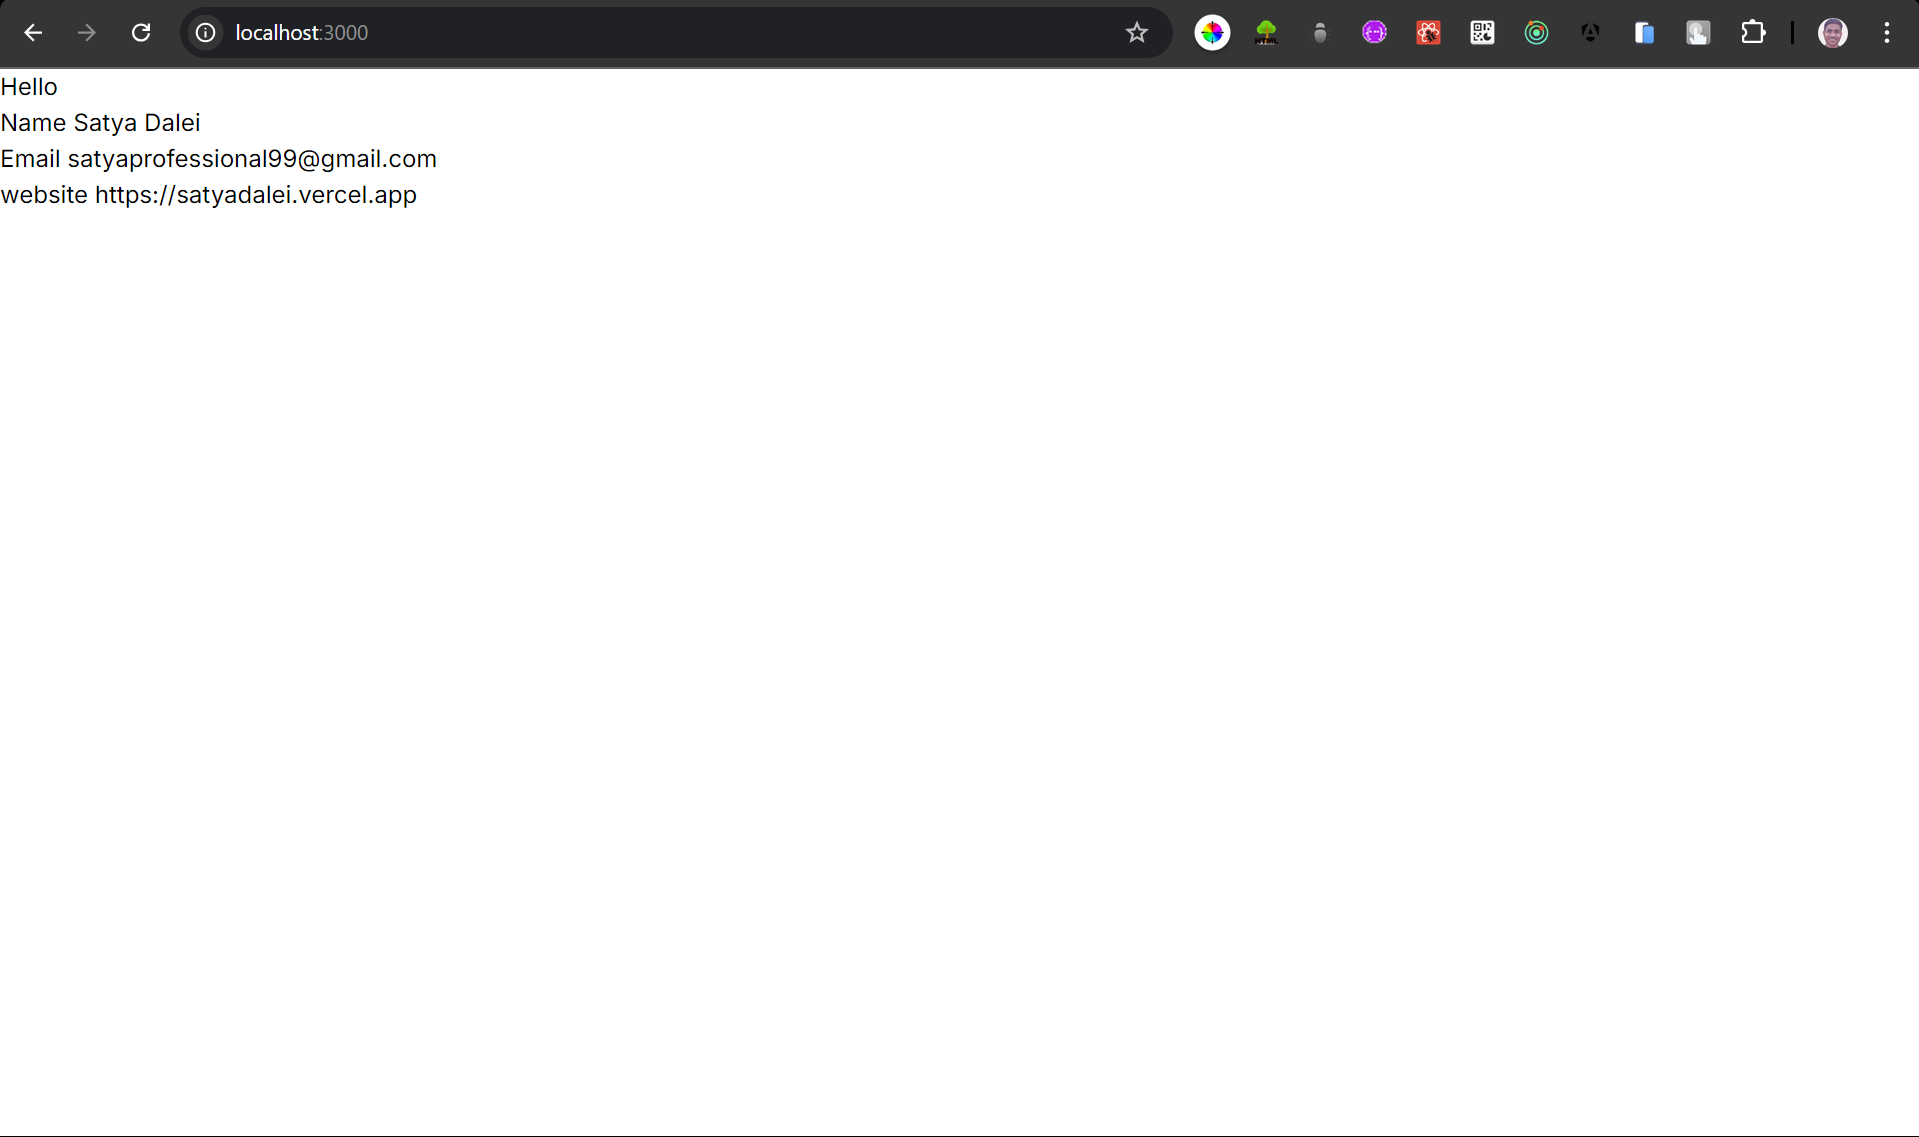
Provider, it’s time to access the state in your components. To do this, we'll use theuseAppSelectorhook that we created earlier.Accessing State in a Component
Here's how you can access and display the state in a component:
 /*
 src/app/page.tsx
 Make sure to include "use client" at the top because we are using useAppSelector,
 which only works on the client side.
 */
 "use client";

 import { useAppSelector } from "@/store/hook";

 export default function Home() {
   // Access user state using useAppSelector
   const { email, name, website } = useAppSelector((state) => state.user);

   return (
     <div>
       <h1>Hello</h1>
       <p>Name: {name}</p>
       <p>Email: {email}</p>
       <p>Website: {website}</p>
     </div>
   );
 }
Modifying State
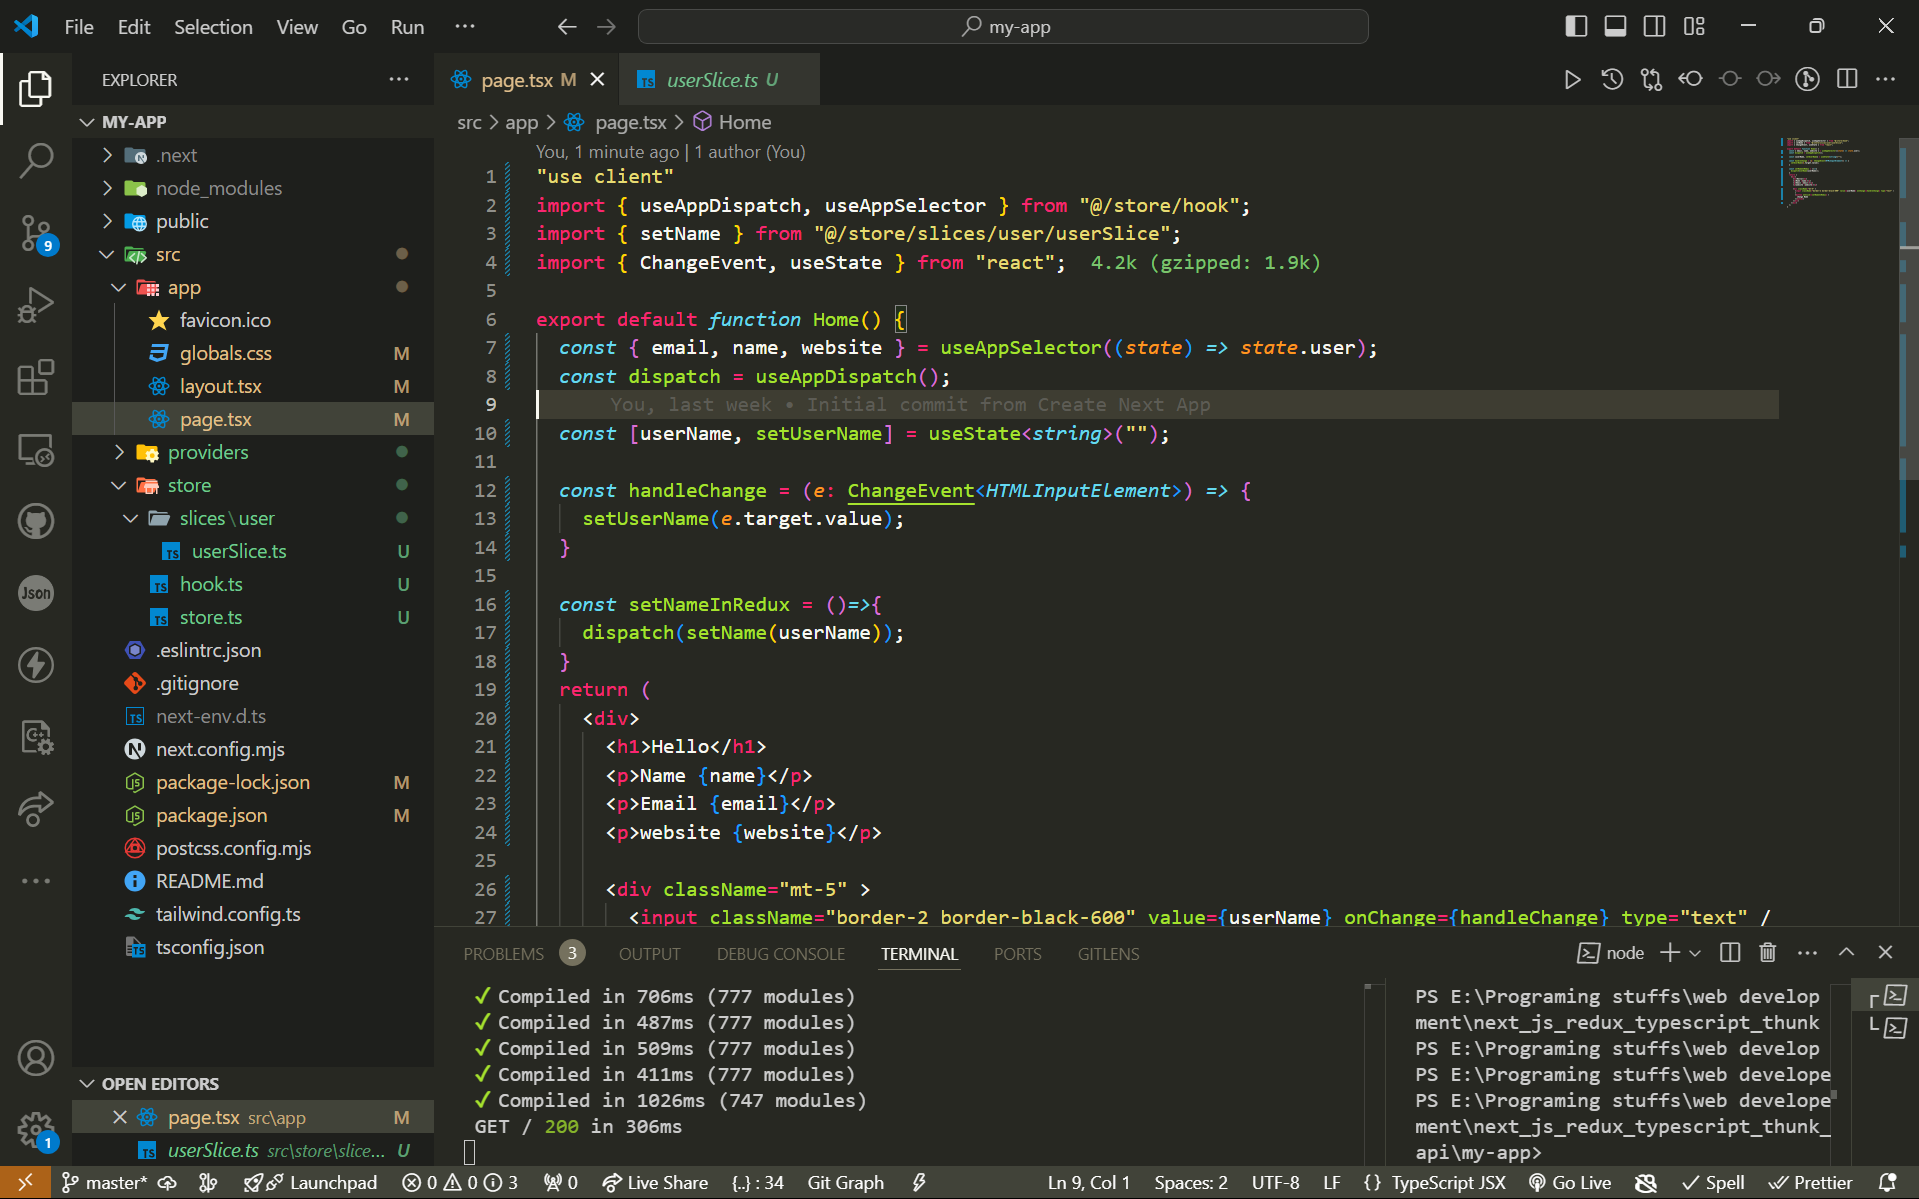
Now that we can access the state, let’s see how to update it. We’ll use the Redux
dispatchfunction to call the appropriate reducer function and modify the state.Updating State in a Component
Here’s how you can update the state using a form element and a dispatch action:
/*
src/app/page.tsx
Here we are creating a input element & we are resetting it to the
global store using dispatch function
*/
"use client"
import { useAppDispatch, useAppSelector } from "@/store/hook";
import { setName } from "@/store/slices/user/userSlice";
import { ChangeEvent, useState } from "react";

export default function Home() {
  const { email, name, website } = useAppSelector((state) => state.user);
  const dispatch = useAppDispatch();

  const [userName, setUserName] = useState<string>("");

  const handleChange = (e: ChangeEvent<HTMLInputElement>) => {
    setUserName(e.target.value);
  }

  const setNameInRedux = ()=>{
    dispatch(setName(userName));
  }
  return (
    <div>
      <h1>Hello</h1>
      <p>Name {name}</p>
      <p>Email {email}</p>
      <p>website {website}</p>

      <div className="mt-5" >
        <input className="border-2 border-black-600" value={userName} onChange={handleChange} type="text" />
        <button onClick={setNameInRedux} >
          change Name
        </button>
      </div>
    </div>
  );
}
Explanation:
useAppDispatchHook: This hook provides thedispatchfunction to dispatch actions to the Redux store.useStateHook: Local stateuserNameis used to manage the input field value.handleChangeFunction: Updates the local state with the current value of the input field.setNameInReduxFunction: Dispatches thesetNameaction to update thenamein the Redux store with the current value ofuserName.Input and Button: The input field captures user input, and the button triggers the
setNameInReduxfunction to update the Redux state.

Conclusion
With this setup, you can both access and update the state using Redux in your Next.js app. The combination of useAppSelector and useAppDispatch hooks allows you to efficiently interact with the Redux store.
We will explore how to use redux store with asynchronously or in the api call. Stay tuned for that. Thank you for reading.
Subscribe to my newsletter
Read articles from Satyanarayan Dalei directly inside your inbox. Subscribe to the newsletter, and don't miss out.
Written by

Satyanarayan Dalei
Satyanarayan Dalei
Hi, I'm Satyanarayan Dalei, a mid-level Full-stack web developer from India. Currently pursuing a master's in Computer Application, I've been coding since 2020. My expertise lies in the MERN stack, and I am well-versed in the software deployment life cycle, covering both production and development environments.