How to Use htpasswd as an Identity Provider in OpenShift
 LakshmanaRao
htpasswd is a simple yet effective identity provider that can be used for OpenShift clusters to manage user authentication. By configuring the OAuth server with a list of users and their credentials stored in a htpasswd file, you can allow authenticated logins to your OpenShift cluster. Learn more about htpasswd here.
Prerequisites
A running OpenShift cluster
The
htpasswdutility
Step 1: Install the htpasswd Utility
To install htpasswd utility, run the following commands on your server:
sudo apt update -y
sudp apt install apache2-utils -y
Step 2: Create an htpasswd File
The next step is to create a file where your users and their credentials will be stored:
htpasswd -c -B -b users lakshman P@33w06d!
Explanation:
-c: Create a new file (if it exists, it will be overwritten).-B: Use bcrypt hashing.-b: Take the username and password from the command line.
To add more users, use the following command:
htpasswd -B -b users pavan P@33w06d!
htpasswd -B -b users john P@33w06d!
Verify that your users have been added to the users file by using:
cat users
Step 3: Create a Secret from the htpasswd File
To use htpasswd as an identity provider, we need to create a secret in OpenShift that stores the user credentials:
./oc create secret generic htpasswd-secret --from-file htpasswd=users -n openshift-config
Explanation:
create secret generic: Creates a generic secret.--from-file=htpasswd=users: Adds thehtpasswdfile to the secret.-n openshift-config: Specifies the namespace for the secret.
Verify the creation of the secret:
./oc get secret htpasswd-secret -o yaml -n openshift-config
This will display the secret in YAML format. To decode and view the base64 encoded data, run:
echo "<data>" | base64 --decode
Step 4: Edit the OAuth Configuration
Now that the secret is created, we can modify the OpenShift OAuth resource to use htpasswd as an identity provider.
First, get the current OAuth configuration:
./oc get oauth -o yaml
Explanation:
get oauth -o yaml: Retrieves the OAuth configuration in YAML format.
Next, edit the OAuth resource:
./oc edit oauth cluster
Add the following content under the identityProviders section:
  spec:
    identityProviders:
    - name: htpasswd-identity-provider
      mappingMethod: claim
      type: HTPasswd
      htpasswd:
        fileData:
          name: htpasswd-secret
Explanation:
name: Specifies the name of the identity provider.mappingMethod: Defines how user identities map to OpenShift users.fileData: Points to the secret containing thehtpasswdfile.
the final Oauth resource will look like this
apiVersion: v1
items:
- apiVersion: config.openshift.io/v1
  kind: OAuth
  metadata:
    annotations:
      include.release.openshift.io/ibm-cloud-managed: "true"
      include.release.openshift.io/self-managed-high-availability: "true"
      release.openshift.io/create-only: "true"
    creationTimestamp: "2024-09-05T04:48:34Z"
    generation: 1
    name: cluster
    ownerReferences:
    - apiVersion: config.openshift.io/v1
      kind: ClusterVersion
      name: version
      uid: e3061d16-9ed5-48b3-b492-5b7fa1b8ce3e
    resourceVersion: "1556"
    uid: 5749fbd9-1ce1-4407-856d-90625794fa64
  spec:
    identityProviders:
    - name: htpasswd-login
      mappingMethod: claim
      type: HTPasswd
      htpasswd:
        fileData:
          name: htpasswd-secret
kind: List
metadata:
  resourceVersion: ""
Step 5: Check Pod Status
After editing the OAuth configuration, the authentication pods will restart. You can track their status with:
./oc get pods -n openshift-authentication -w
it will take some time to restart.
Step 6: Logging in with htpasswd
Once the authentication pods have restarted, you can log in using the users defined in the htpasswd file.
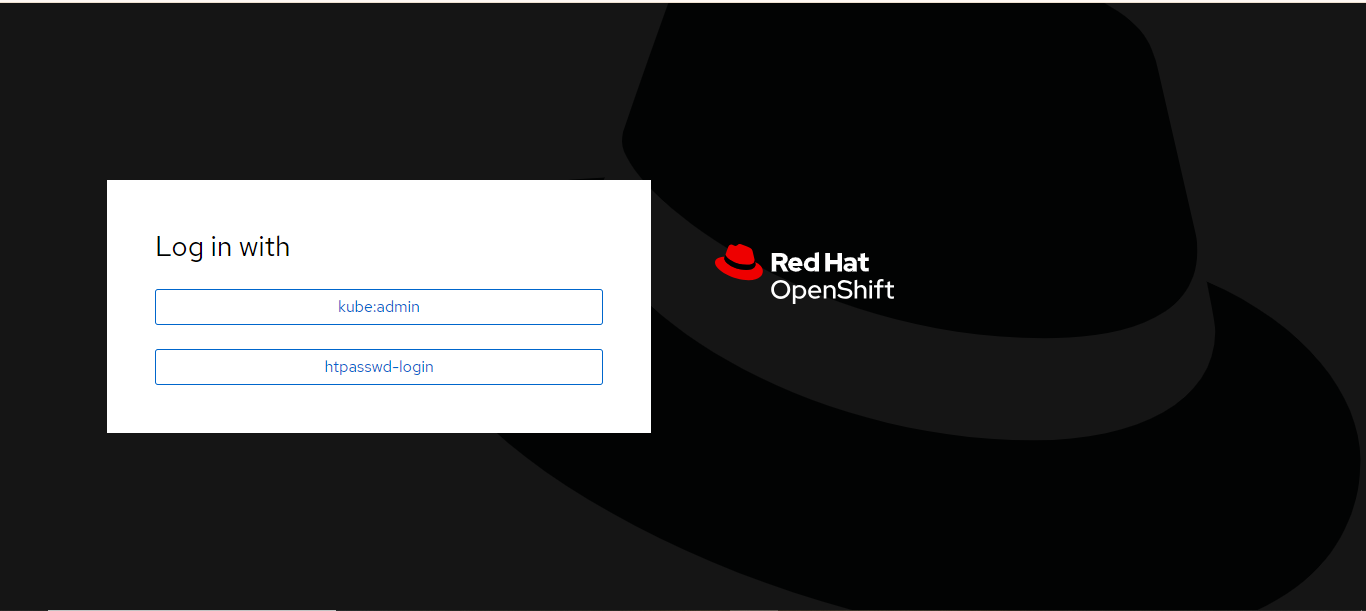
To log in via the OpenShift web console, select the htpasswd-login identity provider and enter your credentials.

You can also log in using the CLI:
./oc login -u lakshman -p P@33w06d!
./oc login -u pavan -p P@33w06d!
Explanation:
login -u <username> -p <password>: Logs in to OpenShift using the specified credentials.
Step 7: Granting Admin Permissions
By default, users created via htpasswd do not have administrative privileges. To grant admin rights to one of the users, you can assign the cluster-admin role.
Log in as the kubeadmin user (created by default during the cluster setup):
./oc login <cluster-url> -u kubeadmin -p <passwd>
To view the available cluster roles:
./oc get clusterroles -o name
Then assign the cluster-admin role to a user:
./oc adm policy add-cluster-role-to-user cluster-admin john
Explanation:
add-cluster-role-to-user: Grants a specific role to a user.
Now, log in as the newly promoted user and verify the permissions by creating a new project:
./oc login -u john -p P@33w06d!
./oc new-project testing-roles
Step 8: Remove kubeadmin User
After granting the admin role to another user, it’s a good security practice to remove the default kubeadmin user:
./oc delete secrets kubeadmin -n kube-system
Summary
By following these steps, you have successfully set up htpasswd as an identity provider in OpenShift, created user accounts, and granted admin permissions.
Subscribe to my newsletter
Read articles from LakshmanaRao directly inside your inbox. Subscribe to the newsletter, and don't miss out.
Written by
LakshmanaRao
LakshmanaRao
DevOps Engineer with specializing in designing, implementing, and maintaining cloud infrastructures on Azure and AWS. Proficient in Kubernetes (EKS, GKE, OpenShift v4), CI/CD pipelines, and infrastructure automation using Terraform and Ansible.