Build a User Authentication system (Part 1)
 Creative Bracket Blog
In this two-part series we will learn how to build a User Authentication system for use in your next application. User authentication allows access to specific resources on a system by verifying that a user has valid access to that resource.
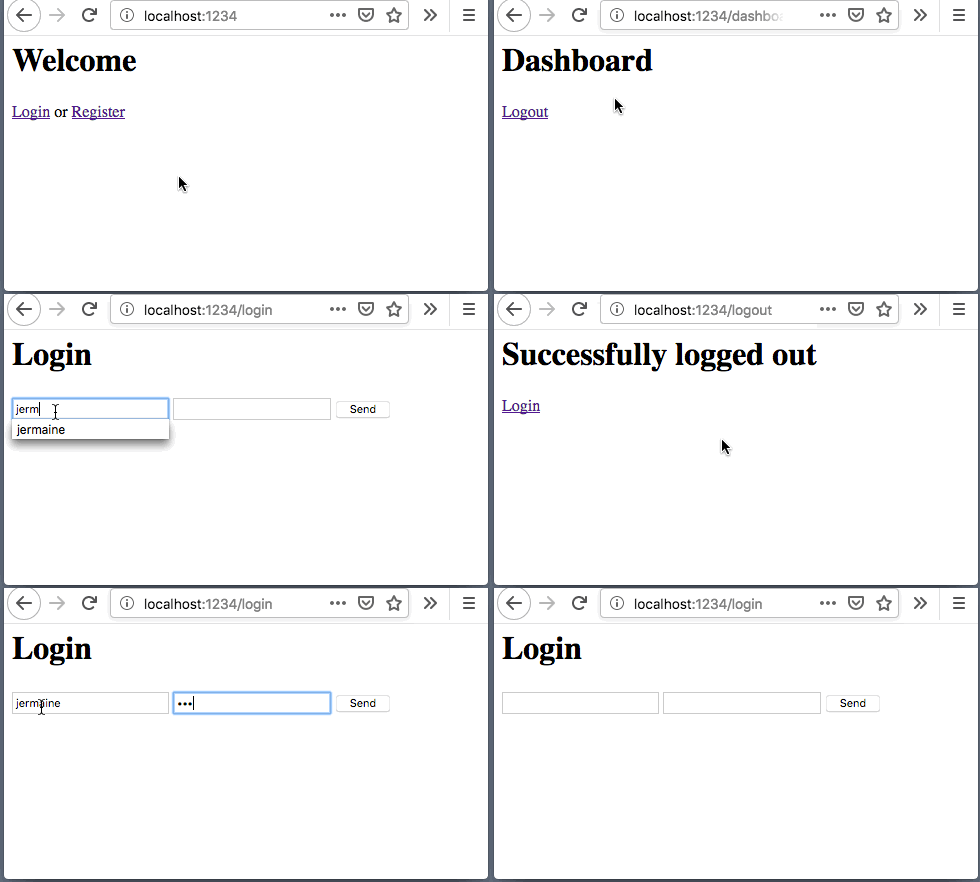
Here’s what we will be building:
Prefer a video?
Pre-requisites
You need Dart and MongoDB installed. Follow the links or check this post out to learn how to set up a MongoDB database. Create a new database called prod with a users collection.
Afterwards let’s set up a project using Stagehand by following the steps below:
Install Stagehand by running
pub global activate stagehandCreate your working directory and cd into it:
mkdir user_auth && cd user_authRun the stagehand command to generate the required files and folders:
stagehand console-full
Before you update your dependencies, add these packages to the project pubspec.yaml file by replacing the dependencies section:
dependencies:
  crypto: ^2.0.6
  mongo_dart: ^0.3.5
  uuid: ^2.0.1
And then run pub get.
1. Create the server and establish database connection
In bin/main.dart import the dependencies we’ve just installed as well as the inbuilt dart:io library.
import 'dart:io';

import 'package:mongo_dart/mongo_dart.dart';

main() async {  // Mark with `async`
  // TODO: Connect to our Mongo database
  // TODO: Create our server connection
}
Let’s write the logic within the main() block to initiate a Mongo connection and define a handle for our “users” collection:
main() async {
  // Connect to our Mongo database
  Db db = Db('mongodb://localhost:27017/prod');
  await db.open();
  DbCollection users = db.collection('users');
  print('Connected to database!');

  // TODO: Create our server connection
}
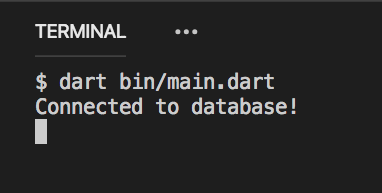
Run this file using this command: dart bin/main.dart. If all goes well you should now see the image below:
And let’s write our server for handling requests and authenticating our user:
main() async {
  // Connect to our Mongo database
  ...
  ...

  // Create our server connection
  const port = 8089;
  var server = await HttpServer.bind('localhost', port);

  server.listen((HttpRequest request) {
    // TODO: Handle request
  });
}
Should you run that file and curl http://localhost:8089 you will get no response. Let’s change that in the next section.
2. Return our first response and build the other routes
Let’s update the request listener function, returning our first response to the client:
server.listen((HttpRequest request) {
  request.response
    ..headers.contentType = ContentType.html
    ..write('''
    <html>
      <head>
        <title>User Registration and Login Example</title>
      </head>
      <body>
        <h1>Welcome</h1>
        <p>
          <a href="/login">Login</a> or <a href="/register">Register</a>
        </p>
      </body>
    </html>
    ''')
    ..close();
});
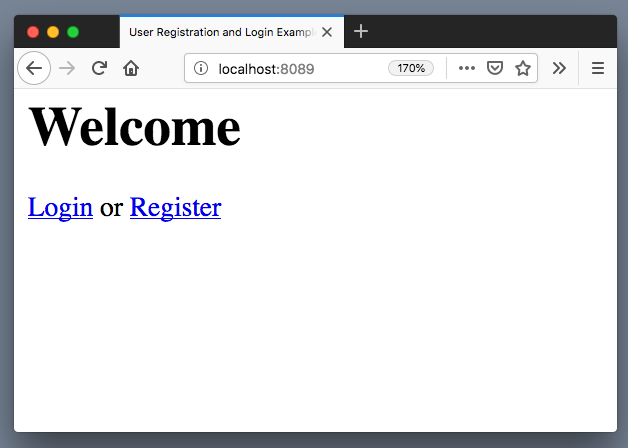
Accessing http://localhost:8089 in your browser should show this:
Since we are going to be creating several routes that will serve HTML responses, let us create a helper function that will render the main tags with some interpolated variables. This will save us some extra lines of code.
Outside the main function let’s define a top-level function called renderHtml():
void main() {
  ...
}

// Render the common html with interpolated strings
renderHtml(String content, [String title = ':)']) => '''
  <html>
  <head>
    <title>$title</title>
  </head>
  <body>
    $content
  </body>
  </html>
''';
This will return our main HTML page tags, replacing $content and $title(if defined) variables with the provided values. Now let’s refactor our string passed to response.write() with this function:
request.response
  ..headers.contentType = ContentType.html
  ..write(renderHtml(
    '''
    <h1>Welcome</h1>
      <p>
        <a href="/login">Login</a> or <a href="/register">Register</a>
      </p>
    ''',
    'User Registration and Login Example',
  ))
  ..close();
Save and restart the server. Confirm you are still able to access http://localhost:8089.
To complete the registration journey, we will create a /register route to handle the user registration flow.
Amend our first response to show only if a GET request is made to the root / of our app:
server.listen((HttpRequest request) async { // Using `async/await`
  var path = request.uri.path;
  var res = request.response;

  res.headers.contentType = ContentType.html;
  res.headers.set('Cache-Control', 'no-cache');

  if (request.method == 'GET' && path == '/') {
    res.write(renderHtml(
      '''
      <h1>Welcome</h1>
        <p>
          <a href="/login">Login</a> or <a href="/register">Register</a>
        </p>
      ''',
      'User Registration and Login Example',
    ))
  }

  // TODO: Handle request to other routes

  // After all is done, just end the response
  await response.close();
});
Let’s now look at the request to the /register route. Replace the // TODO: block with this condition:
if (request.method == 'GET' && path = '/register') {
  res.write(renderHtml(
    '''
    <h1>Register</h1>
    <form action="/register" method="post">
      <input type="text" name="username" placeholder="Enter a username" />
      <input type="password" name="password" placeholder="Enter a password" />
      <button>Send</button>
    </form>
    ''', 'Create an account'
  ));
}
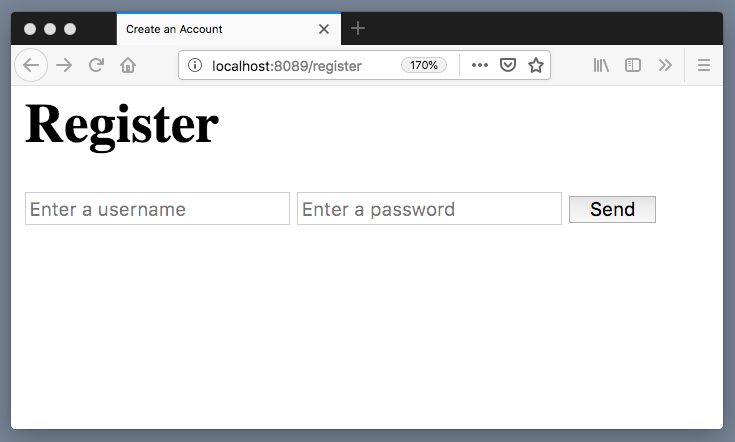
Restarting the server will render the screen below when we access http://localhost:8089/register:
3. Handle the submitted payload details and create user
Lastly, we need to handle the form results when it gets submitted to our server. Add another if block to check for POST requests to /register:
if (method == 'POST' && path == '/register') {
  // TODO: Retrieve registration details from payload

  // TODO: Generate a random 'salt'

  // TODO: Hash the password combining the generated salt

  // TODO: Store the username, salt and hashed password in the database
}
During submission of the registration details, the input attribute names and values are sent as a query string to our backend. This means that the encryption type is set to the default application/x-www-form-urlencoded.
We can retrieve the values from our payload using a StreamTransformer<T> to extract the streamed data in our payload. It’s simpler than it sounds.
Firstly we need to import dart:convert library as it contains the Utf8Decoder class for decoding our request payload as a utf-8 string:
import 'dart:io';
import 'dart:convert';

...
And continue by retrieving the registration details from the request payload:
if (method == 'POST' && path == '/register') {
  // Retrieve registration details from payload
  var content = await request.cast<List<int>>().transform(Utf8Decoder()).join();
  var params = Uri.splitQueryString(content);
  var user = params['username'];
  var password = params['password'];

  print(params);
}
params is a Map<K, V> object containing our details as such:
{
  "username" : "<the user you entered>",
  "password": "<the password you entered>"
}
Restart and server, use the registration form and see your terminal output.

So passwords are never stored as is in the database due to security reasons. If you already know this then skip this paragraph. It is conventional to create a randomised string called a salt which will be combined with a hashing function to produce an output to be stored in the database. The hashed output and the salt will then be stored in the database. Upon logging in the password you provided will be used in combination with the salt we generated earlier to validate the hashed password.
Let’s implement the logic to generate a random salt. Import the dart:math library:
import 'dart:io';
import 'dart:convert';
import 'dart:math';

...
And then in the next // TODO: block:
// Generate a random 'salt'
var rand = Random.secure();
var saltBytes = List<int>.generate(32, (_) => _rand.nextInt(256));
var salt = base64.encode(saltBytes);
This generates an a list of 32 integers between 0 and 256. Afterwards we convert the list to a base64 string.
Let’s create a hashing function to consume this salt. Import the crypto package:
import 'dart:io';
import 'dart:convert';
import 'dart:math';

import 'package:mongo_dart/mongo_dart.dart';
import 'package:crypto/crypto.dart';

...
And define our hashing function outside the main() top-level function:
...

main() {
 ...
}

// Create a hash from the given password
hashPassword(String password, String salt) {
  var codec = Utf8Codec();
  var key = codec.encode(password);
  var saltBytes = codec.encode(salt);
  var hmacSha256 = Hmac(sha256, key);
  var digest = hmacSha256.convert(saltBytes);
  return digest.toString();
}
Let’s continue with our if block:
// Hash the password combining the generated salt
var hashedPassword = hashPassword(password, salt);
At this point we should have a username, salt and hashed password. We can now store this in the database using the users reference we created earlier:
// Store the username, salt and hashed password in the database
await users.save({
  'username': user,
  'hashedPasswd': hashedPassword,
  'salt': salt,
});
And then write to the response:
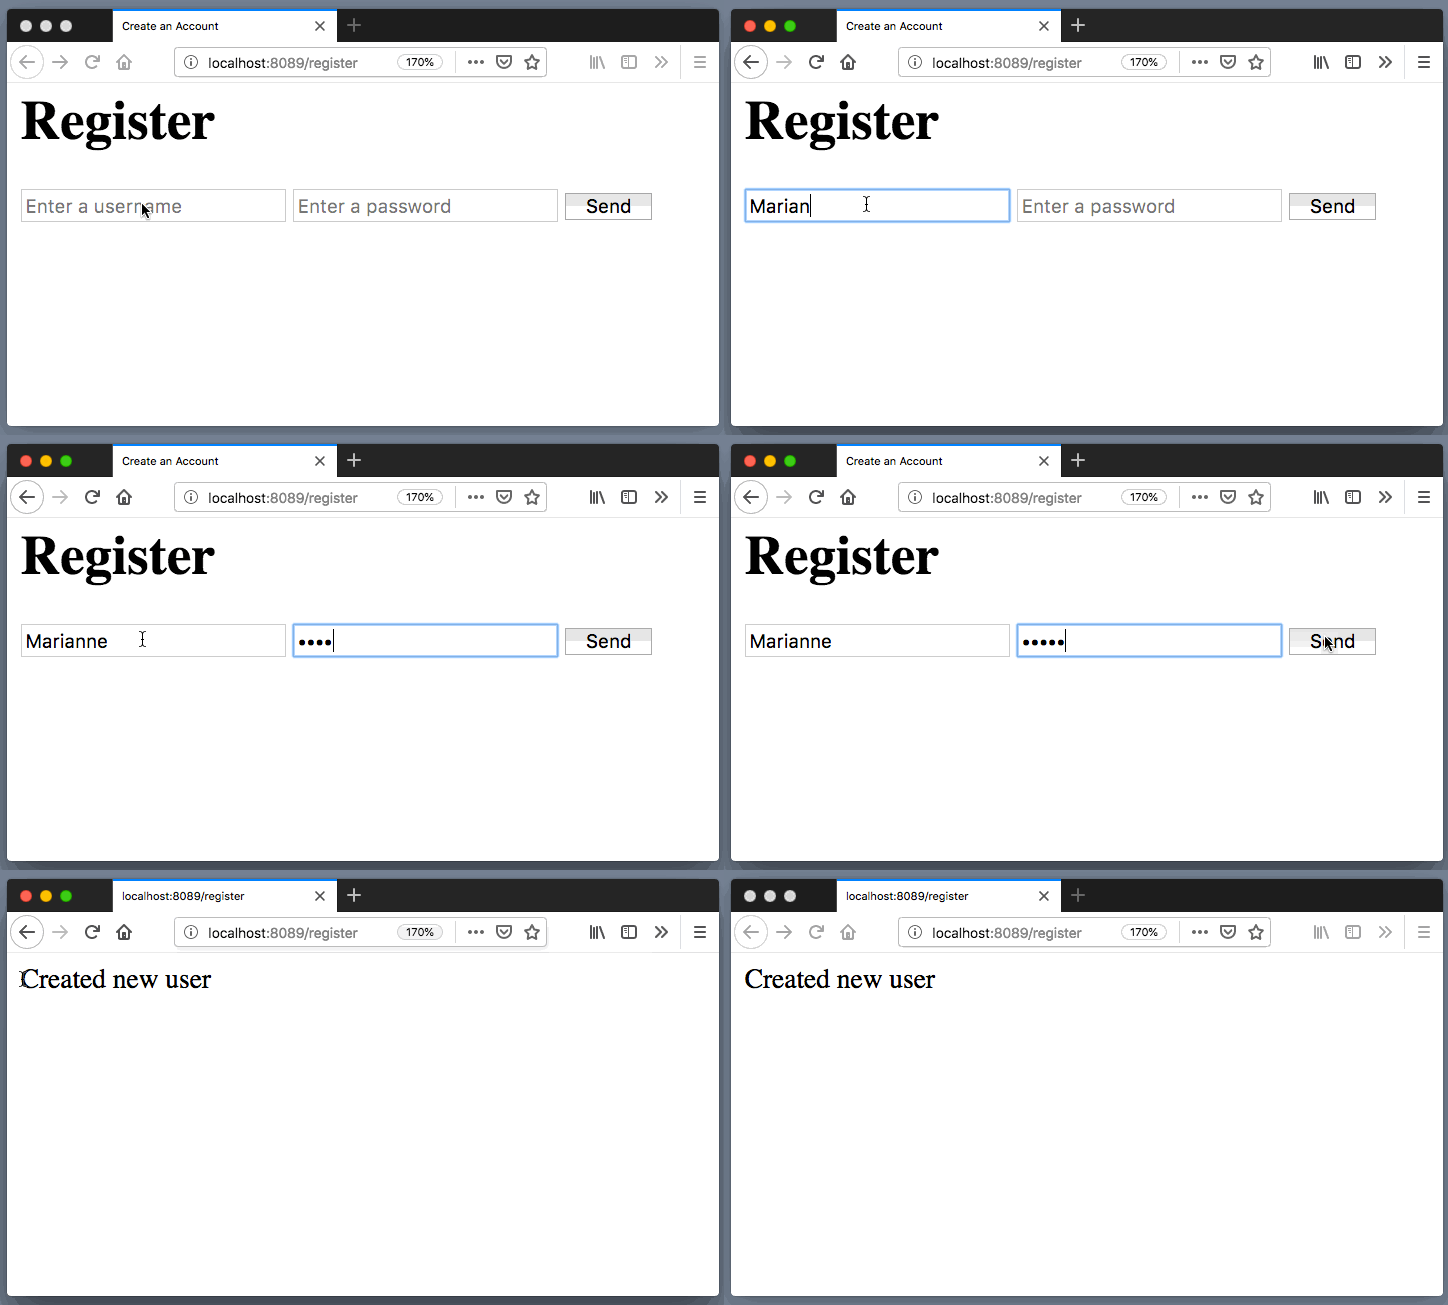
response.write('Created new user');
And here we go:
Take a look in your mongo database to see the new user:
$ mongo
...
...
> use prod
switched to db prod
> db.users.find()
{ "_id" : ObjectId("5cf05167a7c6c9fe65683e90"), "username" : "Marianne", "hashedPasswd" : "f7fdabbc886d7e7413e1756d52cbf473f49597e924c446cbdd12fb18b7965ae8", "salt" : "Zyjut6xtbVoDurIA6RWHoCpdtmEkyE7nSJ72CsbQl34=" }
This concludes our tutorial. In the next part we will implement login and persist the session.
Further reading
Subscribe to my newsletter
Read articles from Creative Bracket Blog directly inside your inbox. Subscribe to the newsletter, and don't miss out.
Written by

Creative Bracket Blog
Creative Bracket Blog
I'm Jermaine, a Web Developer, Technical Writer and Programming Instructor. Having worked with various languages in the IT industry for over 13+ years now, I am here to share my knowledge on software development with the community.