Harnessing the Power of Flutter’s Animations: A Guide to Creating Smooth and Interactive UI
 Ravi Patel
Animations play a crucial role in creating engaging and user-friendly applications. Flutter, with its rich set of animation APIs, makes it easy to create smooth, interactive, and visually appealing animations. In this blog, we’ll explore how to leverage Flutter’s animation capabilities to enhance your application’s user experience.
Why Use Animations?
Animations can significantly improve the user experience by:
Providing visual feedback.
Enhancing usability through intuitive interactions.
Making your app feel more dynamic and responsive.
Types of Animations in Flutter
Flutter offers various types of animations to choose from. Let’s take a look at some common ones:
1. Implicit Animations
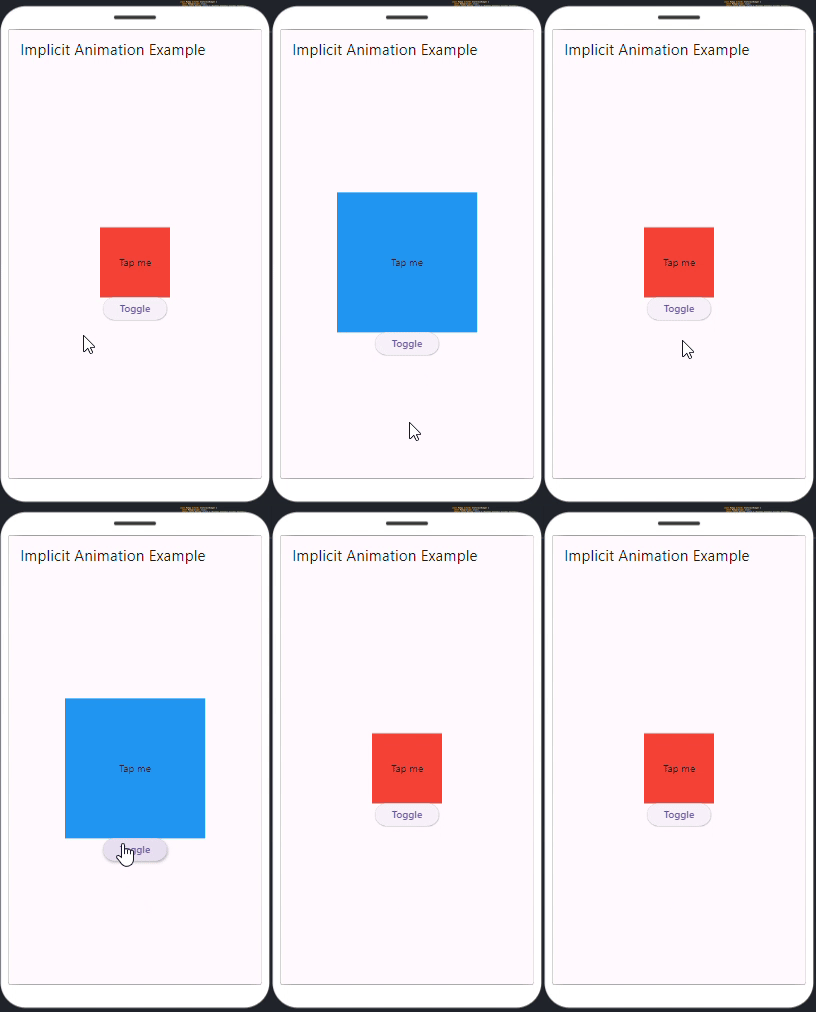
Implicit animations in Flutter are easy to implement and automatically handle animation transitions when a widget’s properties change.
Example:
The AnimatedContainer widget animates changes to its properties, such as size, color, and padding.
class ImplicitAnimationExample extends StatefulWidget {
  @override
  _ImplicitAnimationExampleState createState() => _ImplicitAnimationExampleState();
}
class _ImplicitAnimationExampleState extends State<ImplicitAnimationExample> {
  bool _expanded = false;
  void _toggleContainer() {
    setState(() {
      _expanded = !_expanded;
    });
  }
  @override
  Widget build(BuildContext context) {
    return Scaffold(
      appBar: AppBar(title: Text('Implicit Animation Example')),
      body: Center(
        child: Column(
          mainAxisAlignment: MainAxisAlignment.center,
          children: <Widget>[
            AnimatedContainer(
              duration: Duration(seconds: 1),
              width: _expanded ? 200.0 : 100.0,
              height: _expanded ? 200.0 : 100.0,
              color: _expanded ? Colors.blue : Colors.red,
              child: Center(child: Text('Tap me')),
            ),
            ElevatedButton(
              onPressed: _toggleContainer,
              child: Text('Toggle'),
            ),
          ],
        ),
      ),
    );
  }
}

2. Explicit Animations
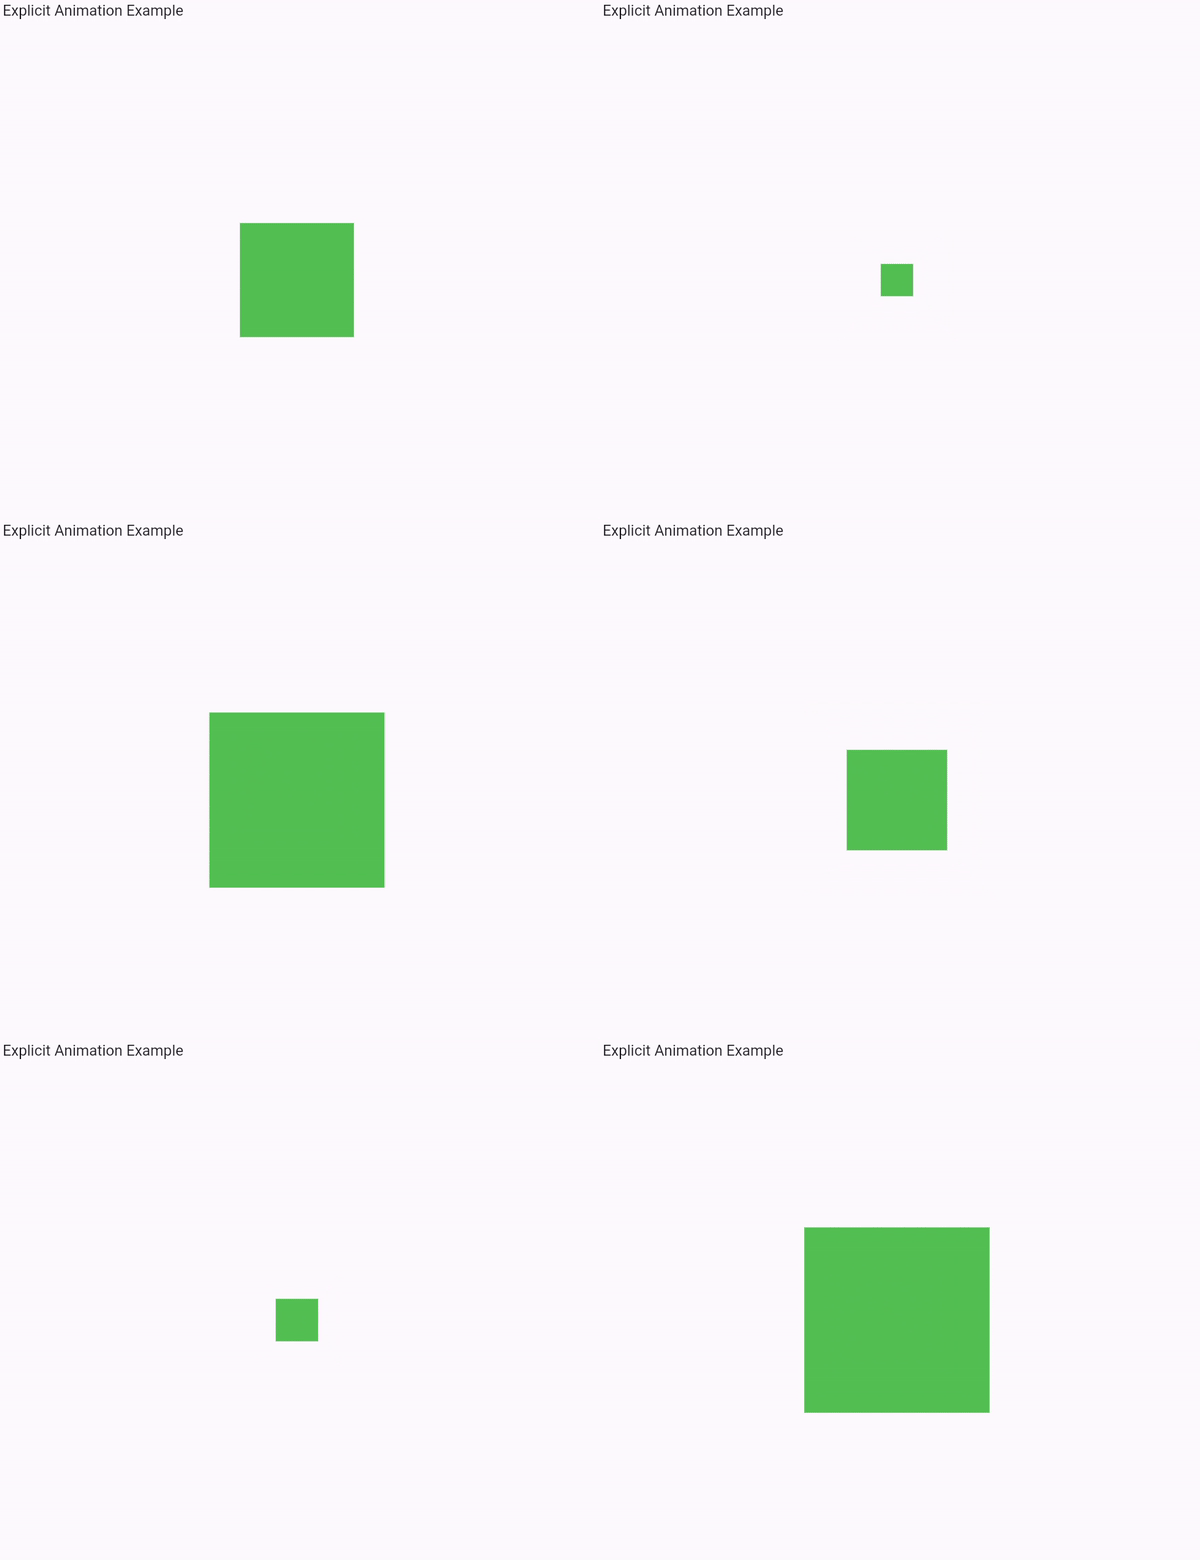
Explicit animations provide more control over the animation process, allowing you to create complex animations with custom behavior.
Example:
The AnimationController and Tween classes are used to create a custom animation.
class ExplicitAnimationExample extends StatefulWidget {
  @override
  _ExplicitAnimationExampleState createState() => _ExplicitAnimationExampleState();
}
class _ExplicitAnimationExampleState extends State<ExplicitAnimationExample> with SingleTickerProviderStateMixin {
  late AnimationController _controller;
  late Animation<double> _animation;
  @override
  void initState() {
    super.initState();
    _controller = AnimationController(
      duration: const Duration(seconds: 2),
      vsync: this,
    )..repeat(reverse: true);
  _animation = Tween<double>(begin: 0.0, end: 300.0).animate(_controller);
  }
  @override
    Widget build(BuildContext context) {
      return Scaffold(
        appBar: AppBar(title: Text('Explicit Animation Example')),
        body: Center(
          child: AnimatedBuilder(
            animation: _animation,
            builder: (context, child) {
              return Container(
                width: _animation.value,
                height: _animation.value,
                color: Colors.green,
              );
            },
          ),
        ),
      );
    }
    @override
    void dispose() {
      _controller.dispose();
      super.dispose();
    }
}

3. Hero Animations
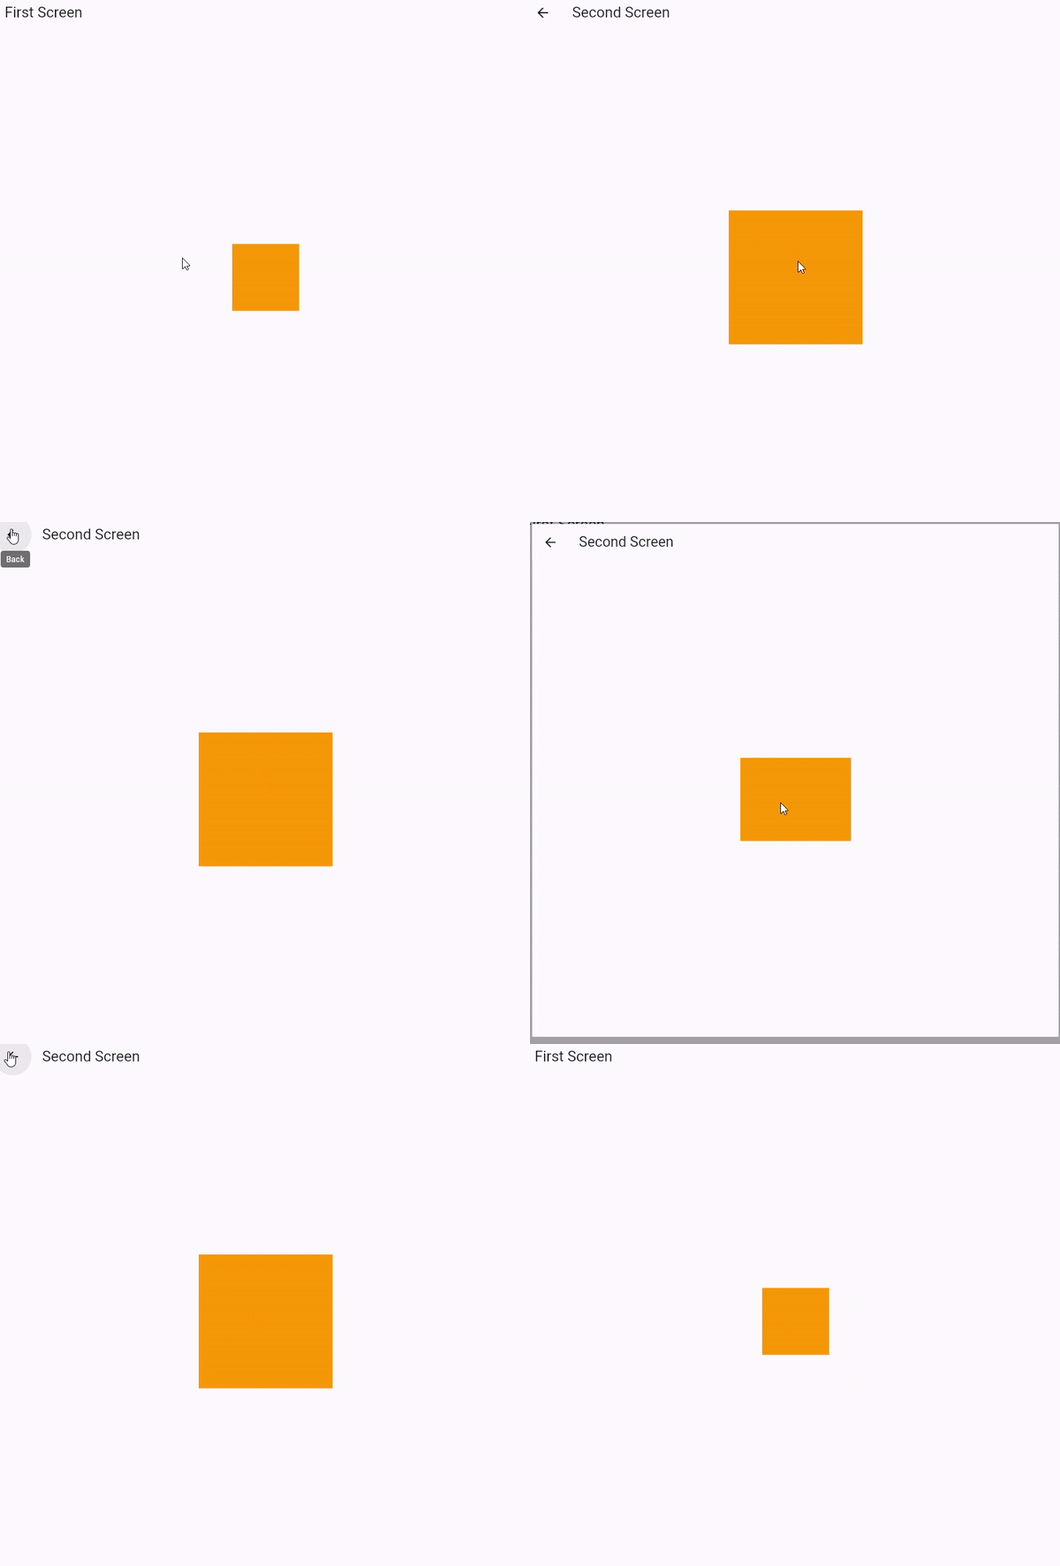
Hero animations allow you to animate a widget across different screens. This is useful for creating seamless transitions between views.
Example:
To implement a Hero animation, wrap the widget you want to animate with the Hero widget and provide a unique tag.
class FirstScreen extends StatelessWidget {
  @override
  Widget build(BuildContext context) {
    return Scaffold(
      appBar: AppBar(title: Text('First Screen')),
      body: Center(
        child: Hero(
          tag: 'hero-tag',
          child: GestureDetector(
            onTap: () {
              Navigator.push(
                context,
                MaterialPageRoute(builder: (context) => SecondScreen()),
              );
            },
            child: Container(
              width: 100.0,
              height: 100.0,
              color: Colors.orange,
            ),
          ),
        ),
      ),
    );
  }
}
class SecondScreen extends StatelessWidget {
  @override
  Widget build(BuildContext context) {
    return Scaffold(
      appBar: AppBar(title: Text('Second Screen')),
      body: Center(
        child: Hero(
          tag: 'hero-tag',
          child: Container(
            width: 200.0,
            height: 200.0,
            color: Colors.orange,
          ),
        ),
      ),
    );
  }
}

Best Practices for Flutter Animations
Keep Animations Smooth: Use Flutter’s animation framework to ensure animations run at 60 frames per second (fps) for smooth performance.
Avoid Overuse: Too many animations can overwhelm users. Use them sparingly and purposefully.
Consider Performance: Test animations on different devices to ensure they perform well across a range of hardware.
Conclusion
Flutter’s animation capabilities are powerful tools for enhancing user interfaces. Whether you’re using implicit animations for simple transitions, explicit animations for custom effects, or Hero animations for seamless screen transitions, understanding these options will help you create more engaging and dynamic applications.
Explore Flutter’s animation framework and bring your UI to life with smooth and interactive animations!
Subscribe to my newsletter
Read articles from Ravi Patel directly inside your inbox. Subscribe to the newsletter, and don't miss out.
Written by

Ravi Patel
Ravi Patel
"📱 Passionate Flutter Developer with 6+ years of experience, dedicated to crafting exceptional mobile applications. 🚀 Adept at turning ideas into polished, user-friendly experiences using Flutter's magic. 🎨 Design enthusiast who believes in the power of aesthetics and functionality. 🛠️ Expertise in translating complex requirements into clean, efficient code. 🌟 Committed to staying updated with the latest trends and continuously pushing boundaries. Let's create something extraordinary together!"