How to Install and Configure a Laravel 11 Project from Scratch
 Aman jain
Introduction
Brief Overview of Laravel
Welcome to the world of Laravel, a powerful PHP framework that enables you to create strong web applications effortlessly. Whether you have experience or are new, it is important to set up Laravel properly for a better development process. This guide will lead you through setting up and customizing a Laravel project starting from the beginning. At the conclusion, you will be equipped with a strong base to efficiently begin constructing your Laravel applications.
Importance of Setting Up Laravel Correctly
Setting up Laravel correctly is crucial for ensuring your application runs smoothly and securely. Proper configuration helps avoid common pitfalls and ensures that your development environment is consistent with your production environment.
Target Audience and Prerequisites
This guide is aimed at developers who are new to Laravel or looking to set up a fresh Laravel project. Basic knowledge of PHP, Composer, and web servers is helpful.
Preparing the Environment
System Requirements
Before installing Laravel, ensure your system meets the following requirements:
PHP >= 8.2 (For Laravel 11)
Composer
A local development server like XAMPP, MAMP, or Laravel Homestead
Installing PHP and Composer
- Install PHP: Download and install PHP from PHP's official website. After installation, we can verify if PHP is installed by running the following command:
php -v
- Install Composer: Composer is a dependency manager for PHP. Download and install it from Composer's official website. After installation, we can verify if Composer is installed by running the following command:
composer -v
Setting Up a Local Development Server
Choose a local development server:
XAMPP: Includes PHP, MySQL, and Apache. Download from Apache Friends.
MAMP: Another option that includes PHP, MySQL, and Apache. Download from MAMP's official site.
Laravel Homestead: A pre-packaged Vagrant box specifically for Laravel. Follow the instructions on Laravel Homestead's documentation.
Installing Laravel
Using Composer to Create a New Laravel Project
Open your terminal and run:
composer create-project laravel/laravel example-app
// replace example-app name  with the name of your project.
Verifying the Installation
Navigate to your project directory:
cd your-project-name
// in this case cd example-app
Start the Laravel development server:
php artisan serve
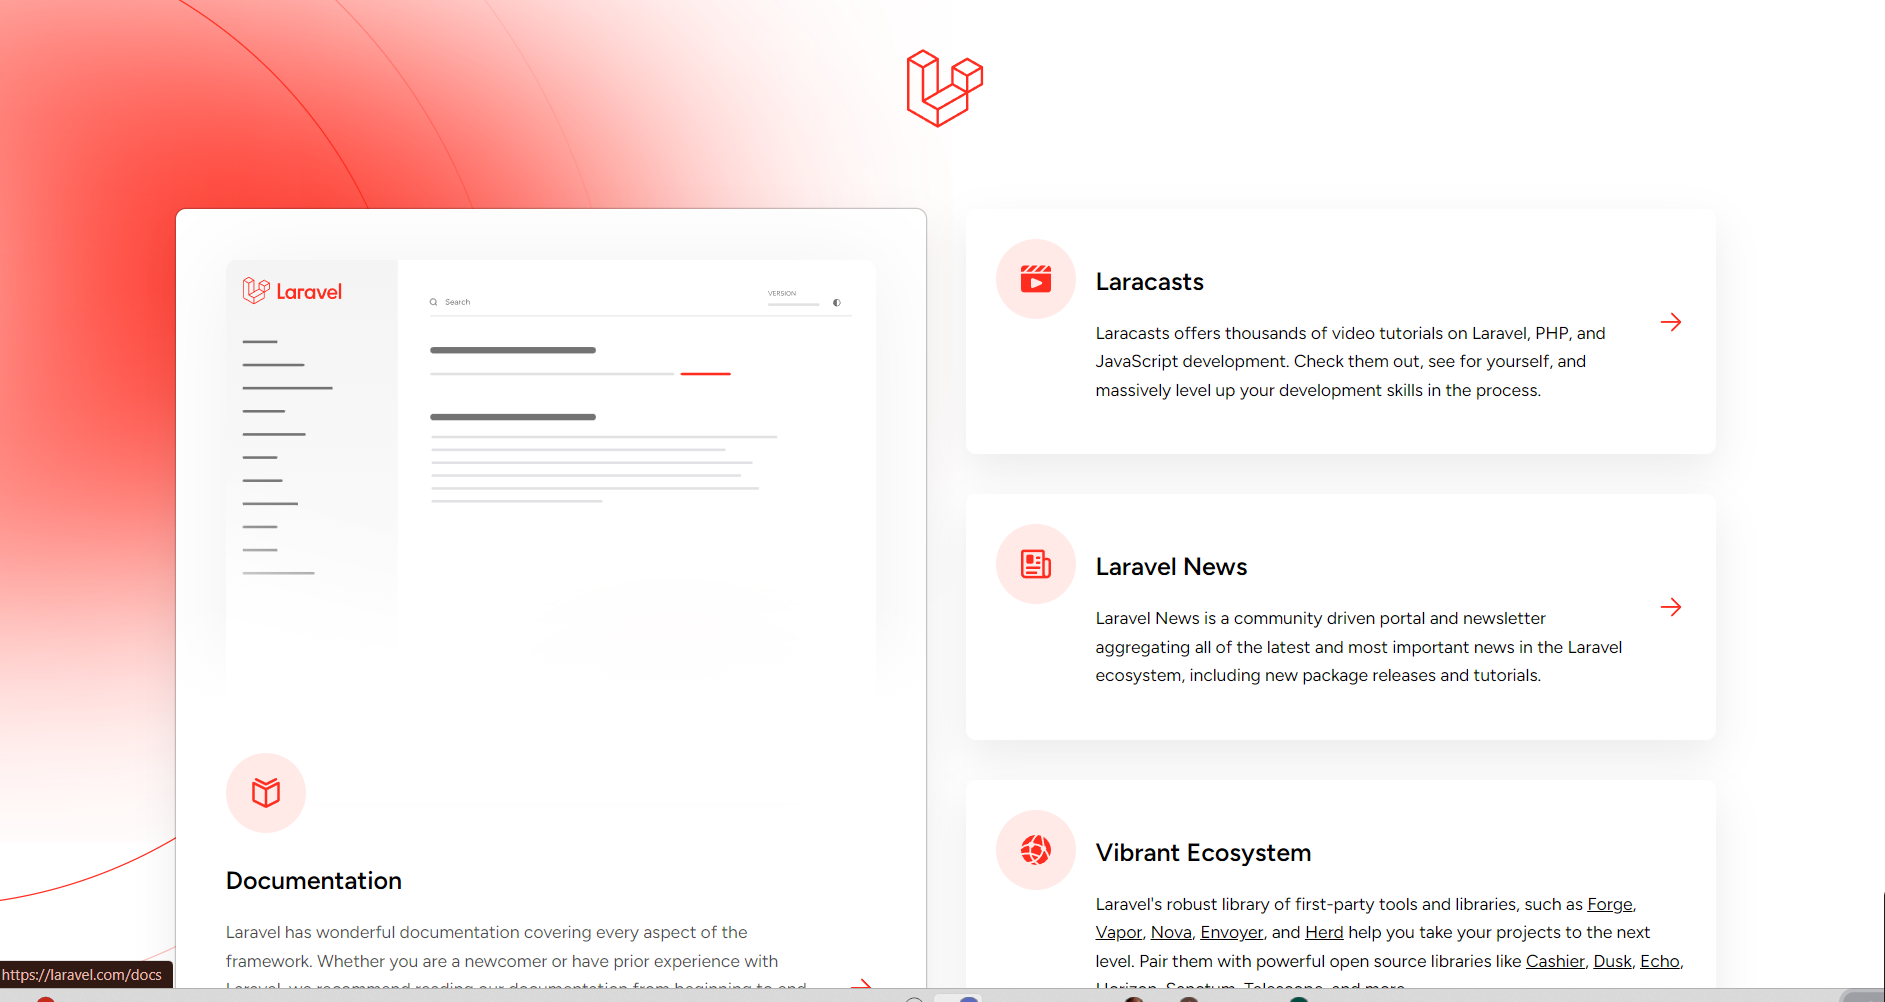
Open your browser and visit http://localhost:8000. If you see Laravel’s default welcome page, the installation was successful. It will look like this.

Understanding the directory structure
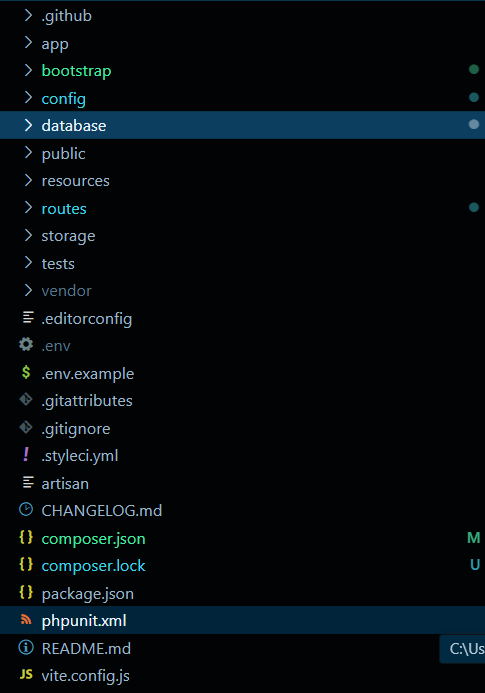
Once the project is created, Laravel provides a clean and organized structure:

Let’s Break down the Structure
The Laravel directory structure is designed to be clean and organized, making it easier for developers to work on their applications. Here's a breakdown of the key directories and their roles:
app
This directory contains the core of your application. It houses your controllers, models, and services. Inside, you’ll find subdirectories for better organization:
bootstrap
The bootstrap directory includes the app.php file, which starts up the framework. It also has a cache folder that stores files generated by the framework, like route and services cache, to help improve performance.
config
As the name suggests, the config directory holds all of your application's configuration files. It's a good idea to go through these files and get familiar with the various settings and options available to you.
database
The directory for databases holds your database migrations, model factories, and seeds. If desired, you can also utilize this directory for storing an SQLite database.
public
Within the public directory is where you will find the index.php file, which serves as the starting point for all incoming requests to your application and sets up autoloading. This folder also contains your resources like images, JavaScript, and CSS.
resources
The views and uncompiled assets like CSS or JavaScript are stored in the resources directory.
routes
The directory where all route definitions for your application are stored is called the routes directory. Laravel includes two route files by default: web.php and console.php.
storage
The logs, compiled Blade templates, file-based sessions, file caches, and other framework-generated files are stored in the storage directory. This directory is divided into app, framework, and logs directories. The app directory is available for storing any files that are created by your application. The framework directory is utilized for storing files and caches generated by the framework. In the end, the logs directory houses the log files for
tests/
The automated tests are located in the tests directory. For example, Pest or PHPUnit comes with pre-installed unit tests and feature tests. Every test category must end with the term Test.
vendor/
The vendor directory contains your Composer dependencies.
artisan
This file is Laravel’s command-line interface. You use it to run Artisan commands like migrations, generating models, running tests, and more.
Configuring the Laravel Project
Setting up the environment file (.env)
Laravel uses a .env file to manage environment-specific settings like database credentials, mail settings, and the app URL. Rename .env.example to .env and run:
cp .env.example .env
Edit .env to configure environment settings like database connections and application URL.
Configuring Database Connections
Open .env and set up your database connection details:
DB_CONNECTION=sqlite
DB_HOST=127.0.0.1
DB_PORT=3306
DB_DATABASE=laravel
DB_USERNAME=root
DB_PASSWORD=
// In laravel 11 , default database is sqlite
Setting Application Key
Generate a new application key:
php artisan key:generate
This key is used for encryption and secure sessions.
Configuring Web and API Routes
Routes are defined routes/web.php for web routes and routes/api.php for API routes. Customize these files to define your application's routes.
Note:- In Laravel 11 api.php and channels.php route files are no longer included by default because many apps don’t need them. If we need the api.php or channels.php file in the routes folder, we can create them using an Artisan command.
php artisan install:api

php artisan install:broadcasting
Setting Up the Application URL
Update the APP_URL value in .env:
APP_URL=http://localhost
Configuring Mail Settings
If you plan to use email, configure mail settings in .env:
MAIL_MAILER=log
MAIL_HOST=127.0.0.1
MAIL_PORT=2525
MAIL_USERNAME=null
MAIL_PASSWORD=null
MAIL_ENCRYPTION=null
MAIL_FROM_ADDRESS="hello@example.com"
MAIL_FROM_NAME="${APP_NAME}"
//Replace values with your mail server details.
Database Setup
Creating a new database
Create a new database in your local server (e.g., via phpMyAdmin or MySQL or SQLite) and update the .env file with the details.
Running migrations
Migrations are Laravel's way of managing the database schema. To create tables, run:
php artisan migrate
Essential Laravel Configurations
Setting up Debug Mode
To enable debug mode during development, set this in your .env file:
APP_DEBUG=true
Running the Laravel Development Server
Starting the built-in server
To start the built-in server, run:
php artisan serve
Accessing the application in a web browser
After running the command, visit http://localhost:8000 to access your application.
Troubleshooting common issues
If you face any issues like missing dependencies or incorrect PHP versions, check your error logs and make sure the environment is correctly set up.
Conclusion
WOOHOO!! 🎉 I DID IT!! 💥 I’ve installed and configured Laravel from scratch! CAN YOU BELIEVE IT?! 😱🙌💃 From setting up the environment to deploying the project, I am READY to create some web magic! ✨💻 But WAIT, there’s MORE!! 🎊💥 Ready to dance to the next level? 💃 I’m diving into the Laravel Documentation to explore the wild world of middleware, service providers, and event broadcasting! 🎉🔥 Things are heating up, and I’m dancing my way to Laravel greatness! 💃💥 LET'S GOOOO!!!
Subscribe to my newsletter
Read articles from Aman jain directly inside your inbox. Subscribe to the newsletter, and don't miss out.
Written by
Aman jain
Aman jain
I'm a developer who shares advanced insights and expertise through technology-related articles. Passionate about creating innovative solutions and staying up-to-date with the latest tech trends. Let's connect and explore the world of technology together!