Vaultwarden: an excellent self-hosted password manager
 Evan
Evan
Introduction
Previously, I wrote an article about installing Vaultwarden in a Docker container to securely store my passwords and secret data.
In part 2, I will discuss how I configured the vault and share my experience using it. If you haven’t already, be sure to check out part 1.
Test drive
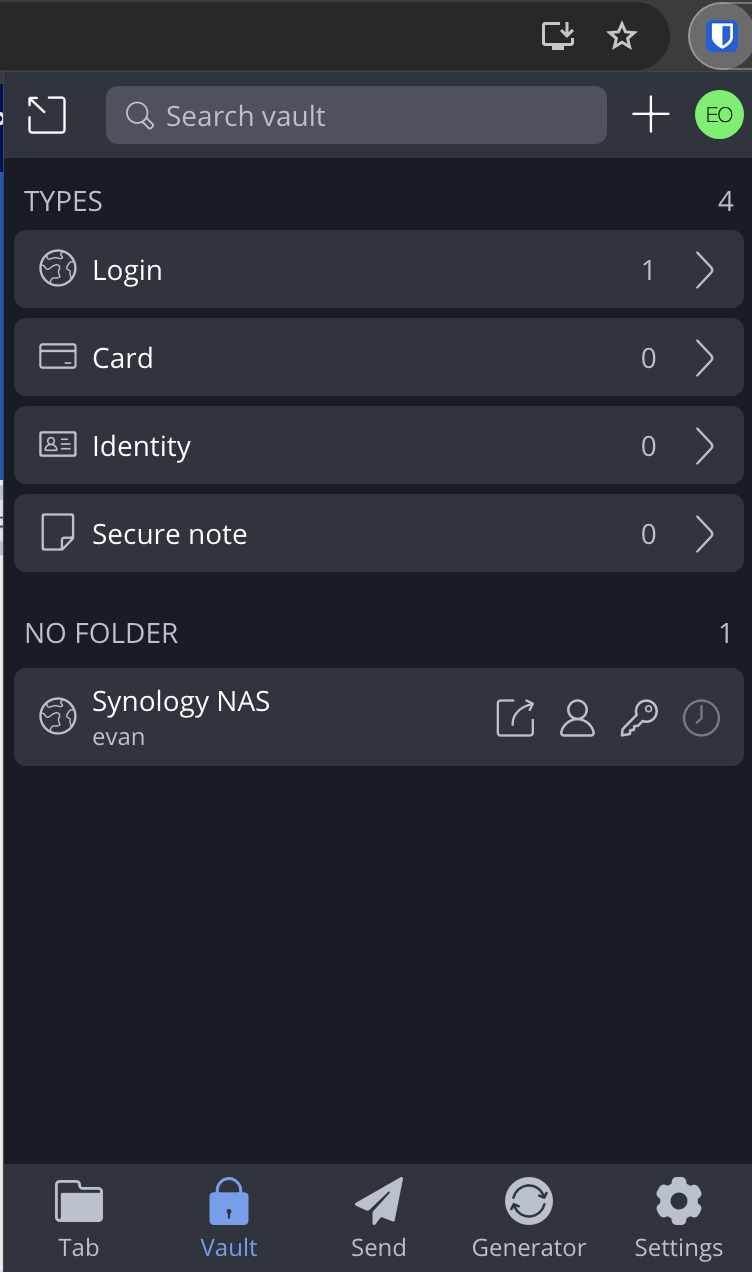
This is what the vault looks like:
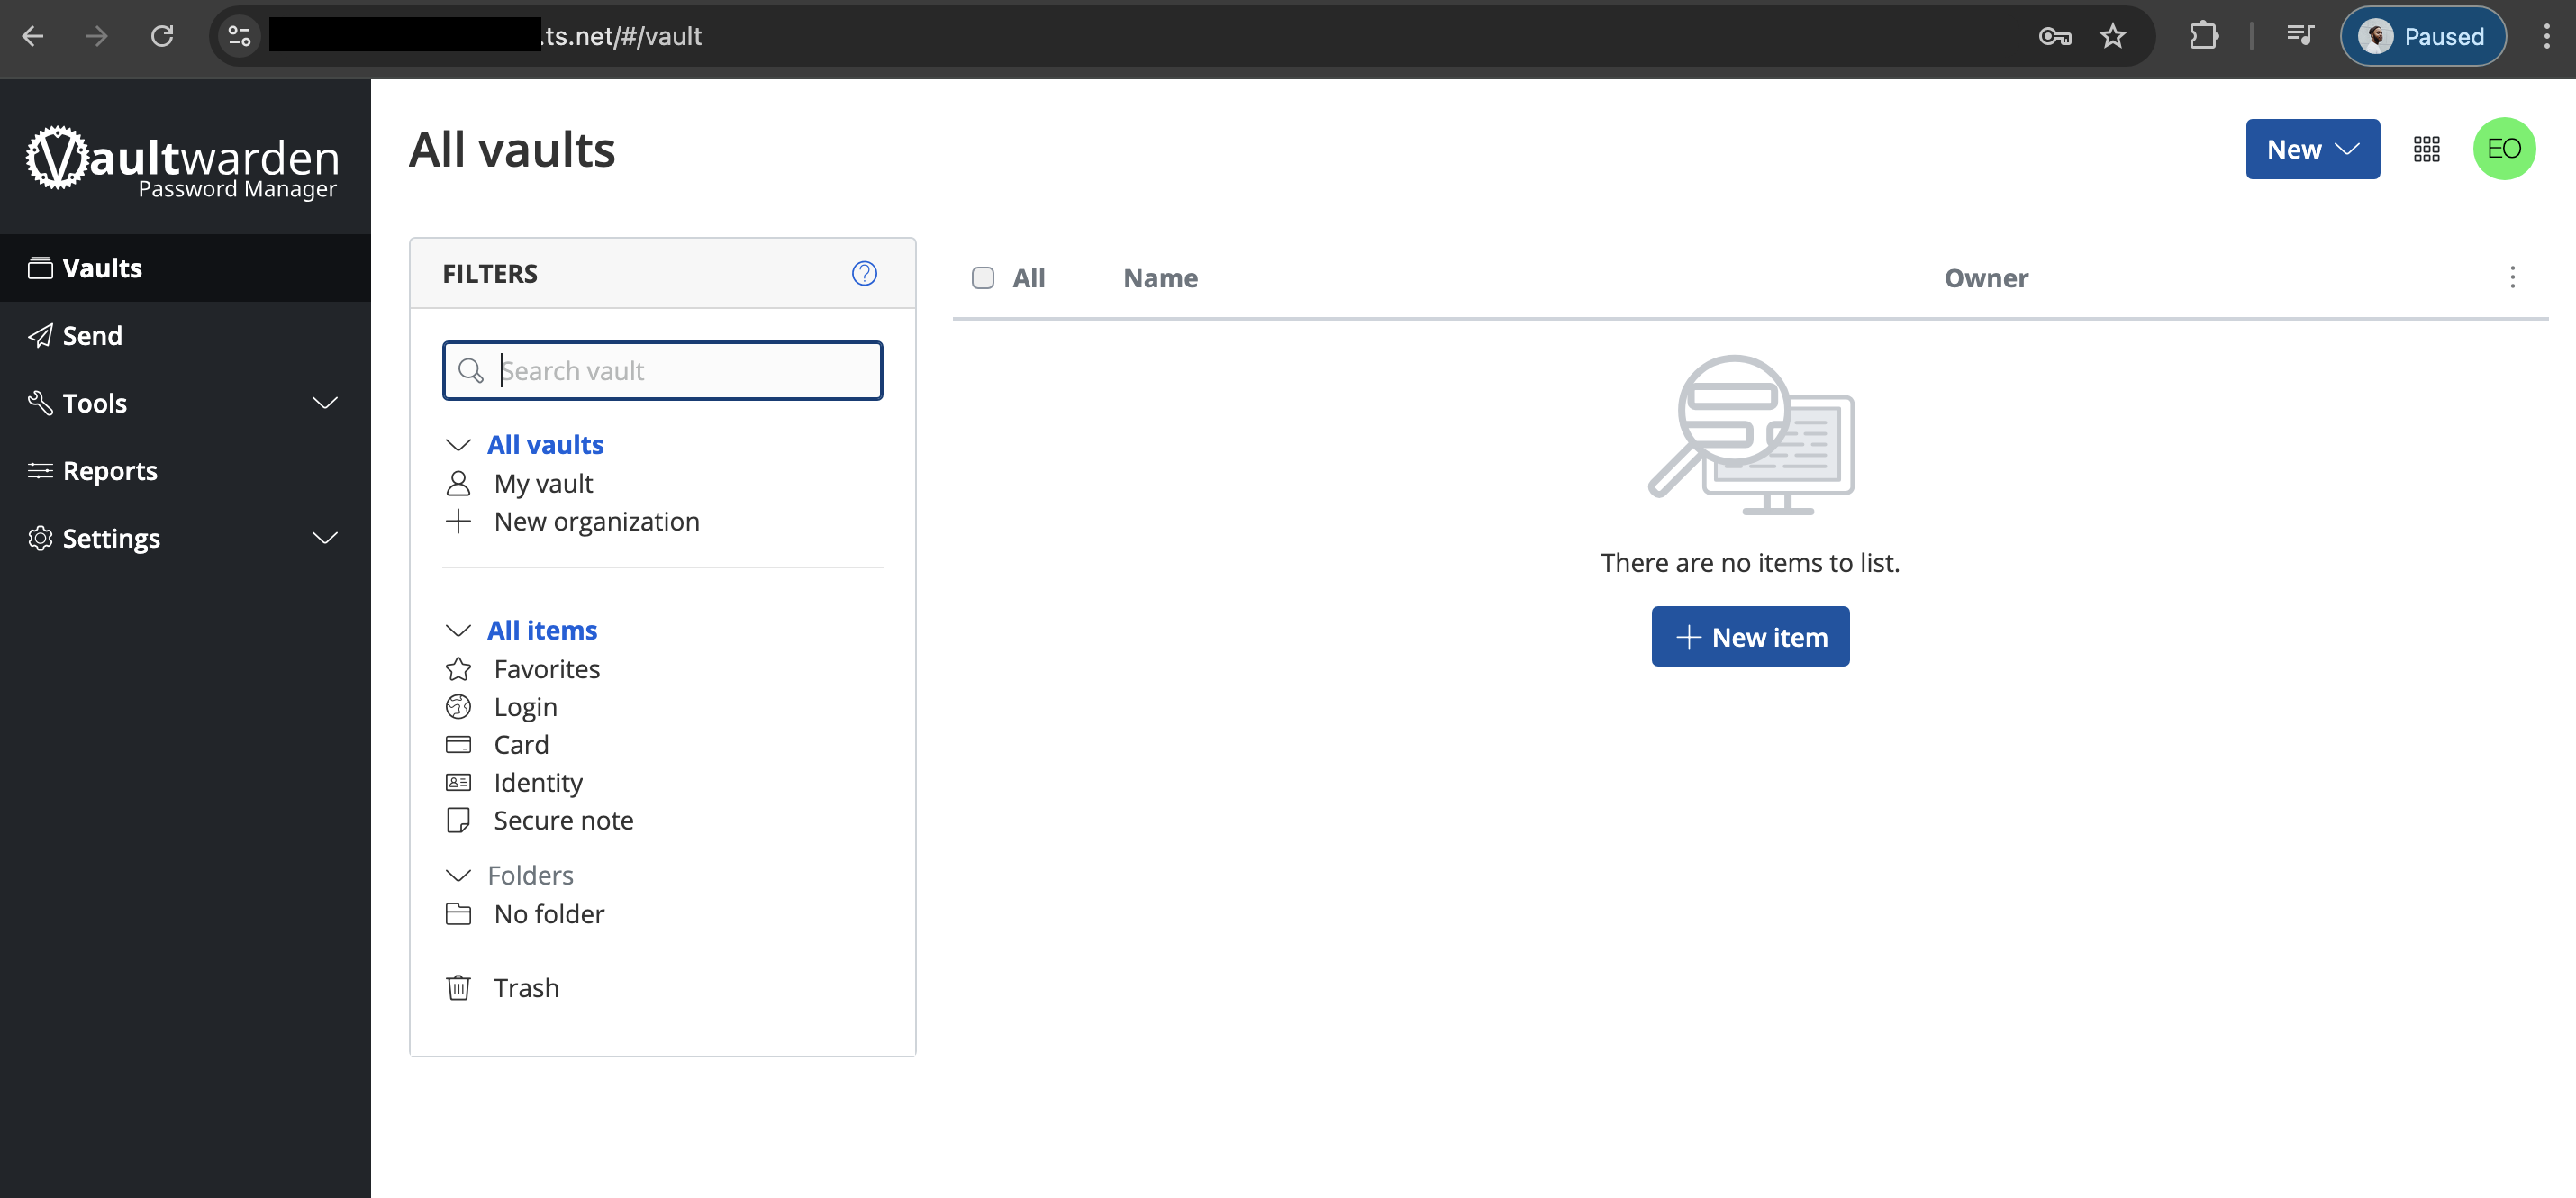
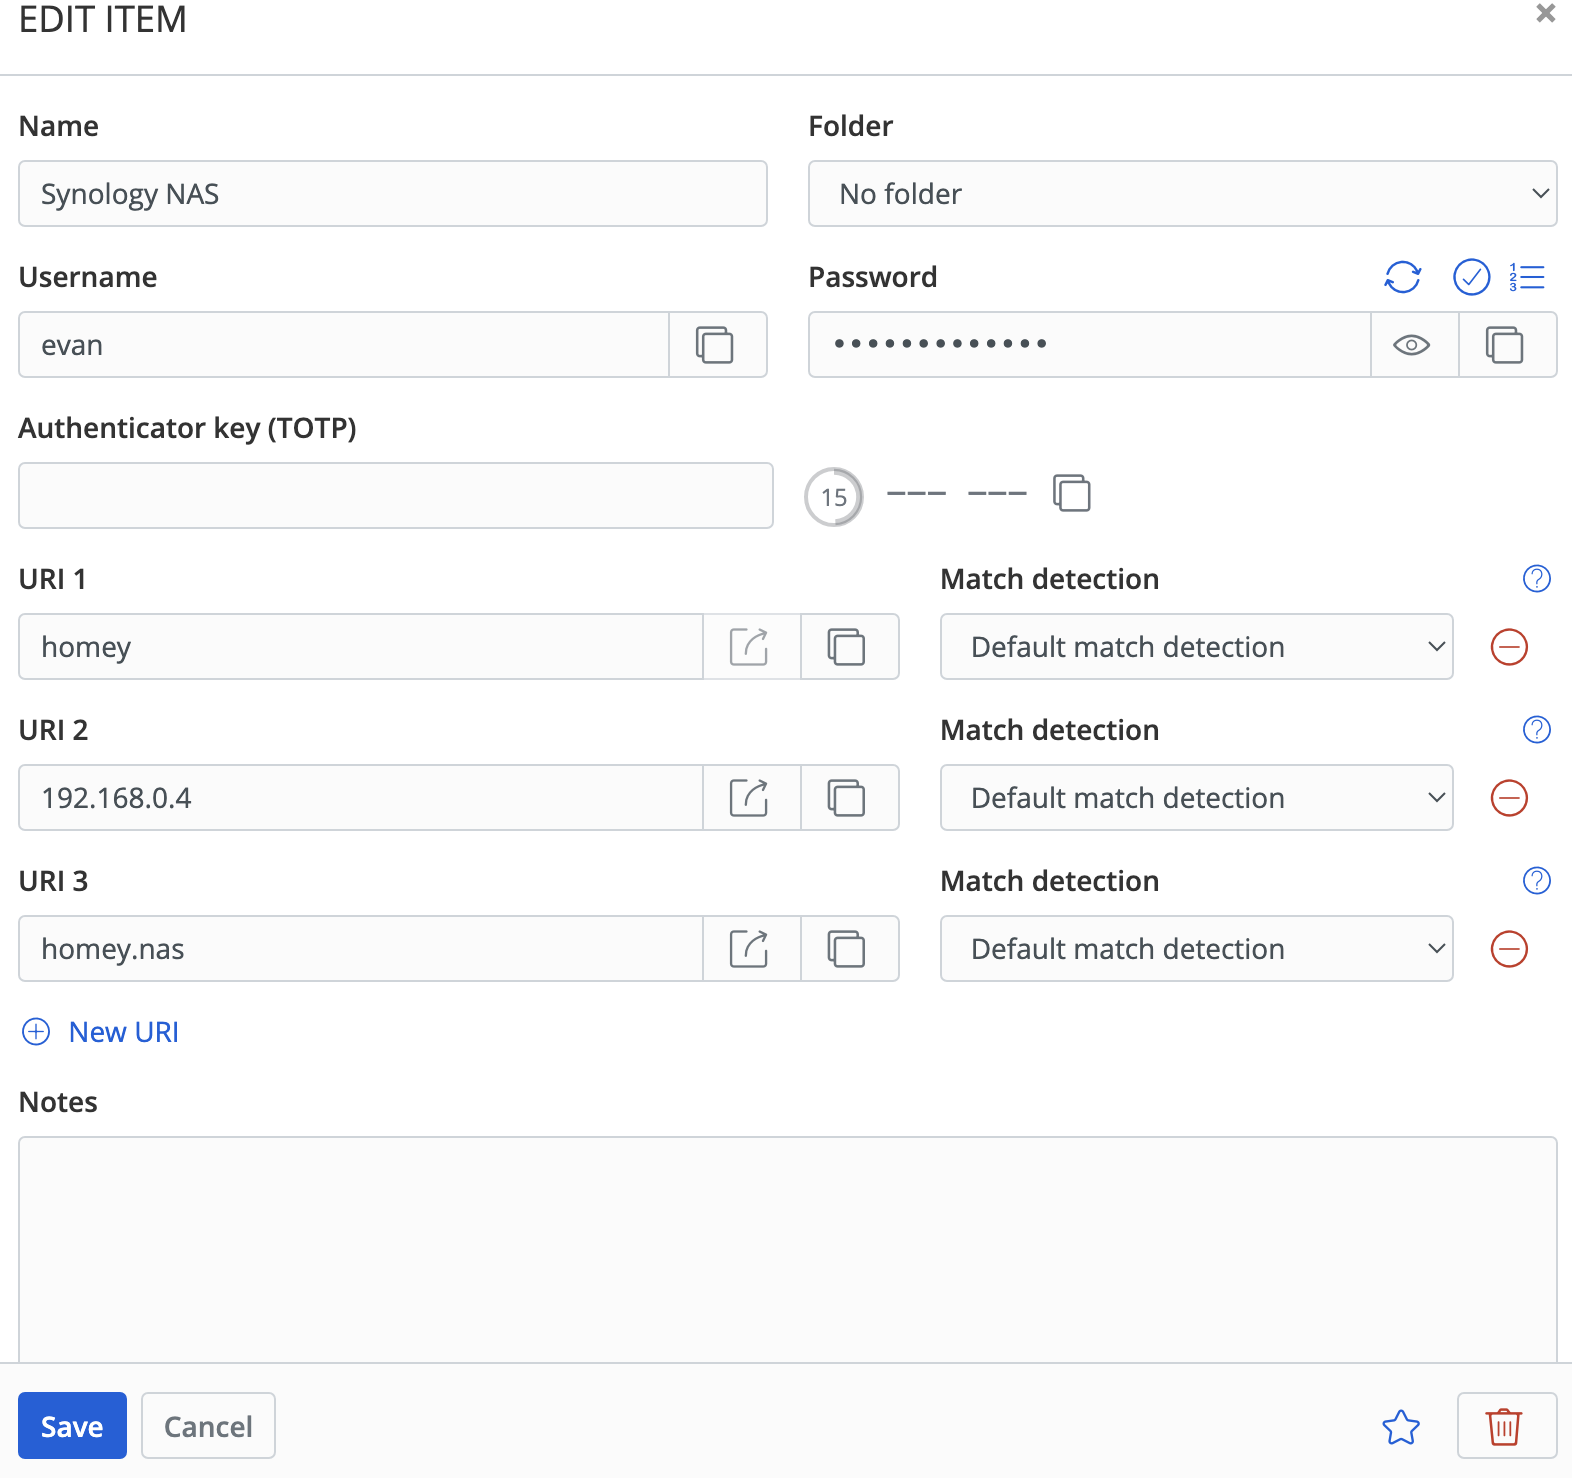
The UI is very user-friendly. To start testing this, I created a log-in item for my Synology NAS.
Vaultwarden is an implementation of the Bitwarden server API and it is compatible with Bitwarden's upstream clients. An example of one of those clients is Bitwarden's browser extension (available for most browsers). There are also options for mobile, devices, desktop applications, and even CLI.

Once the browser extension is installed it is time to flex that API and connect it to my server. When logging in, be sure to choose the option for "self-hosted".
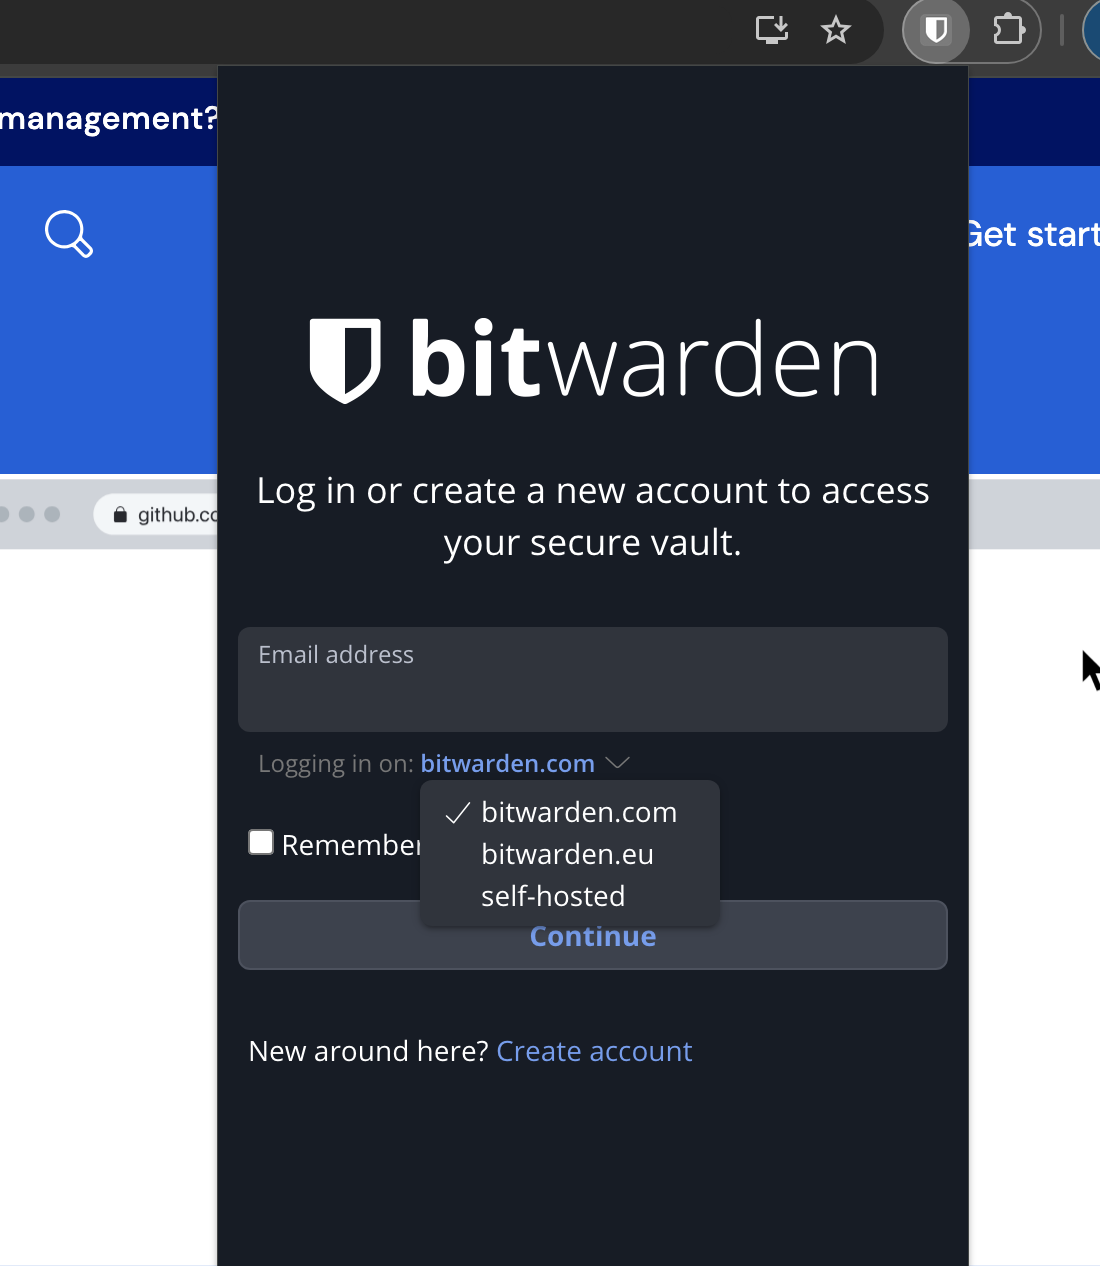
Enter your server's address and your user credentials.

Now you can see your vault in the browser extension and you are ready to use it as your password manager. If you never wanted to log in to the server again you wouldn't have to as many of the features involving password and secret management are available right here. Very easy.
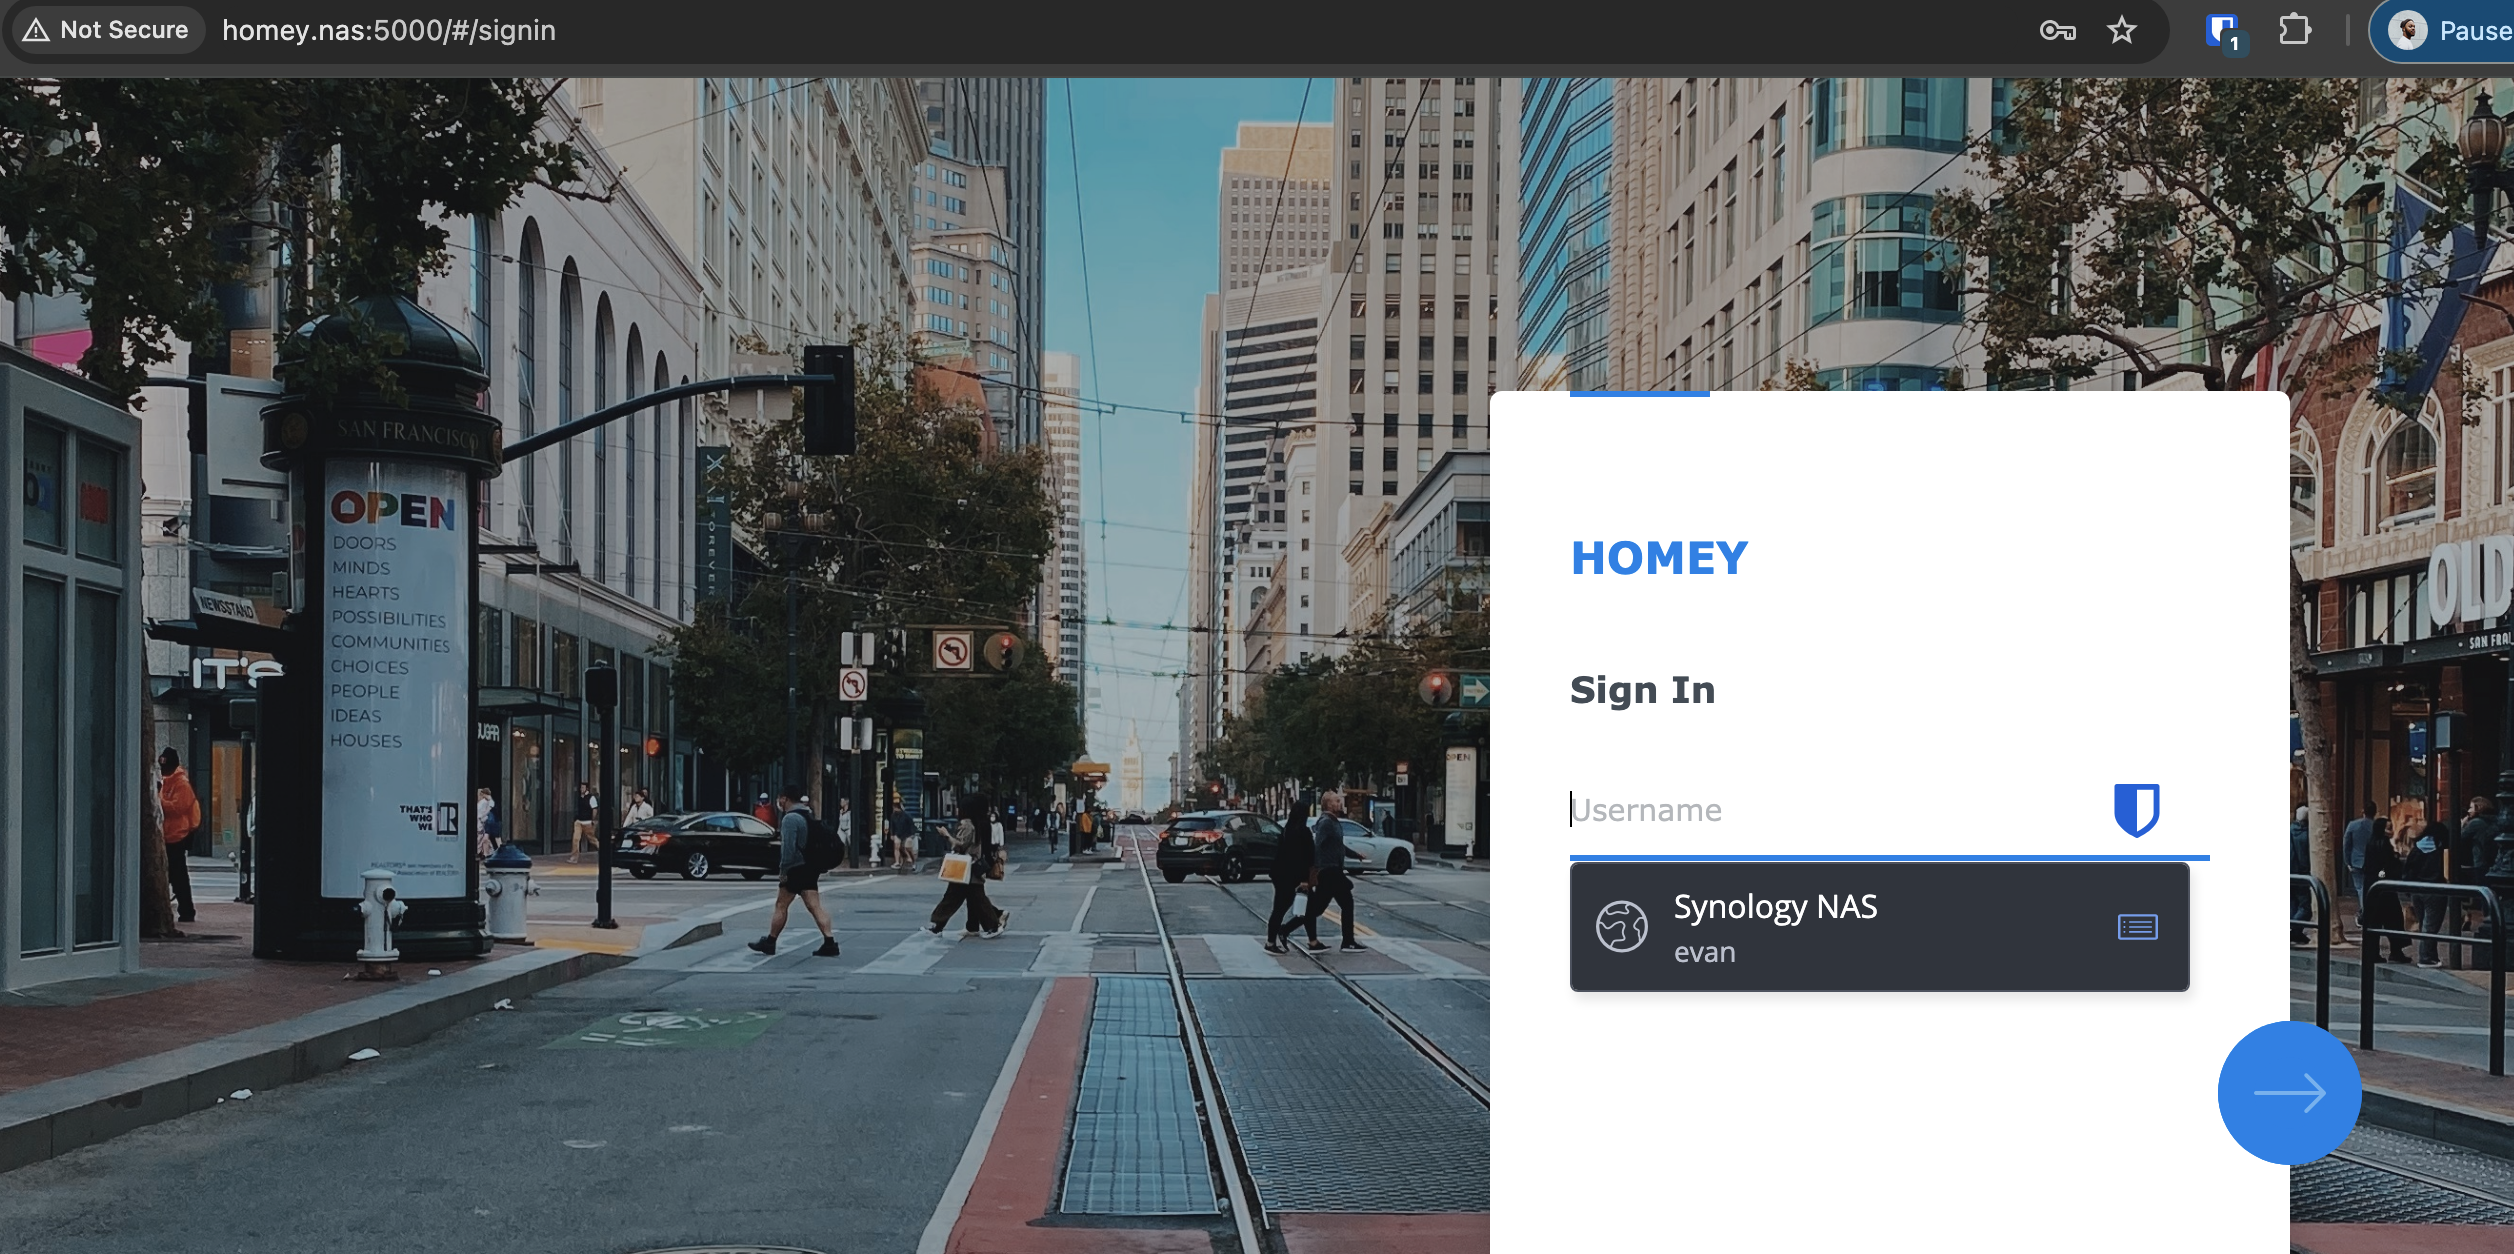
Bitwarden's blue & white shield will now appear for fields that will accept log-in credentials.
Migrating passwords from Google Chrome and iCloud keychain
If you are coming from another password manager, you will likely have hundreds of passwords that need to go into your vault. Fortunately migrating to Vaultwarden is also pretty easy.
Google Chrome let's you export passwords saved in the password manager to a .csv file.

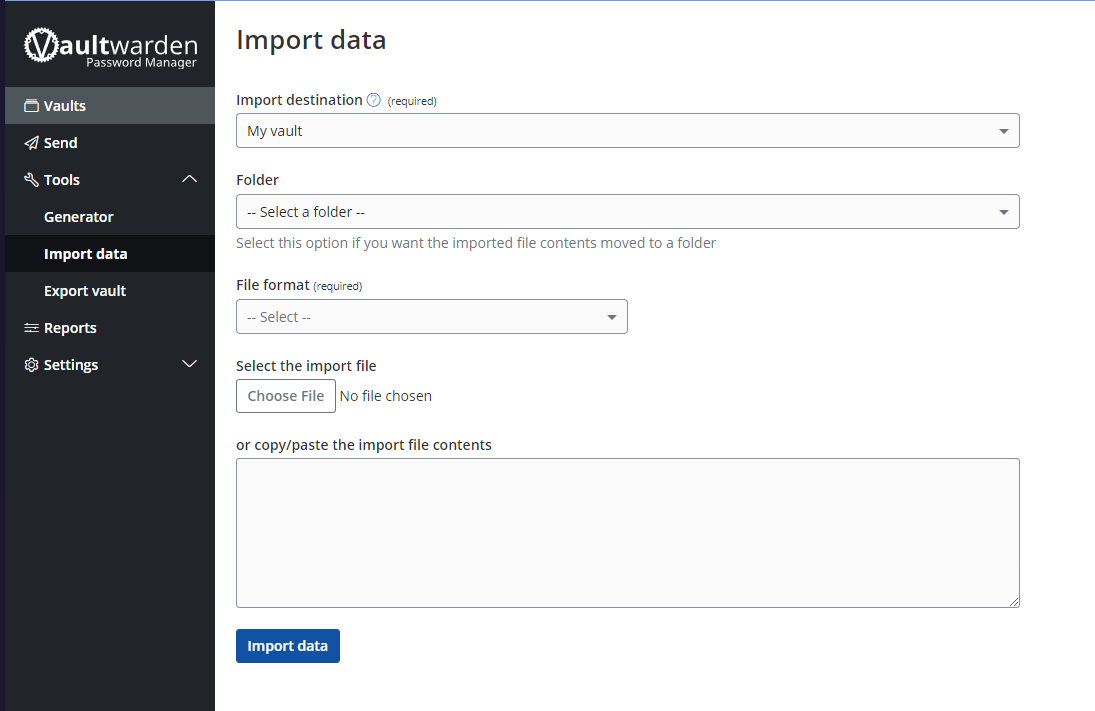
Once you have the file downloaded, in Vaultwarden, go to Tools > Import Data from the menu on the left. Select the correct file format (Chrome csv) and then upload the file.
I also needed to upload passwords from my iCloud keychain. You can only export passwords from the keychain in macOS. This will also output your passwords in a single .csv file and you can upload this to Vaultwarden.
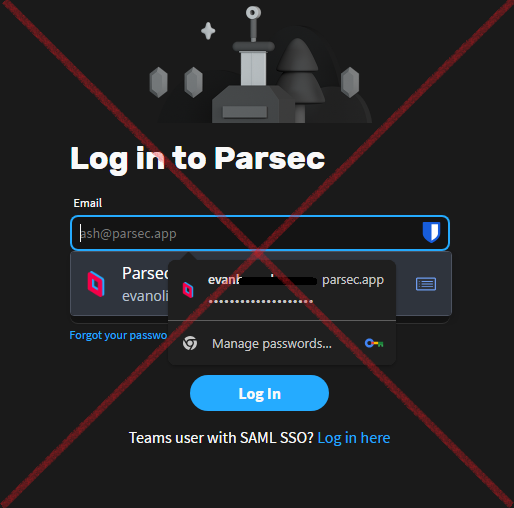
Avoid using conflicting password managers
Don't forget to disable your previous password manager in your browser's settings. It seems like a “no-brainer,” but it is an important step. Otherwise, you will get some funky user interface presentation, especially in Chrome, and while trivial, this was a little annoying to deal with at first.
I do wish that Bitwarden had an option to disable the Chrome password manager entirely. I use multiple Google accounts and on each one I had to turn off the Chrome password manager. If that does exist, I wasn’t able to find it.
Passkeys
I was pleasantly surprised to find that Bitwarden manages passkeys! This allows for much faster log ins for platforms that accept them like you Google account.
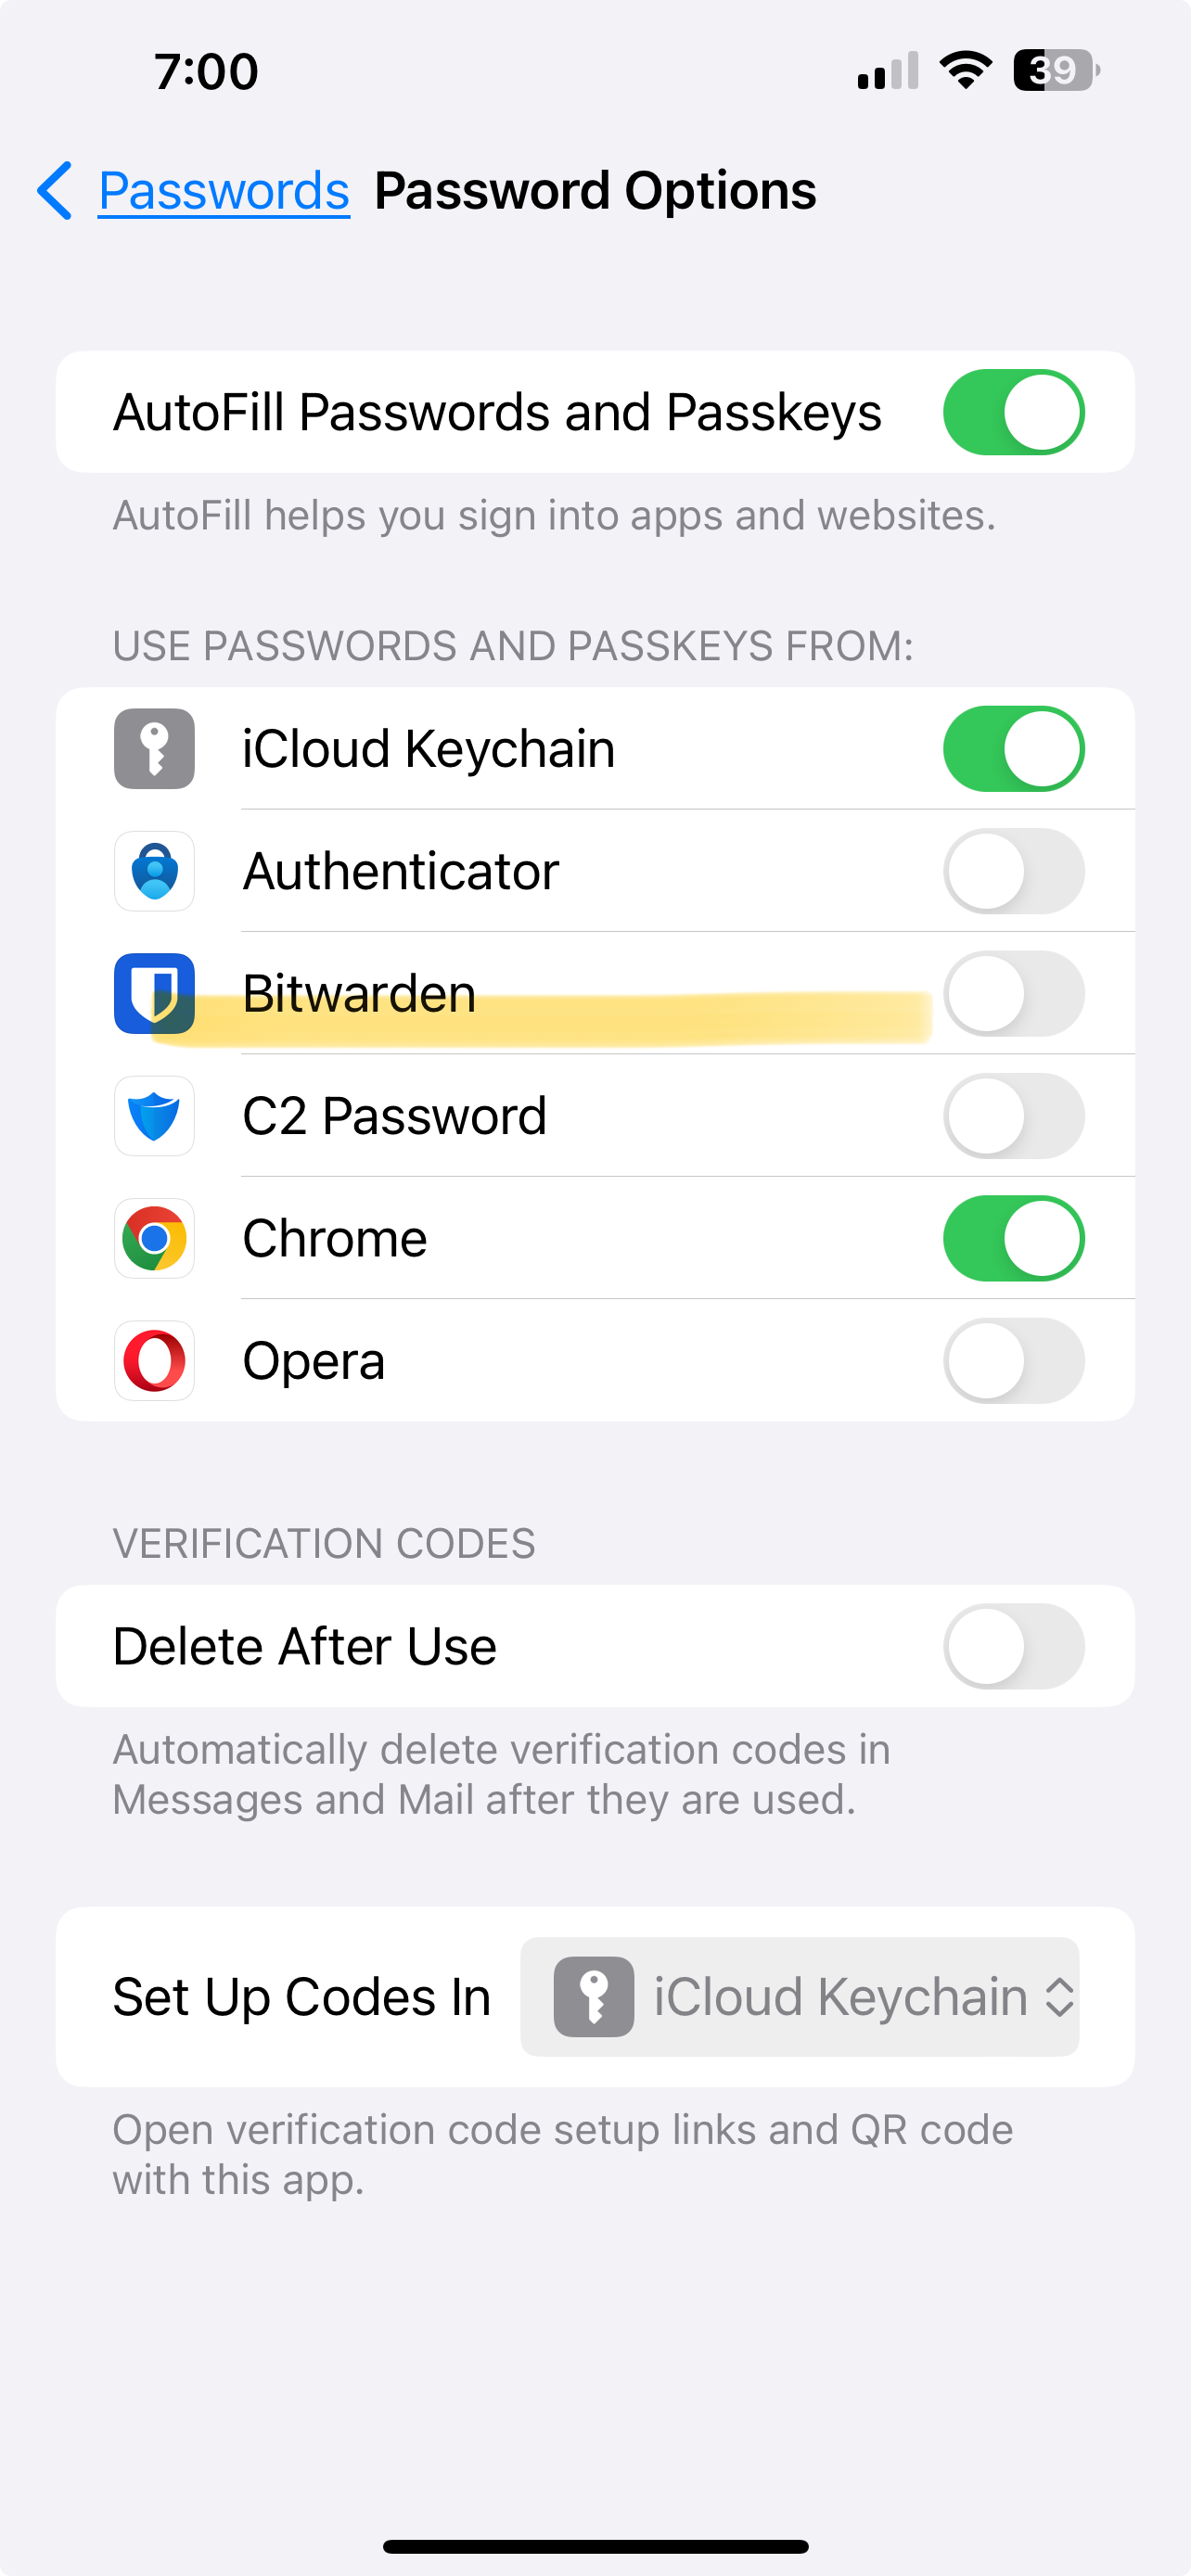
Bitwarden on iPhone
To begin using Bitwarden on iOS, go to Settings > Passwords > password options and enable Bitwarden. Disable any other password managers you’re not planning on using.
Conclusion
Overall, this has been a smooth experience and I would recommend setting up and Vaultwarden if you’re looking for a secure & convenient way to store your passwords and secrets!
Subscribe to my newsletter
Read articles from Evan directly inside your inbox. Subscribe to the newsletter, and don't miss out.
Written by
Evan
Evan
Hi, I’m Evan — an engineer with a passion for automation, security, and building resilient cloud infrastructure. I spend a lot of time in the weeds solving real-world problems, whether that’s through client work or experiments in my homelab. This blog is where I document those lessons, not just to keep track of what I’ve learned, but to share practical insights that others in the field can apply too. My focus is on bridging the gap between security best practices and operational efficiency, using tools like Ansible, Docker, and AWS to make systems both secure and manageable. Whether you’re planning your infrastructure, hardening environments, or just learning the ropes, I hope these posts give you something useful to take with you. I’m always learning too, and this blog is as much about sharing the process as it is the results. Thanks for stopping by — let’s keep learning and building together.