Host Windows Server on AWS Instance
 Nitesh das
There are many benefits of hosting Windows Server on AWS, such as scalability, availability, and cost efficiency.
Here are some common use cases for hosting Windows Server on AWS:
Active Directory: Run Active Directory Domain Services (AD DS) to manage users, groups, and permissions centrally in a secure cloud environment.
Application Hosting: Host enterprise applications, such as SQL Server, IIS, or custom business apps, ensuring scalability and high availability.
Network Management: Use Windows Server for DNS, DHCP, and file/print services, managing network resources efficiently in the cloud.
Disaster Recovery: Set up Windows Server as part of a disaster recovery solution, leveraging AWS's backup and multi-region redundancy features.
Step 1: Launching an AWS EC2 Instance with Windows Server
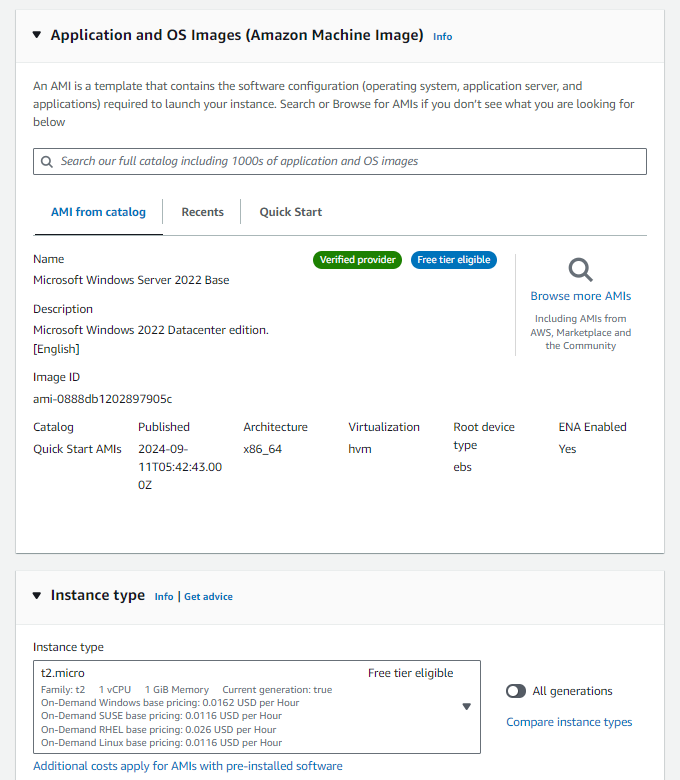
Go to the AWS Management Console > EC2 > Launch Instance. Choose Windows Server 2016 (or other versions) from the Amazon Machine Images (AMIs). Select an appropriate instance type, such as t2.micro (free tier eligible for small-scale use) or larger instances for production environments.
Network Configuration:
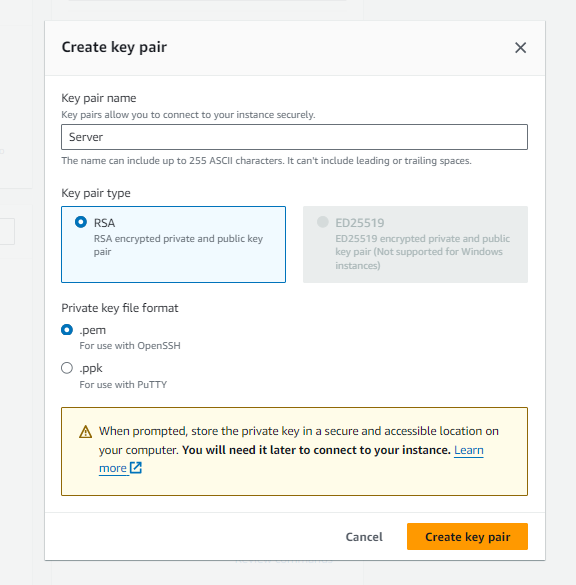
Create a New key pair and download the .pem File
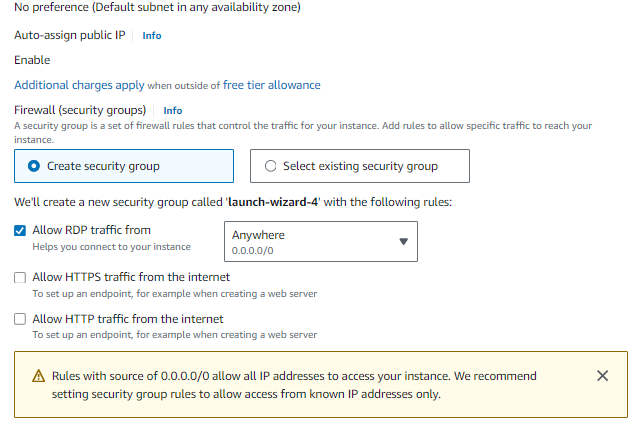
Place the instance within a VPC (Virtual Private Cloud) and choose the appropriate subnet. Assign a Static IP (Elastic IP) to ensure the server has a fixed address, similar to configuring a static IP on-premise. Security Group Setup:
Create a security group and configure rules to allow necessary traffic (e.g., RDP on port 3389 for remote access). Ensure the security group is restrictive enough to protect the server but open for required services.
Step 2: Connecting to the Instance and Initial Setup Connect Using RDP
Once the instance is running, download the RDP file from the EC2 console and connect using the instance's public IP or Elastic IP. Enter the administrator password (retrieved from the AWS console).
Once Connected to the Server, you can check the server properties. Open server manager and click on Local server

Step 3: Installing Roles and Features
Active Directory Domain Services (AD DS):
Use Server Manager to install the AD DS role.
Click on Manage and then select Add Roles and Features
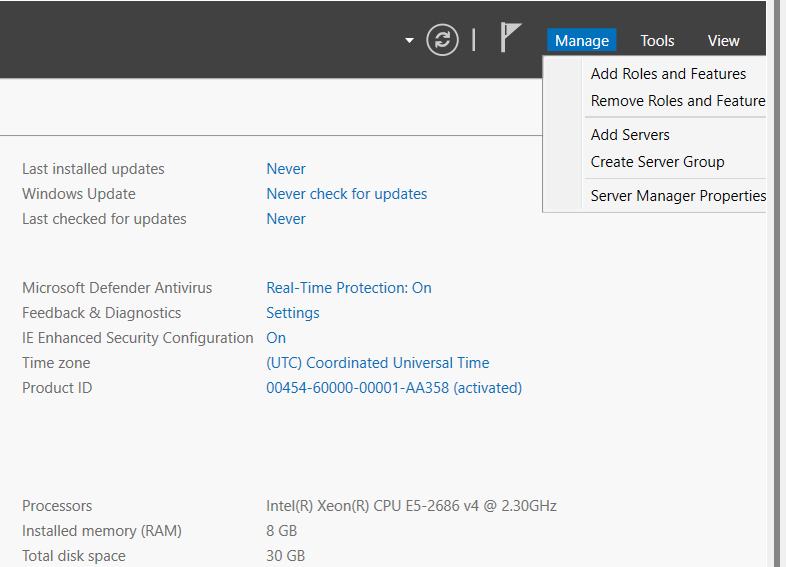
Click on Next -> Select Role-Based Installation -> Select a destination Server [[It should be your server]]
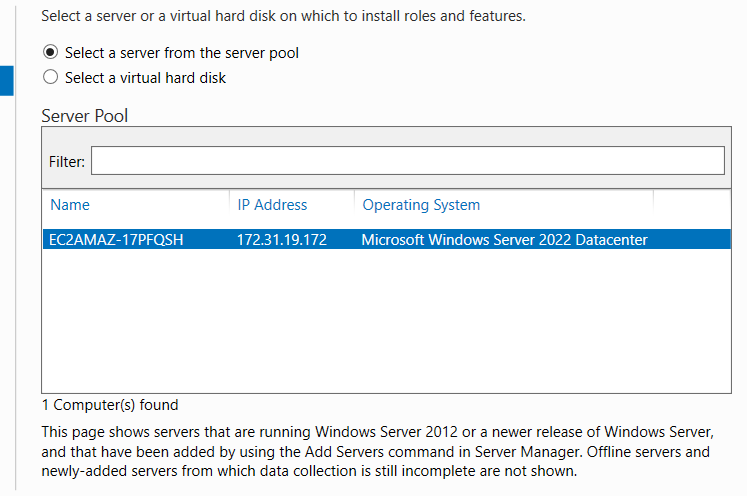
-> Active Directory Domain Services -> Next →
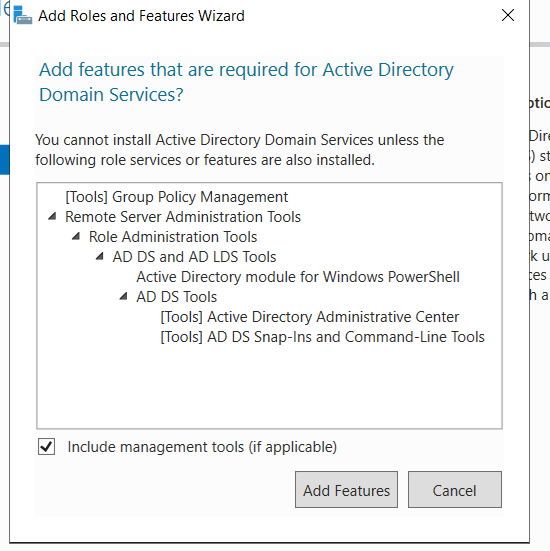
Next → Next → Install
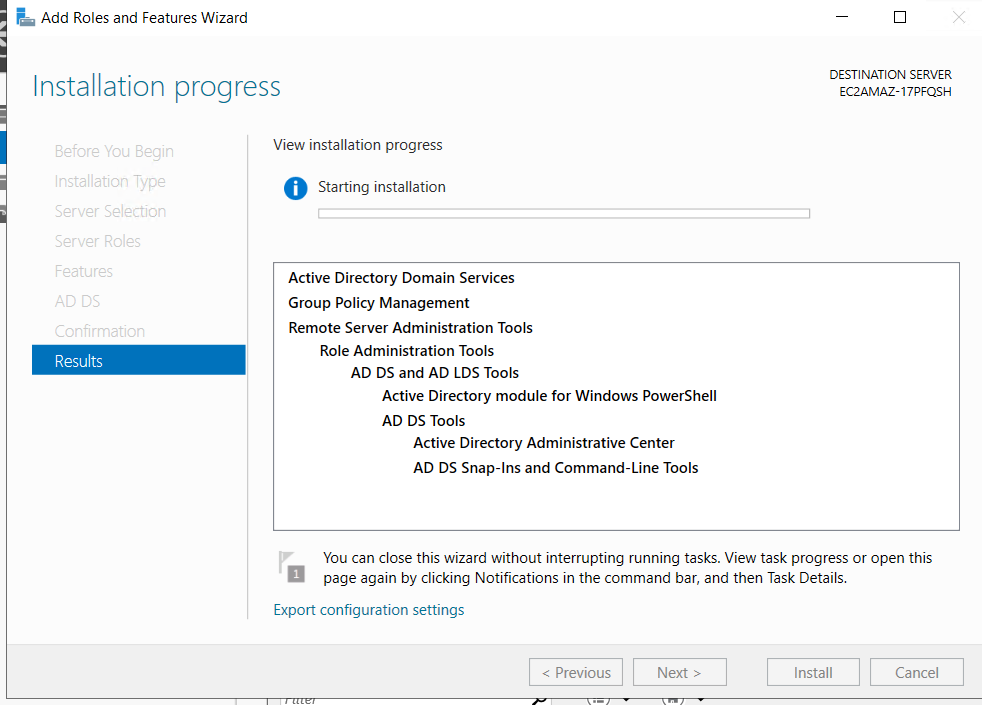
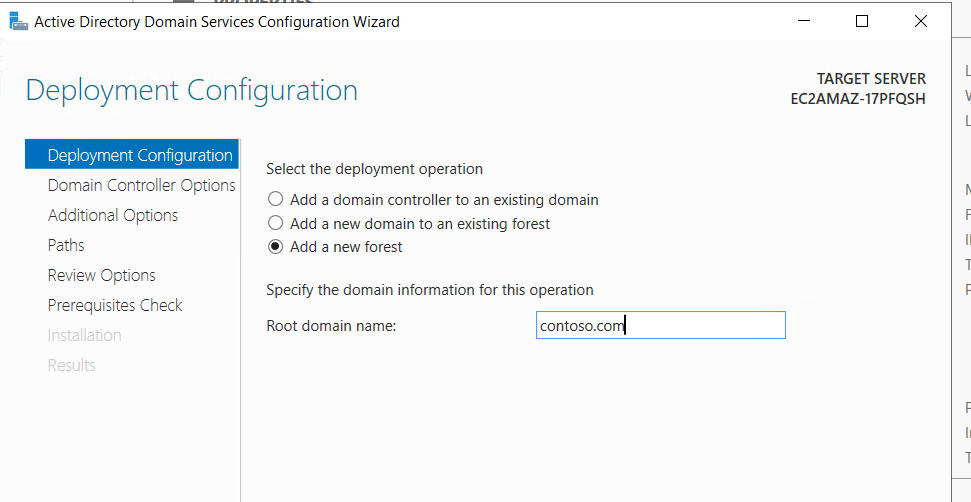
Promote the server to a domain controller, just as you did with your on-prem setup. Click on the flag near Manage
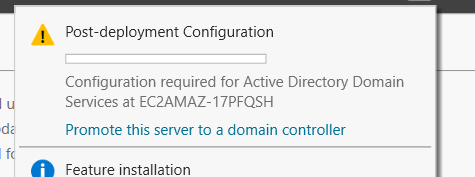
Add a domain name
Specify the Domain Controller Capabilities and set the DRSM password.
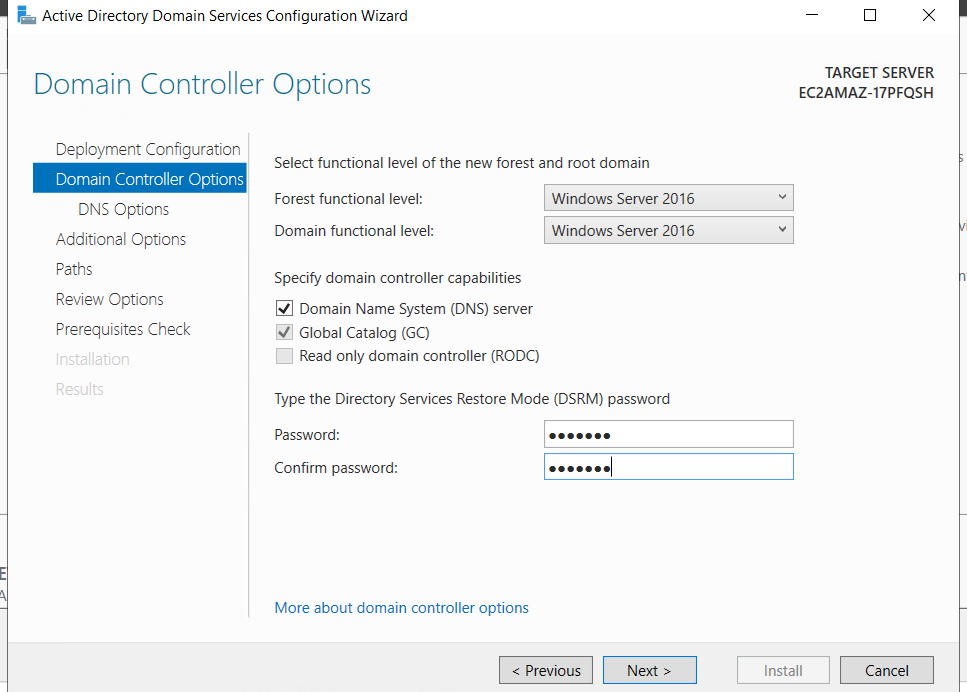
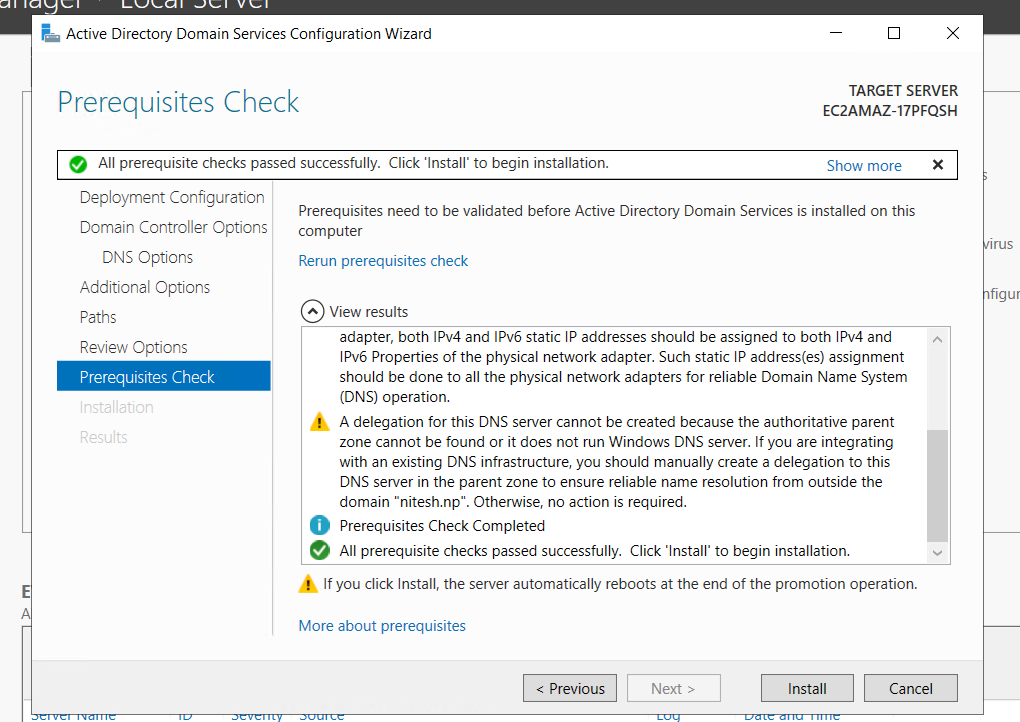
Configuring DNS:
- DNS is essential for domain name resolution. By installing AD DS, DNS is automatically installed, but you can configure it further.
Steps to Configure DNS:
Open DNS Manager by typing dnsmgmt.msc in the Run dialog.
You’ll see a Forward Lookup Zone for your domain. Right-click on it, and configure any additional settings, like zone transfers or forwarders (if you want external DNS resolution, add 8.8.8.8 as a forwarder).
Test DNS by opening Command Prompt and typing
nslookupexample.comto verify it resolves correctly.
In next Blog we will see about installing further roles and their Importance.
Subscribe to my newsletter
Read articles from Nitesh das directly inside your inbox. Subscribe to the newsletter, and don't miss out.
Written by

