Create Radial Pattern in SwiftUI
 Xavier
How to Create a Radial Pattern in SwiftUI
In this tutorial, we'll explore how to create a vibrant radial pattern using SwiftUI. We'll use gradients and circles to form a stunning geometric design. If you’re looking to add visually appealing elements to your apps, this radial pattern is a great way to start. PS: The code in this post is available here.
Final Result
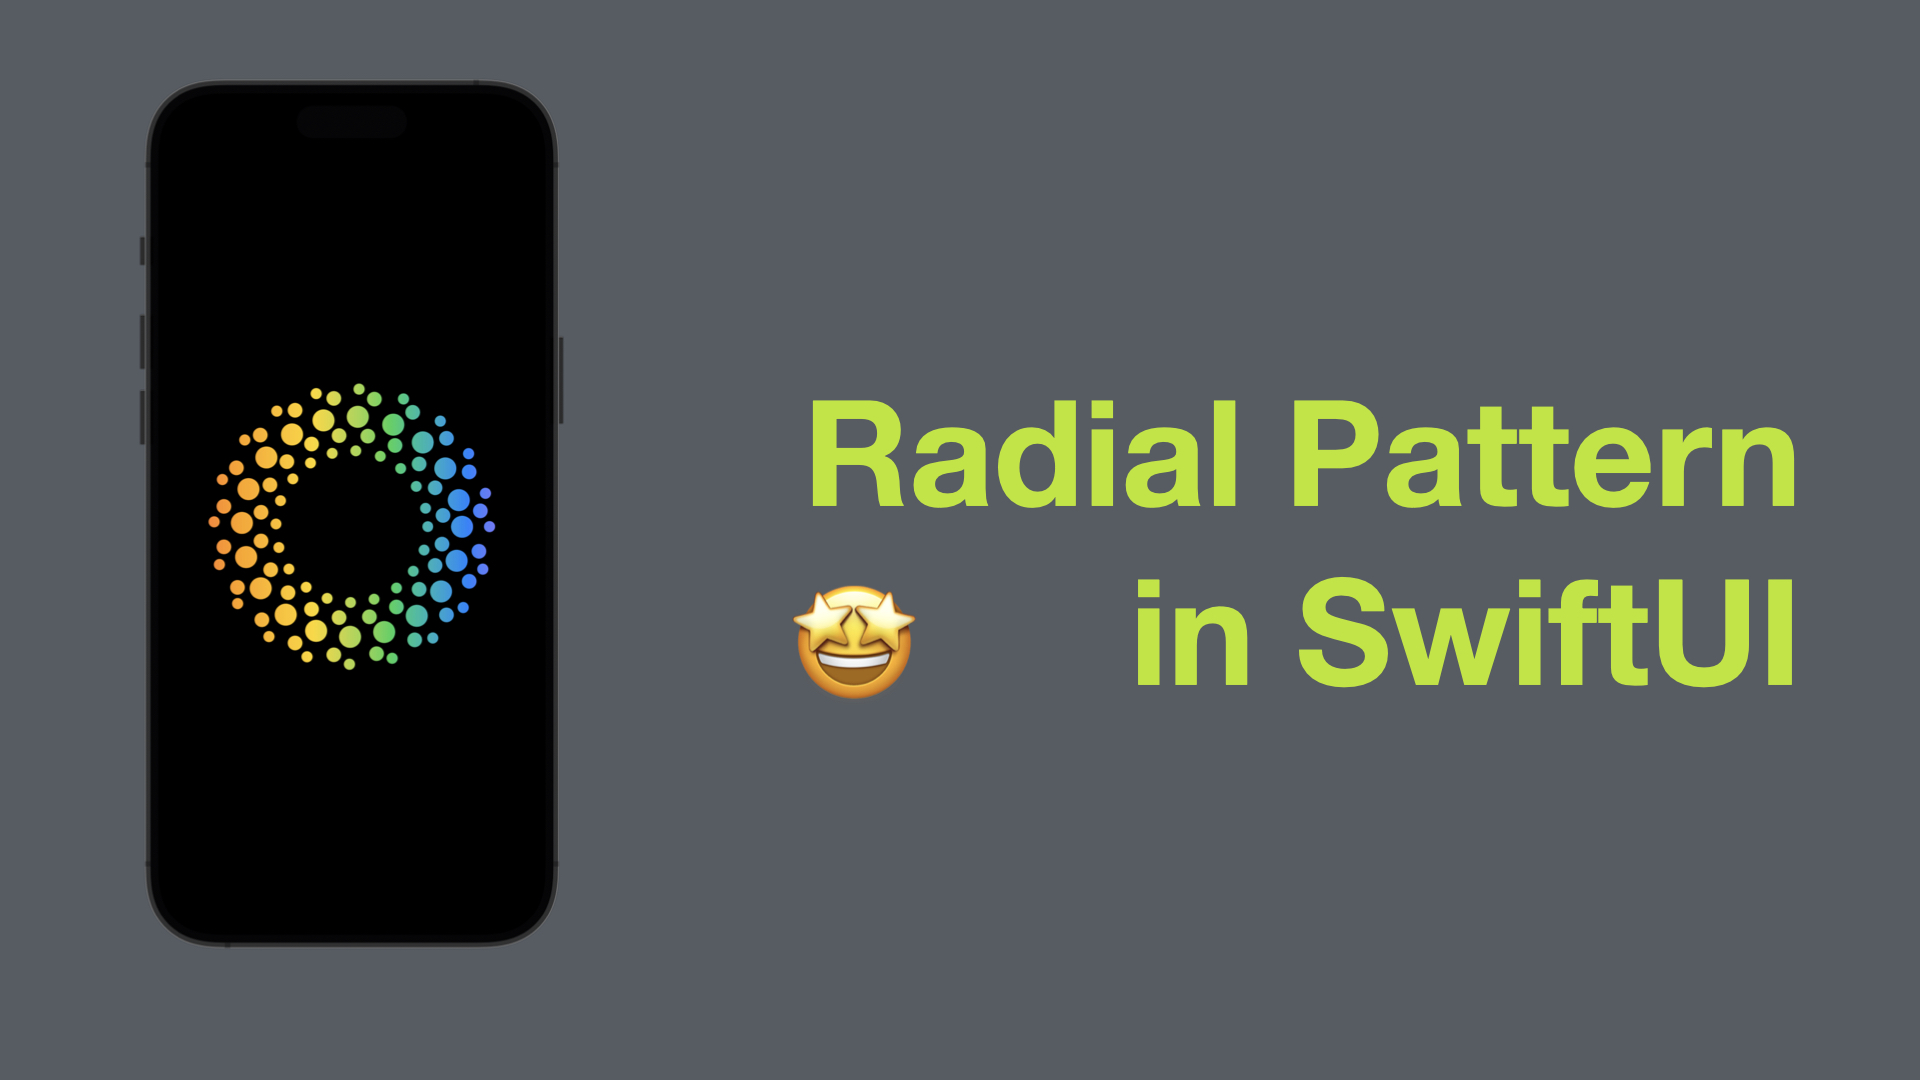
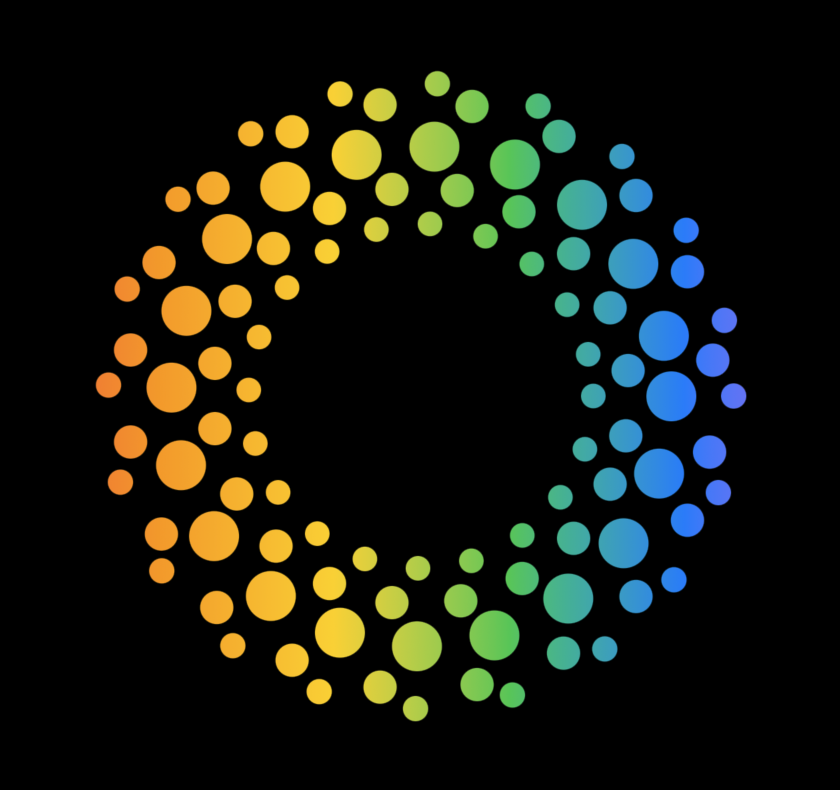
We'll build a radial pattern of colored dots that rotate around a central point, masked by a colorful linear gradient, making it stand out beautifully.
Step 1: Defining the Dots View
The Dots view is responsible for arranging dots evenly around the center of the pattern.
struct Dots: View {
            let count: Int
            let dotSize: CGFloat
            let xOffset: CGFloat

            var body: some View {
                ZStack {
                    ForEach(0..<count, id: \.self) {
                        dot.rotationEffect(.degrees(Double($0 * 365 / count)))
                    }
                }
            }

            var dot: some View {
                Group {
                    Circle()
                        .frame(width: dotSize, height: dotSize)
                        .hidden()
                    Circle()
                        .frame(width: dotSize, height: dotSize)
                        .offset(x: xOffset)
                }
            }
        }
Breakdown:
count: Number of dots in the ring.dotSize: Size of each individual dot.xOffset: The horizontal distance of each dot from the center of the view.ForEach: We use this to repeat the dots around the circle.rotationEffect: This evenly spaces the dots around the center by rotating them based on their index in theForEachloop.offset: This moves the dots horizontally, positioning them along the radius of the circle.
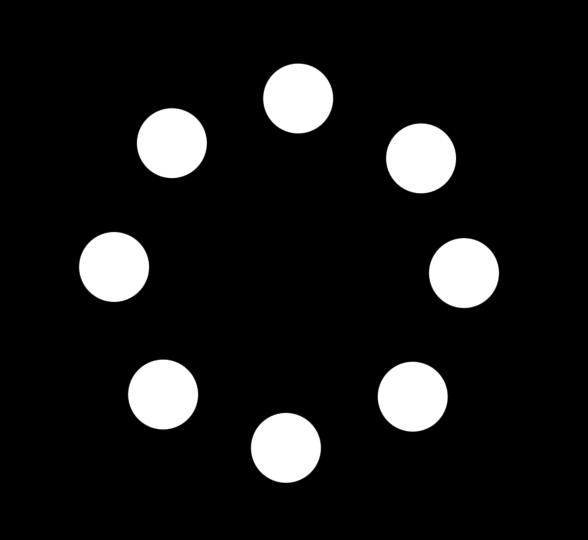
Long story short, Dots view is used to present a group circles in a circle. Below is a preview of DotsView with a count of 8.

Step 2: Creating the Radial Pattern
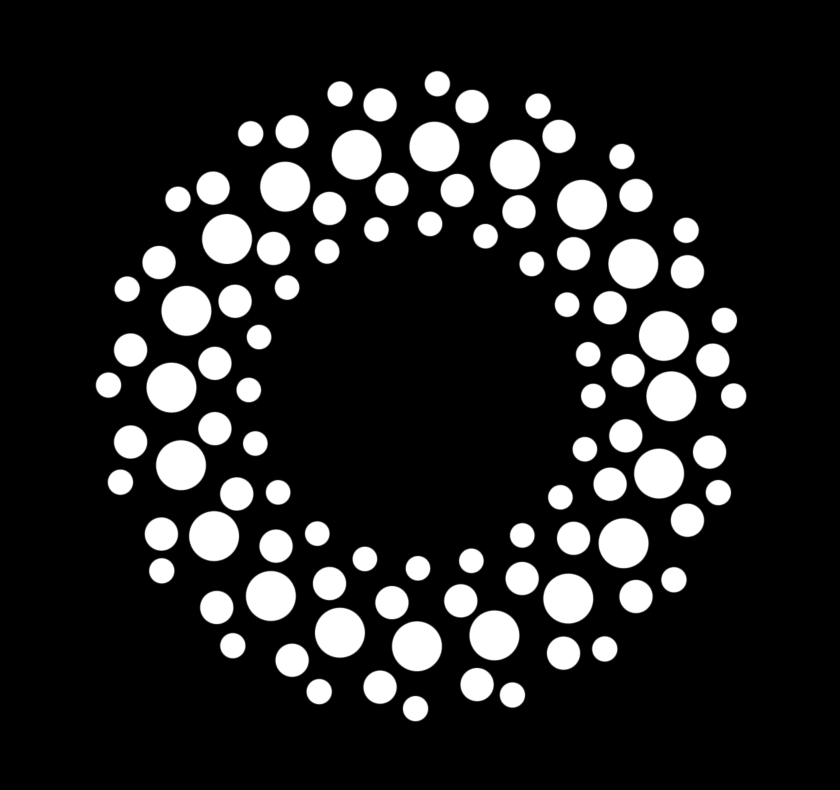
Next, we’ll define the RadialPattern view. It will consist of multiple circles (dots) arranged in concentric rings (by using Dots view defined above).
    struct RadialPattern: View {
        private let size: CGFloat = 250
        var body: some View {
            ZStack {
                Circle()
                    .fill(Color.clear)
                Dots(count: 20, dotSize: size / 10, xOffset: size / 2)
                Dots(count: 20, dotSize: size / 15, xOffset: size / 2.4)
                    .rotationEffect(.degrees(25))
                Dots(count: 20, dotSize: size / 20, xOffset: size / 2.9)
                Dots(count: 20, dotSize: size / 15, xOffset: size / 1.7)
                    .rotationEffect(.degrees(25))
                Dots(count: 20, dotSize: size / 20, xOffset: size / 1.6)
            }
        }
    }
Breakdown:
ZStack: This stacks all the circles and dots on top of each other.Circle(): A base circle filled withColor.clear(invisible) is used as a center point for our pattern.Dots: This is a custom view we defined above, which will handle the arrangement of dots. We call this view multiple times to create concentric rings with different offsets and sizes.rotationEffect: This rotates the dots slightly, adding a subtle rotation for each ring to create a dynamic design.

Step 3: Applying a Linear Gradient
We’ll start by adding a LinearGradient as the background of our view. This will be masked by the radial pattern later, creating a colorful effect.
Here’s the code for the gradient:
    struct ContentView: View {
        var body: some View {
            LinearGradient(colors: [
                .red, .orange, .yellow, .green, .blue, .purple
            ], startPoint: .leading, endPoint: .trailing)
            .mask(RadialPattern())
        }
    }
Breakdown:
LinearGradient: A gradient transitioning between red, orange, yellow, green, blue, and purple colors.The gradient spans from the left (
.leading) to the right (.trailing) of the screen.mask(RadialPattern()): This masks the gradient with ourRadialPattern.
Voila! And of course, you can change the look of this pattern by masking it on another view, like a solid color, radial gradient or image etc.

Final Thoughts
By masking a colorful gradient with a radial pattern of dots, you can create stunning and dynamic designs in SwiftUI. This technique can be extended further by experimenting with different shapes, colors, or even animating the pattern.
Feel free to play around with the parameters to make the design your own!
Don’t forget to subscribe to my newsletter if you’d like to receive posts like this via email. If you like my posts, 😚consider tipping me at buymeacoffee.com/xavierios.
Subscribe to my newsletter
Read articles from Xavier directly inside your inbox. Subscribe to the newsletter, and don't miss out.
Written by

Xavier
Xavier
iOS developer from Toronto, ON, CAN