Azure CLI vs Azure UI
 Alla Yasheela
By the end of this blog, you will learn:
What is Azure CLI
Why you should use Azure CLI
How to install it
How to configure it
Basic commands to get started
What is Azure CLI?
Azure CLI is a powerful command-line interface provided by Microsoft Azure that allows users to manage and automate Azure resources directly from their terminal or command prompt.
With Azure CLI, you can create, modify, and manage Azure resources efficiently without needing to navigate through the Azure UI. This is especially helpful when working with scripts, automation, and continuous integration pipelines, making it a preferred tool for developers, DevOps engineers, and IT professionals.
Why use Azure CLI?
If you're just starting with Azure or learning how to use Azure resources, it's beneficial to first get comfortable with the Azure UI.
However, once you understand the basics, switching to the Azure CLI offers several advantages:
Time Efficiency: Imagine you're a DevOps engineer managing multiple projects. Manually creating resources for each project through the Azure portal can be time-consuming. Azure CLI simplifies this process by allowing you to run commands and scripts that automate resource creation in seconds.
Repetitive Task Automation: With Azure CLI, repetitive tasks such as multiple virtual machines, setting up databases, or deploying applications can be automated. You can write scripts to handle these processes, saving both time and effort.
Error Reduction: Manually filling out forms in the UI can lead to mistakes, like forgetting an important field during resource creation. With CLI, commands are reusable and minimizes human error.
Scripting and CI/CD Integration: Azure CLI is well-suited for automation. It integrates easily with continuous integration/continuous deployment (CI/CD) tools like Jenkins, GitHub Actions, and Azure Pipelines, streamlining deployments and managing resources across different environments.
How to install Azure CLI?
Installing Azure CLI is straightforward and can be done in a few steps.
Step 1: Visit the official Azure CLI documentation
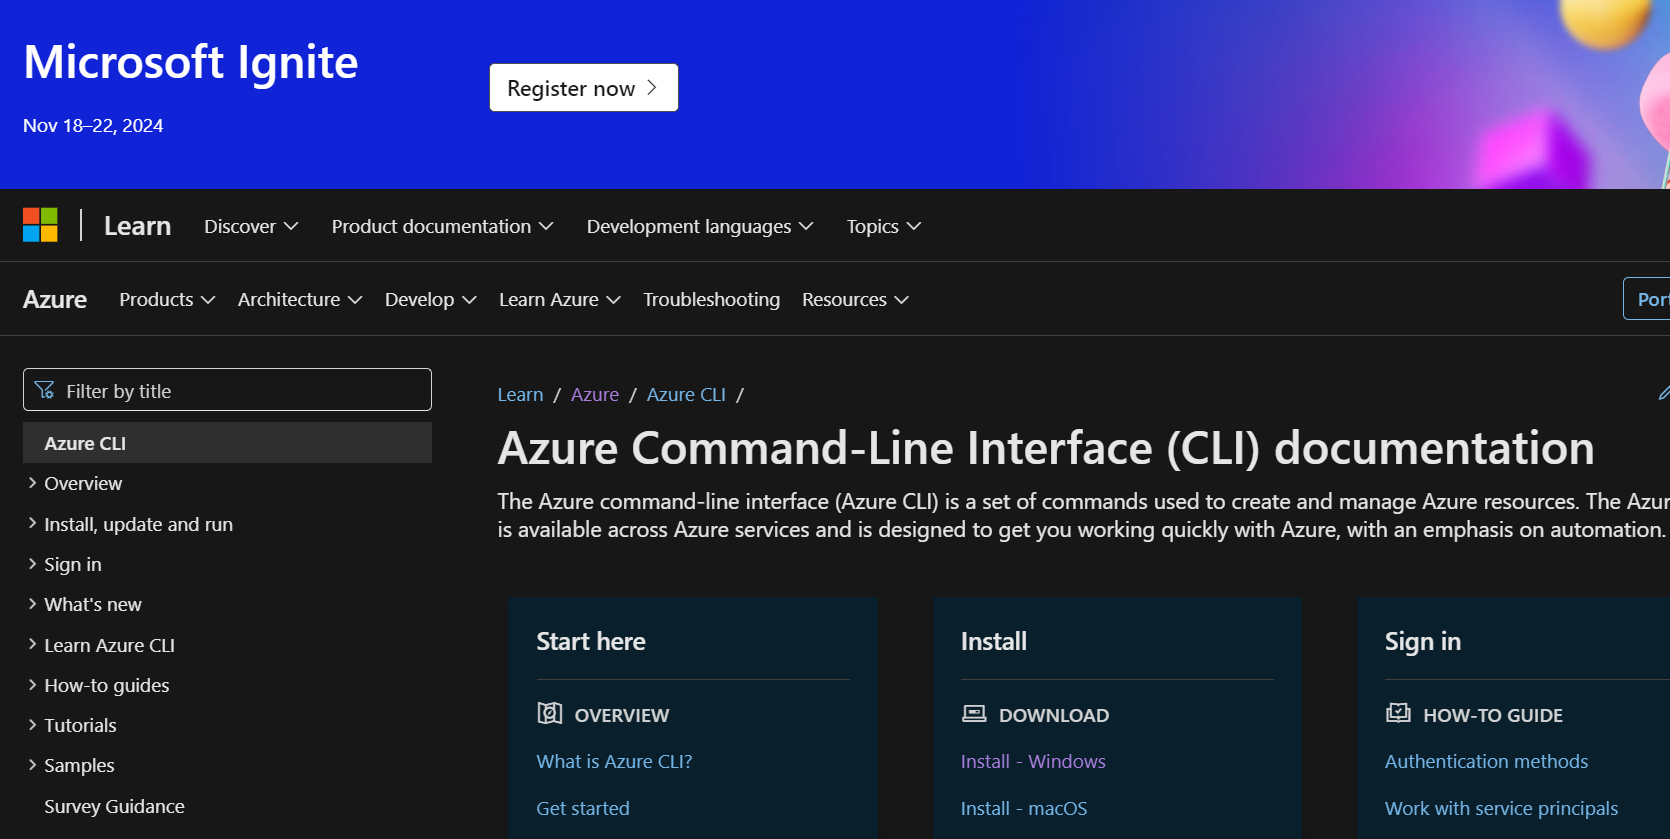
Go to the Azure CLI installation guide to find the appropriate instructions based on your operating system.
Windows: You can use the MSI installer or install it via PowerShell.
macOS: Install Azure CLI using Homebrew.
Linux: Install using the package manager for your Linux distribution (e.g., apt for Ubuntu, yum for CentOS).
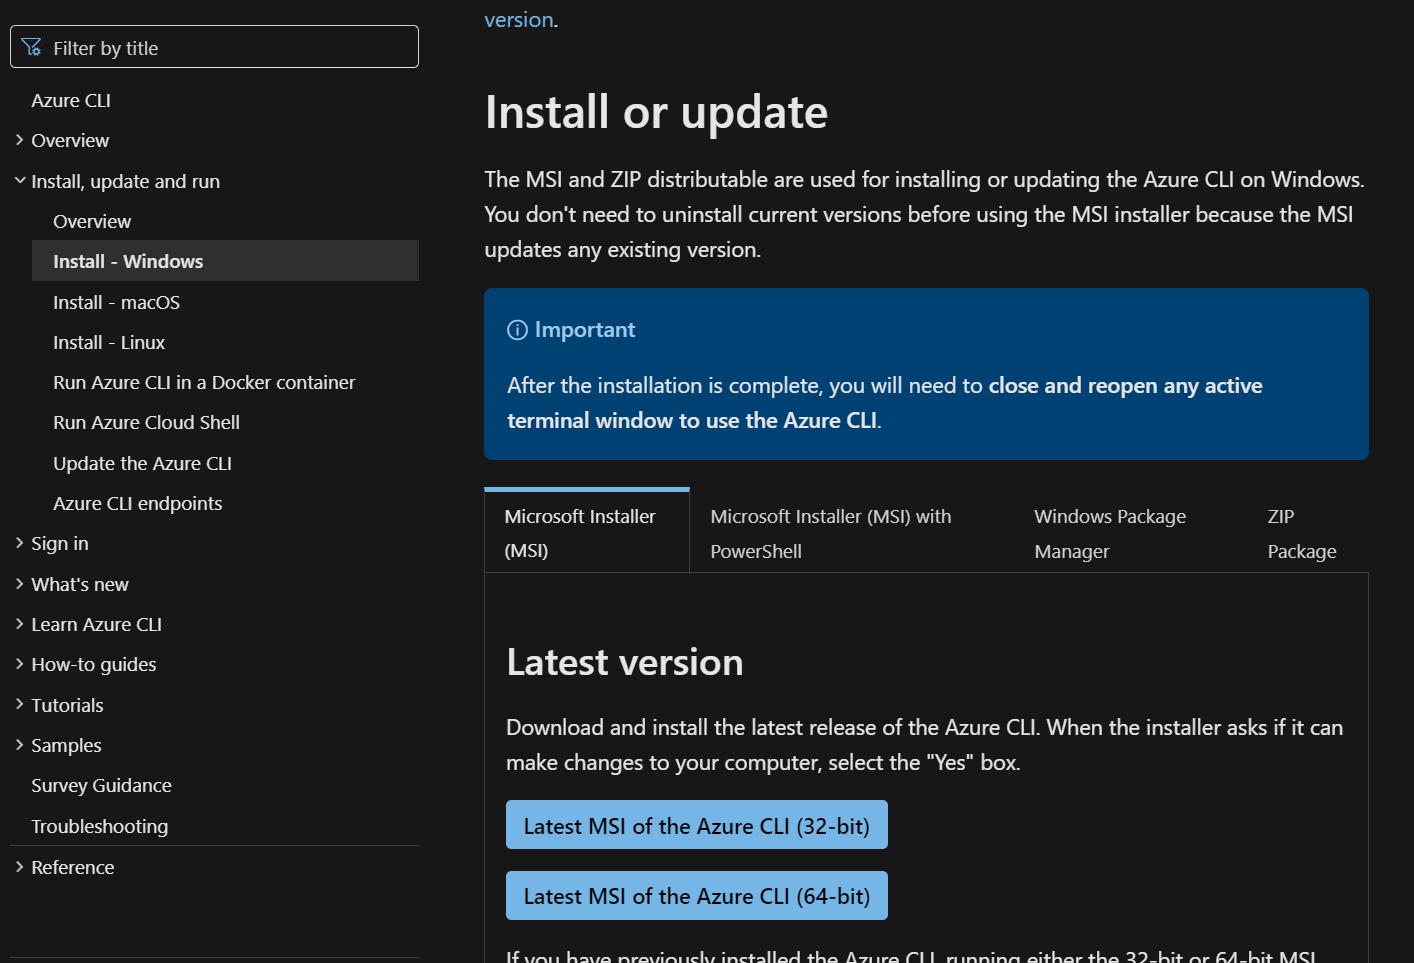
Step 2: Follow the installation steps
For your specific operating system, follow the detailed installation procedure provided in the documentation. Ensure that you have administrative privileges when installing.
How to configure Azure CLI?
Once you've installed Azure CLI, the next step is to configure it.
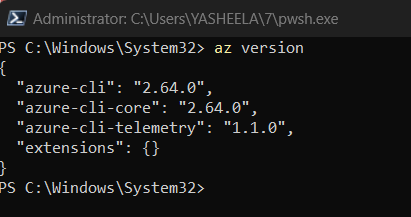
Step 1: Check whether it’s installed or not (Follow the command shown)
Step 1: Log in to Azure
Use the following command to log in to your Azure account:
az login
This command will open a browser window asking you to log in to your Azure account. After successful authentication, the CLI is connected to your Azure subscription, and you can start managing your resources.
Step 2: Verify your subscription
Once logged in, you may want to verify which Azure subscription you're working with, especially if you have multiple subscriptions. Run this command to check:
az account show
To list all your subscriptions, use:
az account list --all
If you want to set a default subscription to avoid confusion, use:
az account set --subscription "Subscription-Name"
Basic Azure CLI commands to get started
Now that you've installed and configured Azure CLI, here are some basic commands to familiarize yourself with:
1. Create a Resource Group
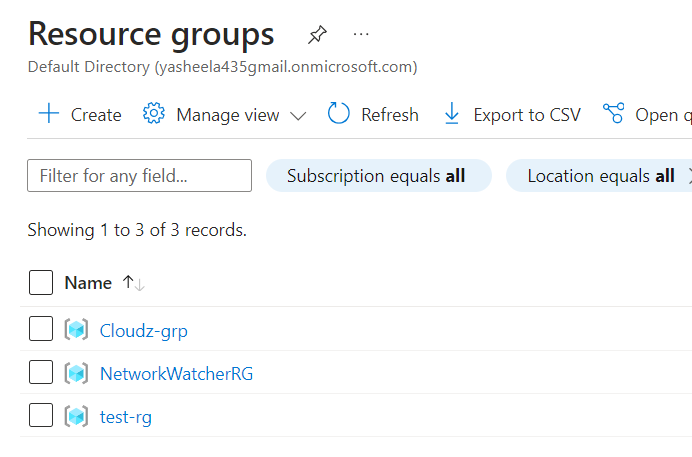
Resource groups are containers that hold related Azure resources.
az group create --name test-rg --location centralindia
2. Create a Virtual Network (Vnet)
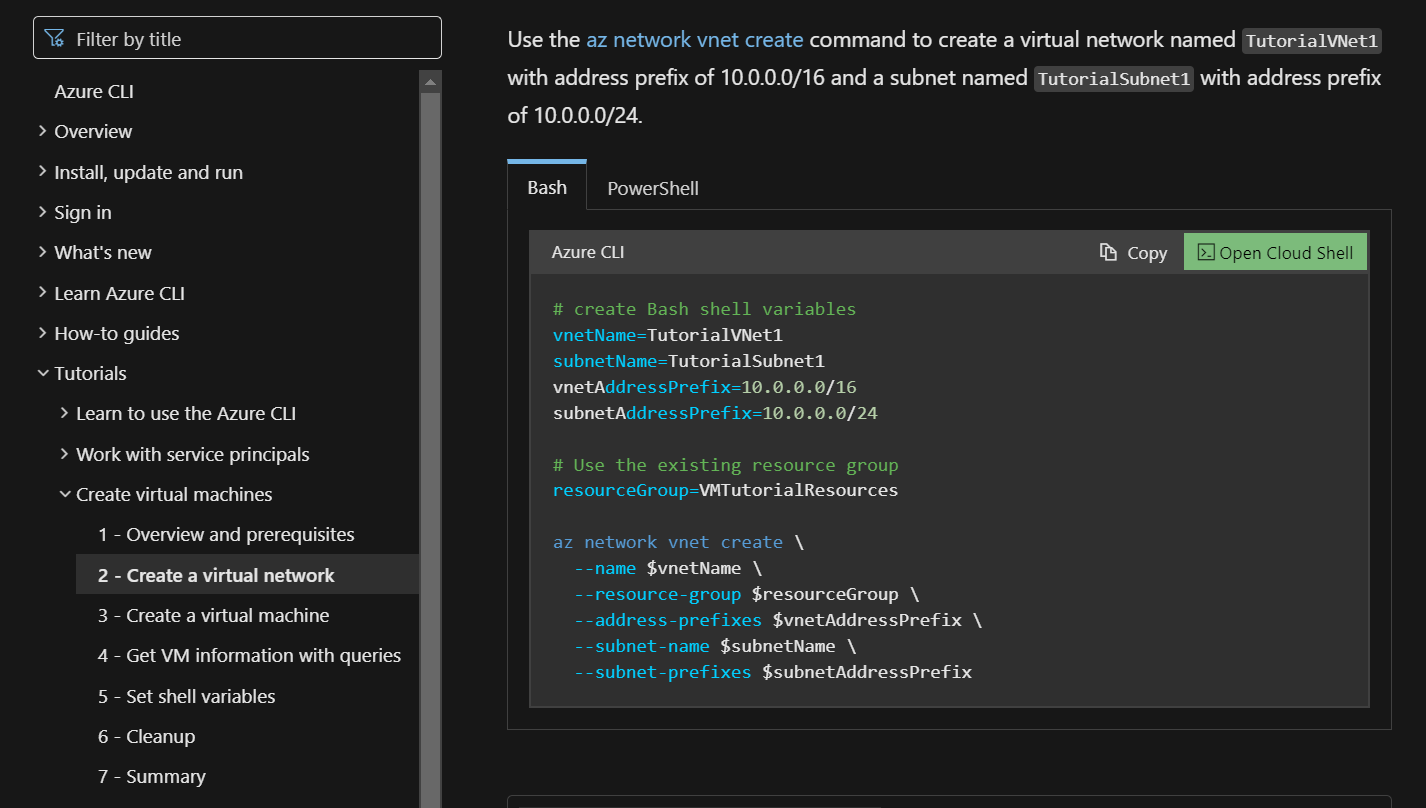
Check out the official documentation; it very helpful and easy to navigate
3. List Resources
To list all resources in a specific resource group:
az resource list --resource-group test-rg
4. Delete a Resource
If you want to delete a resource from your Azure subscription:
az resource delete --name Vm1 --resource-group test-rg
5. Delete a Resource Group
To delete an entire resource group and all its contents:
az group delete --name test-rg --yes --no-wait
What's next?
You’re now set up to use Azure CLI! You’ve installed and configured it and have tried out some basic commands. From here, you can explore more advanced tasks like deploying resources via ARM templates (Which we will learn in next blog), setting up CI/CD pipelines, and using Azure CLI in scripts for automation.
Happy Learning :)
Subscribe to my newsletter
Read articles from Alla Yasheela directly inside your inbox. Subscribe to the newsletter, and don't miss out.
Written by

Alla Yasheela
Alla Yasheela
I'm Yasheela, an undergraduate with a deep interest in DevOps, and cloud technologies. Currently working on exciting projects on all things DevOps. I’m passionate about simplifying complex concepts and sharing practical insights. Through my Hashnode blog, I document my learning journey, from building scalable applications to mastering cloud services, with the goal of empowering others to grow their tech skills. Let's Learn Together !!