Activity 9: Angular Basic Routing
 Cañete,Brandon L.
2 min read
Table of contents
- Step #1 - Creating a New Repository name AngularBasicRouting
- Step #2 - Create a Components Folder inside Angular Files
- Step #3 - Go to your angular folder files and create 4 components to create a components do this ng generate component foldername/filename
- Step #4 - Now create a app.module.ts file in your Angular Files
- Step #5 - Follow this code
- Step #6 - Go to your app.component.ts file and delete standalone and imports code and also import RouterOutlet
- Step #7 -Make a routes path
- Step #8 - Go to components folder and go to every components folder and delete all the standalone and imports on every components typescript
- Step #9 - Add the declarations on every components
- Step #10 - Change the main typescript to this code
- Step #11 - Add the routerlink to every components and name it
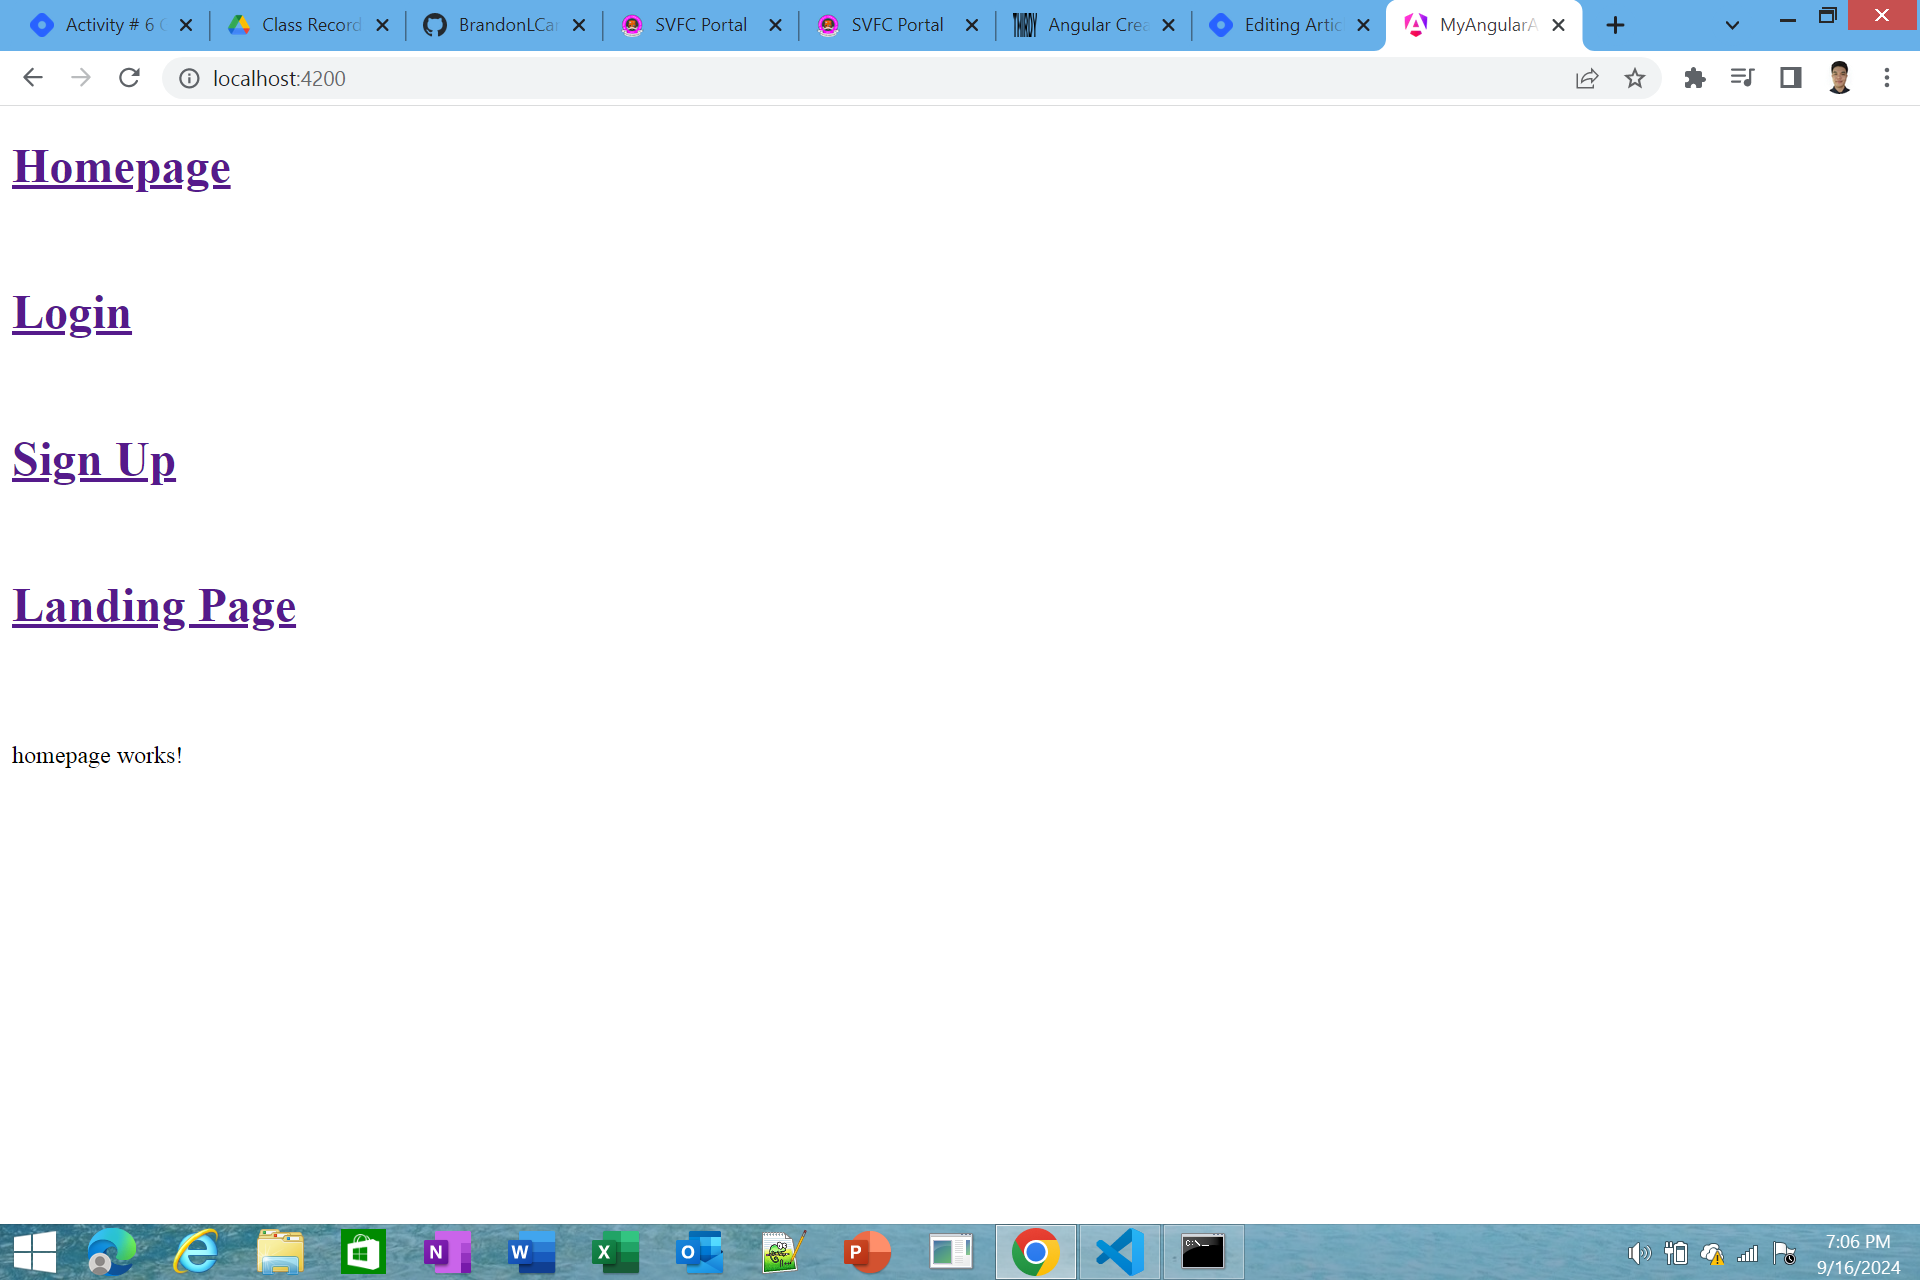
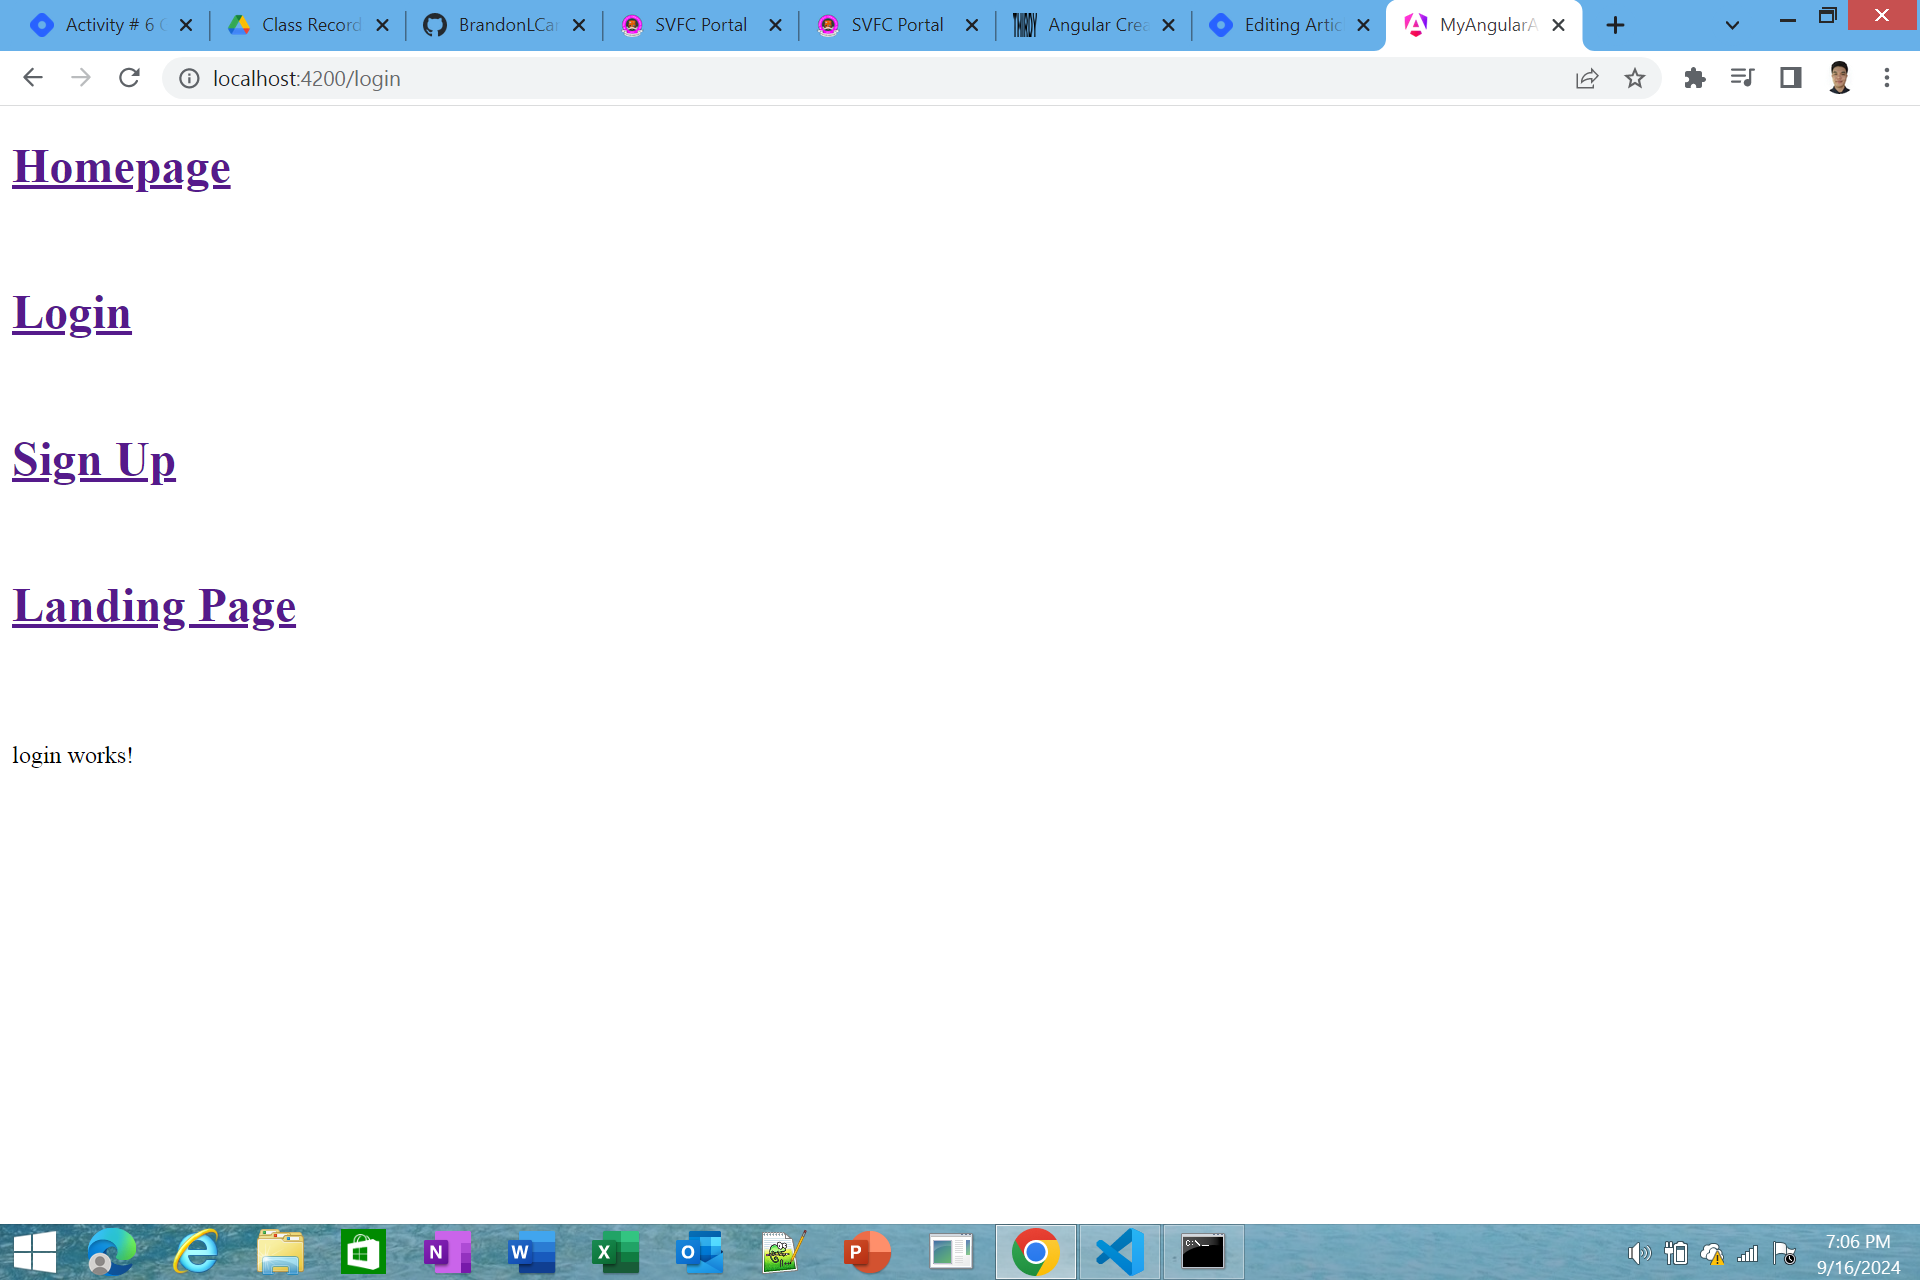
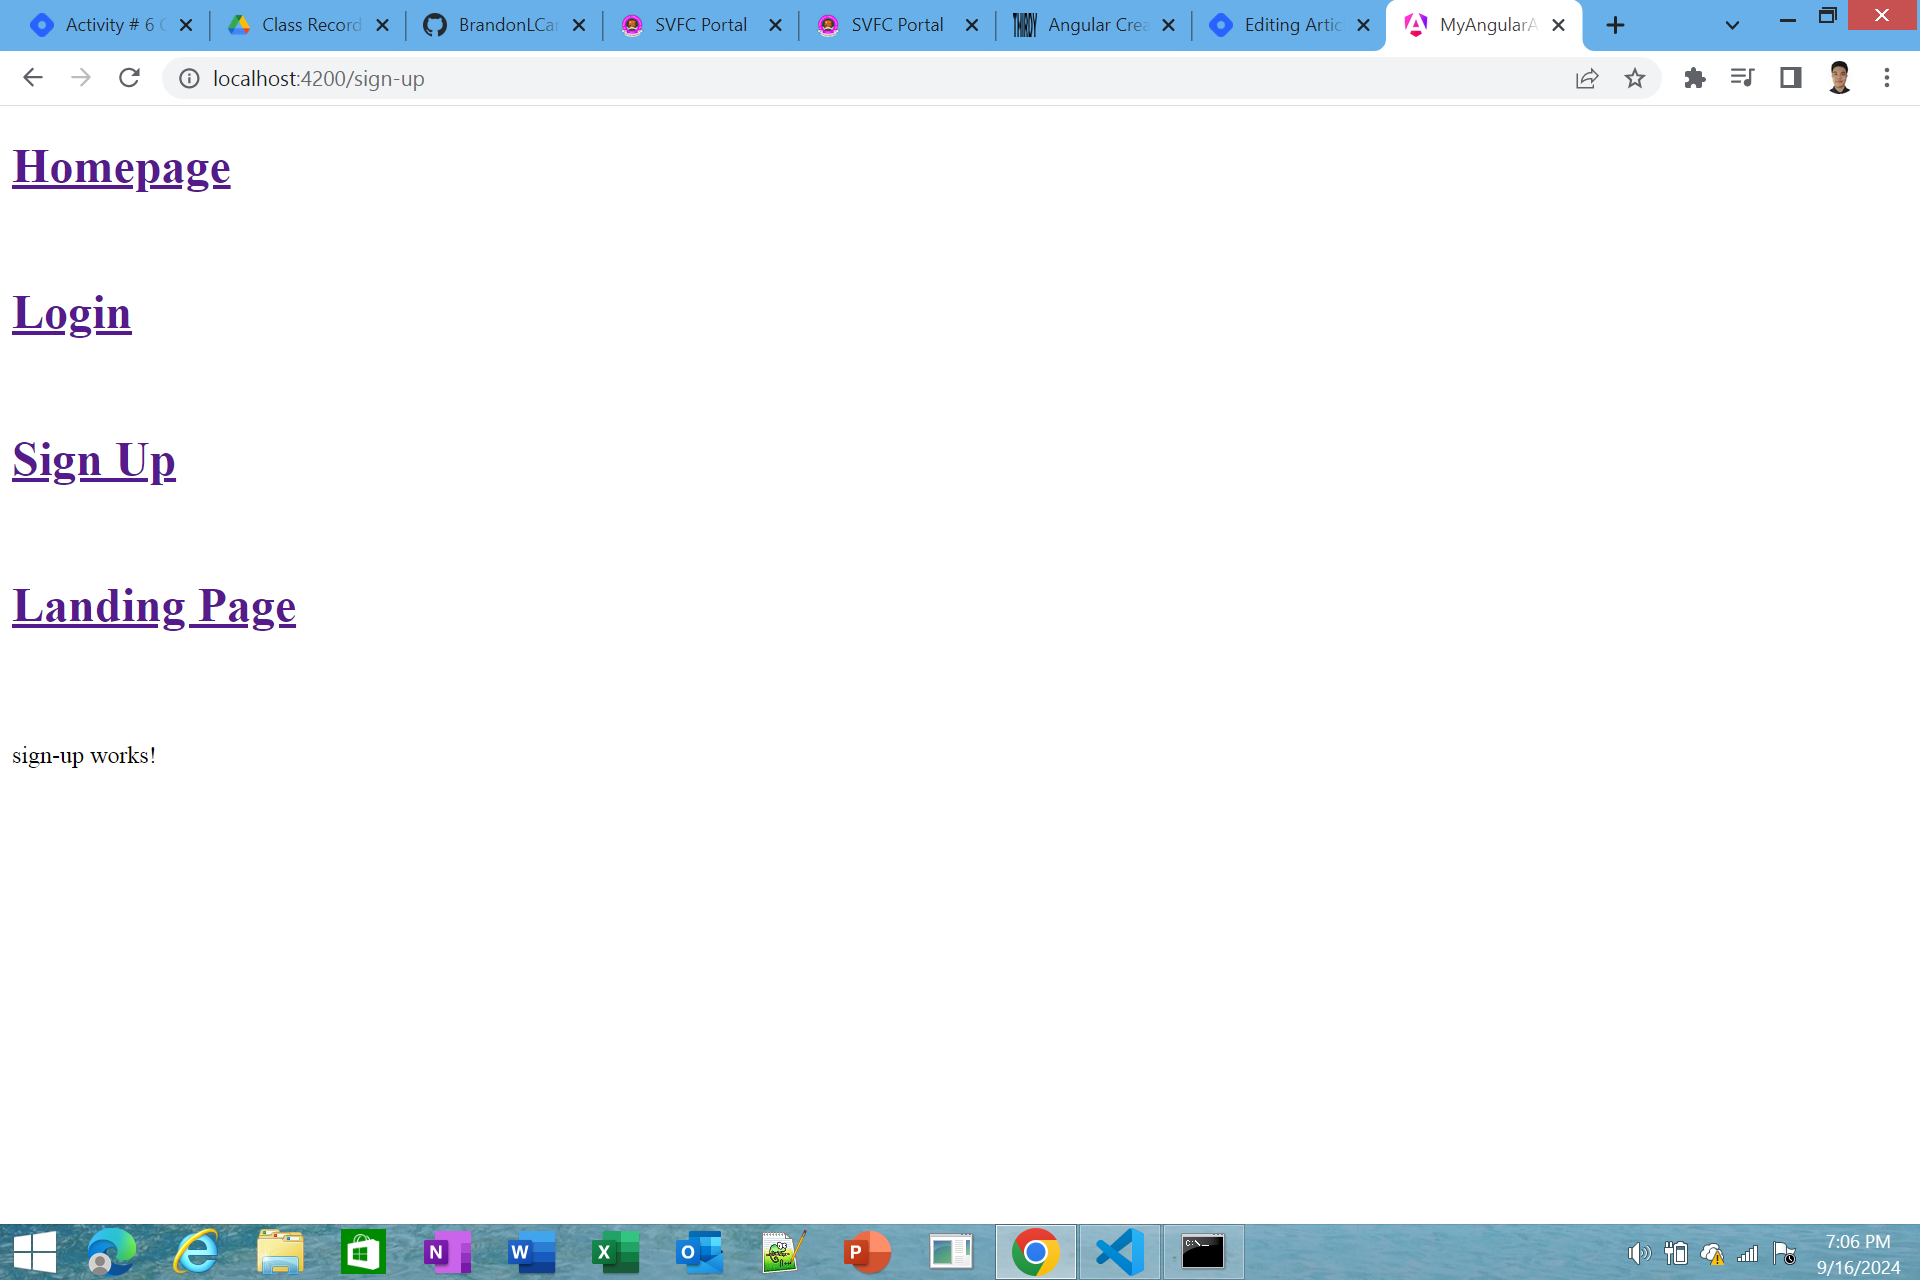
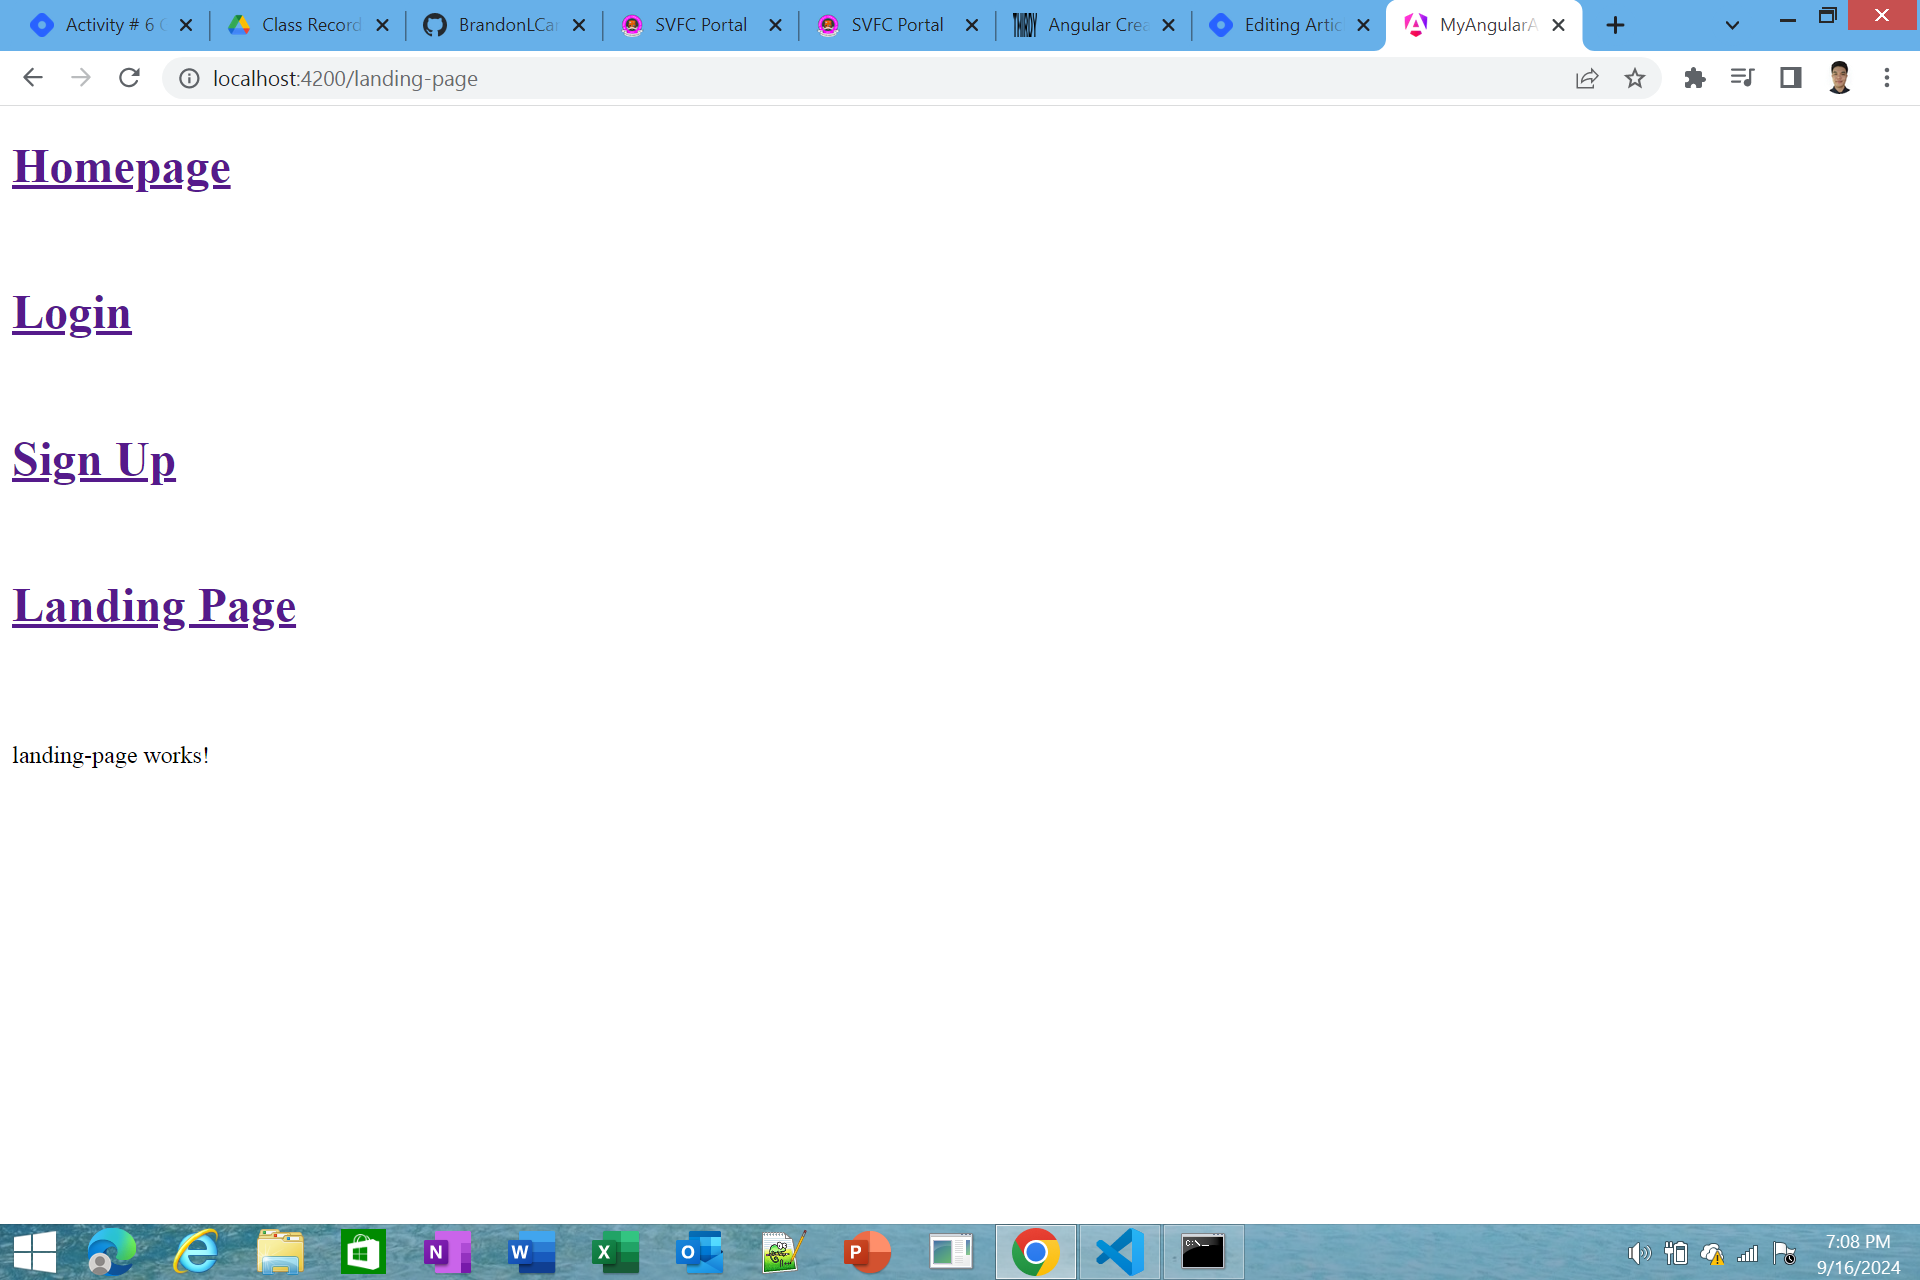
- Step #12 - Now go to the Angular folder files using Command Prompt and run the ng serve command to run the app and this will be the result
- Step #13 - Lastly, Push the project on you’re Github Repository
- Github Repository Link
This is a step by step guide on how to make a basic routing in Angular
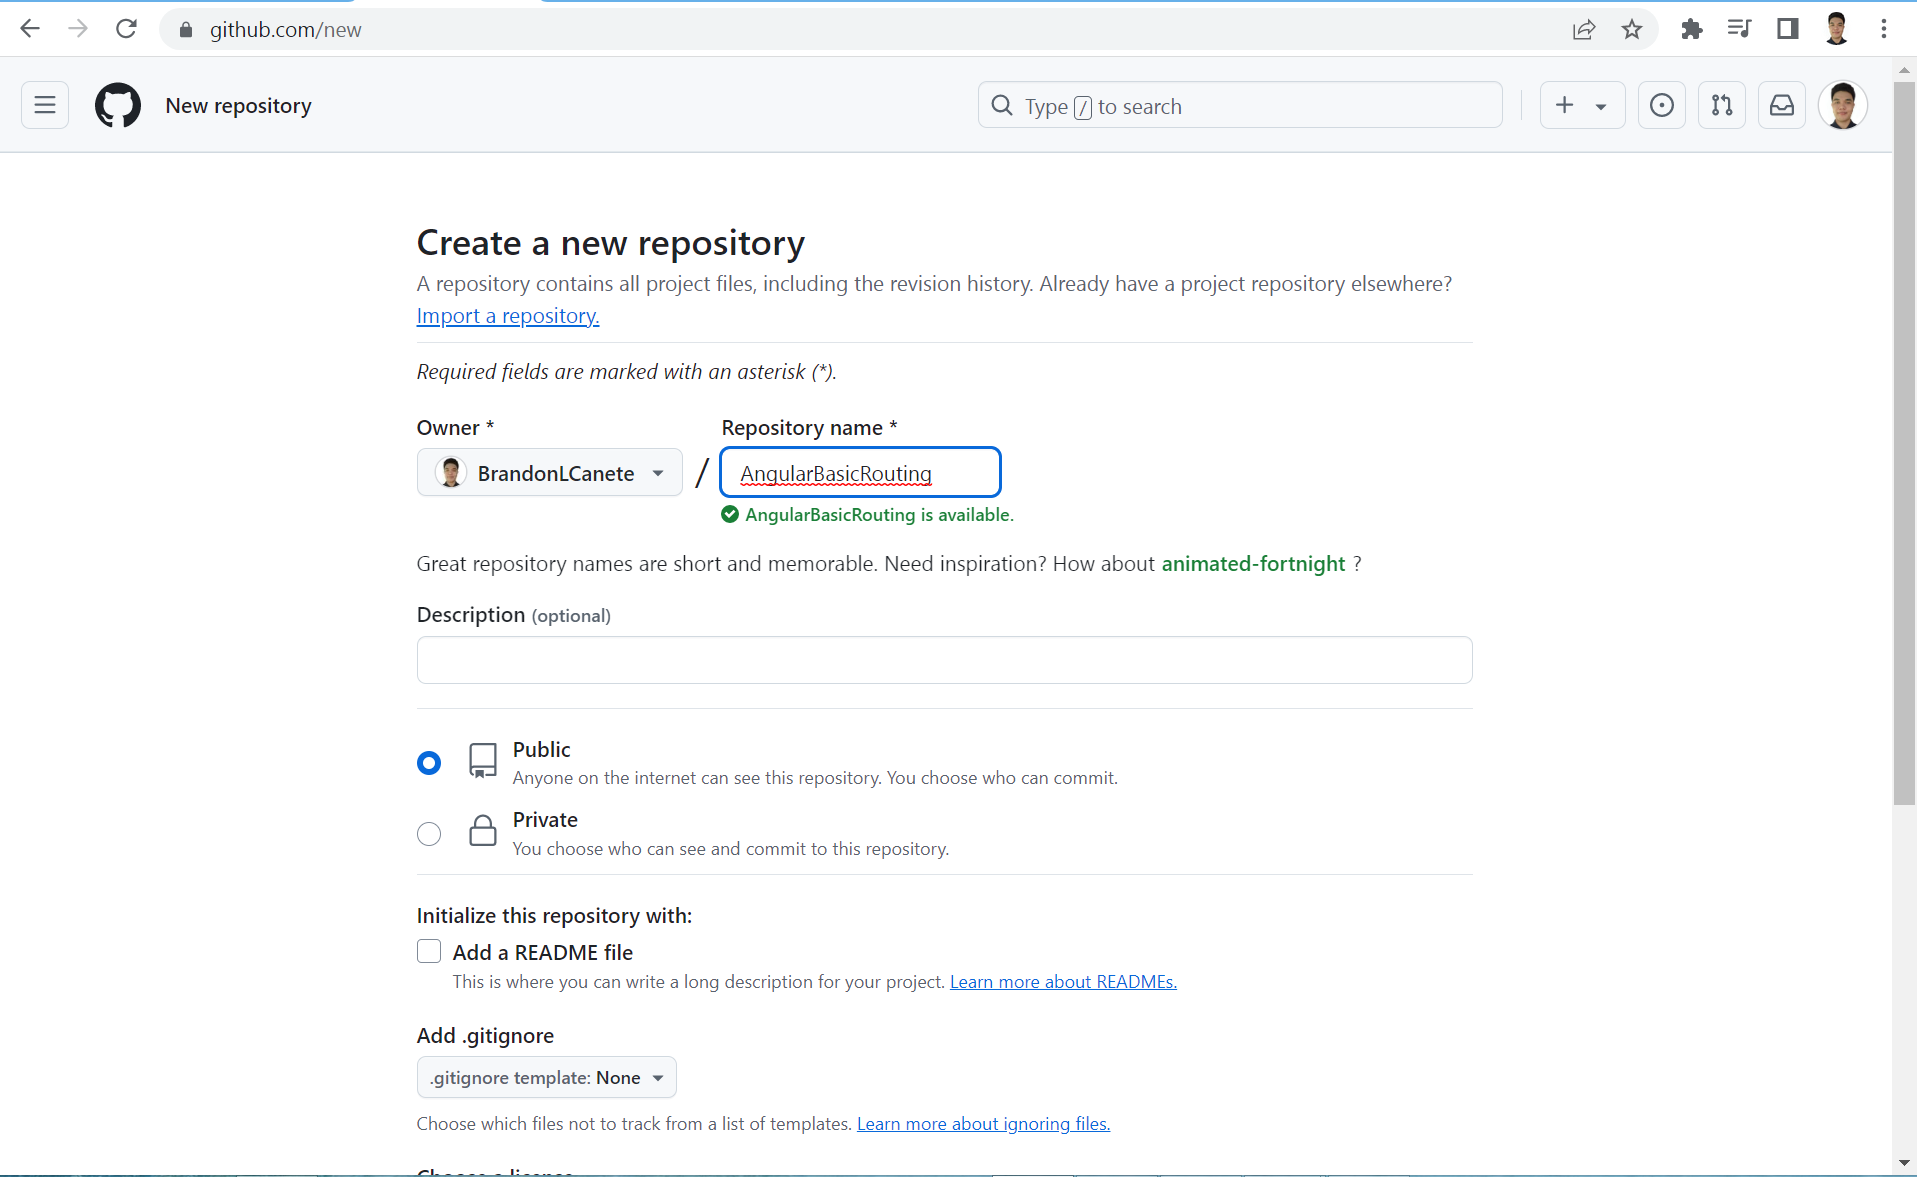
Step #1 - Creating a New Repository name AngularBasicRouting
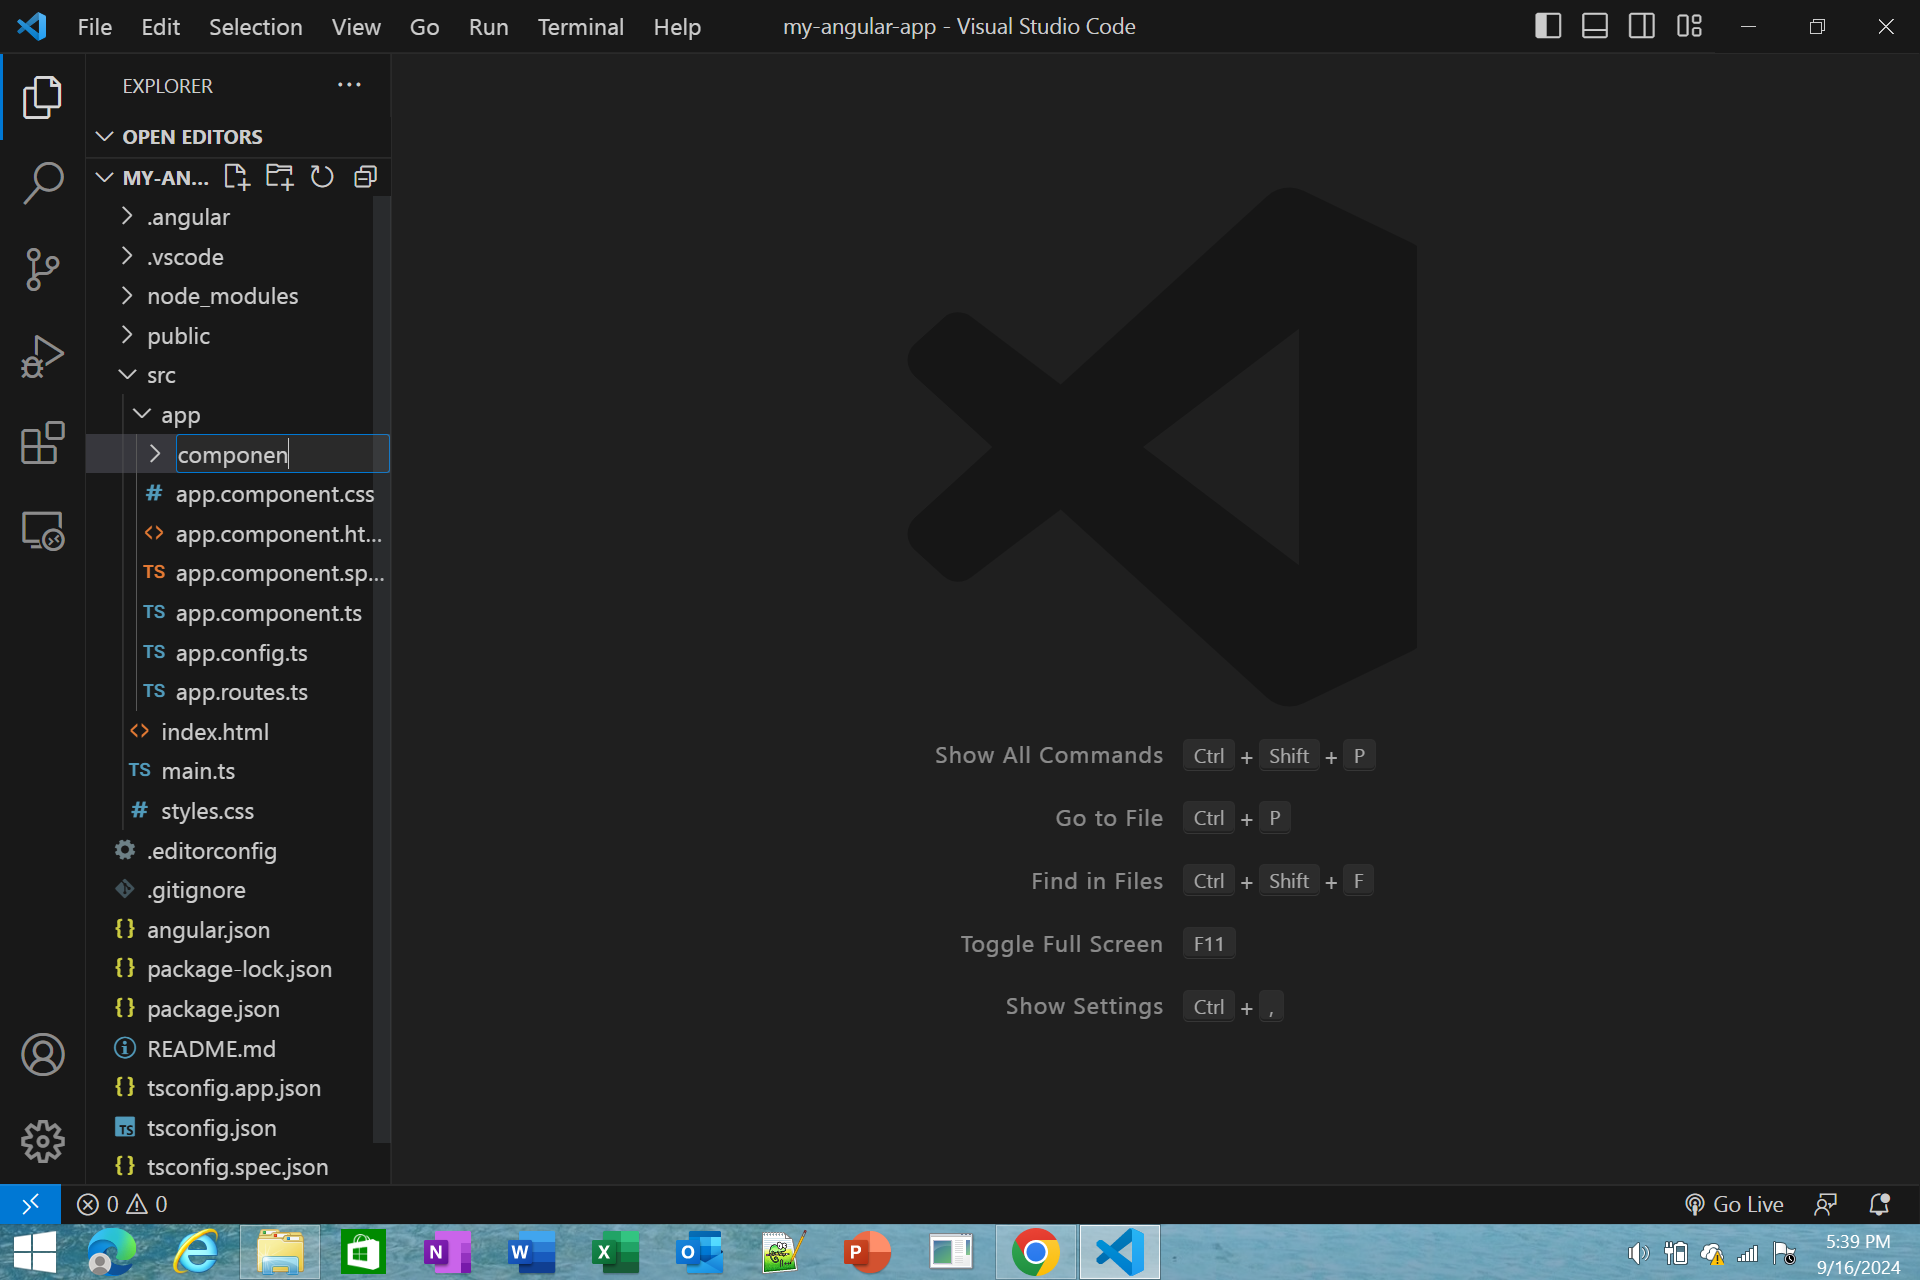
Step #2 - Create a Components Folder inside Angular Files
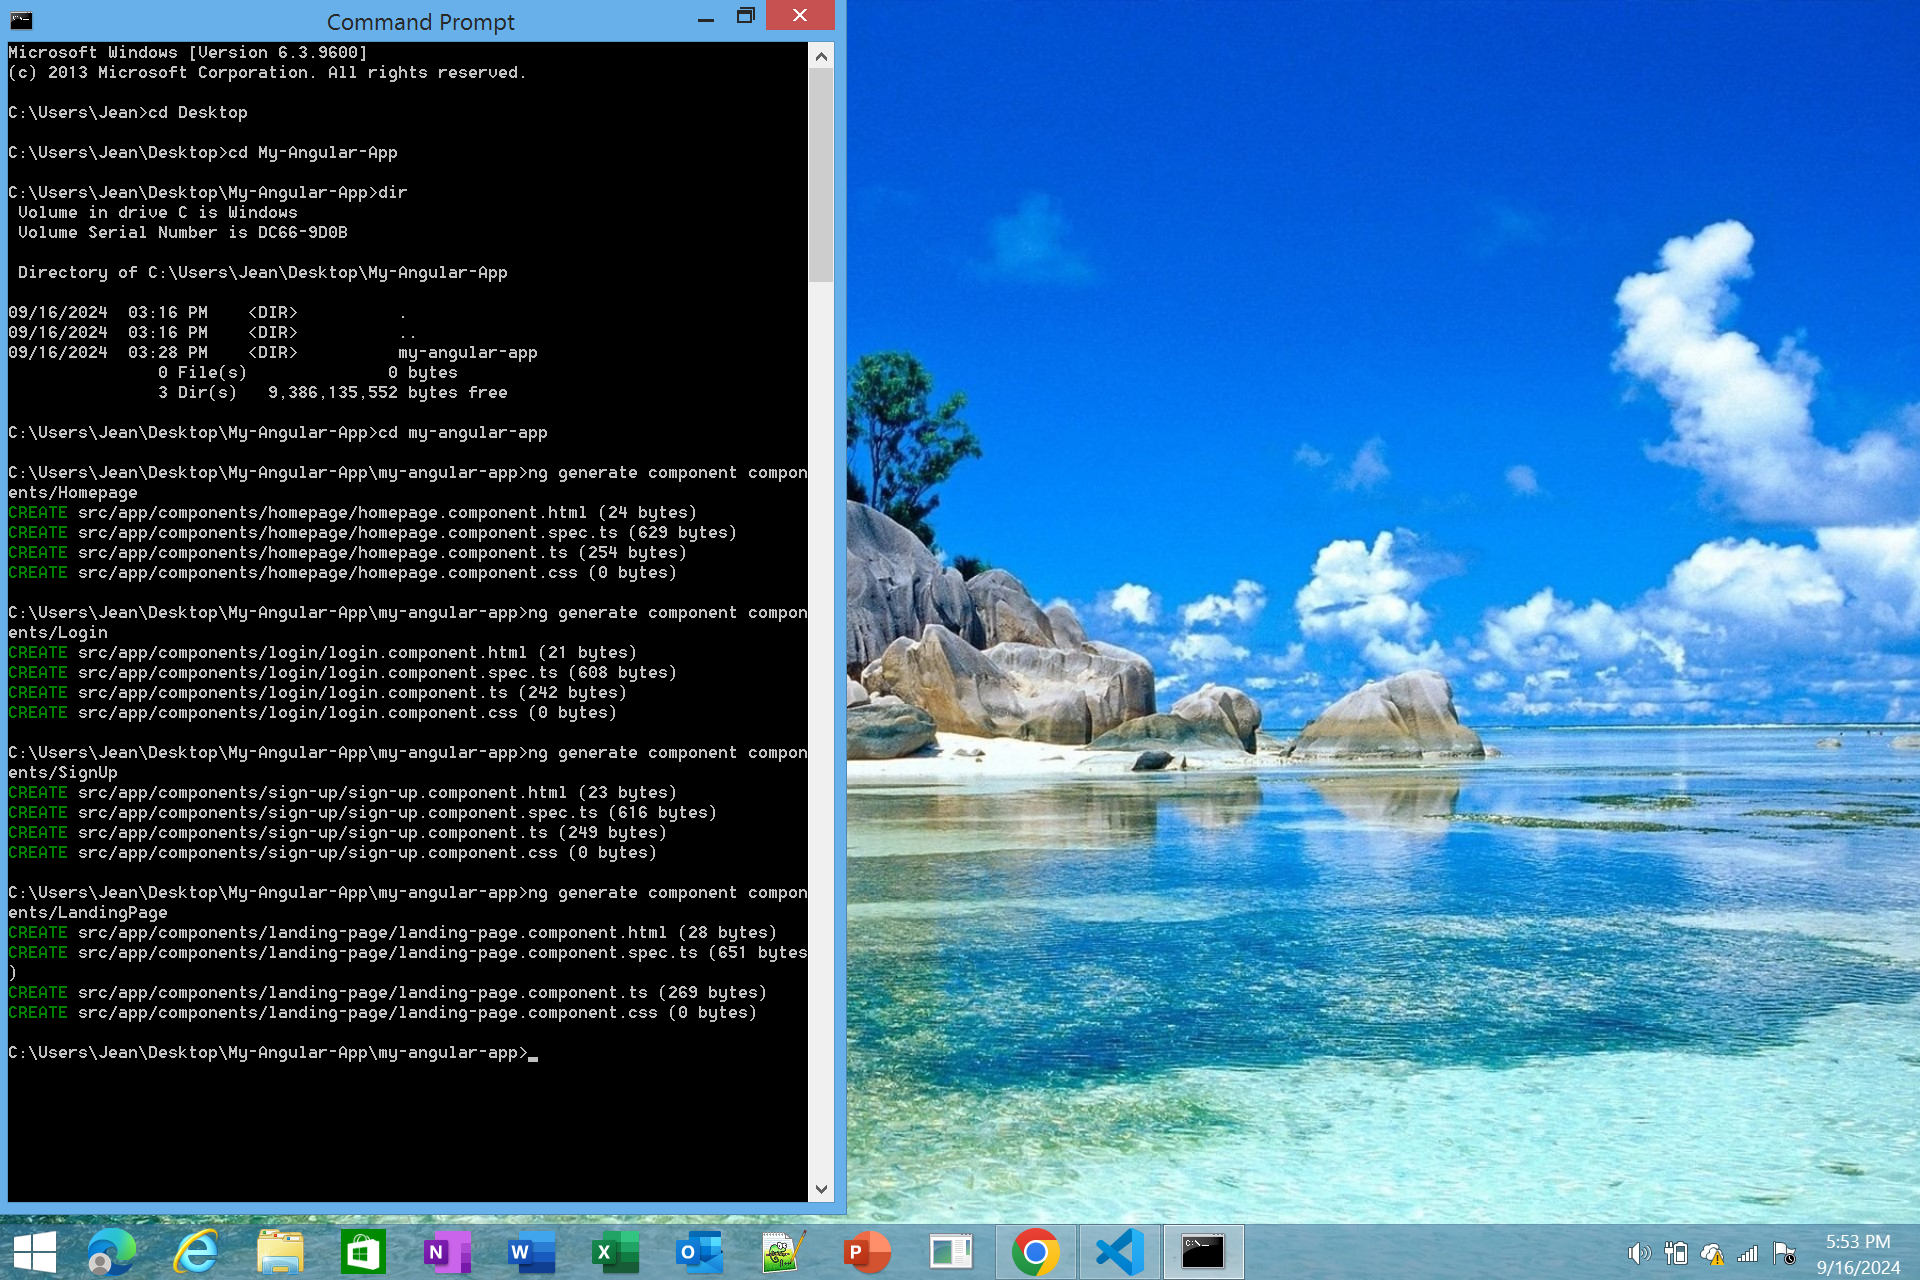
Step #3 - Go to your angular folder files and create 4 components to create a components do this ng generate component foldername/filename
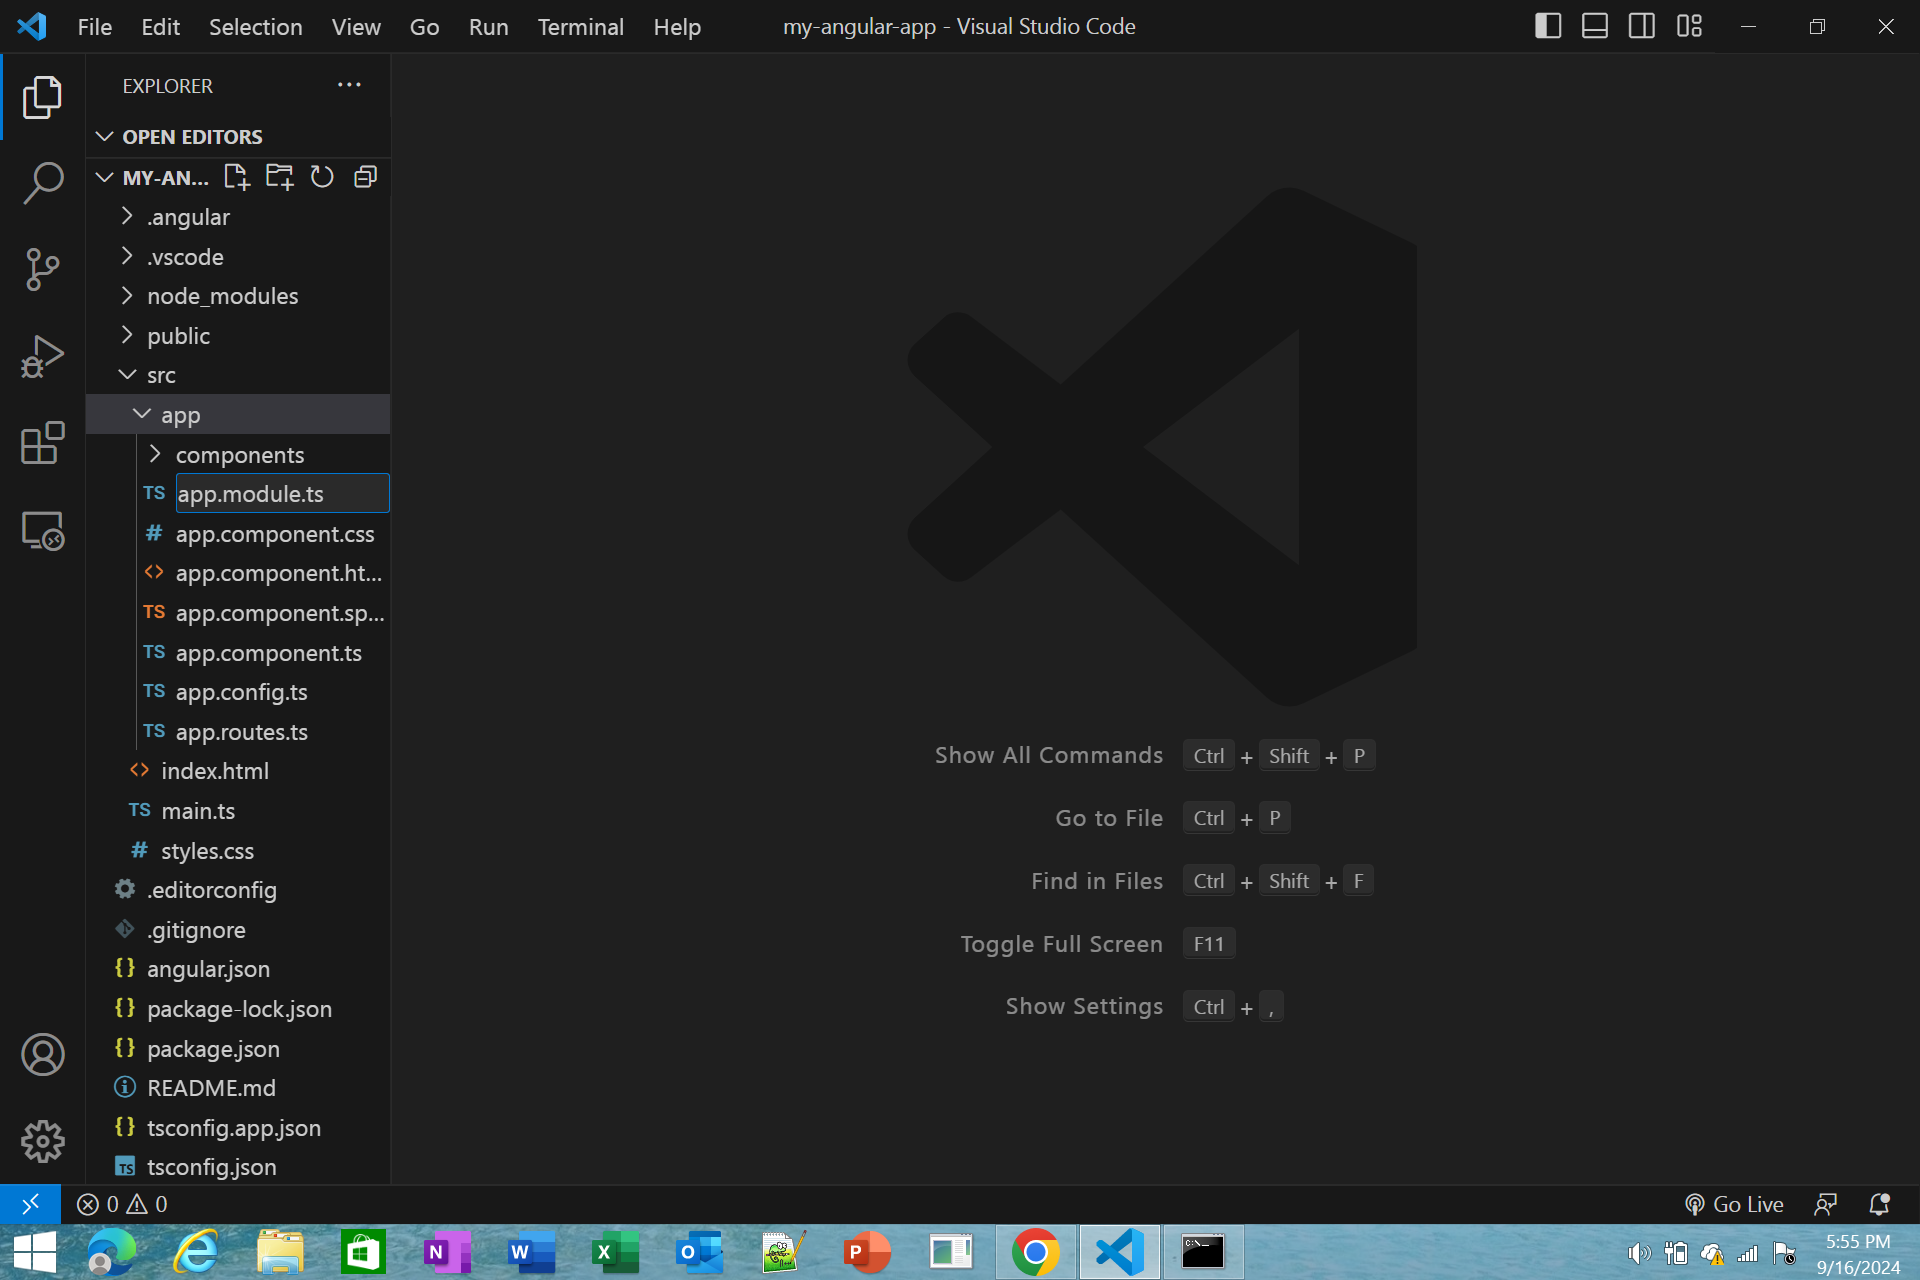
Step #4 - Now create a app.module.ts file in your Angular Files
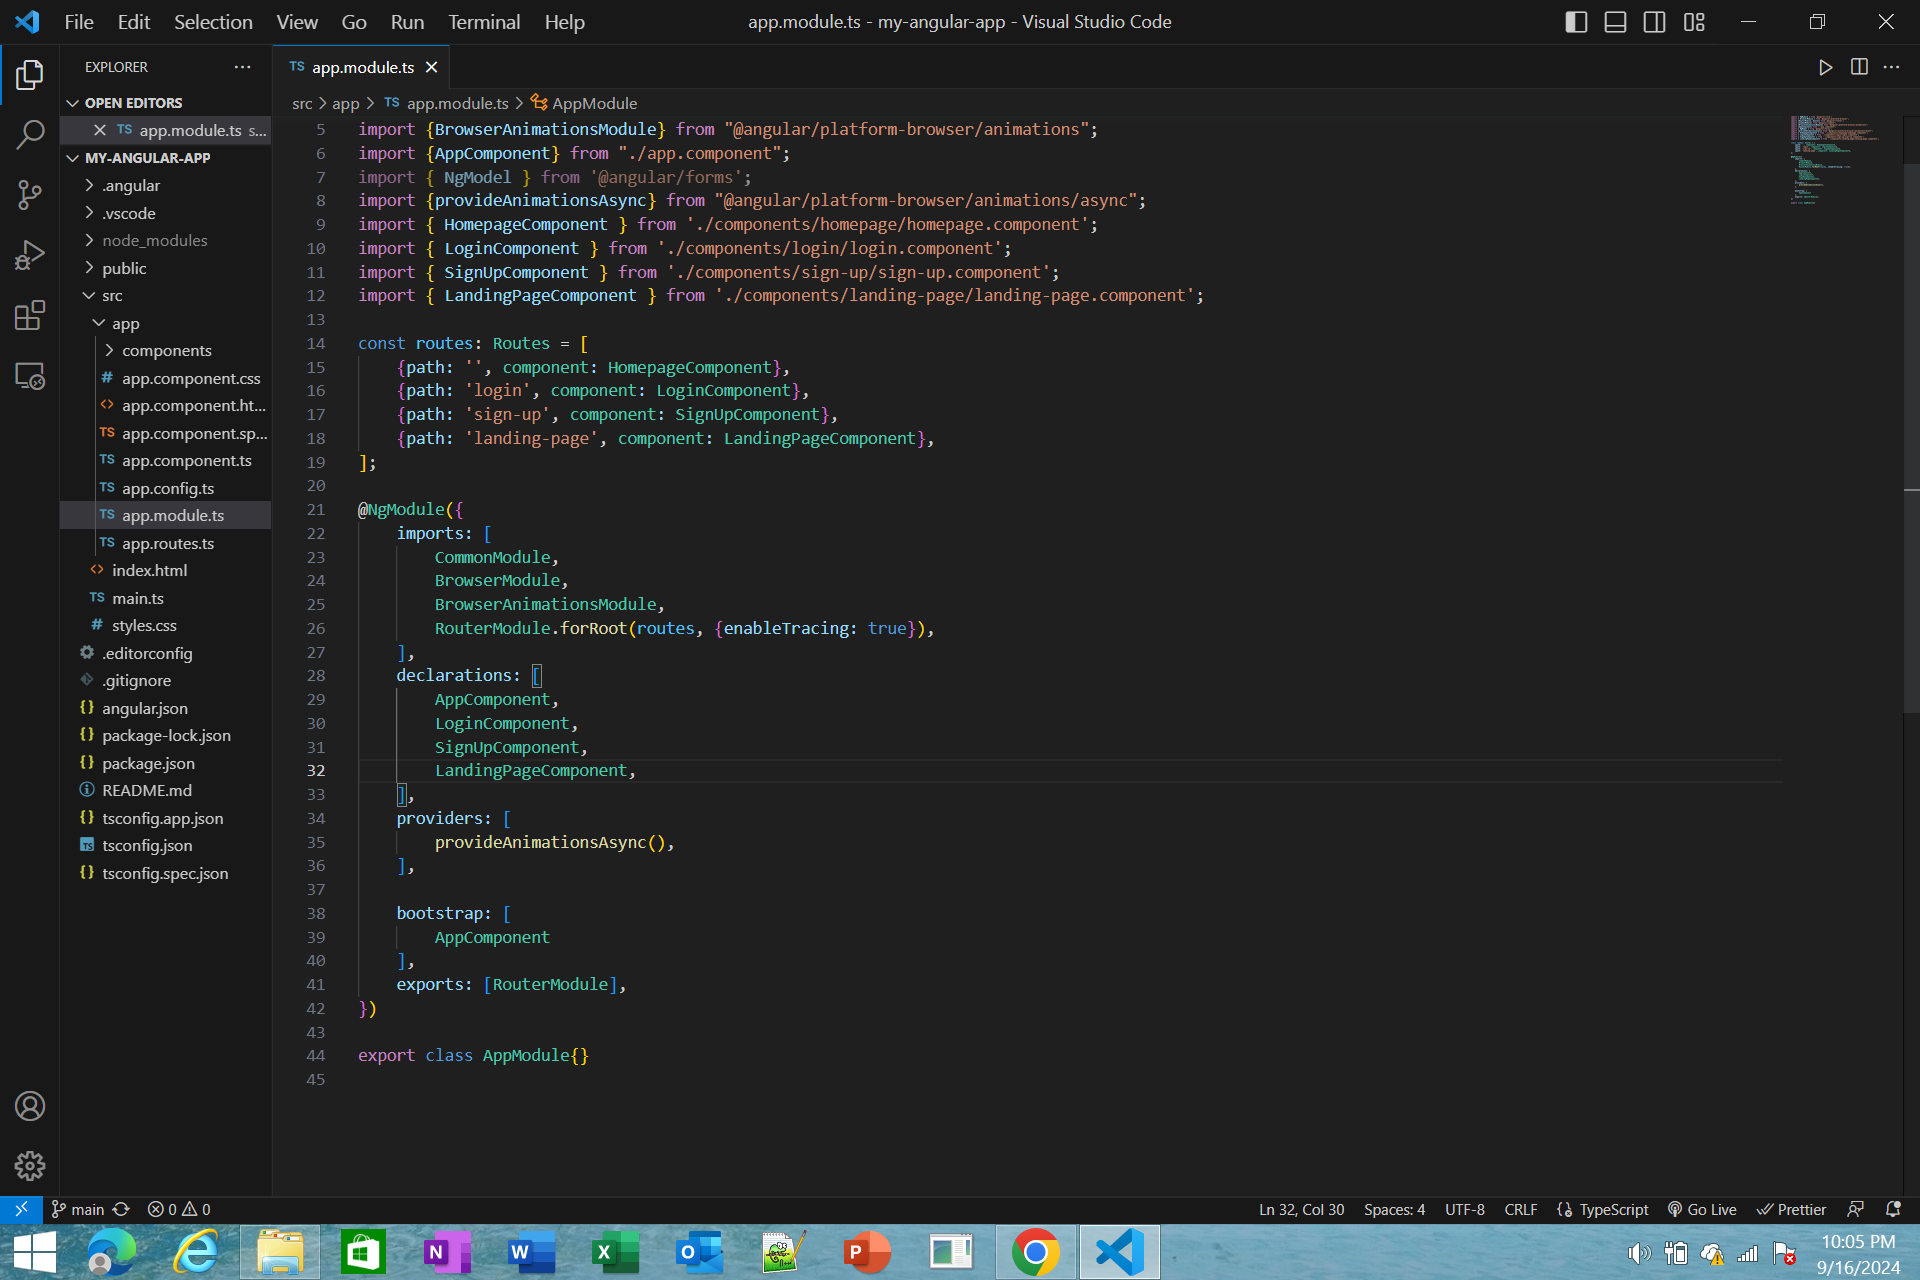
Step #5 - Follow this code
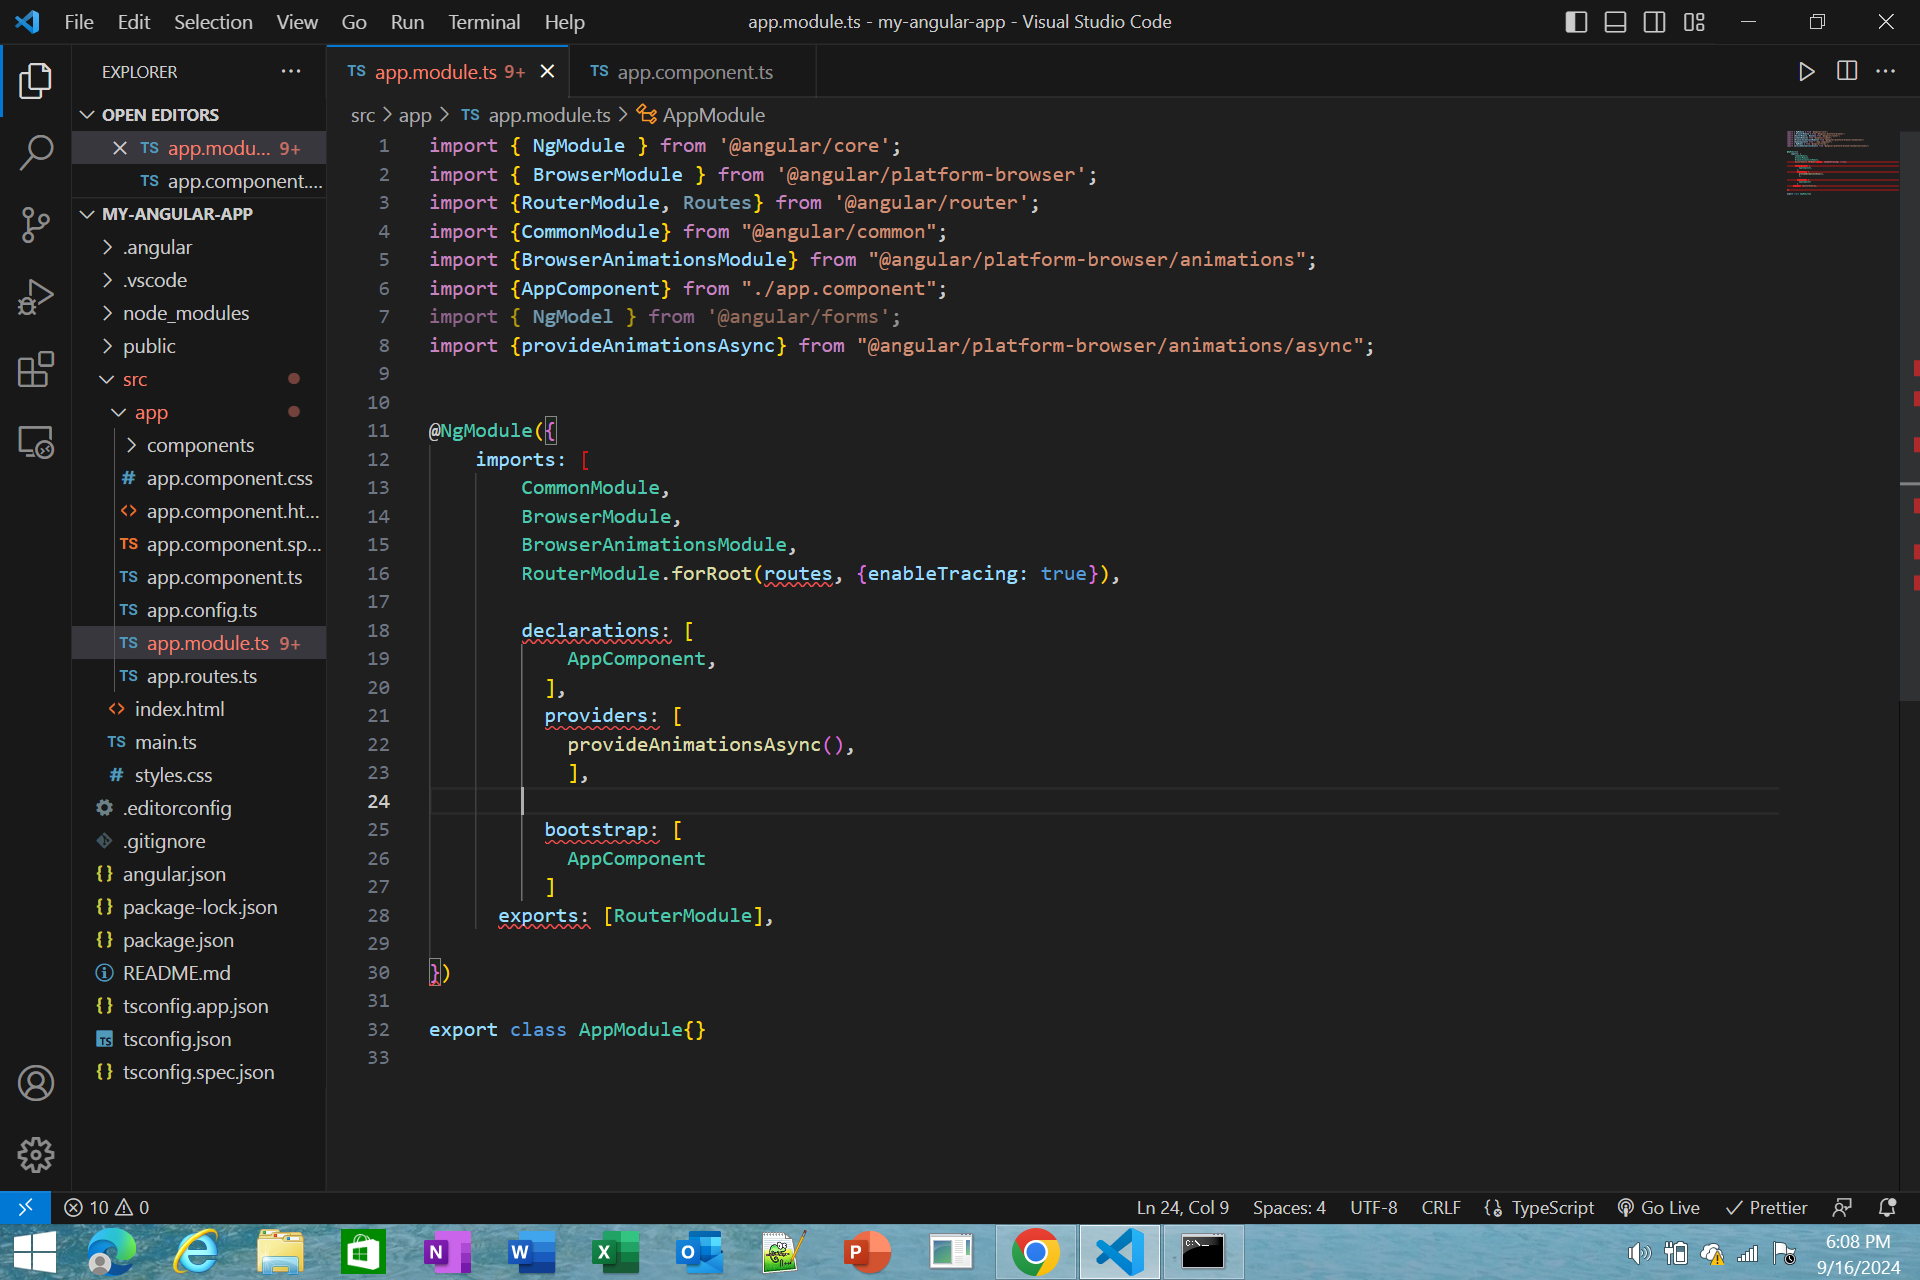
Step #6 - Go to your app.component.ts file and delete standalone and imports code and also import RouterOutlet
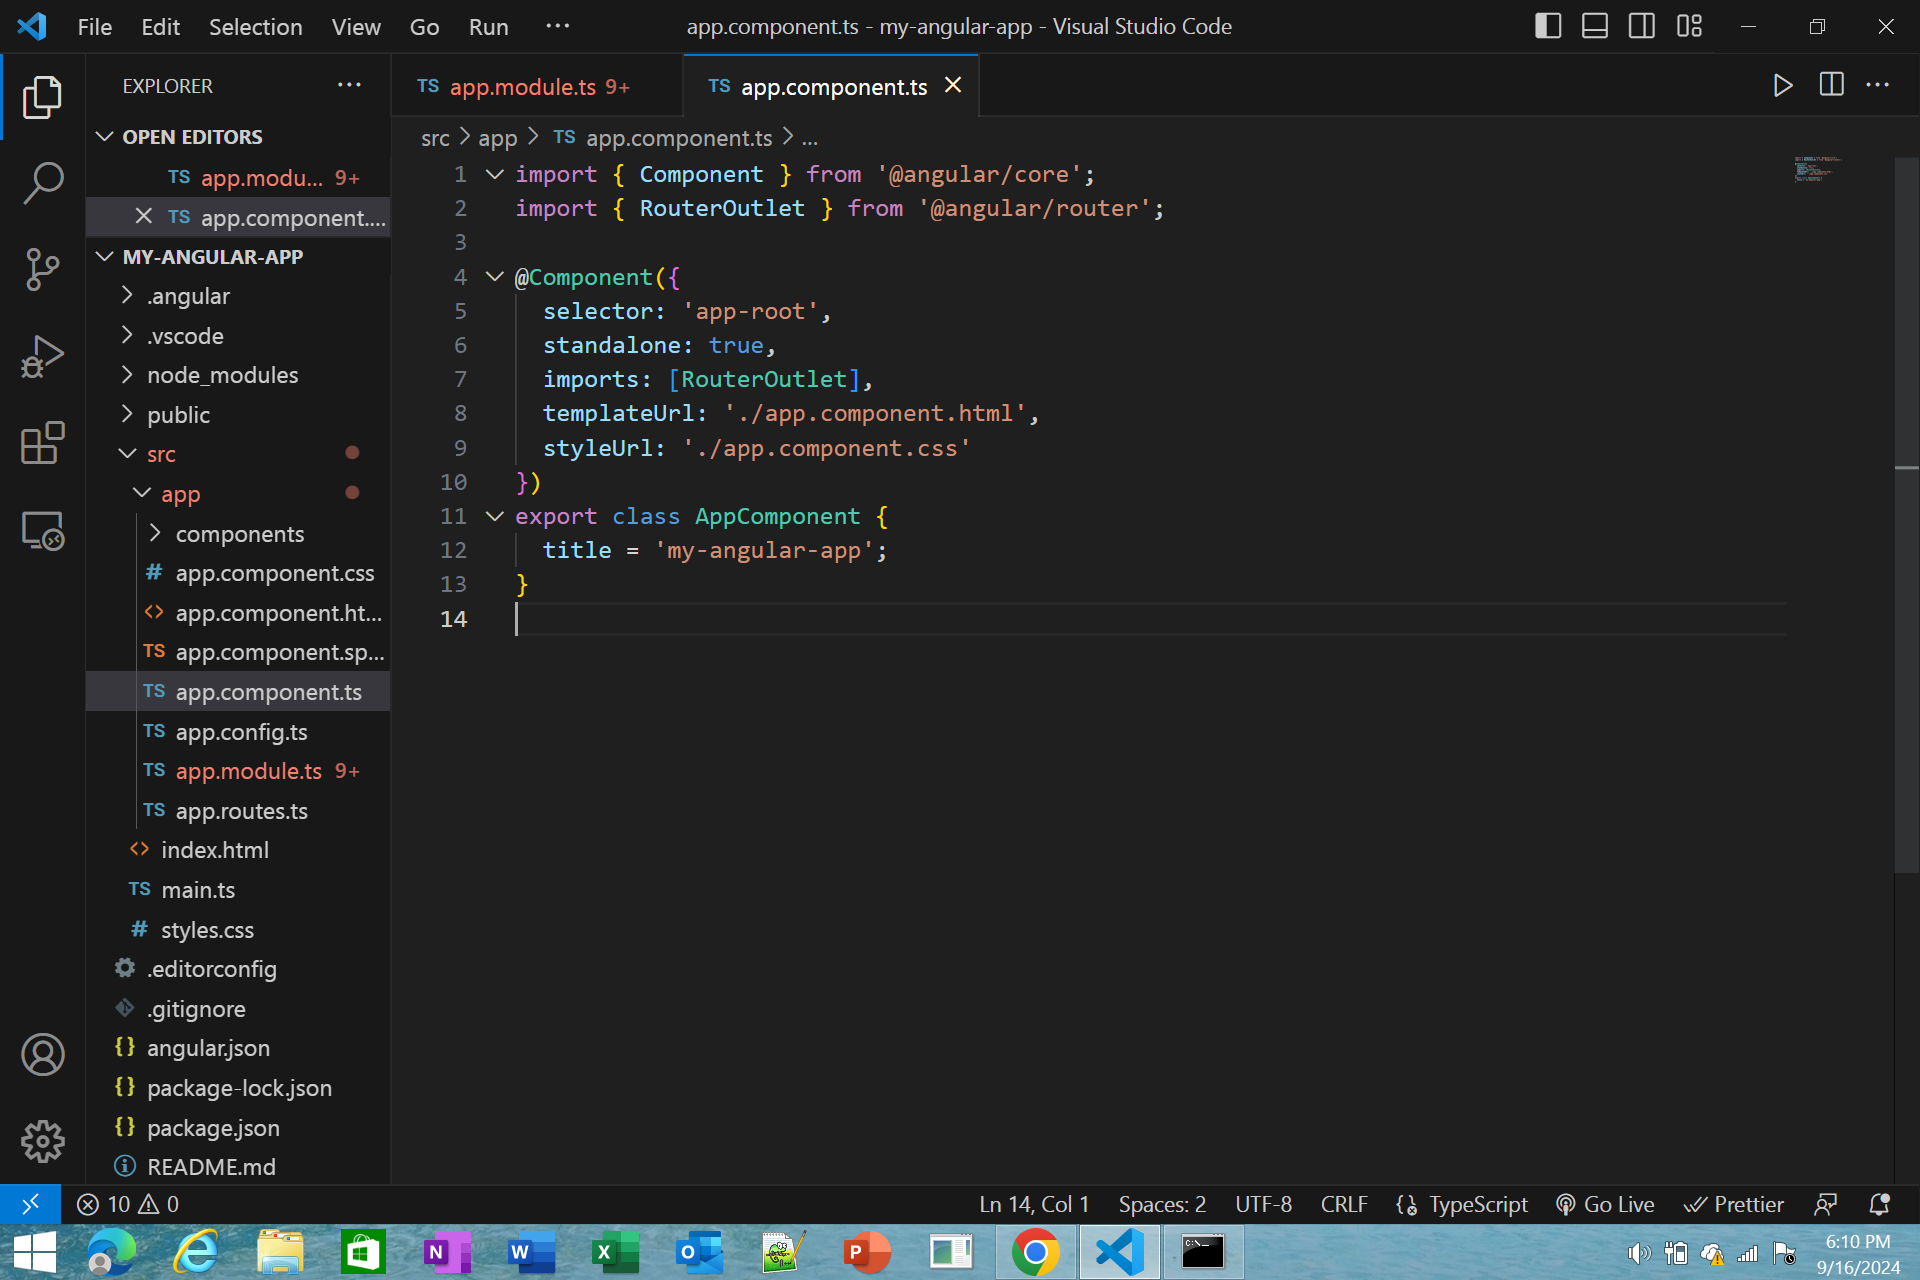
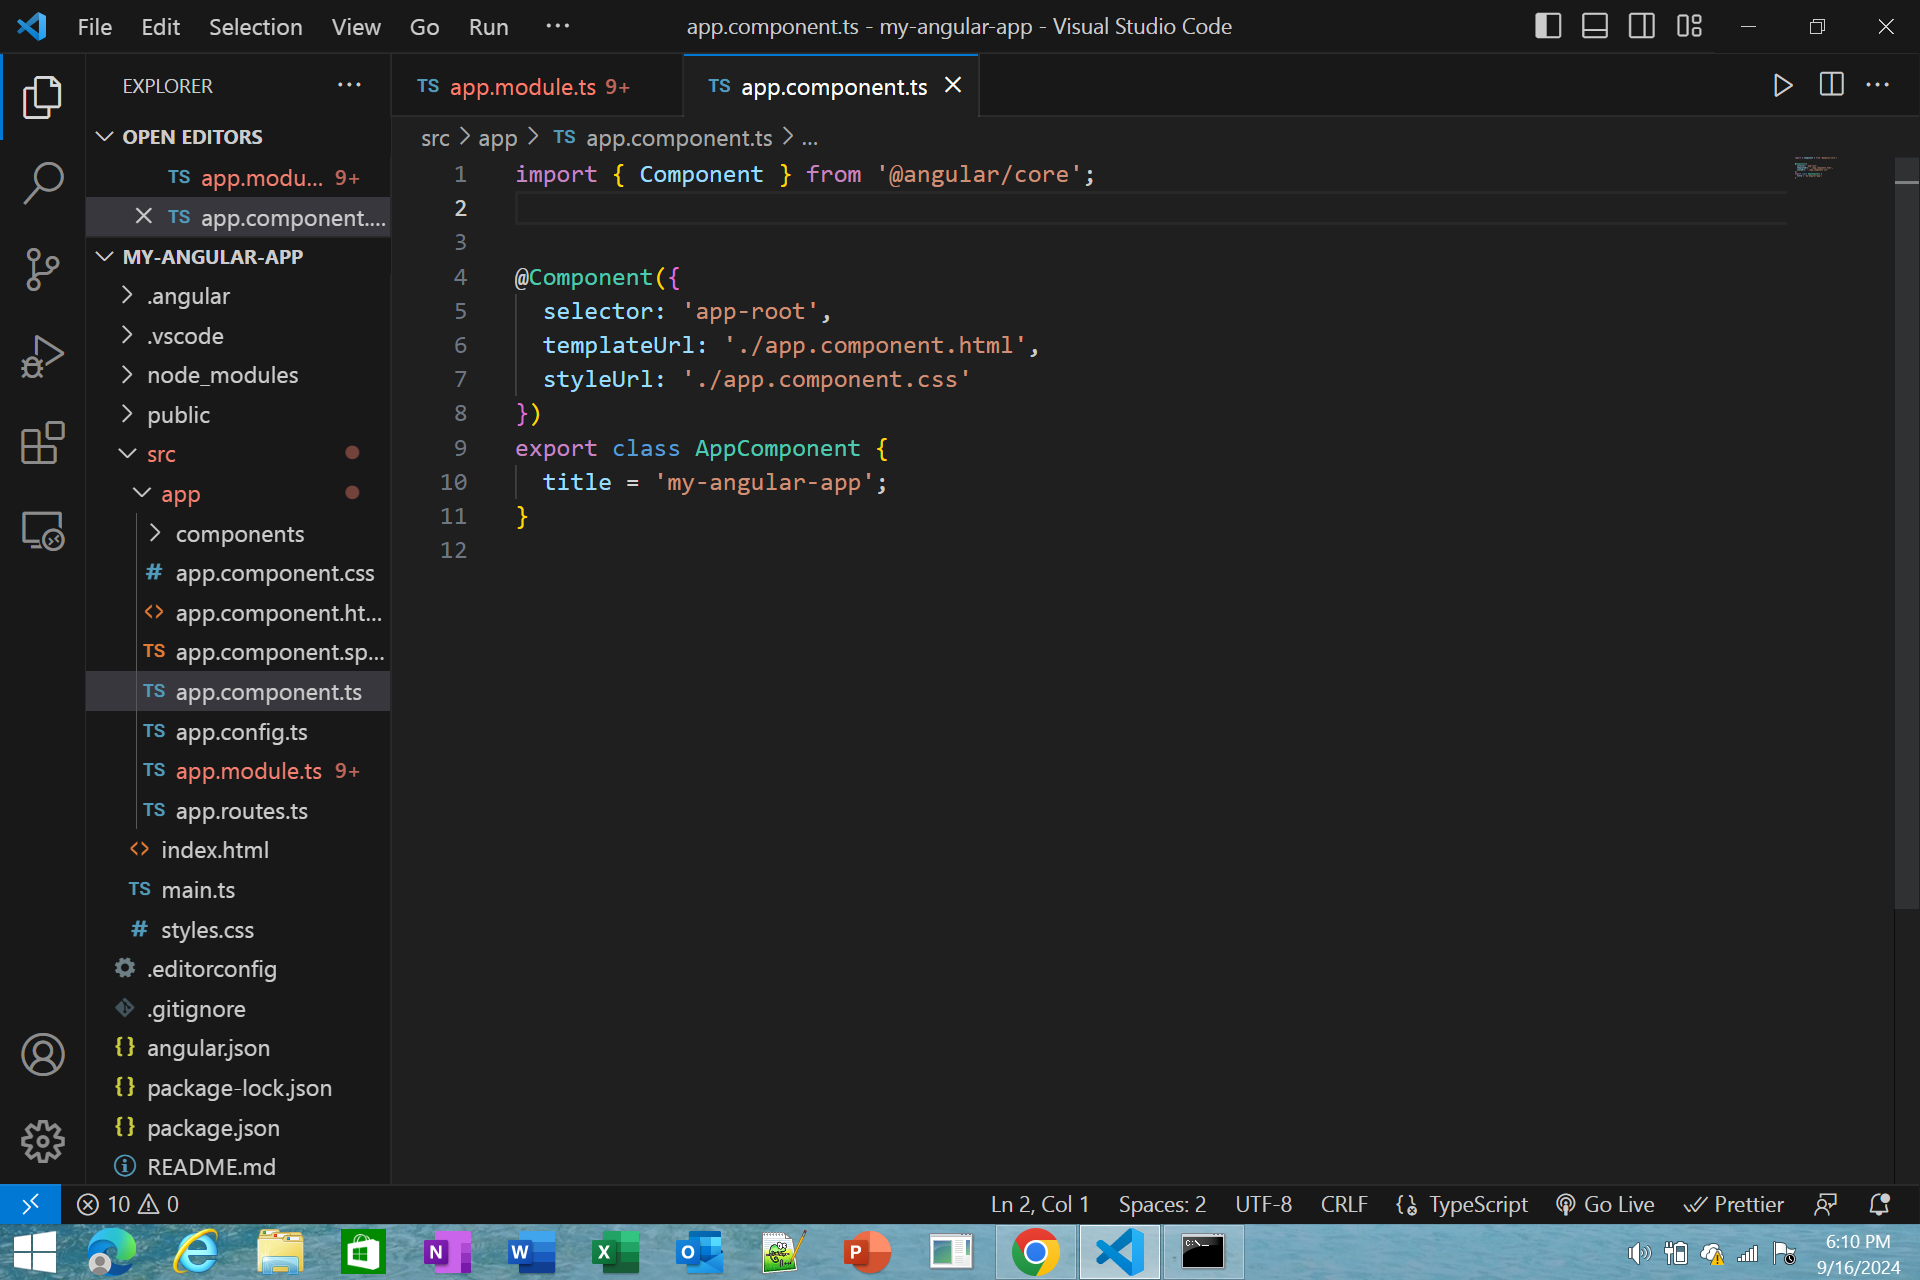
Step #7 -Make a routes path
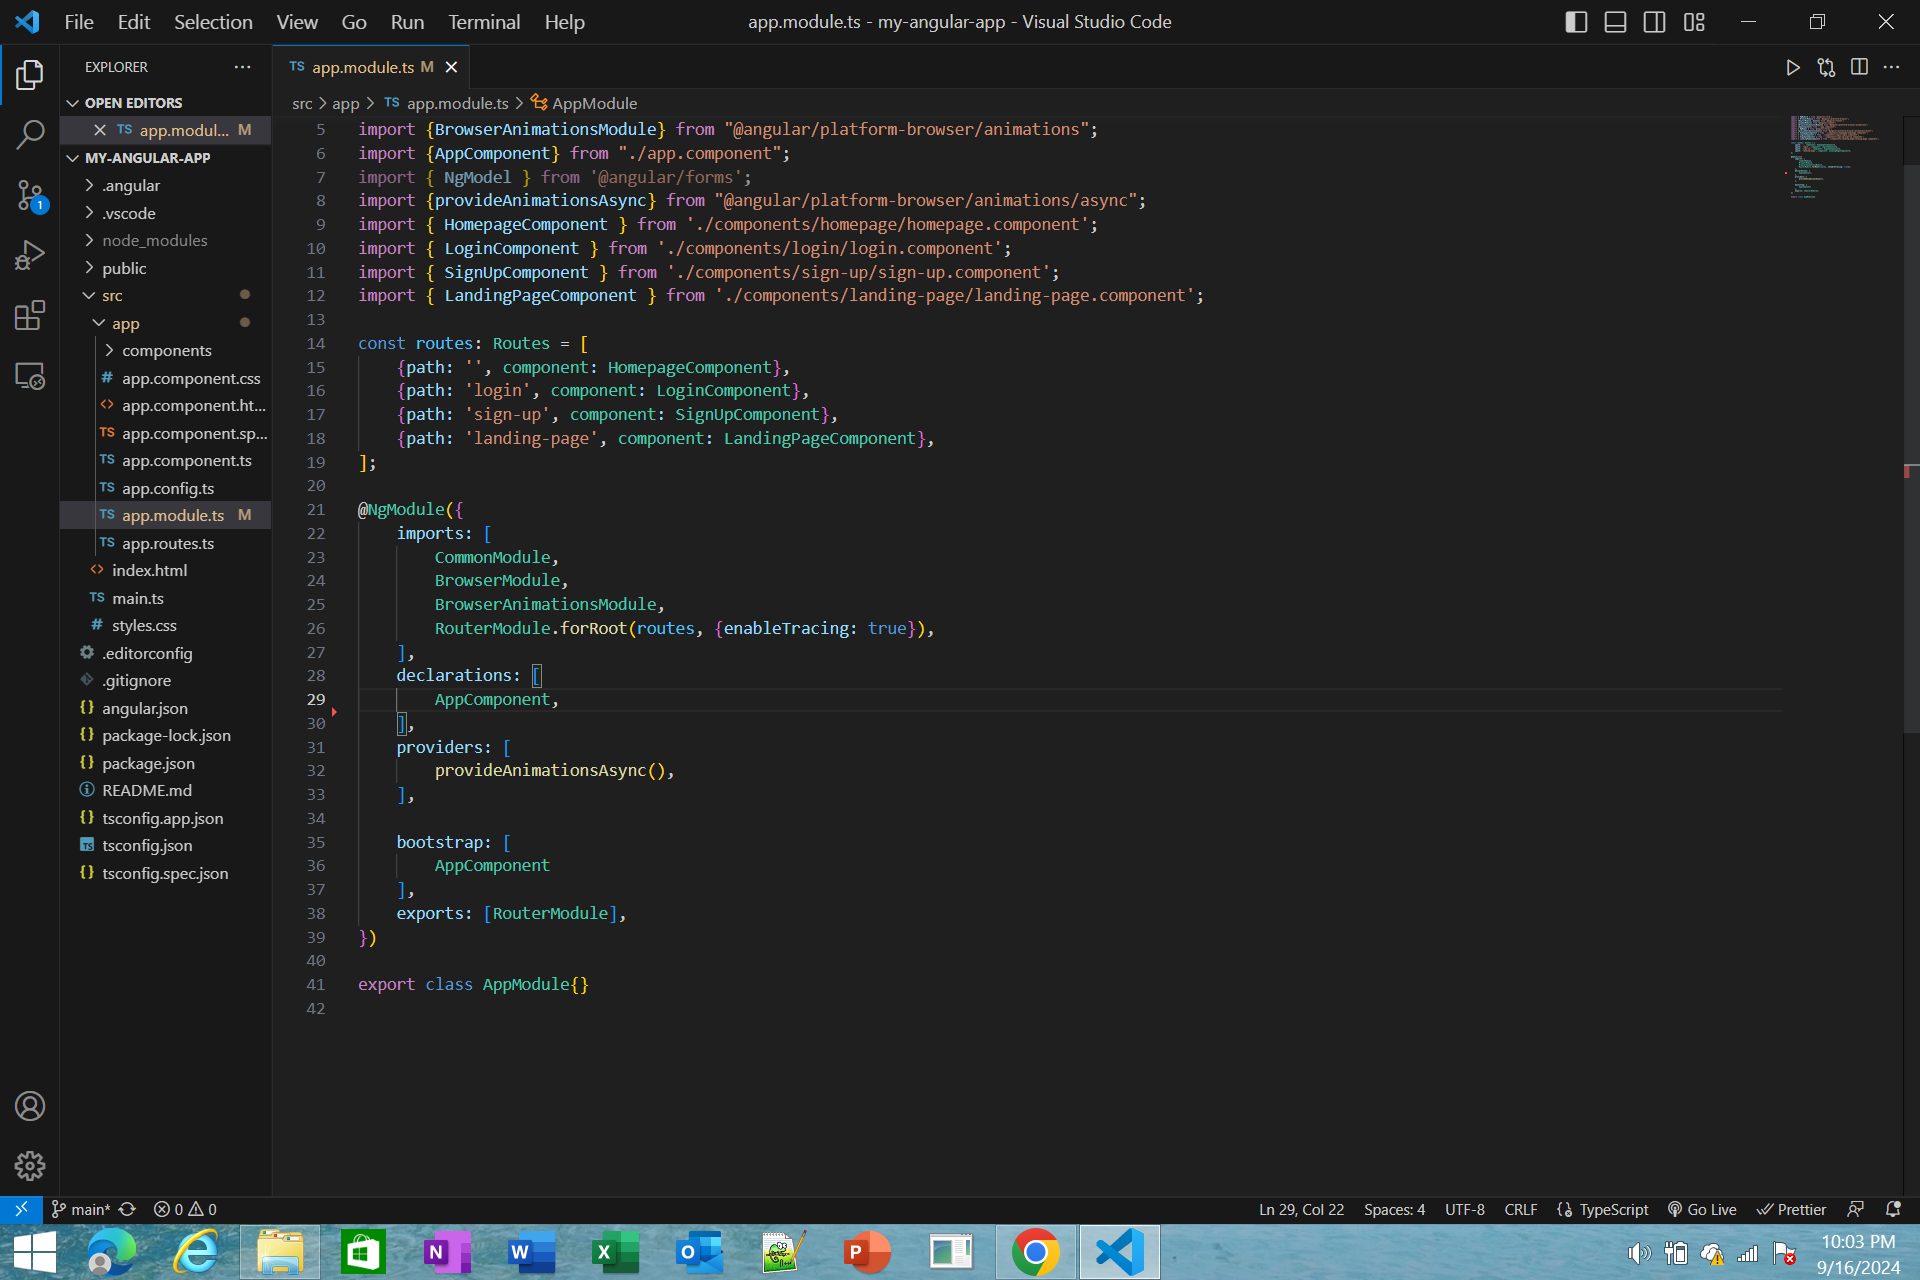
Step #8 - Go to components folder and go to every components folder and delete all the standalone and imports on every components typescript
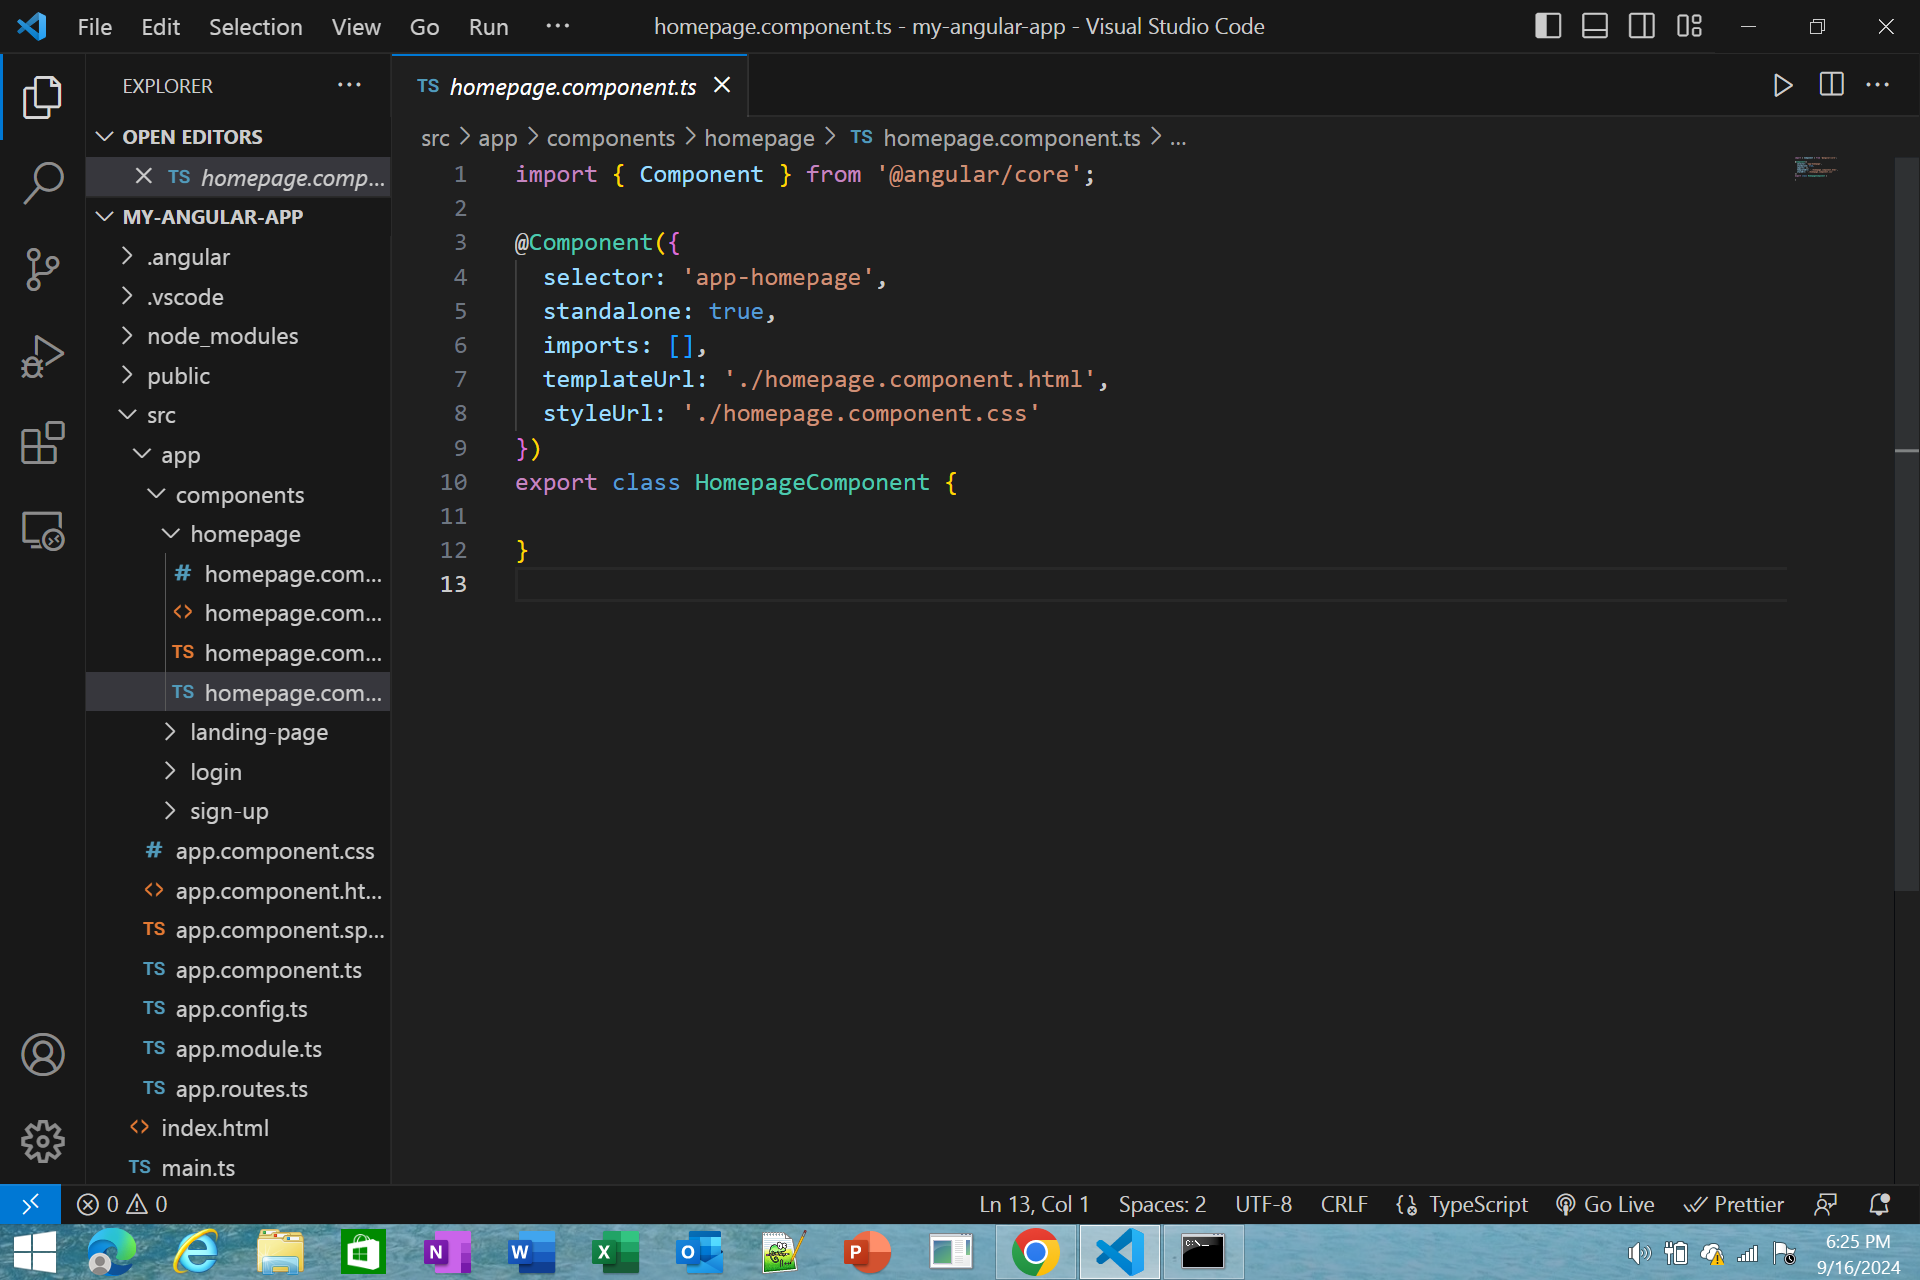
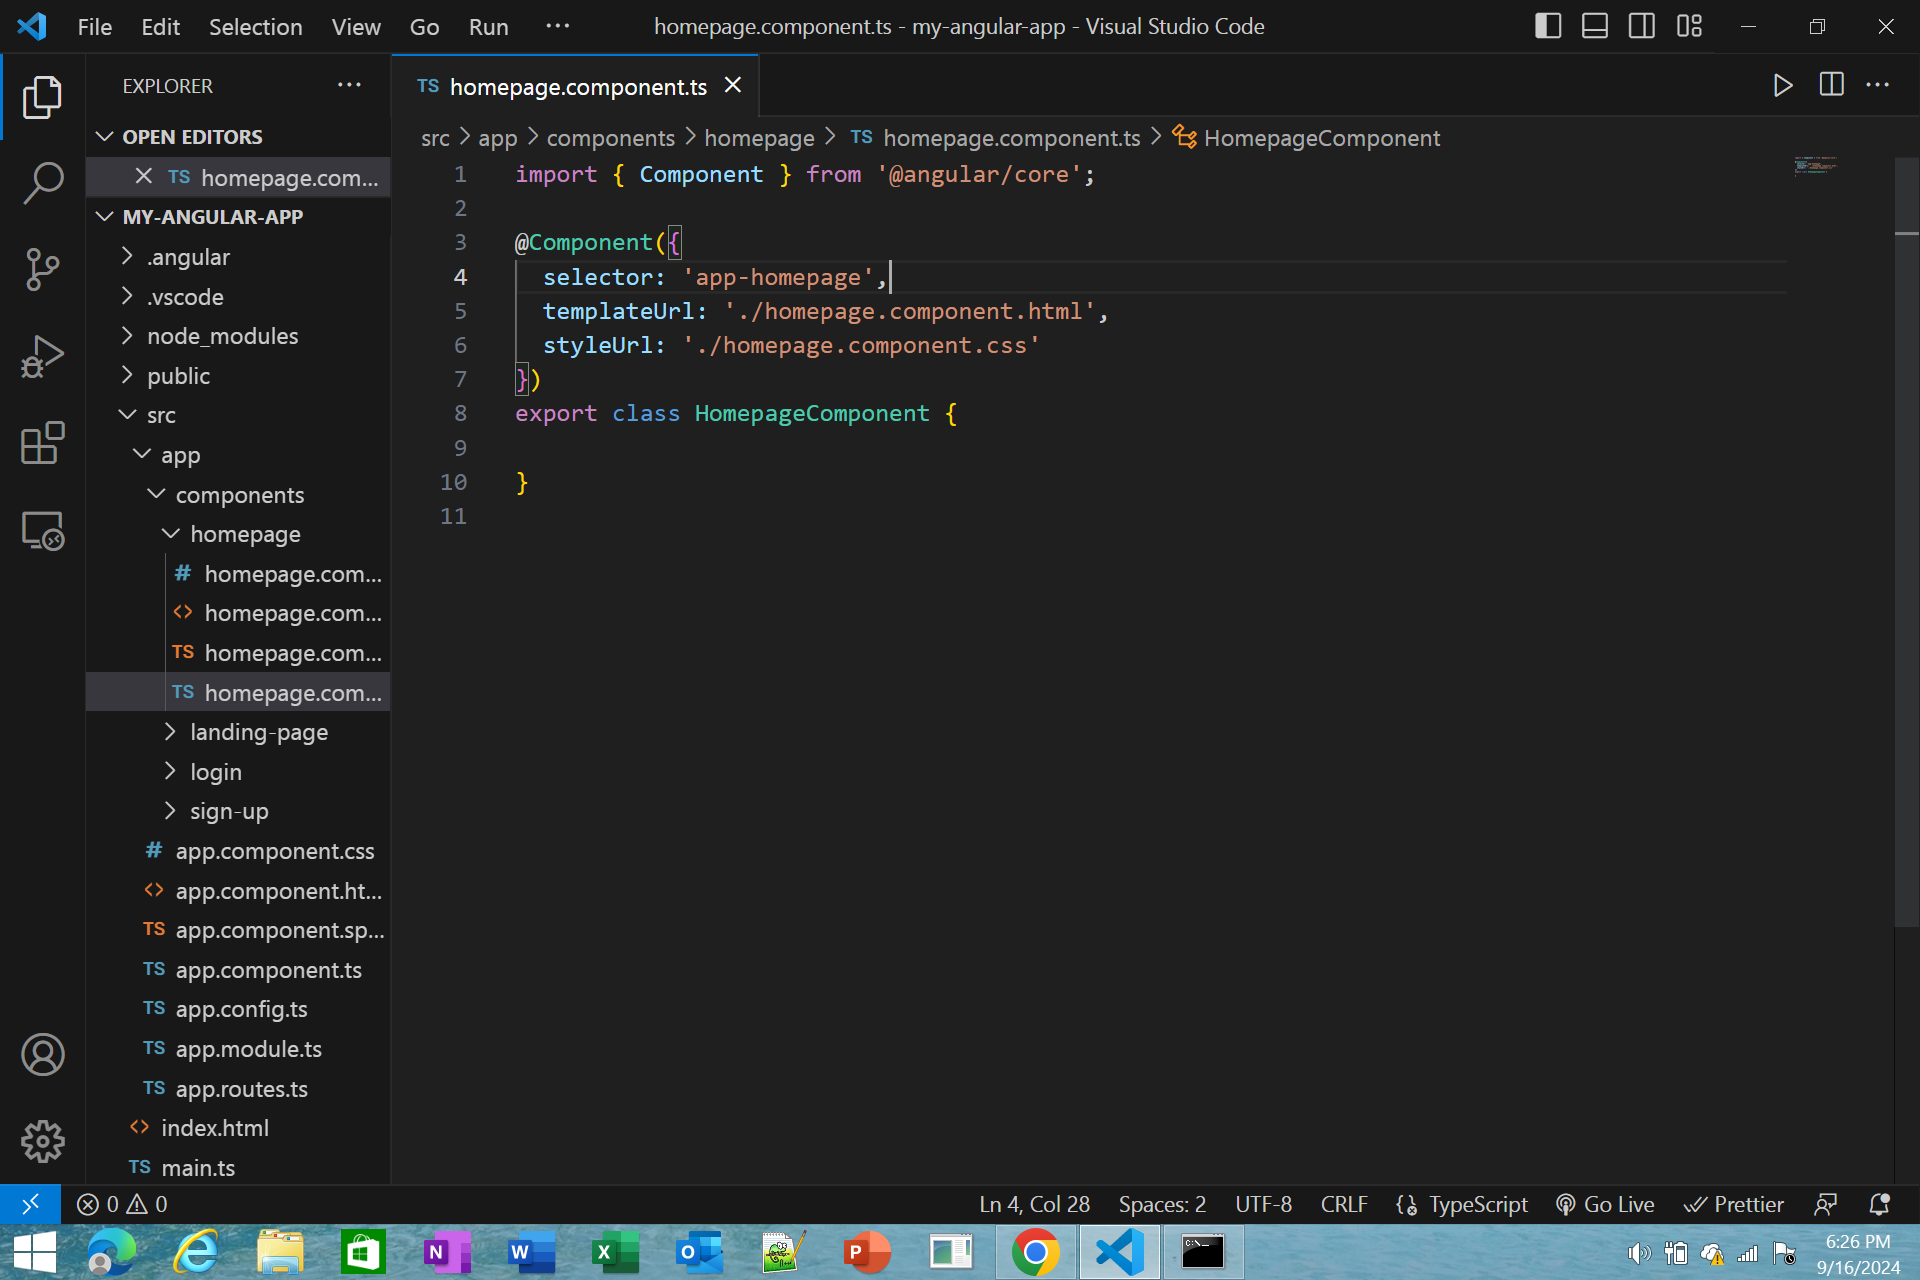
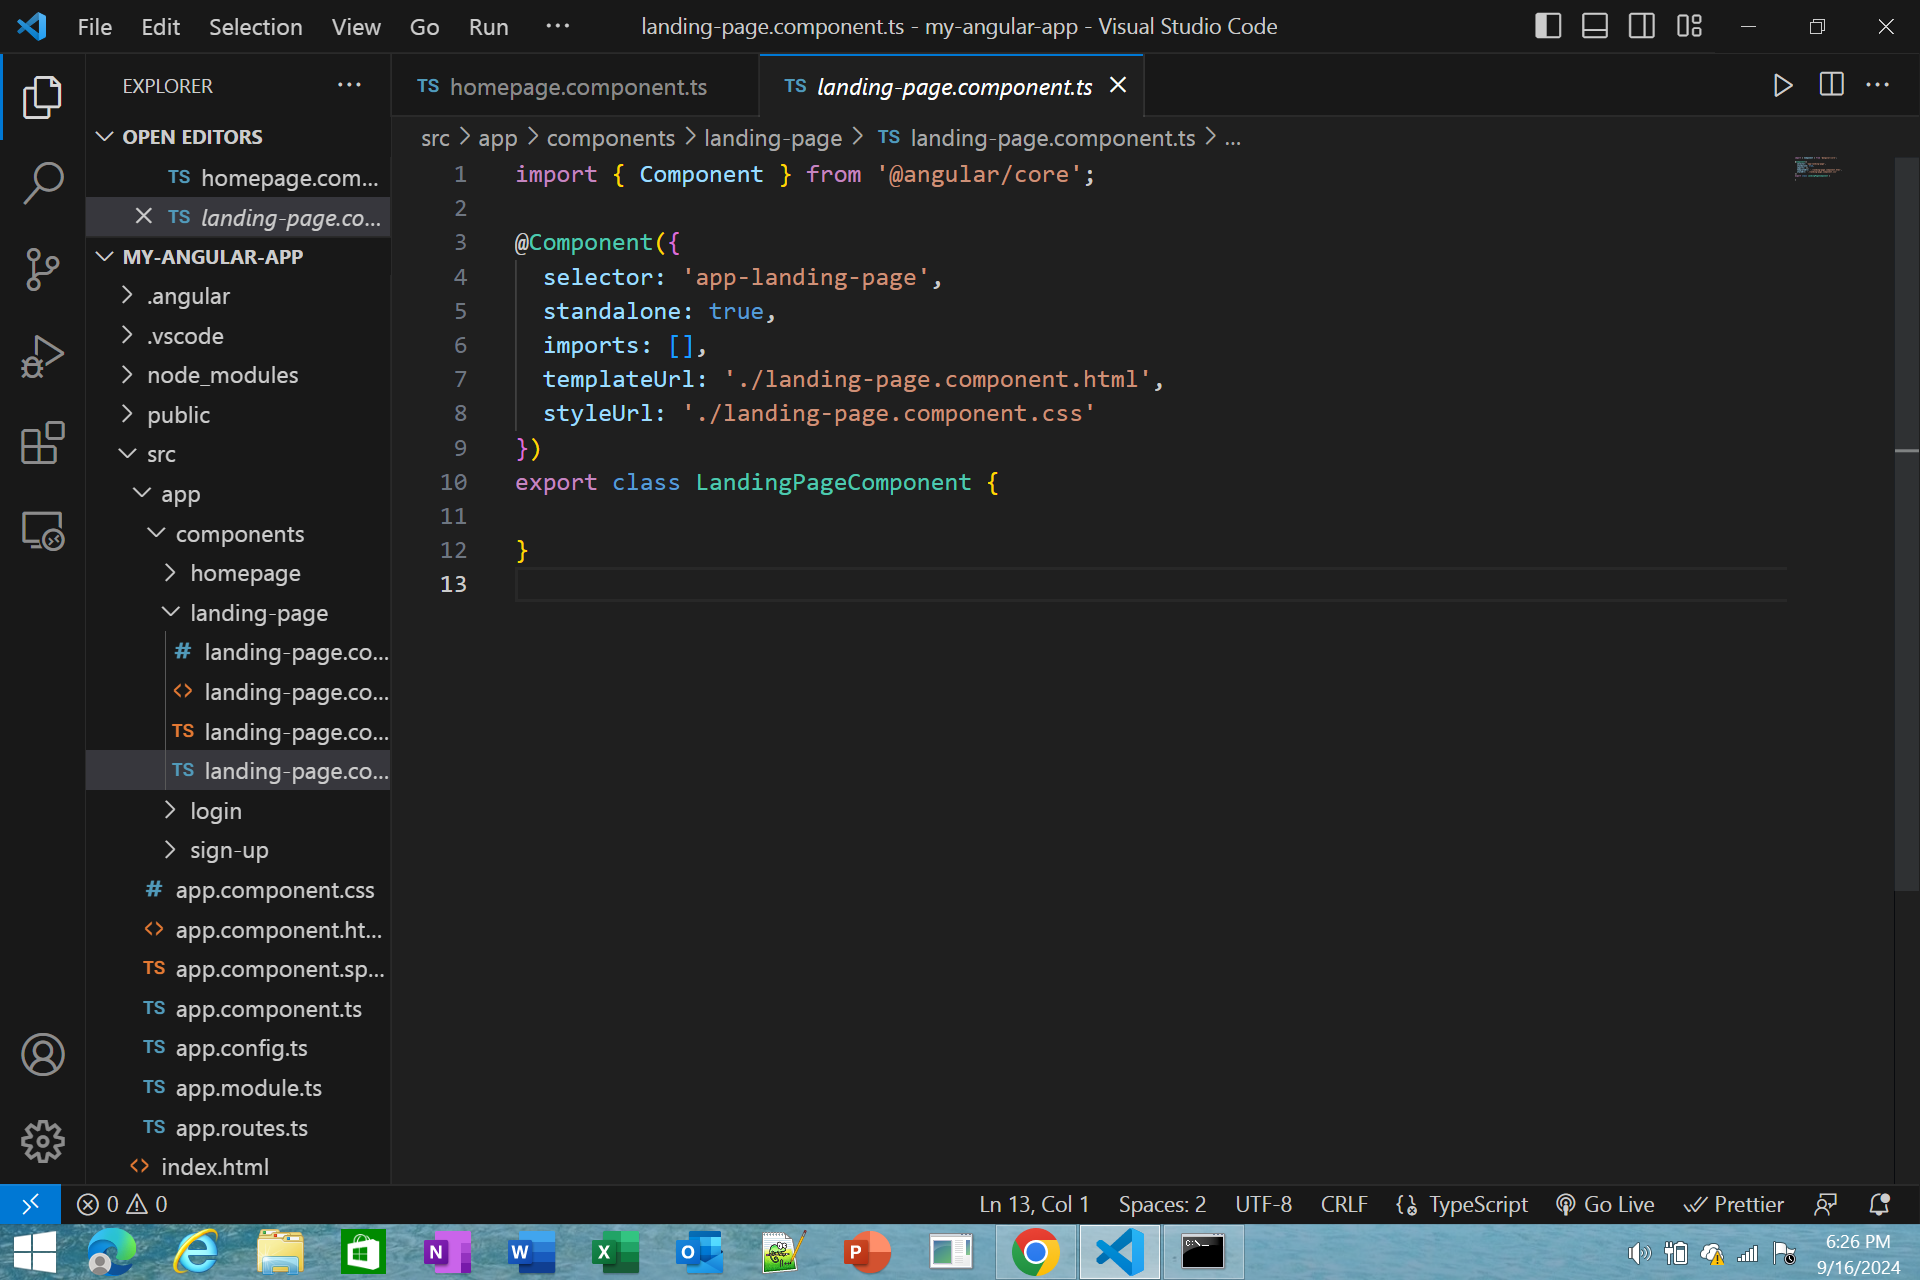
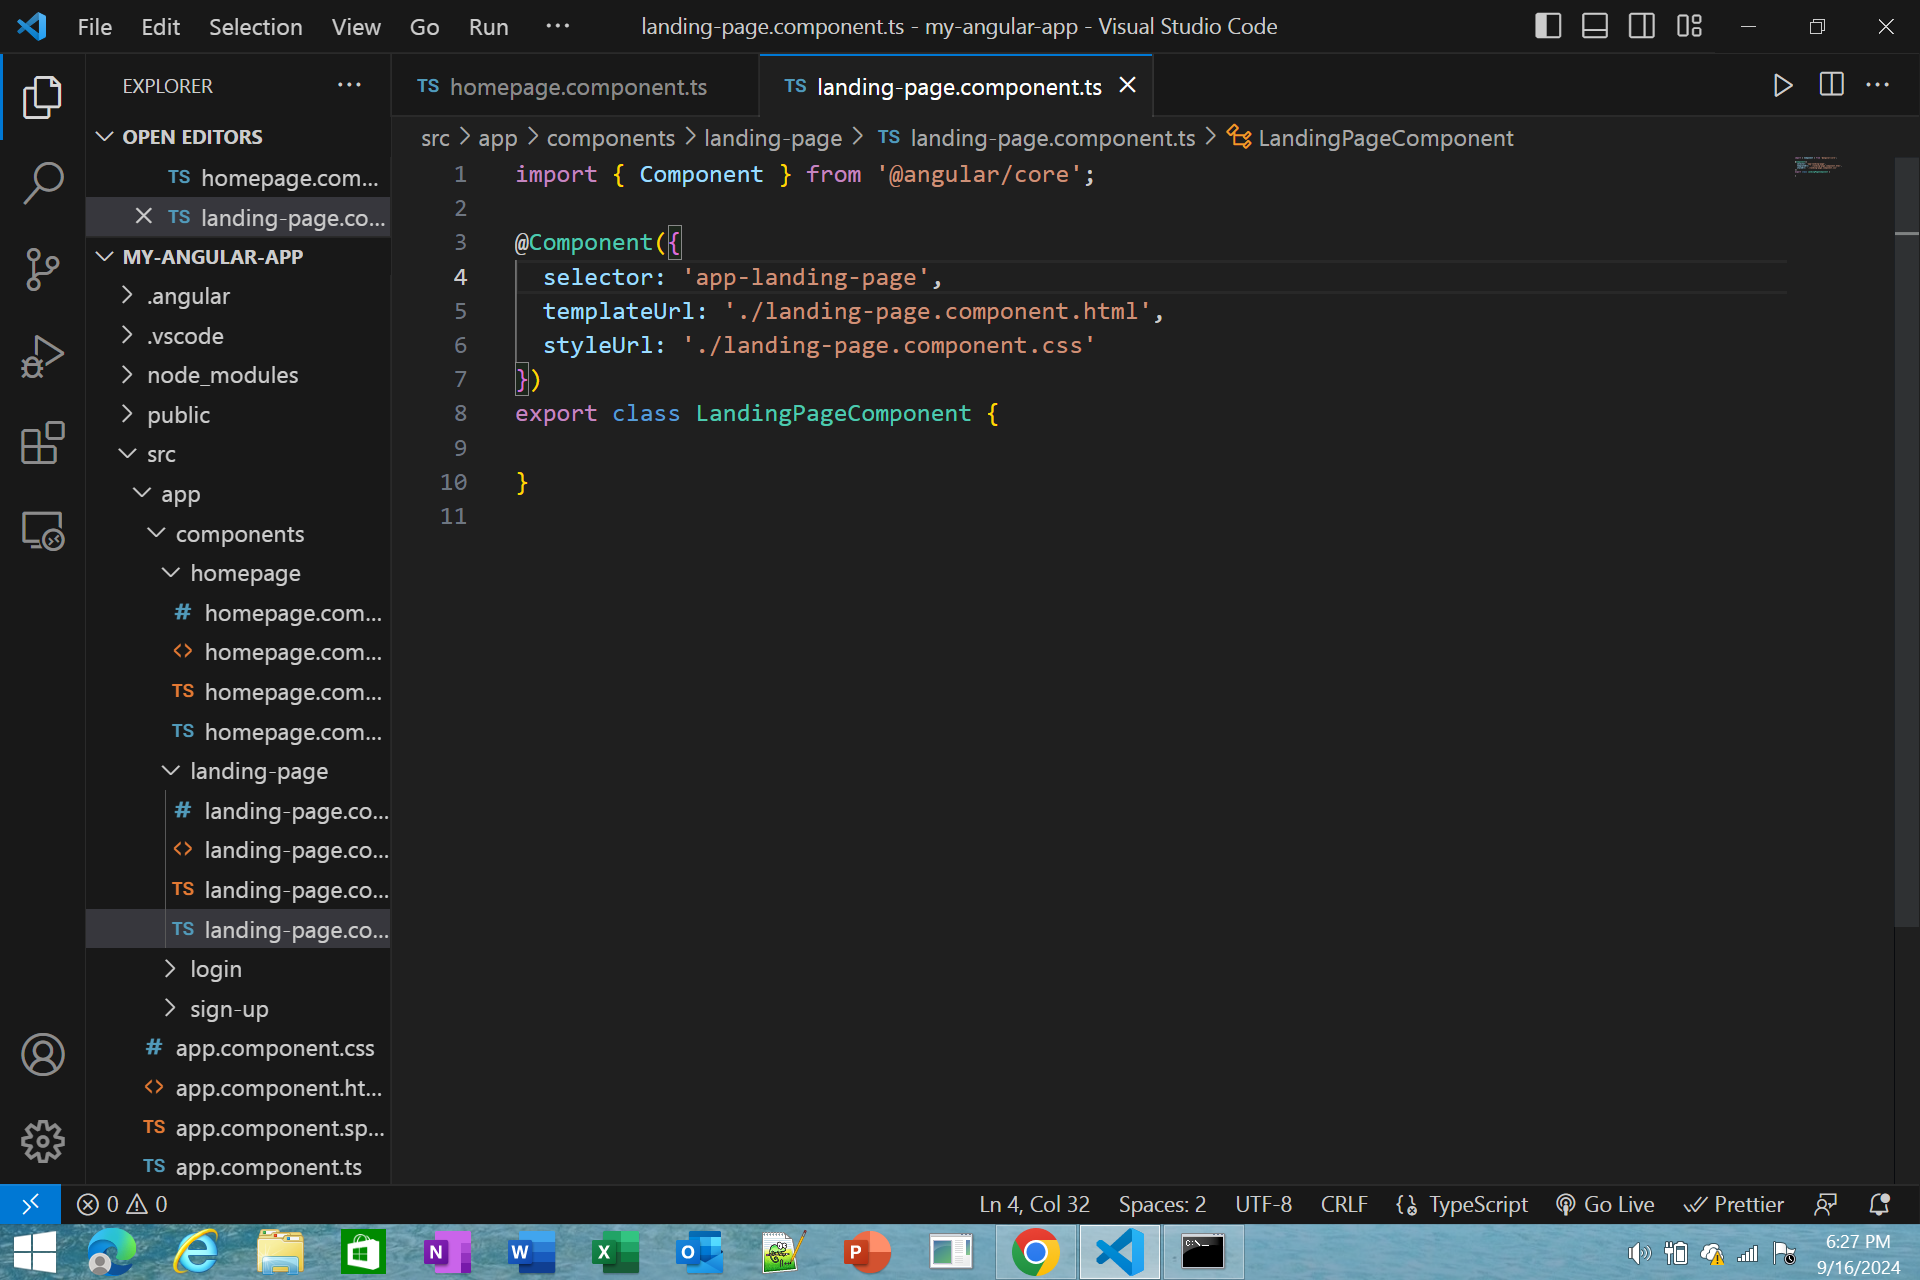
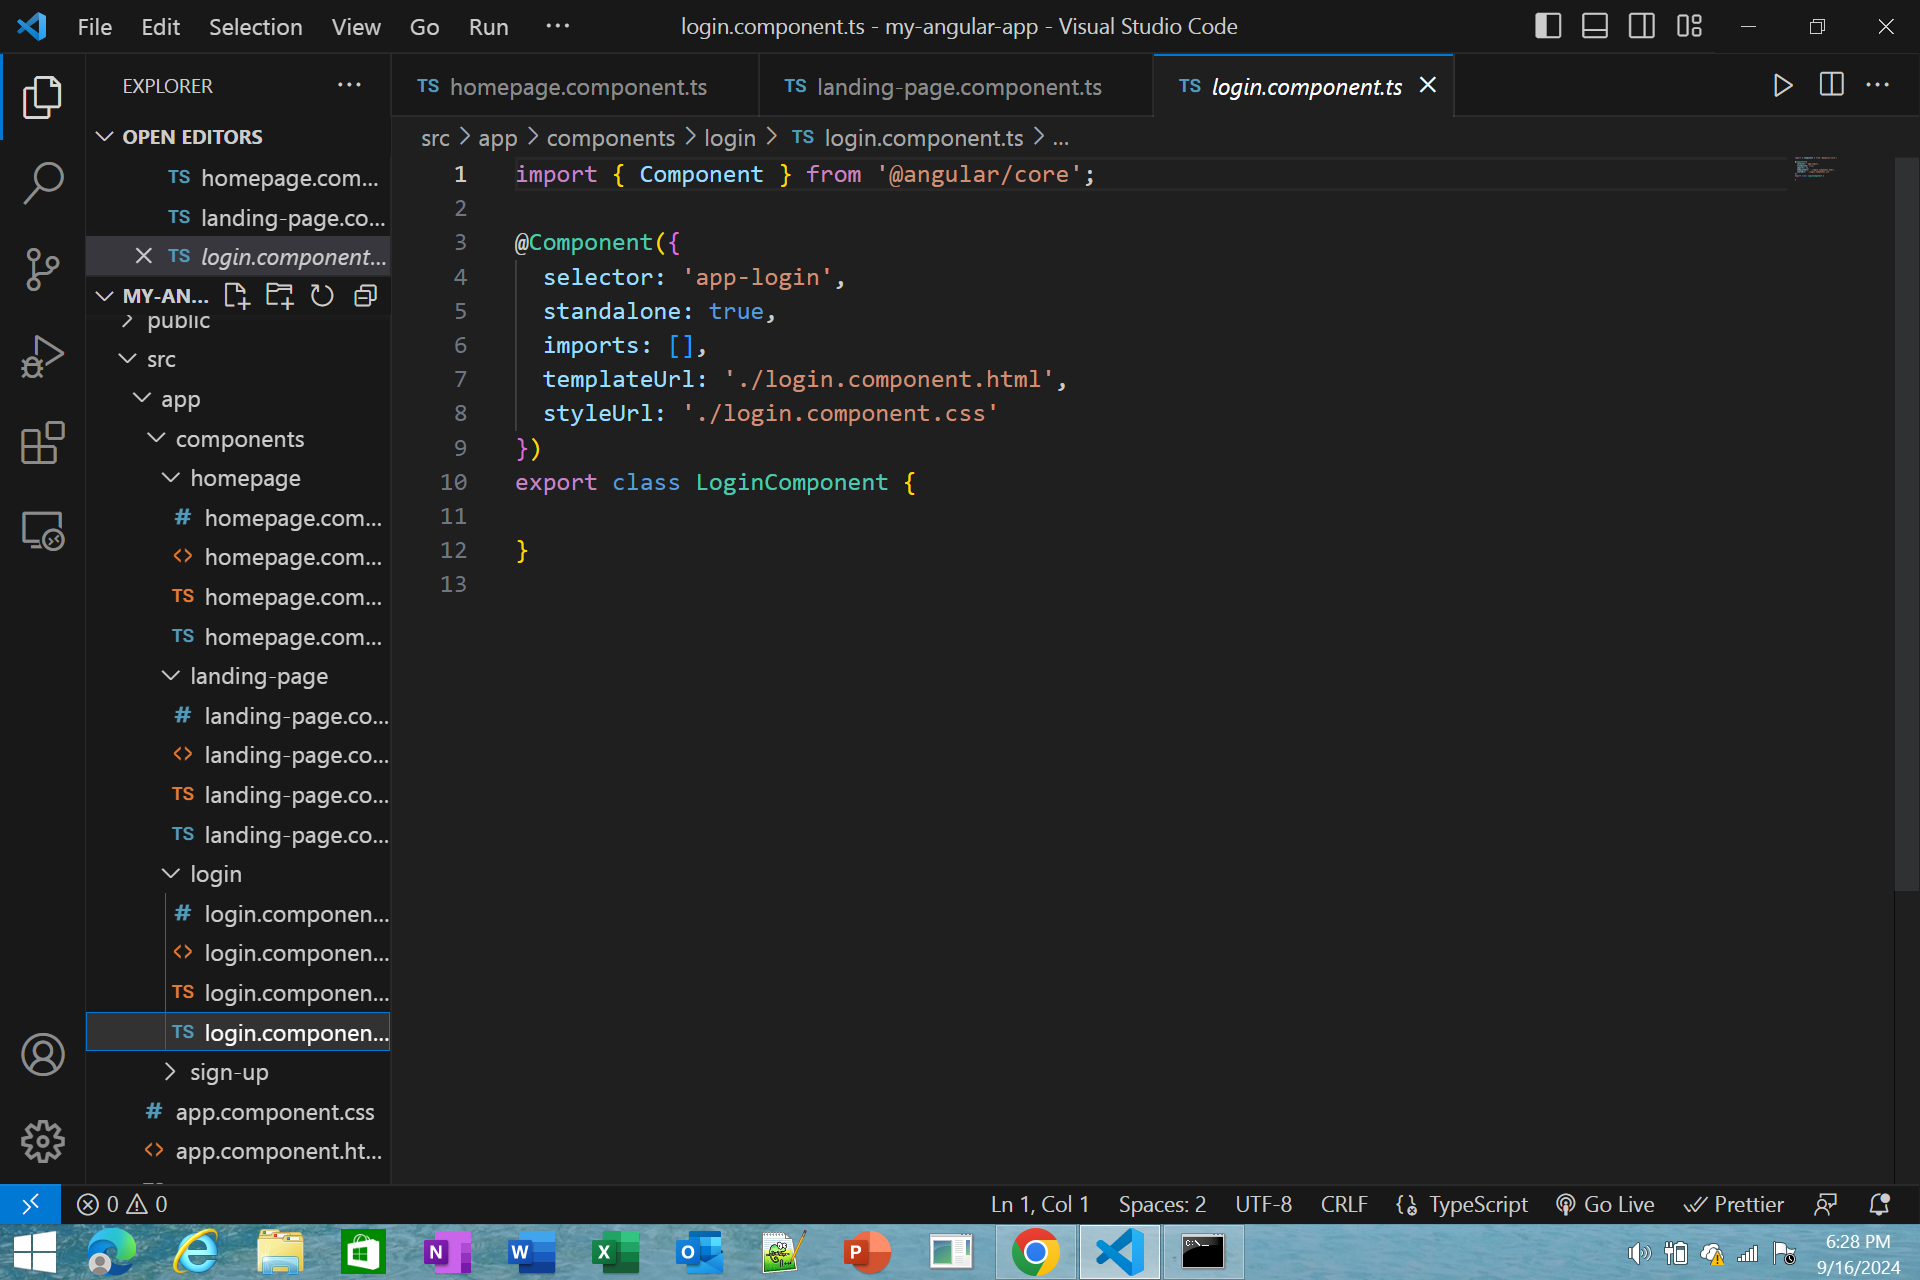
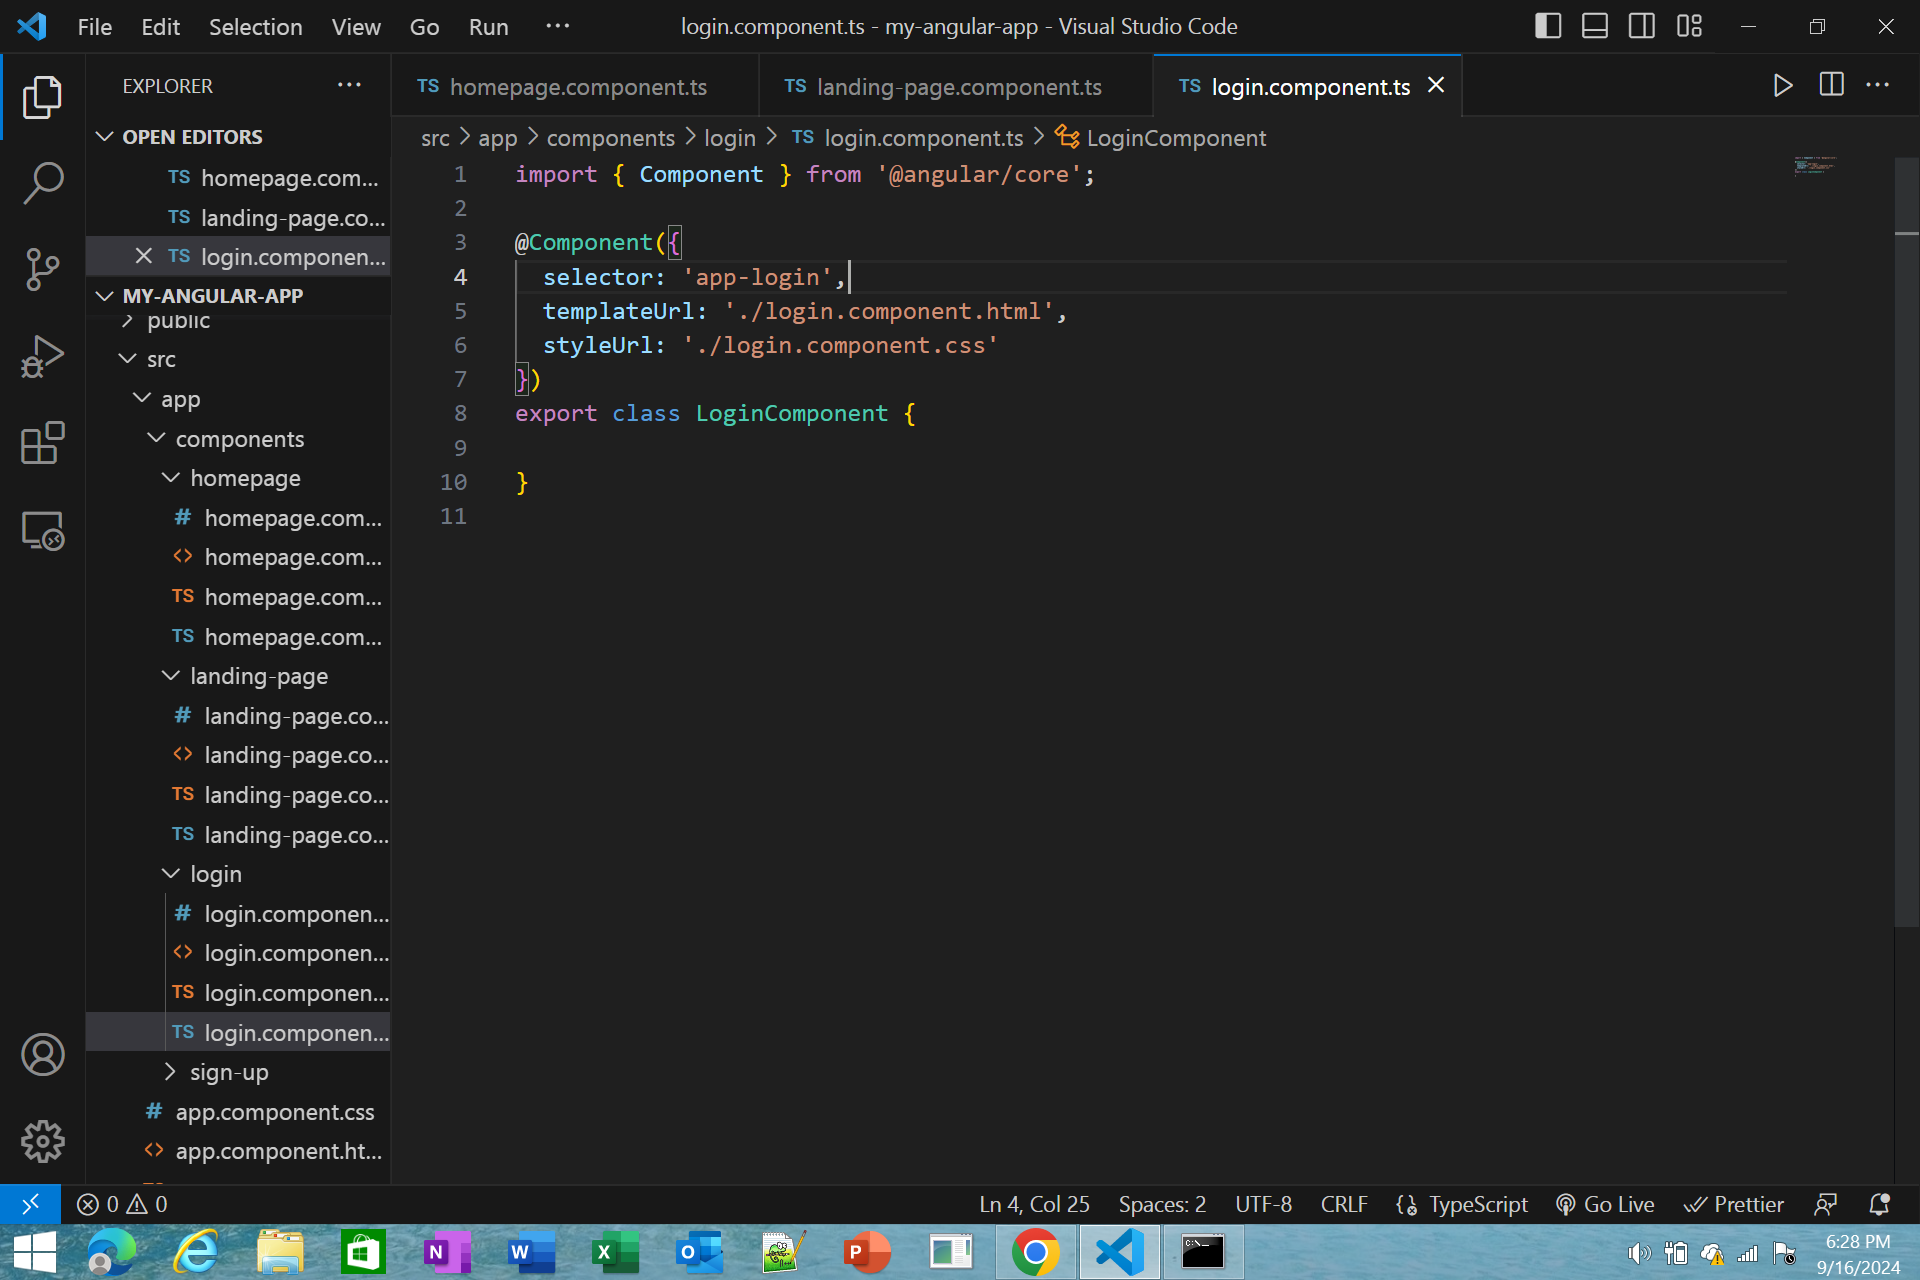
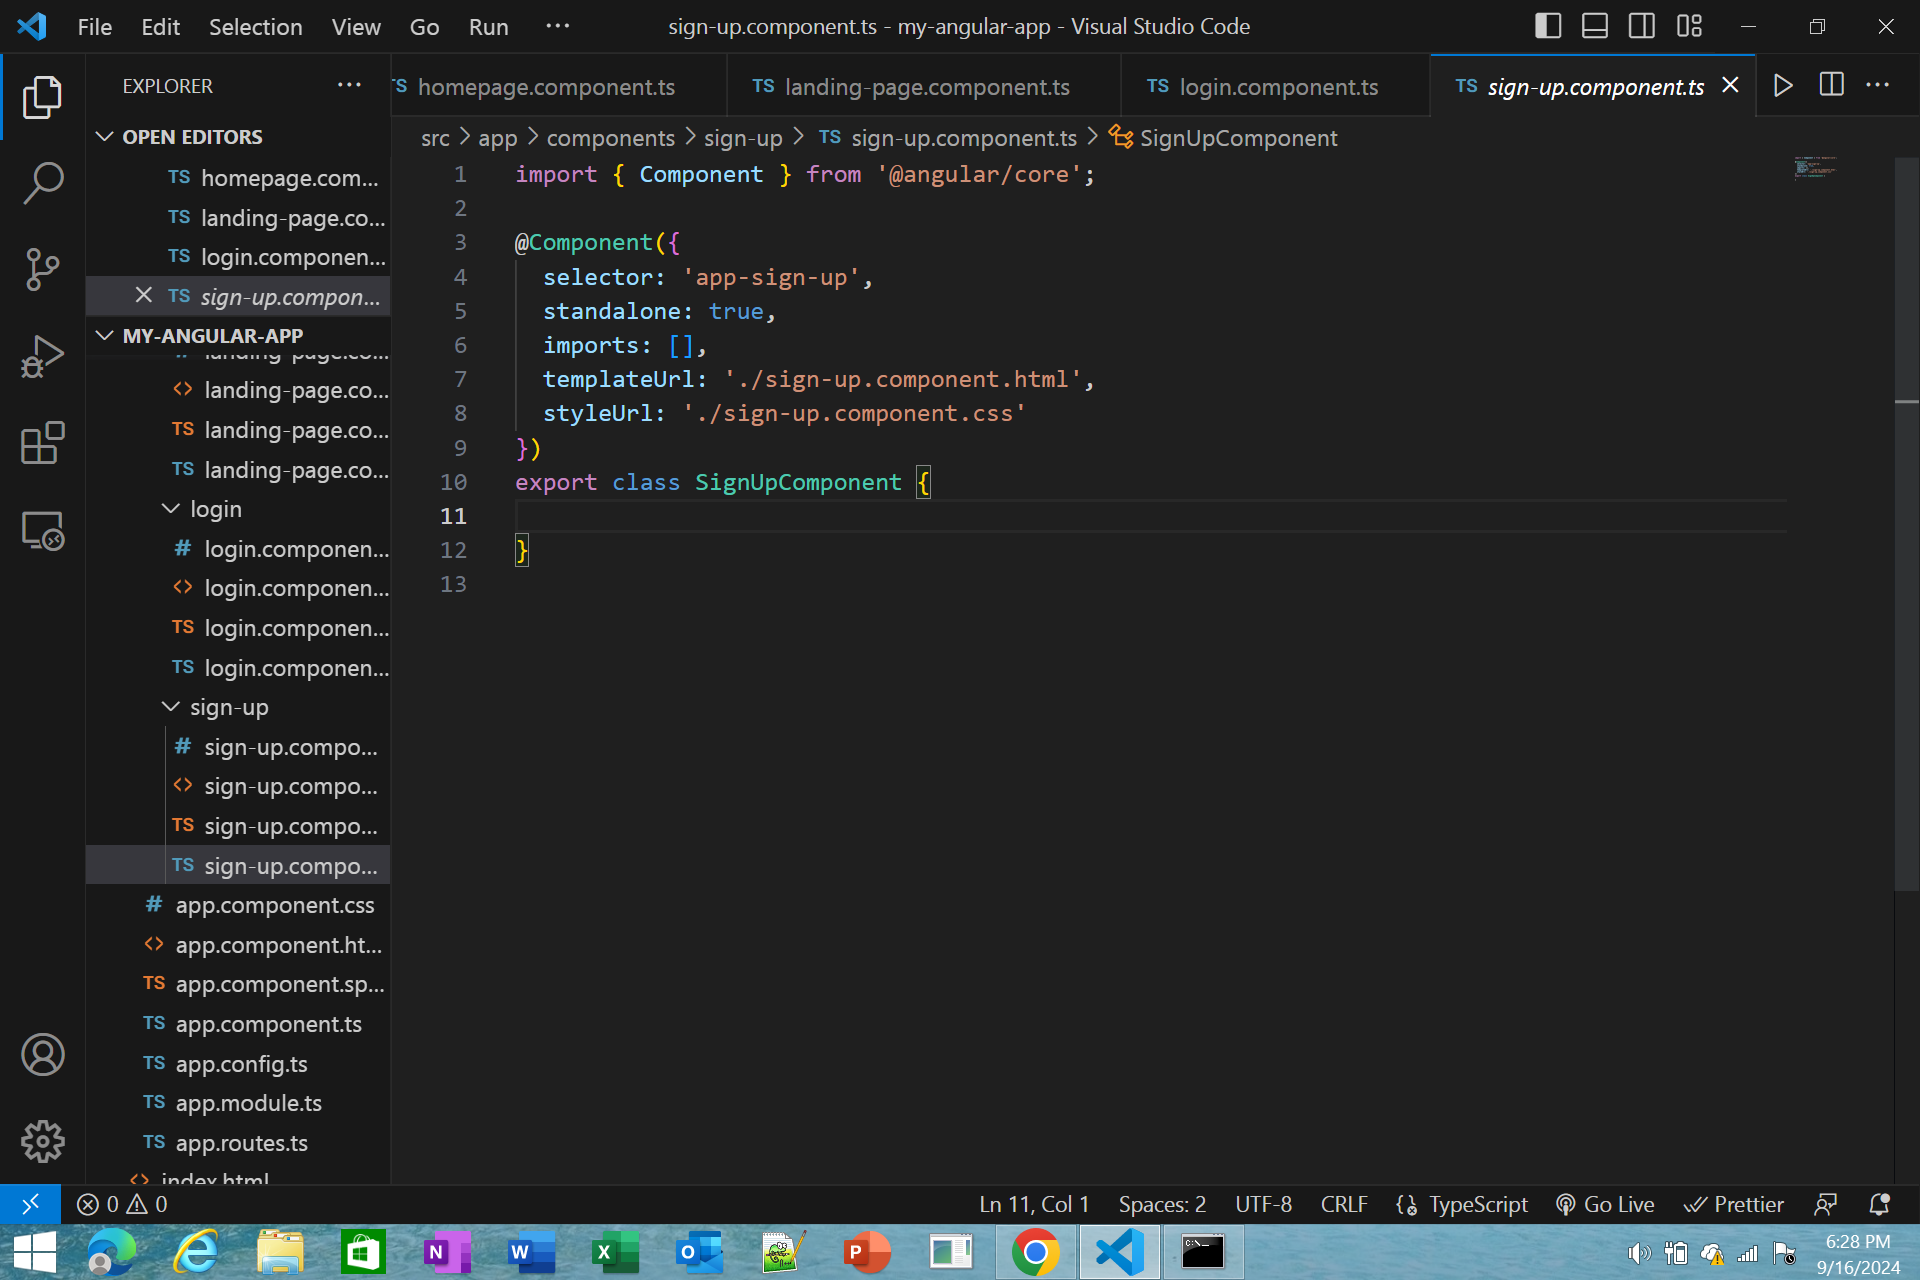
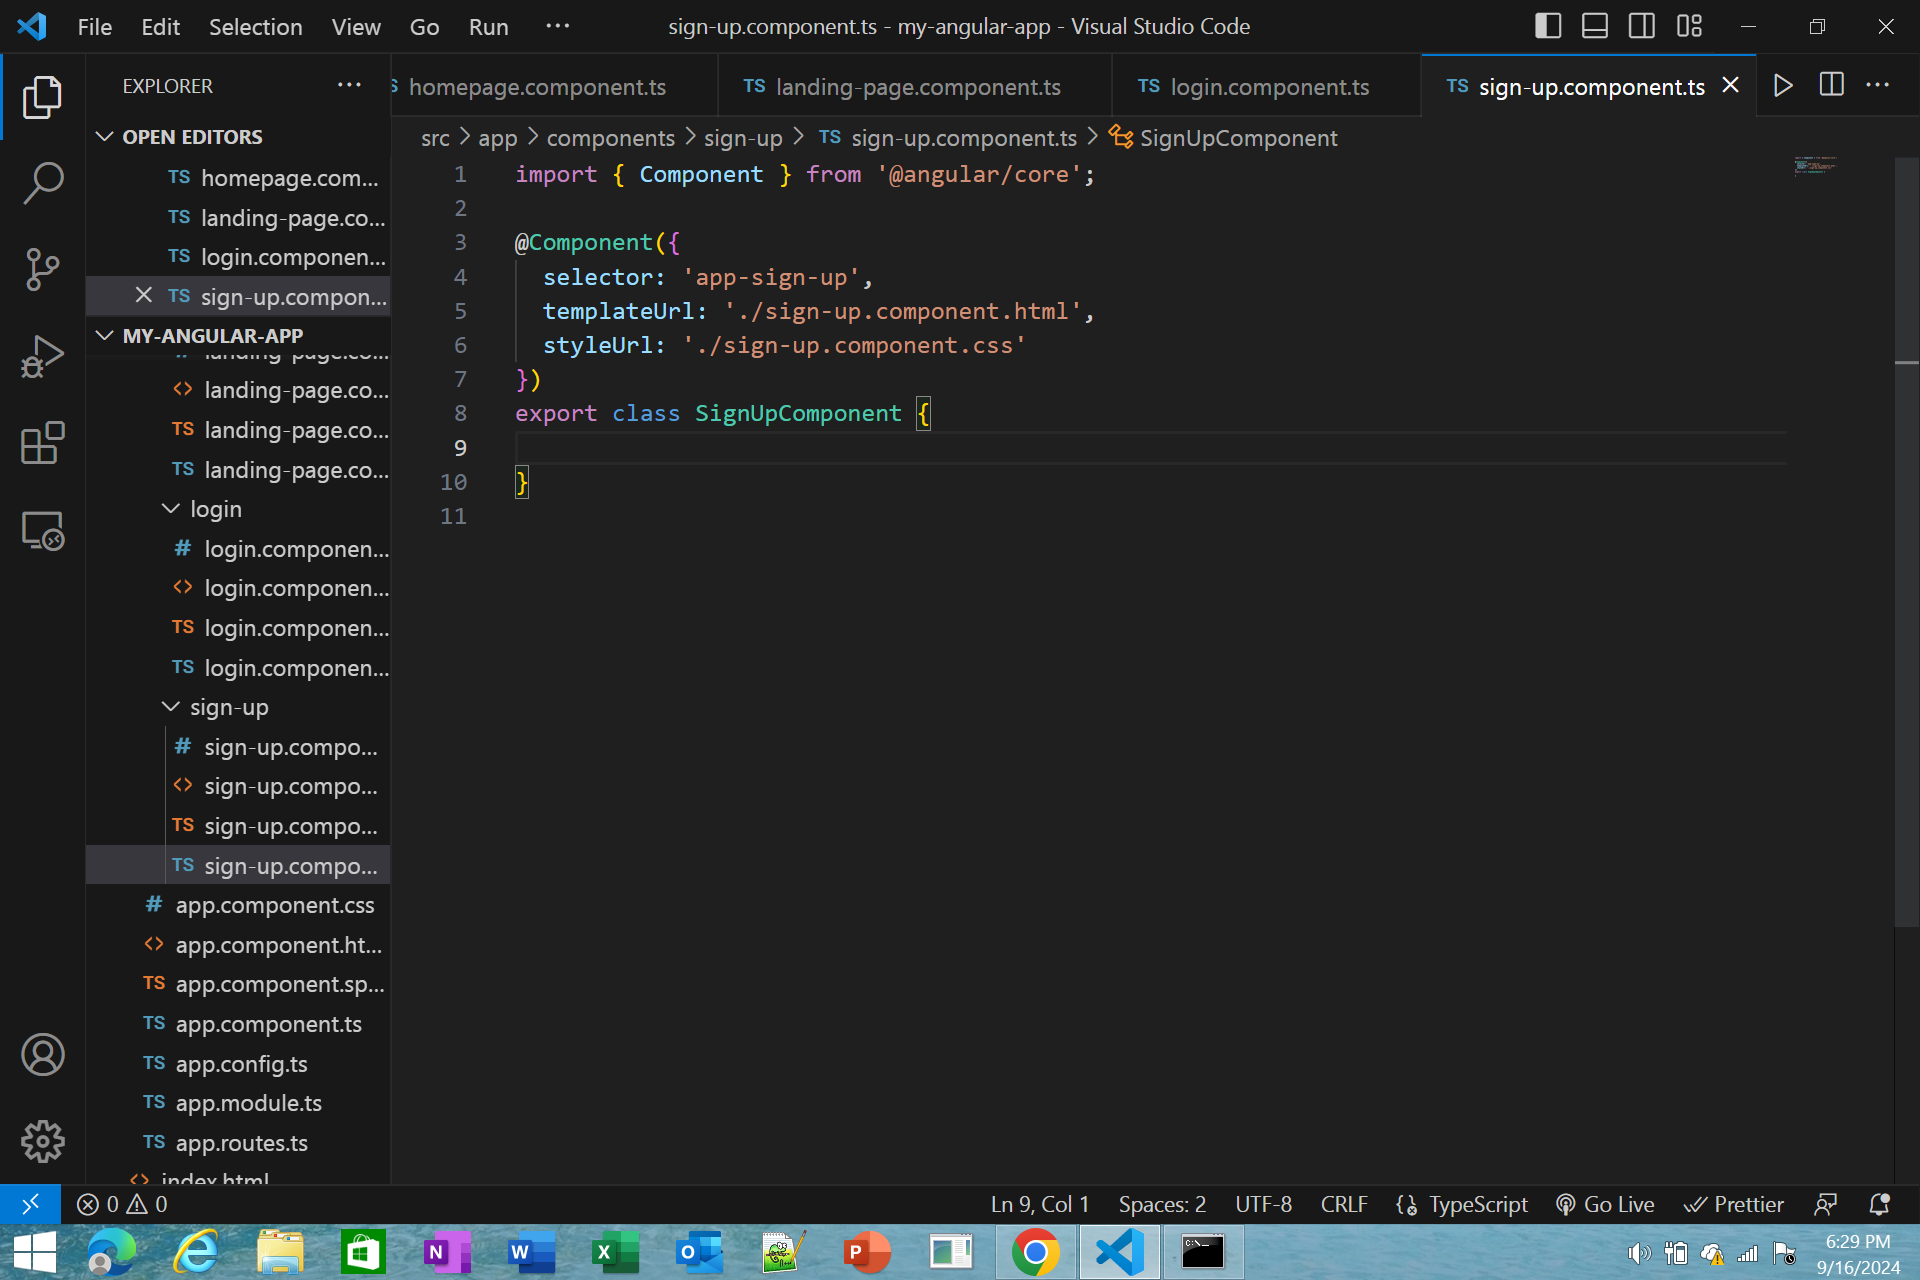
Step #9 - Add the declarations on every components
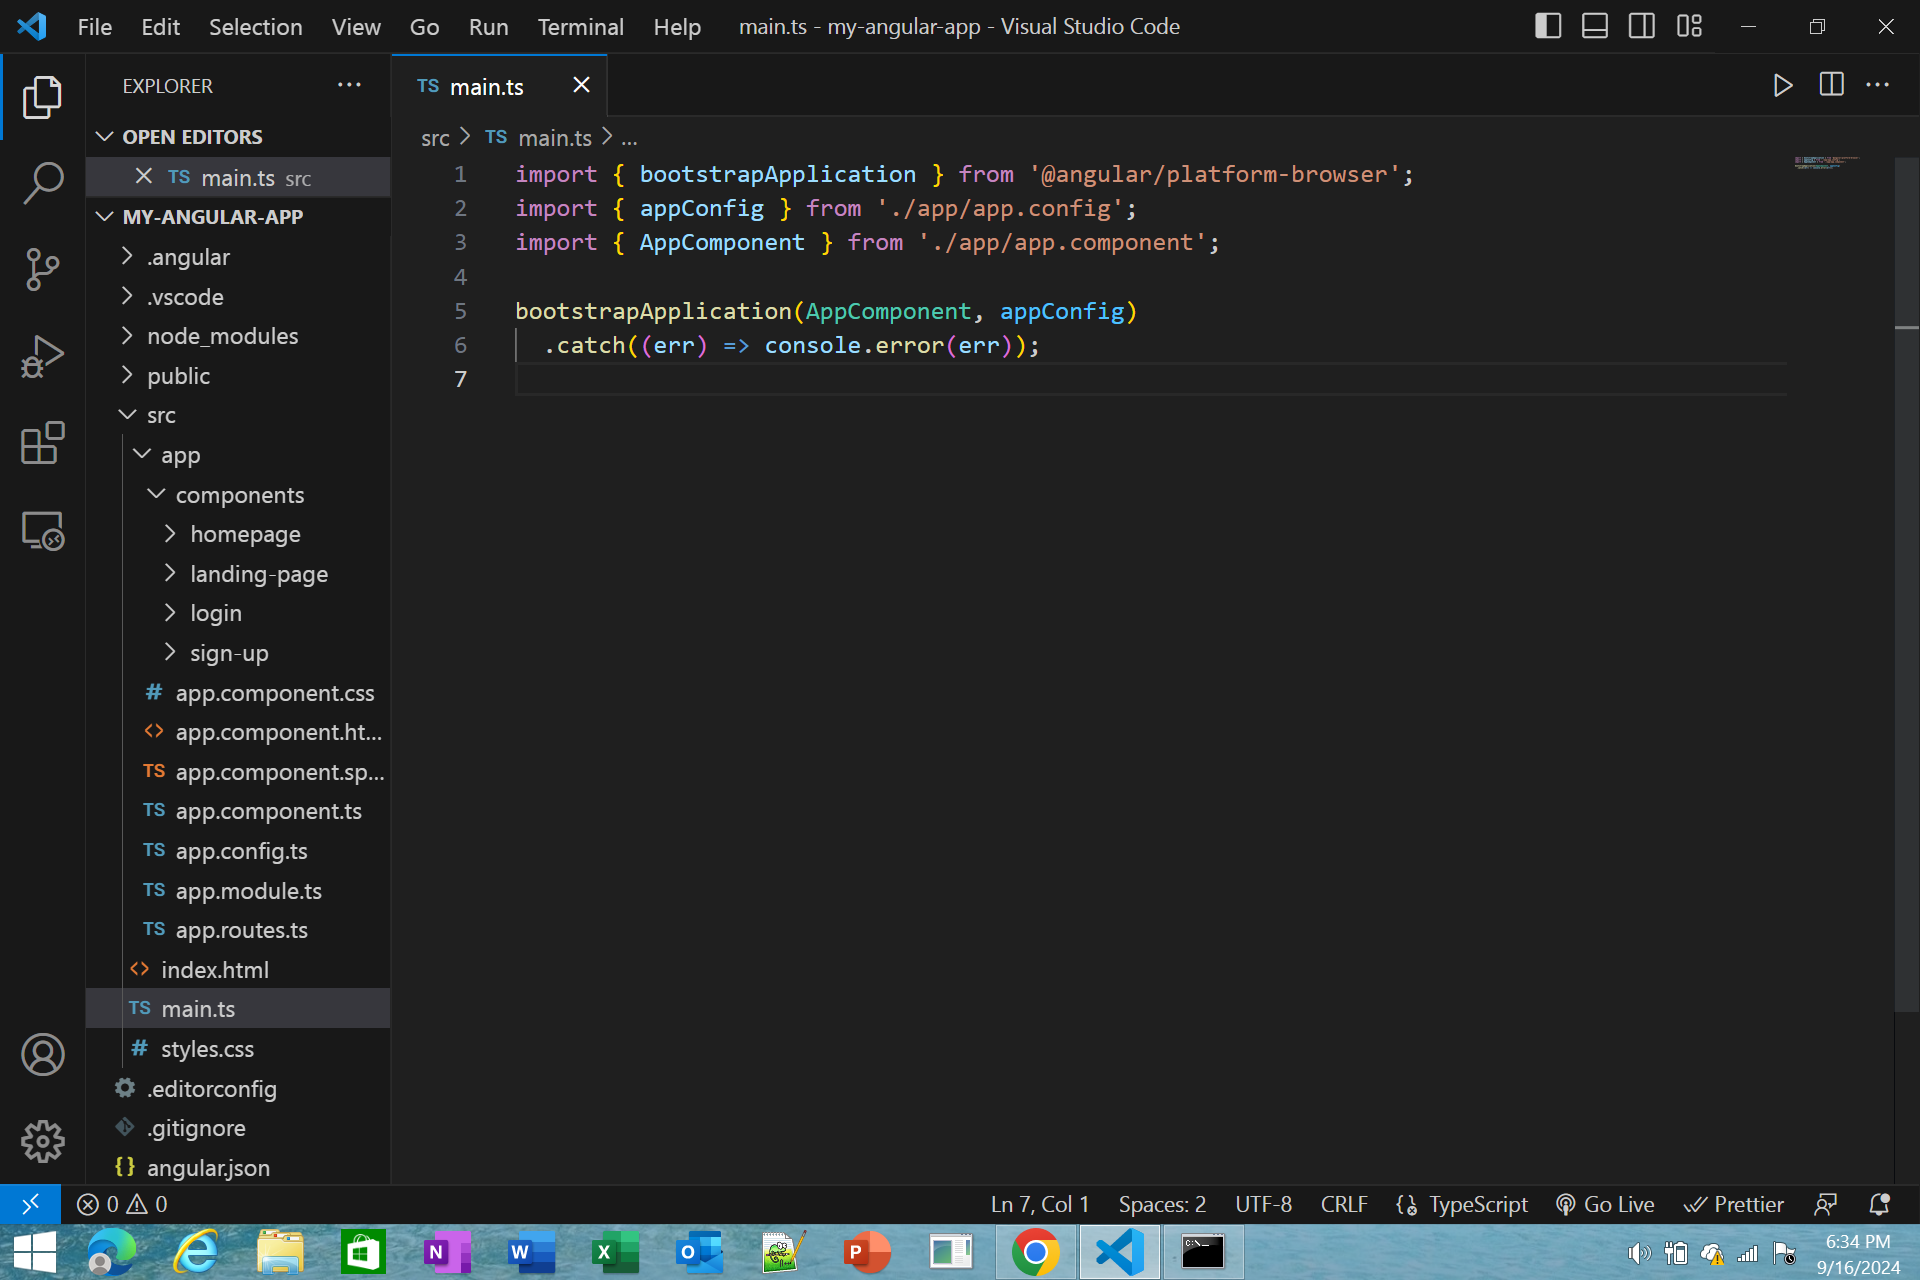
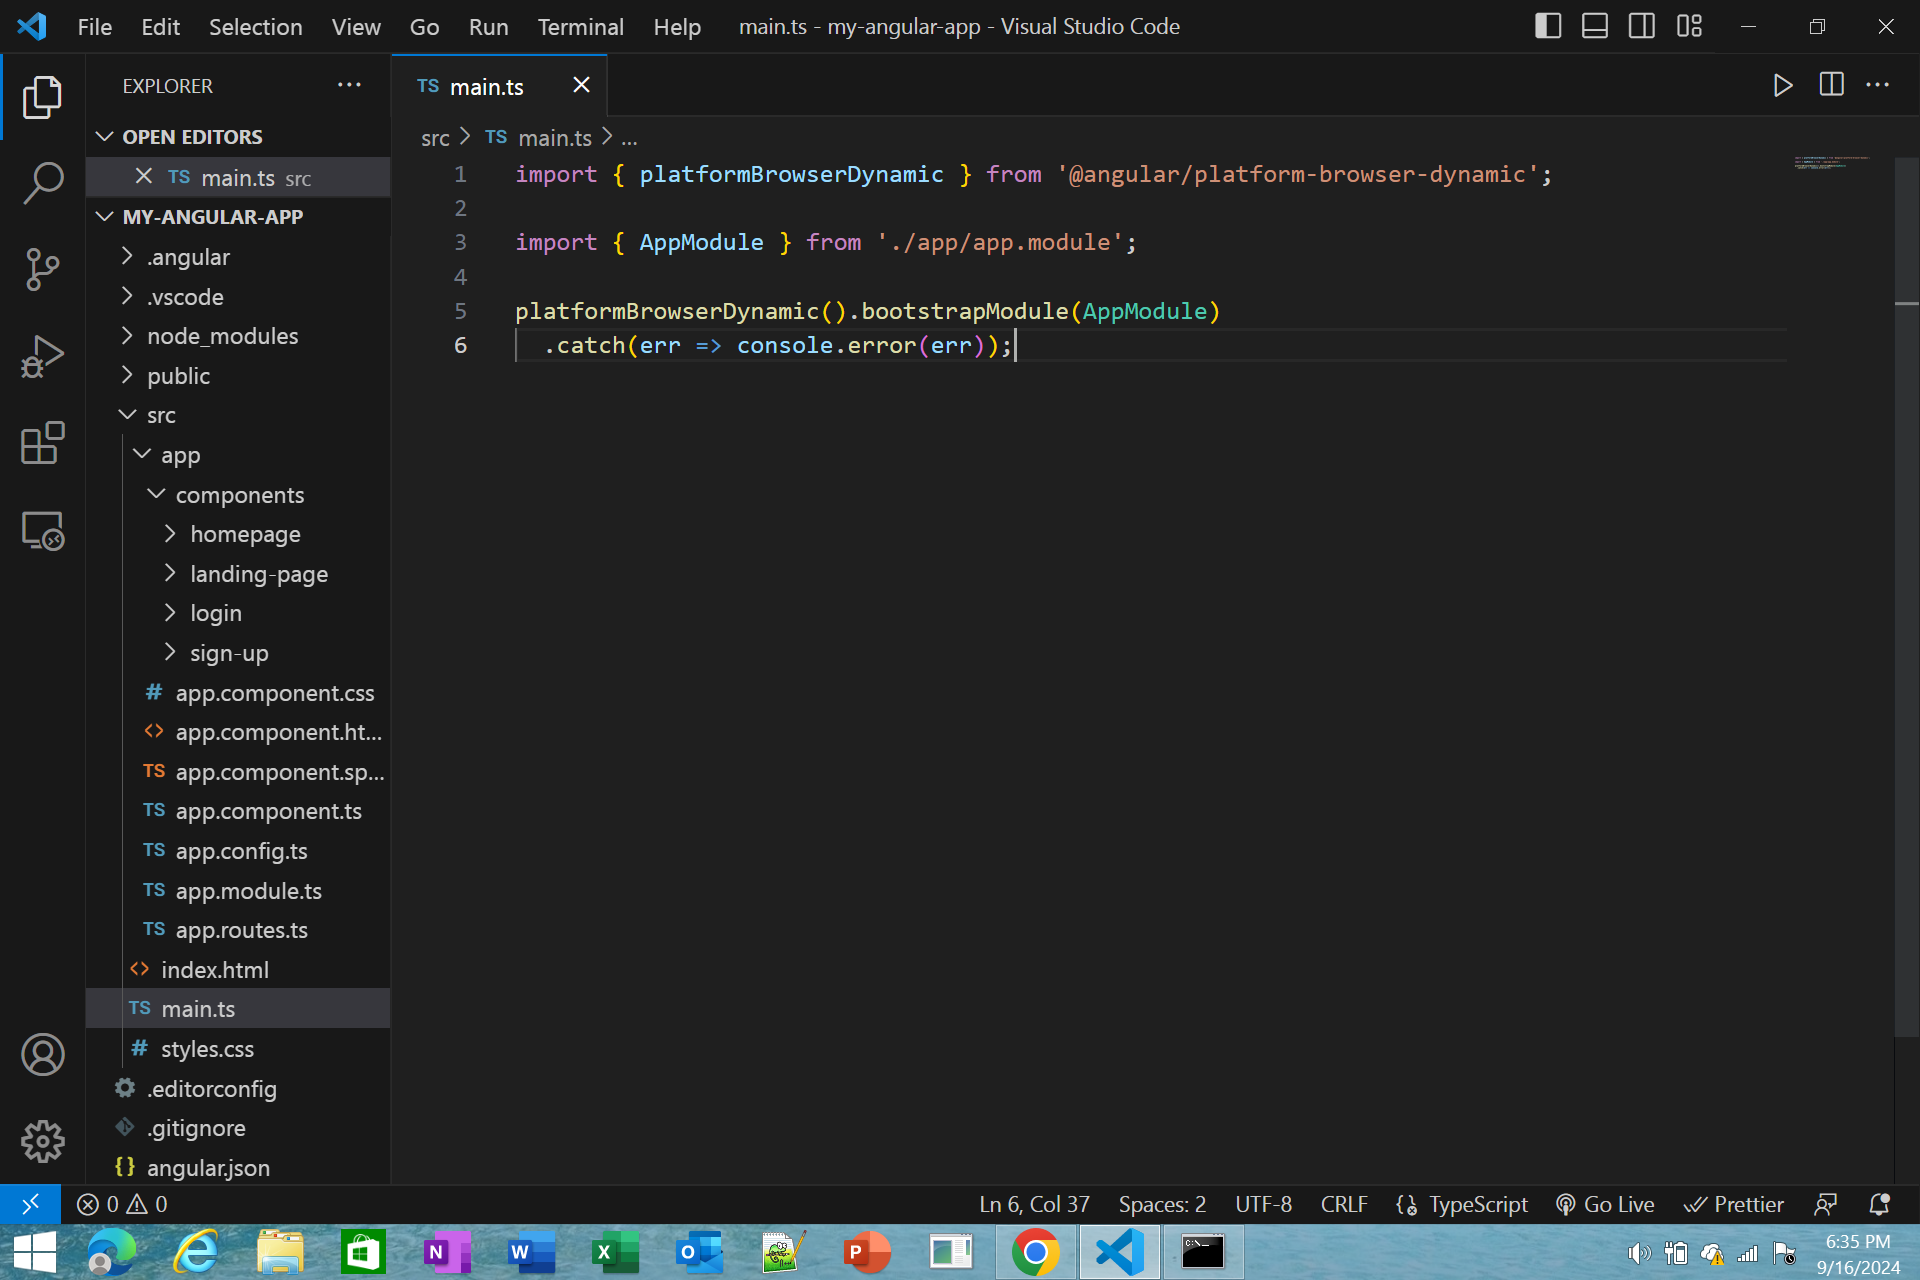
Step #10 - Change the main typescript to this code
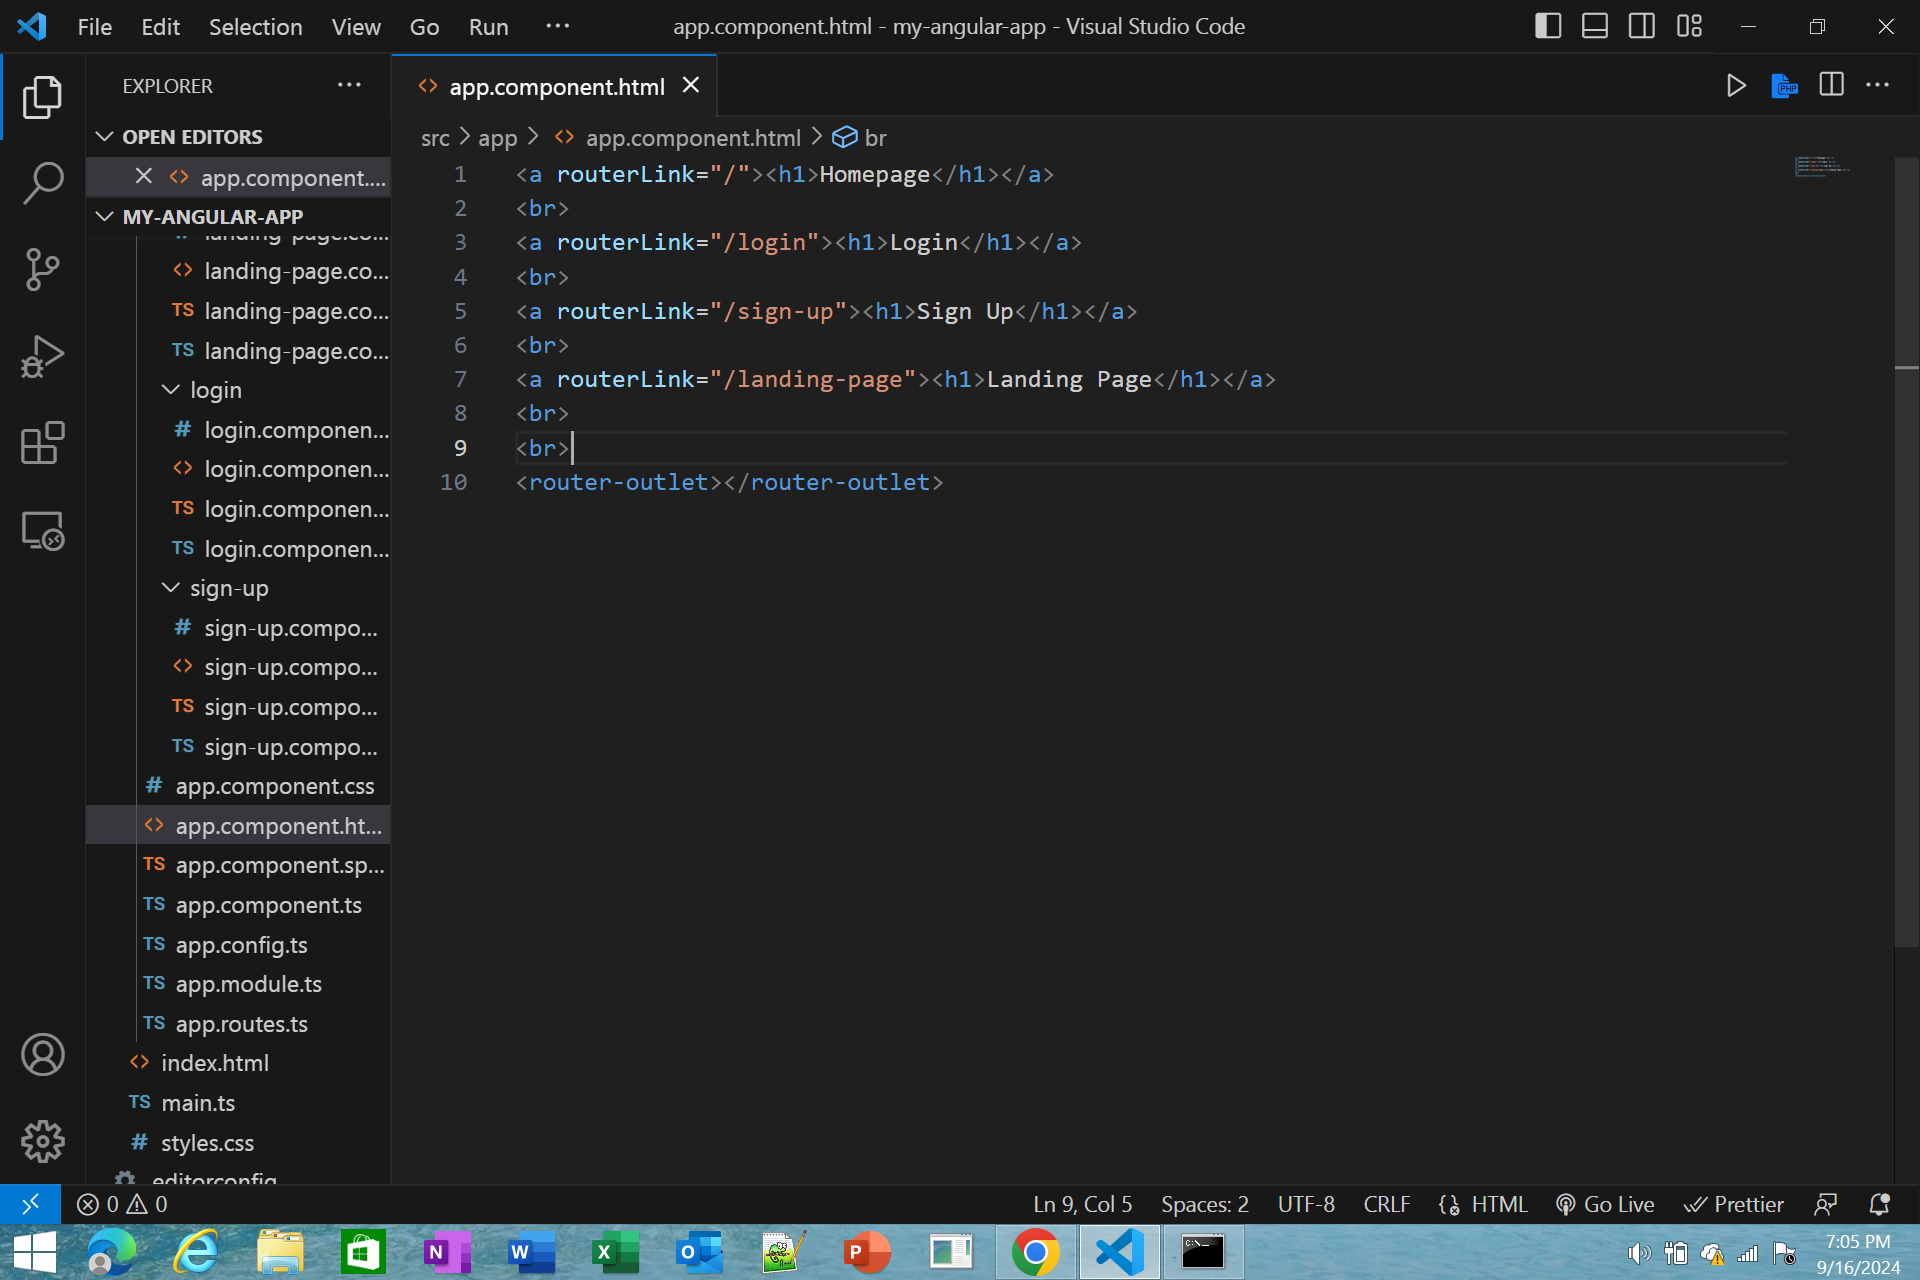
Step #11 - Add the routerlink to every components and name it
Step #12 - Now go to the Angular folder files using Command Prompt and run the ng serve command to run the app and this will be the result
Step #13 - Lastly, Push the project on you’re Github Repository
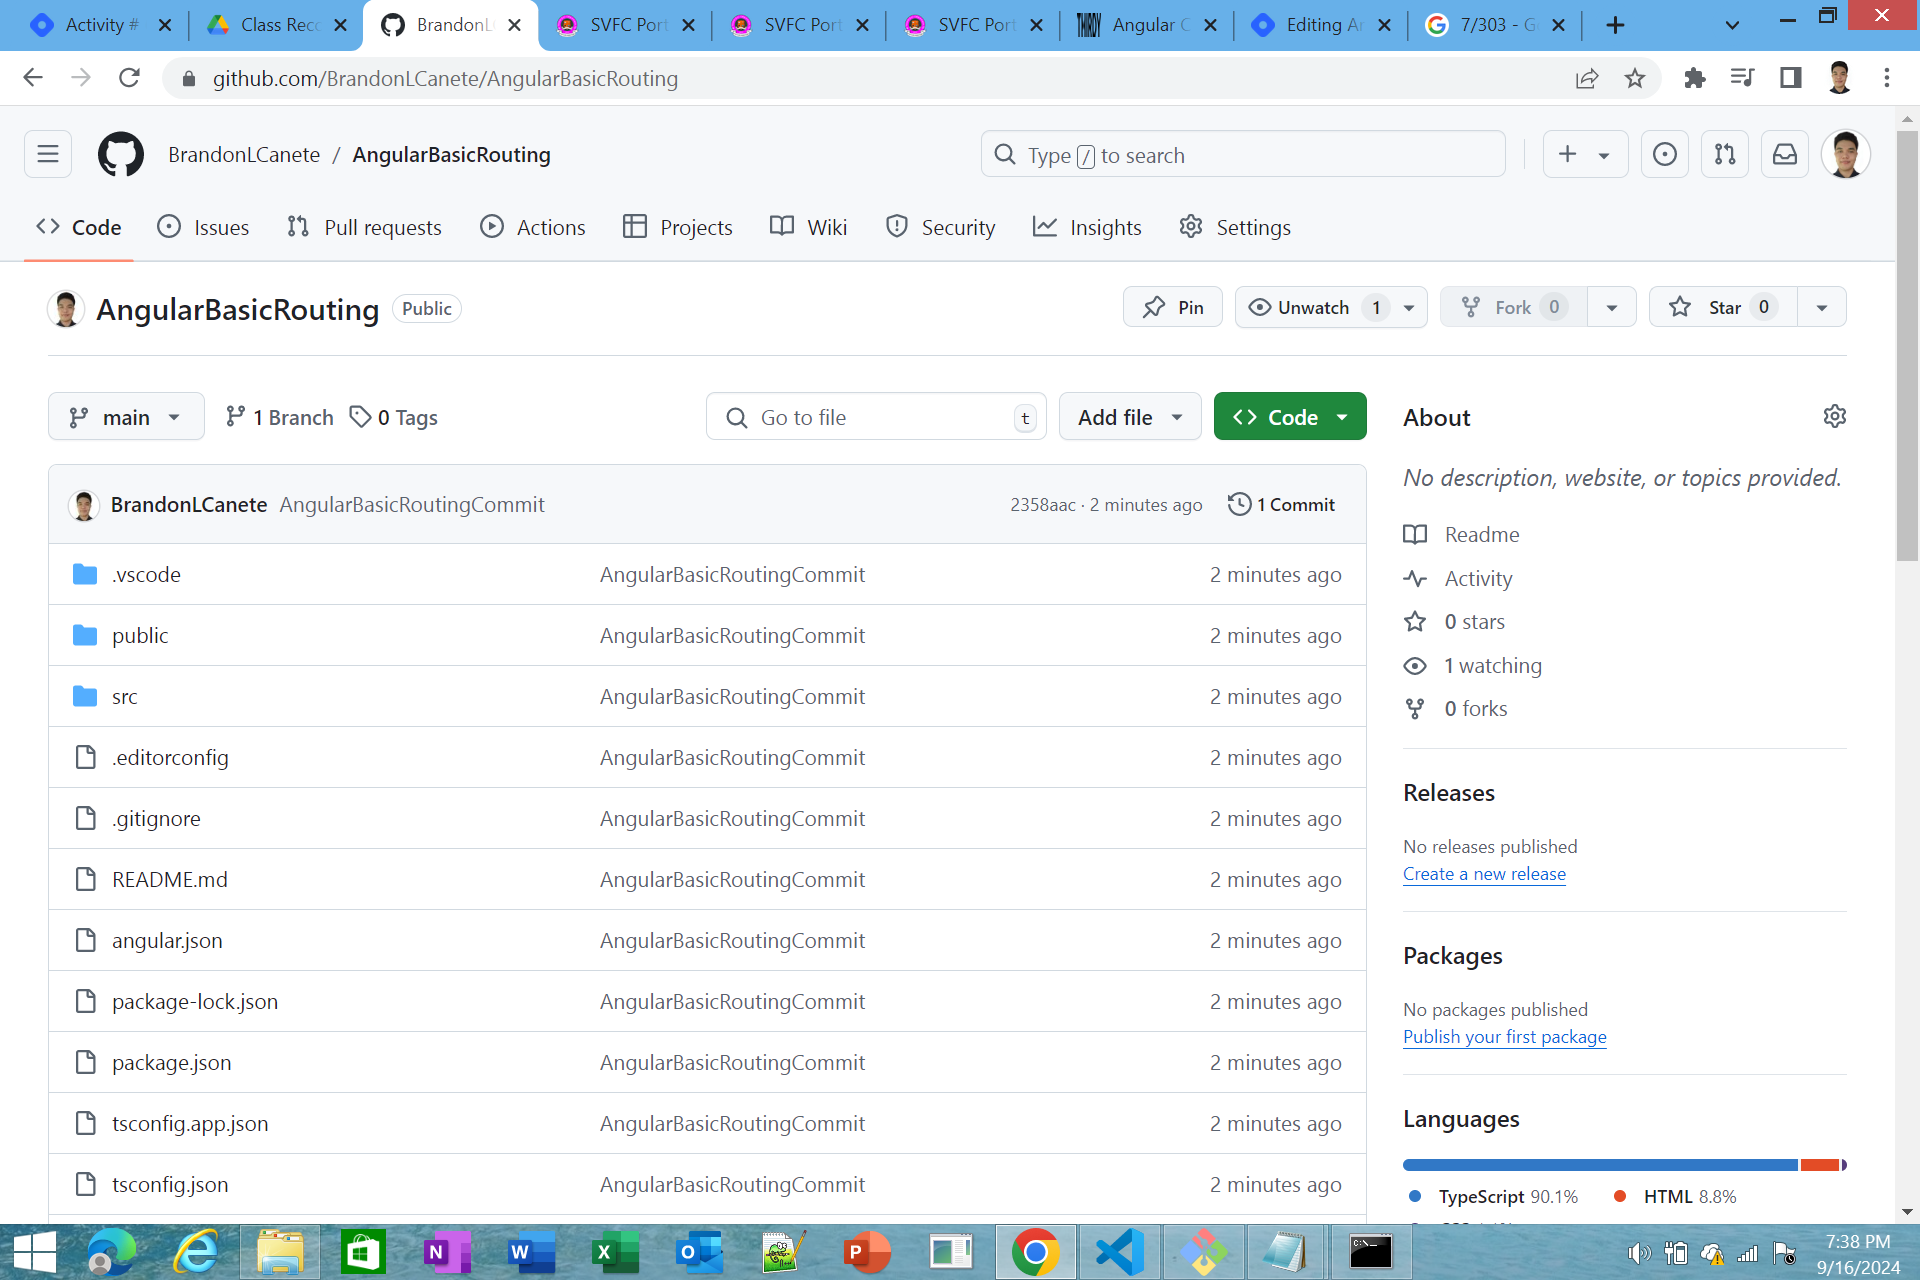
Github Repository Link
0
Subscribe to my newsletter
Read articles from Cañete,Brandon L. directly inside your inbox. Subscribe to the newsletter, and don't miss out.
Written by
